Ingredients
Units
- 2 cups (280g) all-purpose flour
- 2 1/2 teaspoons baking powder
- 1 teaspoon salt
- 3 tablespoons sugar
- 4 tablespoons (60g) butter, very cold and in small pieces
- 1 egg, cold
- 1/2 cup buttermilk
- 2 tablespoon whipping or heavy cream, cold
Instructions
- Make sure the ingredients are cold. I put the butter pieces in the freezer for 5-10 minutes, and keep the buttermilk and cream in the fridge up to the last minute.
- Have ready a cookie sheet lined with parchment paper.
- Preheat oven to 375ºF / 190ºC.
- In a large bowl put flour, baking powder (don’t forget or your scones won’t rise!), salt and sugar. Mix lightly with your hand or fork.
- Scatter cold butter on top and start working it into the flour mixture. You can use a dough cutter. Mix it with the dry ingredients but be careful not to warm it too much. If you feel it starts to soften too much, pop the bowl in the fridge for a few minutes, or the freezer.
- The butter should have some pieces the size of peas.
- Lightly beat the egg in a small bowl, just to mix it, so it integrates better.
- Make a well in the middle, and add the egg, half the buttermilk, and the cream.
- With a fork or spoon, lightly stir and begin to incorporate the flour. The flour and butter should be wet but dry spots must be seen.
- If needed, add the rest of the buttermilk a little at a time. You might end up using all of it or not.
- Transfer to a clean surface or counter that is lightly dusted with flour.
- Gather it and turn it onto itself a few times. The dough will be floury and messy, but you don’t want to work it too much or make it as smooth as pie dough.
- After a few turns, it will come together if you take a bit and squeeze it; it should come together and not be too wet or too dry.
- Press the whole mixture about 1-inch thick. The outer parts will be dry, don’t worry.
- With a round cookie cutter (I use a flower shape sometimes because I like how irregular they bake) cut the scones and put on the prepared pan, leaving 2 inches or so between them.
- Repeat with the remaining dough, bringing in the outer dry parts and incorporating it into the dough.
- When all you’re scones are cut, I like to take the sheet to the freezer for 5 minutes.
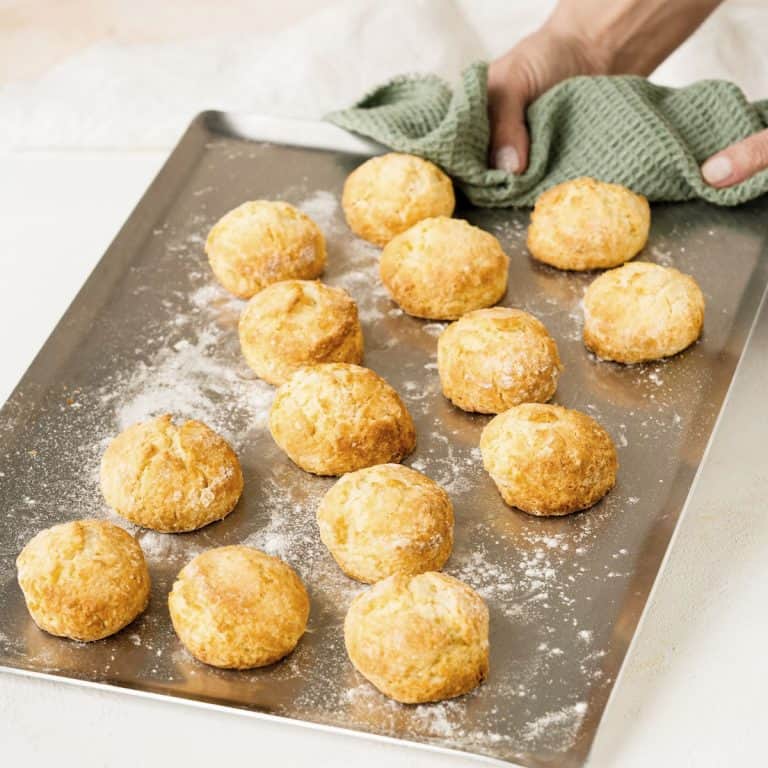
- Then bake for 20 minutes or so, until puffed, dry, and a bit golden. If you open one it should be dry inside.
- I recommend eating them freshly baked.
- Keep leftovers in tins and re-warm in a medium oven before eating.
- See the Notes below for freezing instructions.
Notes
- Homemade buttermilk: for every 1 cup of milk, add 1 tablespoon of lemon juice or white vinegar. I usually use juice as I think it goes better with baked things.
- Top tips:
Very cold ingredients. I put the pieces of butter in the freezer for 5-10 minutes while preparing the rest of the ingredients. And don’t take the cream half an hour before you start mixing the scones. Butter, cream, and milk, they belong in the fridge until you need to pour them.
Don't work the dough much. It should come together but still have floury patches. You don’t need to work it until it’s smooth, like a pie dough. It is an uneven dough, with dry spots, and that’s good for flakiness later.
A rather high oven. They need that extra heat (and baking powder) to rise however they can despite all that butter and cream. And if by any chance you forgot to turn the oven on before you start mixing, please don’t leave the baking sheet with the cut scones waiting on the counter. Put them in the fridge or freezer for ten or fifteen minutes while the oven preheats. - Freezing: freeze the already cut scones (I pop them directly in the baking sheet) until they are rock solid, then transfer them to a Ziploc bag. That way, they will be covered and occupy much less space in your freezer. Bake them directly from the freezer in a 375°F/190°C oven.
- Prep Time: 15 minutes
- Cook Time: 25 minutes
- Category: Bakery
- Method: Baking
- Cuisine: English
Nutrition
- Serving Size: 1 scone
- Calories: 136
- Sugar: 3.2 g
- Sodium: 172.8 mg
- Fat: 6.7 g
- Carbohydrates: 16.6 g
- Fiber: 0.5 g
- Protein: 2.7 g
- Cholesterol: 30.4 mg
