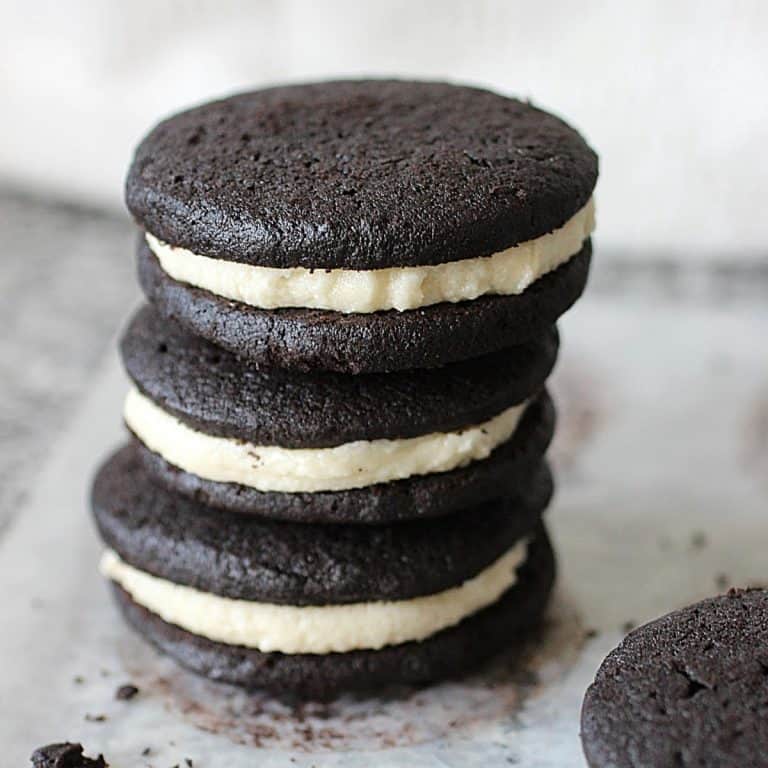
Ingredients
Units
For the cookies:
- 1 cup butter, melted and lukewarm
- 3/4 cup sugar
- 1 teaspoon vanilla extract
- 7 oz semisweet chocolate, melted and lukewarm
- 1 egg, room temperature
- 1 1/2 cups all-purpose flour
- 3/4 cup cocoa powder
- 1 teaspoon salt
- 1/2 teaspoon baking soda
For the filling:
- 1/2 cup butter, room temperature
- 1 2/3 cups powdered sugar
- 1 teaspoon vanilla extract
- 1 tablespoon milk
- Pinch of salt
Instructions
For the cookies:
- Beat butter and sugar in a large bowl until very well mixed.
- Add vanilla and melted chocolate in 2 parts. Mix well.
- Add egg and mix until well incorporated.
- Sift over this mixture (or do it in a different bowl and then add) the flour, cocoa, salt and baking soda. Do it in 2 parts for easier mixing.
- Make sure it's very well mixed, leaving no dry spots.
- Have a large piece of plastic wrap on the counter.
- Put half of the batter in the form of a shaggy log lengthwise, and roll the plastic (as you would cinnamon rolls) making a cylinder with the cookie dough.
- It will feel bloated so lightly pierce the plastic wrap in a few places to release air bubbles. The tighter the better. The ends of the plastic will be rolled; tuck them underneath.
- Repite with the rest of the dough.
- Refrigerate these logs until firm enough to cut, about 1 hour and upto 1 week (or frozen 1 month). Place them in a smooth place in the fridge so that they keep their round shape as much as they can.
- Preheat oven to 325ºF/170ºC.
- Line baking sheets with parchment paper,
- Cut the logs into rounds about 1/4 inch thick.
- Re-shape them again with your hand to create the best circular shape you can and arrange on the sheets an inch or two apart.
- Bake for 15 to 20 minutes, until they are somewhat firm to the touch. See Notes, below.
- Let cool completely on wire rack before filling. Let the filling harden or set before eating.
For the filling:
- Mix all ingredients in a large bowl until creamy and smooth.
- Add more sugar if you want a firmer filling. Powdered sugar and butter brands are different so you might need to adjust the amounts.
- Refrigerate until ready to use.
Notes
Using brown butter for the filling: follow instructions to make brown butter, let cool completely and use as directed in the filling part of the recipe.
Baking: do a test bake with a few and see how long it takes to get the desired result. Cookie sizes and ovens differ and a minute or two can make a big difference.
Storing: the individual cookies (no filling) can be stored for weeks (or months!) in airtight tins. Once filled they keep for a few days in the same container. Remember that the filling will transfer some humidity to the cookies and soften them as the days pass.
Cookie dough: keep it in the freezer for at least a month, well covered to avoid freezer burn.
- Prep Time: 20 minutes
- Refrigeration + cooling down: 2 hours
- Cook Time: 15 minutes
- Category: Cookies
- Method: Baking
- Cuisine: American