

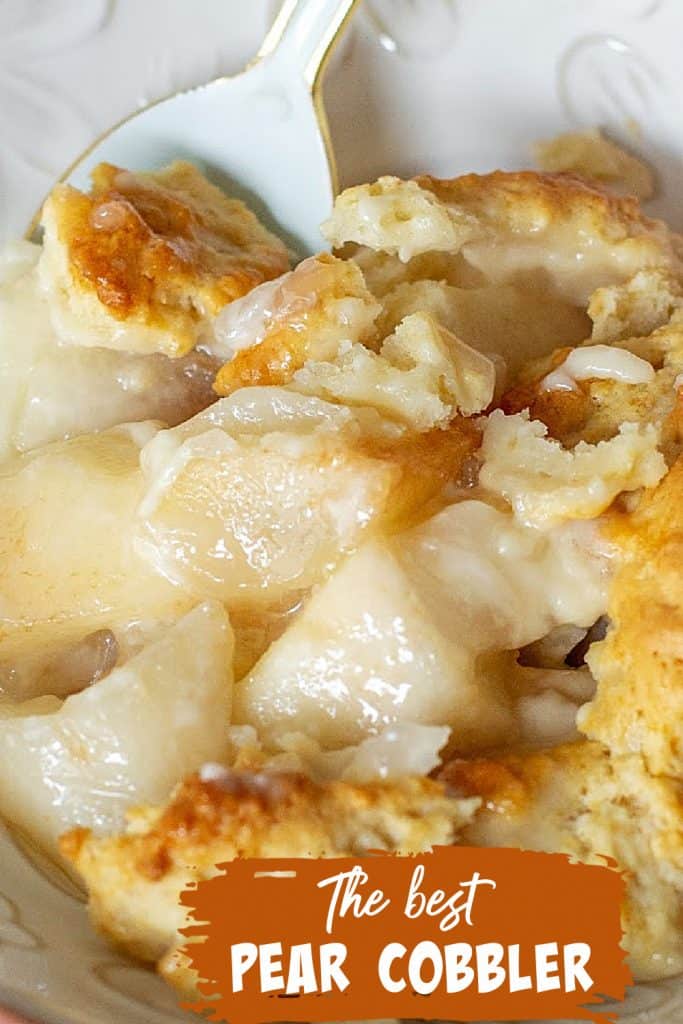
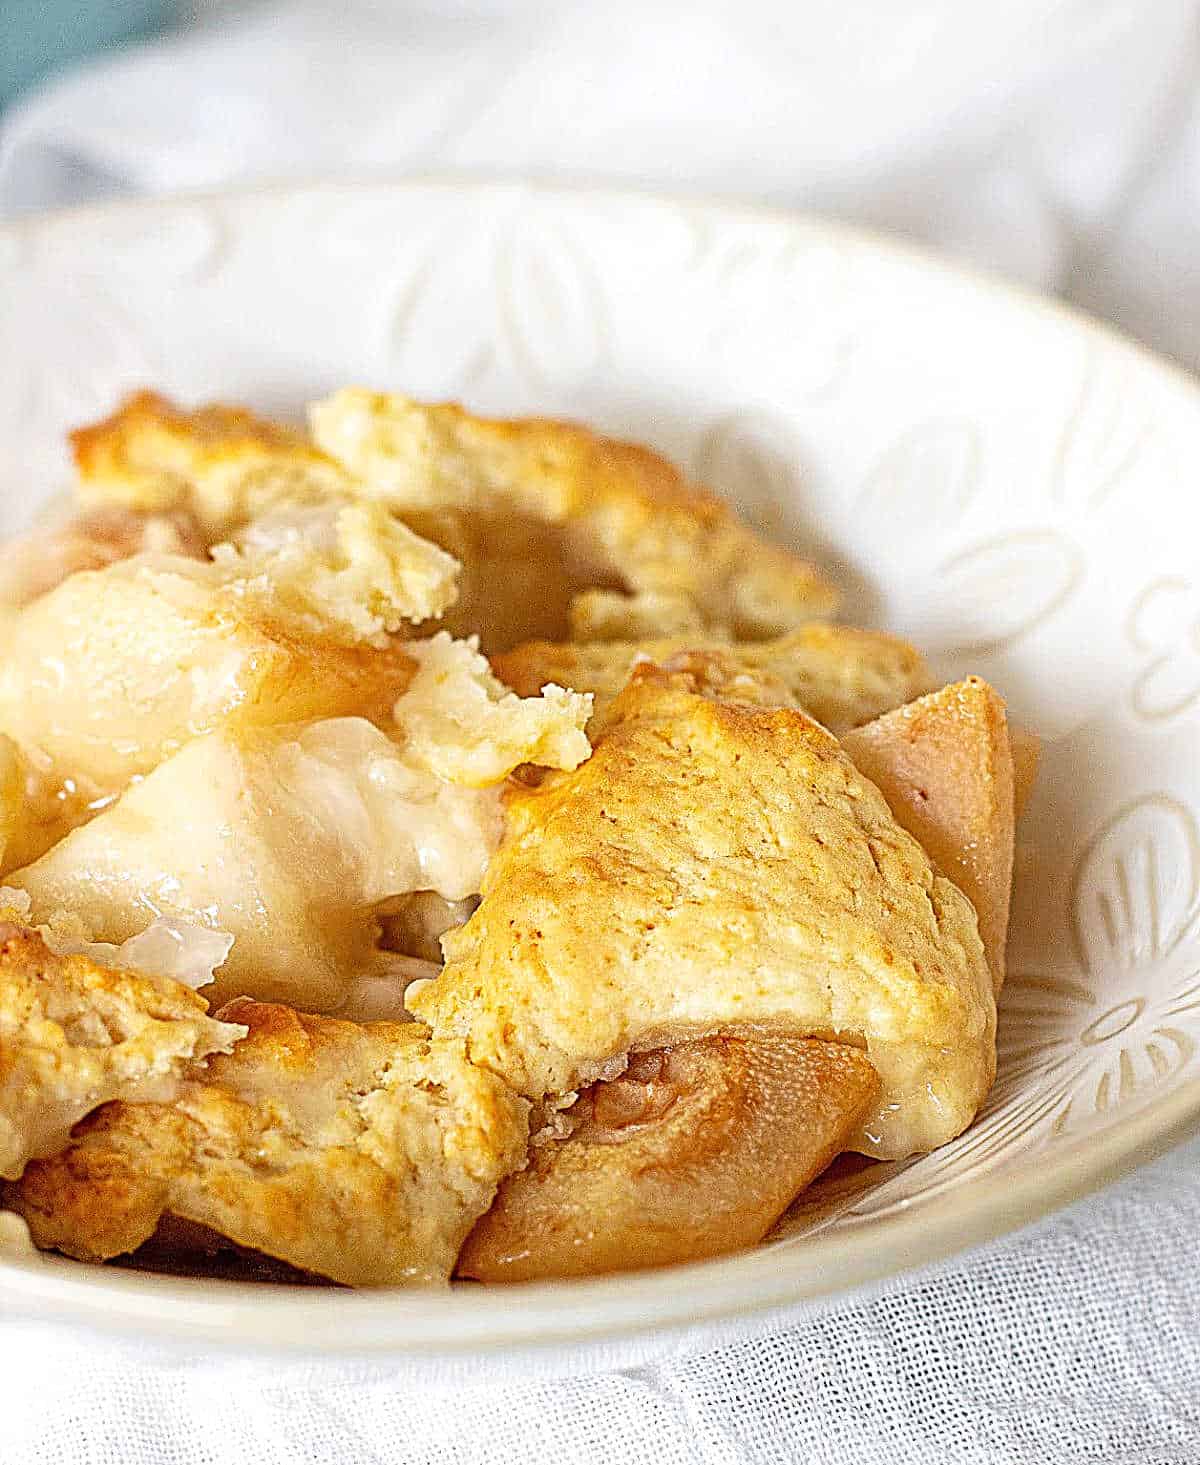
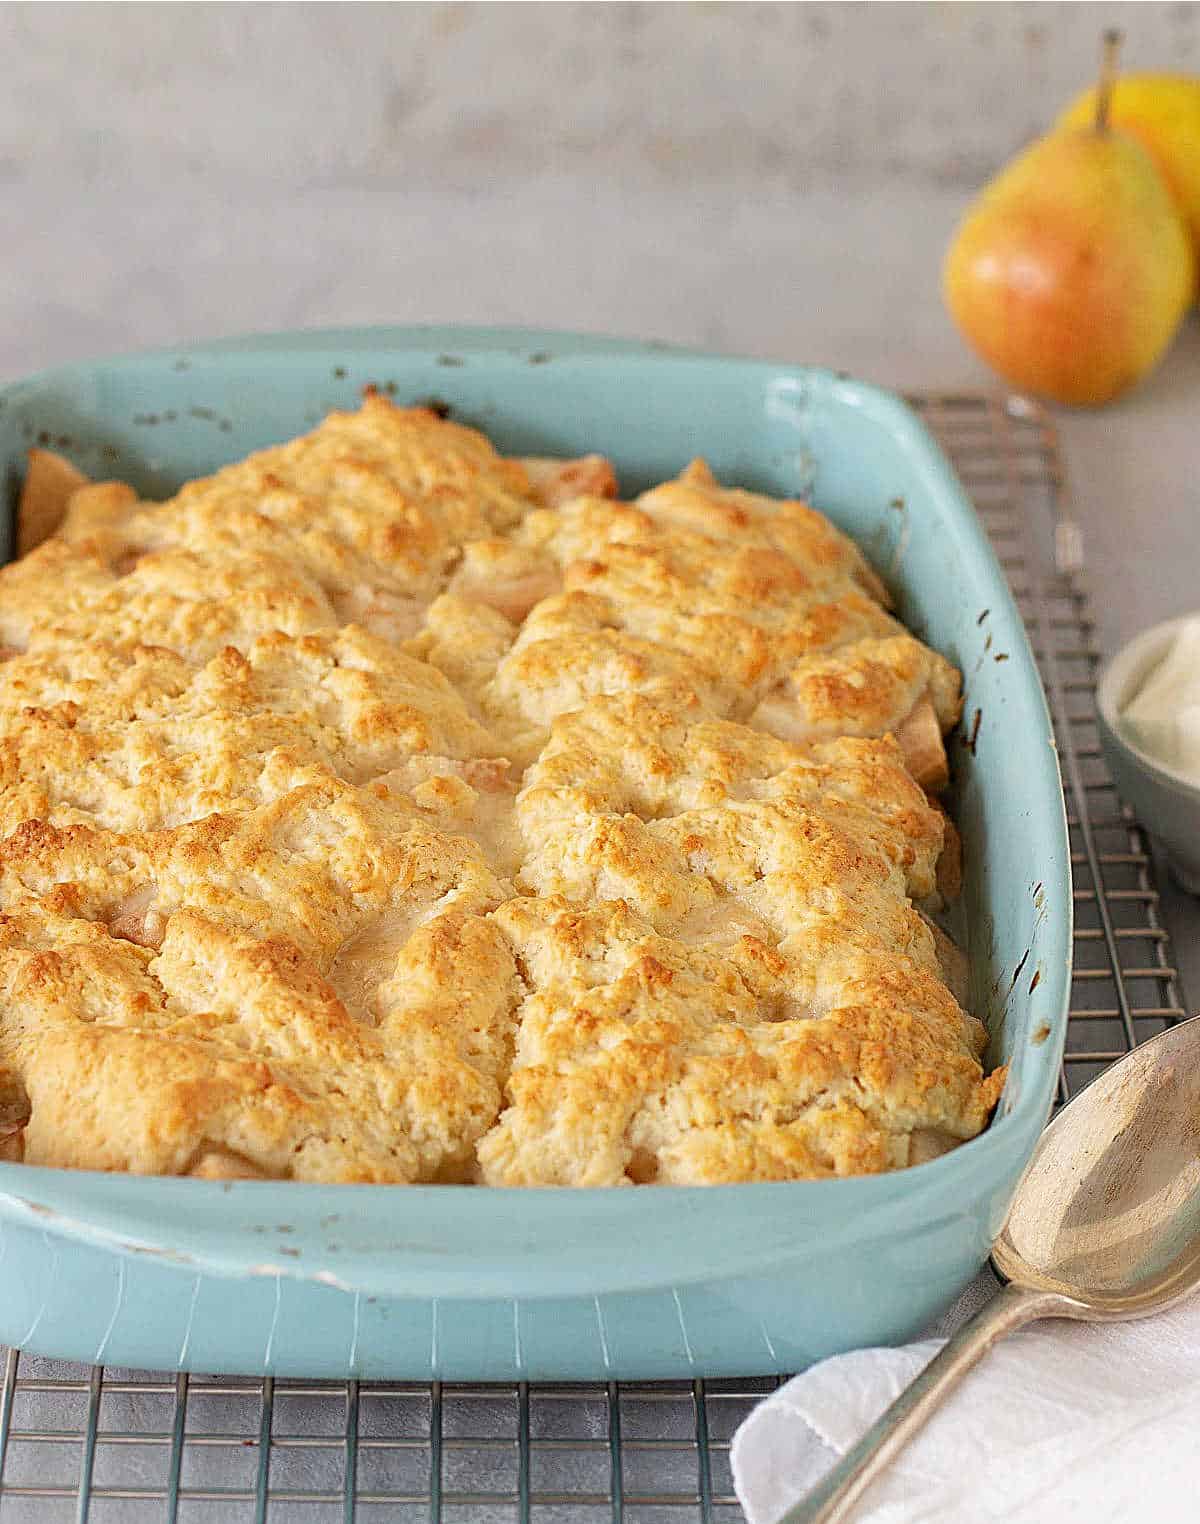
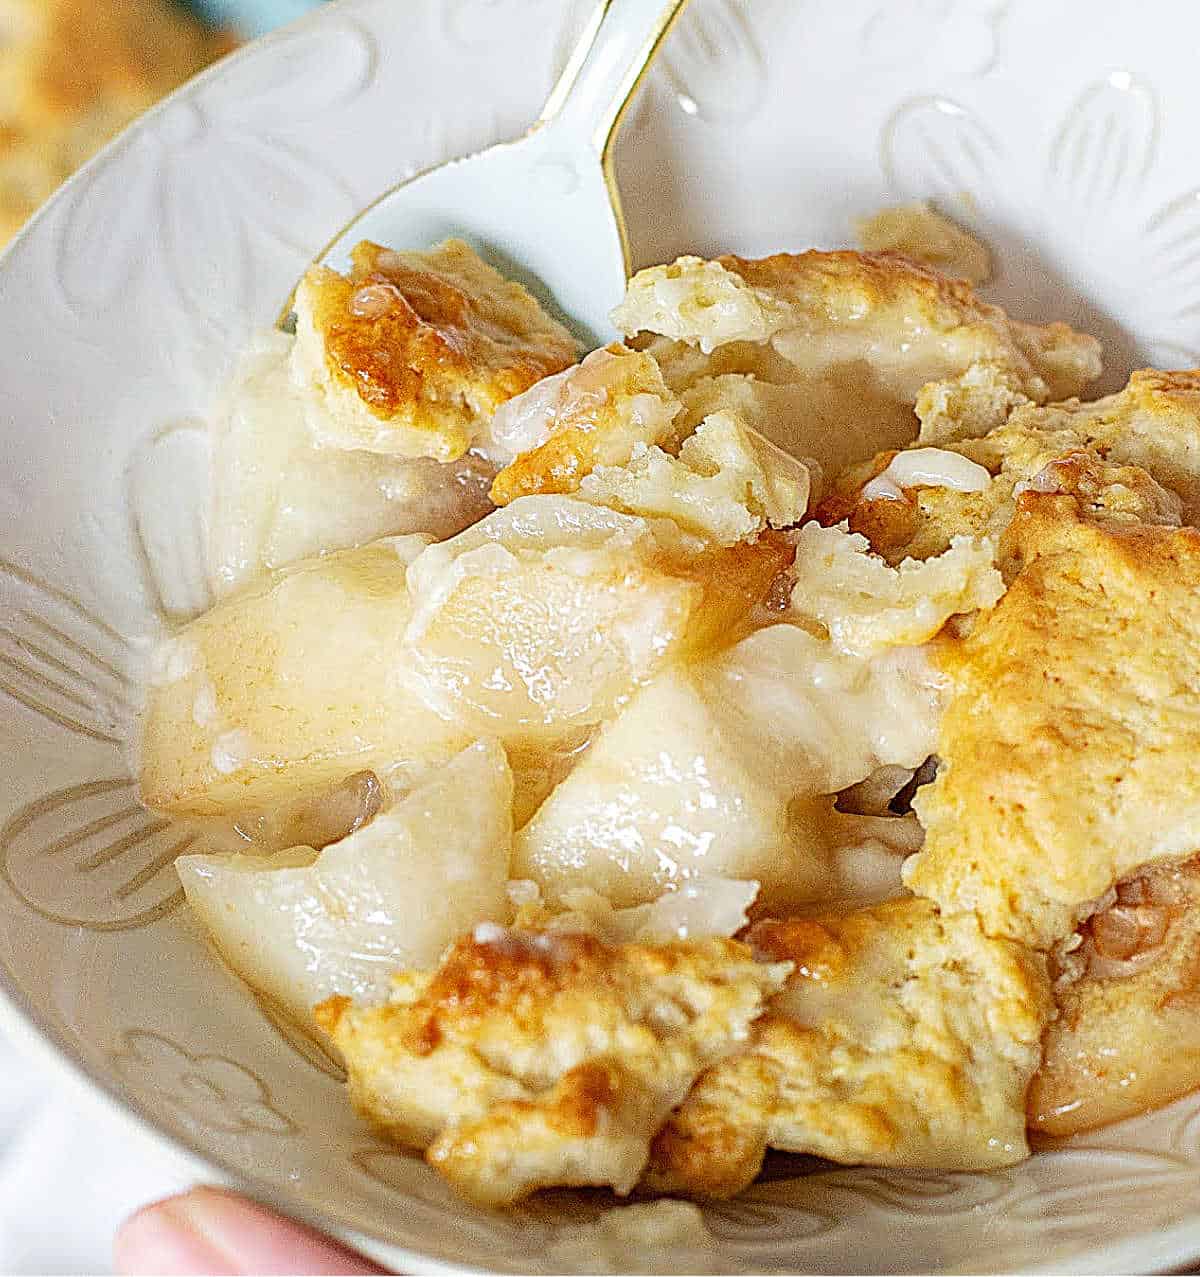
As soon as Fall starts, I highly recommend making this pear cobbler recipe for dessert. It has a bottom layer of sweet, juicy, fresh pears smothered with an amazing tender biscuit topping! A fantastic fall dessert I'm sure you'll want to repeat often during the season.
Cobblers are one of the easiest desserts ever.
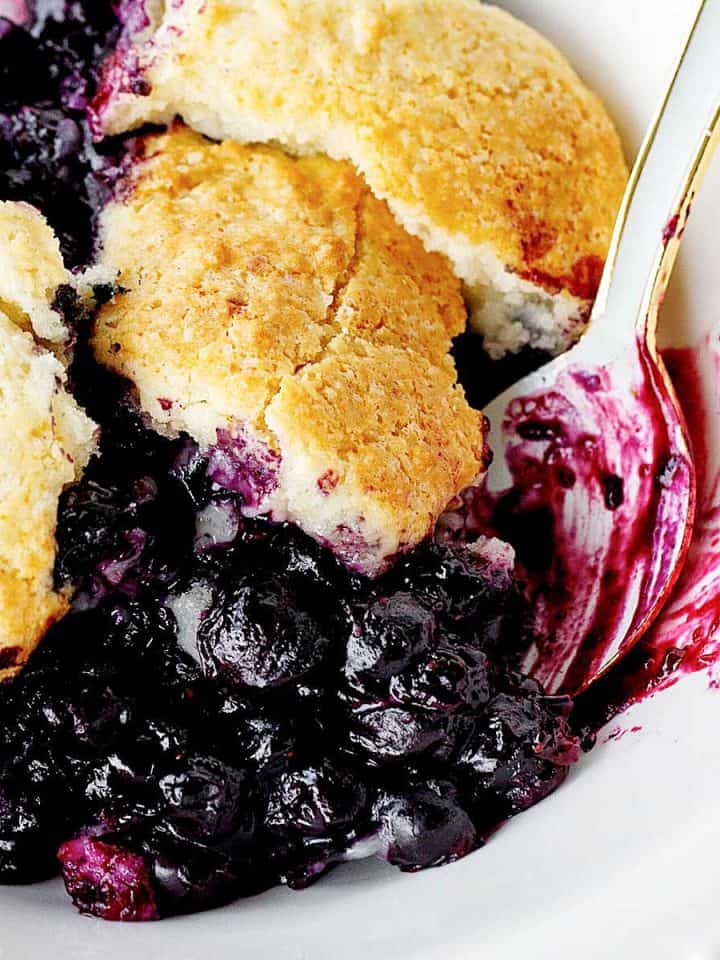
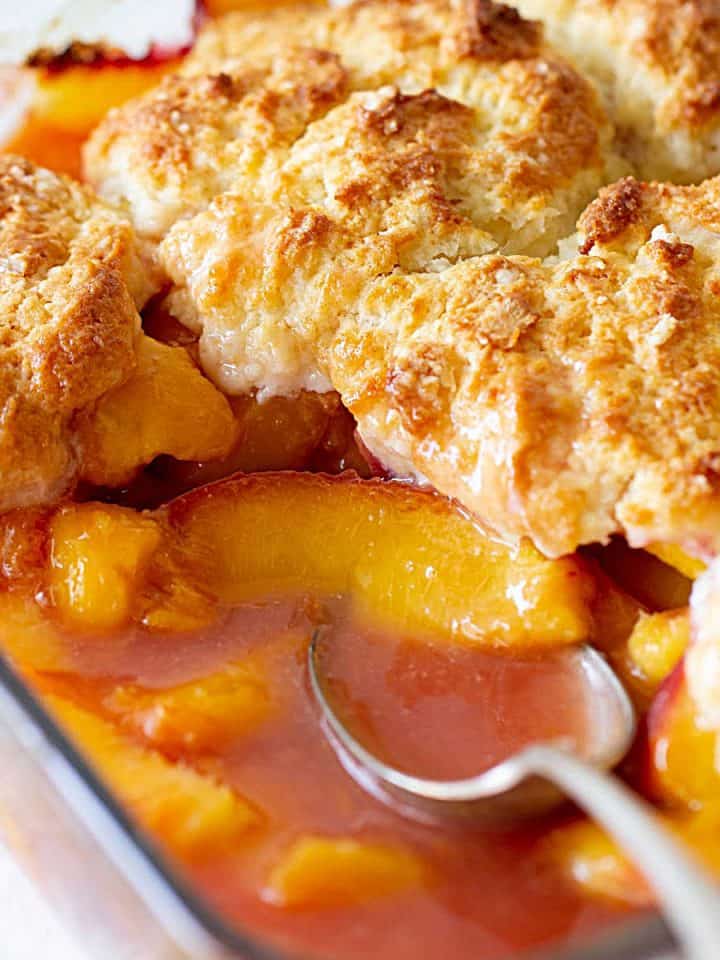
The day I made one for the first time (it was this peach cobbler, and it happened a million years ago), I was 15 and decided on the spot that it was one of my favorite desserts.
Many decades later, this fresh pear cobbler falls under the 'dessert savior or rescue recipe' category, the type that saves the meal because it comes together quickly, is a total crowd-pleaser, travels well if needed, and can be made year-round.
What our readers are saying:
Absolutely delicious! I followed the recipe exactly and my family loves it. I made 3 ramekins…I should have made more. (Alicia)
This recipe is EXCELLENT. Extremely delicious and easy to put together. It has become our fall favorite. (Mili)
I made this cobbler a few days ago and it was superb! The biscuit topping is the best .. I'll definitely continue to use this recipe! (Mary)
What is a cobbler?
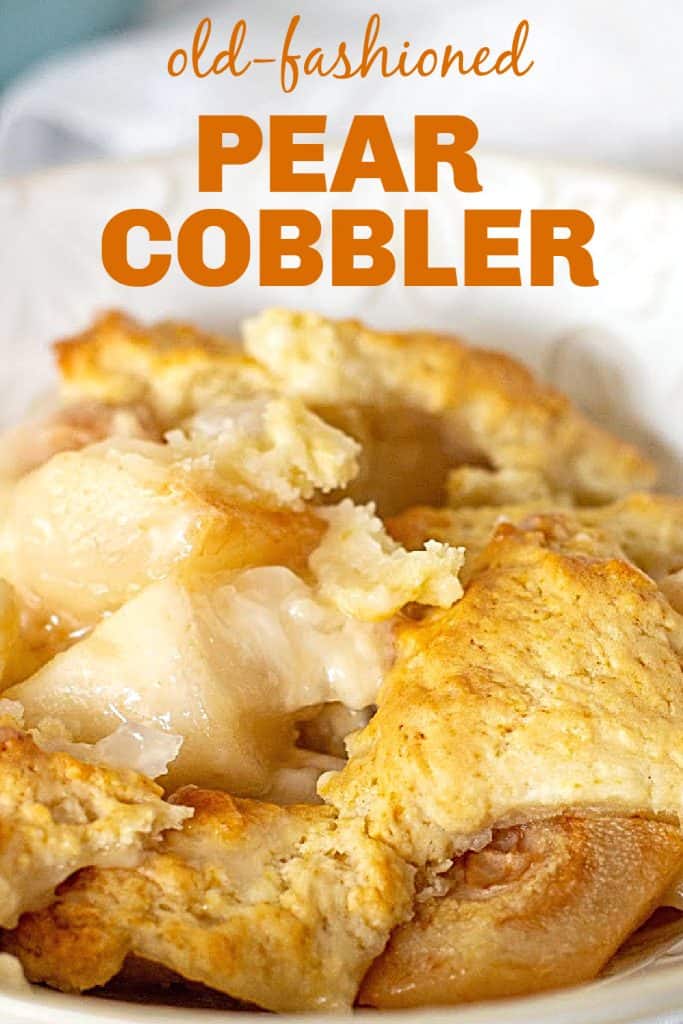
It's a dessert consisting of a layer of fruit filling and a biscuit topping. An old-fashioned, comforting dessert that's been around for ever.
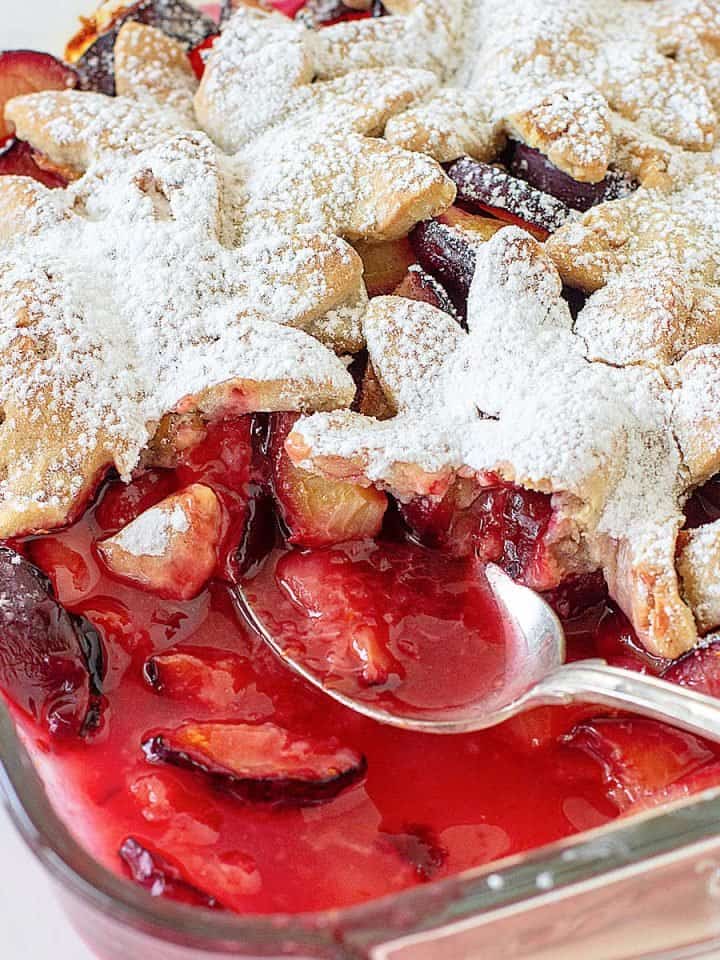
The topping can also be made with pie crust on top, like the plum cobbler recipe, and it's a great dessert for using seasonal fruit. Some recipes also have a thin layer of dough in the bottom, but the ones I make never do.
The fruit layer is mixed with sugar and a thickener (cornstarch in this recipe) to create a syrup as it bakes, and the topping cooks to a tender, sweet biscuit.
Today we're making what can be considered a basic cobbler recipe.
With pears, to take advantage of seasonal fruit, as Fall has started for most of you.
Pears are still sweet and juicy where I live. But it can easily be made with apples or peaches if you're still enjoying the last fruits of summer.
Though this is a recipe for pear cobbler with fresh pears, it can be made with canned ones. All is explained in the recipe card at the end of this post.
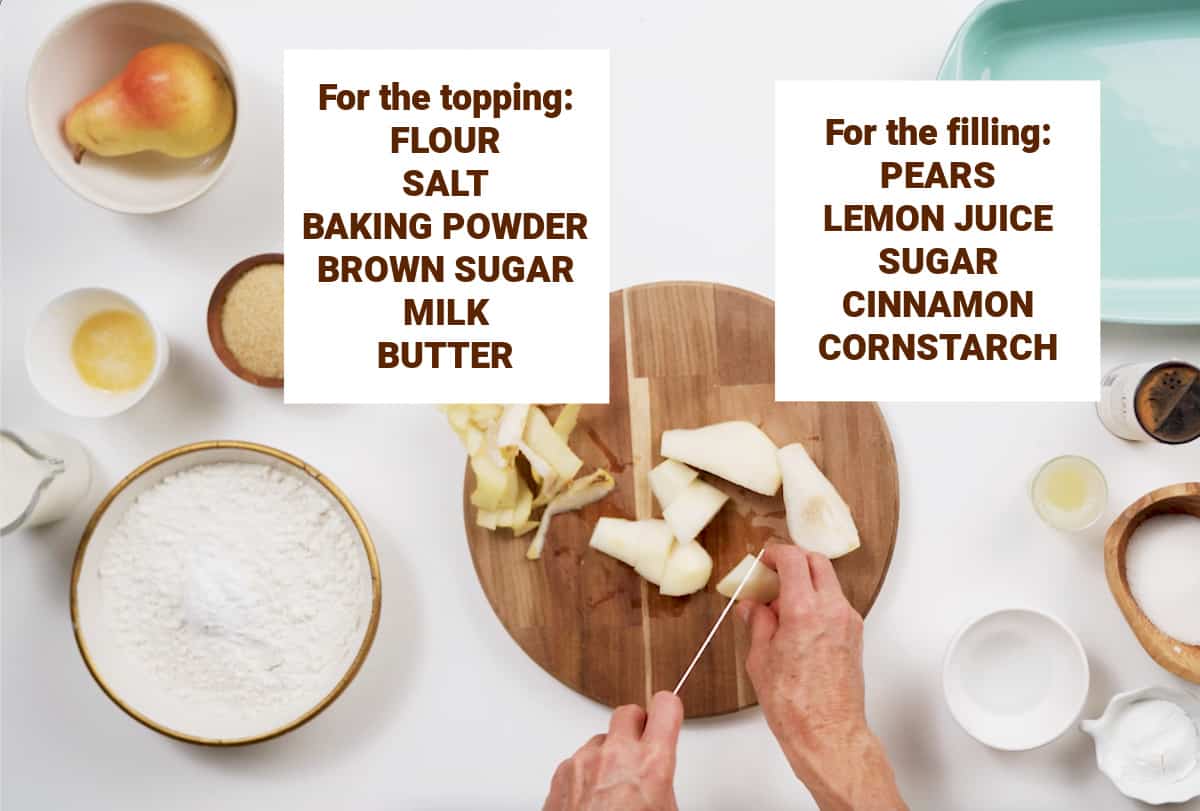
Ingredient list
There are two parts to this easy pear dessert, and both use everyday ingredients that you probably have at home right now.
For the filling:
- Pears: choose ones that are just ripe, not mushy or overripe.
- Lemon juice: a drizzle over the pears adds flavor and good acidity.
- White granulated sugar.
- Cinnamon: any ground cinnamon you normally use works fine. I like Frontier Vietnamese cinnamon and Simply Organic Ceylon cinnamon.
- Cornstarch: it’s used as a thickener. Argo 100% pure cornstarch is a popular one.
For the topping:
- Flour: all-purpose flour or pastry flour, both work.
- Salt: I like to use kosher salt when baking. But regular table salt works just fine.
- Baking powder: make sure it's not expired.
- Brown sugar: light or dark.
- Milk: use whole or almond milk.
- Unsalted butter.
Types of pears to use
I use Anjou pears, English or Bartlett pears, which are very common and hold their shape well when baked. Any type of pear you usually bake with works.
Don't mistake them for comice pears, which sometimes look similar, because they're not the best for baking as they don't hold their shape as well as the other two. At least that's my recommendation.
How ripe should they be? Look for ripe pears that are not too soft.

The fruit layer
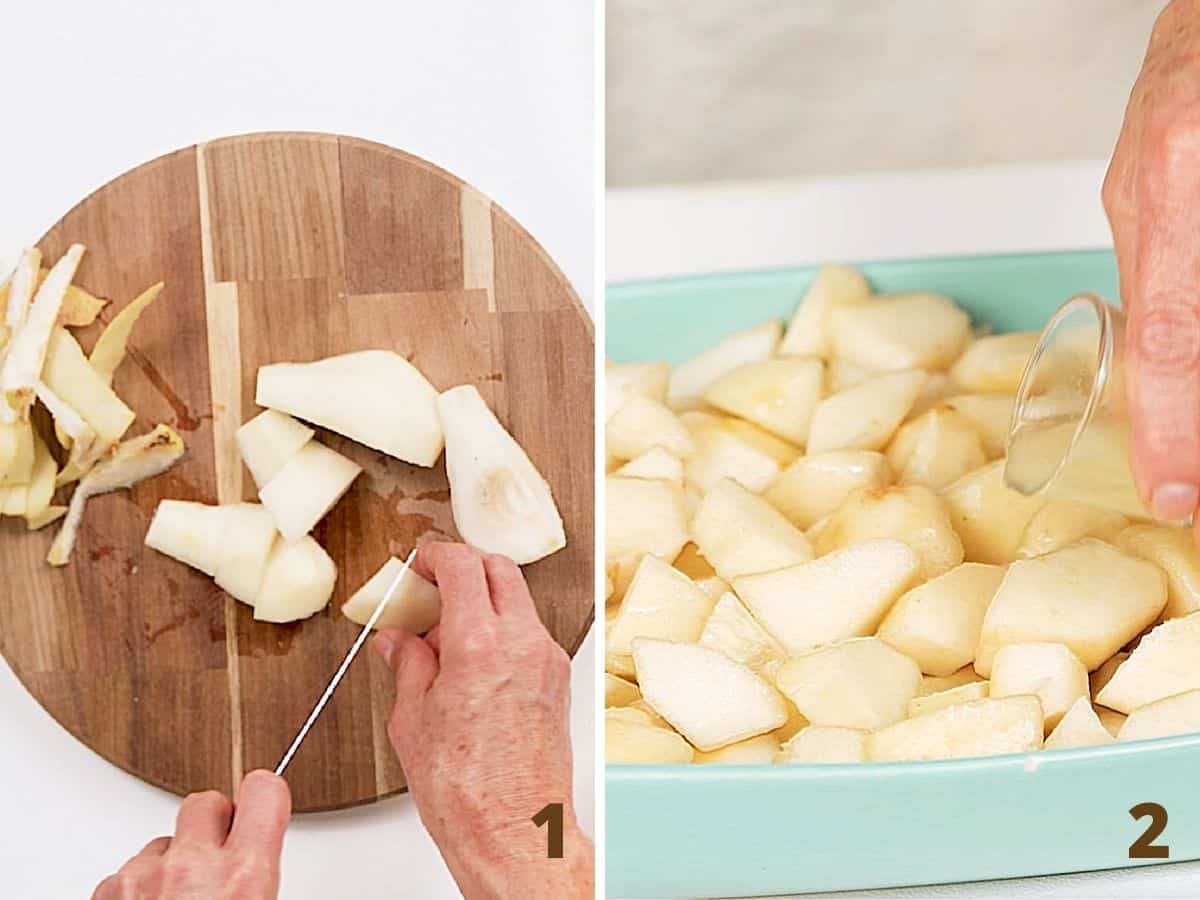
- Pears: cutting the fruit in chunks works best (images below). They make good-sized bites and hold their shape well after baking. I'd rather cut large chunks than risk the pears disintegrating too much, which is bound to happen if you cut very small dice. But it's up to you.
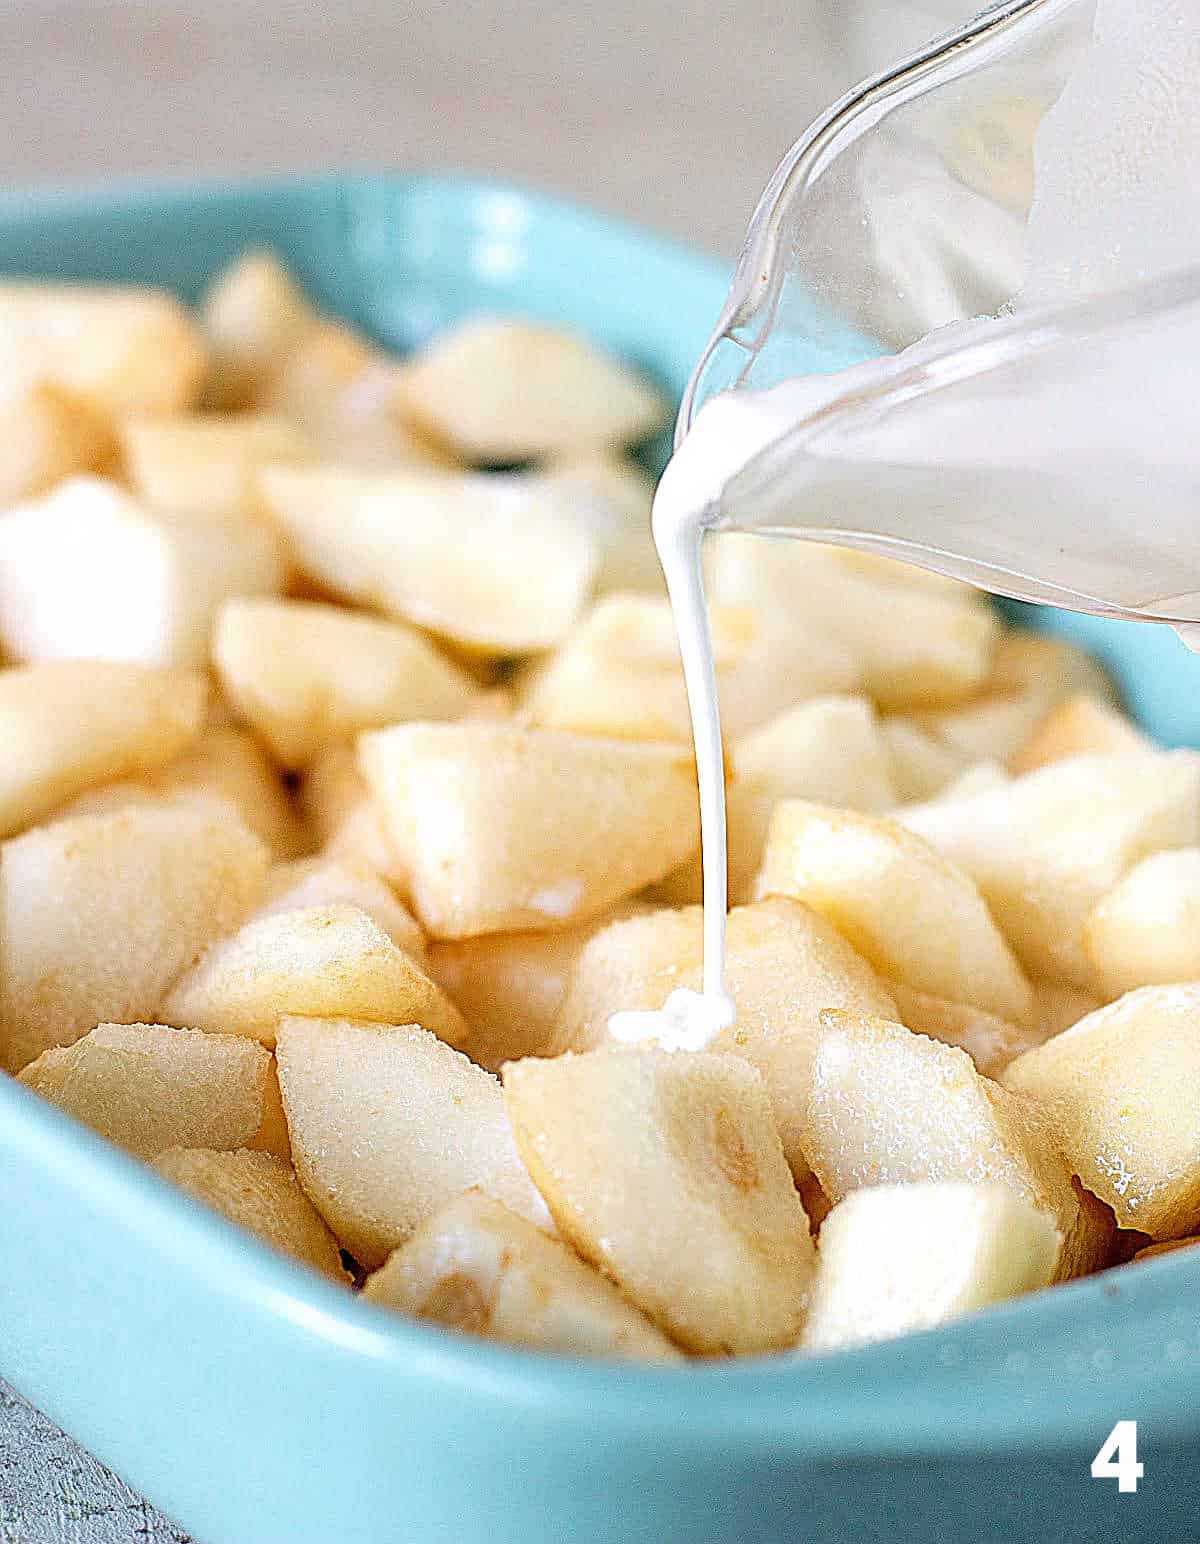
- Lemon: I find the drizzle of lemon juice (image 2) essential in most cobblers and crumbles. No matter what fruit I use, they all benefit from citrus, which balances the butter and sugar. Pears are sweet by themselves, so I find it even more necessary to add lemon juice.
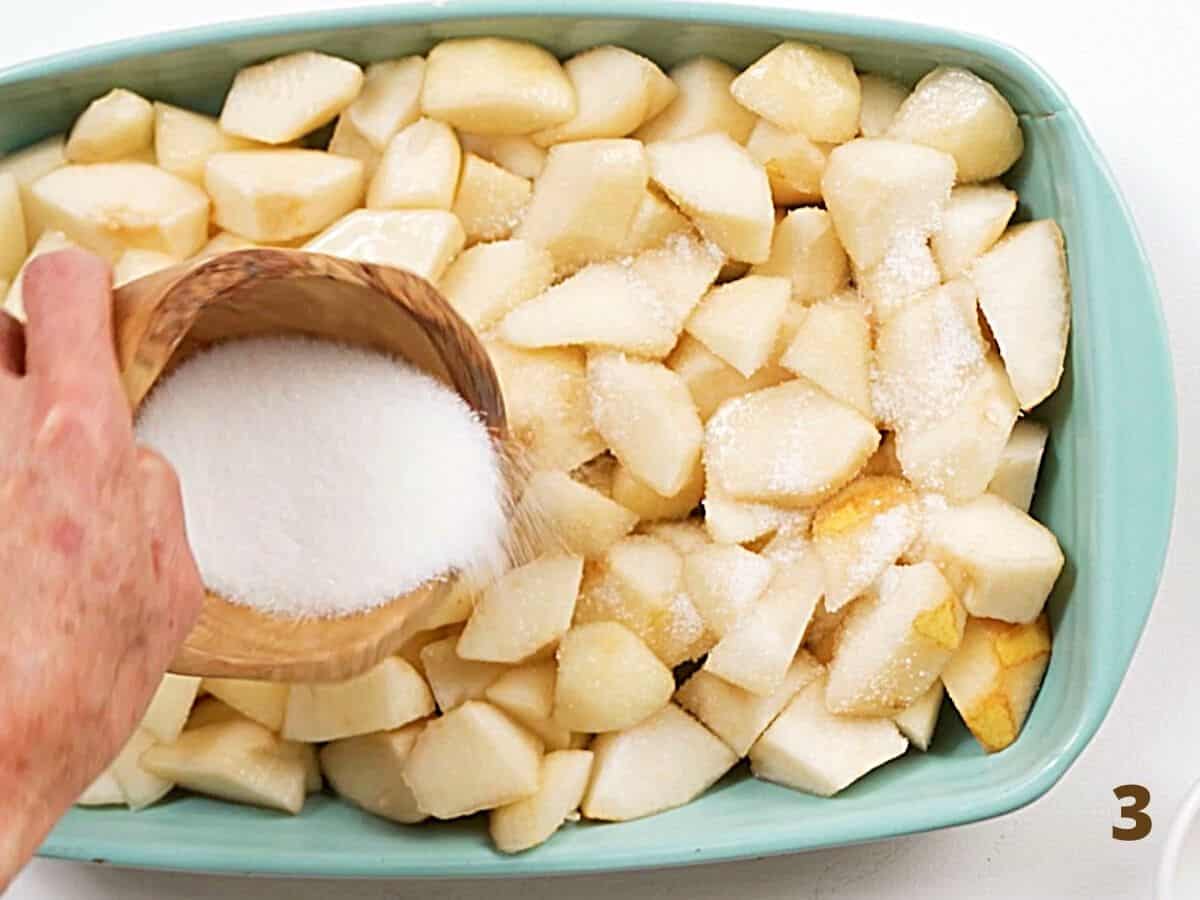
- Sugar: some sugar is added to the pears before the topping (image 3). It mixes with the cornstarch and liquid and created a thick juice, much like it does in a pie. You can add more or less depending on your sweet tooth. And you can also use brown sugar, both in the pear mixture and/or the cobbler topping.
Cornstarch: as mentioned above, this ingredient acts as a thickener (when mixed with water) and creates a wonderfully thick syrup that mixes with the natural juices released from the pears as they bake.
It's mixed with water to create a cornstarch slurry and is added before the topping. It's the way to avoid undissolved lumps of cornstarch.
The biscuit topping
This is my favorite part, as I love biscuits and scones.
The recipe is similar to drop scones, an old-fashioned recipe from Ireland if you asked my grandmother, but claimed by many as being from Scotland or England. A question for another moment.
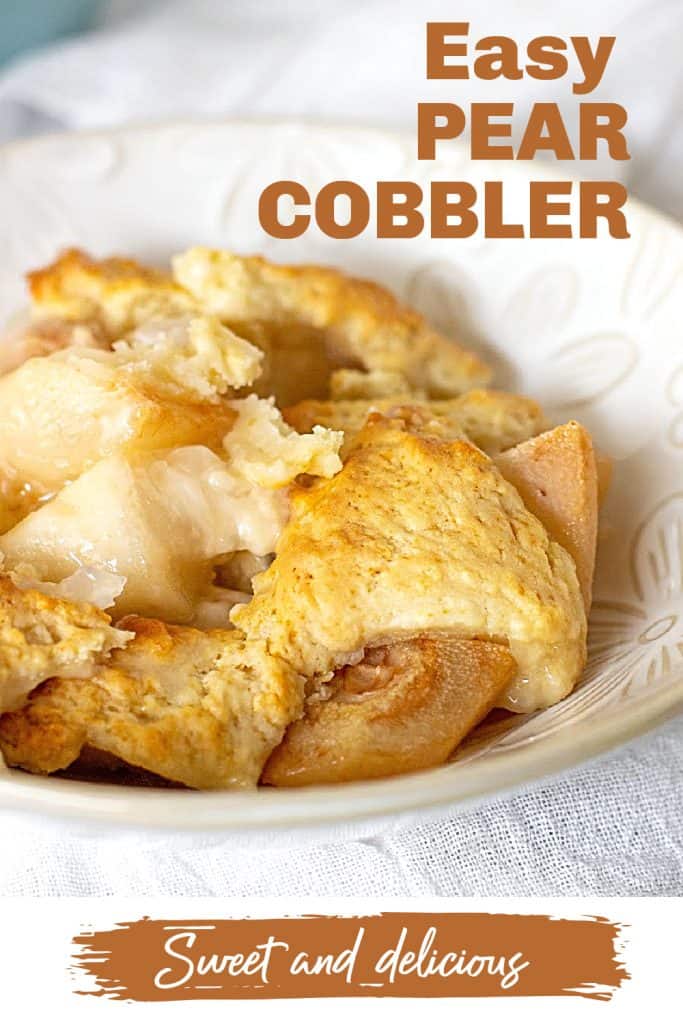
The topping of this dessert is easy to make, a one-bowl mixture that comes together in no time and doesn't even have to be spread carefully.
It's rustic and irregular, with different textures in every bite.
It bakes into a fluffy, starchy, and tender biscuit that pairs wonderfully with the warm and syrupy fruit.
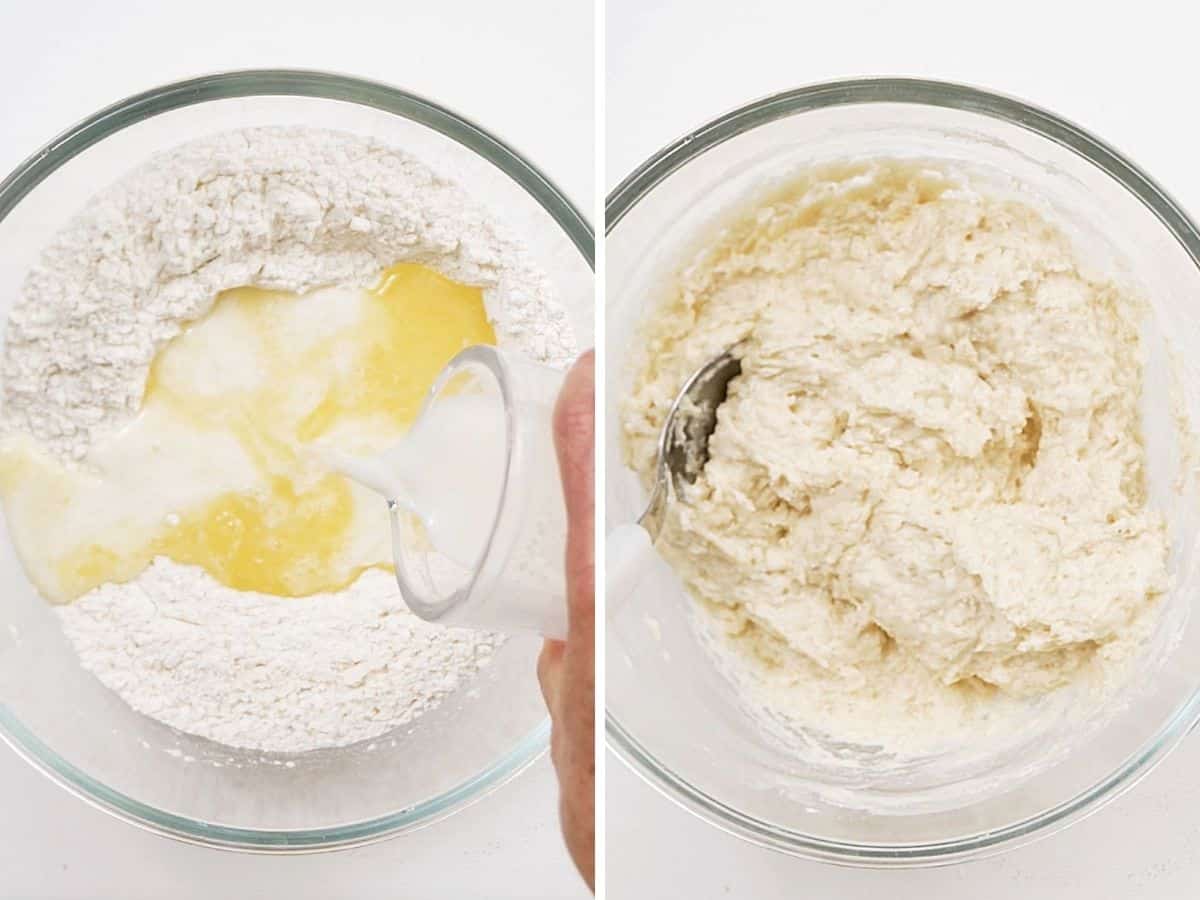
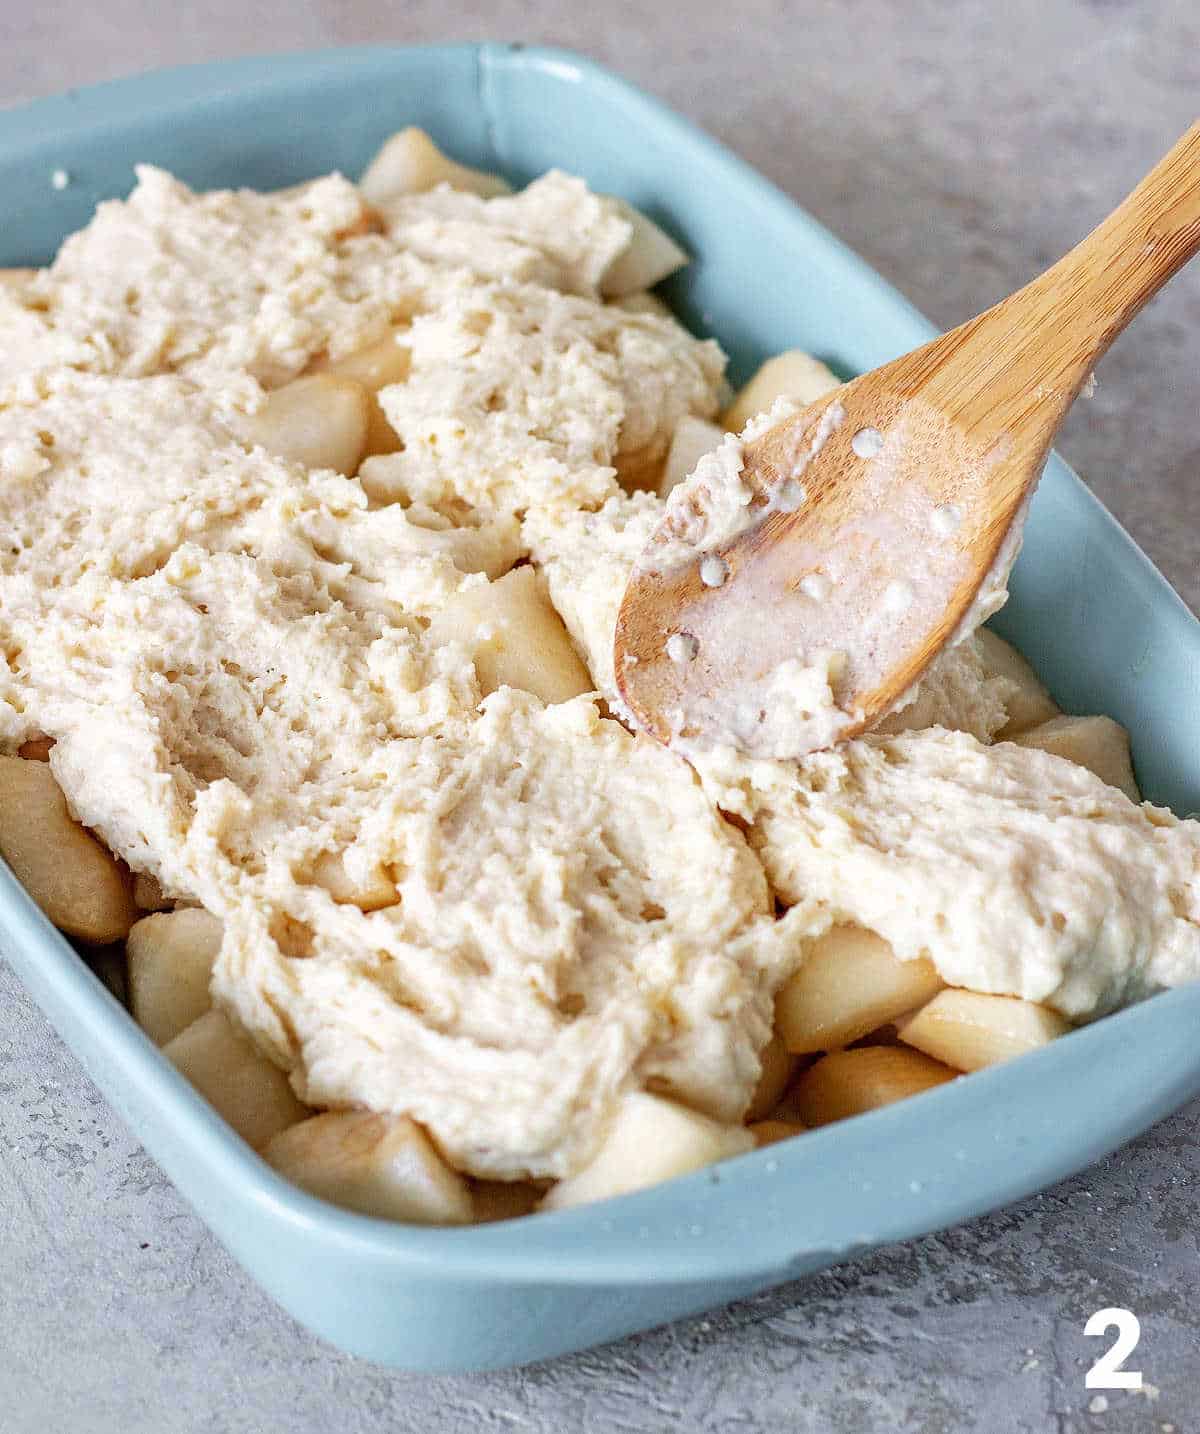
- Mix the dry ingredients in a large bowl and add the melted butter and milk. Stir with a spoon or spatula until you have a thick batter, like a wet scone.
Two ways to apply the topping:
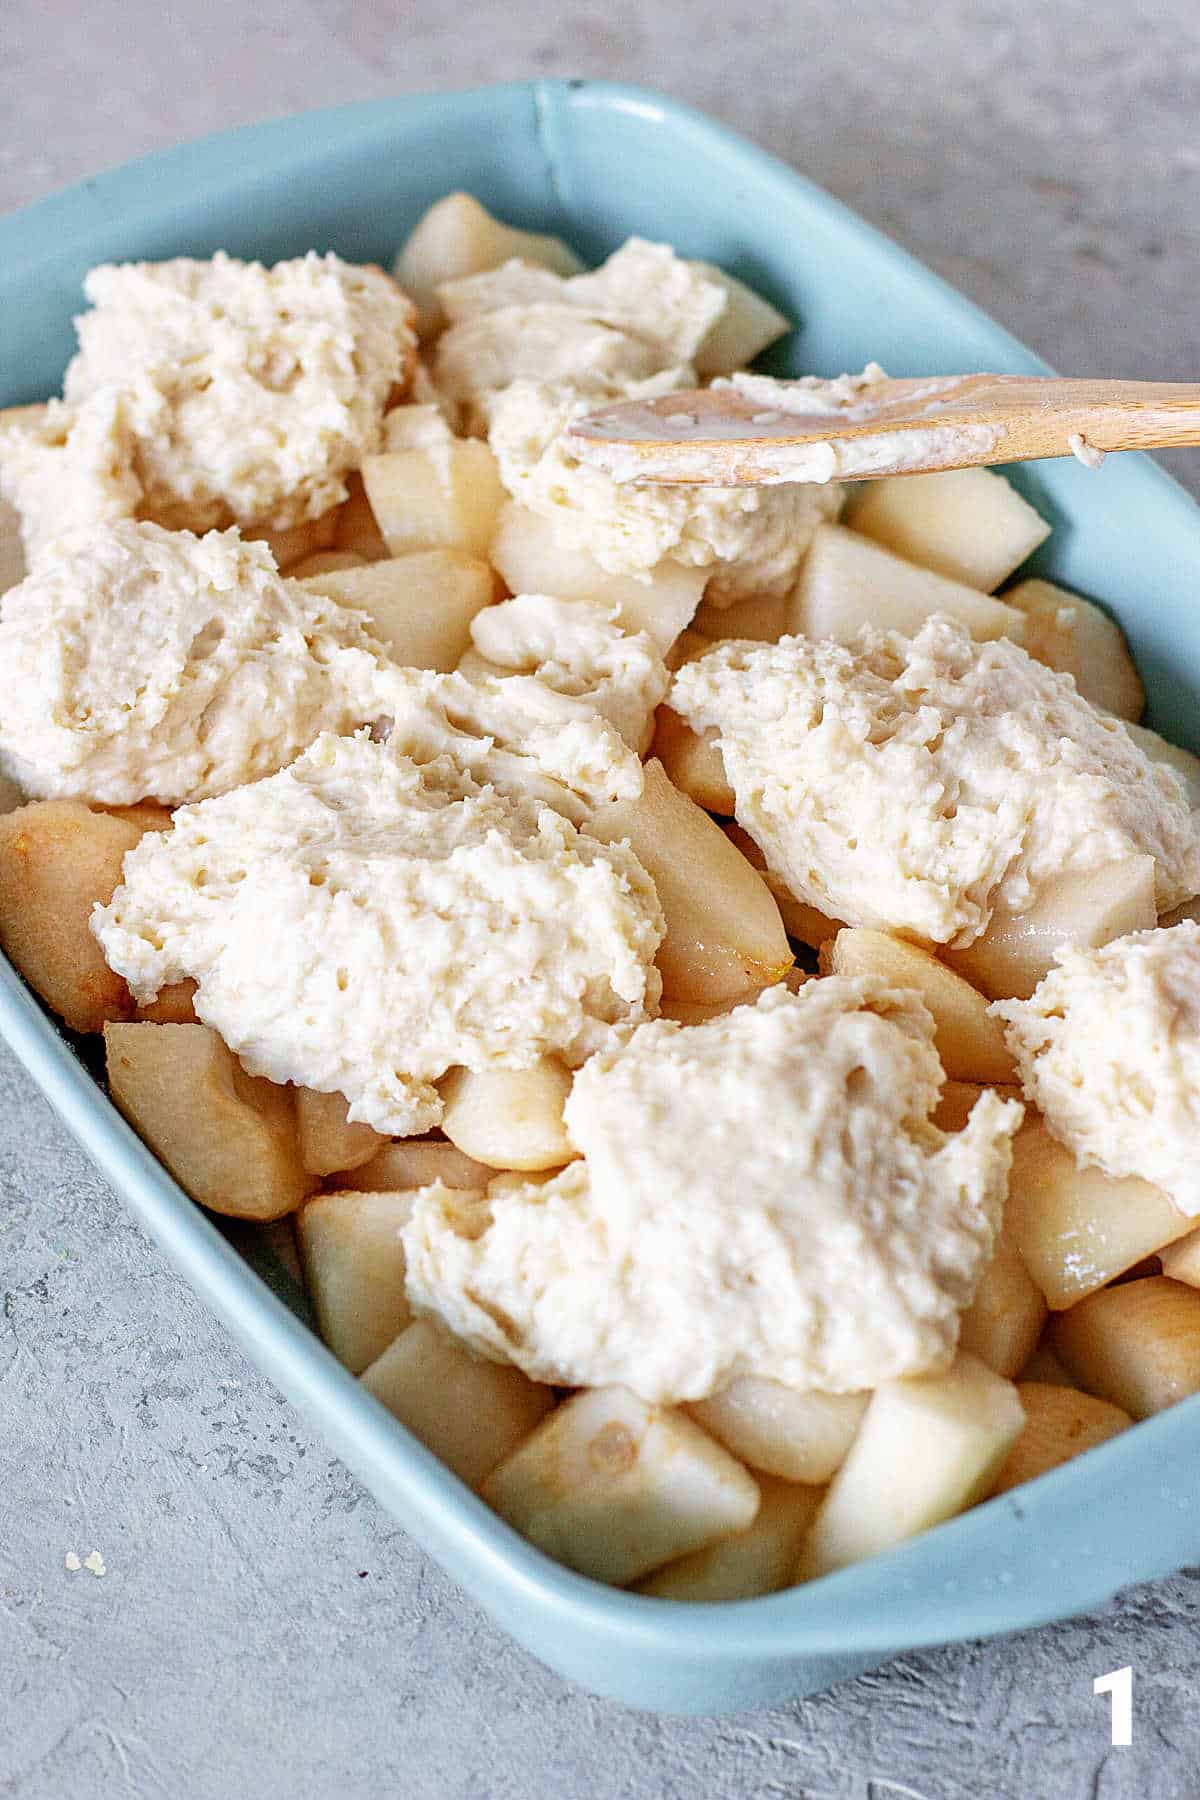
- Drop mounds of the biscuit batter roughly marking the servings. Flatten them slightly if they're too high. They will bake like regular biscuits, but it will take longer. Image 1, below.
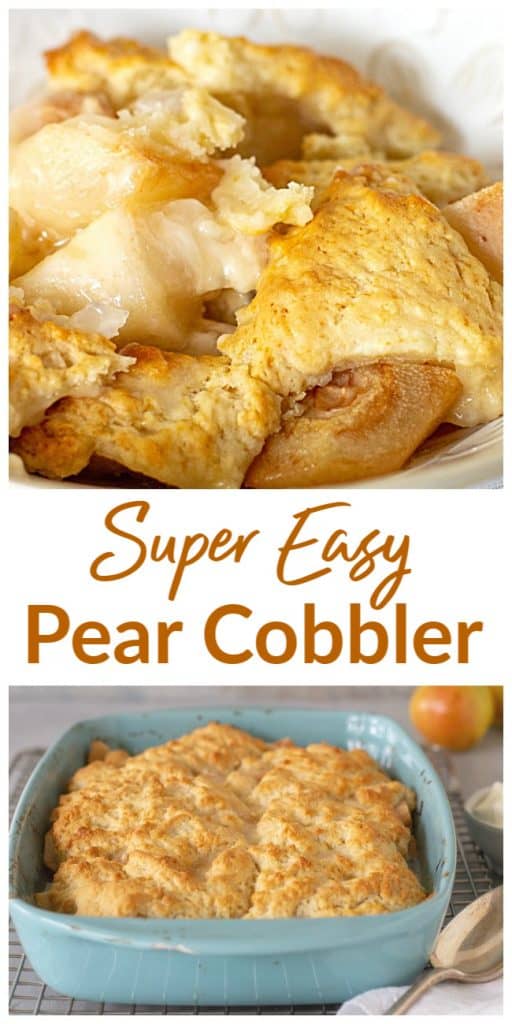
- Spread the topping a little, ensuring it doesn't cover the whole surface. Some pears should be exposed so the juices have space to bubble up and the topping can thoroughly bake. Image 2, below.
I like the second option, spreading it so it bakes faster and the pear filling doesn't soften too much.
Freezing a cobbler
Yes, you can freeze this dessert, which lasts 2-4 weeks in the freezer, well covered in plastic wrap and aluminum foil. Or in an airtight container.
To defrost, put it in the fridge overnight or leave it at room temperature before warming it in a 325°F oven (this goes for both methods).
You can keep it in the refrigerator for several days, well covered to prevent dryness. Warm it before eating.
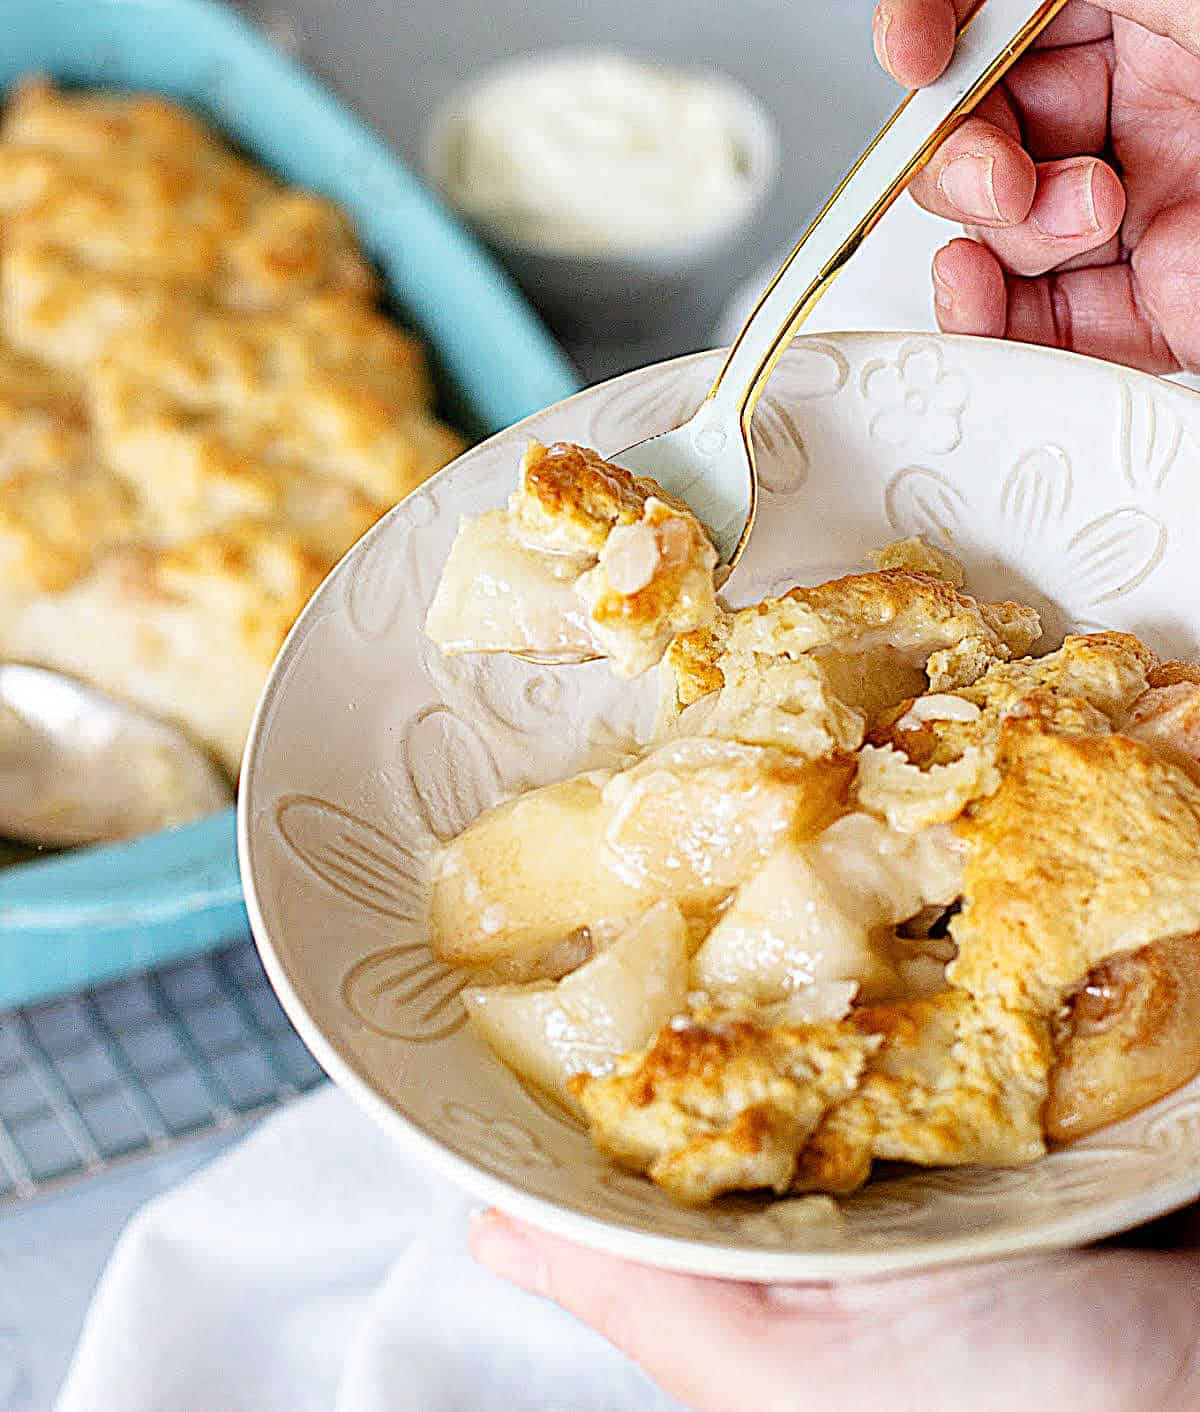
Serving it
- Individual servings: use small ramekins to make individual pear cobblers. They are ideal if you have a dinner party.
- Whipped cream: this is how my father eats it, warm with barely sweetened whipped cream or plain, unsweetened cream straight from the container.
- Ice cream: my favorite way to serve is warm with a big scoop of vanilla ice cream. And sometimes toasted sliced almonds on top.
Variations
This is a basic recipe that can be adjusted to different palates.
- Fruit: use apples instead of pears, or a mixture of both. Add some berries to the mix.
- Flavorings: use ground cardamom or ginger instead or together with the cinnamon. Add chopped candied ginger or lemon zest to the biscuit mixture.
Kitchen notes
- Organization: read the recipe first and ensure you have ingredients at the correct temperature, equipment, and enough workspace. This will make the process so much easier.
- Baking time: consider that all ovens and pans are different, even if they look similar. The baking time in my recipes is as accurate as it can be, but it might take you more or less time. You can use a thermometer(like the OXO oven thermometer) to check that your oven is at the right temperature. I recommend you keep track of how your oven works and what tiny details you might need to adjust.
- Sugar: some sugar is added to the pears before the topping. It mixes with the cornstarch and liquid and creates syrup, much like pie. This is the part where you can add more or less depending on your sweet tooth.
- Lemon: I find the drizzle of lemon juice essential in most cobblers and crumbles. No matter what fruit I use, they all benefit from citrus, which balances the butter and sugar. Pears are sweet by themselves, so I find it even more necessary.
- Cornstarch slurry: this is a mixture of cornstarch dissolved in liquid. It's the easiest way to ensure it's dissolved and well integrated so you don't get a lumpy syrup. This ingredient acts as a thickener.
- Topping: it won't cover all the fruit, and that's how it should be. It's rustic and irregular, so the pear juices can bubble up, allowing the biscuit to bake fully.
- Storage: it keeps well wrapped for 2-4 weeks in the freezer. Defrost in the fridge or at room temperature before warming it in a 325°F oven. You can keep it in the refrigerator for several days, well covered. Warm it before eating.
- Baking dish: this is a family-style recipe, so choose a dish you want to place on the table.
Ground cinnamon is one of the best. Also, nutmeg, mace, ground ginger, and cardamom. Most spices that go well with other fall flavors (known as fall spices), like apples and pumpkin, can be paired with pears.
Yes, but depends on what you'll use them for. They won't be good for eating alone. They can be used for smoothies and some desserts. Ensure they are washed and completely dried.
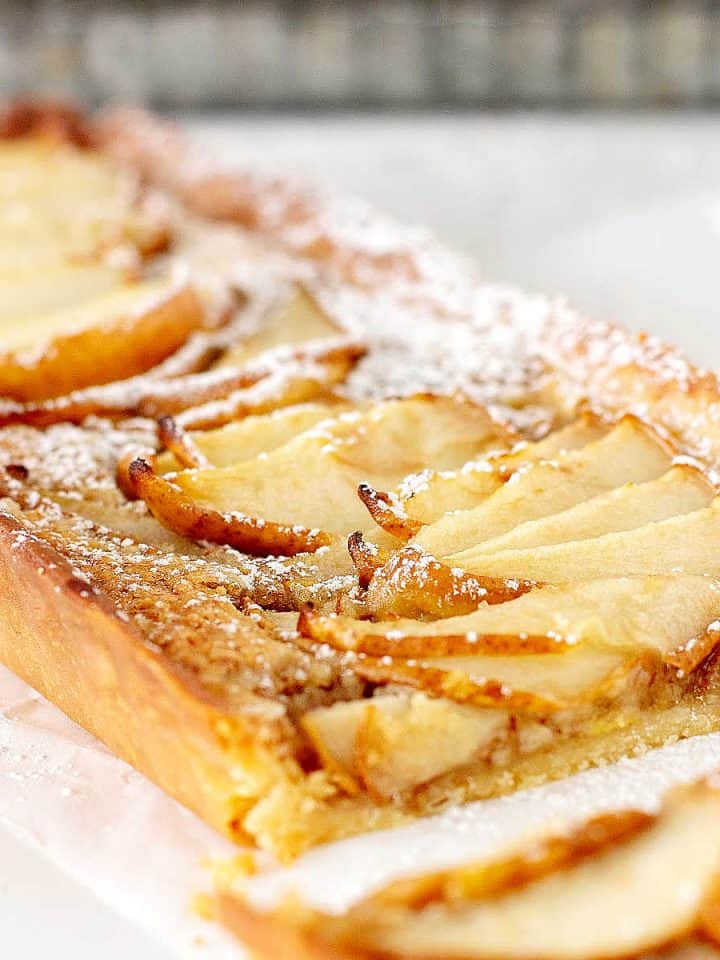
They are great for baking! They will soften and release juices, making them sweeter. So use them for desserts, like this cobbler, the pear almond tart, or the pear upside-down cake.
Related recipes you might like:
Let me know in the comments below if you made this recipe and loved it and if you had issues so we can troubleshoot together. I love to hear what you think, always. Thanks for being here. It's much appreciated.
You might also consider subscribing to our FREE Baking the Best email series and our regular newsletter. Or connect via Facebook, Instagram, and Pinterest.
As an Amazon Associate, I earn from qualifying purchases. Please read my disclosure policy.
Print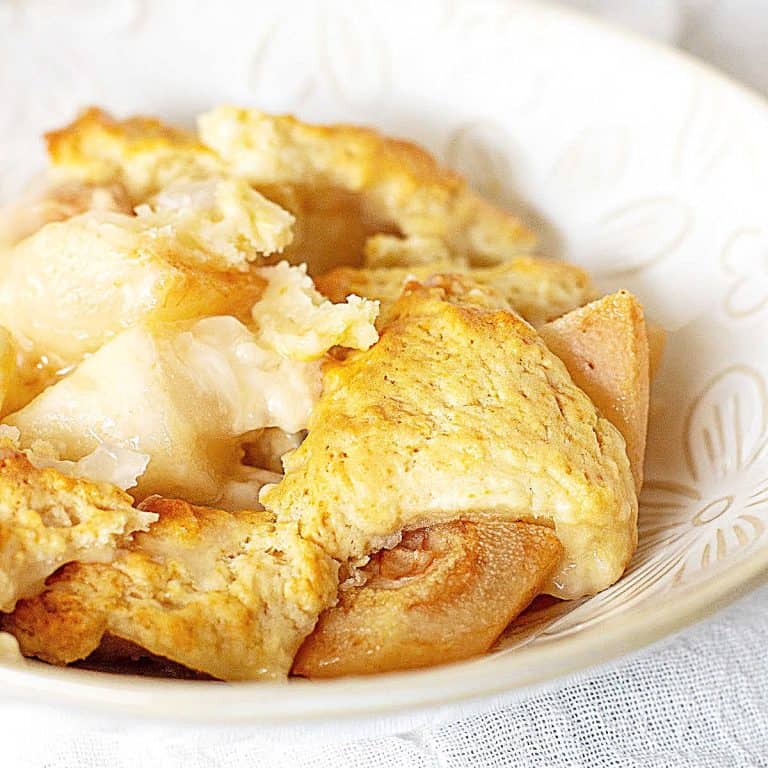
Pear Cobbler (easy recipe)
This easy cobbler recipe is a simple, old-fashioned pear dessert with juicy, sweet chunks covered in a tender biscuit dough. A fantastic addition to your fall or pear recipes file. We use fresh pears when available but added a variation with canned pears.
- Total Time: 1 hour
- Yield: 10 servings
Ingredients
For the filling:
- 3.5 pounds pears
- ¼ cup sugar (you can use up to double the amount if you like sweeter desserts)
- ¼ teaspoon cinnamon (for other spices, see Notes below)
- 3 tablespoons water
- 1 tablespoon cornstarch
- 1 tablespoon lemon juice
For the topping:
- 1 ½ cups all-purpose flour
- ⅓ cup brown sugar
- 1 tablespoon baking powder
- ¼ teaspoon salt
- ⅔ cup whole milk
- 3 tablespoons (45g) unsalted butter, melted and warm
Instructions
- Preheat oven to 375°F/190°C.
For the filling:
- Peel, core and cut pears in chunks.
- Put on an 8x11-inch ceramic or glass dish, drizzle with lemon juice and sprinkle with sugar and cinnamon.
- Mix water with cornstarch until well dissolved and pour over the spiced pears.
- Mix lightly and reserve.
For topping:
- In a bowl, mix flour, sugar, baking powder and salt.
- Add milk and butter and mix lightly until moistened. Don’t overmix.
- Drop this topping over the pear filling in mounds.
- Spread each mound a little with the back of a spoon or spatula, but don’t cover all the pears.
- Bake for about 25 minutes, until golden and fully baked inside. Check the biscuits by slightly lifting the dough and checking if it still has unbaked parts. It might be dry and browned on the outside but still wet inside. Tent with foil if necessary (to avoid browning too much) and continue baking.
- Turn the oven down to 325°F/165°C and bake another 15 minutes, or until very golden and the biscuit topping is dry and done.
- Remove from the oven and let cool on a wire rack.
- Serve warm with whipped cream or ice cream.
- You can keep it refrigerated for 3 days, covered. Or frozen for 2 weeks, well wrapped.
- Warm before eating.
Notes
- Pears: I find that cutting the fruit in chunks works best. They hold their shape well after baking. I'd rather cut large chunks than risk the pears disintegrating too much. But it's up to you.
- Cobbler with canned pears: a great alternative if you don't have fresh fruit. Use 2 large cans of pears (15oz each) mixed with 2-3 tablespoons sugar, ½ cup of pear juice from the can, and 2 teaspoons of cornstarch dissolved in 1 tablespoon of lemon juice before adding. Combine all together for the filling.
- Spiced pears: for a deeper and more complex spice flavor, use ground cardamom or ginger instead of, or together with, cinnamon. Apple pie spice is also a good choice for a more spiced pear cobbler.
- Prep Time: 20 minutes
- Cook Time: 40 minutes
- Category: Desserts
- Method: Baking
- Cuisine: American
Nutrition
- Serving Size: 1/10
- Calories: 270
- Sugar: 28.2 g
- Sodium: 74.7 mg
- Fat: 4.5 g
- Carbohydrates: 55.2 g
- Fiber: 5.7 g
- Protein: 3.2 g
- Cholesterol: 11 mg
Alice says
Such a great recipe! This is my first time making a cobbler and I was very happy with this delicious result!
Although I didn't have enough pears, I added apples for a great combination. This was the only change I made. Thanks for this great, easy recipe!
vanessa monteith says
This recipe is excellent! The flavor is wonderful and the texture of the topping is perfect, like my mom used to make. My mom didn't write her recipe down and just used a handful of this, a pinch of that method and unfortunately, I have struggled to get any cobbler close to her recipe until I found yours. I thank you for sharing your recipe with your followers. I used 4 c fresh cut pears, and added a little ginger & a little more cinnamon (as suggested for spiced pears), used coconut brown sugar in place of white, used 1/2 c dry oatmeal (soaked in the milk) and my cobbler was wonderful!! Thank you so much.
Paula Montenegro says
This comment made my day Vanessa, thanks for letting me know! I love that the changes you made worked, as I sometimes found coconut sugar doesn't sweeten much. Have a great weekend!