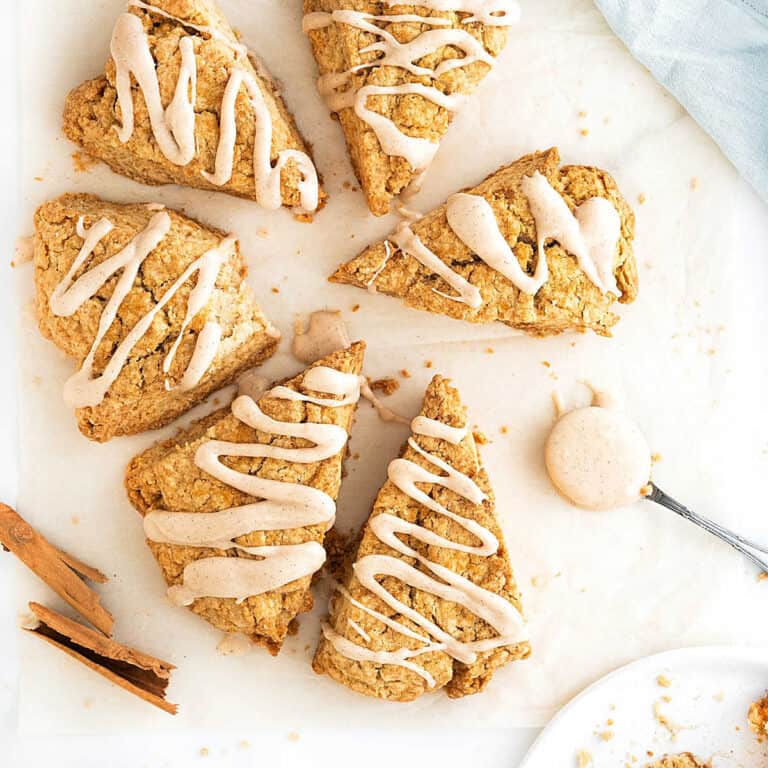
Ingredients
Units
- 2 3/4 cups all-purpose or pastry flour
- 1 tablespoon baking powder
- Large pinch of salt
- 1 teaspoon ground cinnamon
- 4 tablespoons granulated white sugar
- 2 tablespoons light brown sugar
- 6 oz unsalted butter, cut into cubes, very cold
- 1/2 cup cream, very cold
- 1/4 cup whole milk, very cold
- Extra sugar, for sprinkling (brown, turbinado or cinnamon sugar)
For the glaze:
- 1 cup powdered sugar
- 1/2 teaspoon ground cinnamon
- 2-3 tablespoons milk or cream
Instructions
- Preheat oven to 400ºF /200ºC.
- Line a baking sheet with parchment paper or grease the bottom.
- Food processor: place flour, baking powder, salt, both sugars and 1 teaspoon cinnamon in the bowl of a food processor fitted with the steel blade. Pulse a few times to mix. Scatter the frozen butter cubes on top, and process on low until the mixture is grainy and the butter the size of peas. Don't overprocess. Transfer the mixture to a large mixing bowl.
- By hand: add the dry ingredients (flour, cinnamon, sugars, salt and baking powder) to a large bowl and combine them well with a spoon or rubber spatula. Scatter the cold butter pieces on top and integrate by hand or with a pastry cutter or pastry blender. The pieces of butter should be the size of peas and beans. It will be irregular.
- For both methods, drizzle the buttermilk and cream over the flour mixture. Mix with a fork until it barely comes together, but don't mix too much or the scones will be tough and flat.
- Transfer the shaggy dough to a lightly floured surface. Fold it unto itself a few times (I use a dough scraper or dough cutter, also called bench scraper, to help me), and pat it together until you have a circle of dough that holds together. It will still be irregular in places. Don't be tempted to overwork it as you would a pie crust. I don't use a rolling pin, but if you want to, roll it very lightly, you don't want to press it down, simply pat it so it holds together.
- Make a circle with the dough, about 2 inches high.
- Cut it in half, and then cut each half into 4 triangles. You should have 8 pieces or triangles.
- At this point, they can be frozen, well covered, for up to a month, and baked directly from the freezer. They might take a few more minutes.
- Transfer to the prepared baking sheet, and sprinkle the tops with additional sugar.
- Bake for 15 minutes, turn down the oven temperature to 350°F/180°C, and bake for an additional 10-15 minutes, until golden, dry, and quite firm. If you need to check, with the tip of a fork lift the top of a scone and see if the inside is dry. Depending on the size and height, the bake time might vary, so start checking at the 25-minute mark.
- Let them cool completely on a wire rack before glazing.
- I recommend eating them within a few hours of being baked.
- Store leftovers in an airtight container for a day, maybe two, but the texture is much better the day they're baked.
Notes
- Baking time: consider that all ovens and pans are different, even if they look similar. The baking time in my recipes is as accurate as it can be, but it might take you more or less time. You can use a thermometer(like the OXO oven thermometer) to check that your oven is at the right temperature. I recommend you keep track of how your oven works and what tiny details you might need to adjust.
- Different shape: these are pretty large scones. You can make smaller, classic round scones using a round cookie cutter (2-inches is a good size). Use a smaller cutter to make mini scones. Check baking times as they may take less time to bake fully depending on the size.
- Freezing scones: cut them and put them on a baking sheet. Freeze until solid and transfer to a freezer-safe container or bag for two months (so you liberate the tray and have more space in the freezer). When ready to bake, take as many as you want and bake directly as instructed in the recipe card below.
- Prep Time: 15 minutes
- Freezing time: 15 minutes
- Cook Time: 30 minutes
- Category: Scones
- Method: Baking
- Cuisine: International
