Ingredients
For the homemade cherry pie filling:
- 1.5 pounds of whole cherries (fresh is preferable, but you can use frozen, see Notes below)
- 4 tablespoons brown or white sugar
- 4 tablespoons lemon juice
- 4 tablespoons water
- 2 teaspoons cornstarch
- Flavorings, optional (see Notes, below)
For the topping:
- 2 cups yellow cake mix (see Notes for alternatives)
- 1/2 cup unsalted butter, melted
Instructions
- Preheat the oven to 350°F/180°C.
- Have ready an 8x11-inch ceramic or glass dish, rectangular or oval. Or a 9-inch square or round baking dish.
For the cherry filling:
- Wash and pit the cherries. Cut them in half.
- Place in a medium saucepan and add the lemon juice and sugar. Stir to mix and start to cook over medium heat.
- Meanwhile, completely dissolve the cornstarch in a small bowl with the water.
- Add the cornstarch slurry in a thin stream to the cherries, stirring constantly, and cook for 1 minute after it starts to boil. This will cook the cornstarch and remove its floury flavor.
- Remove the cherry filling from the heat and dump it into the prepared baking pan or dish.
For the topping:
- Mix the dry cake mix with the melted butter in a medium bowl until you have a crumbly mixture. It should be slightly floury.
- Sprinkle over the fruit layer. It will not cover it completely and that is fine. Don't stir it or mix it with the filling.
- Bake in the preheated oven for 40-45 minutes, until golden brown and dry and the filling bubbles around the edges, checking close to the end of the baking time by lifting the topping here and there and making sure it's completely baked inside. Bake a little longer if necessary.
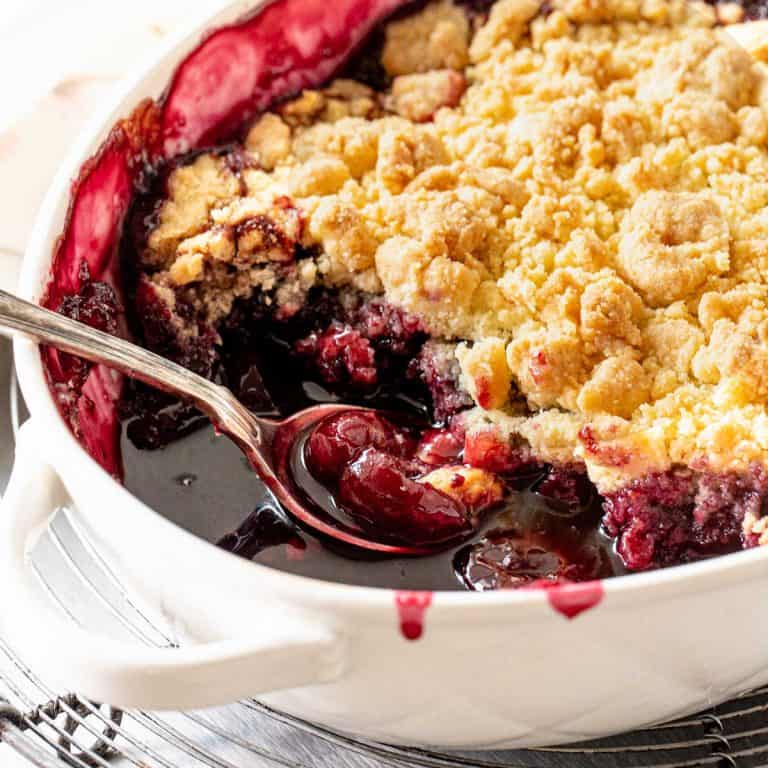
- Serve warm plain or with whipped cream or a scoop of ice cream, topped with the filling juices and extra fresh cherries.
- Leftovers can be stored in the pan or in an airtight container in the fridge for several days or frozen in a freezer-safe container for up to a month.
Notes
Flavorings: you can add some almond extract, vanilla extract, or ground cinnamon to the fruit mixture, as they pair very well with cherries. A 1/2 teaspoon at the most so you don't overpower the flavor of the fruit.
If using frozen cherries: they carry more water, so they tend to soften quicker than fresh ones. Don't overcook them. You only want to dissolve the sugar and very briefly cook the cornstarch. Remember they will soften more during baking. If they have too much ice around them (due to a long freezing time), you can let them drain on a colander a little to lose that extra liquid.
Baking time: keep in mind that all ovens and pans are different, even if they look the same or very similar. The baking time in my recipes is as accurate as it can be, but it might take you more or less time. Use a thermometer inside the oven (like the OXO oven thermometer) to check that the temperature is right. I recommend you keep track of how your oven works and what tiny details you might need to adjust.
Ratio: I find that a lower topping ratio to filling is ideal because the former crisps up and tastes amazing without being over-buttery. But, as with most desserts, find your own ideal combination of filling, topping, and sweetness.
Storing: treat it as you would a crumble or crisp, keeping leftovers in the refrigerator. You can freeze it for a month, sometimes more. Let it thaw at room temperature and warm it slightly in the oven before eating.
- Prep Time: 20 minutes
- Cook Time: 40 minutes
- Category: Desserts
- Method: Baking
- Cuisine: American
Nutrition
- Serving Size: 1/8
- Calories: 331
- Sugar: 31.9 g
- Sodium: 255.2 mg
- Fat: 14.7 g
- Carbohydrates: 49.6 g
- Fiber: 1.8 g
- Protein: 2.5 g
- Cholesterol: 30.5 mg