

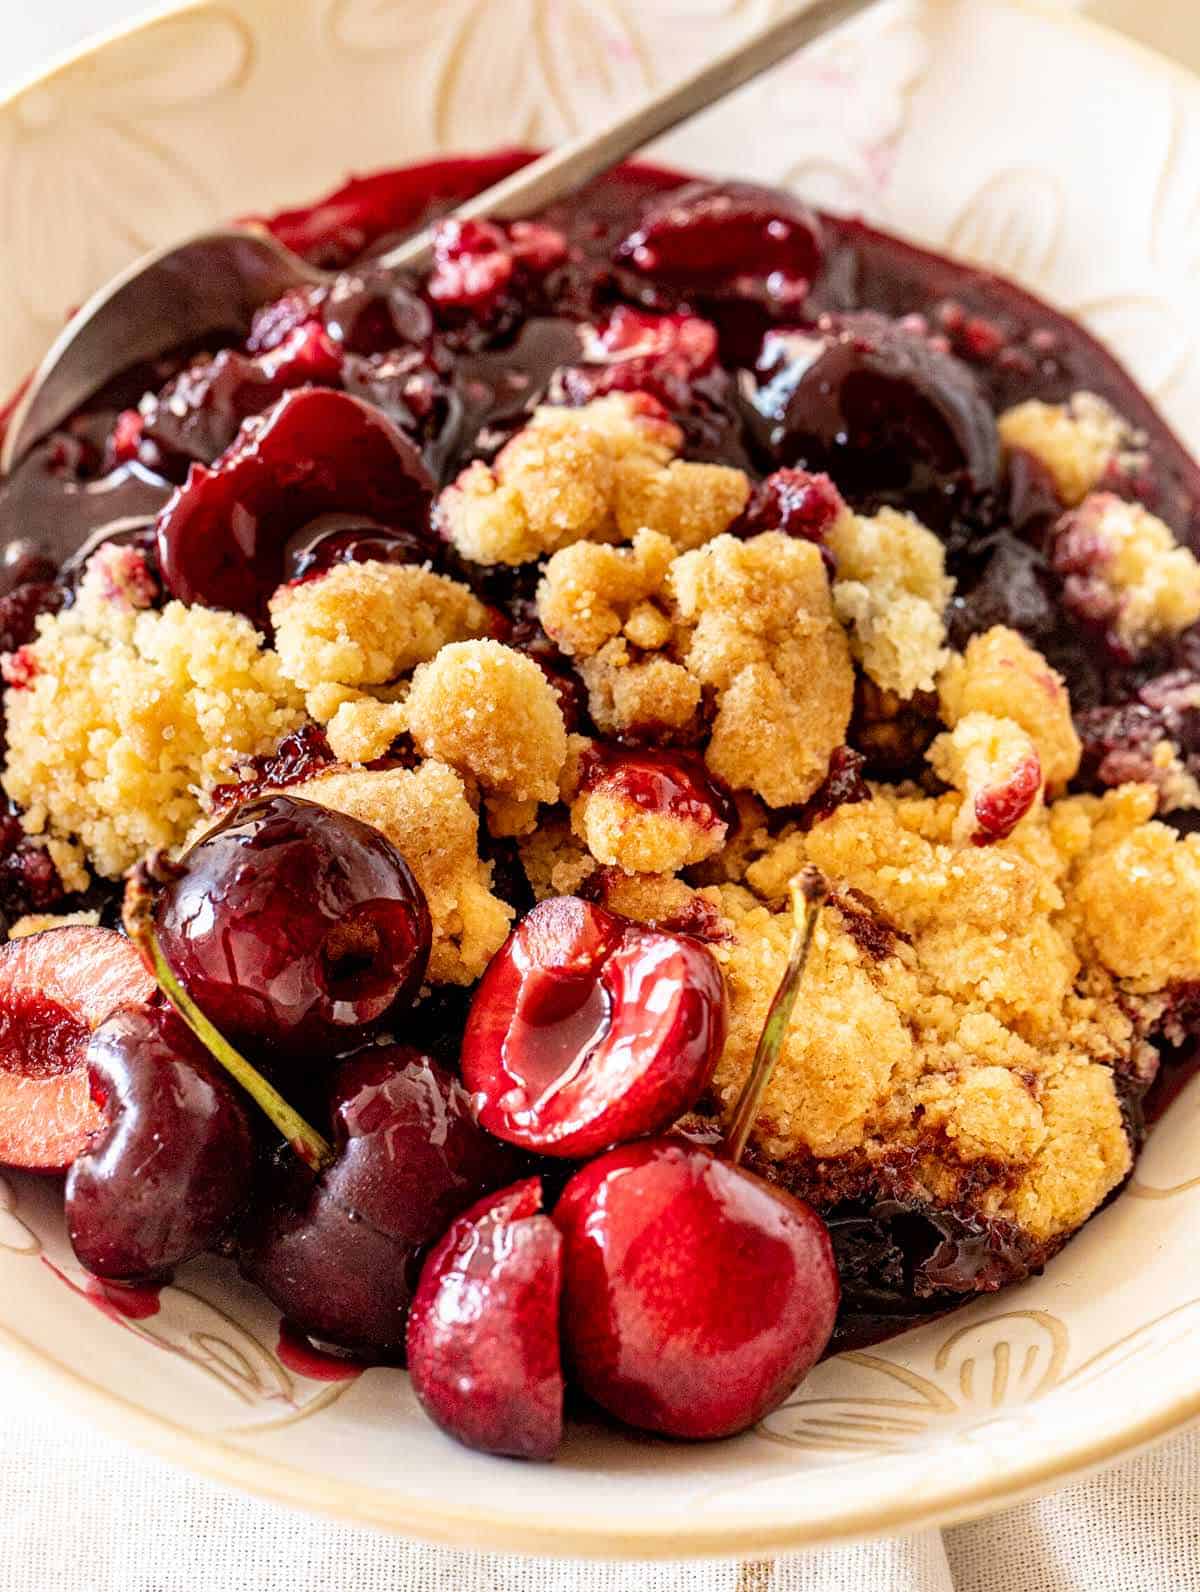
This super easy fruit dessert is simple, ready in an hour and can be made ahead. It's so good topped with whipped cream or ice cream! The homemade cherry pie filling makes all the difference (compared to regular dump cakes that use canned) and is a worthy extra step. The cobbler-like topping made with a cake mix doesn't change. Fresh cherries are always my first suggestion, but this recipe also works with frozen ones.

SAVE THIS RECIPE
A must-bake during cherry season!
Dump cakes are family favorites around here and a growing category on this blog, and with good reason: they're a delicious easy dessert recipe option that uses simple ingredients.
They're like a sweet casserole dish.
And who doesn't love them served with a scoop of ice cream on top?
- Quick and easy. I can't emphasize enough how simple it is to make a cherry dump cake. It comes together fast and can be on the table in under an hour. It might be the easiest dessert recipe ever.
- Make-ahead. You can make it up to 2 days before and store it in the refrigerator, or freeze it for several weeks.
- It's a crowd-pleaser. It's especially good for picnics, potlucks, and other outdoor gatherings and holidays where you have to feed many. In the summer, the peach dump cake and blueberry dump cake are huge hits wherever we take them.
- It can work with frozen cherries, so you can make it year-round.
As much as I love to eat fresh cherries by the hundreds (true number!), this summer recipe is always on my list when the cherry season starts.
It might just be our favorite cherry dessert, which we sometimes alternate with the gooey chocolate cherry dump cake because, you know, chocolate.
The original recipe uses cans of fruit filling, a box of cake mix, and thinly sliced cold butter pieces or melted butter. The first two are literally opened and dumped into the baking dish, hence the name.
A simple dessert recipe that became very popular among busy moms decades ago.
It doesn't need to be chilled before eating, but leftovers need to be kept refrigerated. You can leave it at room temperature for several hours, but fruit desserts are best kept chilled to prevent them from fermenting too quickly and going bad.
Yes, you can! And it's a great way to plan a dessert for a gathering. The baked dump cake keeps in the refrigerator for 4-5 days, well covered in plastic wrap. Simply let it come to room temperature before serving, or slightly warm it in a medium oven and serve it with a big scoop of vanilla ice cream.
Absolutely! And it keeps for a month. Cover it well, first in plastic wrap and then in aluminum foil, and label it. Thaw at room temperature and warm slightly in a medium oven before serving.
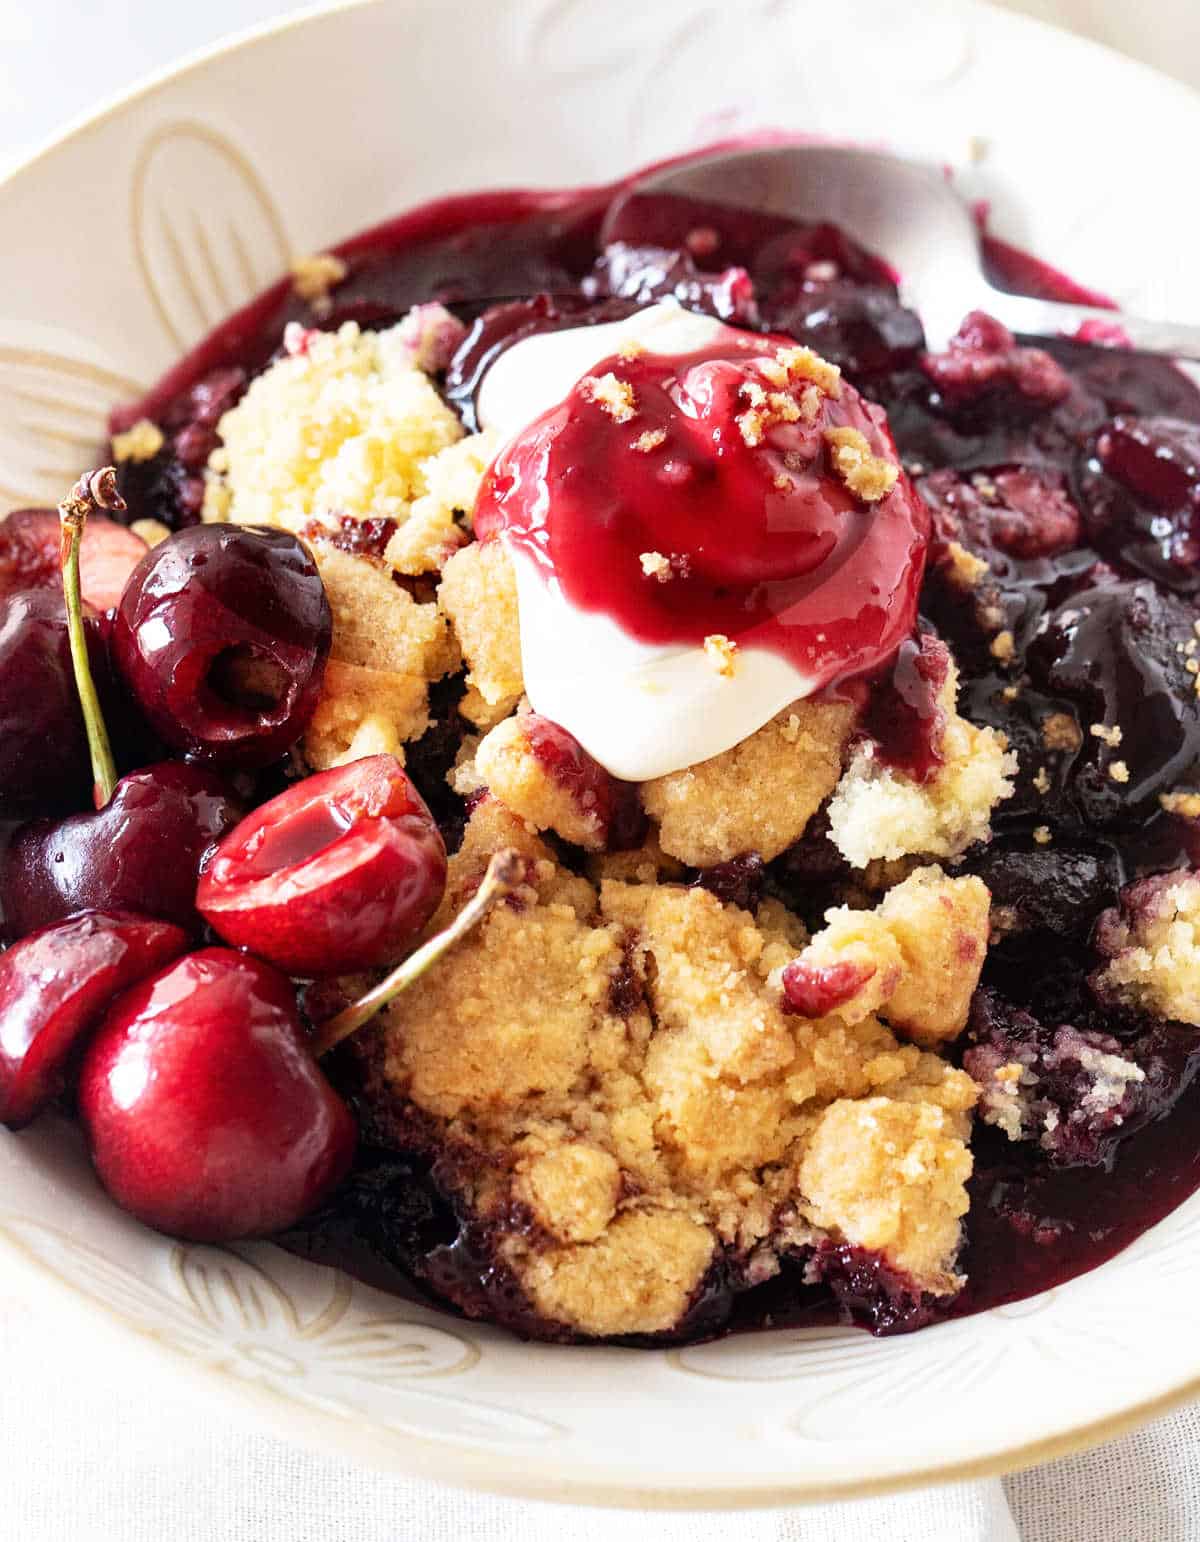
Ingredients
Quantities are listed on the recipe card towards the end of this post. The Ingredients page has more details and lists the brands we use.
- Dry cake mix: the type you find in the supermarket or grocery store, whatever brand you want. I use yellow cake mix or White cake mix for this recipe. Betty Crocker and Duncan Hines are popular ones.
- Unsalted butter.
- Fresh cherries: pitted. I strongly recommend fresh fruit if in season, but you can use frozen cherries. Instructions in the recipe card.
- Sugar: white granulated or brown sugar, both work.
- Cornstarch: it thickens the cherry juices during baking and helps create that irresistible syrup.
- Lemon juice: freshly squeezed for the best flavor.
- Additional flavorings: they're optional and can include vanilla or almond extract, ground cinnamon or cardamom.
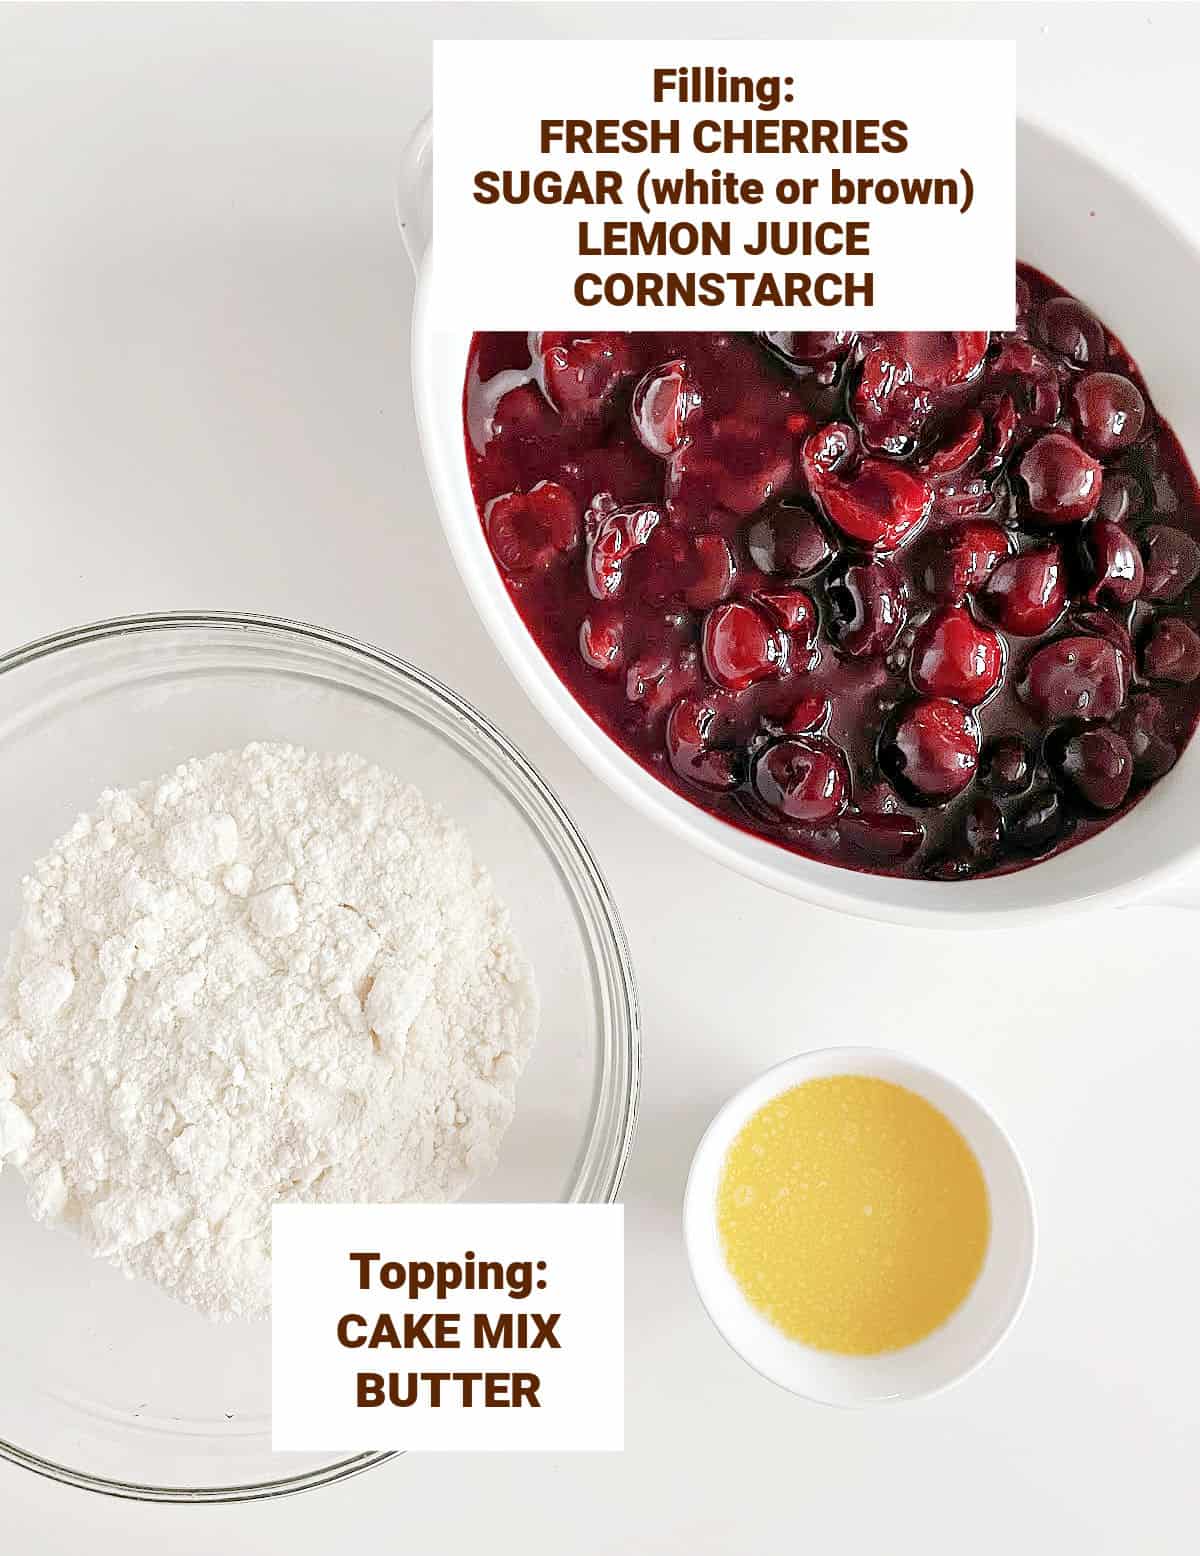
Pitting cherries
If you bake often with fresh cherries you do need a cherry pitter. It's a little gadget that will make your life easier.
It's the only part of this recipe that requires a little patience and an apron. Make sure your clothes are covered, as pitting cherries will cause drops of cherry juice to fly around.
Homemade cherry filling
Making a fresh cherry filling with seasonal cherries is what separates this dessert from a classic cherry dump cake. It comes together in 5 minutes, and the flavor is outstanding.
If using frozen cherries, they carry more water, so they tend to soften more quickly than fresh ones. Don't overcook them. You only want to dissolve the sugar and very briefly cook the cornstarch. Remember, they will soften more during baking. If they have too much ice around them (due to a long freezing time), you can let them drain in a colander a little to lose that extra liquid.
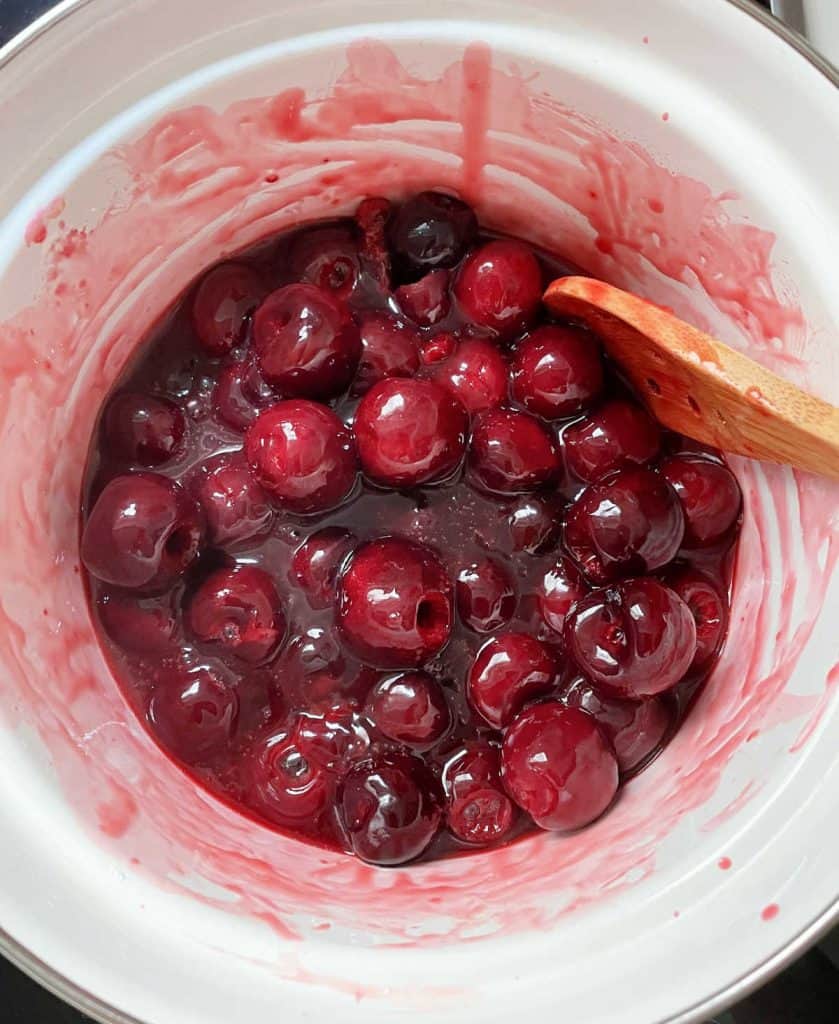
Cook cherries
Put cherries in a saucepan and add the lemon juice, sugar, and cornstarch dissolved in water.
Cook over medium heat for a few minutes, just until it comes to a boil. Remove and let cool before dumping it into the baking dish.
Cake mix topping
Though I love a classic dump cake topping, during recipe testing, I sometimes had issues with the topping being too floury because the cake didn't mix well with the butter during baking. Eating dry parts of cake mix is not part of the deal.
Using more butter was the answer. And also, mixing the topping beforehand. The result is crunchier, and I use it sometimes now. There are more mixing bowls to wash afterward, but I think it's worth it.
Your choice, both are great.
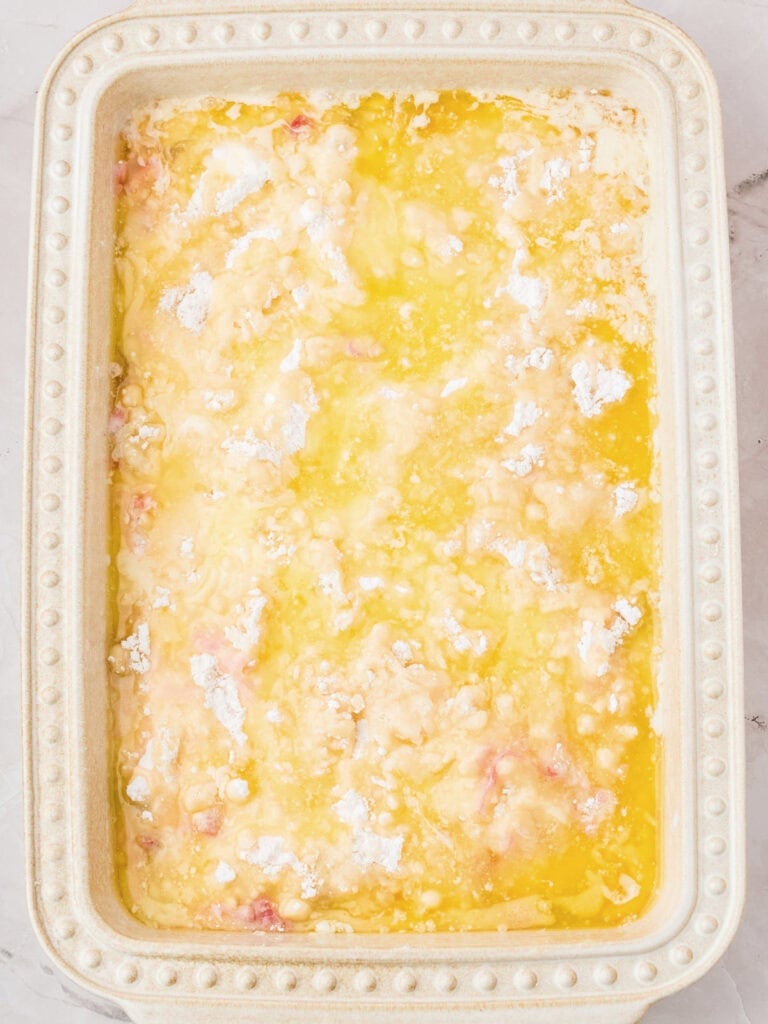
Pouring melted butter
This is the traditional way. Melted butter is drizzled over the cake mix. It's easy and delivers.
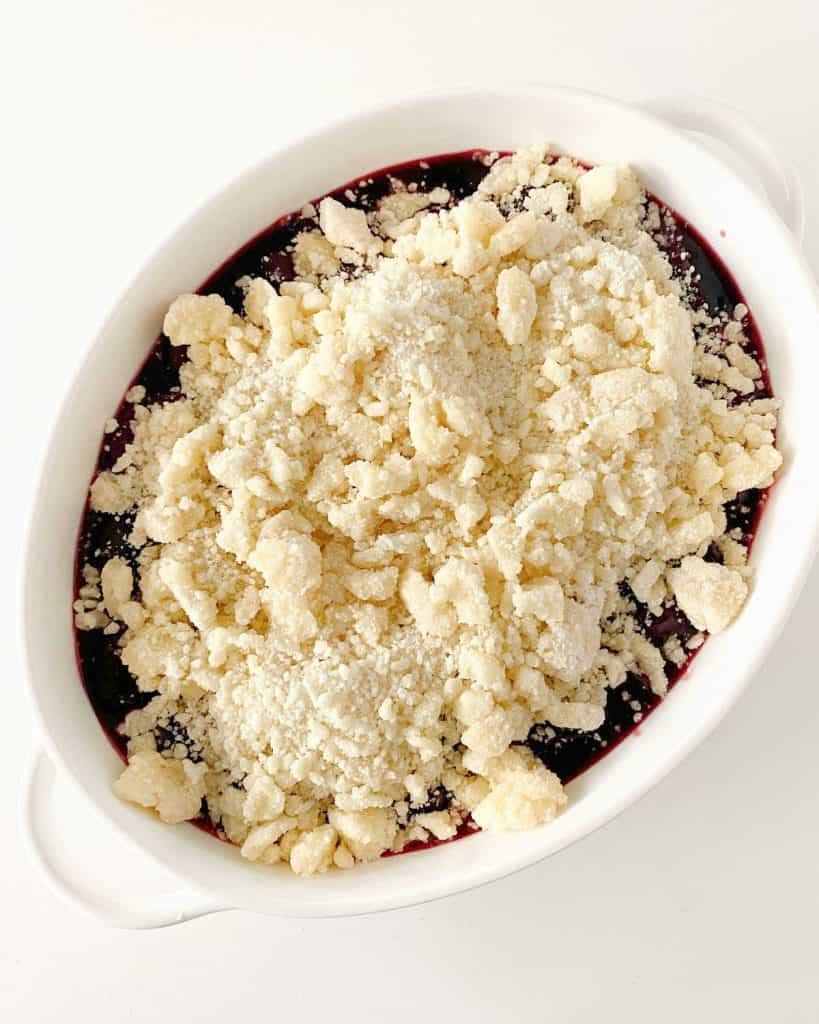
Mixing the topping,
The boxed cake mix and melted butter are mixed in a separate bowl first and then scattered over the filling, like you would a crumble.
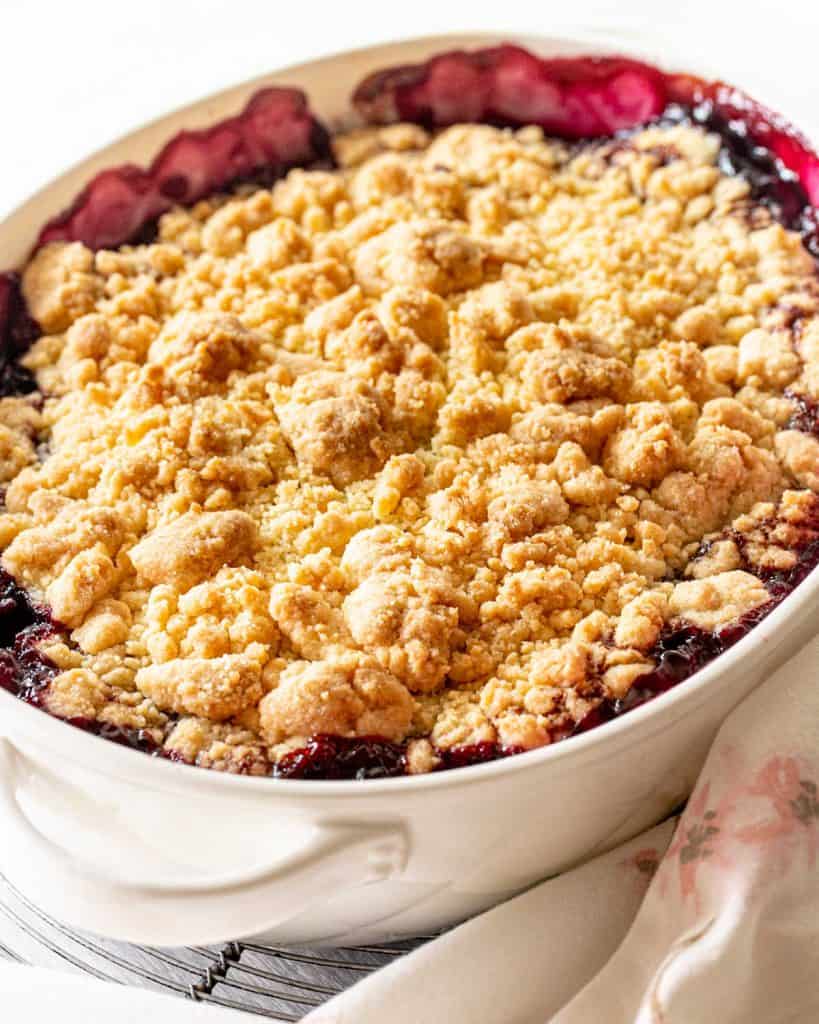
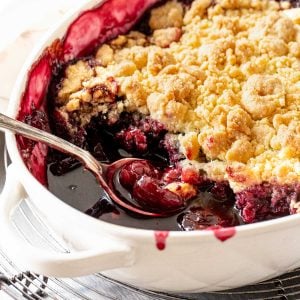
Baking
The result is crunchier and crisper. Either way, the dessert is phenomenal.
Top Tip
Make sure the topping is fully baked. It may be golden brown and the juices bubbling, but lift some of the dough here and there to check that it's not still wet inside.

Kitchen notes
- Organization: read the recipe first and ensure you have ingredients at the correct temperature, equipment, and enough workspace. This will make the process so much easier.
- Baking time: consider that all ovens and pans are different, even if they look similar. The baking time in my recipes is as accurate as possible, but it might take you more or less time. You can use a thermometer (like the OXO oven thermometer) to check that your oven is at the right temperature. I recommend keeping track of how your oven works and what tiny details you might need to adjust.
- Type of cake mix: the amount needed is about half a large box of yellow cake mix (which is the most commonly used), but white cake mix also works well with cherries. If you want to use a whole box, double the filling recipe and use a larger baking dish.
- Topping: after making many dump cakes, I tried several ways of mixing the cake mix with butter, and my favorite is by far the one explained here using melted butter and a separate bowl. You can also do it the old-fashioned way, as is shown in the 3-ingredient dump cake recipe.
- Filling: make it from scratch or use store-bought pie filling; it's what gives this dessert its name. Just open a can! Doesn't get much simpler than that. I do recommend adding some extra fresh cherries. It contributes freshness and flavor to the fruit filling.
- Flavorings: you can add some almond extract, vanilla extract, or ground cinnamon to the fruit mixture, as they pair very well with cherries. A ½ teaspoon at the most so you don't overpower the flavor of the fruit.
- Ratio: I find that a lower ratio of topping to filling is ideal because the former crisps up and tastes amazing without being over-buttery. But, as with most desserts, find your own ideal combination of filling, topping, and sweetness.
- Storing: treat it like you would a crumble or crisp, keeping leftovers in the refrigerator or in the freezer, always well wrapped.
- Frozen cherry dump cake: the unbaked cherry dessert can be covered in plastic and frozen in the pan. Bake in a preheated oven as directed in the recipe card below. It will take a little longer. Or freeze it after it's baked and completely cooled down, covered tightly with plastic wrap and then aluminum foil.
- Nutty variation: chopped pecans or walnuts in the filling. If you add them to the topping, they might brown too much in the oven.
As an Amazon Associate, I earn from qualifying purchases. Read my disclosure policy.
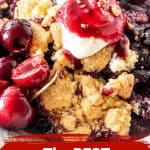
Fresh Cherry Cobbler with Cake Mix
Ingredients
For the homemade cherry pie filling:
- 1.5 pounds of whole cherries, fresh is preferable, but you can use frozen, see Notes below
- 4 tablespoons brown or white sugar
- 4 tablespoons lemon juice
- 4 tablespoons water
- 2 teaspoons cornstarch
- Flavorings, optional (see Notes, below)
For the topping:
- 2 cups yellow cake mix, see Notes for alternatives
- ½ cup unsalted butter, melted
Instructions
- Preheat the oven to 350°F (180°C).
- Have ready an 8x11-inch ceramic or glass dish, rectangular or oval. Or a 9-inch square or round baking dish.
For the cherry filling:
- Wash and pit the cherries. Cut them in half.
- Place in a medium saucepan and add the lemon juice and sugar. Stir to mix and start to cook over medium heat.
- Meanwhile, completely dissolve the cornstarch in a small bowl with the water.
- Add the cornstarch slurry in a thin stream to the cherries, stirring constantly, and cook for 1 minute after it starts to boil. This will cook the cornstarch and remove its floury flavor.
- Remove the cherry filling from the heat and dump it into the prepared baking pan or dish.
For the topping:
- Mix the dry cake mix with the melted butter in a medium bowl until you have a crumbly mixture. It should be slightly floury.
- Sprinkle over the fruit layer. It will not cover it completely and that is fine. Don't stir it or mix it with the filling.
- Bake in the preheated oven for 40-45 minutes, until golden brown and dry and the filling bubbles around the edges, checking close to the end of the baking time by lifting the topping here and there and making sure it's completely baked inside. Bake a little longer if necessary.
- Serve warm plain or with whipped cream or a scoop of ice cream, topped with the filling juices and extra fresh cherries.
- Leftovers can be stored in the pan or in an airtight container in the fridge for several days or frozen in a freezer-safe container for up to a month.
Juanita Hinojosa says
To use a whole box of cake mix for the topping, do I double just the cherries or do I double every ingredient in the recipe?
Paula Montenegro says
Hi Juanita, for a whole box add about 50-60% more cherry filling: 2 1/2 pounds cherries, 6 tablespoons each of sugar, lemon juice and water, and 1 tablespoon cornstarch. Use ¾ cup plus 1 tablespoon butter for the topping. A 9x13-inch baking dish works best for the larger batch. The baking time may be a few minutes longer.
Lauren says
Turned out great!
Verena Rousseau says
Hi Paula.
This looks super delicious with cherries being my absolute favourite fruit. But instead of the boxed cake mix,would a streusel topping work for this dump cake? For health reasons I can't use boxed cake mix.
Thank you. Regards from Australia.
Paula Montenegro says
Hi Verena! If you use a streusel you would have a cherry crumble which is amazing. You can also try a cobbler topping like the one on the peach cobbler.