This is my go-to recipe for frosted holiday cookies. They are soft, tender, and keep their shape if you want to decorate them! The dough is easy to work with, so it's the perfect cookie project for kids. Plan ahead and keep them frozen to eat or decorate later.

I can't believe I hadn't shared these soft sugar cookies since this is the recipe I used to decorate growing up. That's quite a long time, several decades, lol.
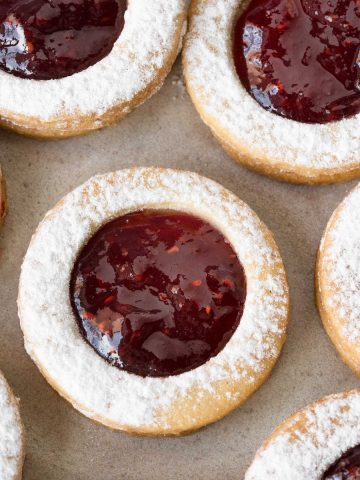
I'm more of a Linzer tart cookie or peanut butter blossoms person for the holidays. You know, simple cookies without much decoration.
At the time, they were not the usual cut-out cookies, but my grandmother made them, and we decorated them every year while she was, at the same time, busy with the most laborious plum pudding ever, another heritage recipe that I need to share.
Why make this recipe
- Easy to make. This is the first reason because holiday baking is an effort, and we want tested recipes that work!
- Kids. They love decorating cookies, let me tell you. And this is a foolproof recipe.
- Make-ahead. You can freeze the dough round, the already cut-out but unbaked cookies, or the baked cookies.
- Frosting. You can, in theory, use almost any frosting or glaze you want. Here, I give you a simple dyed cream cheese frosting, but you can also use a powdered sugar icing like I do with the Pistachio Butter Cookies, another holiday recipe.
Step-by-step VIDEO

Ingredient list
This is a recipe that uses everyday ingredients. But, as it usually happens with this type of simple recipe, the better the ingredients the better the cookies.
- Sour cream: use the full fat, regular kind for best results.
- Butter: use unsalted and the best brand you can afford.
- Flour: I like how they turn out both with all-purpose and cake flour.
- Flavorings: vanilla paste is my favorite and a few drops (literally) of pure almond extract.
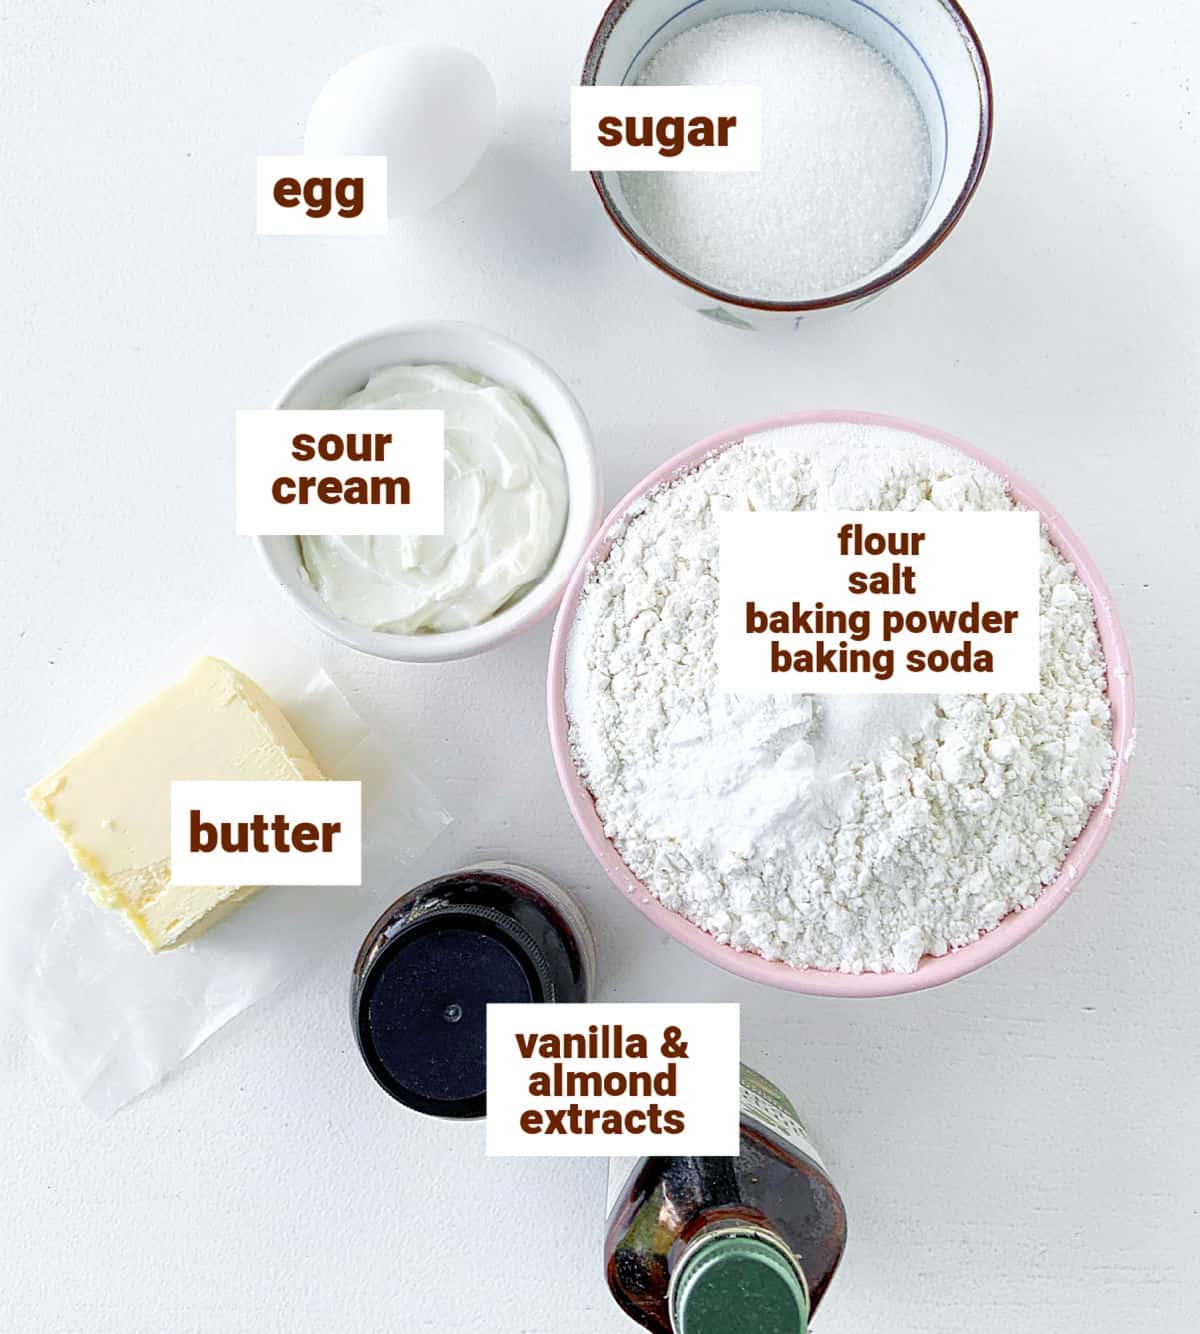
This is a one-bowl recipe that comes together in a few minutes. Then there's some refrigeration time, which is necessary to roll the dough and bake those tender and soft cookies we're after.
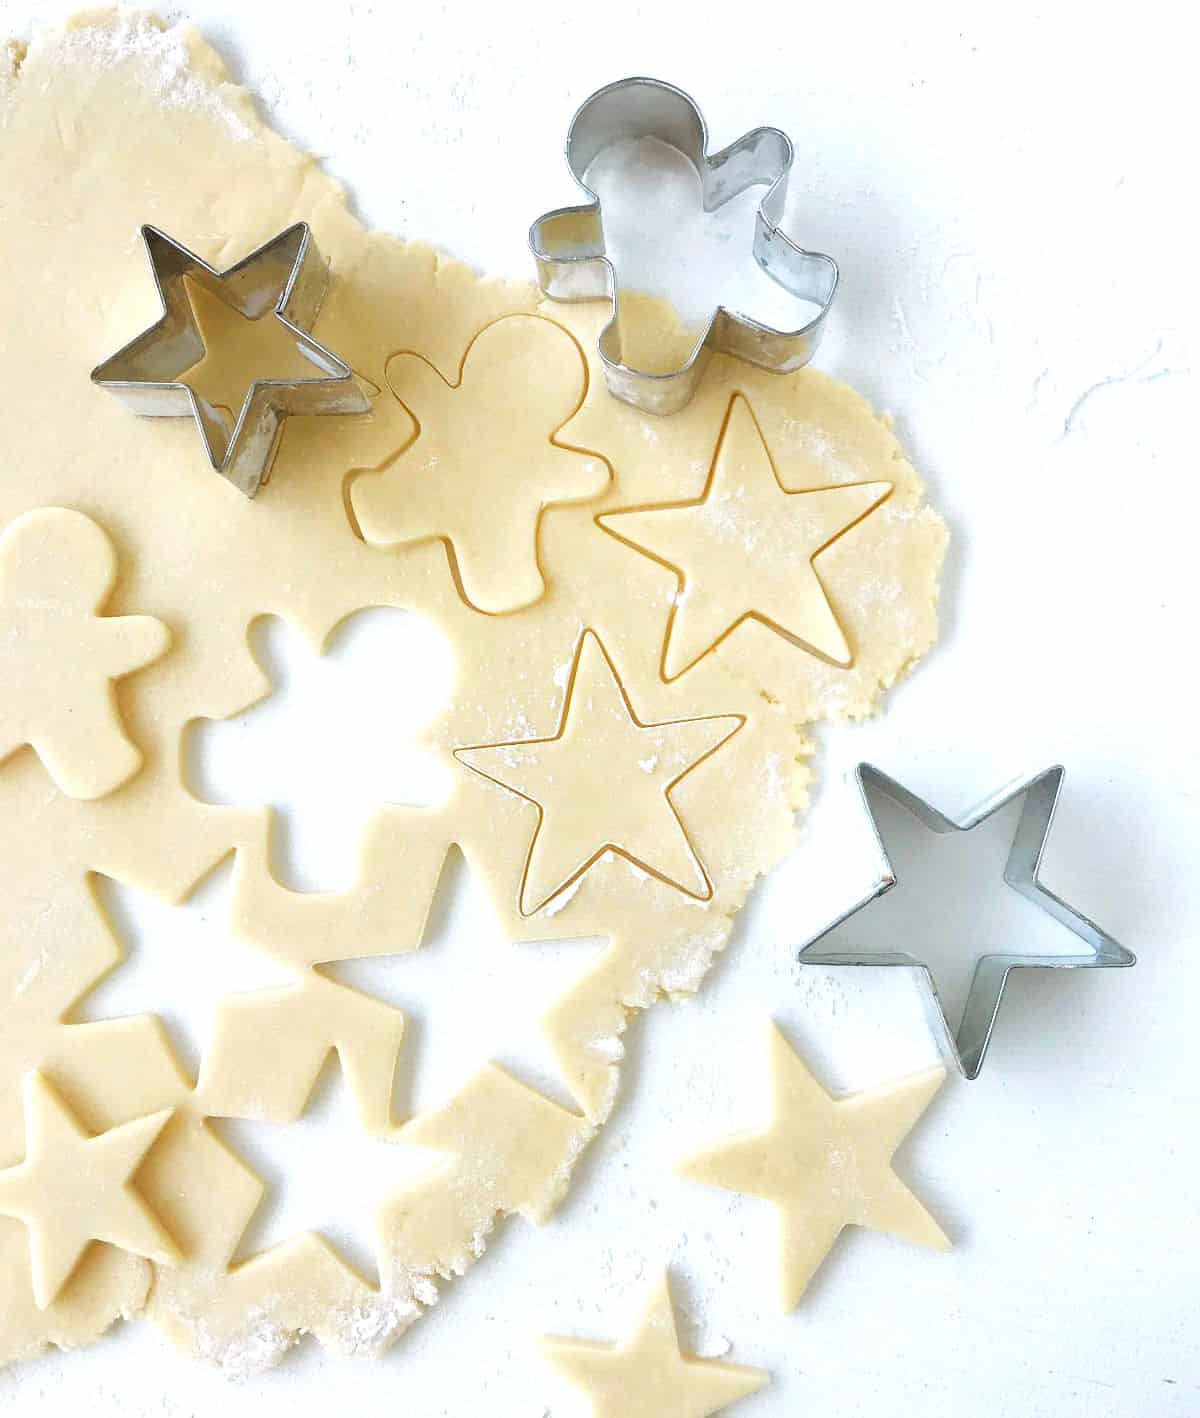
- Rolling tips: the cookie dough must be as cold as possible so the butter doesn't warm and start to melt. So you might want to chill and roll the dough in parts. Keep the unused dough covered in the refrigerator. This way you roll smaller amounts of dough, so you cut and transfer them to the cookie sheet faster.
- Floured surface: do a light flouring to prevent the dough from sticking and add as needed.
- Shapes: use different cookie cutters and make differently shaped cookies. Some cutouts are easier to manipulate than others. The more intricate the pattern, usually the more fragile the cookies are.
Sour cream adds a lot of moisture to baked goods. In the case of these cookies, it makes them soft and chewy.
It acts together with an acidic ingredient (sour cream in the case of this recipe) and makes the cookies rise, and also makes them chewy.
Using parchment paper and cold dough always works for me. Sometimes I pop the pan with the cut-outs in the freezer for five minutes before baking. The very cold dough will bake around the edges before the butter completely melts and spreads too much.
Several ingredients can be added to achieve this: citrus zest, extracts (we use vanilla and almond), or ground spices.
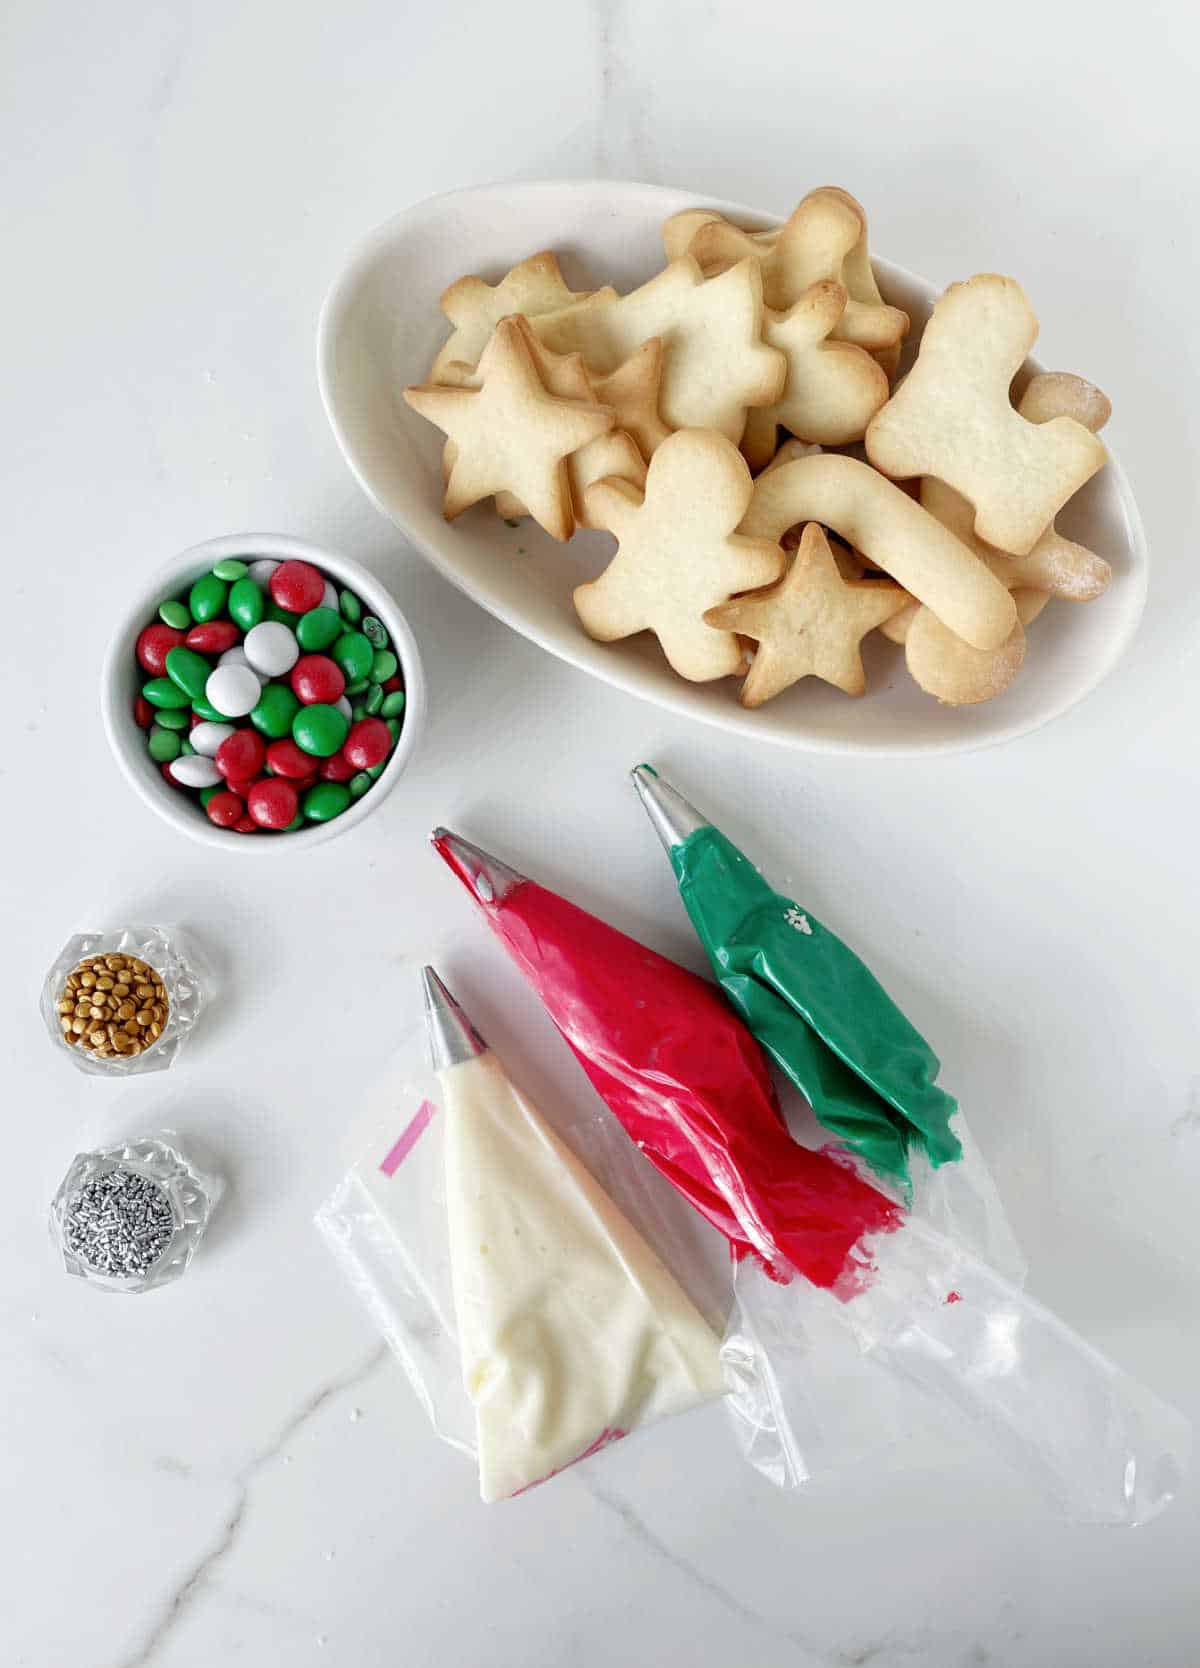
Colored cream cheese frosting
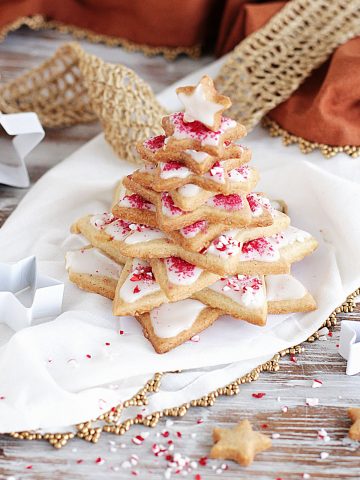
Sometimes, we want to frost a cookie, rustic-style, and call it a day. I'm not into decorating much, but I love using cream cheese frosting in different colors for these cookies. It is much easier for beginners who don't want to use a piping bag.
We make the traditional recipe, the one used in the Hummingbird Layer Cake and Pumpkin Whoopie Pies, but use more sugar to make it extra thick. That way it's easy to use small spoons to decorate.
Drops of different-colored gel food dyes are added and mixed, and that's it: you have colored frosting!
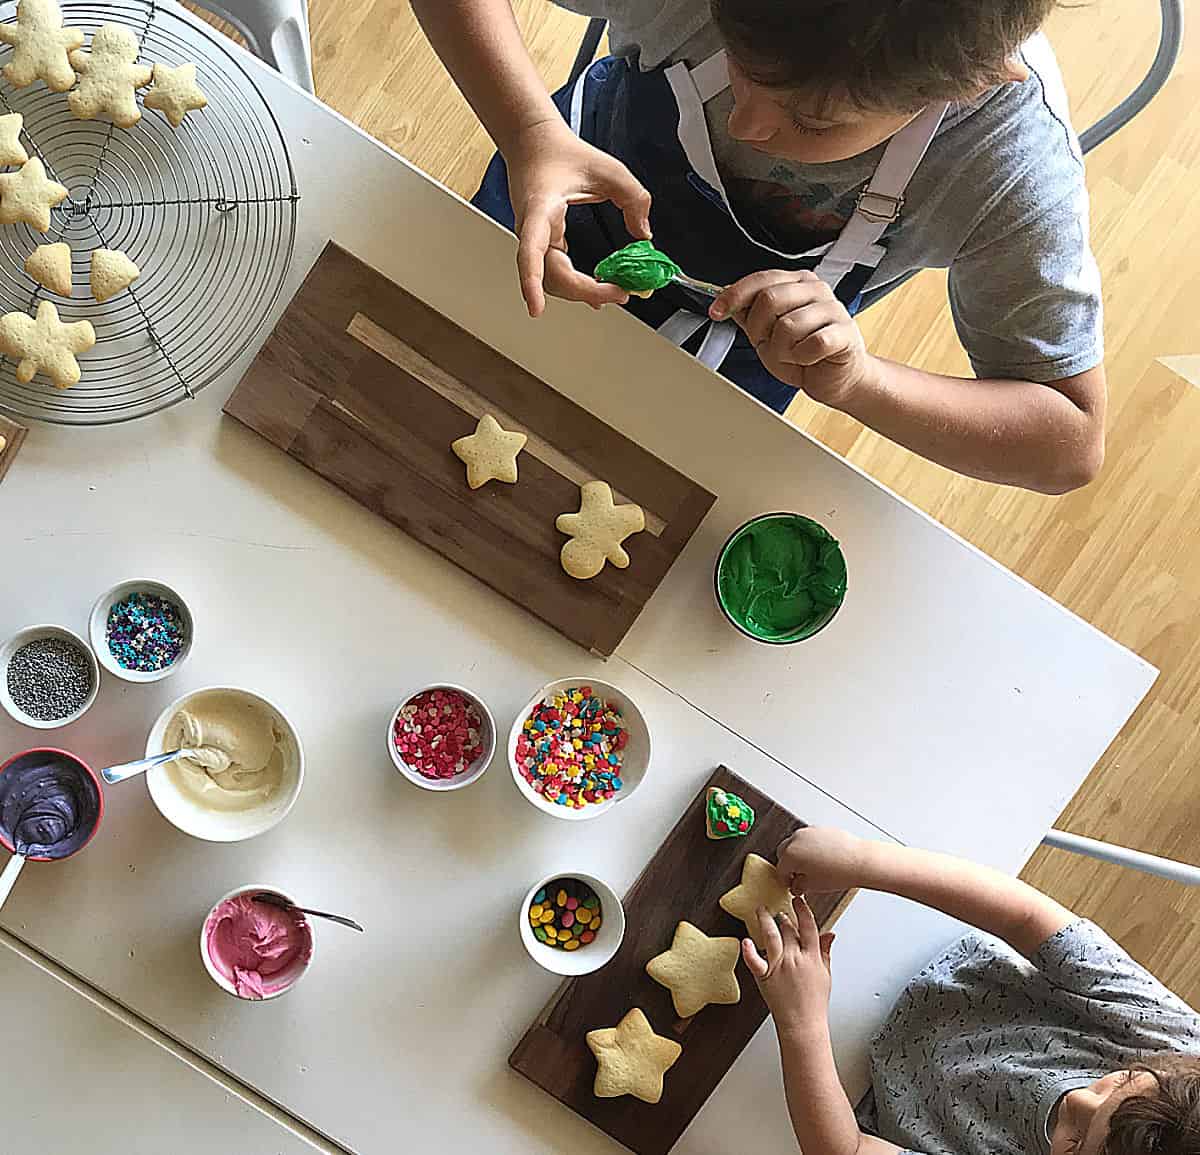
This is one of my favorite projects to make with kids (image below), and it calls for simple, colorful frostings and sprinkles.
They can (and do!) spend hours smearing spoonfuls of frosting and topping it on everything. A great way to spend the holiday season, especially in places where it's very cold and you need inside activities.

Kitchen notes
- Organization: read the recipe first and ensure you have ingredients at the correct temperature, equipment, and enough workspace. This will make the process so much easier.
- Baking time: consider that all ovens and pans are different, even if they look similar. The baking time in my recipes is as accurate as it can be, but it might take you more or less time. You can use a thermometer(like the OXO oven thermometer) to check that your oven is at the right temperature. I recommend you keep track of how your oven works and what tiny details you might need to adjust.
- Mixing: after adding the flour, the best way to mix is with a rubber spatula. The more you mix, the tougher the cookies will be. If making a very large batch you can use the stand mixer with the paddle attachment, but make sure you *just* mix everything until there are no flour spots. Don't overmix it!
- Refrigeration: it's important to have a chilled dough before rolling. I sometimes put it for 10 minutes in the freezer (after it has been in the fridge according to the recipe) before rolling it out. You don't want the dough to start softening too much while you cut out the shapes.
- Variations: add a different extract, citrus zest, or even a ground spice you love for a different cookie.

Related recipes you might like:
Before you go
If you made this recipe and loved it, you can comment below and leave a five-star ⭐️ review. Also, if you had issues, let me know so we can troubleshoot together.
You can also subscribe to our FREE email series 'Baking the Best' and our regular newsletter. Or follow and save my recipes on Pinterest.

Sour Cream Cut Out Cookies
Ingredients
For the cookies:
- ¾ cup 150g granulated sugar
- ½ cup 115g butter, at room temperature
- ½ cup 120g sour cream, at room temperature
- 1 teaspoon vanilla extract or paste
- Few drops of pure almond extract
- 1 egg, at room temperature
- 2 ½ cups 350g all-purpose or cake flour
- ¼ teaspoon salt
- ½ teaspoon baking powder
- ½ teaspoon baking soda
For the frosting:
- 8 oz 225g regular cream cheese, at room temperature
- ½ cup 110g unsalted butter, at room temperature
- 3 ½ to 4 cups powdered sugar, you might need to add more to achieve the thick consistency needed
- ½ teaspoon of vanilla extract, you might want to use clear vanilla so it doesn't make the white opaque, see Notes below
- Different colors of food dyes, see Notes below
Instructions
For the cookies:
- In a large bowl, beat butter and sour cream.
- Add sugar and mix until well combined. I do everything by hand but you can use an electric mixer.
- Add vanilla, almond extract and egg. Mix very well.
- Add, sifting, flour, salt, baking powder and baking soda.
- Using a spatula, Integrate very well. I recommend not using a beater at this point to avoid over working the flour which results in tougher cookies.
- It must be a smooth and non-sticky dough.
- Cover with plastic wrap and refrigerate for 1 hour or up to 1 day. At this point it can be frozen for a month, well wrapped.
- I recommend putting it in the freezer (in addition to the refrigerator) for 15 minutes before rolling it.
- Turn the oven to 350°F (180°C).
- Line baking sheets with parchment paper.
- Work with half the amount of dough at a time and keep the rest wrapped and refrigerated in the meantime.
- Lightly flour the counter and rolling pin and roll the dough about ¼ inch thick.
- Cut out cookies in the desired shapes and put on the prepared cookie sheets.
- Bake for 10-12 minutes, until dry, puffy, and barely colored.
- Let cool completely on a wire rack before decorating.
For the frosting:
- In a bowl beat cream cheese with butter until very creamy and no lumps remain.
- Gradually add sugar and vanilla until you have a thick, very creamy consistency, good enough to spread. You might need more sugar, up to a half-cup or so.
- Divide among bowls depending on the number of different colors you want to make.
- Add a drop of food coloring at a time, mix, and see if the color it's what you like. I like to leave one white and sometimes add white coloring to make it a brighter white.
- It keeps well in the refrigerator for a few weeks. Beat again before using to attain a creamy consistency.





Gayle says
How to make colored sugar stay on top of the cvookies?
Ellie says
How long do you think these keep in an airtight tin?
Paula Montenegro says
Hi Ellie, the most I have kept them is for a week in metal tins. You can also freeze the cut cookies and bake them a few hours before frosting, giving them time to cool down completely.
Phyllis says
If you freeze the dough - how do you defrost it, how long to take it out of the freezer before you can roll it out?
Paula Montenegro says
Hi Phyllis, if you freeze the disc of dough, the best way it to place it in the fridge and how long it takes to defrost depends on the temperature of your refrigerator. But it takes a while. I usually put the frozen dough at least a day ahead and sometimes it needs a little more time.
If you freeze the already cut out cookies, you can bake them directly without defrosting. They might take a few minutes longer to bake.
angiesrecipes says
They look fantastic and must be very tasty with tangy sour cream!