Soft and chewy peanut butter cookies with a chocolate center, these cookies are easy to make and loved by everyone. They're perfect for Christmas, bake sales, potlucks, and picnics. Also known as peanut butter kisses or Hershey's peanut butter blossoms.
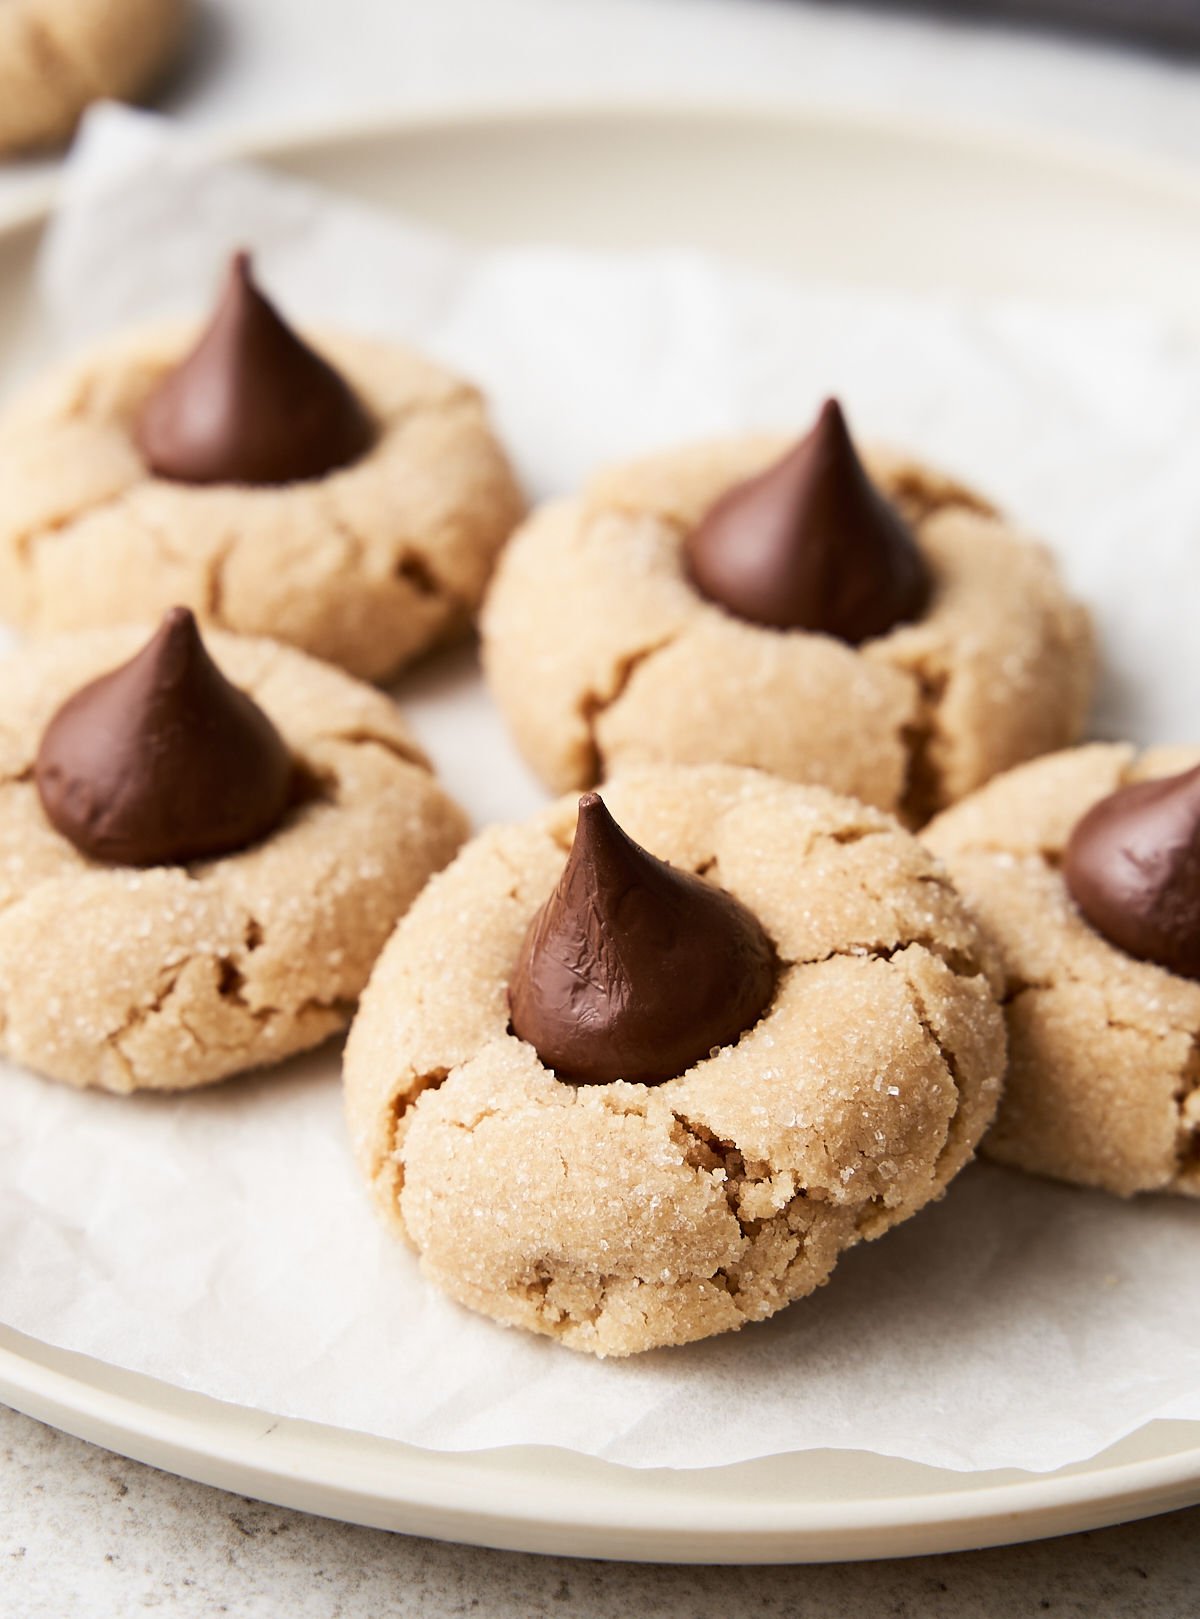
These are simple cookies with a fantastic flavor combination: peanut butter and chocolate.
Peanut butter cookies are baked, and a milk chocolate kiss is placed in the center while still pipping hot. This will make the cookie crack and 'blossom', hence the name.
They're a must during Christmas and perfect for gifting. No cookie or candy tray is finished until they appear. At least in our house.
We make them every year along with other favorites like chocolate mint cookies, pistachio cookies, gingerbread people, and strawberry jam cookies.
These cookies are easy enough to make with kids. It's a great project for the holiday season. Make sure you have extra kisses, as they will probably eat some before they make it to the cookies!
Why I love this recipe
- Flavor: a small cookie with intense flavors. Peanut butter and chocolate are a classic combination and crowd-pleasers.
- Easy to make: they come together quickly and are perfect for beginner bakers.
- Simple ingredients: not counting the chocolate kisses, you probably have all you need at home. If in a hurry, you can use milk chocolate chunks instead.
- Great for many occasions: besides being perfect for Christmas, these cookies do great at bake sales, picnics, barbecues (a 4th of July favorite), children's parties, and potlucks.
Ingredient list
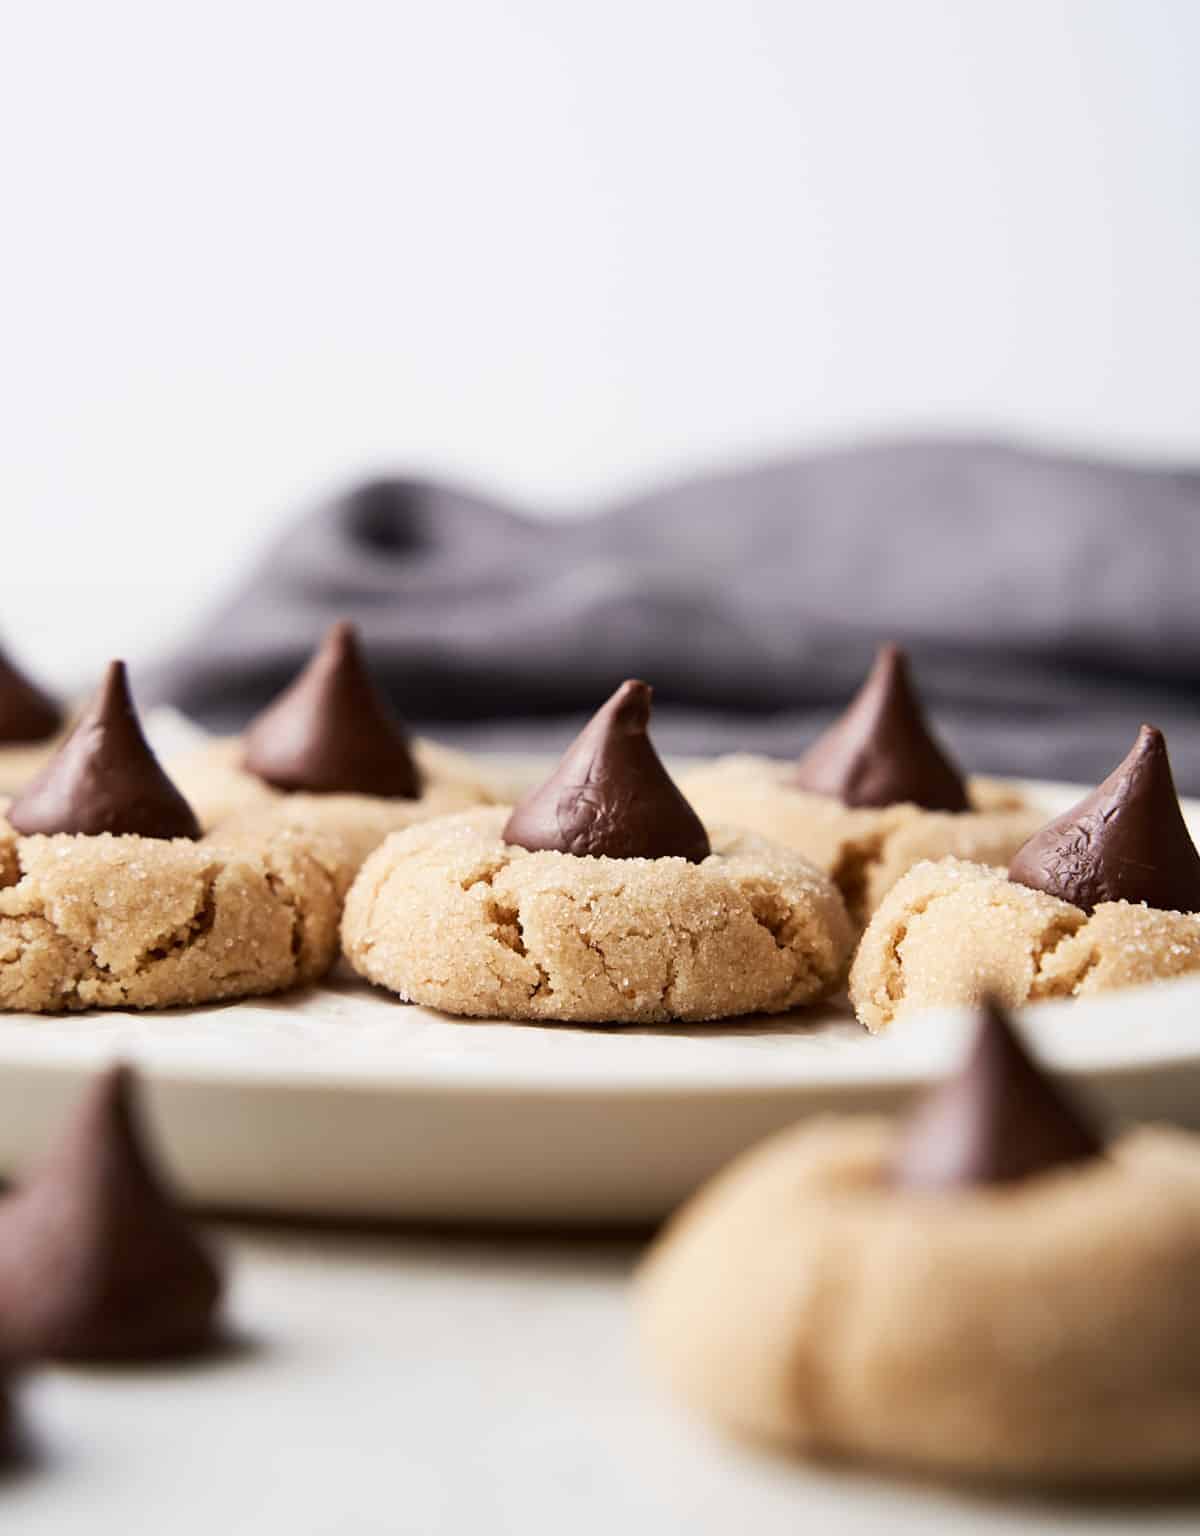
- Chocolate centers: Hershey's milk chocolate kisses or special dark Hershey's chocolate kisses are used for this recipe.
- Peanut butter: use the creamy type (not crunchy) from the supermarket.
- Brown sugar: light or dark.
- White, granulated sugar.
- Vanilla extract.
- Unsalted butter.
- All-purpose flour.
- Cornstarch: it helps to make smoother cookies.
- Salt.
- Baking powder and baking soda: make sure they aren't expired.
Quantities are listed on the recipe card towards the end of this post. The Ingredients page has more details and lists the brands we use.
Substitutions & variations
- Peanut butter: instead of chocolate kisses, use peanut butter cups.
- Cinnamon: add up to ½ teaspoon of ground cinnamon to the peanut butter dough together with the flour mixture.
- Chocolate: instead of milk chocolate kisses, use semisweet chunks of chocolate for a less sweet cookie.
Kitchen notes
- Organization: read the recipe first and ensure you have ingredients at the correct temperatures, equipment, and enough workspace. This will make the process so much easier!
- Baking time: keep in mind that all ovens and pans are different, even if they look the same or very similar. The baking time in my recipes is as accurate as it can be, but it might take you more or less time. You can use a thermometer(like the OXO oven thermometer) to check that your oven is at the right temperature. I recommend you keep track of how your oven works and what tiny details you might need to adjust.
- Chocolate centers: if Hershey's kisses are not available where you are, cut chunks from a milk chocolate bar.
- When to add the chocolate kisses? I do it the second the cookies are out of the oven, and it works fine. But you might want to put it for an extra minute after the kisses are added so they stick better to the cookies after they cool down.
- Storage: they keep well for about a week at room temperature in cookie tins or an airtight container. Or freeze them for up to 2 months well-wrapped or in a freezer-safe container. Make sure they're completely cooled, and don't stack them in a way that crushes the pieces of chocolate.
- Room temperature ingredients: this is essential to integrate them fully, especially if using a hand whisk.
- Mixing: an electric mixer makes it easier to mix the cookie dough, but you can use a whisk and some arm muscle.
- Chocolate kisses: it's important to place them on the cookies the second the baking sheet is out of the oven. That way, they will slightly melt and stick to the cookie. You can also pop the cookies with the chocolate pieces back in the oven for a minute.
The peanut butter dough
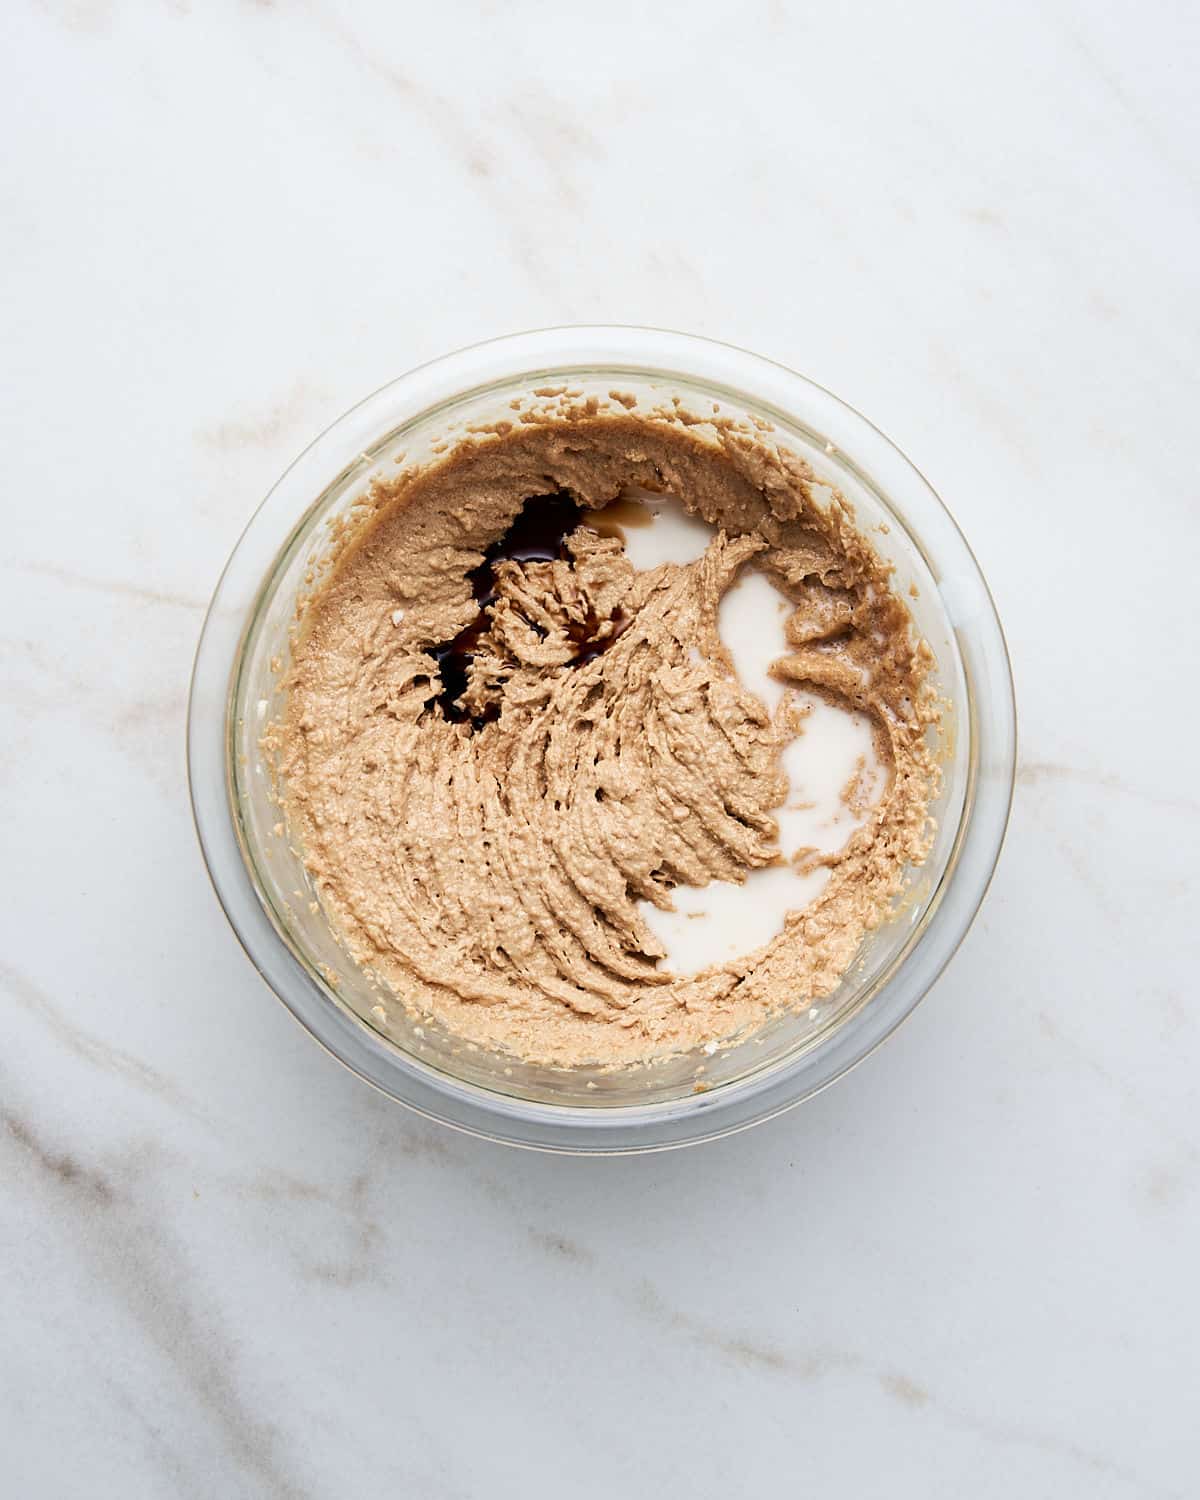
- Combine butter, peanut butter, and sugars in a large bowl. Then add flavoring and cornstarch slurry.
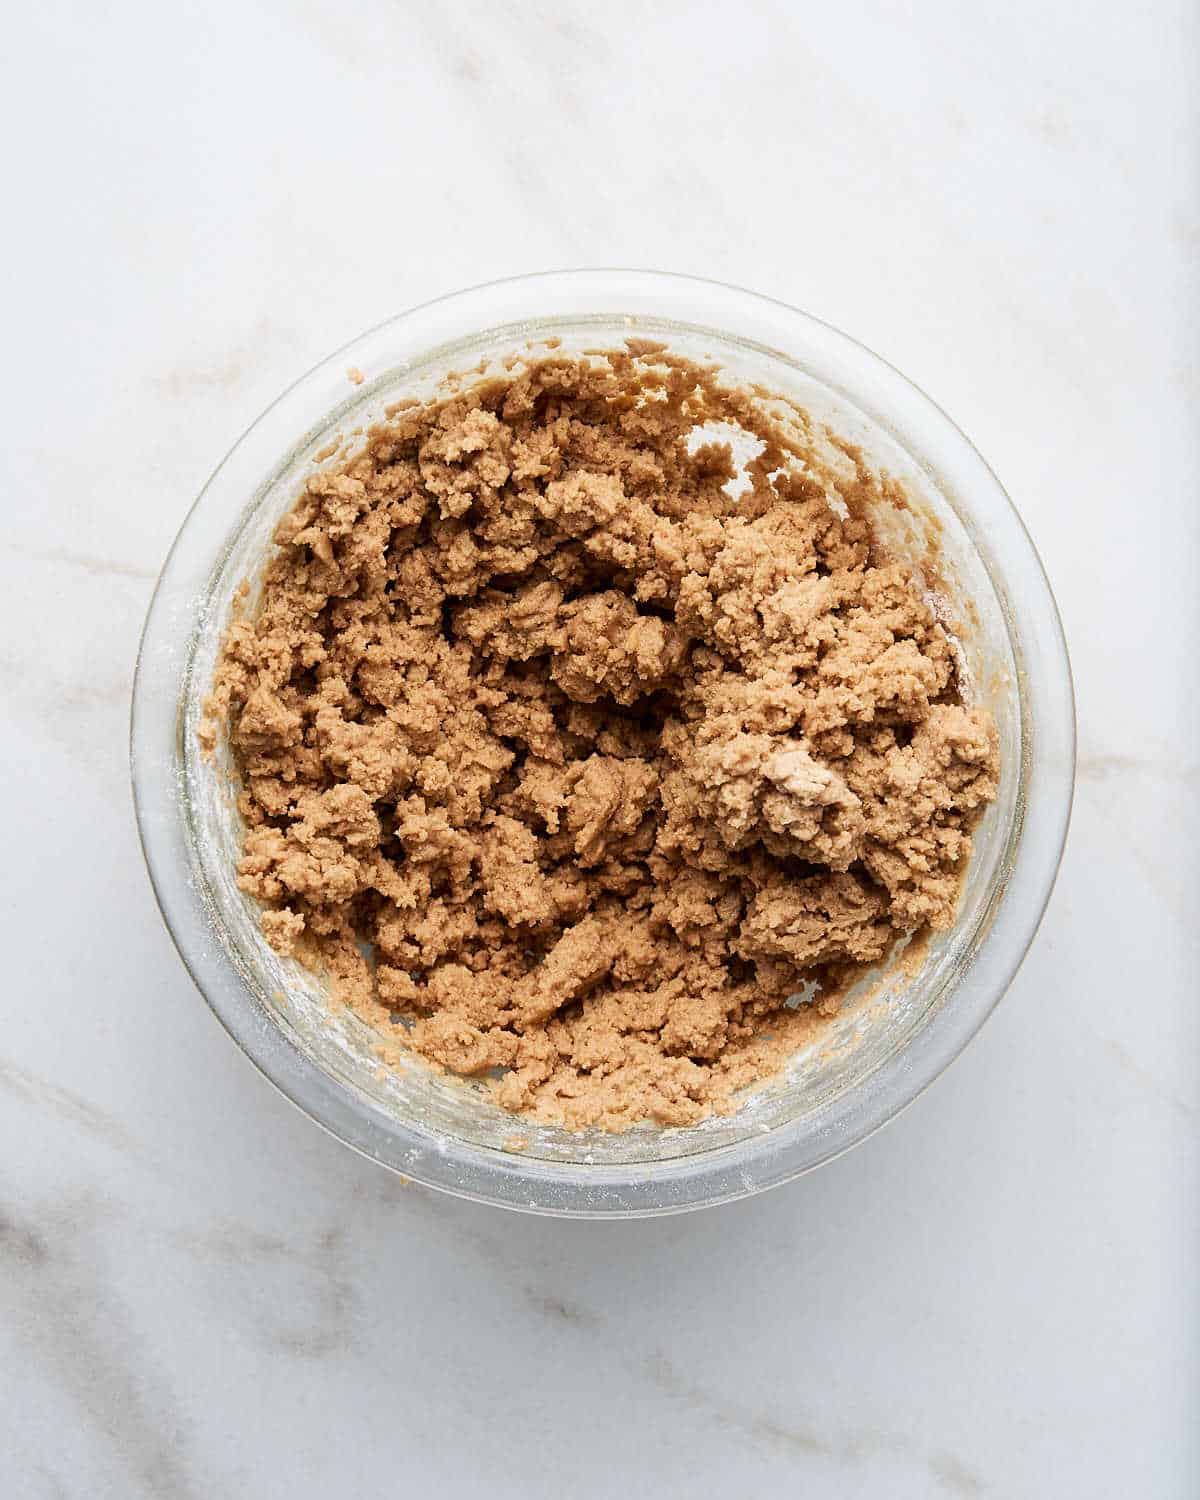
- Mix in the dry ingredients. At this point, beat on the lowest speed and *just* until it's all integrated. Don't overmix! The final cookie dough is thick and soft and can be formed into small balls.
Rolling the cookies
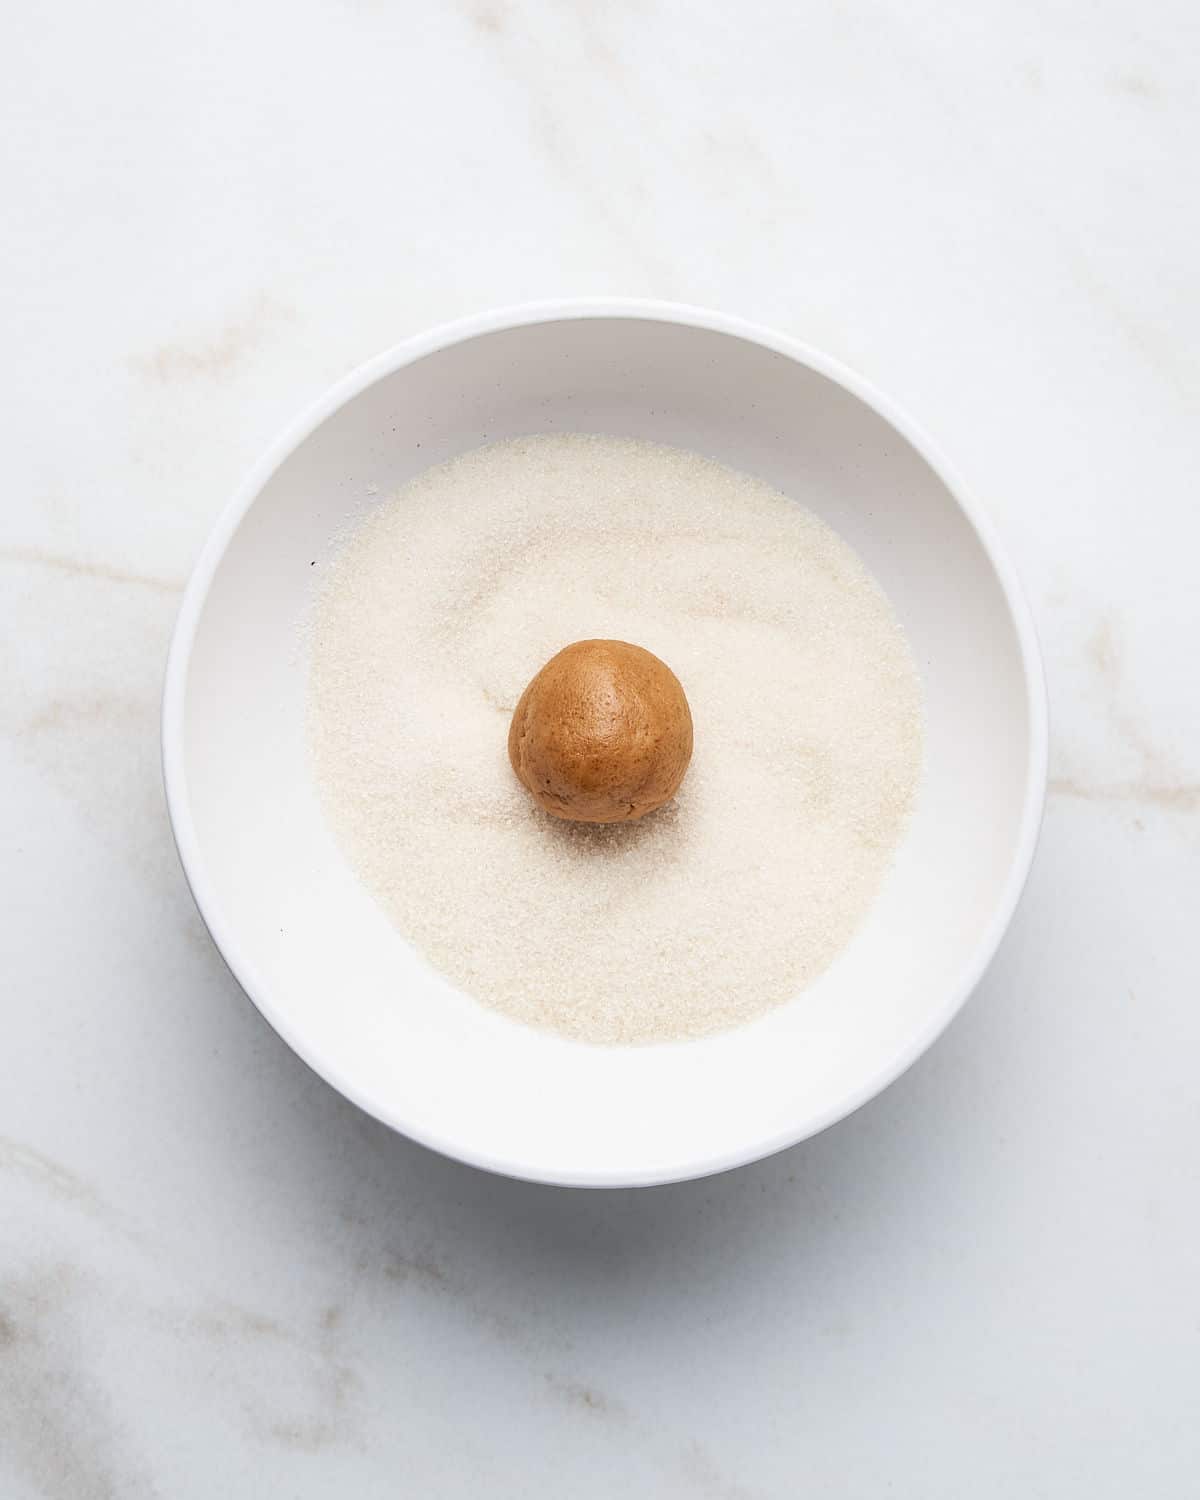
- Put sugar in a shallow bowl. Roll each cookie ball and coat it completely.
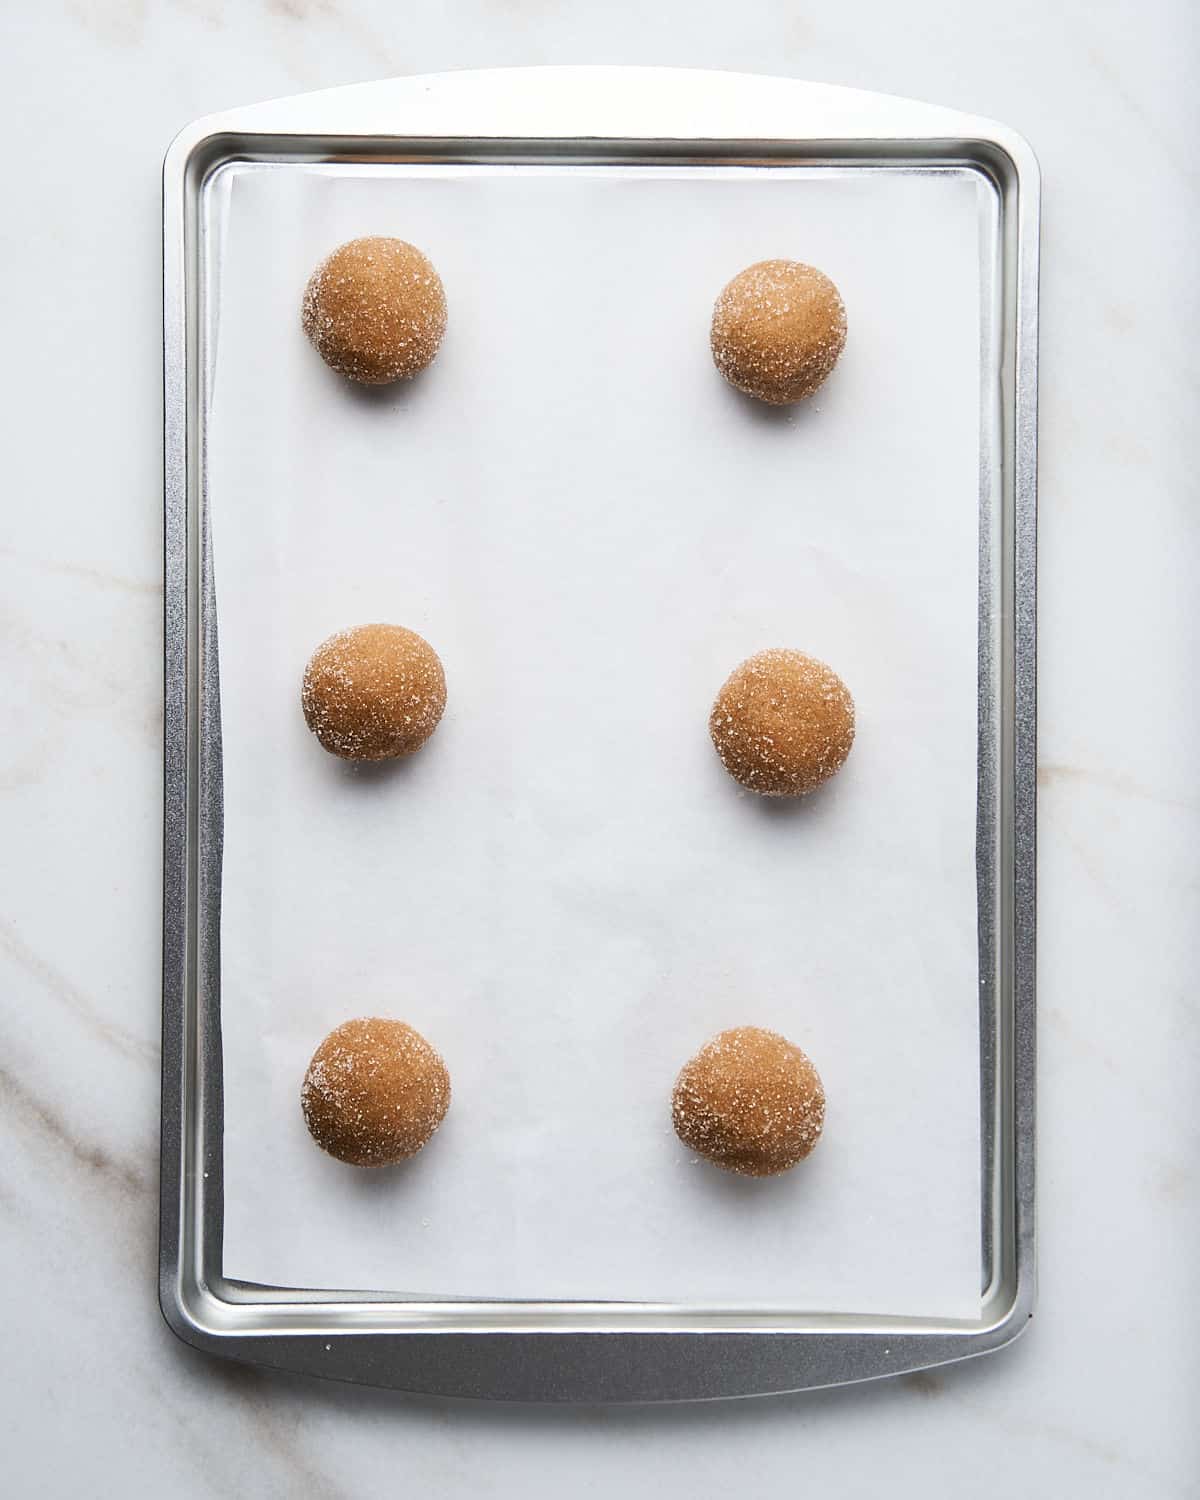
- Place them on the prepared baking sheet, separated by 2 inches so they can expand as they bake. You can bake 8-10 cookies per baking sheet.
Baking
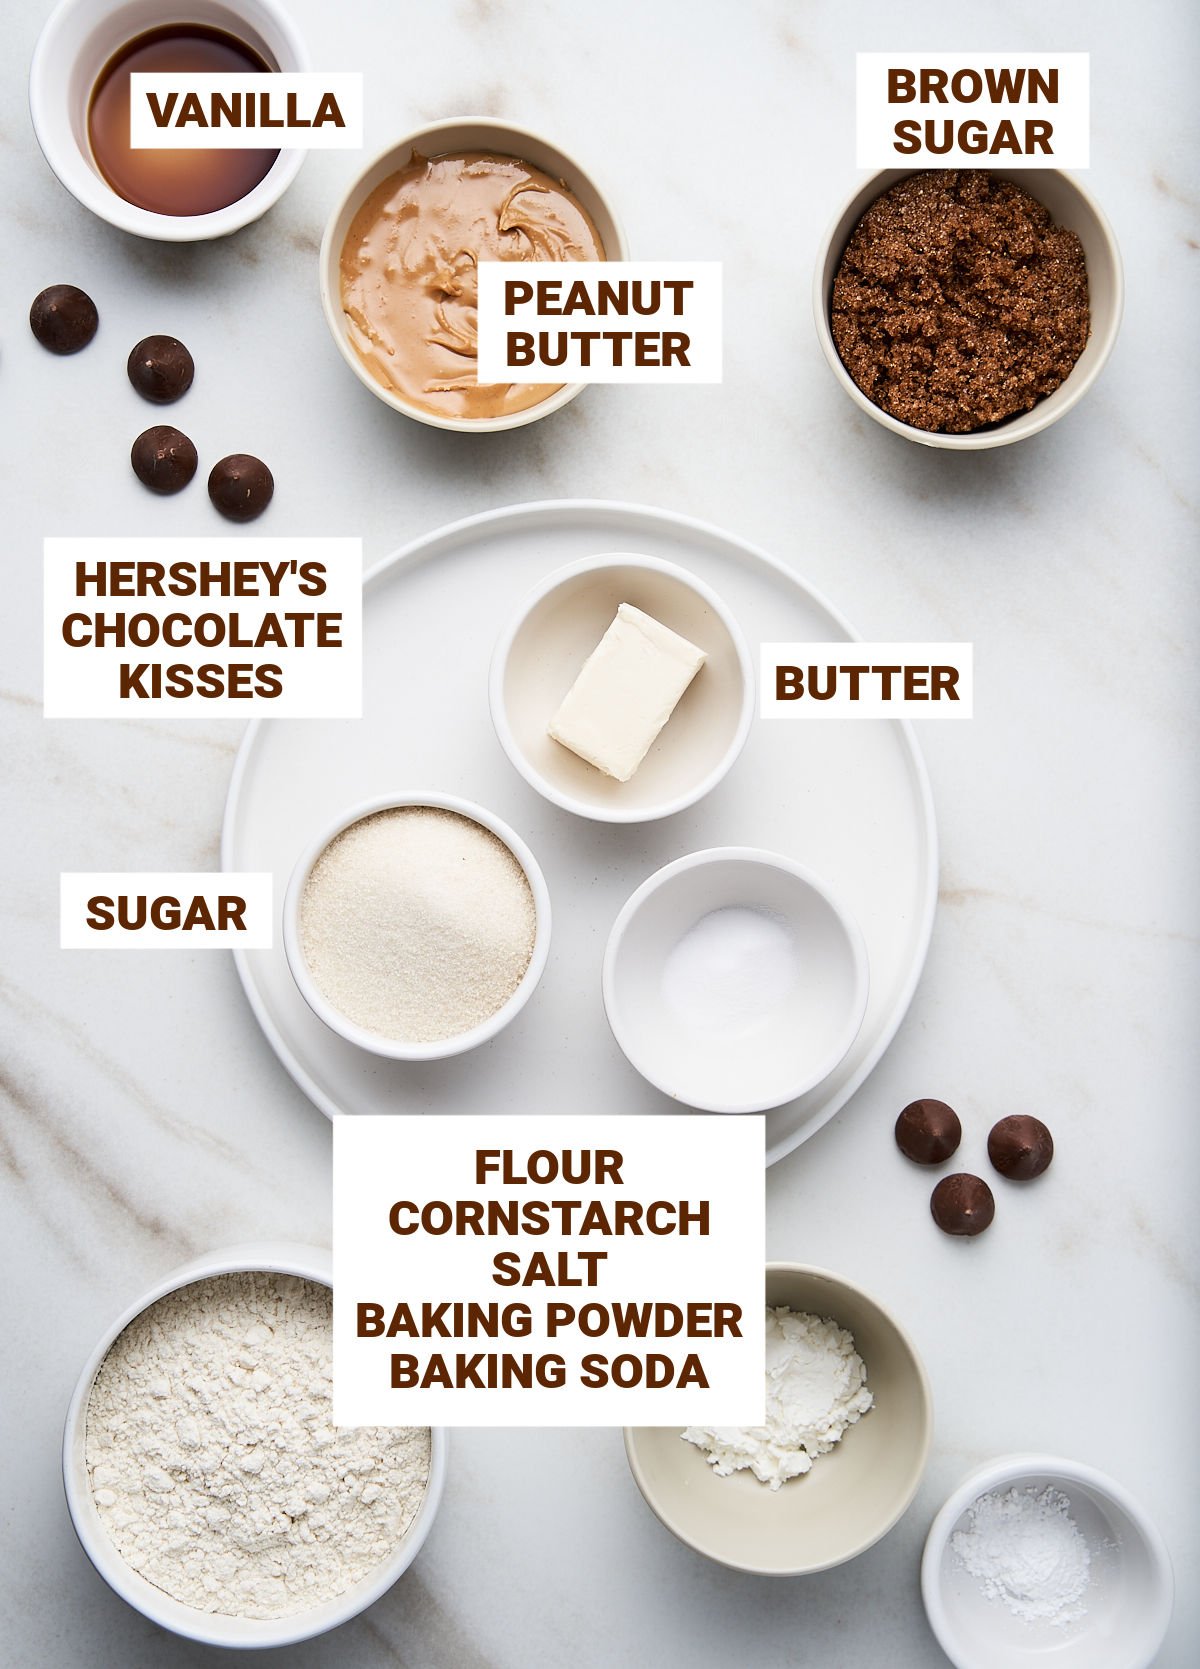
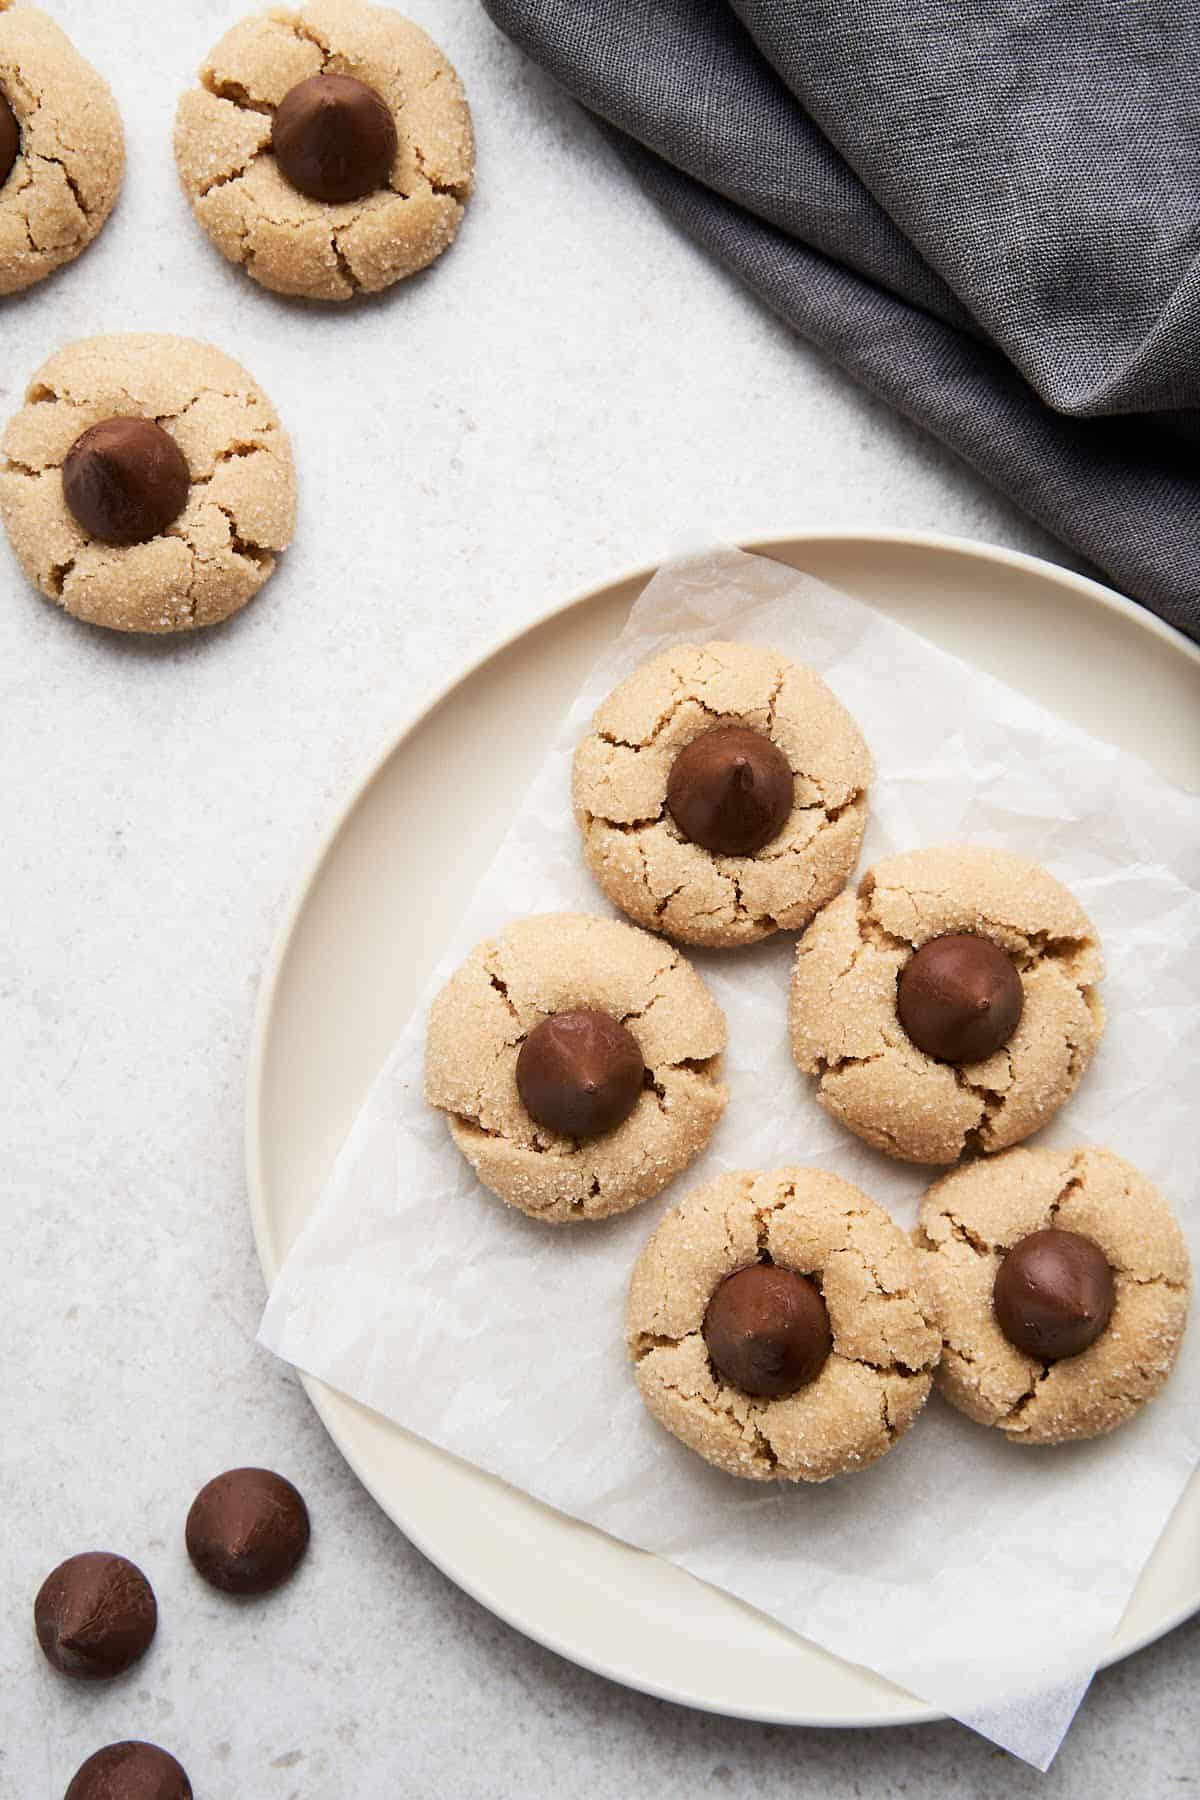
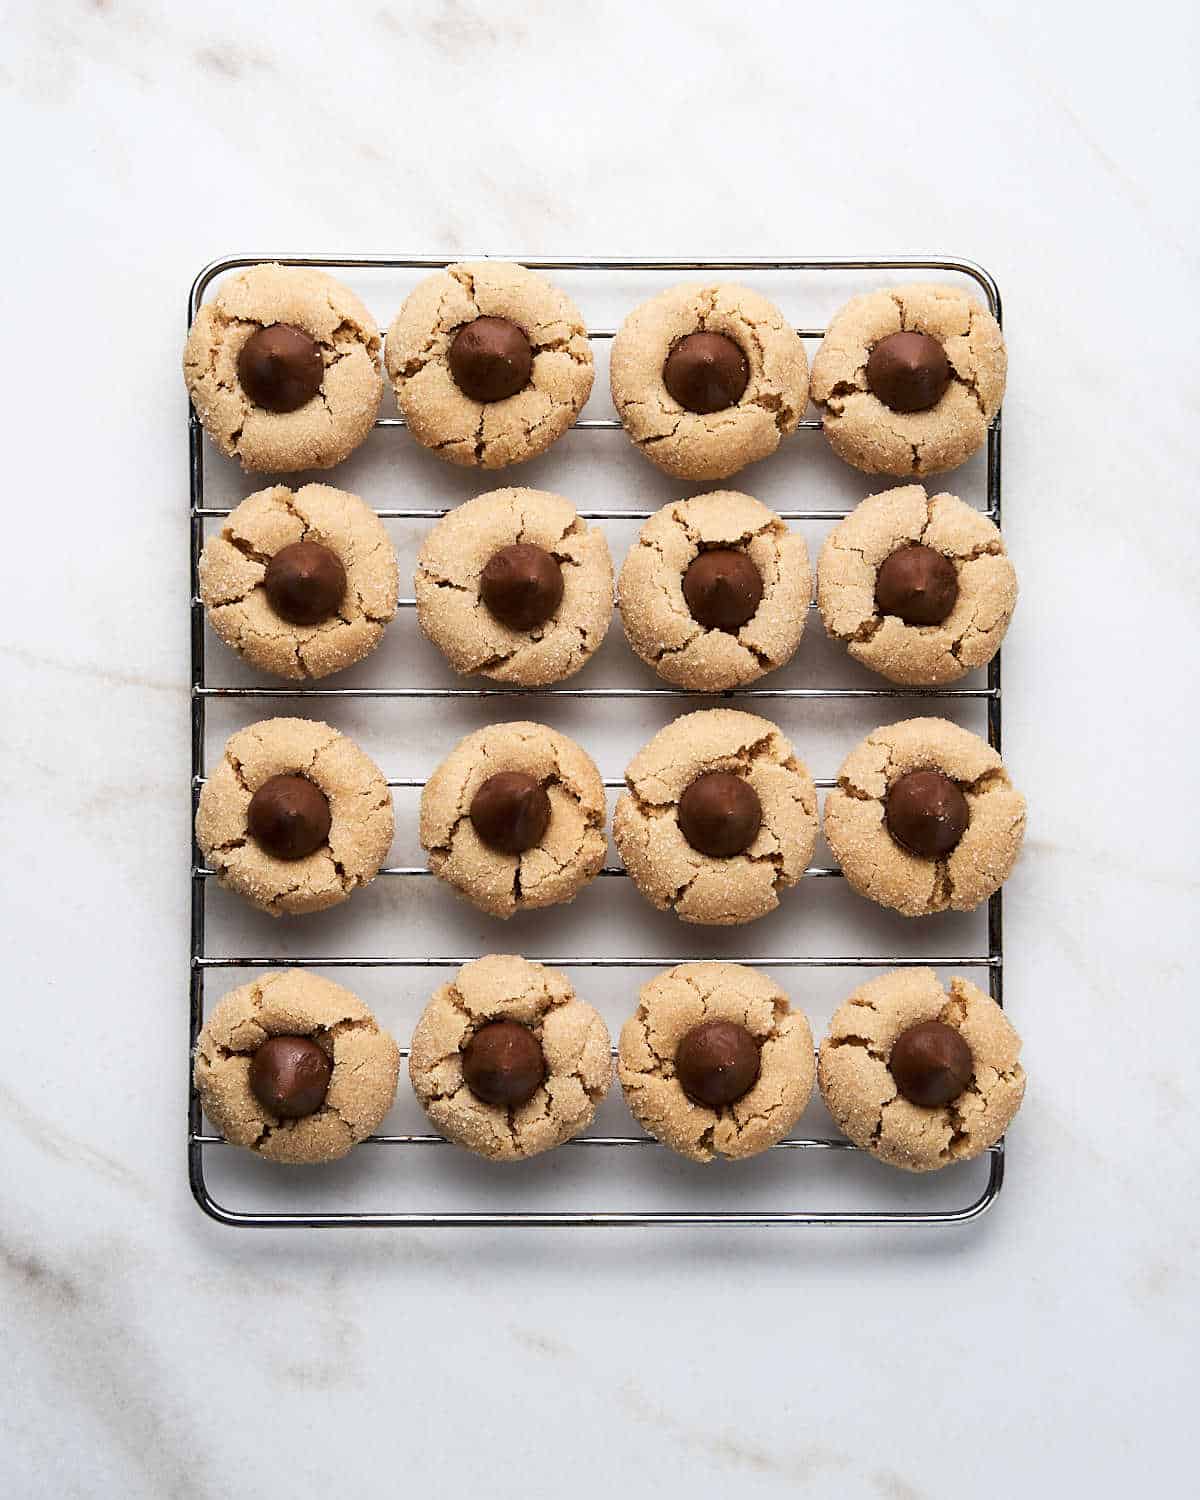
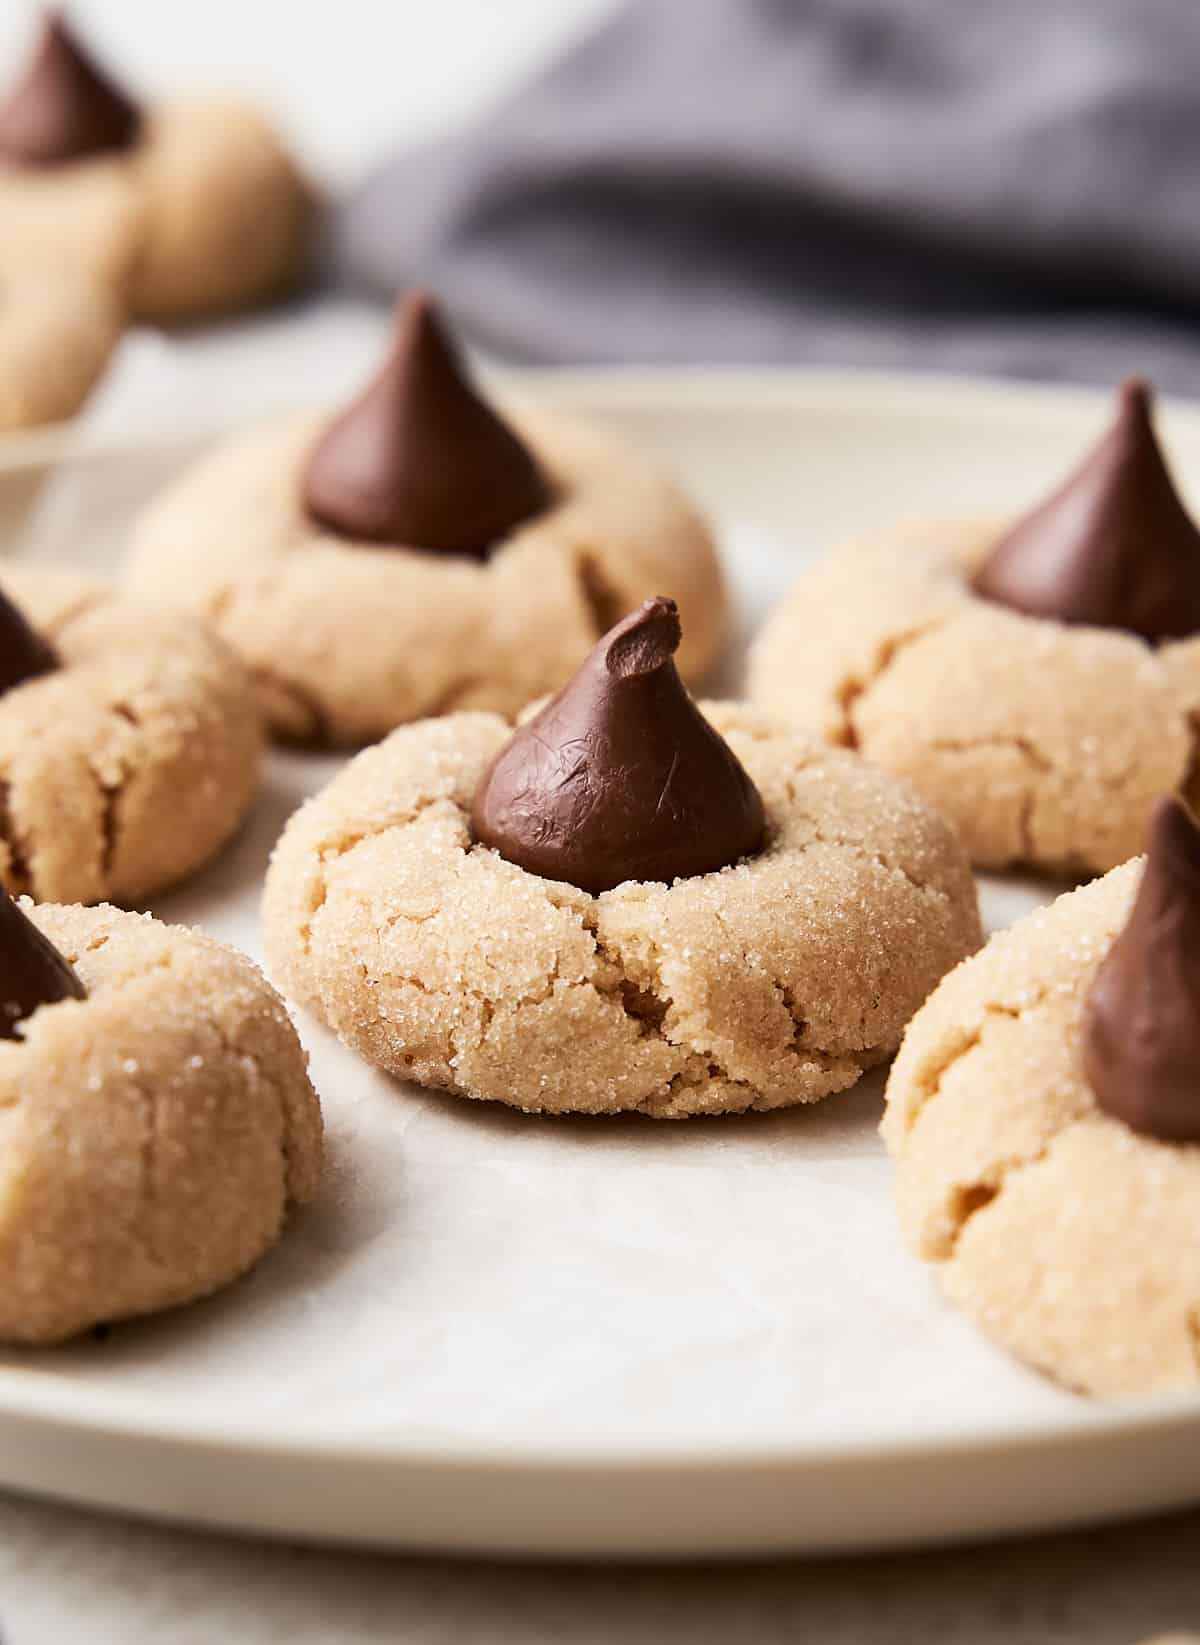
When you take the cookies out of the oven, they will be soft and slightly cracked. When you place the chocolate kiss in the center, they will' blossom', and the cracks will then be more noticeable, which is how they're supposed to be.
Make sure they rest in the cooling rack until the chocolate pieces are stuck in place.
⭐️ Vintage Kitchen Tip
Place each kiss in the center of the cookie the second they're out of the oven. The bottom of the chocolate will melt slightly and harden as the cookies cool down, making it stick to the dough. You can bake them with the chocolate for 1 more minute to ensure they'll stay in place.
Related recipes you might like:
Let me know in the comments below if you made this recipe and loved it and if you had issues so we can troubleshoot together. I love to hear what you think, always. Thanks for being here. It's much appreciated.
You might also consider subscribing to our FREE email series 'Baking the Best' and our regular newsletter. Or connect via Facebook, Instagram, and Pinterest.
Peanut Butter Kisses
Ingredients
- ½ cup unsalted butter, at room temperature
- ½ cup creamy peanut butter, at room temperature
- ½ cup sugar
- ½ cup brown sugar, packed
- 1 teaspoon vanilla extract
- 1 tablespoon cornstarch
- 2 tablespoons warm water
- 1 ½ cups all-purpose flour
- ¾ teaspoon baking soda
- ½ teaspoon baking powder
Toppings
- ¼ cup white sugar
- 24 chocolate kisses, milk or dark, unwrapped
Instructions
- Preheat the oven to 375°F (190°C).
- Line 2 baking sheets with parchment paper.
- In a large mixing bowl, beat the butter, peanut butter, and white and brown sugar with an electric mixer 2 minutes, until light and fluffy. You can use a stand mixer with the paddle attachment.
- In a small bowl, whisk the cornstarch and warm water together. Add this mixture along with the vanilla to the cookie batter. Beat for another 30-60 seconds to incorporate.
- Sift the flour, baking soda, and baking powder together in a medium bowl.
- Slowly add them to the wet ingredients, mixing on low speed, until a dough forms that is soft and thick. I like to end with a spatula before the dough combines completely to avoid overmixing it.
- Add the sugar for the topping to a shallow bowl.
- Form the dough into walnut-sized balls (1-inch balls), then roll each one in the sugar. I use a cookie scoop (see Notes below)
- Transfer to the prepared cookie sheets, placing them about 2 inches apart, so they have space to grow.
- Bake the cookies for 10 minutes or until it's slightly cracked and the edges are light golden brown.
- Remove the cookies from the oven and immediately press a chocolate kiss into the center of each cookie.
- Transfer them to a wire rack and cool completely before eating.
Notes
Test run: I always recommend baking two or three cookies at first and checking the baking time to make sure you don't over or underbake the whole batch. Chocolate centers: if milk chocolate kisses or dark chocolate kisses are unavailable where you are, cut chunks from a milk chocolate bar or semisweet baking chocolate. When to add the chocolate kisses? I do it the second the cookies are out of the oven, and it works fine. But you might want to put it for an extra minute after the kisses are added so they stick better to the cookies after they cool down. Storage: they keep well for about a week at room temperature in cookie tins or an airtight container. Or freeze them for up to 2 months well-wrapped or in a freezer-safe container. Make sure they're completely cooled, and don't stack them in a way that crushes the pieces of chocolate. Variations: instead of the chocolate kiss, use peanut butter cups. Or add up to ½ teaspoon of ground cinnamon to the peanut butter dough together with the flour mixture.


Rate and review this recipe