

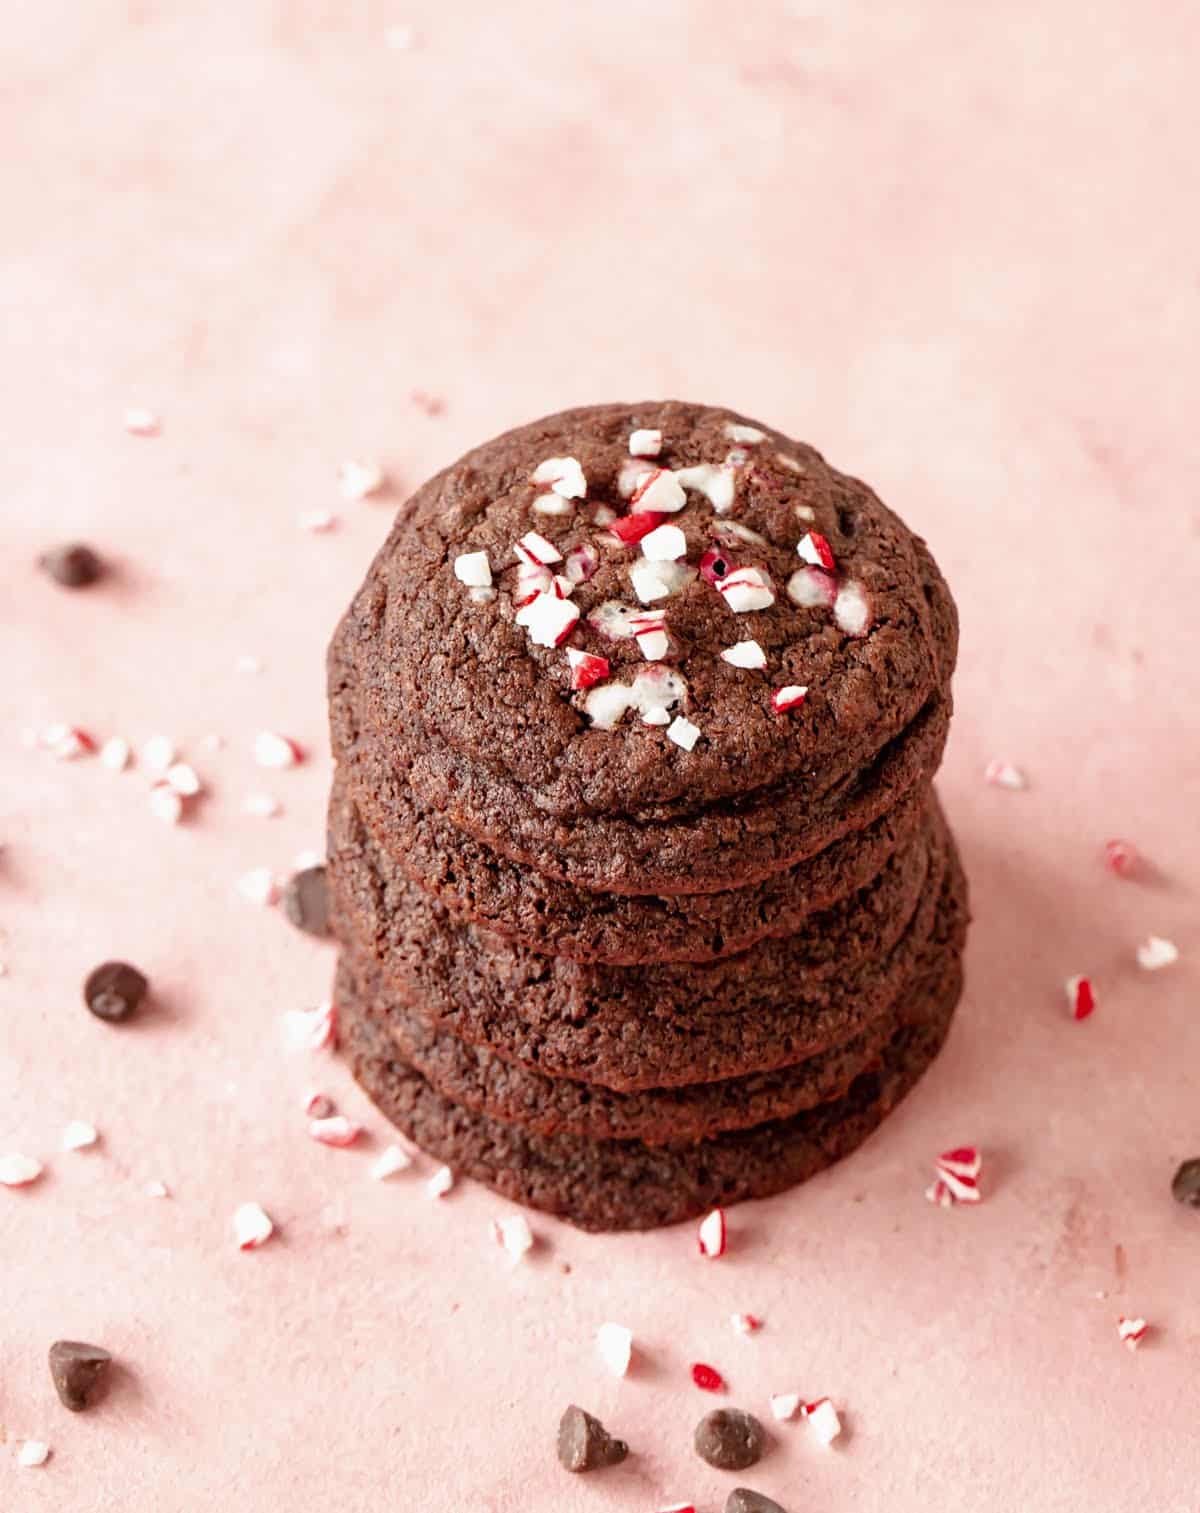
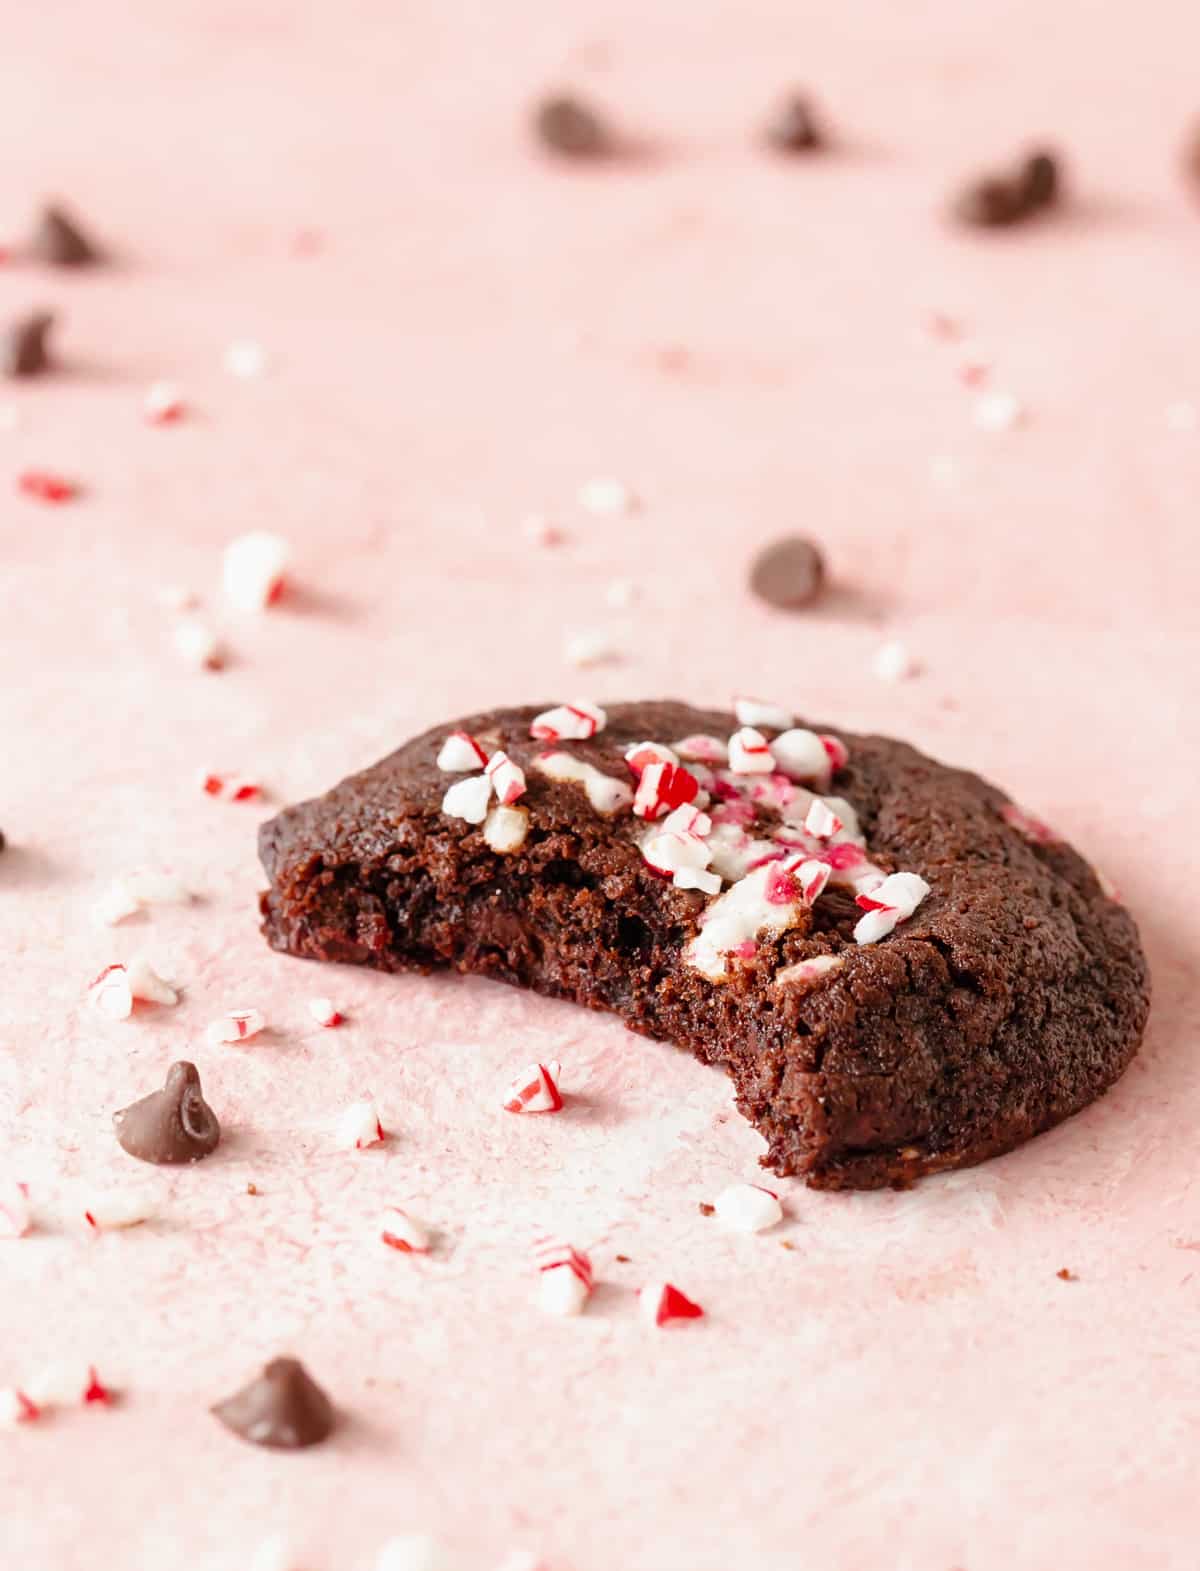
Soft, fudgy, and very easy to make, these cookies have the right balance of chocolate with crushed peppermint and are perfect for the holidays. They come together quickly and can be baked immediately, or the cookie dough can be refrigerated or frozen for several days or weeks.

Fudgy and minty
Mint and chocolate are some of my favorite flavor combinations by far.
The holidays always include the popular fudgy peppermint brownies and the mint chocolate chip cookies, but I wanted something more potent.
In comes this simple dark chocolate peppermint cookie recipe that makes a fantastic addition to the holiday season table or as a gift. The addition of crushed mint candy is just what was needed.
The mint bits stay soft even after the cookies are baked, and some mint extract enhances the flavor.
- Easy to make: a one-bowl recipe that can be made and chilled for a few days before baking them.
- Flavor: both the chocolate and the mint shine on their own and also together. You can adjust the peppermint extract to your palate.
- Freezing: you can have the scooped cookie portions frozen and bake them when needed.
- Great for gifting: they are great year-round, of course, what cookie isn't? But are especially pretty as Christmas cookies as they travel well and have a festive flavor.
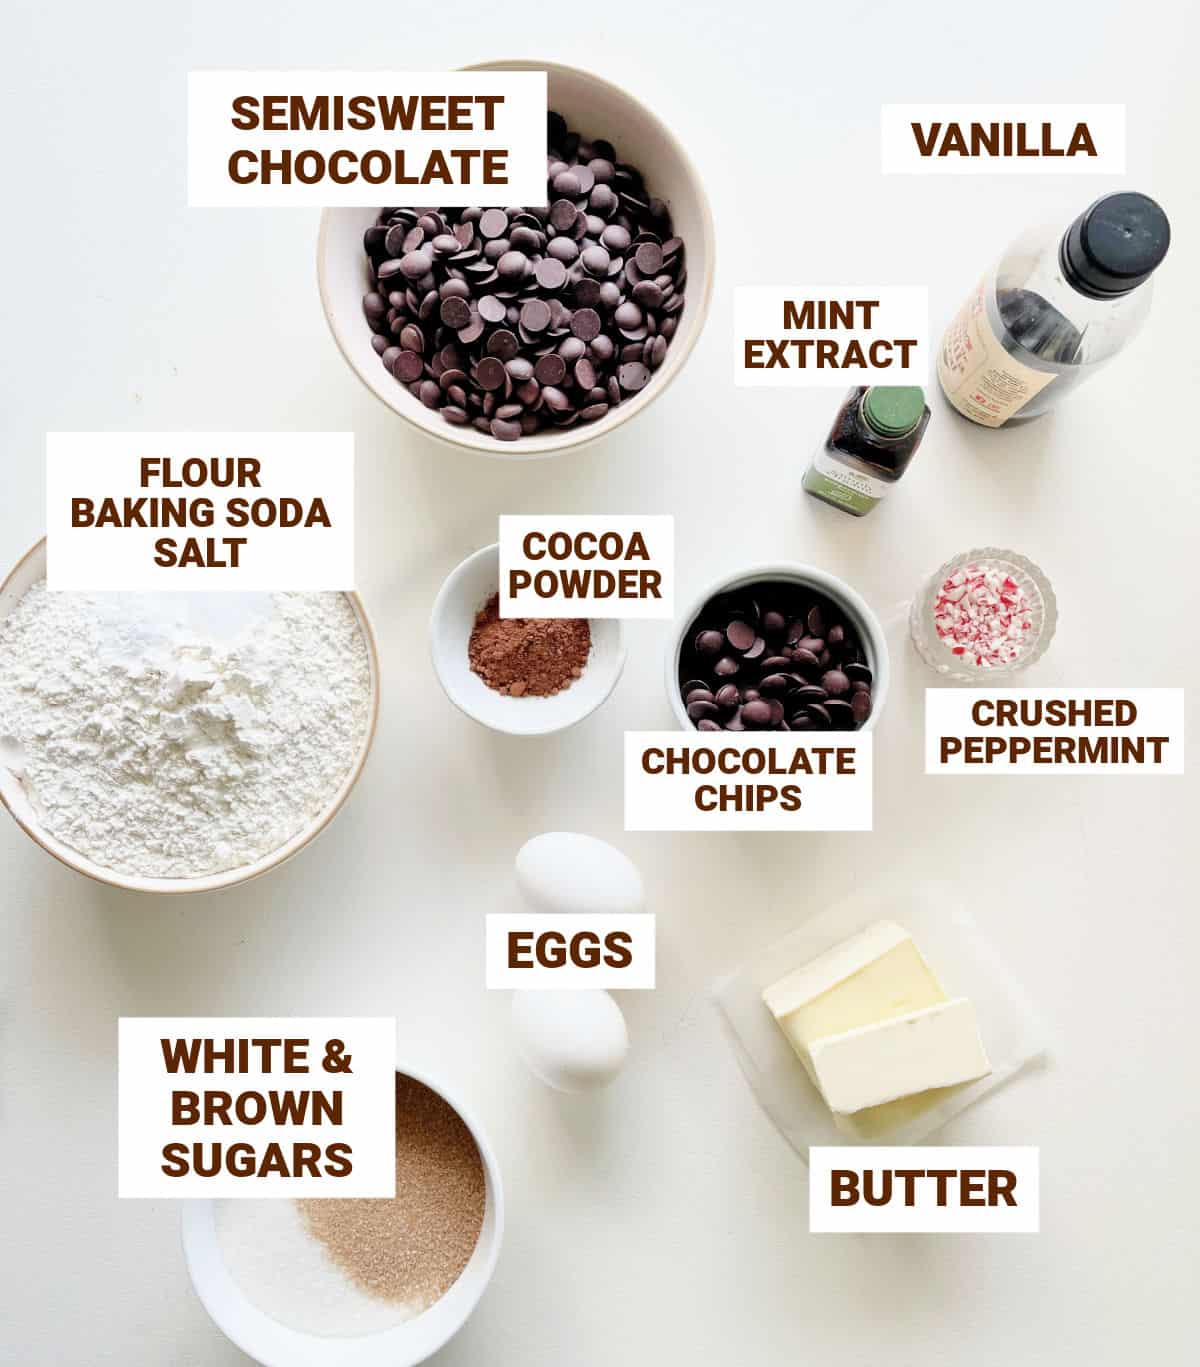
Ingredient Notes
Quantities are listed in the recipe card towards the end of this post. The Ingredients page has more details and lists the brands we use.
- Chocolate: use your favorite dark semisweet chocolate for this recipe.
- Semisweet chocolate chips: any brand you already use works fine.
- Cocoa powder: make sure it's unsweetened.
- Crushed peppermint candy: you can crush whole candy canes or buy crushed ones, which is way easier.
- Mint extract: I like peppermint, but if you regularly use a different one, use it.
- Brown sugar: light or dark
- Baking soda: make sure it's not expired.
- Melt the chocolate: always start with chopped chocolate in a microwavable or glass bowl. You can use the microwave (short 10-15 second spurts stirring well between each one until it's fully melted) or a double boiler with the bowl containing the chopped chocolate not touching the water. In both cases, make sure it doesn't scorch.
- Electric mixer: it's what I use to cream the butter, sugars, and eggs before adding the flour mixture and add-ins, which I do with a spatula. A stand mixer with the paddle attachment also works, and make sure you mix at low speed after adding the dry ingredients.
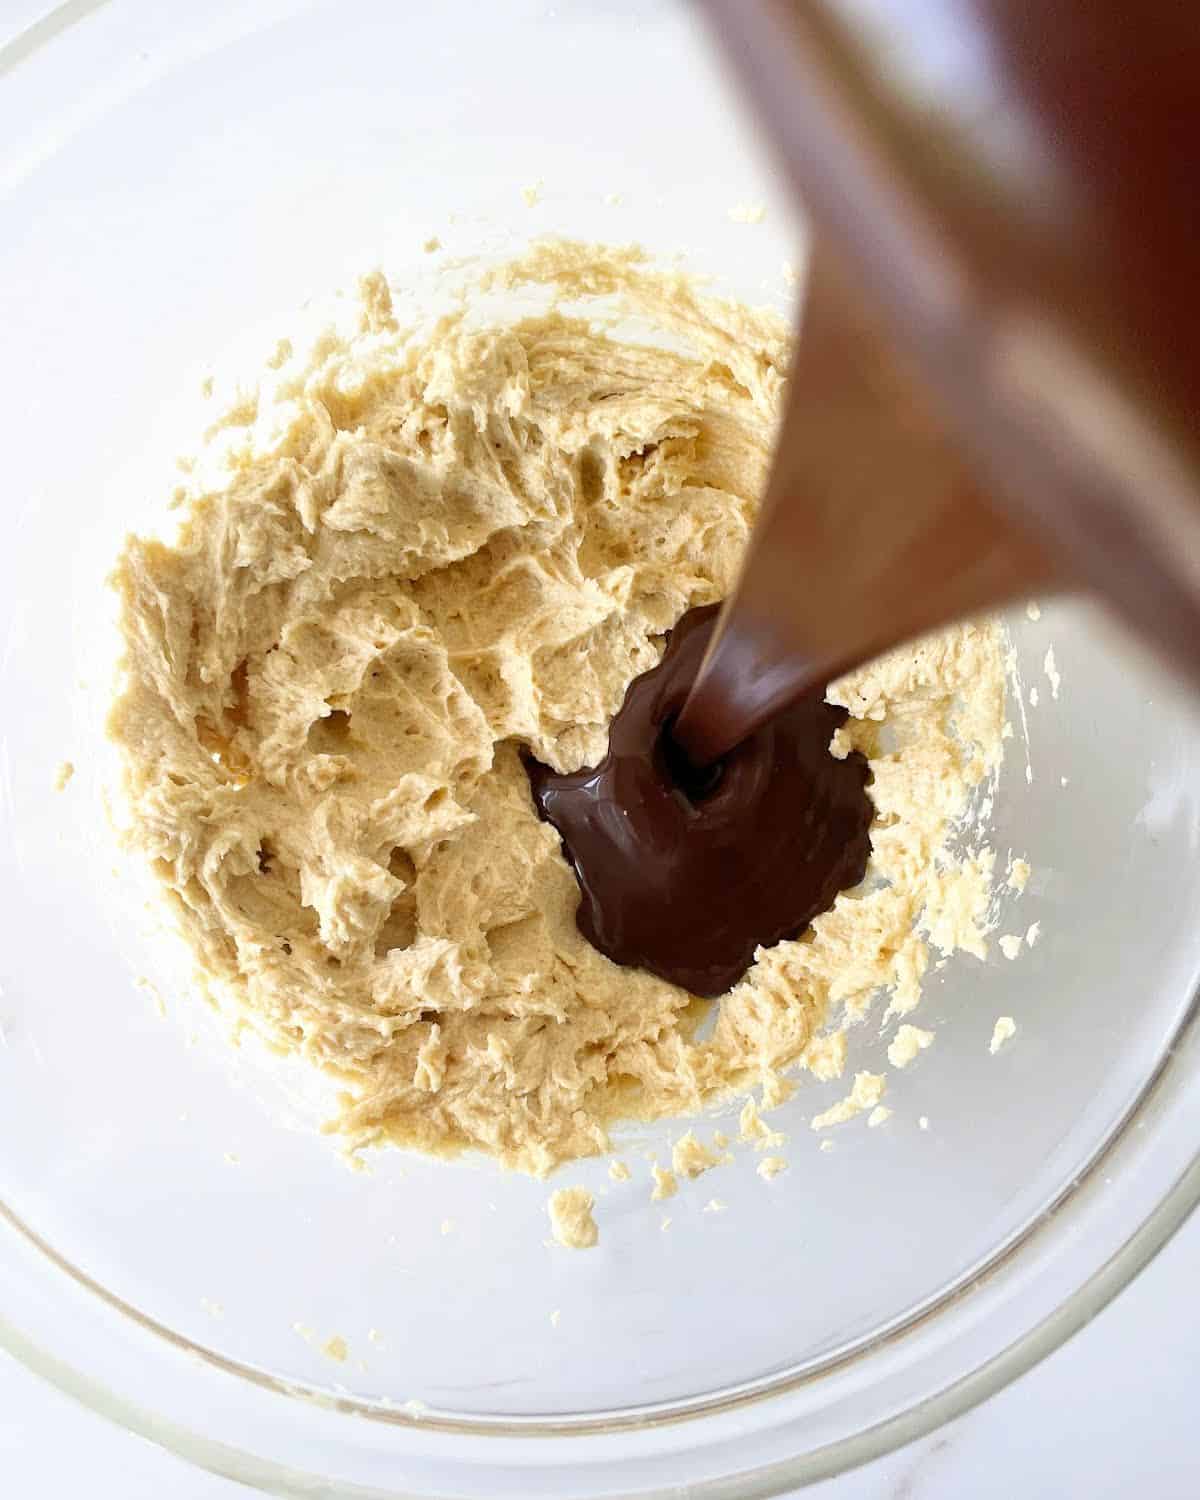
- Melted chocolate: add it while still warm but not starting to set so it integrates well with the butter mixture.
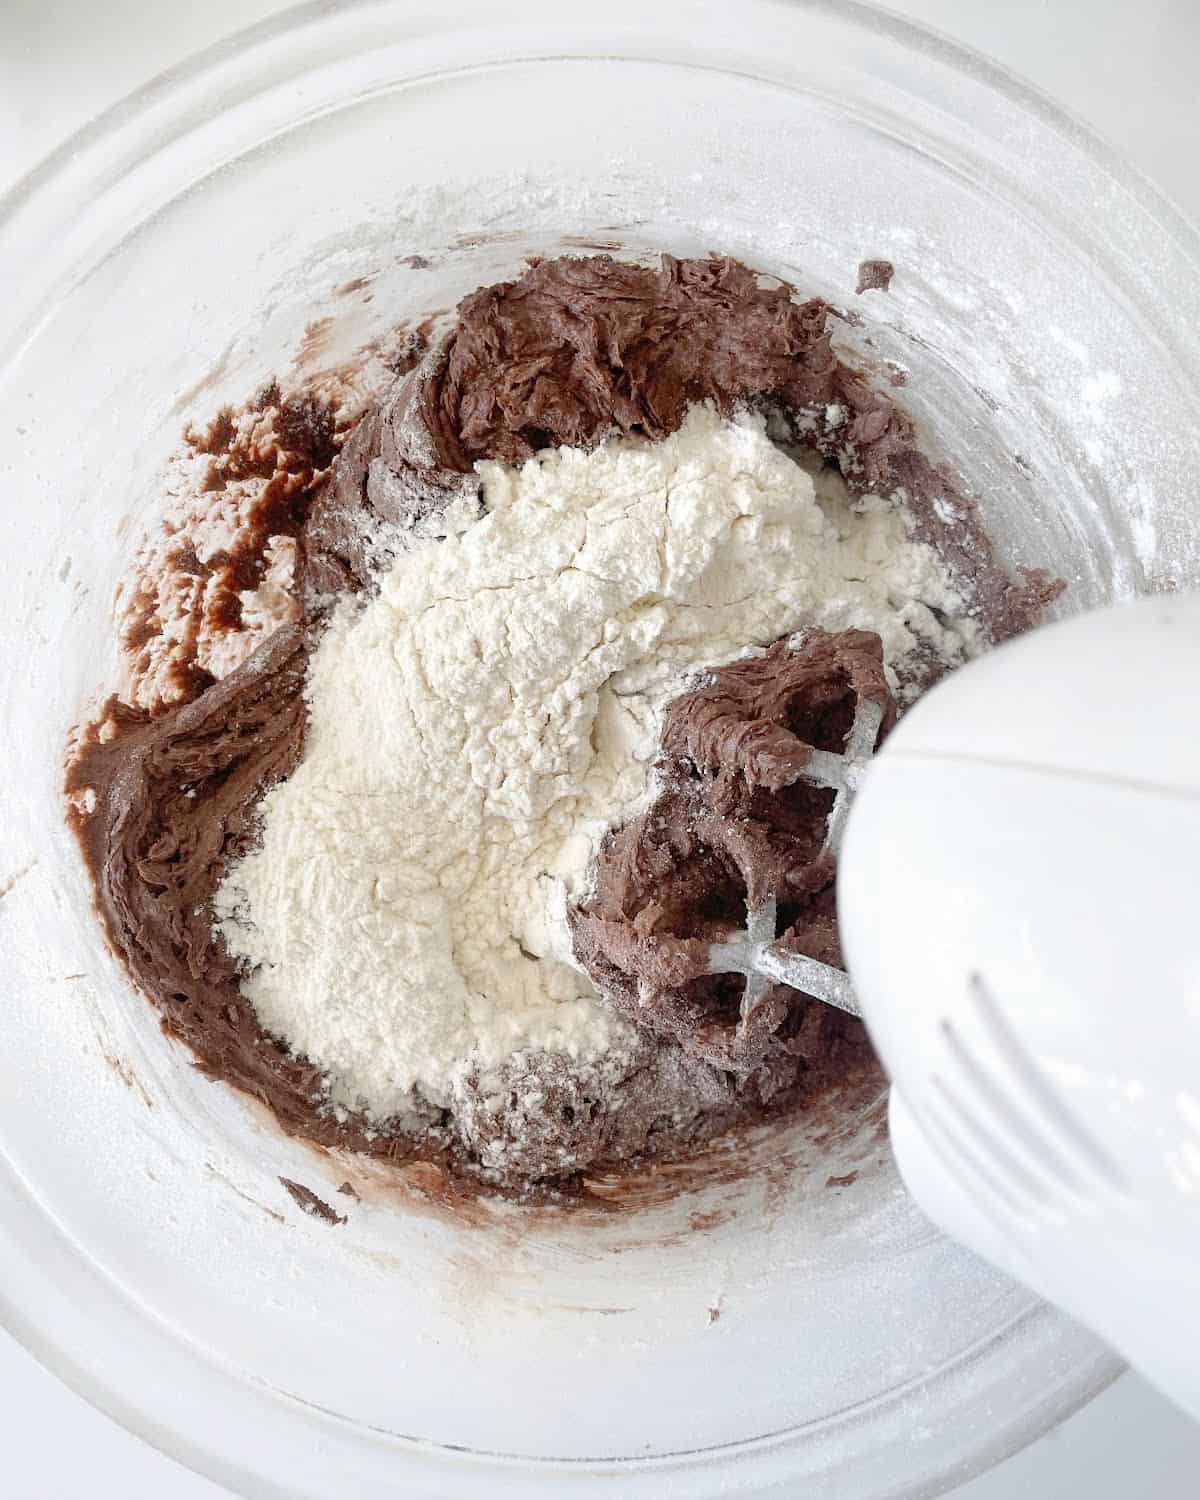
- Dry ingredients: don't overmix or overbeat at this point, so the cookies aren't tough after they're baked. The final chocolate cookie dough will be thick.

- Add-ins: the chocolate chips are added to the cookie dough.
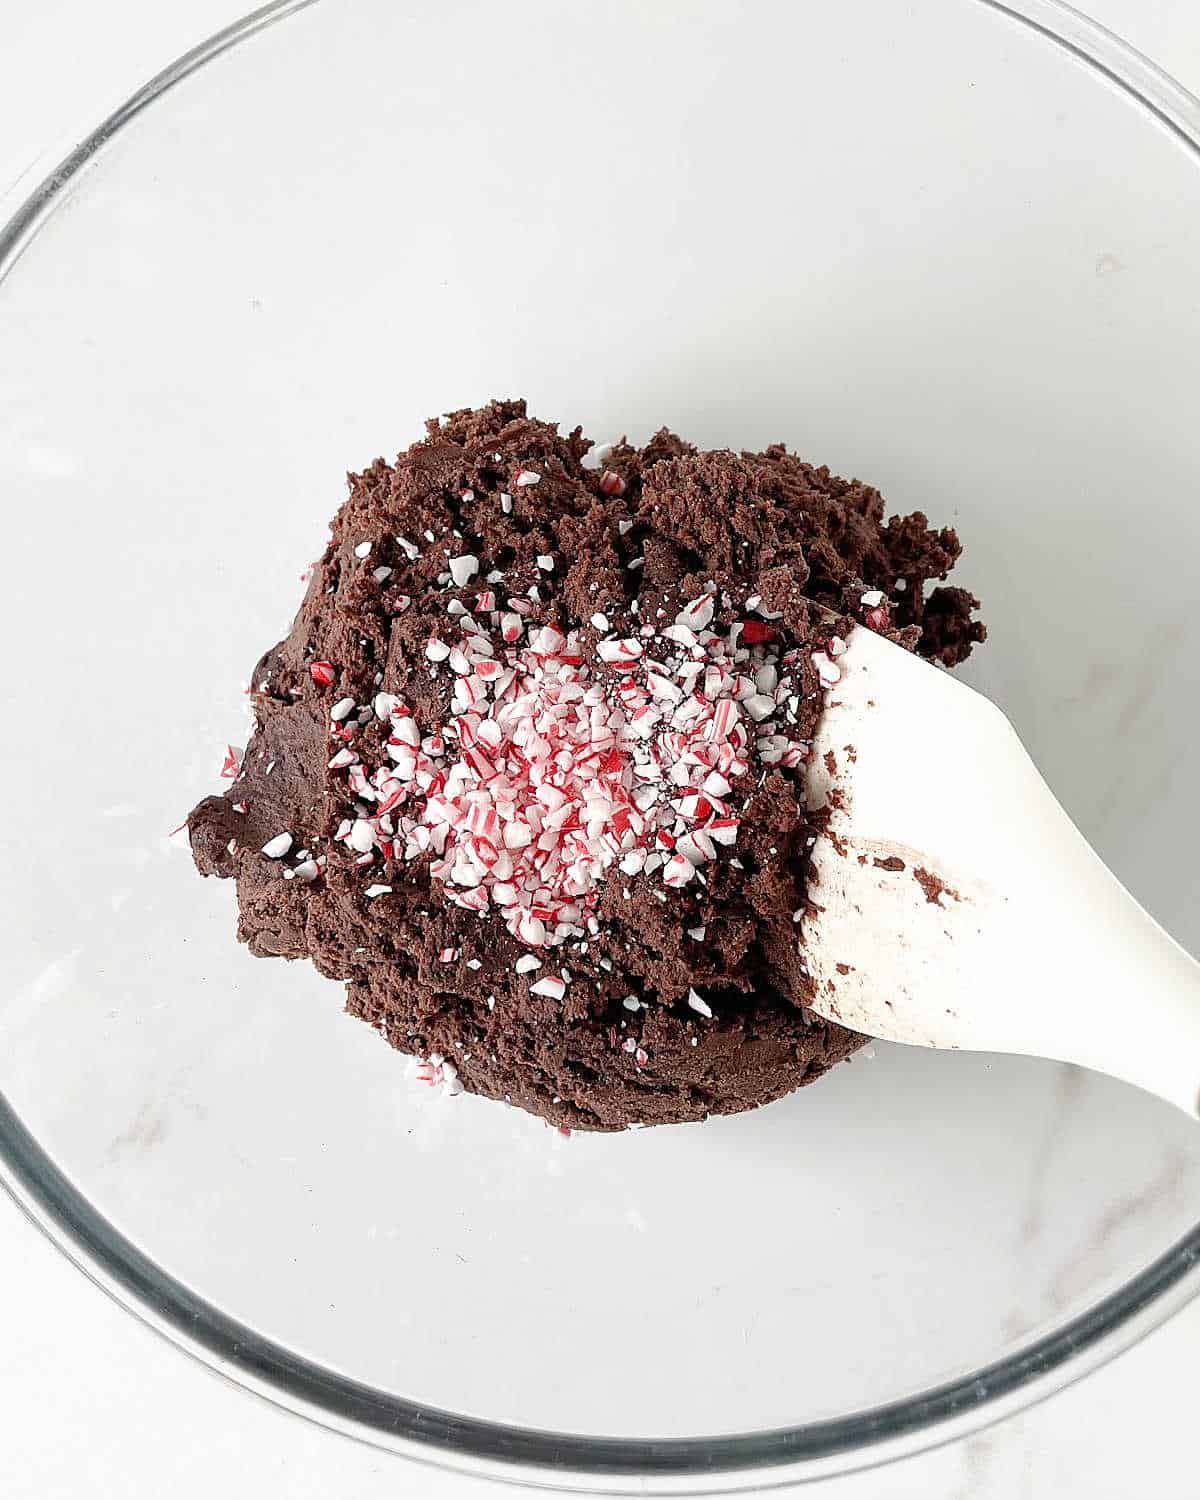
- Crushed candy: add most of it to the dough and then sprinkle more on the cookies before baking so they are more colorful. Or add them all to the dough to make it simpler.
Baking
Baking sheets: I butter the cookie sheet lightly and don't use parchment paper. But you can if that's what you usually bake cookies on.
- Leave space between cookies to allow them to expand during baking, about 1 ½ inches.
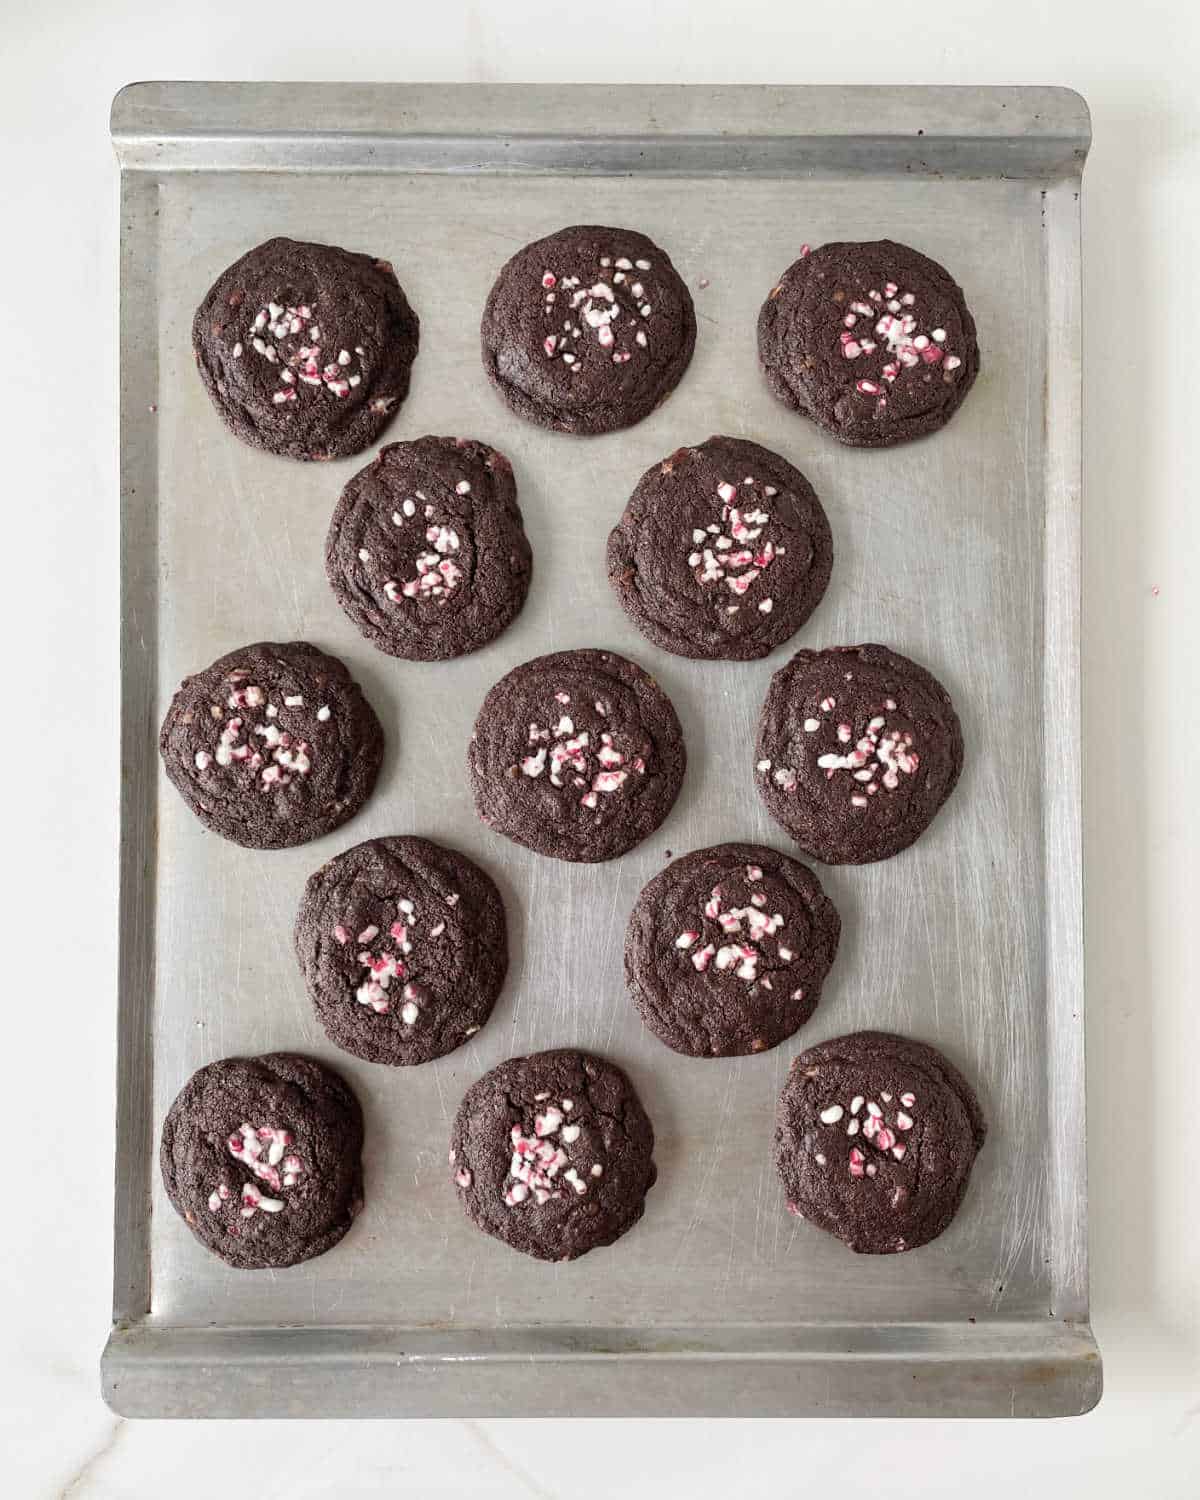
- The cookies will be set around the edges but still slightly soft in the center when you take them out.
Vintage Kitchen Tip
You can sprinkle extra crushed candy over the cookies when you remove them from the oven, making the colors more vivid. Don't go overboard so the mint flavor is not overpowering. Or save peppermint bits from the total amount to top the baked cookies.

Kitchen notes
- Organization: read the recipe first and ensure you have ingredients at the correct temperature, equipment, and enough workspace. This will make the process so much easier.
- Baking time: keep in mind that all ovens and pans are different, even if they look the same or very similar. The baking time in my recipes is as accurate as it can be, but it might take you more or less time. You can use a thermometer (like the OXO oven thermometer) to check that your oven is at the right temperature. I recommend you keep track of how your oven works and what tiny details you might need to adjust.
- Chocolate: the better the chocolate and cocoa powder you use, the better the flavor of the cookies.
- Chilling: I usually bake them directly but have chilled the dough for several hours and up to 2 days. There is not much difference in my experience. They're a tad more compact but not very noticeable. So, use the refrigerator to make the cookie dough ahead of time if necessary.
- Freezing: you can freeze the scooped cookie portions and bake them later. Put the scoops on a baking sheet and pop it in the freezer. When the dough balls are rock solid, transfer them to a plastic bag or freezer container to free up the baking pan and space in the freezer. Bake them directly as instructed in the recipe. They might take an extra minute or so.
- Extra candy: you can sprinkle extra crushed candy over the cookies when you remove them from the oven, making the colors more vivid. Don't go overboard, as the mint flavor is not overpowering. Or save peppermint bits from the total amount to top the baked cookies.
- White chocolate: a nice variation is to drizzle some melted white chocolate on top of the cookies before adding the crushed peppermint candies.
Related recipes you might like:


If you made this recipe and loved it, you can comment below and leave a 5-star ⭐️ review. Also, if you had issues, let me know so we can troubleshoot together.
You can also subscribe to our FREE email series 'Baking the Best' and our regular newsletter. Or follow and save my recipes on Pinterest.
As an Amazon Associate, I earn from qualifying purchases. Read my disclosure policy.
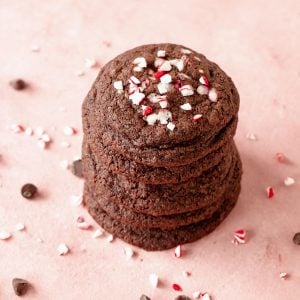
Peppermint Chocolate Cookies
Ingredients
- 8 ounces semisweet chocolate
- 1 cup unsalted butter, at room temperature
- ¾ cup white sugar
- ½ cup brown sugar, light or dark
- 2 eggs, at room temperature
- 1 ½ teaspoons vanilla extract
- ½ teaspoon mint extract
- 4 tablespoons unsweetened cocoa powder
- 2 ½ cups all-purpose flour
- 1 teaspoon baking soda
- ½ teaspoon salt
- 1 cup semisweet chocolate chips
- ⅔ cup crushed peppermint candy cane
- extra crushed candy cane, for sprinkling before baking
Instructions
- Preheat the oven to 375°F (190°C). Butter or spray a baking sheet or line with parchment paper.
- Melt the chocolate: start with 8 ounces semisweet chocolate in a microwavable or glass bowl. You can use the microwave (short 10-15 second spurts stirring well between each one until it's fully melted) or a double boiler with the bowl containing the chocolate not touching the water. In both cases, make sure it doesn't scorch.
- Beat 1 cup unsalted butter with ¾ cup white sugar and ½ cup brown sugar in a large bowl for about 3 minutes, until creamy.
- Add 2 eggs, one at a time, beating well after each addition. Scrape the sides of the bowl each time.
- Add the melted chocolate, 1 ½ teaspoons vanilla extract, ½ teaspoon mint extract and mix until smooth.
- Sift the dry ingredients (2 ½ cups all-purpose flour, 4 tablespoons unsweetened cocoa powder, 1 teaspoon baking soda and ½ teaspoon salt) before adding them to the butter mixture, or have them measured and sift as you add them. Don't overbeat at this point. Simply mix well with a spatula or beat at the lowest speed until no streaks of flour remain.
- Add 1 cup semisweet chocolate chips and ⅔ cup crushed peppermint candy cane. Mix well. At this point, you can bake the cookies or cover the bowl and refrigerate the cookie dough for a day or two.
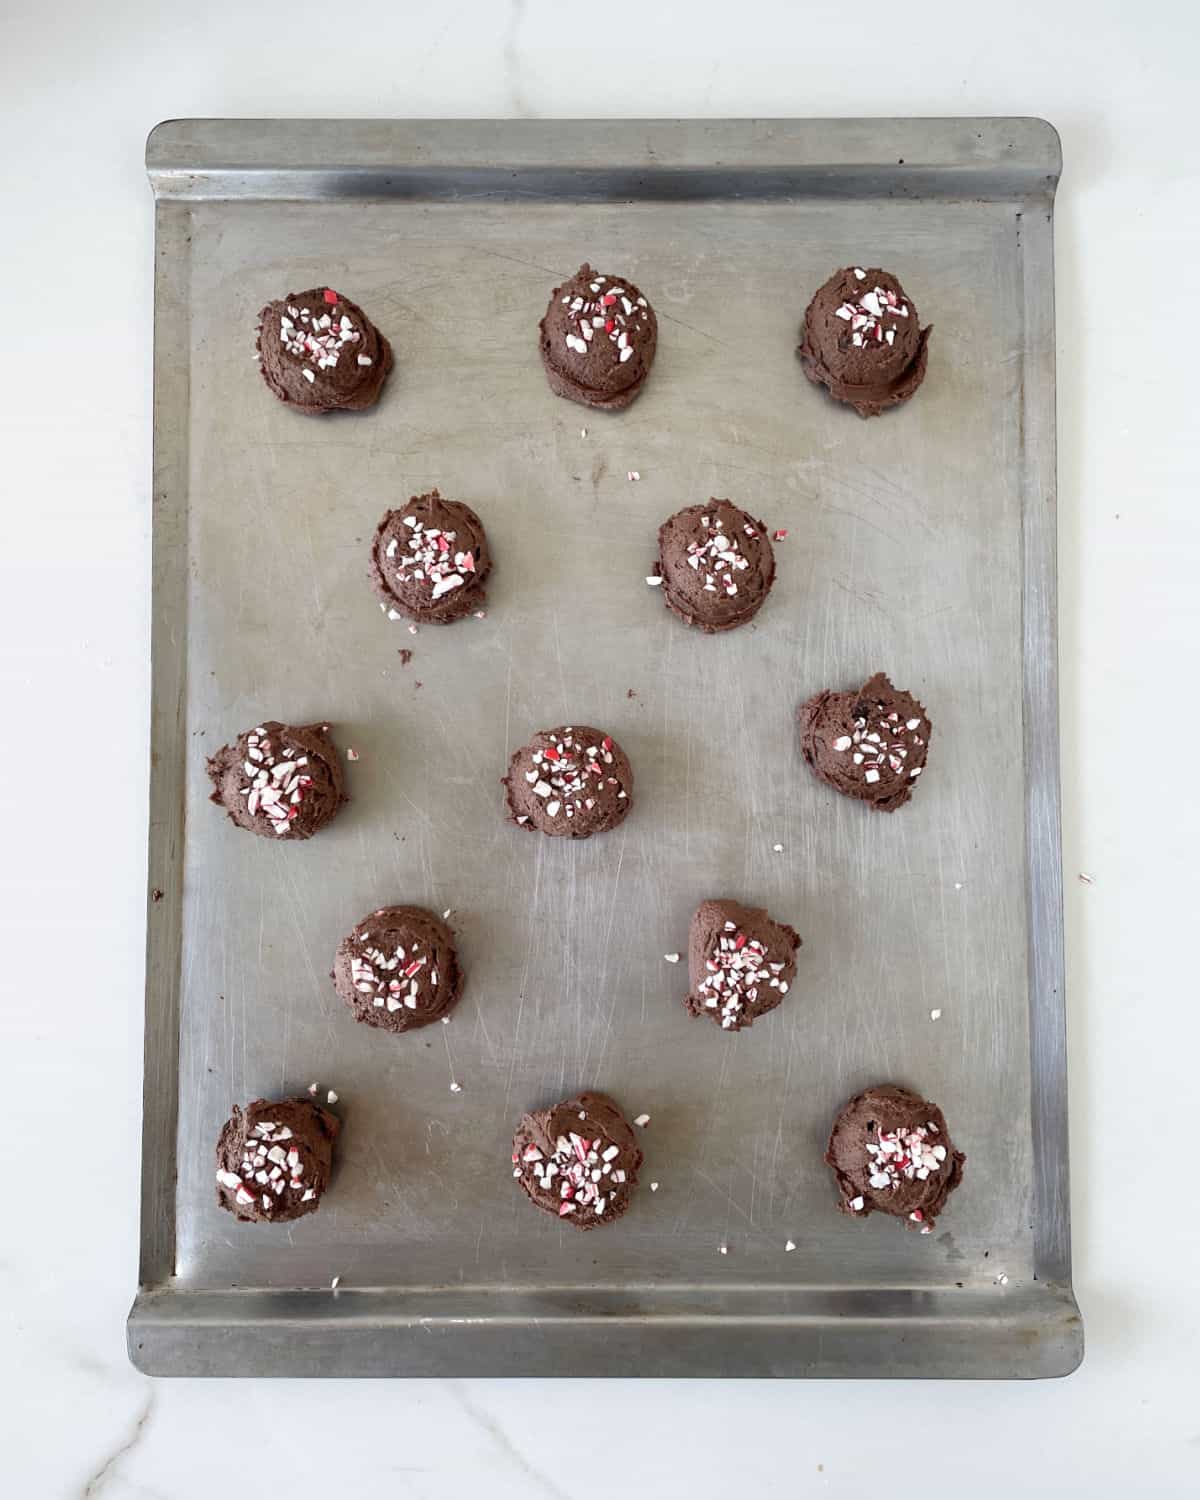
- Scoop portions on the prepared baking sheets making sure they're separated 2 inches from each other.
- Sprinkle with extra crushed candy cane if you want to. They look prettier after they're baked.
- Bake for 10 minutes, until the edges are dry but the centers are still soft.
- Let cool on a wire rack for about 5 minutes and carefully remove from the sheets and let cool completely on the cooling racks.
- Store in an airtight container or cookie jar.
angiesrecipes says
They look thick and chewy. Perfect!