

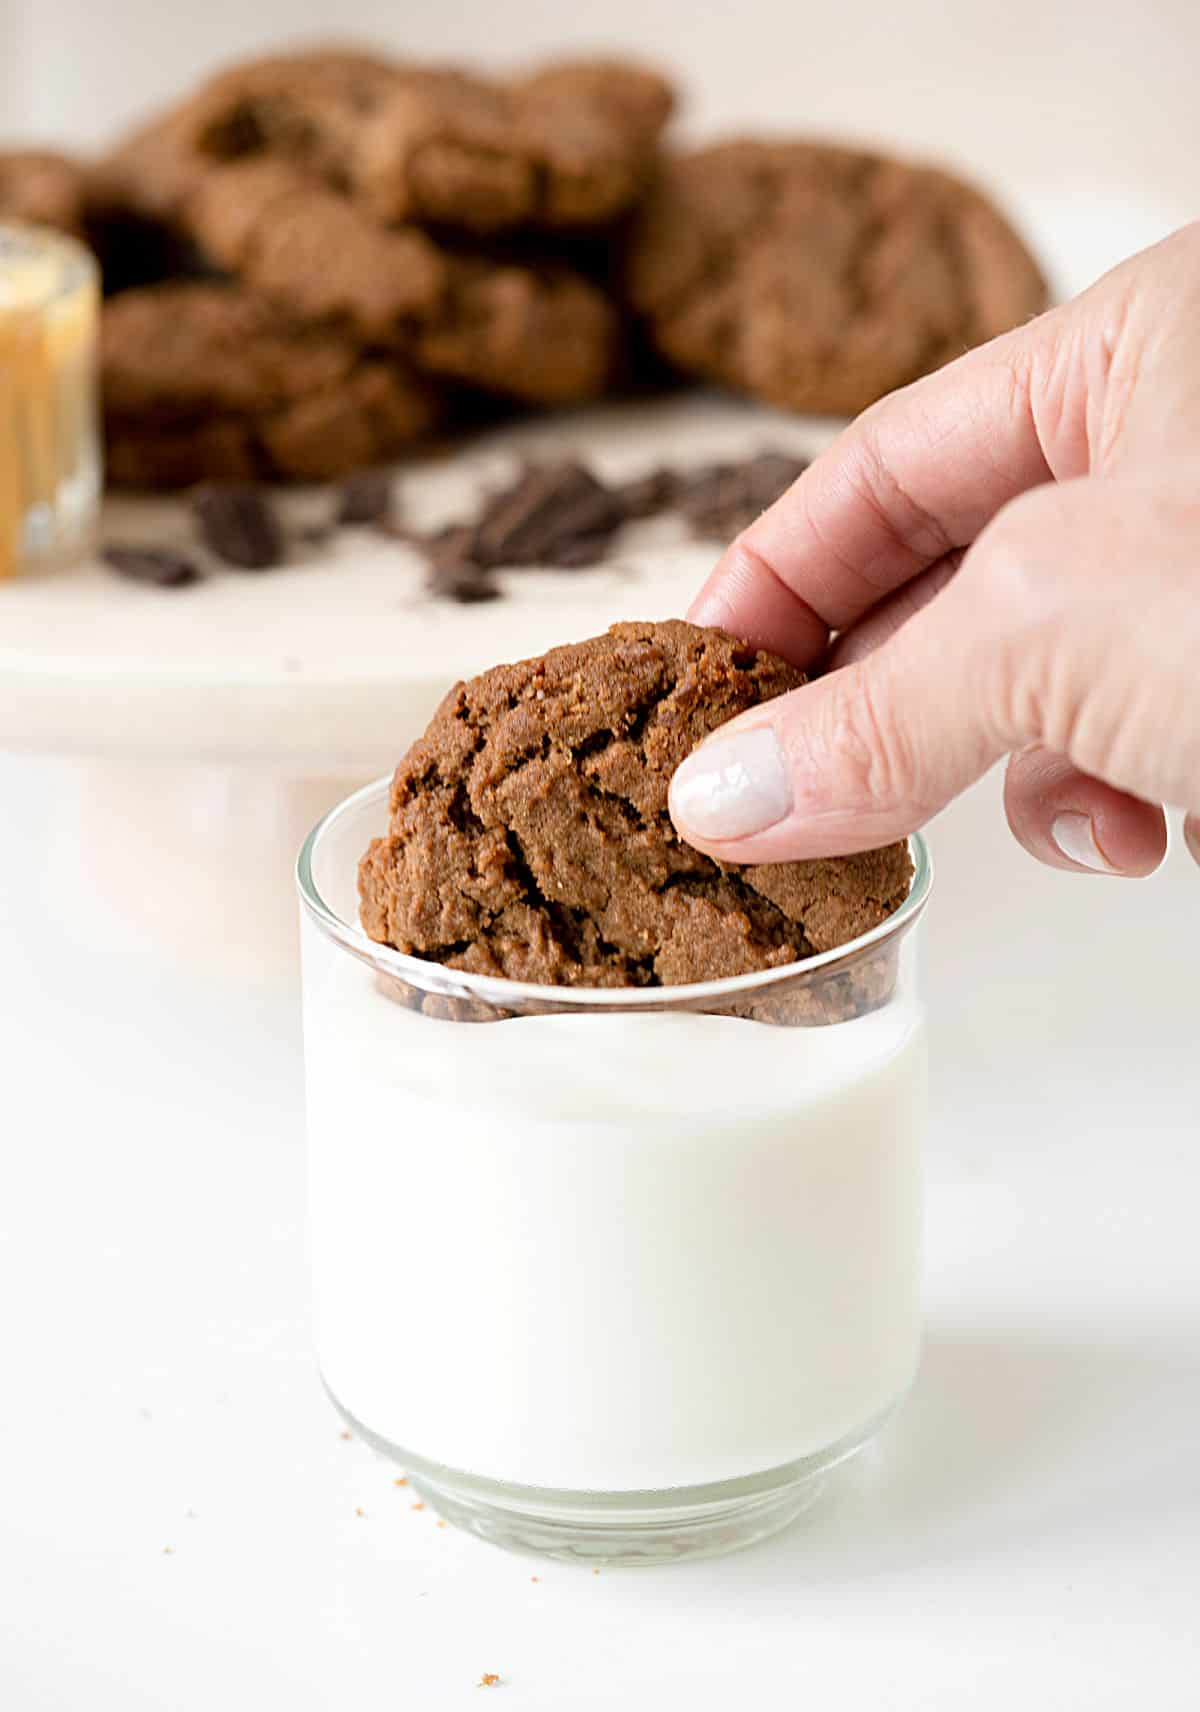
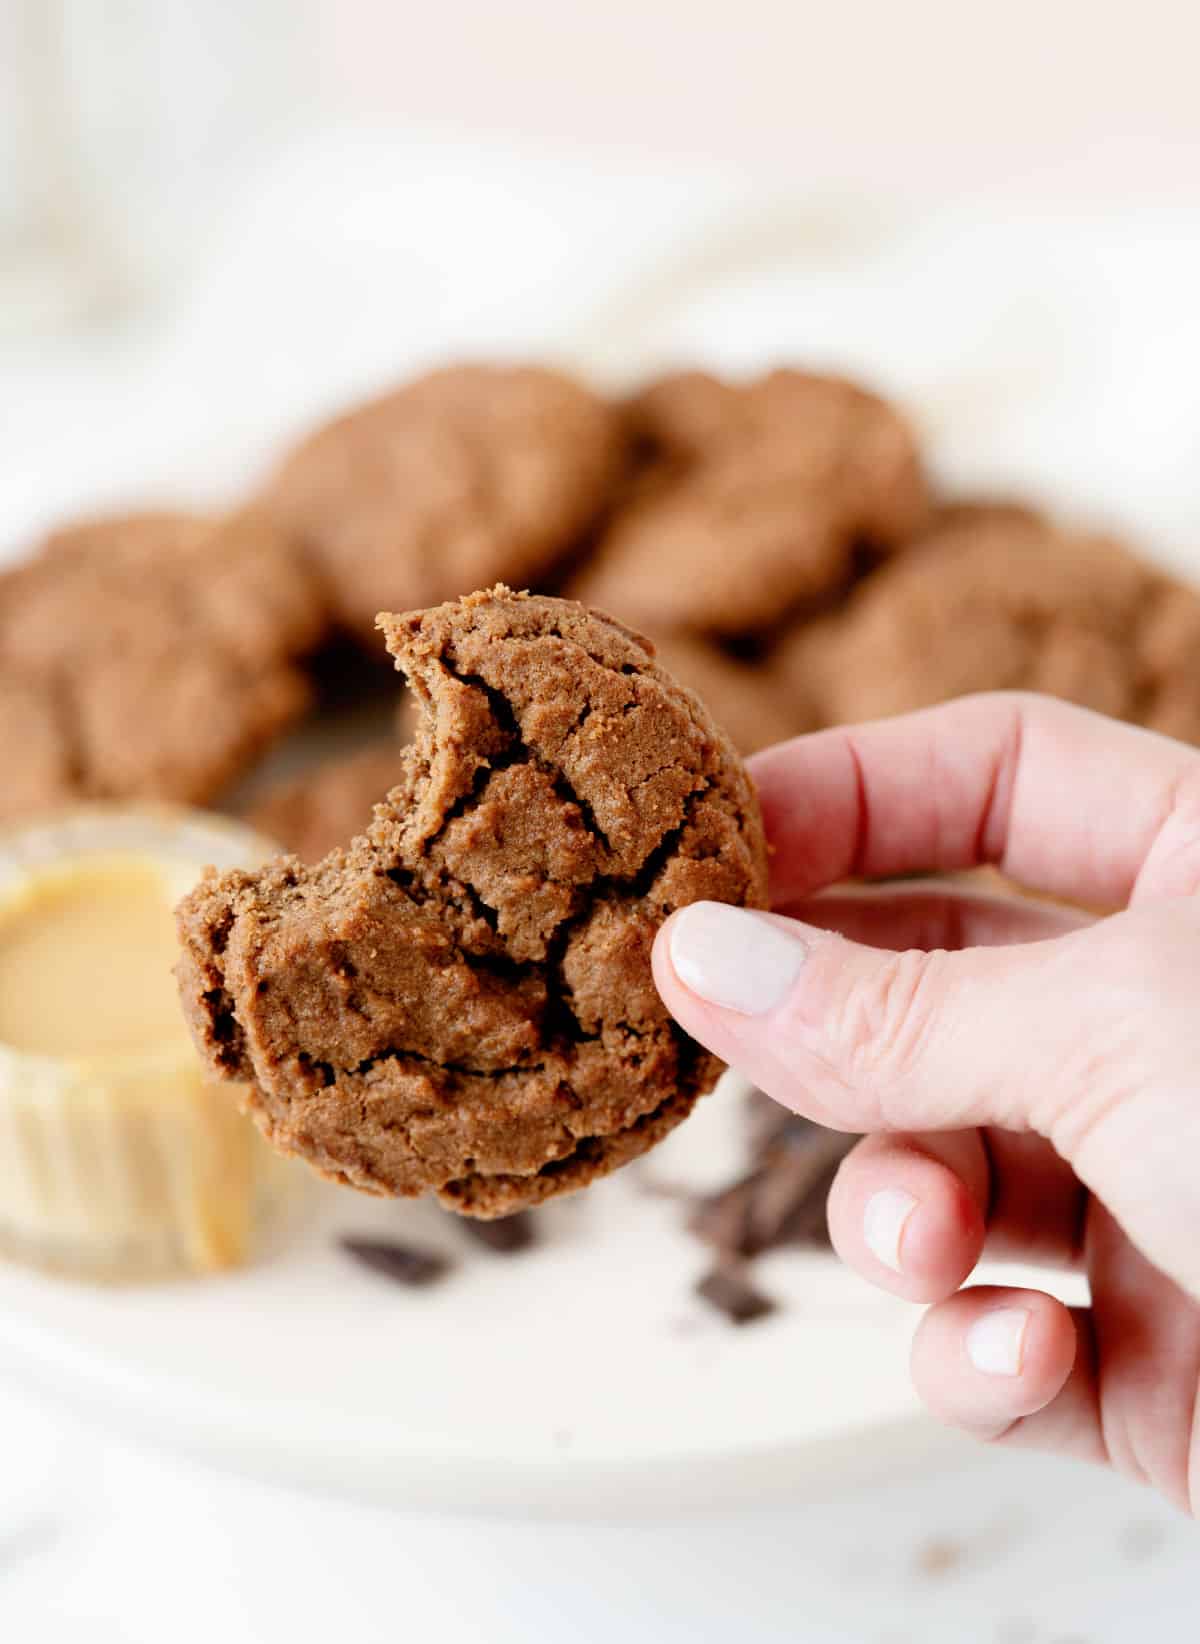
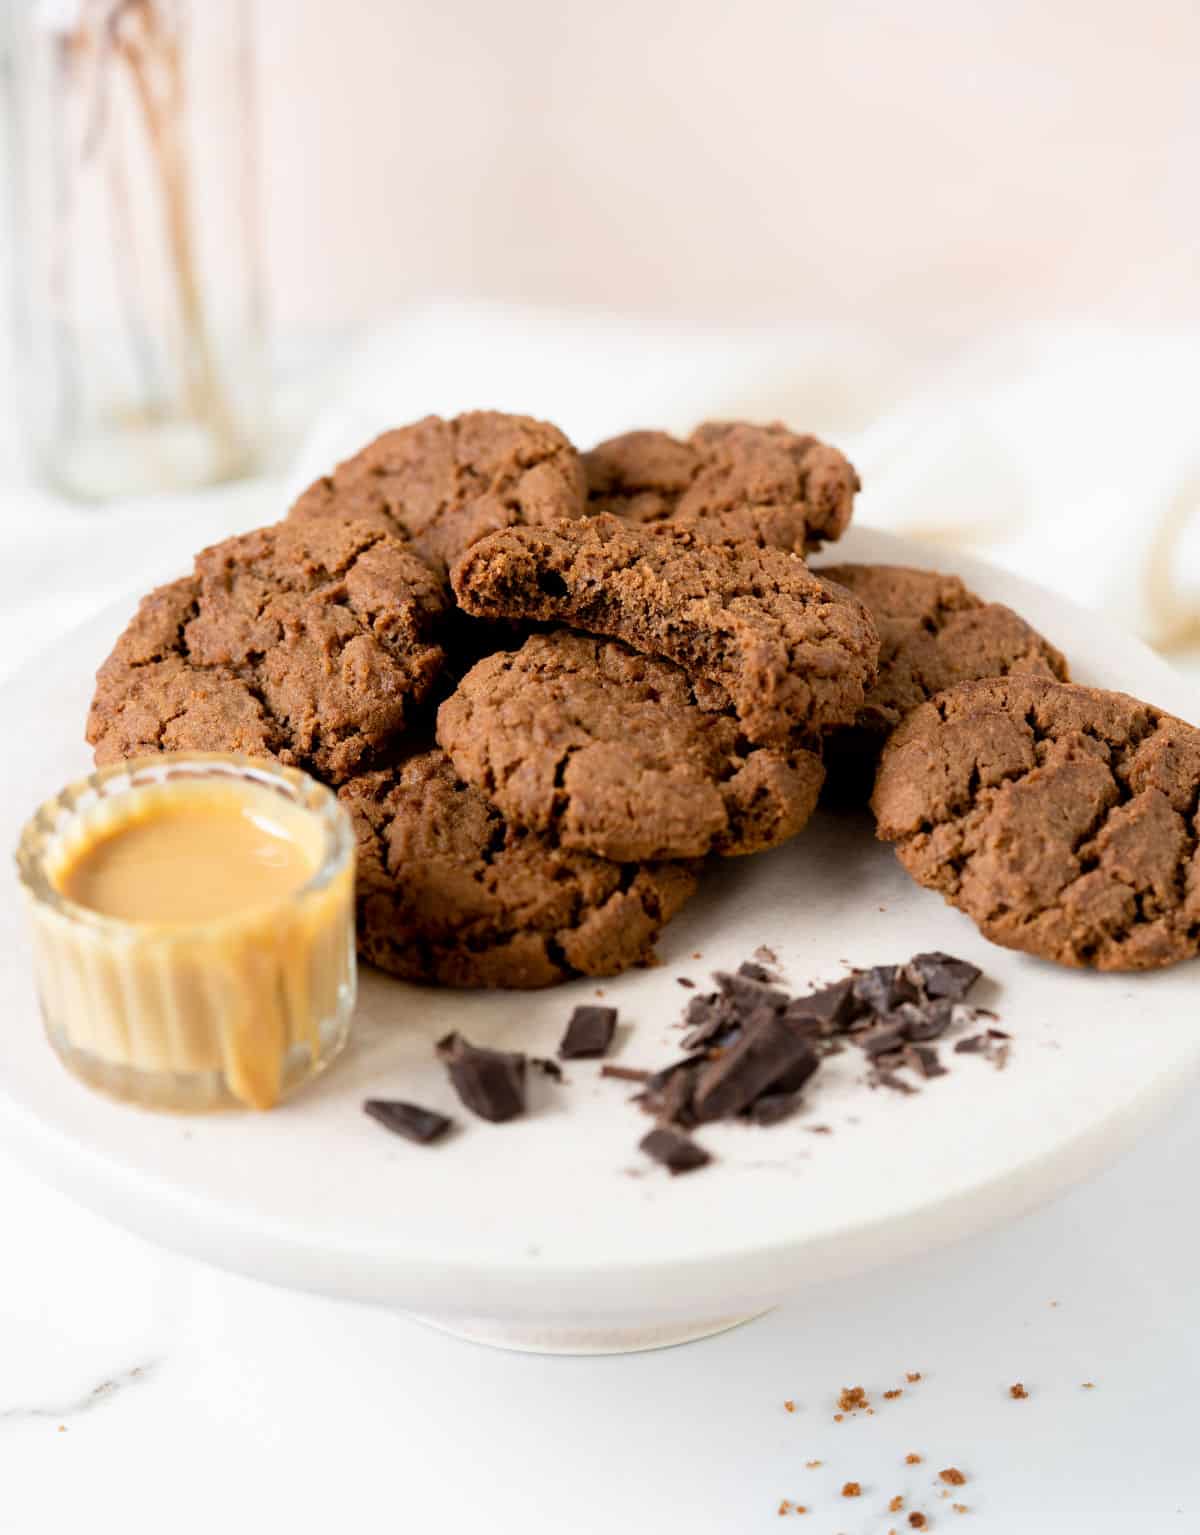
This chocolate cookie recipe is simple but has amazing flavors. It is soft, flavorful, and sweet. They keep for several days, can be frozen, and are a great snack with a glass of milk or a cup of coffee.

SAVE THIS RECIPE
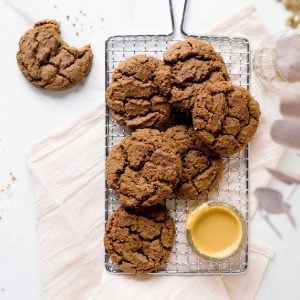
Fill your cookie jar with these soft chocolate peanut butter cookies and snack on them with your favorite cup of coffee or tea.
For kids, they're perfect cookies to dunk in a glass of milk.
- Easy to make: a one-bowl recipe that needs a bowl, a mixer, and not much more.
- They keep well: they stay soft, and the flavor mellows with each passing day. The cookie dough can be made ahead of time and kept for a few days in the fridge.
- Versatile: take them to picnics, potlucks, bake sales, lunchbox, or add them to a weekend brunch table. They fit wherever you find chocolate peanut butter combo lovers. And that's pretty much everywhere.
I don't know about you, but we can never have too many recipes with the magic combination of chocolate and peanut butter.
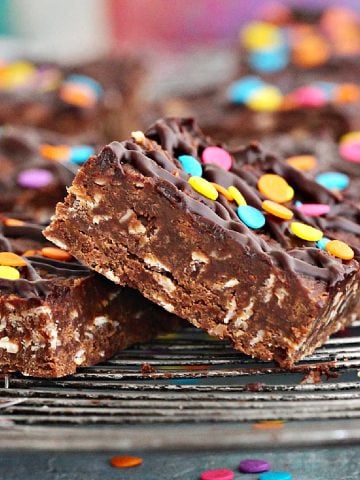
It's always a hit, from no-bake oat bars to fudgy peanut brownies to buckeye candy.
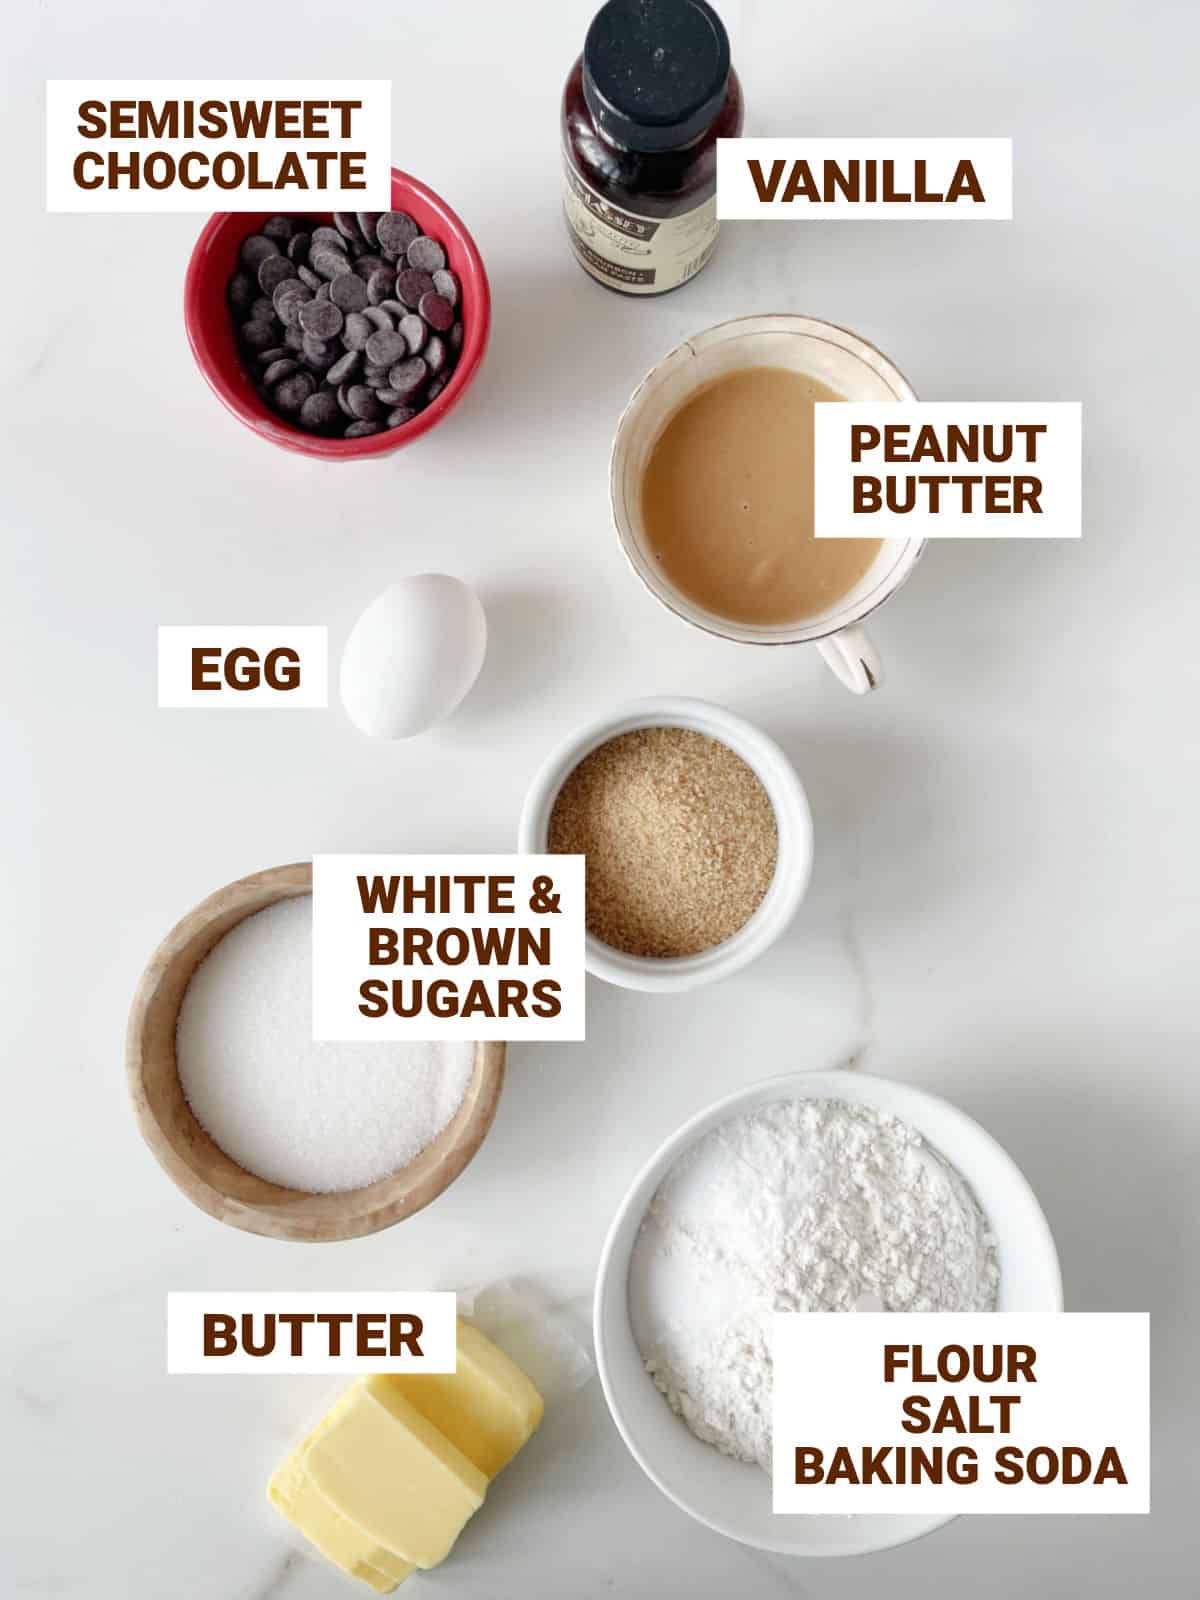
Ingredient list
- Peanut butter: for best results, use the thicker commercial type.
- Semisweet chocolate.
- White granulated sugar.
- Brown sugar: light or dark.
- Vanilla extract.
- All-purpose flour.
- Salt.
- Baking soda: make sure it isn't expired.
- Egg: fresh, large.
Quantities are listed on the recipe card towards the end of this post. The Ingredients page has more details and lists the brands we use.
This is a one-bowl recipe. For easier mixing, use a large bowl, an electric mixer, and a spatula.
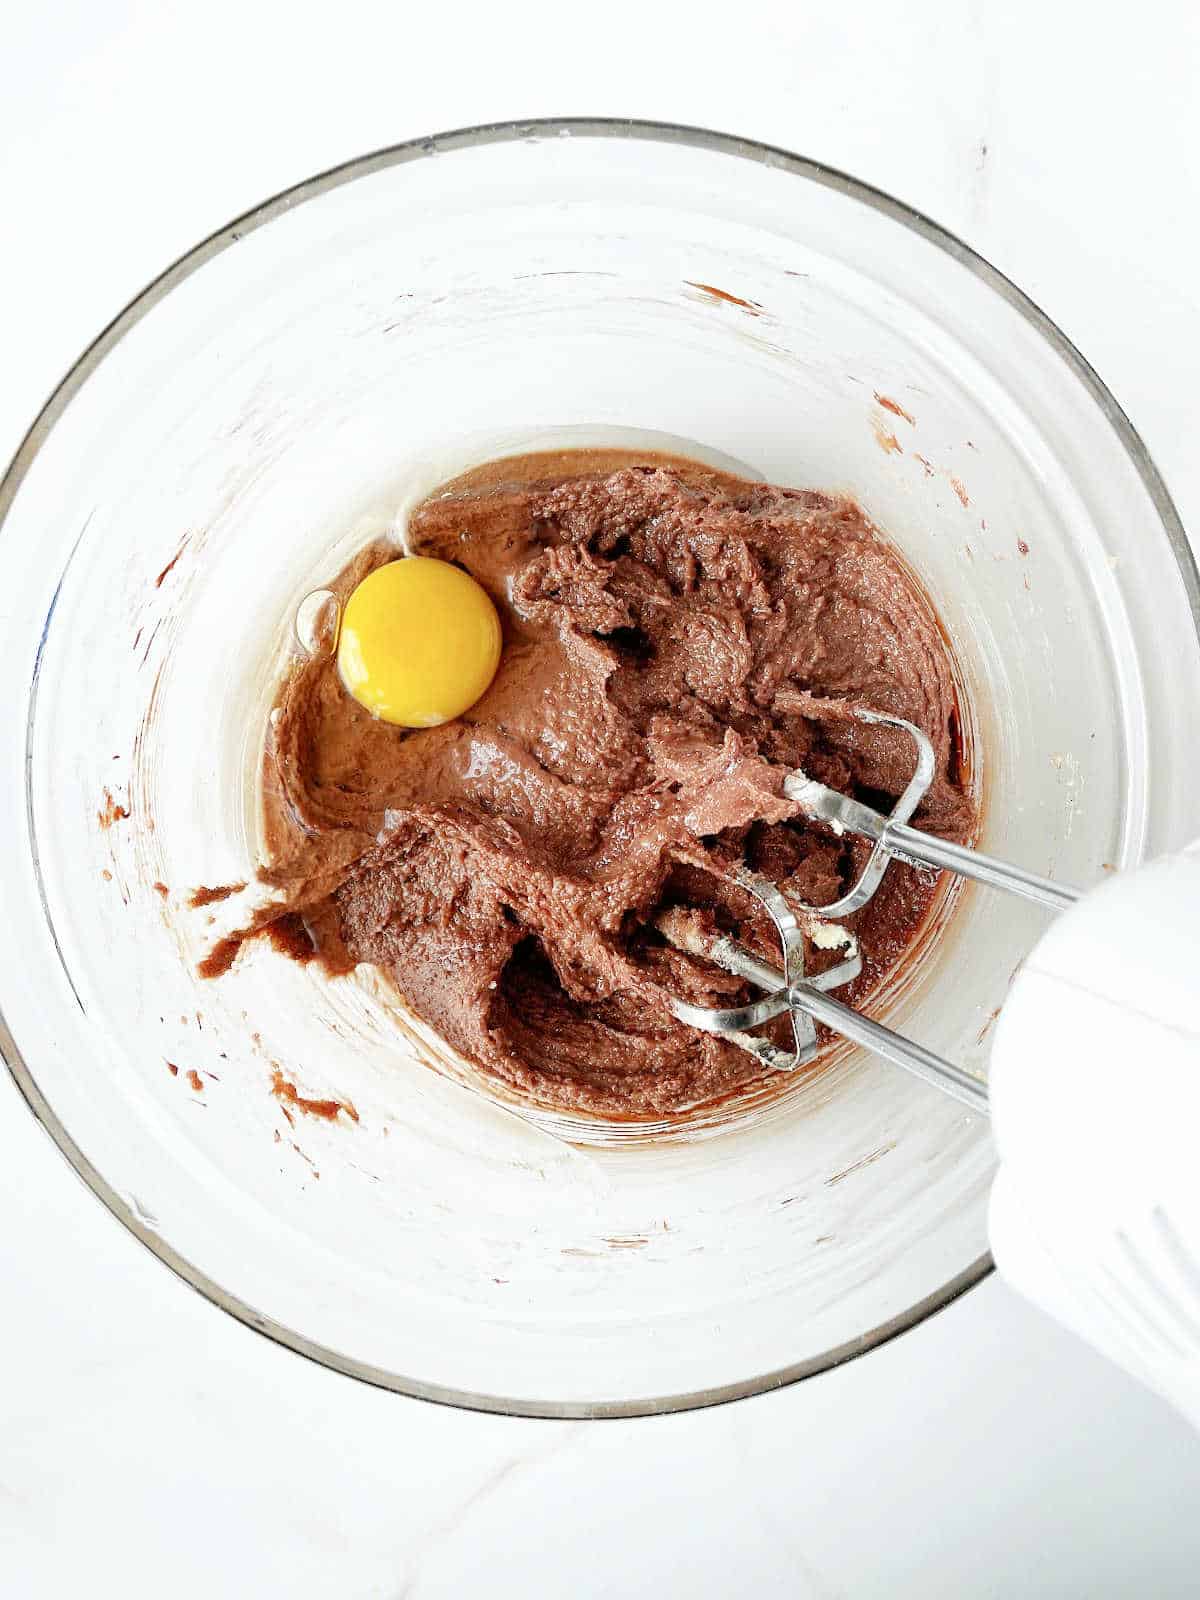
- It's a simple recipe where the butter is beaten with the sugar until creamy, and then the egg, peanut butter, chocolate, and vanilla are added.
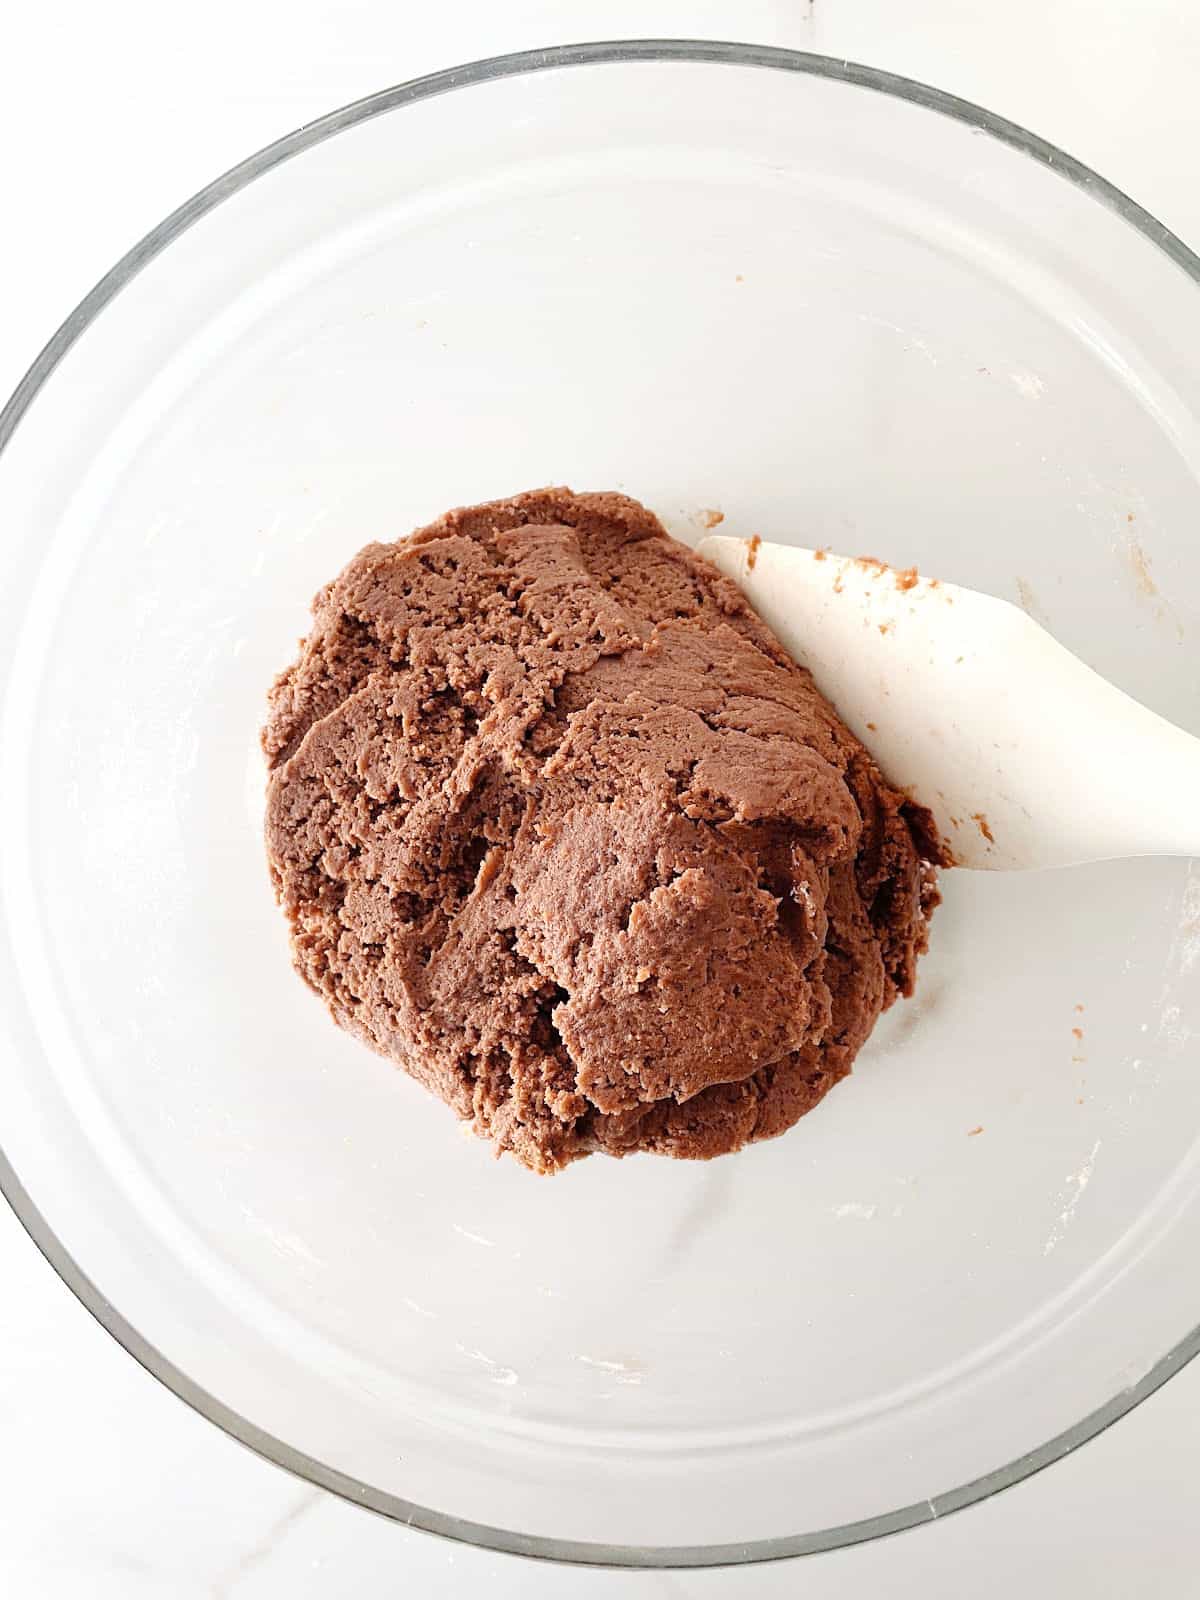
- The dry ingredients come last. After adding the flour, don't overmix but make sure the cookie dough is fully integrated.
⭐️ Vintage Kitchen Tip
Never beat too much after adding the flour to prevent the gluten from starting to develop. It will render tougher cookies. Mix *just* until it's well integrated. I finish with a spatula to ensure no dry spots are left on the bottom of the bowl.
Baking
Preparing the cookie sheet: I use parchment paper or a buttered pan. Both ways work well for me. I recommend you find which works best for you as sometimes papers vary greatly depending on the brand and the country where you are.
Criss-cross pattern: I leave them plain, but you can make the familiar pattern by pressing the cookie balls lightly with a fork before baking.
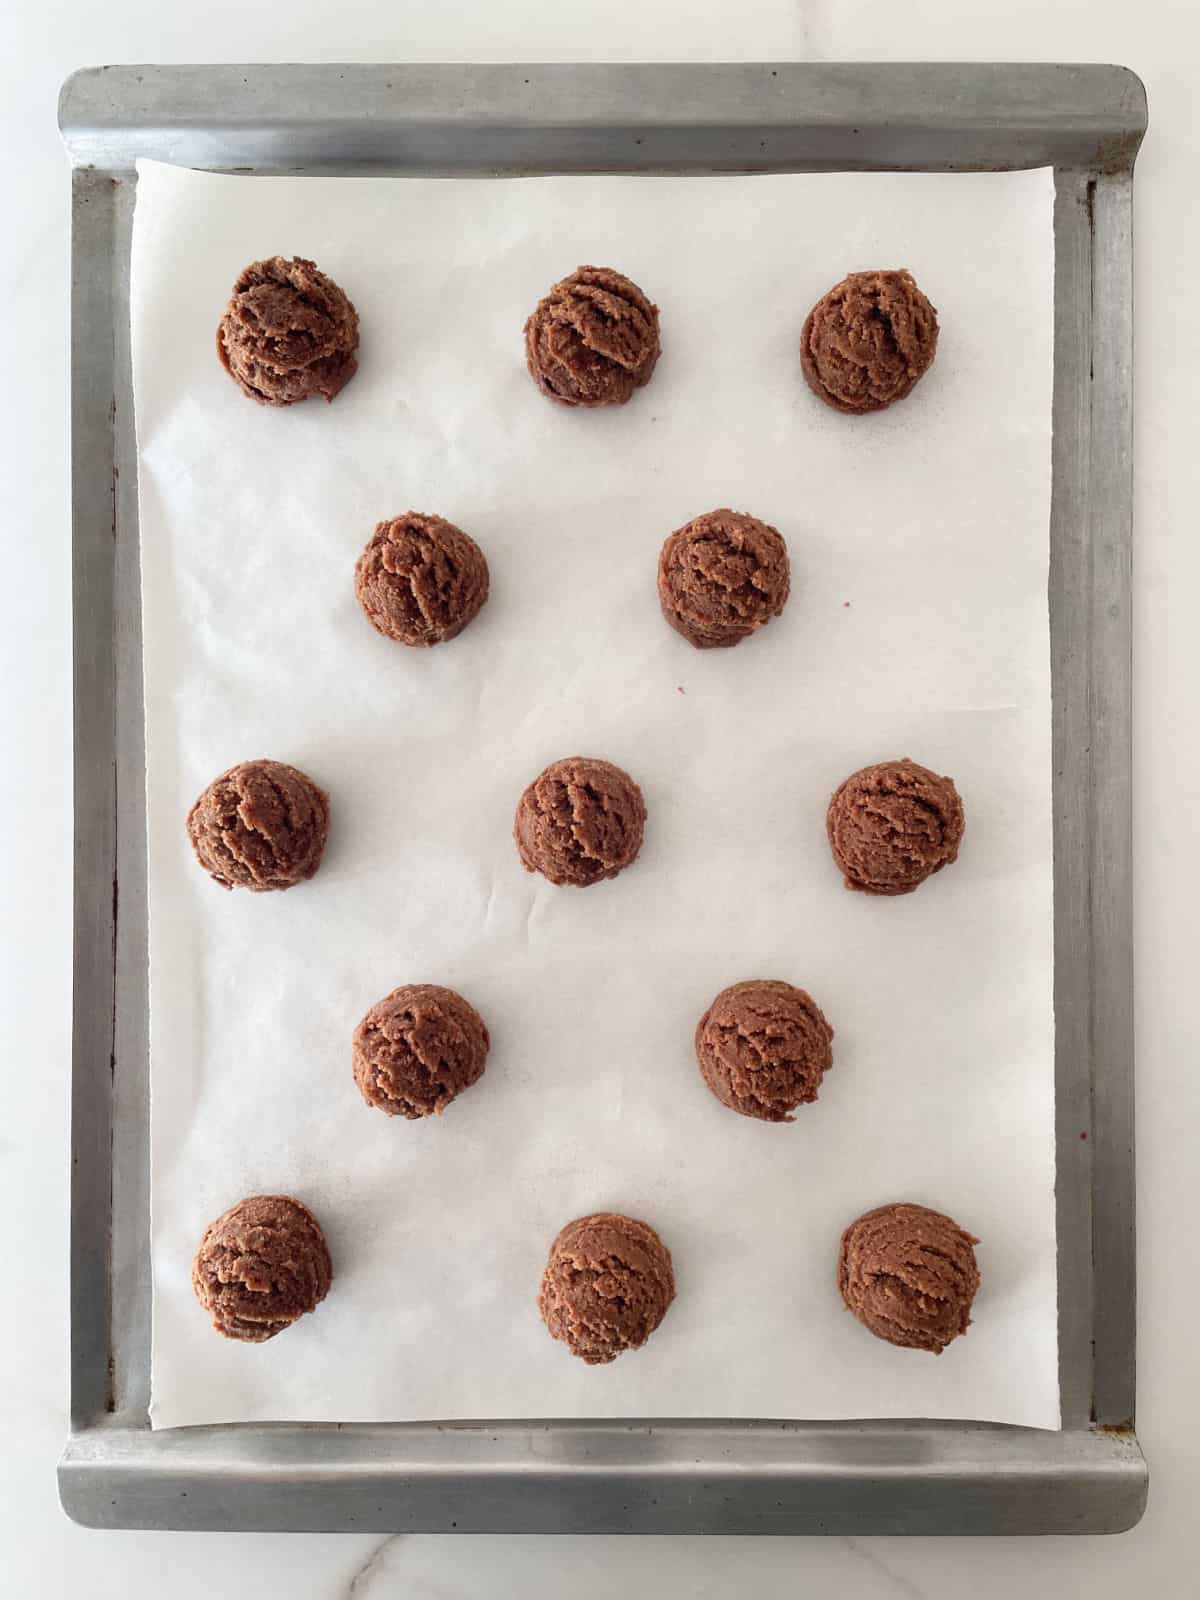
- Scoop out portions and place them with a few inches between them to allow the cookies to expand during baking.
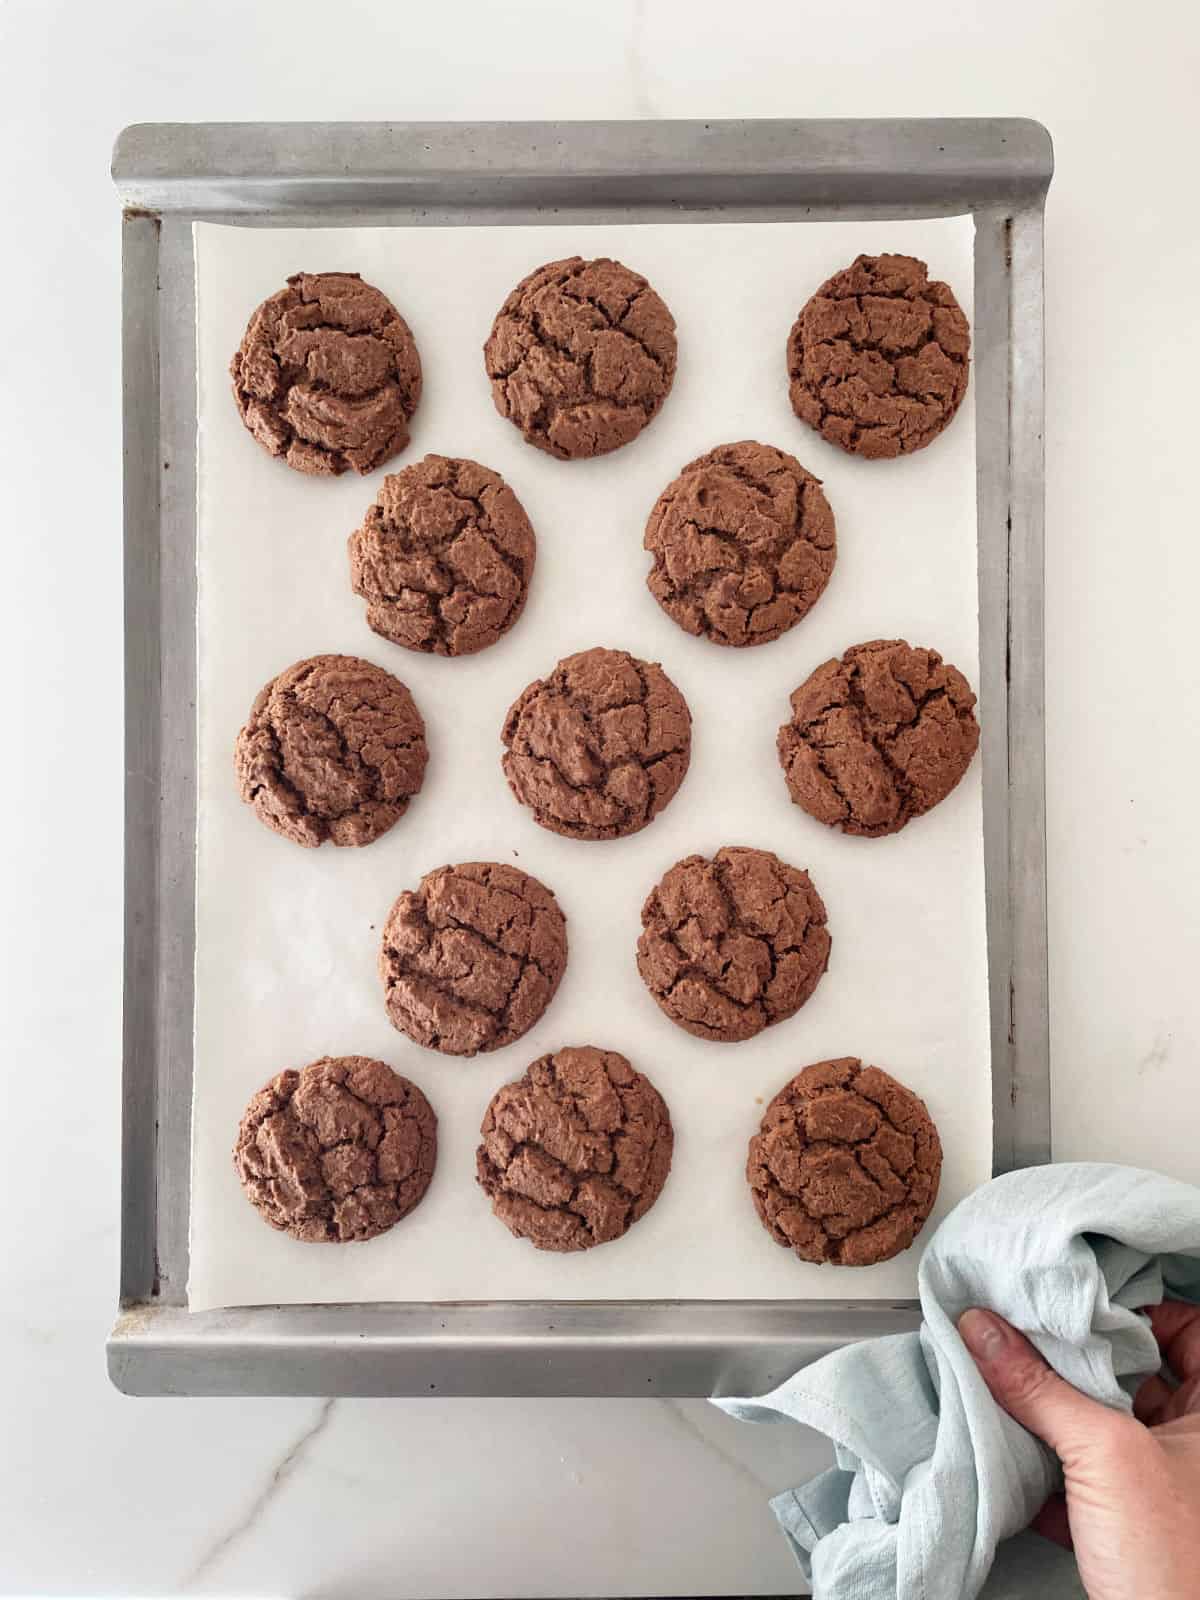
- They will crack, and that is fine. Remove them while still a little soft in the middle.
⭐️ Vintage Kitchen Tip
Don't wait until the cookies are completely firm to remove them from the oven. They will still be quite soft in the center. They will solidify and set as they cool down but still be soft and tender.
Kitchen notes
- Organization: read the recipe first and ensure you have ingredients at the correct temperature, equipment, and enough workspace. This will make the process so much easier.
- Baking time: consider that all ovens and pans are different, even if they look similar. The baking time in my recipes is as accurate as it can be, but it might take you more or less time. You can use a thermometer(like the OXO oven thermometer) to check that your oven is at the right temperature. I recommend you keep track of how your oven works and what tiny details you might need to adjust.
- Make ahead: you can keep the cookie dough for 3-4 days in the refrigerator before baking the cookies. Cover it well with plastic wrap.
- Add-ins: add peanuts (salted, unsalted, toasted or not, whatever type you like) and chocolate chips, ½ a cup of each, to the dough before forming for extra crunch and flavor. Use crunchy peanut butter or add peanut butter chips. For sweeter cookies, use milk chocolate or butterscotch chips.
- Melting the chocolate: always start with chopped chocolate in a microwavable or glass bowl. You can use the microwave (short 10-15 second spurts stirring well between each one until it's fully melted) or a double boiler with the bowl containing the chopped chocolate not touching the water. In both cases, make sure it doesn't scorch. There are 2 ways:
Microwave: melt the ingredients on high for 10 seconds, take out and mix well. Repeat until all the chocolate is melted. Be careful you don't scorch it. That's why it's important to mix it well between each heating.
Stovetop or double boiler: put the bowl with chocolate and butter over a smaller pan with a few inches of water. Over medium heat, let the chocolate and butter melt, stirring occasionally. Make sure the bottom of the bowl doesn't touch the water and that no water gets into the bowl. If the water boils too much before the chocolate is melted, turn the heat off and let the hot vapor melt the remaining chocolate.
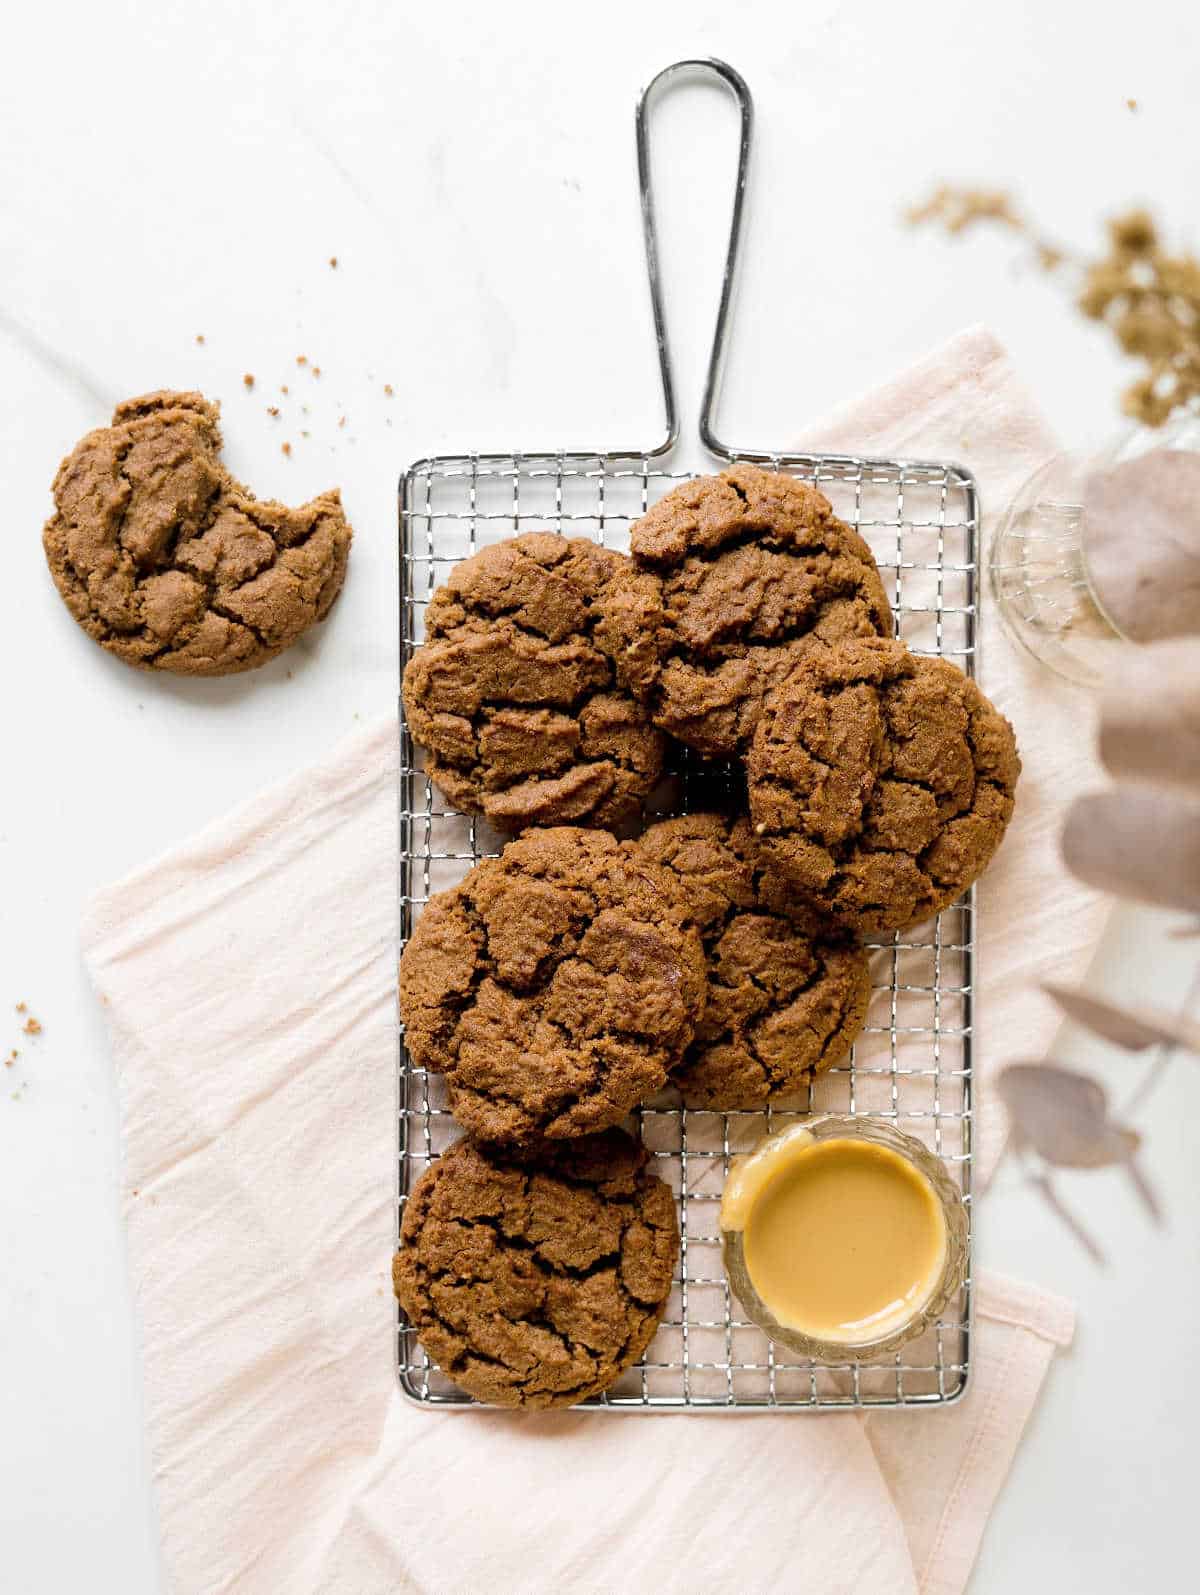
Storage
Cookie jar: these cookies keep well for several days in a jar or airtight container. They will soften and crumble with each passing day and the flavor will mellow. I like them more a day or two after I bake them.
Freezing: you can freeze the baked cookies well-wrapped or in an airtight container or ziplock-style bag.
Related recipes you might like:

If you made this recipe and loved it, you can comment below and leave a 5-star ⭐️ review. Also, if you had issues, let me know so we can troubleshoot together.
You can also subscribe to our FREE email series 'Baking the Best' and our regular newsletter. Or follow and save my recipes on Pinterest.
As an Amazon Associate, I earn from qualifying purchases. Read my disclosure policy.
Chocolate Peanut Butter Cookies (easy)
Ingredients
- 6 oz semisweet chocolate
- ½ cup unsalted butter, at room temperature
- ¼ cup white sugar
- ½ cup brown sugar, light or dark
- 1 egg, at room temperature
- 1 teaspoon vanilla extract
- 1 cup creamy peanut butter
- 1 ½ cup all-purpose flour
- ¾ teaspoon baking soda
- ¼ teaspoon salt
Instructions
- Preheat the oven to 350°F (180°C).
- Butter or use baking spray to grease cookie sheets or line with parchment paper.
- Melt the chocolate in the microwave or stovetop. See the Notes below for how to do this. Reserve.
- Beat soft butter in a large mixing bowl, gradually adding both sugars, for 3 minutes. You can use an electric mixer or stand mixer with the paddle attachment.
- Add the egg and beat for another minute.
- Add the peanut butter and vanilla extract and integrate well.
- Beat in the melted chocolate and mix just until incorporated.
- Sift the flour, baking soda, and salt (or have them measured and sift as you add them) and add them to the chocolate batter.
- Beat on low until *just* until incorporated. Don't overmix after adding the dry ingredients!
- Use a spatula to give the cookie dough some final turns and make sure no dry spots remain. The dough should be soft and uniform in color and texture.
- Scoop portions and place them an inch and a half apart on the prepared baking sheet.
- Bake cookies for 12-15 minutes for regular-sized cookies, until puffed, cracked, and still soft in the center. I always recommend baking two or three at first and checking the baking time to make sure you don't over or underbake them.
- Let cool completely on a wire rack.
- Store in a cookie jar or airtight container.
Notes
I use the small cookie scoop that is 1.57 inches / 4cm in diameter for regular-sized cookies. Don't use more than a medium cookie scoop, or they will be too large. Melting the chocolate: always start with chopped chocolate in a microwavable or glass bowl. You can use the microwave (short 10-15 second spurts stirring well between each one until it's fully melted) or a double boiler with the bowl containing the chopped chocolate not touching the water. In both cases, make sure it doesn't scorch. There are 2 ways:
Microwave: melt the ingredients on high for 10 seconds, take out and mix well. Repeat until all the chocolate is melted. Be careful you don't scorch it. That's why it's important to mix it well between each heating.
Stovetop or double boiler: put the bowl with chocolate and butter over a smaller pan with a few inches of water. Over medium heat, let the chocolate and butter melt, stirring occasionally. Make sure the bottom of the bowl doesn't touch the water and that no water gets into the bowl. If the water boils too much before the chocolate is melted, turn the heat off and let the hot vapor melt the remaining chocolate. Make ahead: you can keep the cookie dough for 3-4 days in the refrigerator before baking the cookies. Cover it well with plastic wrap. Add-ins: add peanuts (salted, unsalted, toasted or not, whatever type you like) and chocolate chips, ½ a cup of each, to the dough before forming for extra crunch and flavor.
Rate and review this recipe