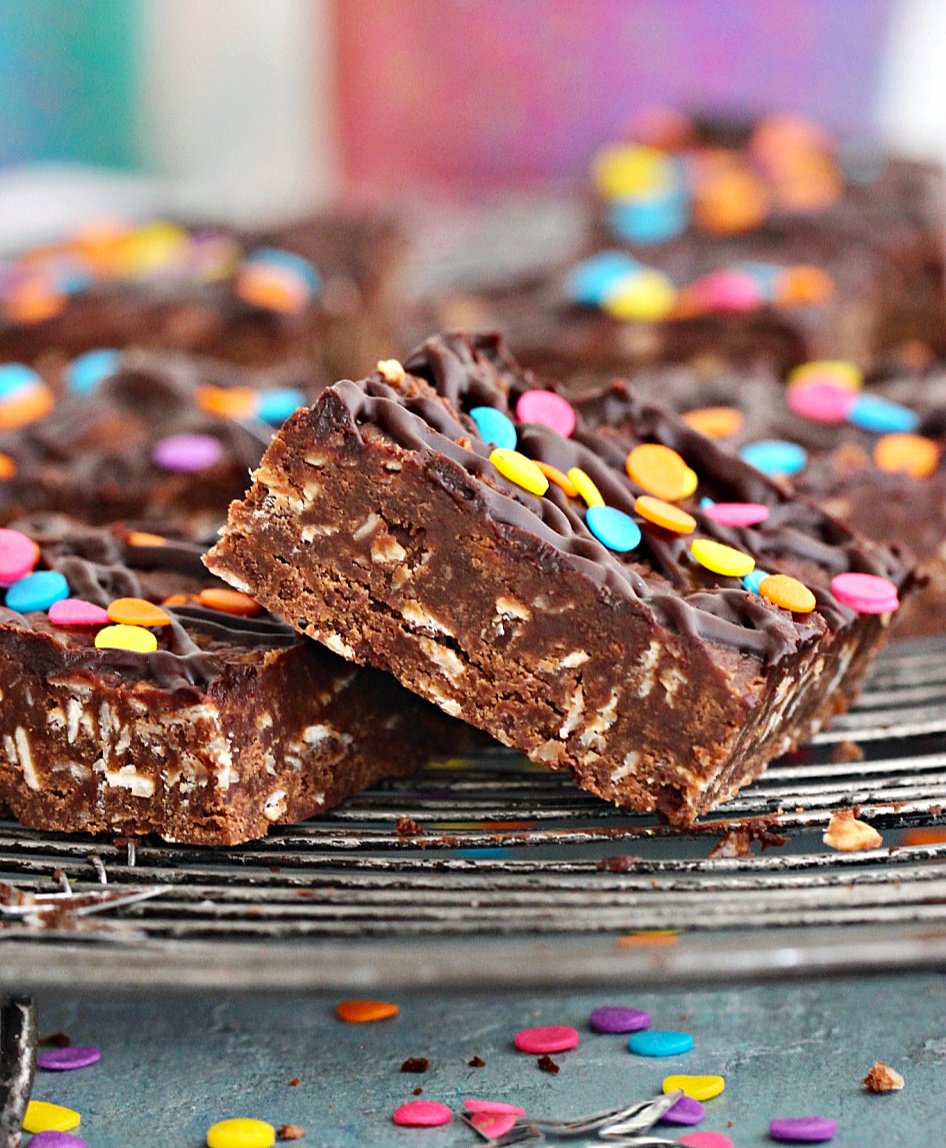
These no-bake oatmeal bars combine a bit of everything we love: they are extremely easy to make, very kid-friendly, have oats for a touch of healthiness, and that magic combination of peanut butter and chocolate. The ingredients are mixed and pressed into the pan, making them great for hot weather. An irresistible snack and dessert.
SAVE THIS RECIPE
Easy bars
Though we love the Carmelitas bars and chocolate chip oatmeal bars profusely, the idea of a no-bake snack that combines so many delicious flavors caught my eye immediately.
Things are hectic nowadays, so I love finding one-bowl recipes that make life easier and baking fun. Dumping all ingredients into a bowl and not using the oven. It's still baking, right?
Turning on the oven can be a deal-breaker when the weather gets hot.
It's during those times when these chocolate peanut butter bars with chocolate come into play.
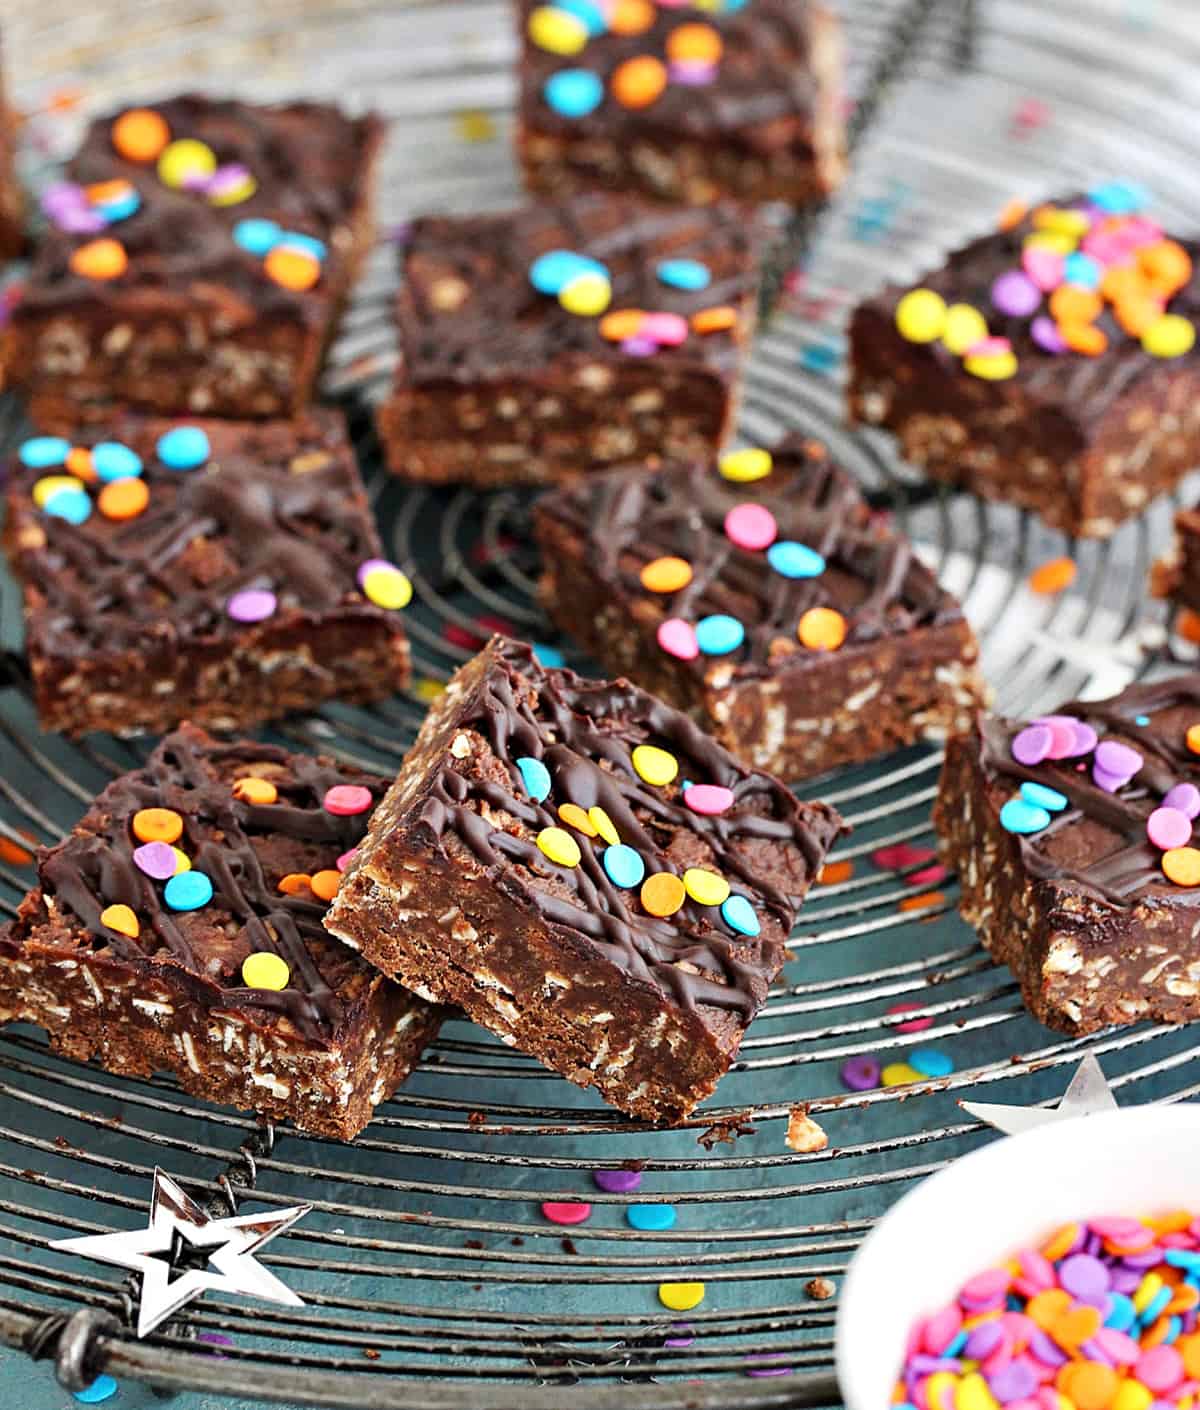
They're especially great to make with kids, and I think the colored sprinkles have something to do with it. My nephew calls them chocolate confetti bars. But that topping is optional, of course.
Testing Notes
Regular commercial peanut butter works better as it has a thicker consistency. The idea is to make the bars firm enough to cut easily and not make a mess while eating them. If you use a natural, more fluid peanut butter, you might need to add a tad less to achieve the same firmness; you'll have to experiment and see. That will depend on each nut butter.
Oats: I use old-fashioned rolled oats (traditional oats) because they have more texture, but you can use instant or quick-cooking oats.
Chocolate cookies: Use plain cookies or wafers, don't use stuffed ones (like Oreos). They add crunchiness and a unique flavor depending on the type of cookies you use. I love chocolate ones, but this recipe also works with vanilla or coconut cookies. Or be more adventurous and use a spicy one like gingersnaps.
You can substitute the peanut butter with great results. Dulce de leche: the bars will be sweeter, and the flavor different. If you've never tried chocolate and dulce de leche together, you're in for a real treat! I recommend dulce de leche repostero Vacalin. Almond butter or cashew butter: the flavor is mellower than peanut butter, in my opinion. But similar in texture.
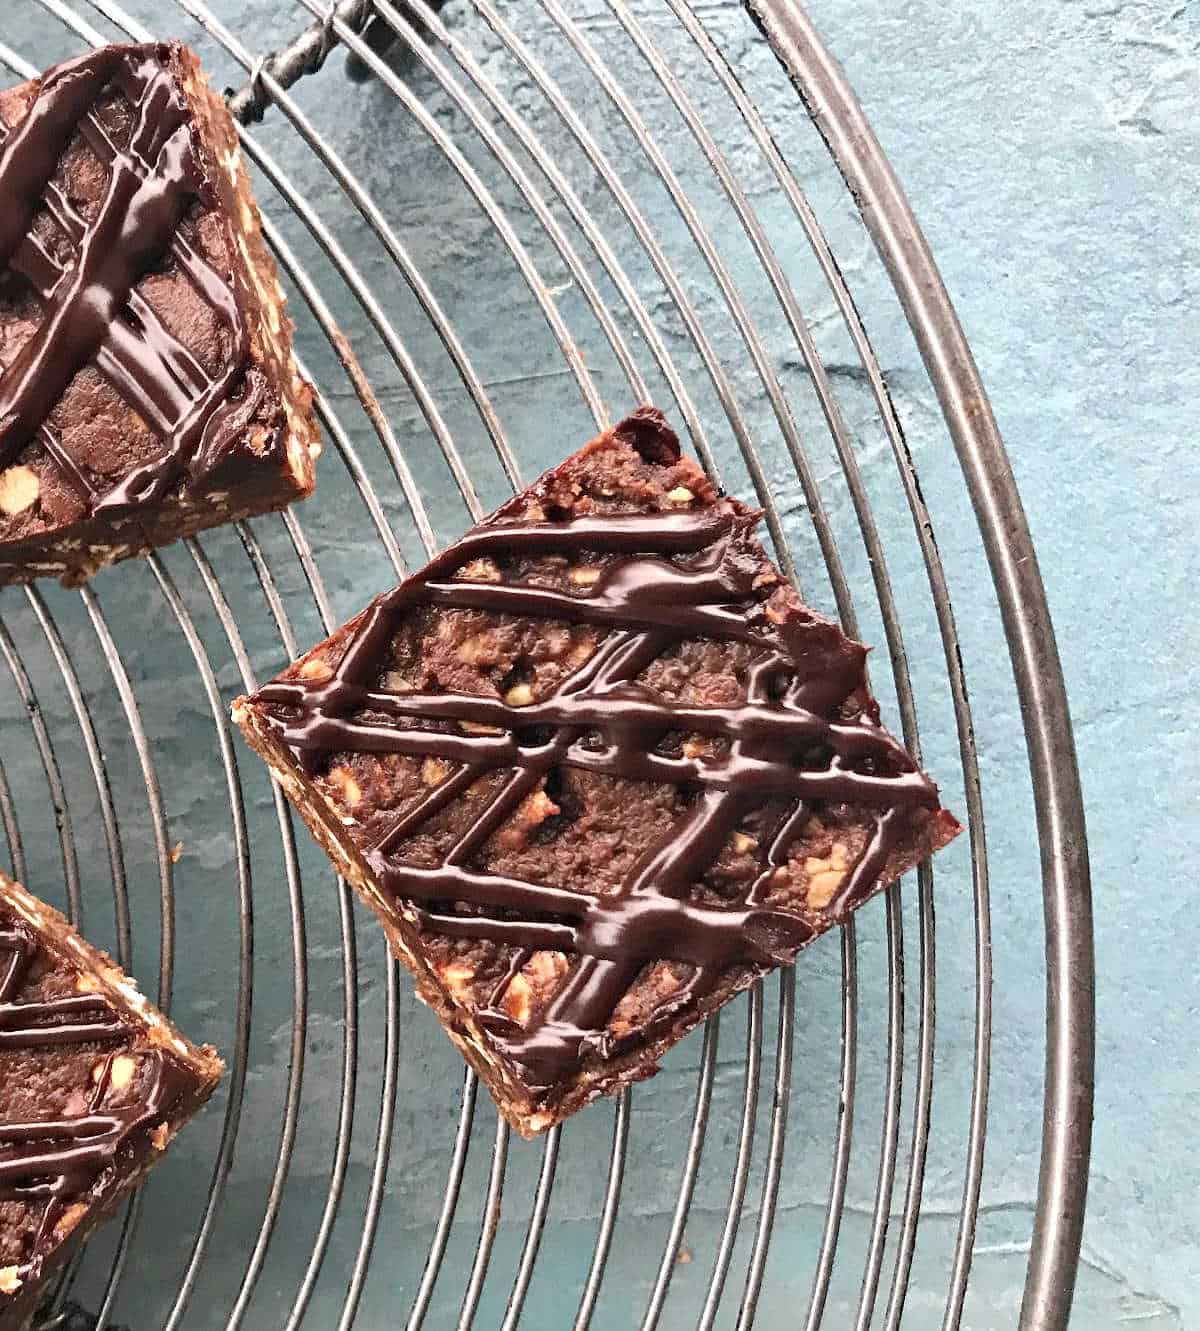
Ganache topping
This adds a layer of chocolate flavor that is amazing if you want more of it. You can omit it, but it complements the oat bars well.
What type of chocolate can you use? I love semisweet, but milk chocolate is an option if you like sweeter-than-average snacks. Or a mix of both. Your choice.
If you made this recipe and loved it, you can comment below and leave a 5-star ⭐️ review. Also, if you had issues, let me know so we can troubleshoot together.
You can also subscribe to our FREE email series 'Baking the Best' and our regular newsletter. Or follow and save my recipes on Pinterest.
As an Amazon Associate, I earn from qualifying purchases. Read my disclosure policy.

Chocolate Peanut Butter Oat Bars (no bake)
Ingredients
- ¾ cup traditional oats
- pinch salt
- 1 cup ground plain chocolate cookies
- ⅔ cup confectioners sugar
- 3 ounces semisweet chocolate , or ½ cup semisweet chocolate chips
- ¾ cup peanut butter
- 6 tablespoons unsalted butter, divided
For the ganache topping:
- 3 tablespoons cream, heavy or double
- 3 ounces semisweet chocolate, chopped, or ½ cup semisweet chocolate chips
- edible confetti or sprinkles, for decoration, optional
Instructions
- Have ready a buttered or sprayed 8-inch square pan lined with parchment paper.
- Heat ¾ cup peanut butter and 6 tablespoons unsalted butter until soft to mix them. I use the microwave and a large mixing bowl. If you use a small container, transfer the mixture to a large bowl.
- Stir in ¾ cup traditional oats, pinch salt, 1 cup ground plain chocolate cookies, ⅔ cup confectioners sugar and 3 ounces semisweet chocolate , finely chopped, to the peanut butter mixture.
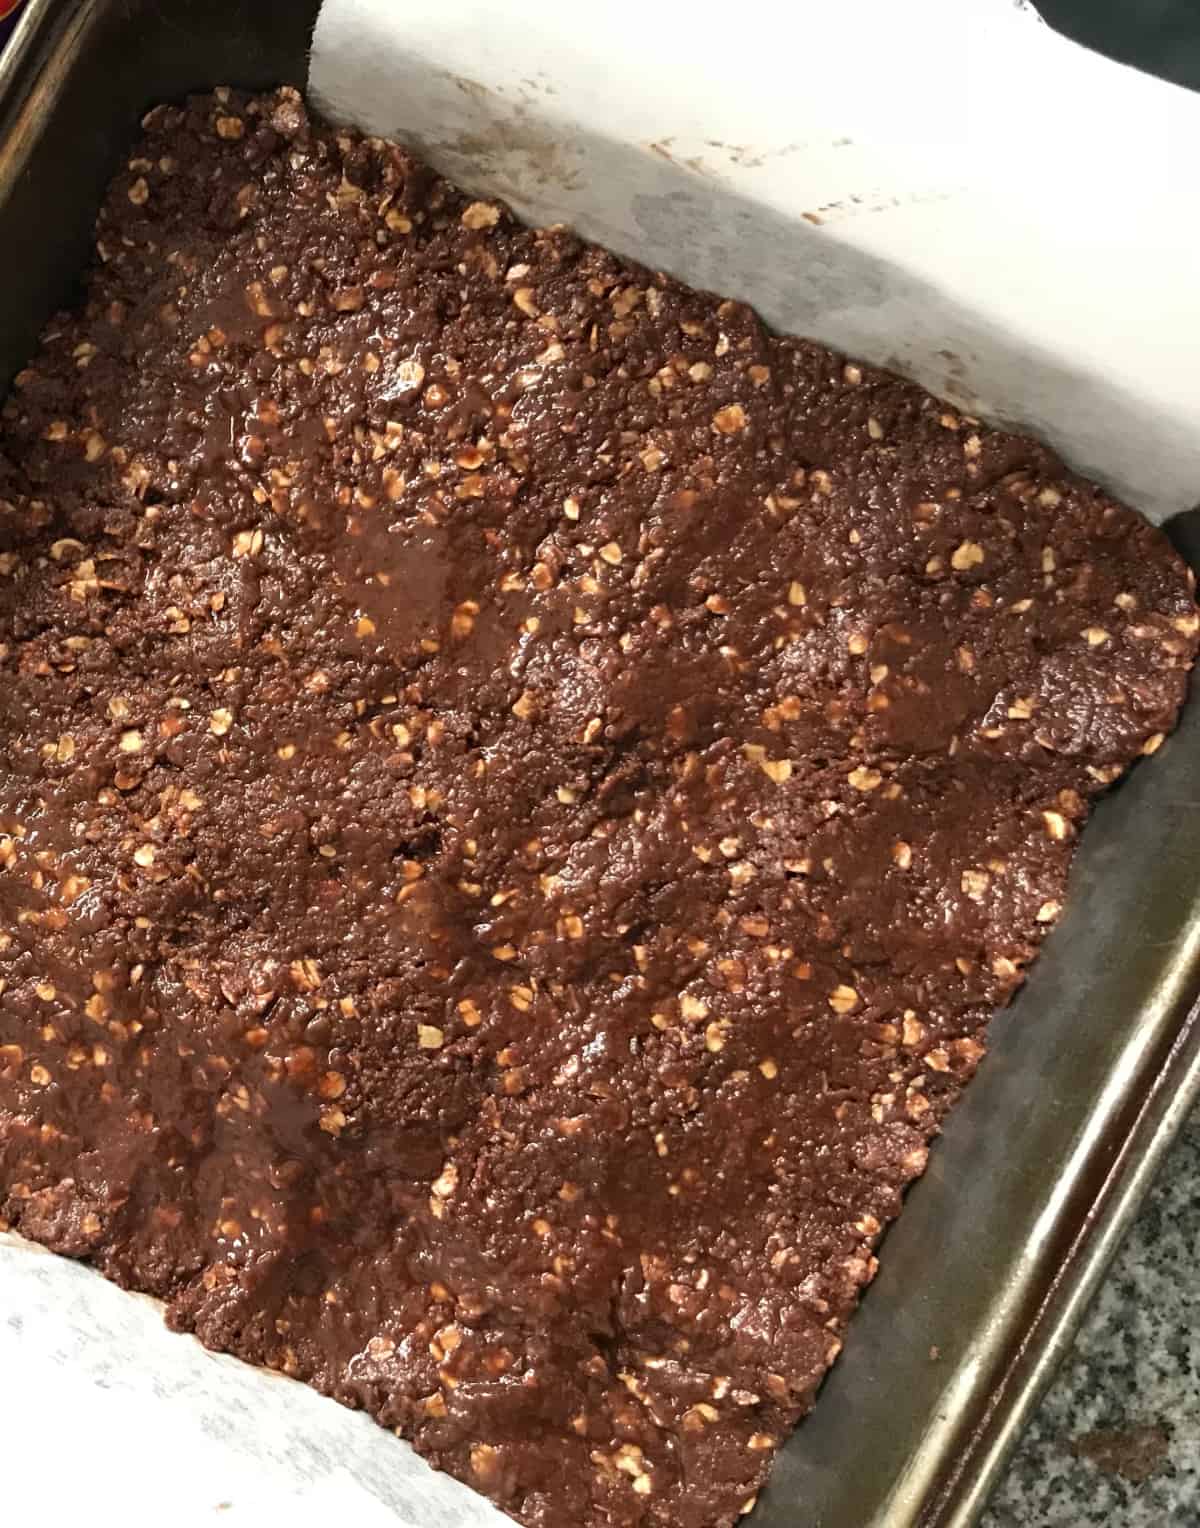
- Mix well with a silicon or rubber spatula or a wooden spoon until no dry parts remain. It might take a few minutes. The dough will be shiny and dark.
- Put it in the prepared pan, covering it as even and as smooth as possible. You might aid yourself with the back of a spoon that is lightly dipped in water.
- Refrigerate for several hours until it solidifies, and the oats absorb liquid and become chewier.
- When you're ready to cut the bars, take the whole thing from the pan and transfer it to a board.
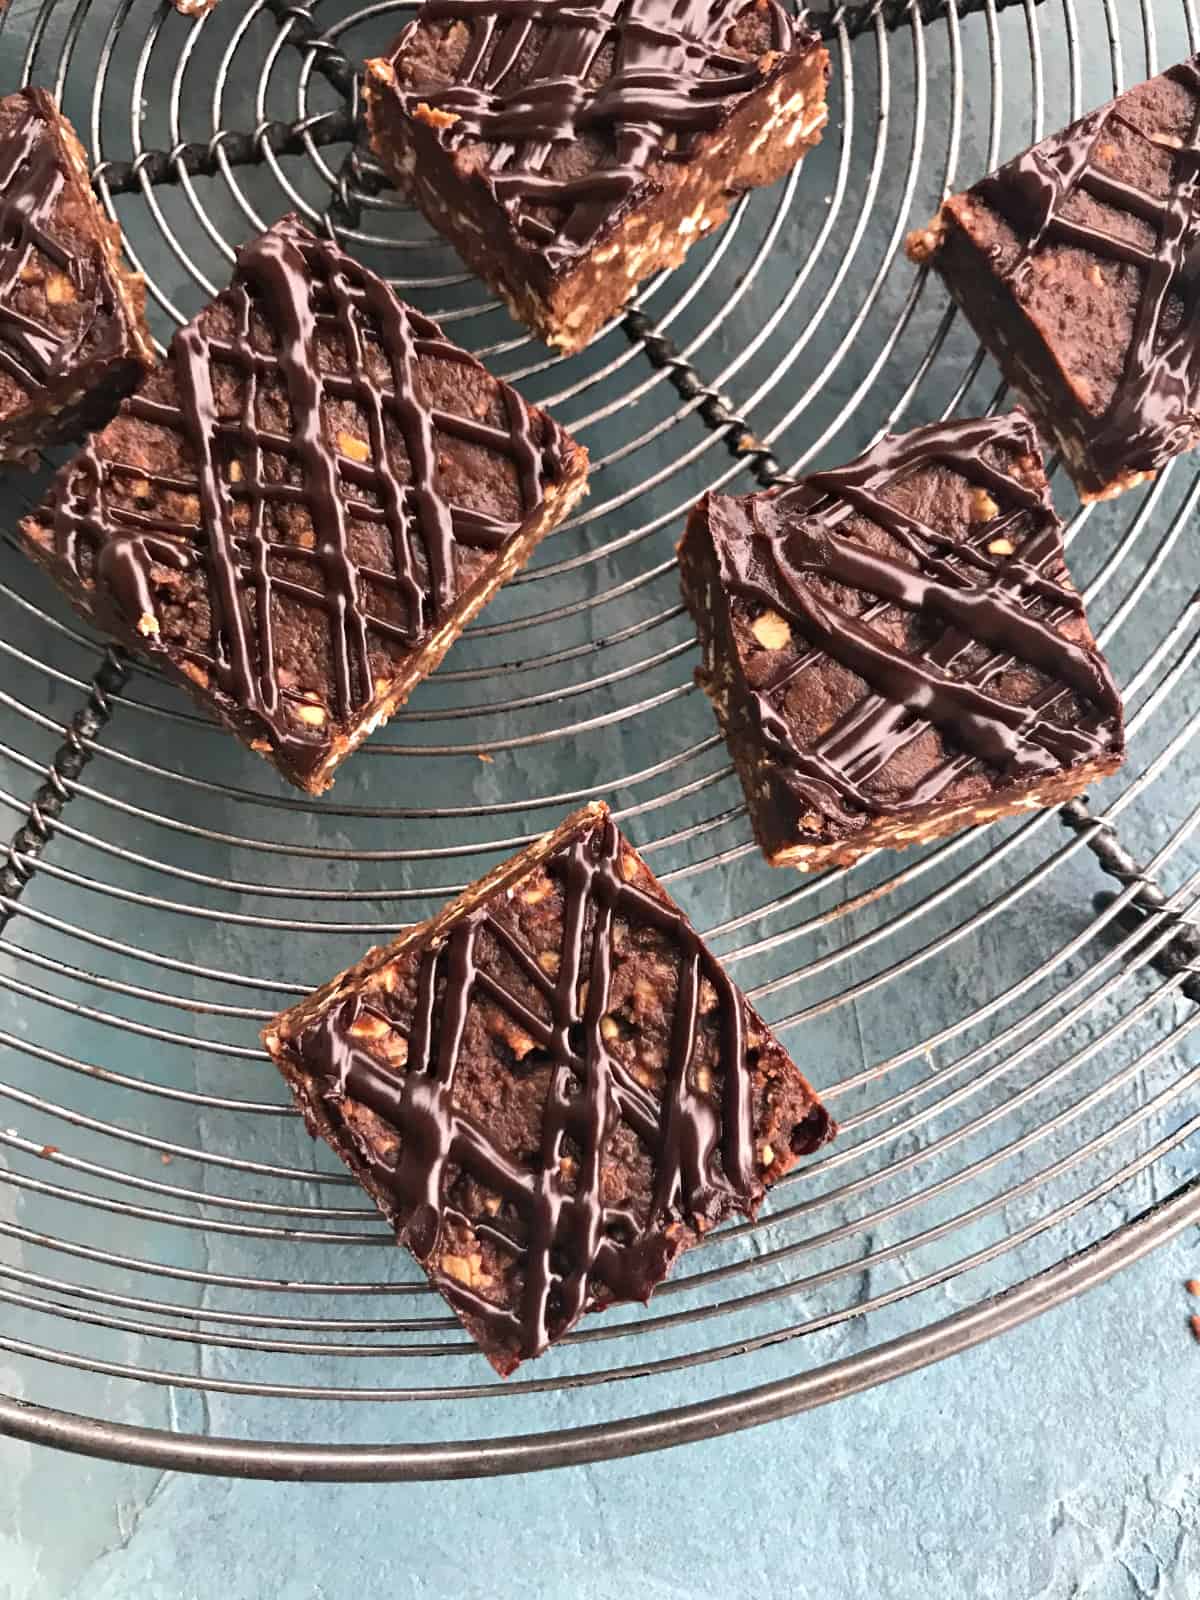
- In a bowl heat 3 tablespoons cream with 3 ounces semisweet chocolate until melted and smooth. I do it in the microwave in 10-second spurts, whisking well each time and making sure I don't scorch the chocolate.
- Pour it over the bars. You can spread it with a spatula or use a piping bag or fork to make a pattern.
- Sprinkle some confetti over it, if desired, before the chocolate settles.
- Keep leftovers refrigerated and well wrapped.
Notes
Adapted from Martha Stewart
Marlene G. says
Oh my! As a Grandmother just now passing these onto my Grandchildren, I am going to be in big trouble with my daughter. These are so good that I only gave them half the pan to take home. Excellent!
Marlene G
Paula Montenegro says
SO happy to hear that Marlene! I believe that's grandmother's duty at its best lol! Have a great weekend.
Veronika says
I'm craving chocolate dessert the whole day today. I think I'll make this recipe, it's easy and I have all the ingredients! Plus, My hubby will be happy about PB!
Elaine says
I didn't have to see the images to say it is a fabulous snack - the ingredients you've used never fail. I can imagine having a big jar of these now - that would be amazing!
Sharon says
These make a fantastic afternoon snack or sweet treat that tastes delicious. Bonus that the kids love them too!
Tammy says
What a fun treat to make for the family! I'm all for no-bake delights and these bars are at the top of my list of things to try 😀
Jacqui DeBono says
Me and the boys are always on the lookout for easy recipes we can make together and no-bake recipes are always winners! Perfect for school lunches, treats and giving to their friends as Easter gifts!
Pam Greer says
I love that these are no bake and they use oats!! We love anything made with oats!
Denise says
I love no bake cookies, and I do enjoy making recipes I haven't tried. And yours sounds so good with crushed cookies! I can't wait to try this.
Analida Braeger says
These were so easy and fun to make! My son loved them and wants me to make more!
Sean@Diversivore says
I feel you. I'm old-school about my baking too, but with kids and the general craziness of life, you need some good, quick go-to recipes to have on hand. I like these a lot because they fit that bill while still being free from the overly processed baking short-cuts that you see in so many easy/no-bake recipes. Your dulce de leche variation idea sounds fantastic too!
Paula Montenegro says
We have to adapt our baking to craziness, so true!
Ben says
Aww yeah. Get in my belly, you delicious, chocolatey treat! GET IN THERE! I am going to eat my weight in these.
Juliana says
So easy and delicious