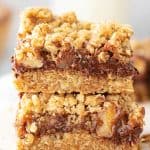
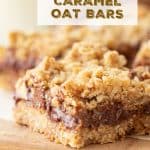
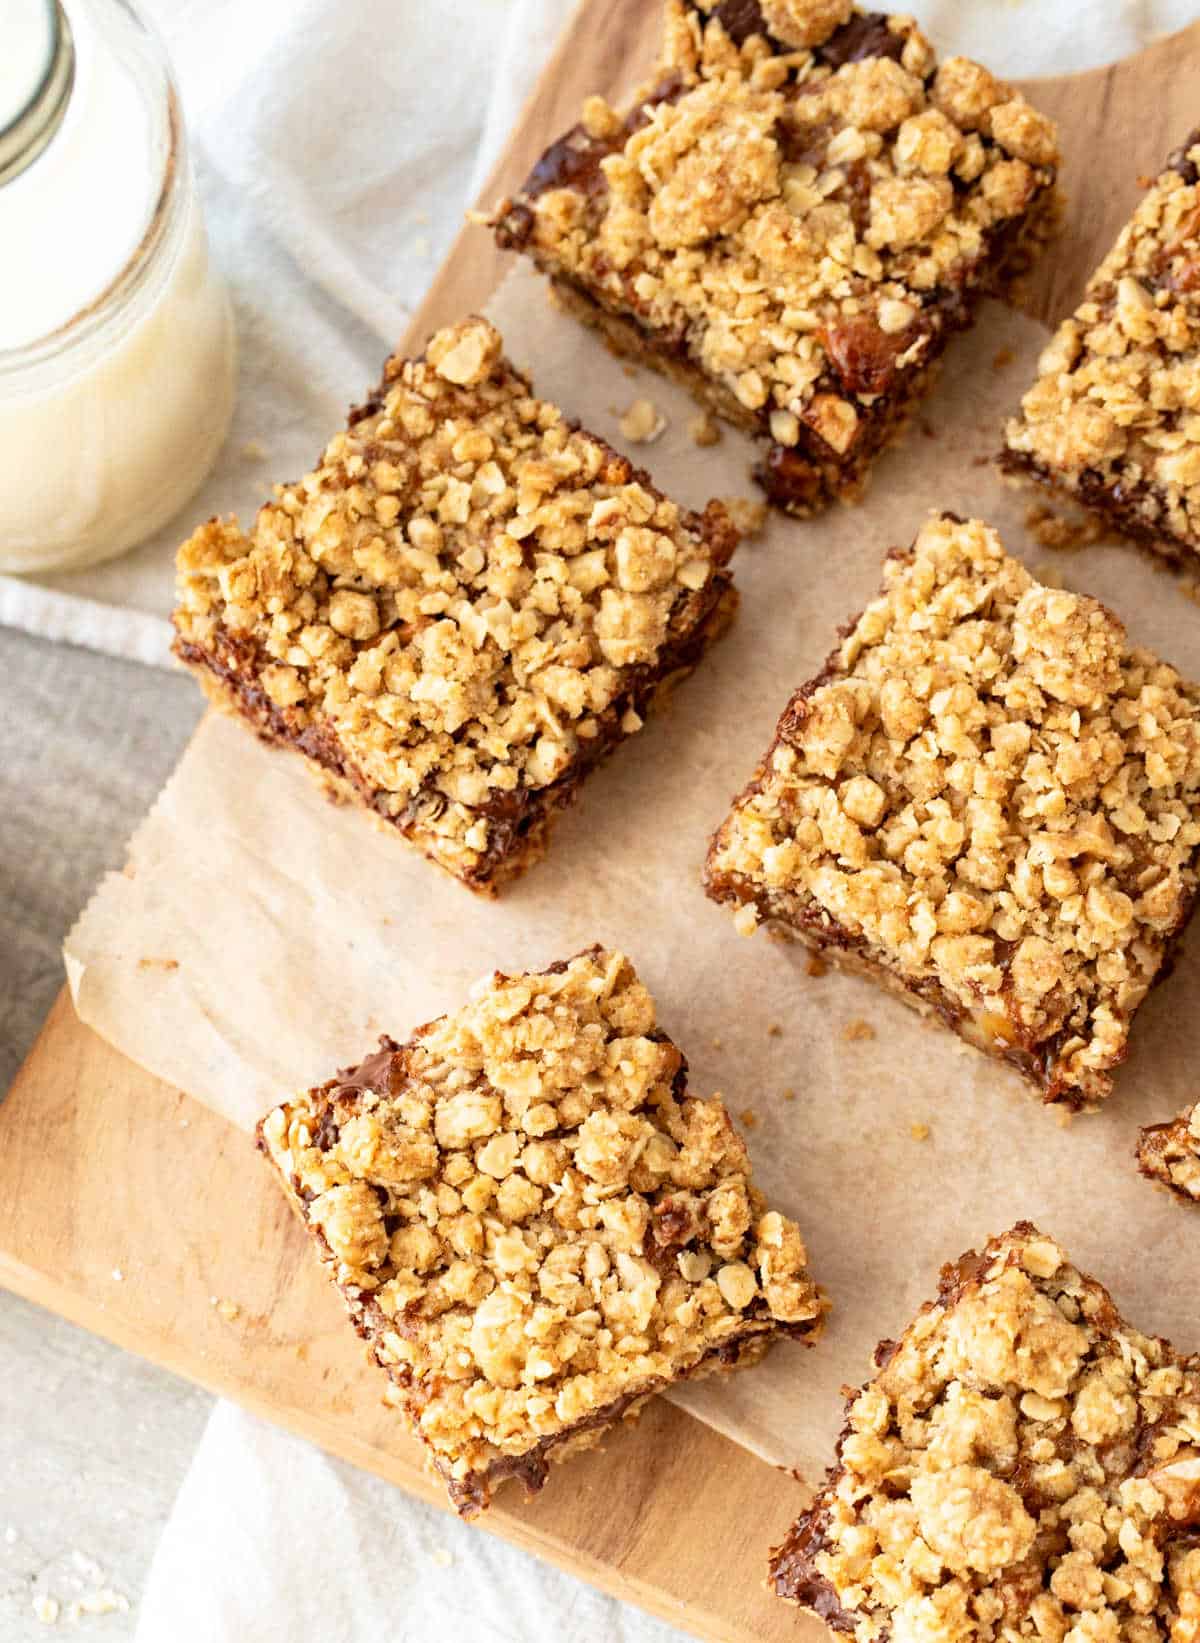
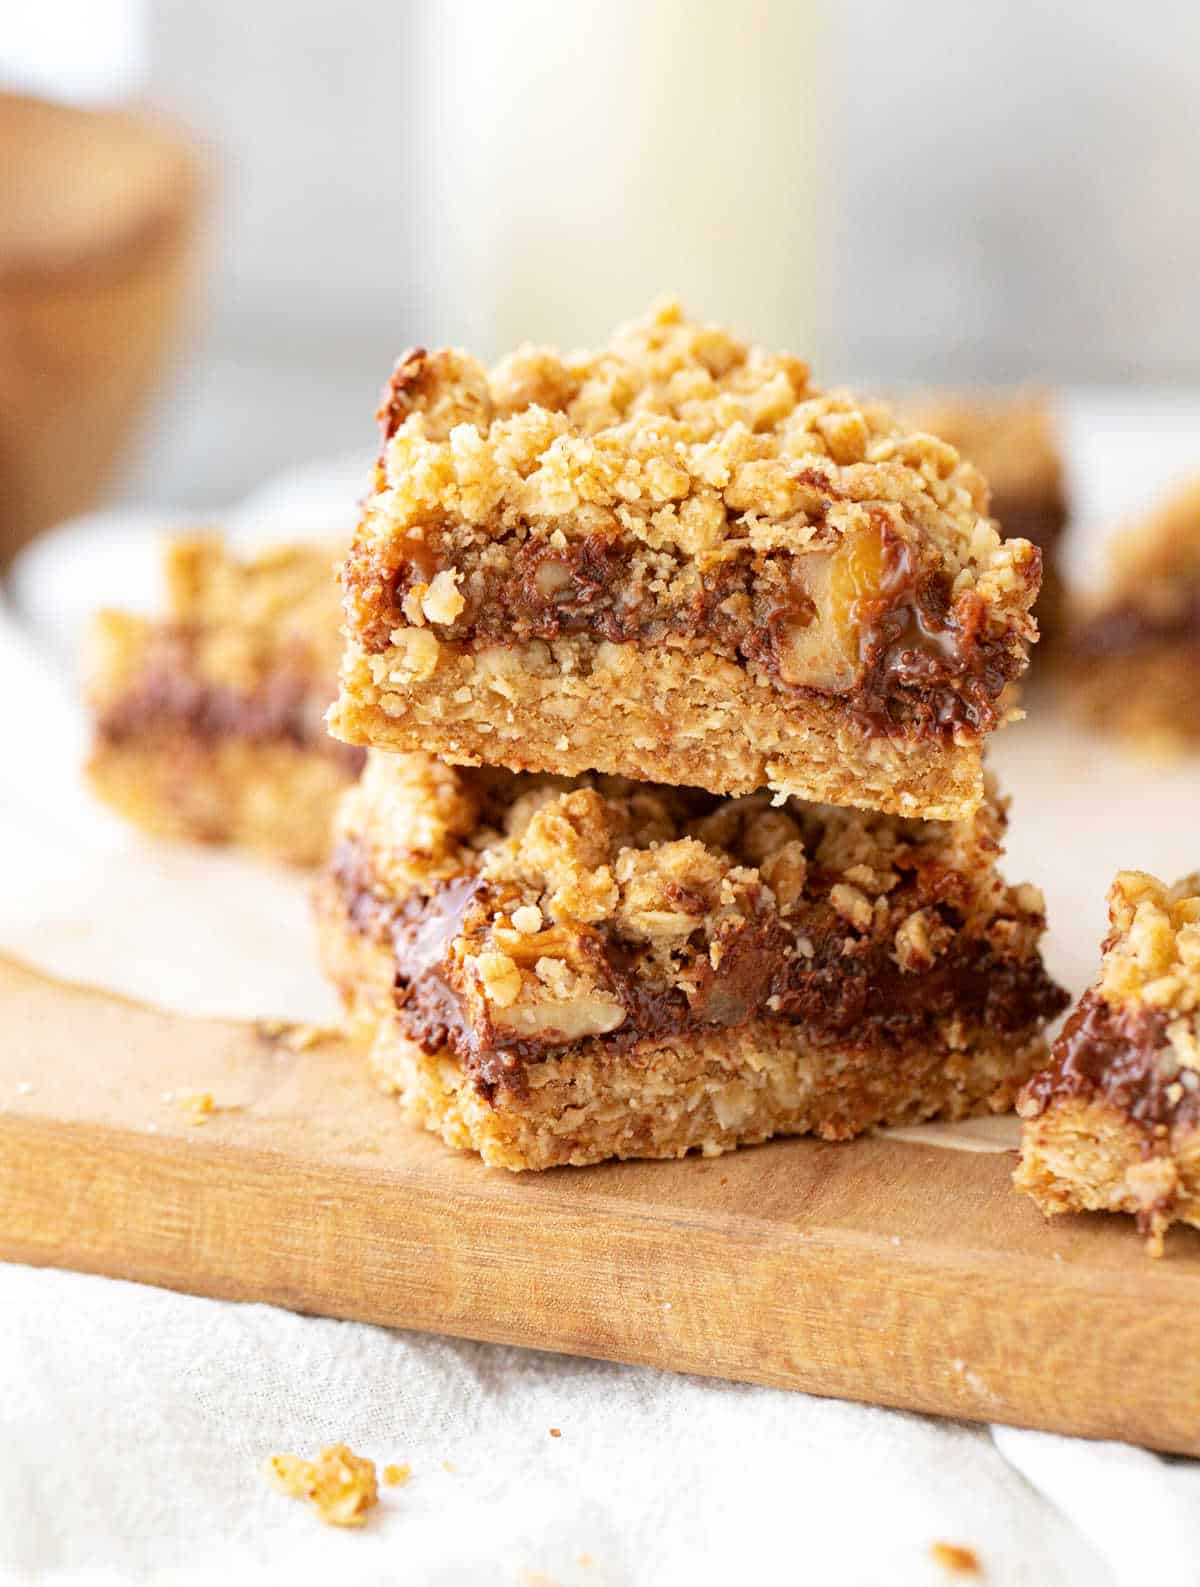
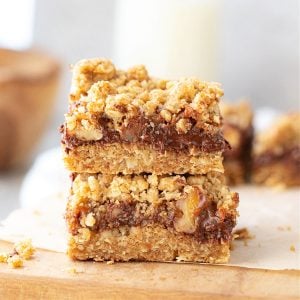
These are the most irresistible chewy bars and are very easy to make! A layer of buttery oat mixture is topped with chocolate, gooey caramel or dulce de leche, nuts, and a crunchy golden brown crumble topping. They're a crowd-pleaser, keep well, and can be frozen.

SAVE THIS RECIPE
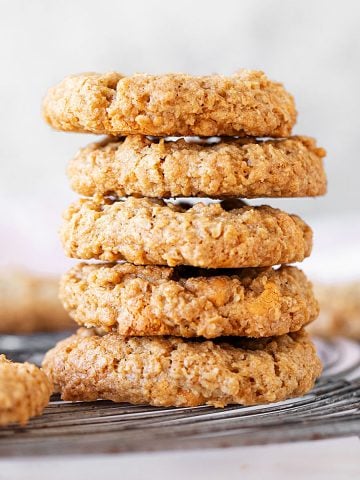
Our carmelitas bars recipe is cousins to the popular no-bake chocolate peanut butter oat bars, so you know you're in for a treat.
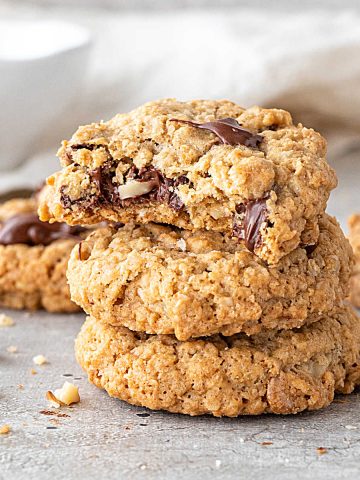
They're like oatmeal cookies with chocolate and caramel in bar form. A piece with a cold glass of milk is a kid's heaven.
I don't know where you live, but people here go crazy for anything sweet made with oats.
Add chocolate, and you have a winning combination. Add dulce de leche or caramel, and they start crushing on you.
These oatmeal carmelitas are an adaptation from a vintage recipe I had pasted on my recipe binder as a teenager (hence the name Vintage Kitchen for this blog). It made it into this century, internet and all, and still holds its place.
- Super easy to make: it takes 15 minutes to put this carmelitas recipe together and 20 minutes in the oven.
- Keeps very well: they can be refrigerated for several days or frozen for a month, always well covered.
- A crowd-pleaser: who wouldn't love these ingredients together, right? It's one of our favorite desserts for potlucks, barbecues, picnics, and birthday tables. A small piece goes a long way as they're so rich. It gets rave reviews every single time.
Ingredient list
- Oats: I use old-fashioned rolled oats (traditional oats) because they have more texture, but you can use instant or quick-cooking oats.
- Butter: I always use unsalted butter, but if you have salted simply omit the salt in the recipe.
- All-purpose flour.
- Salt.
- Baking soda.
- Chocolate chips: use your favorite semisweet chip.
- Caramel or dulce de leche: both work. You can make homemade caramel sauce or buy a jar at the grocery store, use my homemade dulce de leche, or buy tehm. Or use soft caramels such as Kraft caramels.
- Nuts: I love walnuts or pecans, but other nuts work, like hazelnuts.
Quantities are listed in the recipe card towards the end of this post. The Ingredients page has more details and lists the brands we use.

Assembly
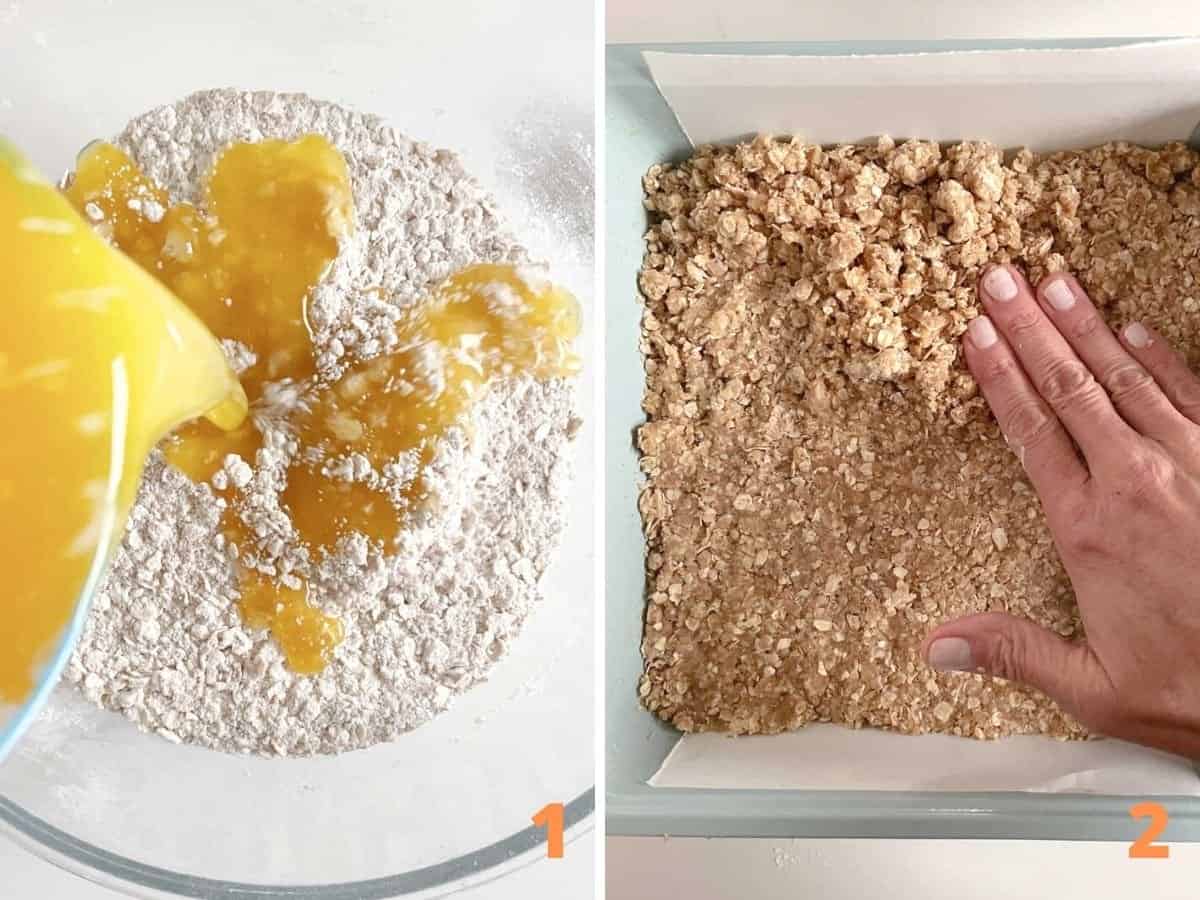
- Oatmeal crumble: this mixture is a step short of making oatmeal cookies and is used for the bottom crust and top layer. It's just a matter of mixing the ingredients together until crumbly, and it can be made ahead and kept refrigerated for a day.
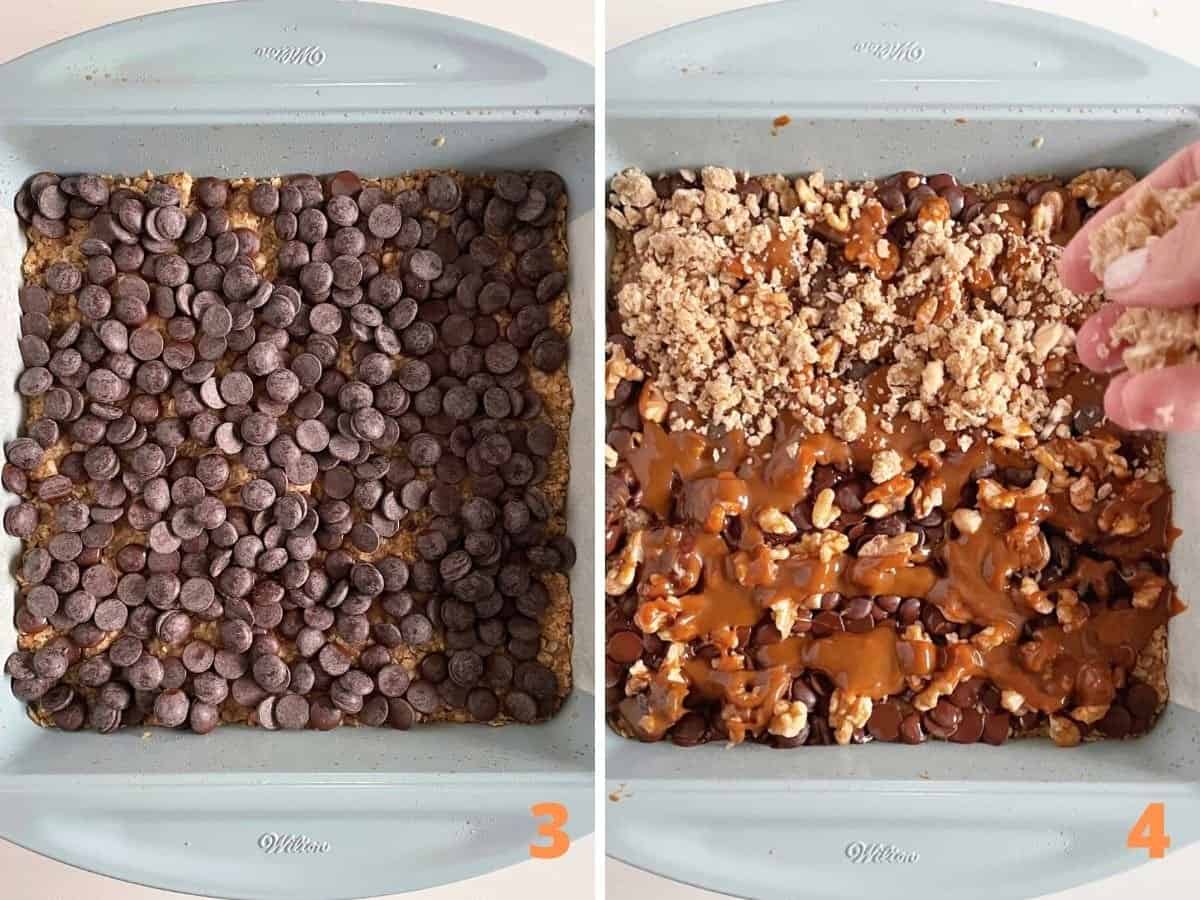
- Chocolate layer: it's thick and added after the base is pre-baked.
- Caramel layer: it's added after the chopped walnuts, and you won't be able to spread it, so you need to add it in small spoonfuls covering as much as you can, and let the heat dissolve it further.
Baking carmelitas
My #1 tip is to not overbake them.
The oven is set a tad lower than for a cake or cookies. That's because it's important not to let them bake more than needed so they stay chewy.
Light golden brown top: that's your cue to take them out. If you wait until they're a deep golden hue, make sure you don't store them for too many days, as they will toughen a little bit each day, especially if stored in the refrigerator.
Kitchen notes
- Organization: read the recipe first and ensure you have ingredients at the correct temperature, equipment, and enough workspace. This will make the process so much easier.
- Baking time: keep in mind that all ovens and pans are different, even if they look similar. The baking time in my recipes is as accurate as it can be, but it might take you more or less time. You can use a thermometer(like the OXO oven thermometer) to check that your oven is at the right temperature. I recommend you keep track of how your oven works and what tiny details you might need to adjust.
- Don't overbake: the crust is pre-baked for a few minutes so that it stays crunchy, and the assembled bars only need to be lightly colored. This is important so that the carmelitas are chewy and not tough.
- Double batch: if you want to make twice the recipe (and who can blame you) I recommend making two pans. You can make double the oatmeal crumble in one bowl but bake them separately. The baking time will be less and you'll avoid overbaking them.
- Make ahead: carmelitas keep well at room temperature for 2 days and in the fridge for several days (well wrapped). They can be frozen for a month (I wrap them first in plastic wrap and then aluminum foil).
- Caramel filling: if using soft caramels, scatter them, unwrapped, over the nuts. They will melt as they bake. Alternatively, melt caramel squares in a small saucepan with a few tablespoons of heavy cream and make a toffee sauce. Drizzle over before sprinkling the crumble topping.
- Variations: combine milk chocolate chips with the semi-sweet, using the same total amount. The bars will be sweeter. Add a little ground cinnamon and vanilla extract to the oatmeal mixture for a mellower oatmeal cookie bar.

Related recipes you might like:
If you made this recipe and loved it, you can comment below and leave a 5-star ⭐️ review. Also, if you had issues, let me know so we can troubleshoot together.
You can also subscribe to our FREE email series 'Baking the Best' and our regular newsletter. Or follow and save my recipes on Pinterest.
As an Amazon Associate, I earn from qualifying purchases. Read my disclosure policy.
Oatmeal Carmelitas (with dulce de leche and walnuts)
Ingredients
- 1 ½ cups all-purpose flour
- 1 ½ cups traditional oats
- ¾ cup brown sugar, firmly packed
- ¾ teaspoon baking soda
- pinch of salt
- ¾ cup unsalted butter, melted
- 1 cup semisweet chocolate chips, chunks, or chocolate chopped into small pieces
- ¾ cup walnuts , or pecans, chopped
- 1 cup dulce de leche, or thick caramel sauce, or soft caramels, unwrapped (see Notes below)
Instructions
- Preheat the oven to 325ºF (170ºC).
- Spray or butter a 9-inch square baking pan (23cm) and line it with parchment paper for easier removal of the bars. See Notes below.
- Stir to combine 1 ½ cups all-purpose flour, 1 ½ cups traditional oats, ¾ cup brown sugar, ¾ teaspoon baking soda and pinch of salt in a large bowl.
- Add ¾ cup unsalted butter, melted, and mix with a spatula or wooden spoon until it's all wet and no dry parts remain.
- Reserve 1 ½ cups of this mixture (loosely measured not packed), and press the remaining crumb mixture onto the bottom of the prepared pan.
- Bake for 10 minutes, until it starts to dry and color a bit. You don't have to bake it fully.
- Take it out of the oven and immediately sprinkle 1 cup semisweet chocolate chips or chunks over the hot base.
- Sprinkle ¾ cup walnuts on top of the chocolate.
- Drop 1 cup dulce de leche or thick caramel sauce by spoonfuls on top of the walnuts. It will not cover the whole surface. That's fine.
- Sprinkle the reserved oat mixture and very lightly press it down. You don't want to compact it, just make it slightly adhere to the rest of the ingredients.
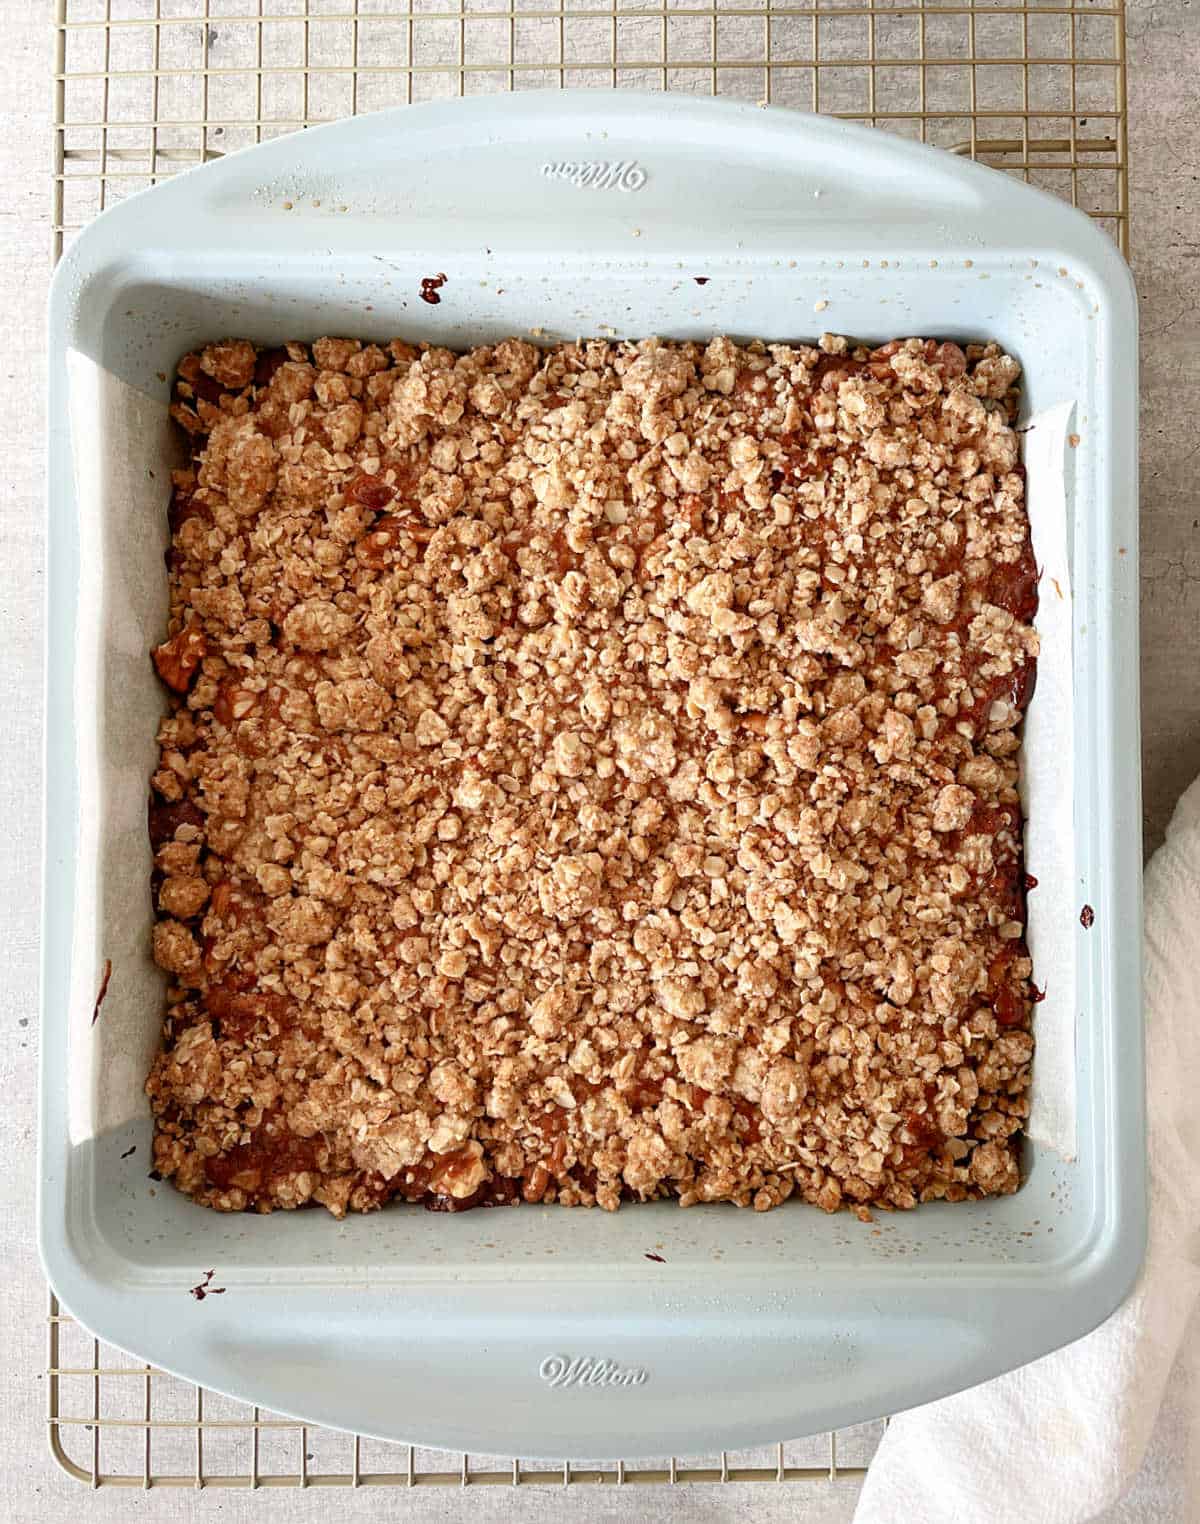
- Bake for an additional 15-20 minutes, until it starts to color. Don't overbake it.
- When you take it out of the oven, run a smooth knife along the sides to separate any dulce de leche that might have stuck and make it hard to unmold later.
- Let cool completely on a wire rack. Lift the paper to take out the whole block from the pan and cut it into squares or rectangles.
- Eat at room temperature.
- Store leftovers covered in plastic wrap or in an airtight container at room temperature for a few days, or refrigerated. They can be frozen for a month, well wrapped.
Mynda says
Aloha Paula, that’s great news — mahalo! Mynda
angiesrecipes says
They look absolutely heavenly! Chocolate and walnuts..who could ever resist the combo, I certainly can't!
Mynda says
Aloha Paula!
Do these Chocolate Walnut Oat Bars need to be refrigerated or can I ship them? Can’t wait to try this recipe!
Mahalo and take care! Mynda
Paula Montenegro says
Hi Mynda! They're not refrigerator bars, and they can travel. But they do have chocolate so keep that in mind.