Ingredients
- 1 3/4 cups fine graham cracker crumbs
- 3 tablespoons brown sugar (optional but recommended, see Notes below)
- 1/2 cup butter, melted
Instructions
- Preheat the oven to 350°F/180°C.
- Have ready a 9-inch pie pan with removable bottom. An 8-inch also works but the crust will be thicker. You can also use a pie plate without a removable bottom (like with this Pumpkin Pie) which are very popular during the holidays.
- For the cookie crumbs, the easiest way is to use a food processor and process until you have fine crumbs. Make sure there are no large pieces or that it's a very coarse crumb mixture. That will prevent the mixture from compressing well. You can also make the crumbs by hand, but it takes a while and some patience. Crush the cookies with a rolling pin. It's easier if you put them in a large plastic bag, like a Ziploc bag, leaving it a little bit open to let the air out as you roll.
- By hand: mix crumbs with the sugar in a medium bowl. Add the melted butter and combine everything until it resembles wet sand and no dry spots remain.
- Food processor: you can make the mixture directly in the bowl of the processor. Simply process the graham crackers with the sugar and add the melted butter to the bowl of the processor, pulse a few times, and you have your graham mixture ready.
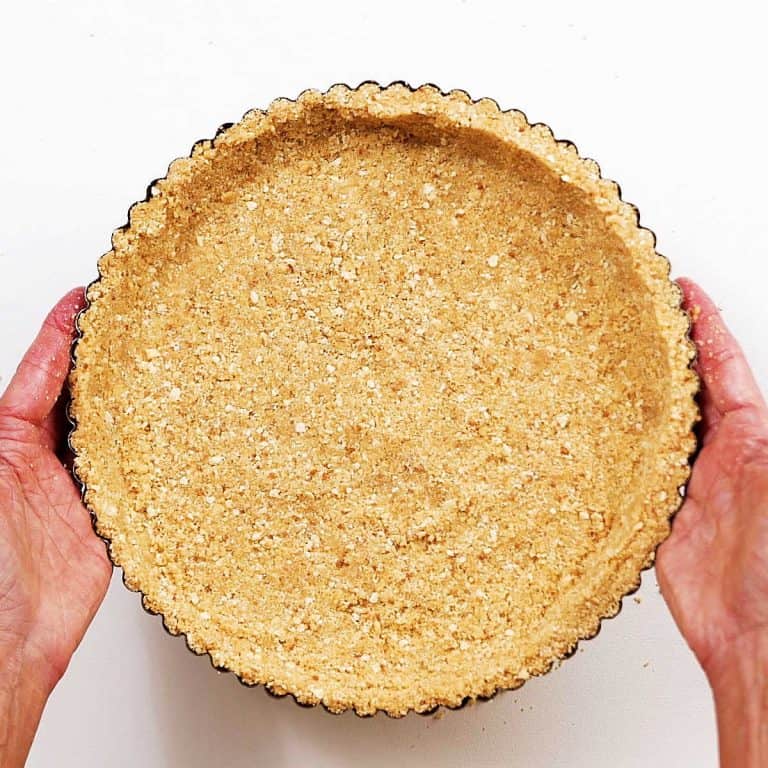
- Press mixture onto a 9-inch (24cm) springform pan, starting at the edges and the angles where the base and sides join together and make sure it's pressed and compacted. This will help when removing the pie from the pan.
- Bake for 10 minutes, until lightly golden and dry. Let cool completely on a wire rack before filling.
- For a no-bake pie or dessert: simply put the crust in the refrigerator for at least 1 hour to allow the butter to firm up. This will make it less sturdy and might crumble here and there when you cut it.
Notes
Organization: always read the recipe first and make sure you have all the ingredients, at the right temperatures, and also the rest of the equipment and space to make it. This will make the process so much easier!
Baked graham cracker crust: this is optional, but highly recommended because you get a more solid crust. About 10 minutes at 325°F/170°C for baked fillings and about 15 minutes for unbaked fillings. A baked crust will have fewer chances of crumbling when you cut it.
Sugar: it's optional and I recommend it. I use brown sugar because it gives the crust a fantastic caramel tone that works perfectly well with graham crackers, but white sugar works just fine.
Fine crumbs: make sure the graham crackers are well processed and there are no large pieces or very coarse crumbs. A food processor is the best way to achieve this. The finer the crumbs the better compacted the pie crust will be and the result will be way better.
Wet sand: make sure the mixture of melted butter and cookie crumbs is wet, like when you make a sandcastle wet. Not dripping or with butter pooling anywhere. But all of the crumbs must be fully coated.
Angles: after you scatter the crumb mixture in the pan, start with the sides, and pay special attention to the place where they meet the bottom. That angle needs to be thicker than not to ensure the whole crust has structure.
Well compacted: it's very important that you press and compact it very well, making sure it is a thick layer all around. This is one of the key details when making this type of crust.
Make ahead: you can assemble the pie crust a few days before you plan on using it (with or without baking). Keep it well wrapped in the refrigerator or freezer.
- Prep Time: 10 minutes
- Cook Time: 10 minutes
- Category: Pies & Tarts
- Method: Mixing
- Cuisine: American