Ingredients
Units
- 1 box red velvet cake mix (15.25 oz) prepared according to package directions
- 8 oz cream cheese, at room temperature (or use cream cheese frosting for a sweeter cake pop)
- 16 oz melting white chocolate
- Oil-based food coloring (for chocolate)
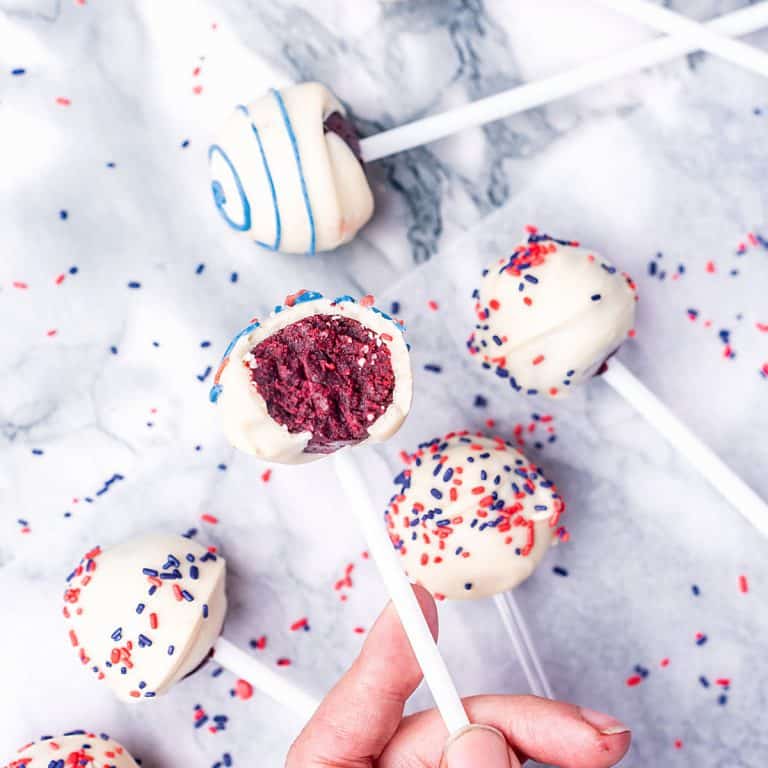
- Sprinkles for decorating
- Lollipop sticks
Instructions
- Crumble the cake into a large bowl with your hands.
- Add the softened cream cheese and mix until well combined with an electric mixer or your hands. The mixture should not be crumbly but should come together if squeezed in your hand. Add a tablespoon more cream cheese if it doesn't until you get the right consistency.
- Roll small amounts of cake mixture into walnut-sized balls and place them on a baking sheet lined with parchment paper. Insert a lollipop stick into each cake ball and chill in the fridge for about an hour.
- Have ready the styrofoam block or use a cardboard box that can be perforated and make the holes with a lollipop stick before you start coating the cake pops.
- Melt the white chocolate in a double boiler or the microwave in 15-second spurts, stirring well between each one.
- Divide the melted white chocolate as follows: half into a medium bowl and the other half distributed evenly between two small bowls (1/4 of the total amount in each bowl).
- Add a few drops of red food coloring to one small bowl and stir until thoroughly combined. Repeat with the blue color and another small bowl of melted chocolate. Leave the medium bowl of white chocolate as is.
- Dip the red velvet cake balls into the white melted chocolate, covering them completely. Allow any excess to drip off before placing the cake pops on the styrofoam block or cardboard box.
- Sprinkle half of them immediately with the red and blue jimmies while the chocolate is still wet.
- For the iced ones, once the chocolate has hardened, melt the blue and red chocolate again if needed. Fill two piping bags with them and decorate your cake pops with swirls, dots or lines.
- Wait until the chocolate hardens to serve.
Notes
- Organization: read the recipe first and ensure you have ingredients at the correct temperature, equipment, and enough workspace. This will make the process so much easier.
- Baking time: consider that all ovens and pans are different, even if they look similar. The baking time in my recipes is as accurate as it can be, but it might take you more or less time. You can use a thermometer (like the OXO oven thermometer) to check that your oven is at the right temperature. I recommend you keep track of how your oven works and what tiny details you might need to adjust.
- Food coloring for chocolate: look for oil-based food color (as opposed to water-based) that will dissolve in chocolate.
- White chocolate: use melting white chocolate wafers that are made for candy making, like Mercken's coating melting wafers, Ghirardelli white melting chocolate or Wilton white candy melts. They dissolve easily and create a thin coating.
- Boxes for transportation: if you need to transport them, you can buy special cake pop boxes.
- Prep Time: 30 minutes
- Refrigeration time: 1 hour
- Category: Candy - Sweets
- Method: Mixing + Coating
- Cuisine: American