If you've never made a hot fudge pudding cake before, prepare to be amazed.
This vintage recipe (more of a spoon dessert than a cake) doesn't need a mixer or melted chocolate. I tweaked the layering technique a bit to make it easier, so there's more control and it bakes more evenly.
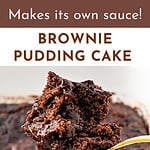
Just like a quick dump cake (fitting, as it's sort of a chocolate cobbler), it's a recipe that feels almost too easy for how satisfying it is. You pour a chocolate mixture over the brownie batter before baking, and it somehow makes its own sauce.
Magic in a pan
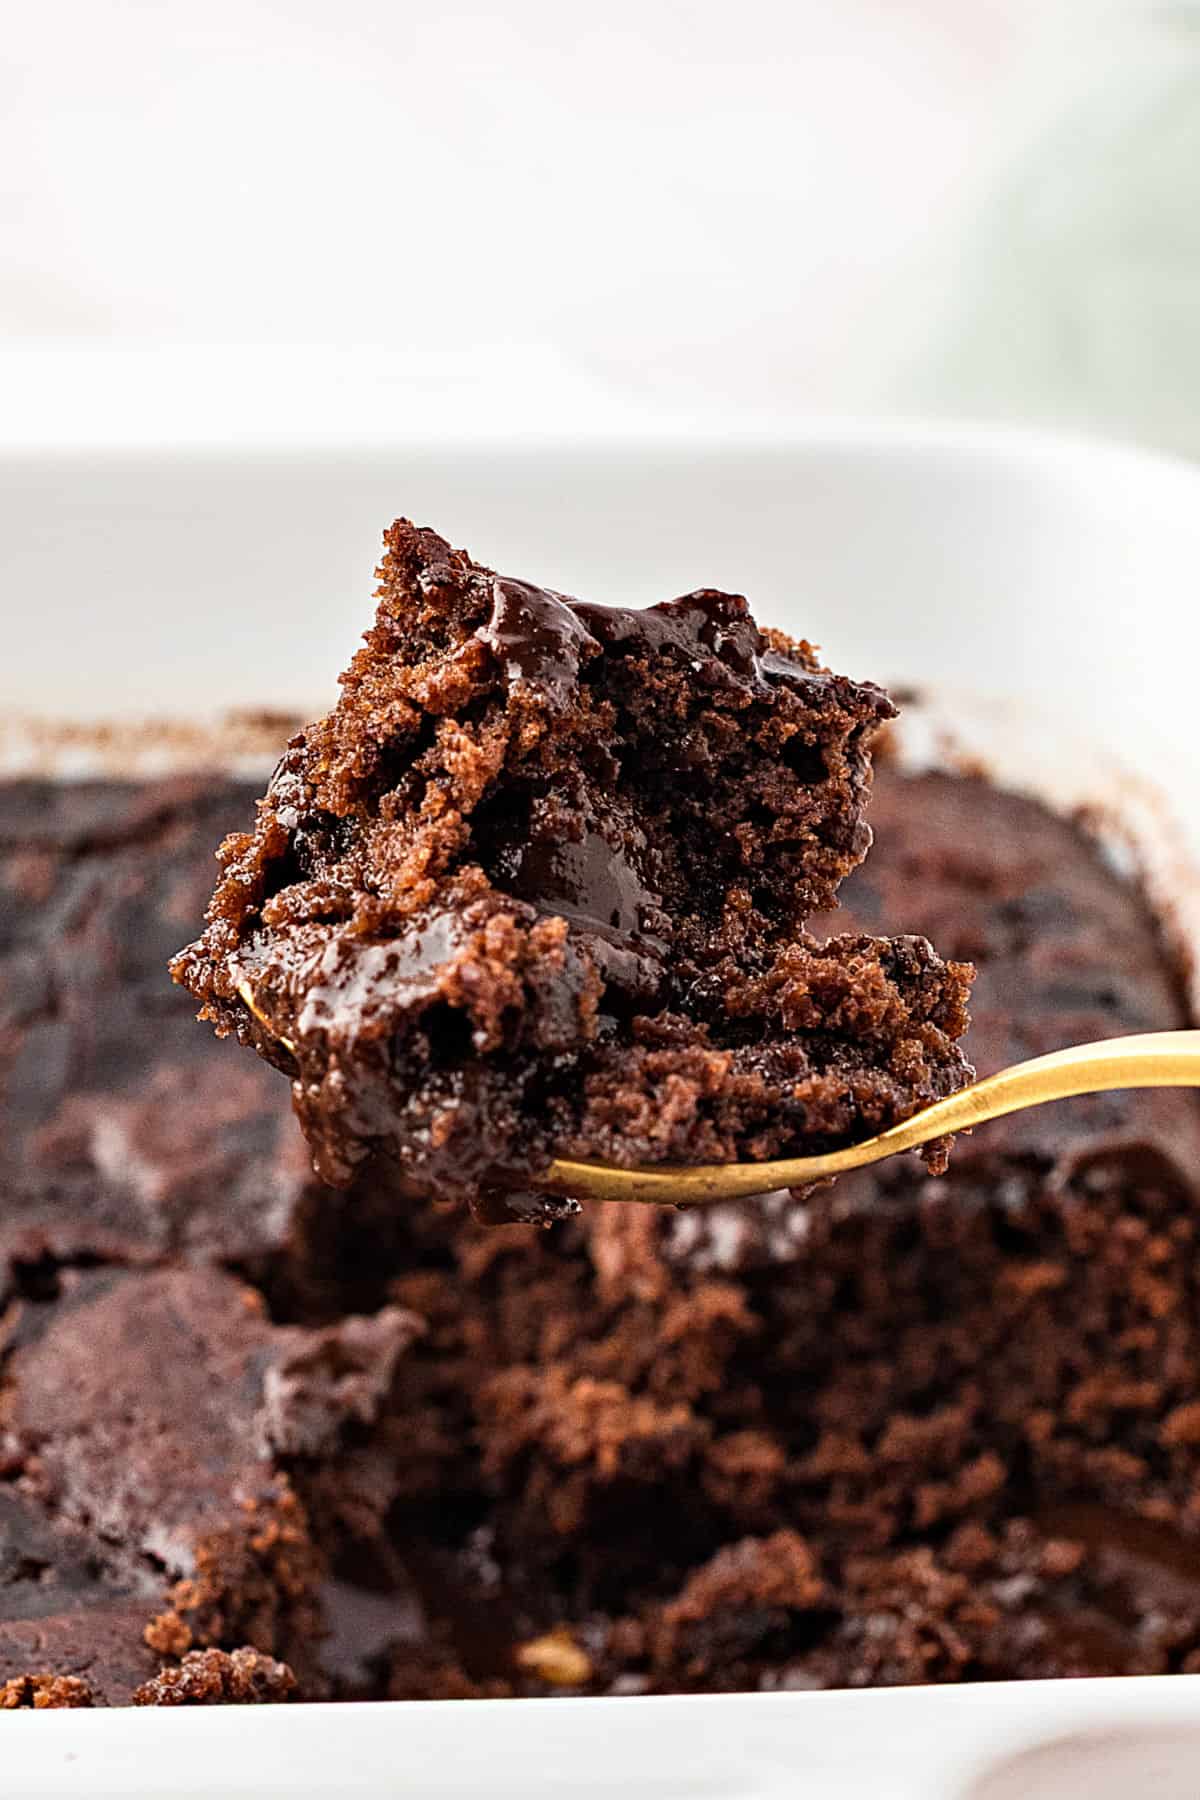
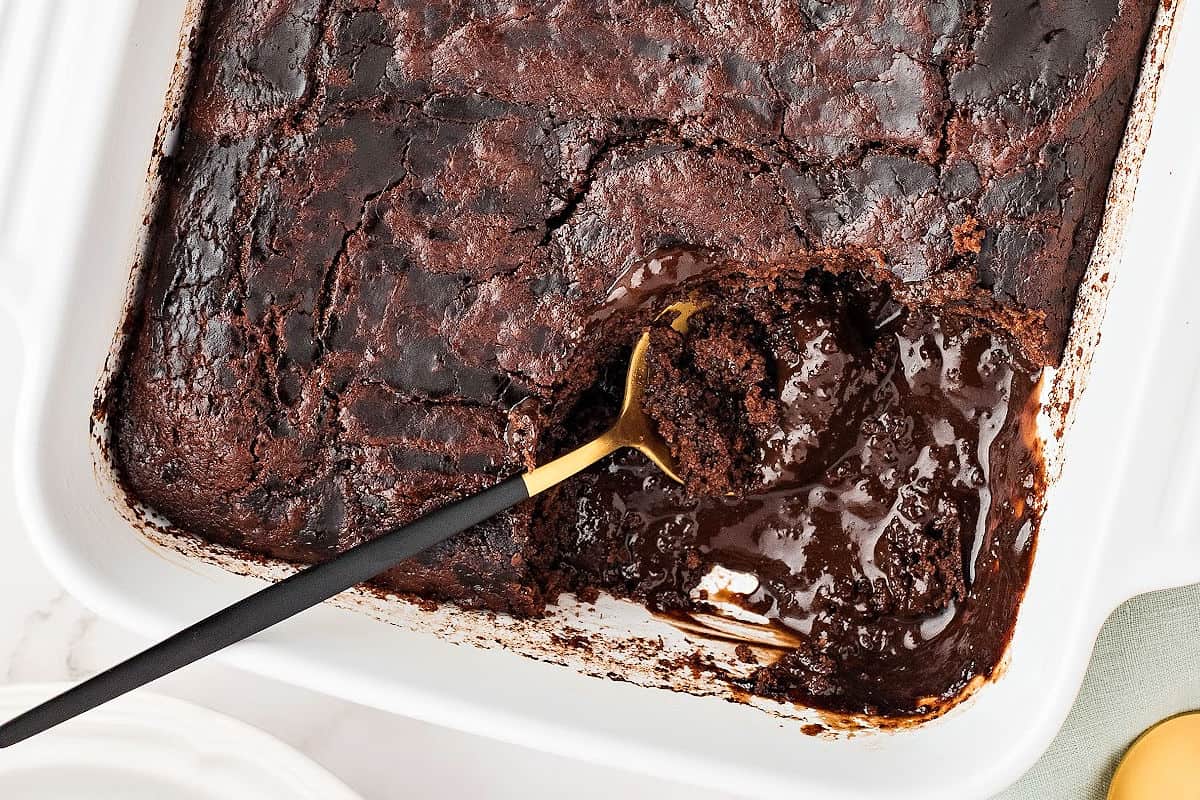
It's like a brownie sundae and molten lava cake had an old-fashioned baby. Not a looker, but incredibly indulgent and fudgy. A dream for chocolate lovers.
Also known as magic fudge cake or self-saucing chocolate pudding, I don't know who came up with it, and I always think it was by accident, when they forgot to add an ingredient or something like that. But this kind of kitchen transformation was classic midcentury baking: simple pantry ingredients, no special equipment, and pure comfort.
Pudding cakes (I've yet to post the coconut and the lemon versions) create their own custard or fudgy sauce, in this case. Impressive desserts, taking into account how ridiculously easy they are to make.
Just like making dulce de leche from a can of condensed milk, some recipes never cease to amaze me. The transformation that can happen in the kitchen is why I love baking so much.
Testing Notes
I tweaked the technique to make it easier. The original recipe calls for sprinkling the cocoa powder and then drizzling the hot water or coffee before baking. I prepare a wet mixture and drizzle it over the brownie layer. There's more control, and it bakes more evenly.
Coffee or water? You can use either. I like prepared coffee because it brings out the chocolate flavor and deepens it, without tasting like coffee. You can also prepare it weaker or stronger and regulate it that way.
Use unsweetened cocoa powder. It's important for flavor and texture. No hot chocolate mixes. And Dutch-process cocoa provides a deeper chocolate flavor. Natural cocoa works, but the sauce won't be as rich.
Baking dish: Use a standard 8-inch (20 cm) square pan or similar ceramic dish. Glass works too, but may bake slightly faster, and the results are not as good in my experience.
If you want to make it ahead, I actually think the flavor is even better the next day. Though this is a wonderful dessert eaten warm when you make it, the sauce thickens and has a fantastic flavor after it cools down and chills in the fridge overnight.
Process steps
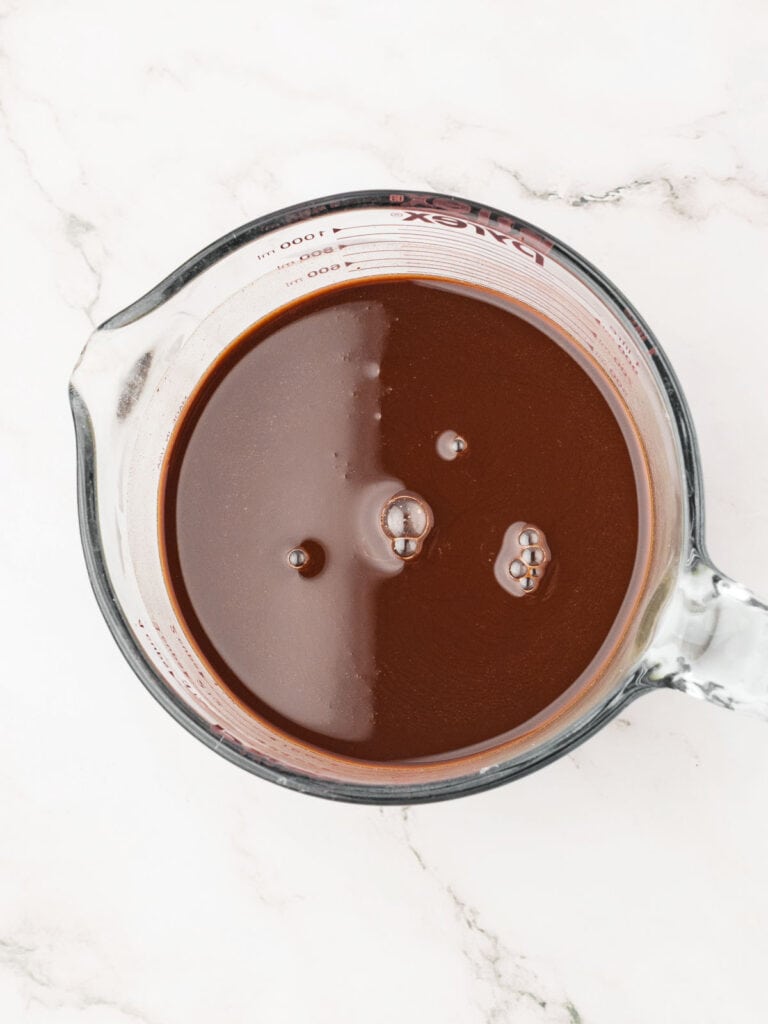
Make the custard
This is mixed on the stovetop.
I recommend transferring it to a jar with a tip for easier pouring.
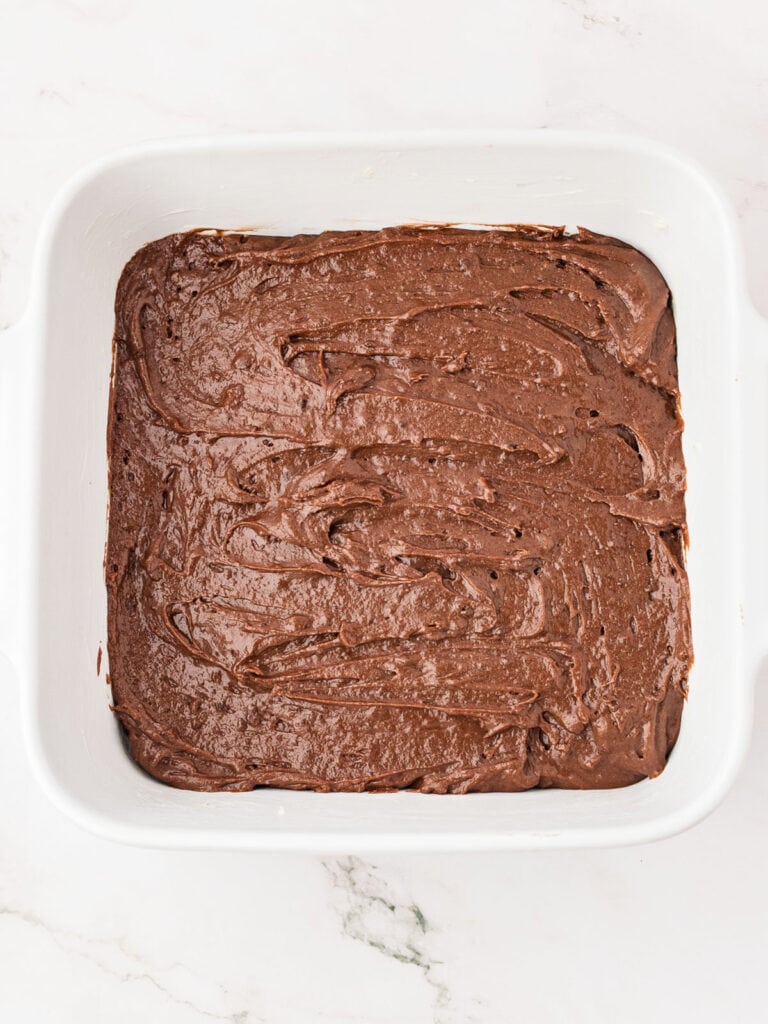
Brownie layer
The batter is thick. Make sure it reaches the side and smooth it as best you can.
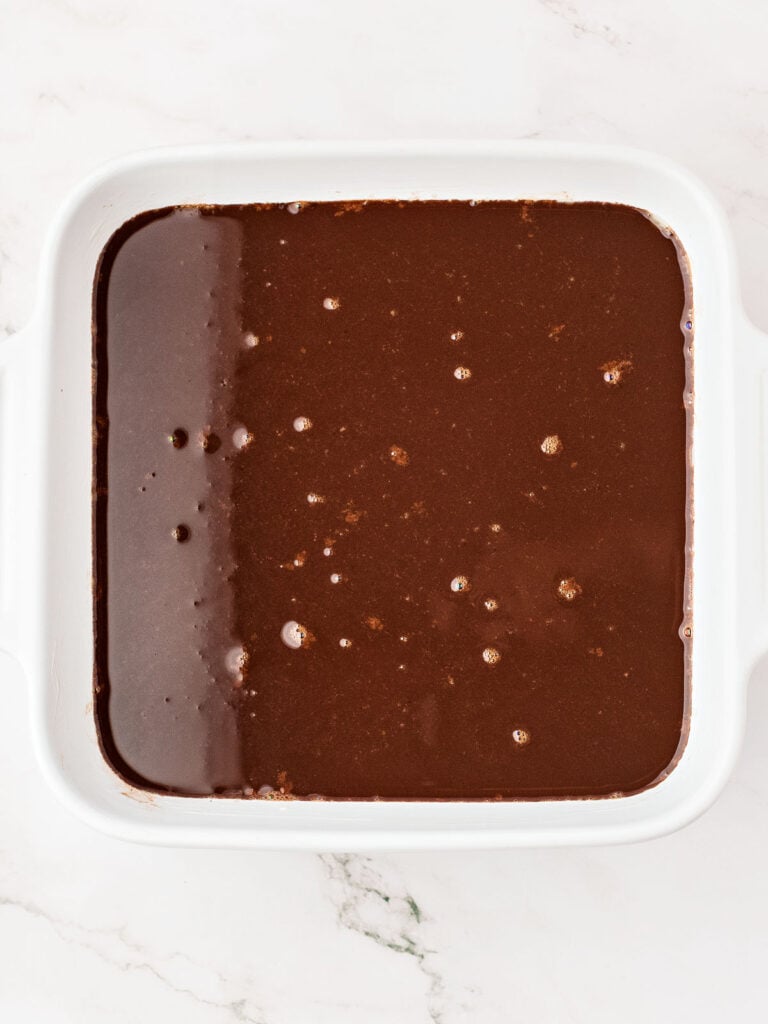
Pour
The wet chocolate mixture will cover the chocolate cake batter completely.
I recommend doing this close to the oven so it's easier to transfer.
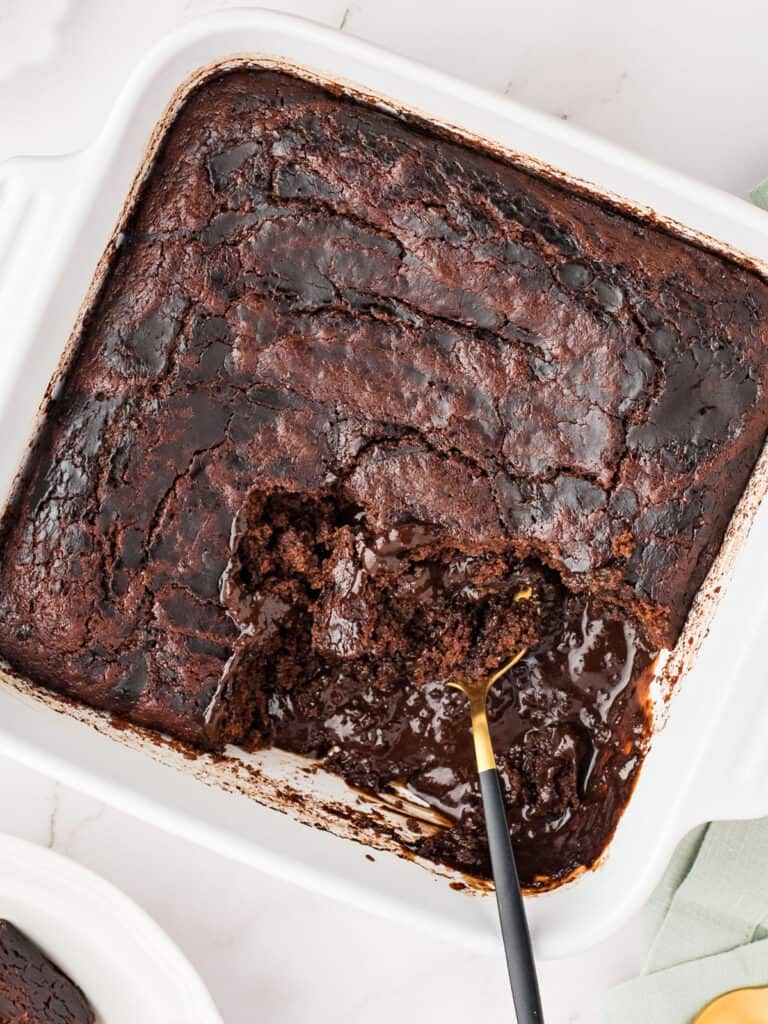
Baking
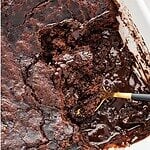
The top is crackly and irregular in color. That is fine.
Make sure the cake doesn't dry out. You can lift it a bit and check before removing it from the oven. You should have two distinctive layers of sauce and cake.
Vintage Kitchen Tip
If the cake is cold from the refrigerator, I recommend warming it briefly in the microwave or a medium oven before eating. You want a warm cake and the sauce to be runny again, even though it will have thickened.

If you made this recipe and loved it, you can comment below and leave a 5-star ⭐️ review. Also, if you had issues, let me know so we can troubleshoot together.
You can also subscribe to our FREE email series 'Baking the Best' and our regular newsletter. Or follow and save my recipes on Pinterest.
As an Amazon Associate, I earn from qualifying purchases. Read my disclosure policy.
Old-Fashioned Brownie Pudding Cake (self-saucing)
Ingredients
For the chocolate topping:
- ¾ cup dark or light brown sugar, packed
- ¼ cup unsweetened cocoa powder
- large pinch of salt
- 1 ⅔ cups hot prepared coffee, or instant coffee (about 4 teaspoons in hot water)
- 1 tablespoon vanilla extract
For the brownie layer:
- 1 cup all-purpose flour
- ¾ cup sugar
- ¼ cup unsweetened cocoa powder
- 2 teaspoons baking powder
- ½ teaspoon salt
- ½ cup milk
- ½ cup butter, melted
- ½ teaspoon vanilla extract
- vanilla ice cream or whipped cream, for serving
Instructions
- Preheat oven to 350°F (180°C). Grease a 20x20cm (8x8 inch) baking dish.
- In a small saucepan, mix ¾ cup dark or light brown sugar, ¼ cup unsweetened cocoa powder, a large pinch of salt, 1 ⅔ cups hot prepared coffee and 1 tablespoon vanilla extract. Place over medium heat and stir until almost boiling. Remove from the heat and set aside.
- In a large bowl, mix together 1 cup all-purpose flour, ¾ cup sugar, ¼ cup unsweetened cocoa powder, 2 teaspoons baking powder, and ½ teaspoon salt.
- Add ½ cup milk, ½ cup butter, melted, and ½ teaspoon vanilla extract to the dry ingredients and mix until just combined.
- Spread the brownie batter in the prepared baking dish, smoothing to cover the edges.
- Transfer the hot chocolate liquid mixture to a jar for easier pouring, and drizzle over the brownie batter, covering it completely. Do so slowly so you don't disturb the chocolate layer much.
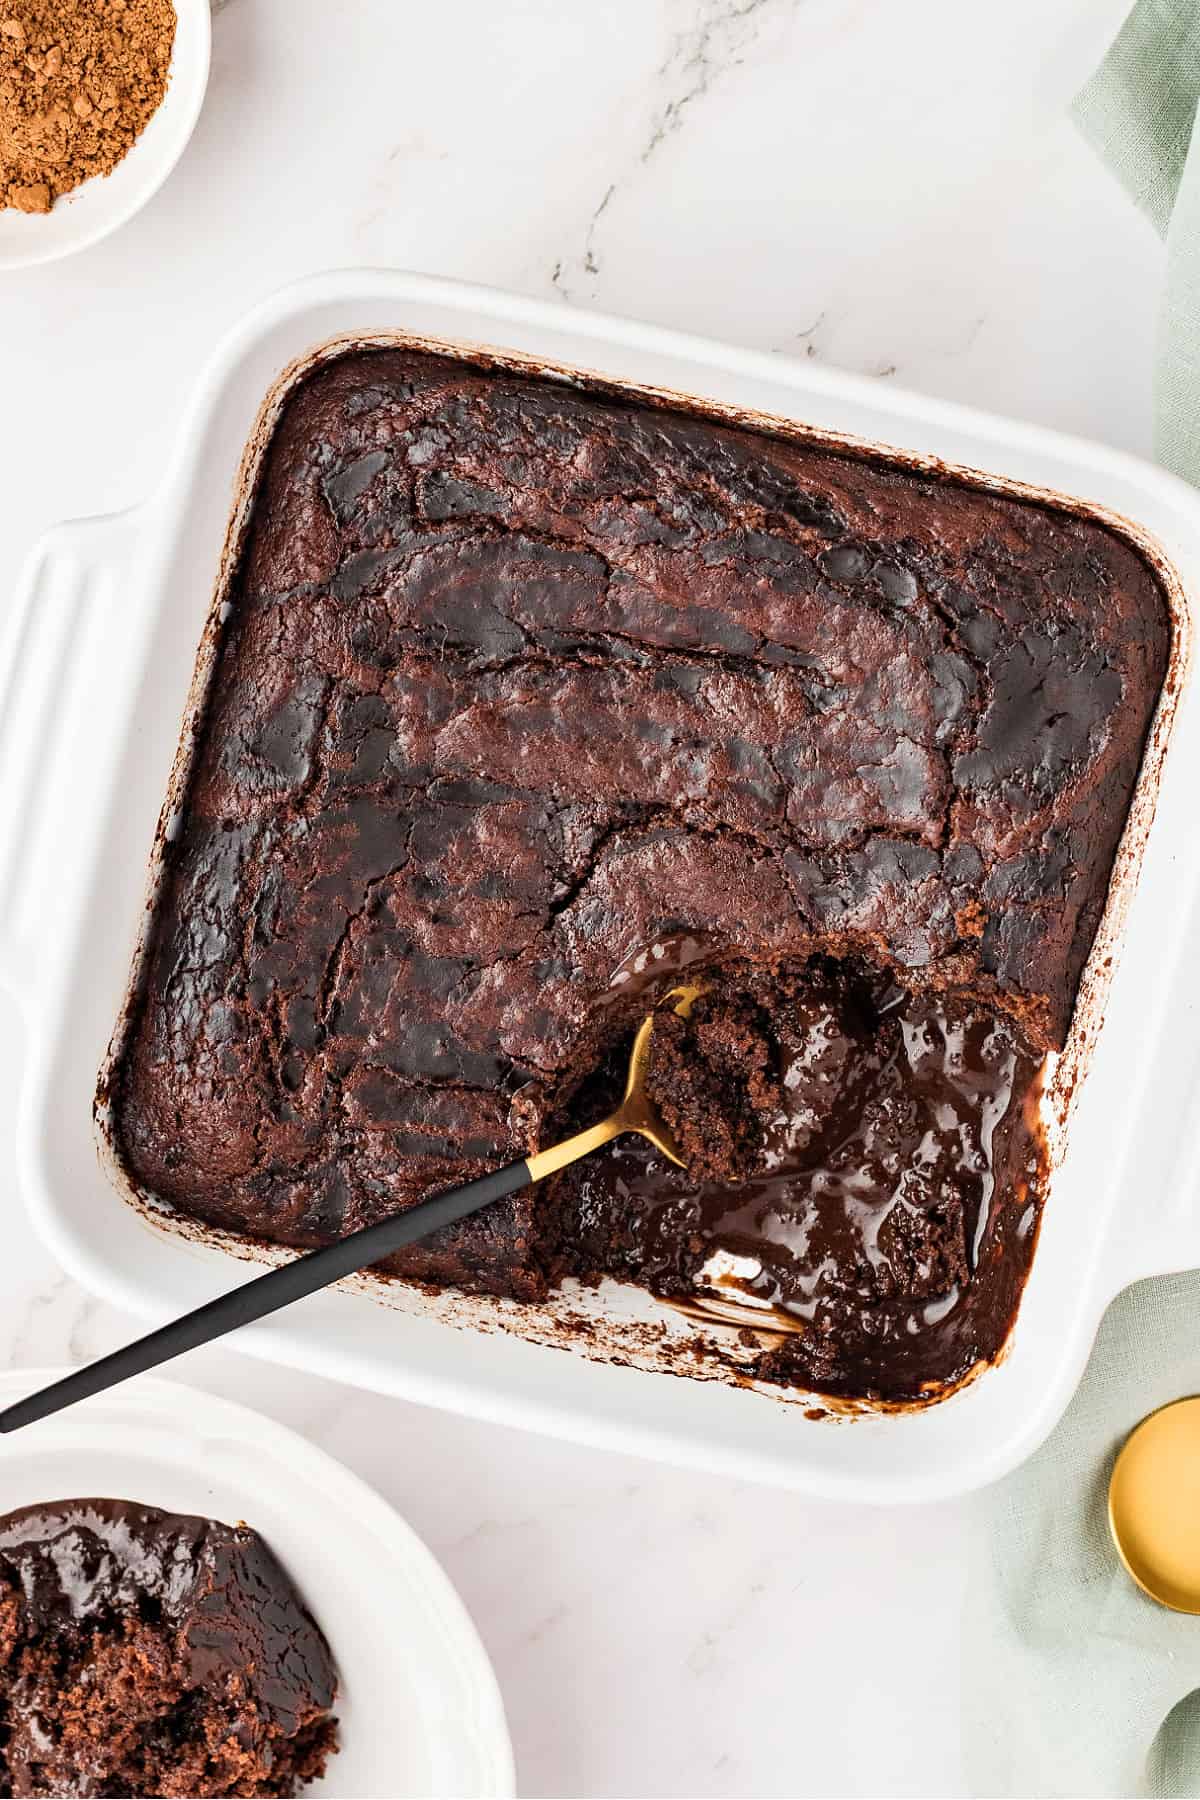
- Bake for about 40 minutes, until the liquid is absorbed and the surface is dark. When you jiggle the pan, you should notice the bottom is still liquid; this is correct.
- Let cool slightly or serve warm with vanilla ice cream or whipped cream. Personally, I find it's better the next day, when the sauce has thickened. I rewarm it before serving.
Rate and review this recipe