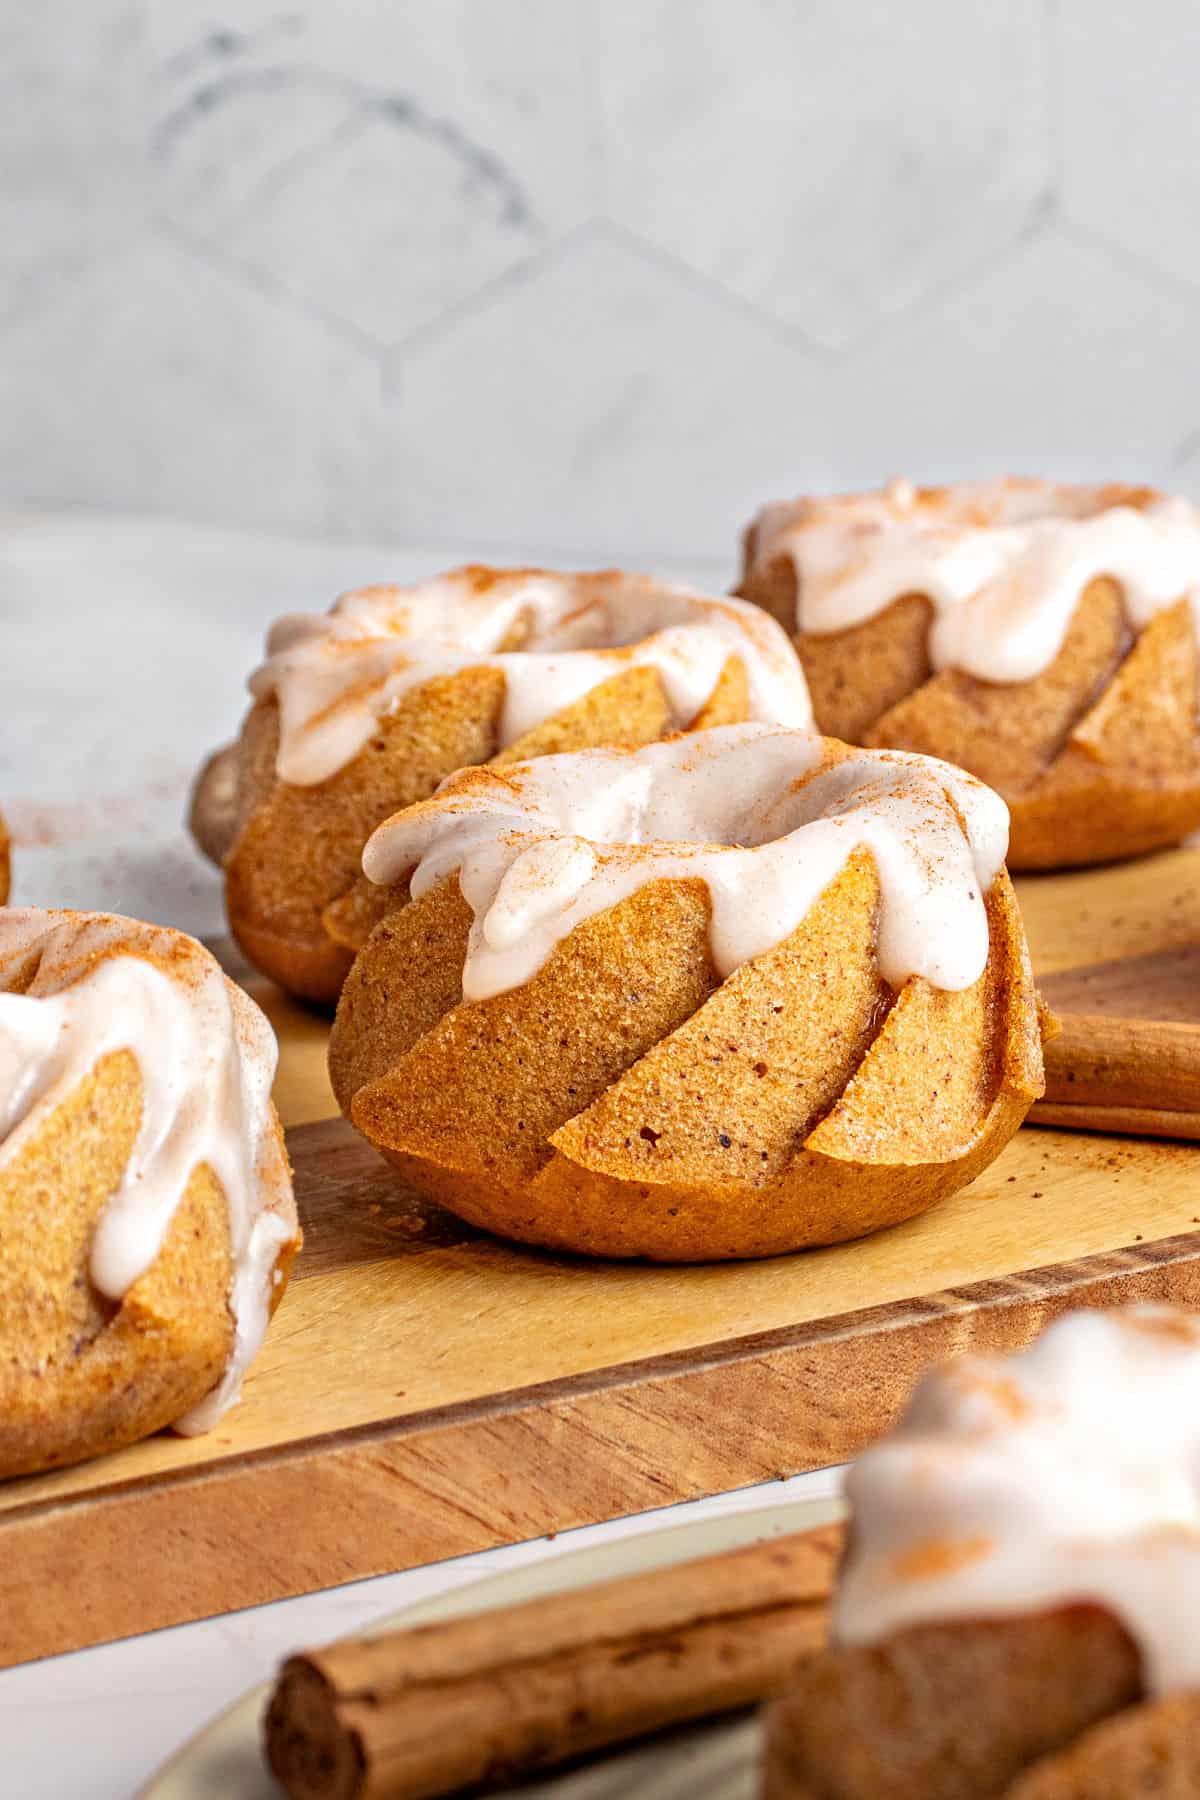
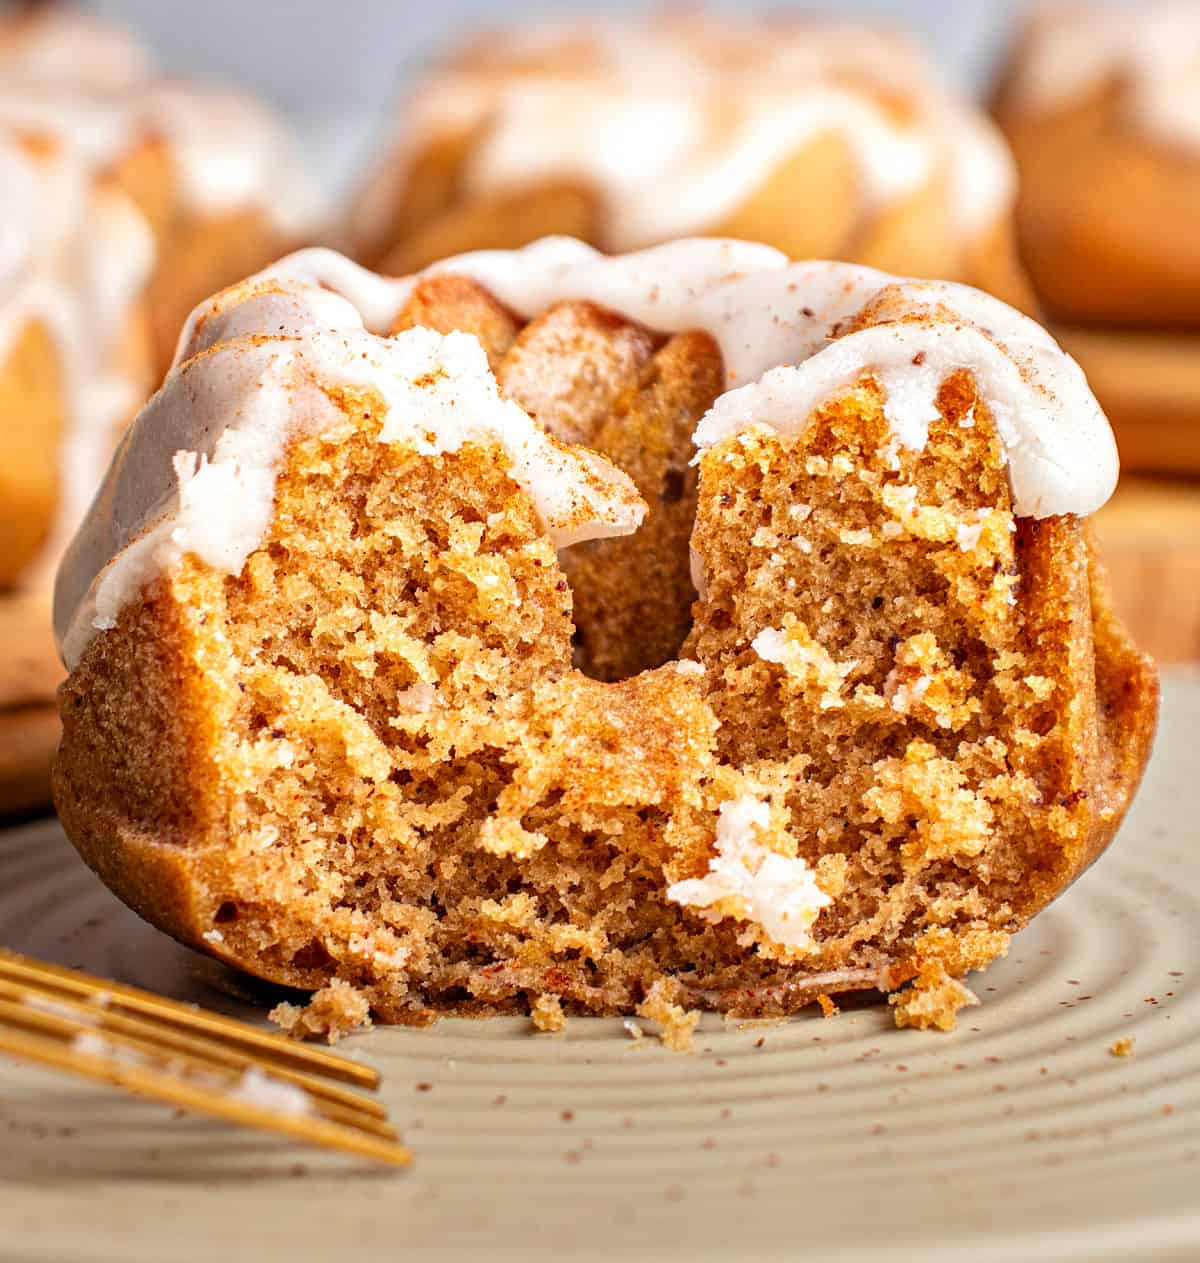
First, they're incredibly cute and an alternative to slices from a large cake. Second, they have a finger-licking frosting that keeps them moist. Third, they have a beautifully spiced crumb, and they can be frozen. Yum!
Dessert cakes
I'm a fan of bundt cakes in general, so it was about time I introduced you to these cute mini pumpkin versions.
Together with the cream cheese mini bundts or these small chocolate cakes, they're perfect for the holidays or other occasions where you either need individual desserts or want something different.
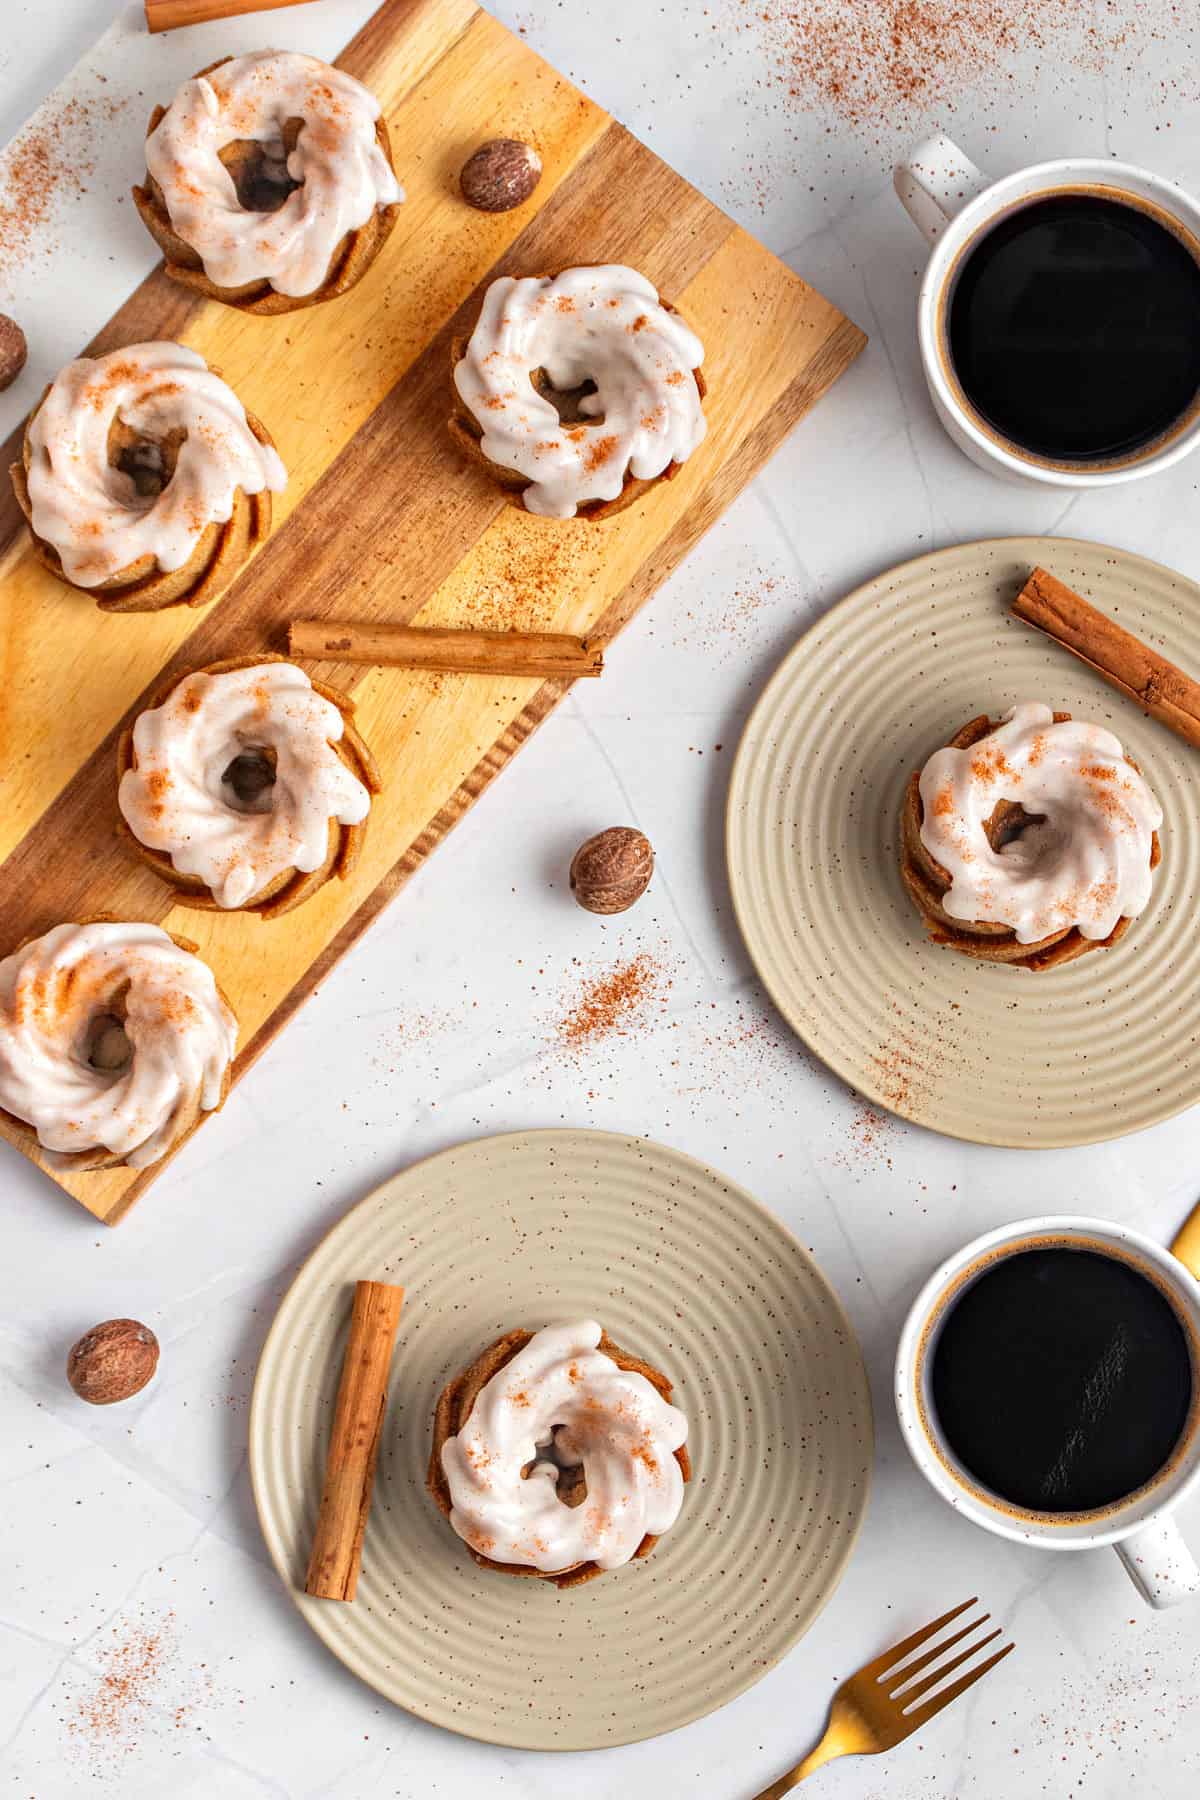
Pumpkin baking is all about the spices, which are very adjustable in this recipe. Any combination of warm spices can be used. Maybe you don't like cloves like me, so you don't add them. A store-bought pumpkin pie spice mix is also a good option.
FAQ
Don't overbake them, and keep them at room temperature, covered with a cake dome or plastic wrap. If the cakes are in contact with air, they will dry out more quickly. This recipe uses oil, which helps create a moist crumb.
Yes, you can, and it's a great option if you need to make them ahead. Well covered in plastic wrap and then foil, they last a month. Label the packet with the name and date.
Ingredient Notes
- Pumpkin purée: use homemade pumpkin puree or buy canned pumpkin puree. Don't use pumpkin pie filling, which is a different product.
- Vegetable oil: sunflower oil is our first choice for everyday baking because it's neutral and lets the other flavors shine. But you can use canola oil, coconut oil or other vegetable oils.
- Baking powder and baking soda: make sure they're not expired.
- Spices: a mix of ground cinnamon, ginger, nutmeg and allspice is our favorite. But feel free to add a pinch of cloves, remove the ones you don't like or use pumpkin pie spice mix.
Quantities are listed on the recipe card towards the end of this post. The Ingredients page has more details and lists the brands we use.
Preparing the bundt pan
If you bake bundt cakes often, you've likely had one stick to the pan. It's frustrating-but preventable. Here are three reliable methods:
- Shortening and flour: Coat the pan thoroughly with soft shortening using your fingers or a brush, making sure to reach every corner, including the center tube. Dust with flour, rotating the pan to cover evenly, then tap out the excess over the sink.
- Cake goop (pan-release paste): Mix equal parts shortening, flour, and oil into a paste. Brush it onto the pan. Store leftovers in a jar-1 month at room temp or up to 3 months in the fridge. This is one of my favorite methods.
- Baking spray with flour: Only use baking spray that includes flour. Regular cooking spray isn't enough and often leads to sticking. I rarely use this anymore.
The recipe matters too: When I find a bundt cake that releases cleanly, even without perfect prep, I hold onto it-it's a keeper.
How to make mini pumpkin cakes
Oil-based batter
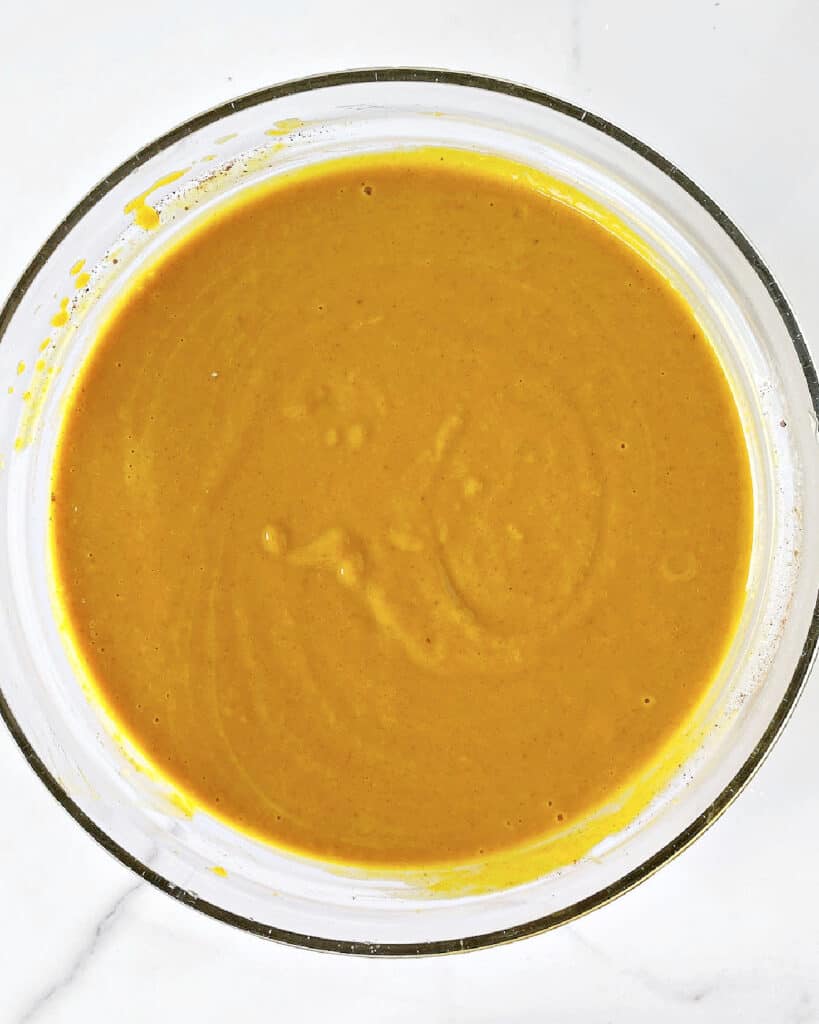
It's quicker than using soft butter as you don't have to wait for it to soften.
The final batter is fluid, not dense.
Flour mixture
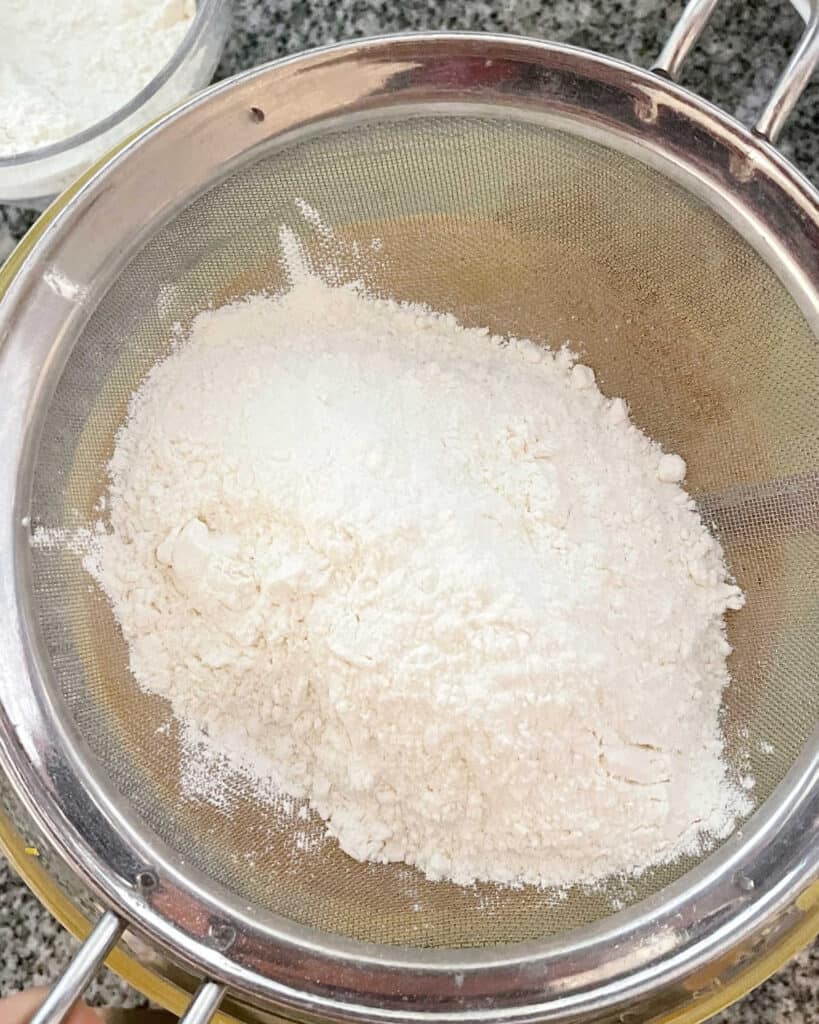
It's important to sift the dry ingredients to avoid clumps or impurities. And it helps with fluffiness.
You can sift them beforehand in a bowl or have the ingredients measured and sift them directly over the butter mixture (my choice).
Vintage Kitchen Tip
After incorporating flour in a cake batter, we don't want to develop gluten, as it will toughen the baked cake. So mix *just* until it's all well incorporated but don't overbeat. I like to end mixing with a silicon spatula to ensure the ingredients are fully integrated.
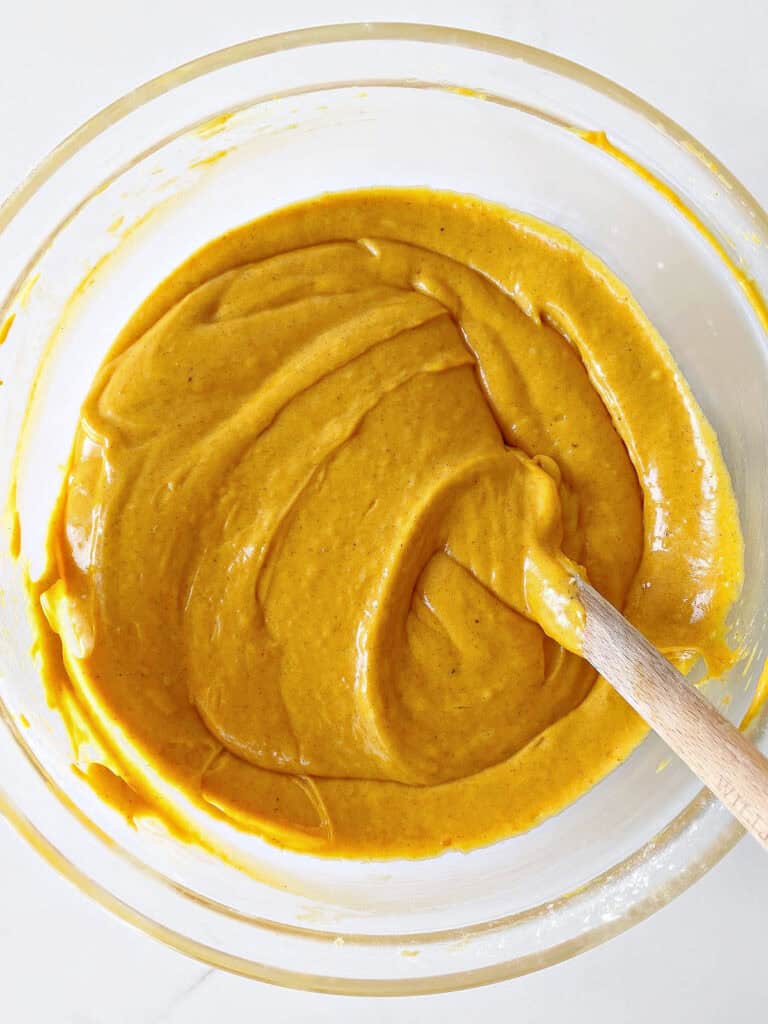
Final batter
I recommend finishing with a spatula to make sure there is no flour left unmixed in the bottom of the bowl, and also to scrape the sides well for the last time.
Baking the cake
- How do you know when it's done? Most bundt cakes will bake to a golden brown top before they're fully baked inside. So always use a cake tester or toothpick to check: if it comes out clean (no moist crumbs or wet batter attached) when you insert it in the middle of one cake, it's done.
- What if the cakes are browning too quickly? If this happens, tent them with a large piece of aluminum foil to loosely cover the top and continue baking it; the foil will prevent the top from browning any further while the inside fully bakes.
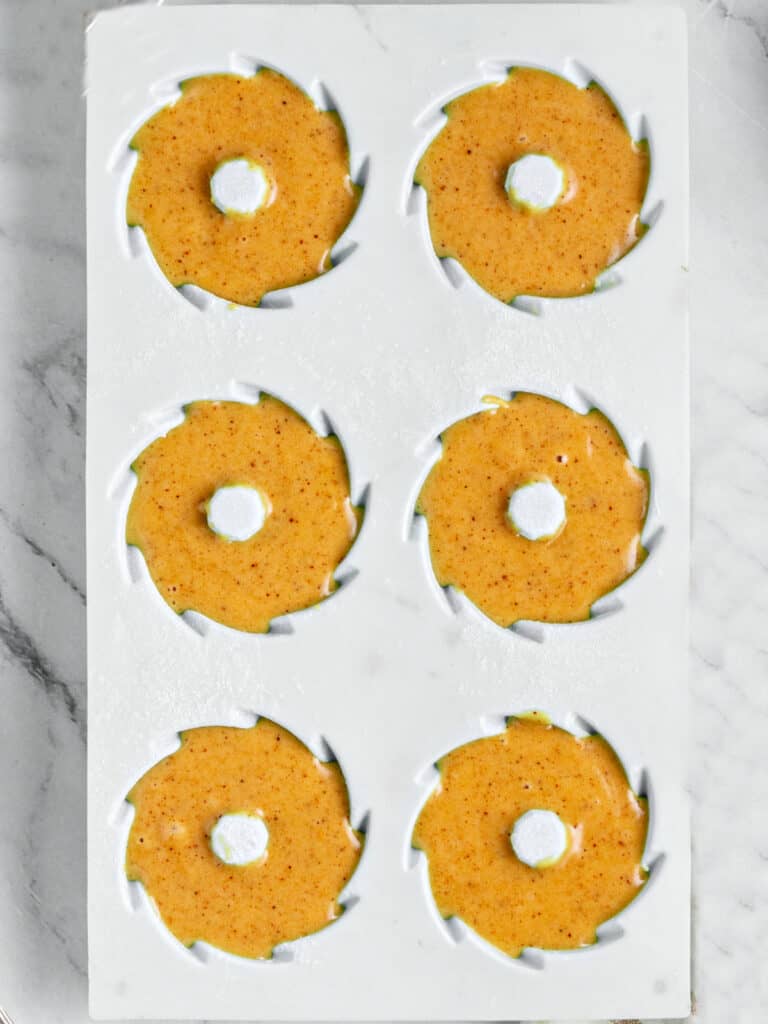
Bundt pan
Fill the pans to no more than ¾ of their capacity to avoid overflow during baking.
I used silicon pans for the first time with these and the glazed mini chocolate cakes. And (surprisingly) they're working better than my metal bundtlette pans that I was having issues with the cakes sticking.
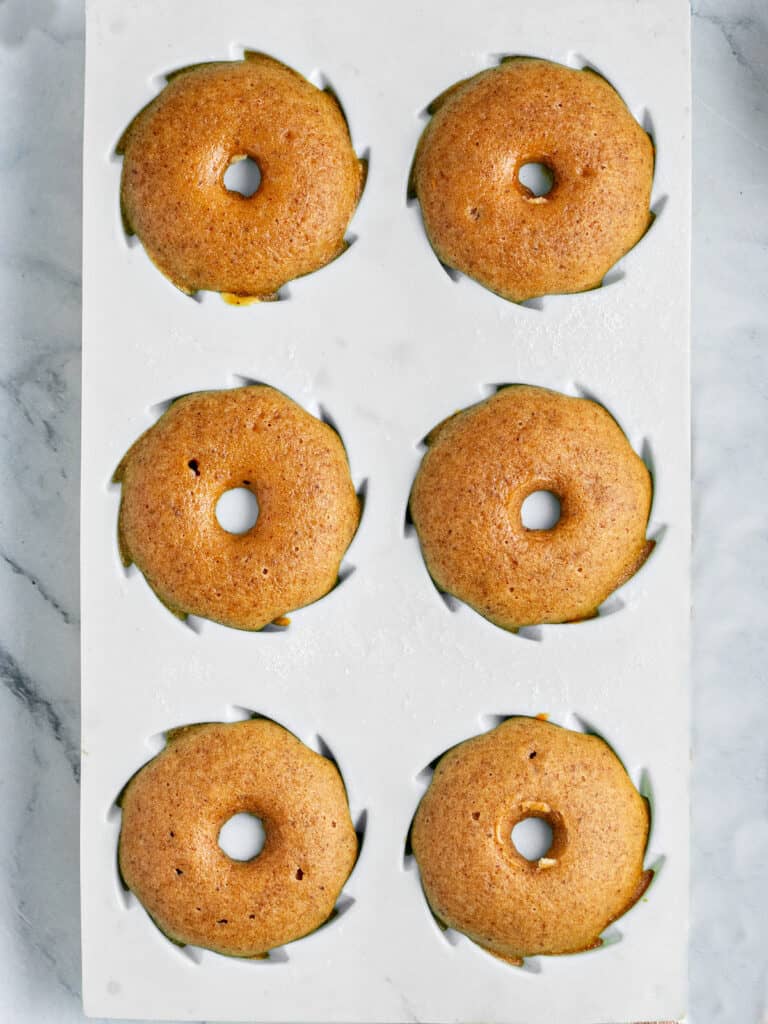
Removing
Let the pan cool down on a wire rack for 15-20 minutes before attempting to remove the cakes. Use a wire rack on top to flip it and let the cakes cool completely before glazing.
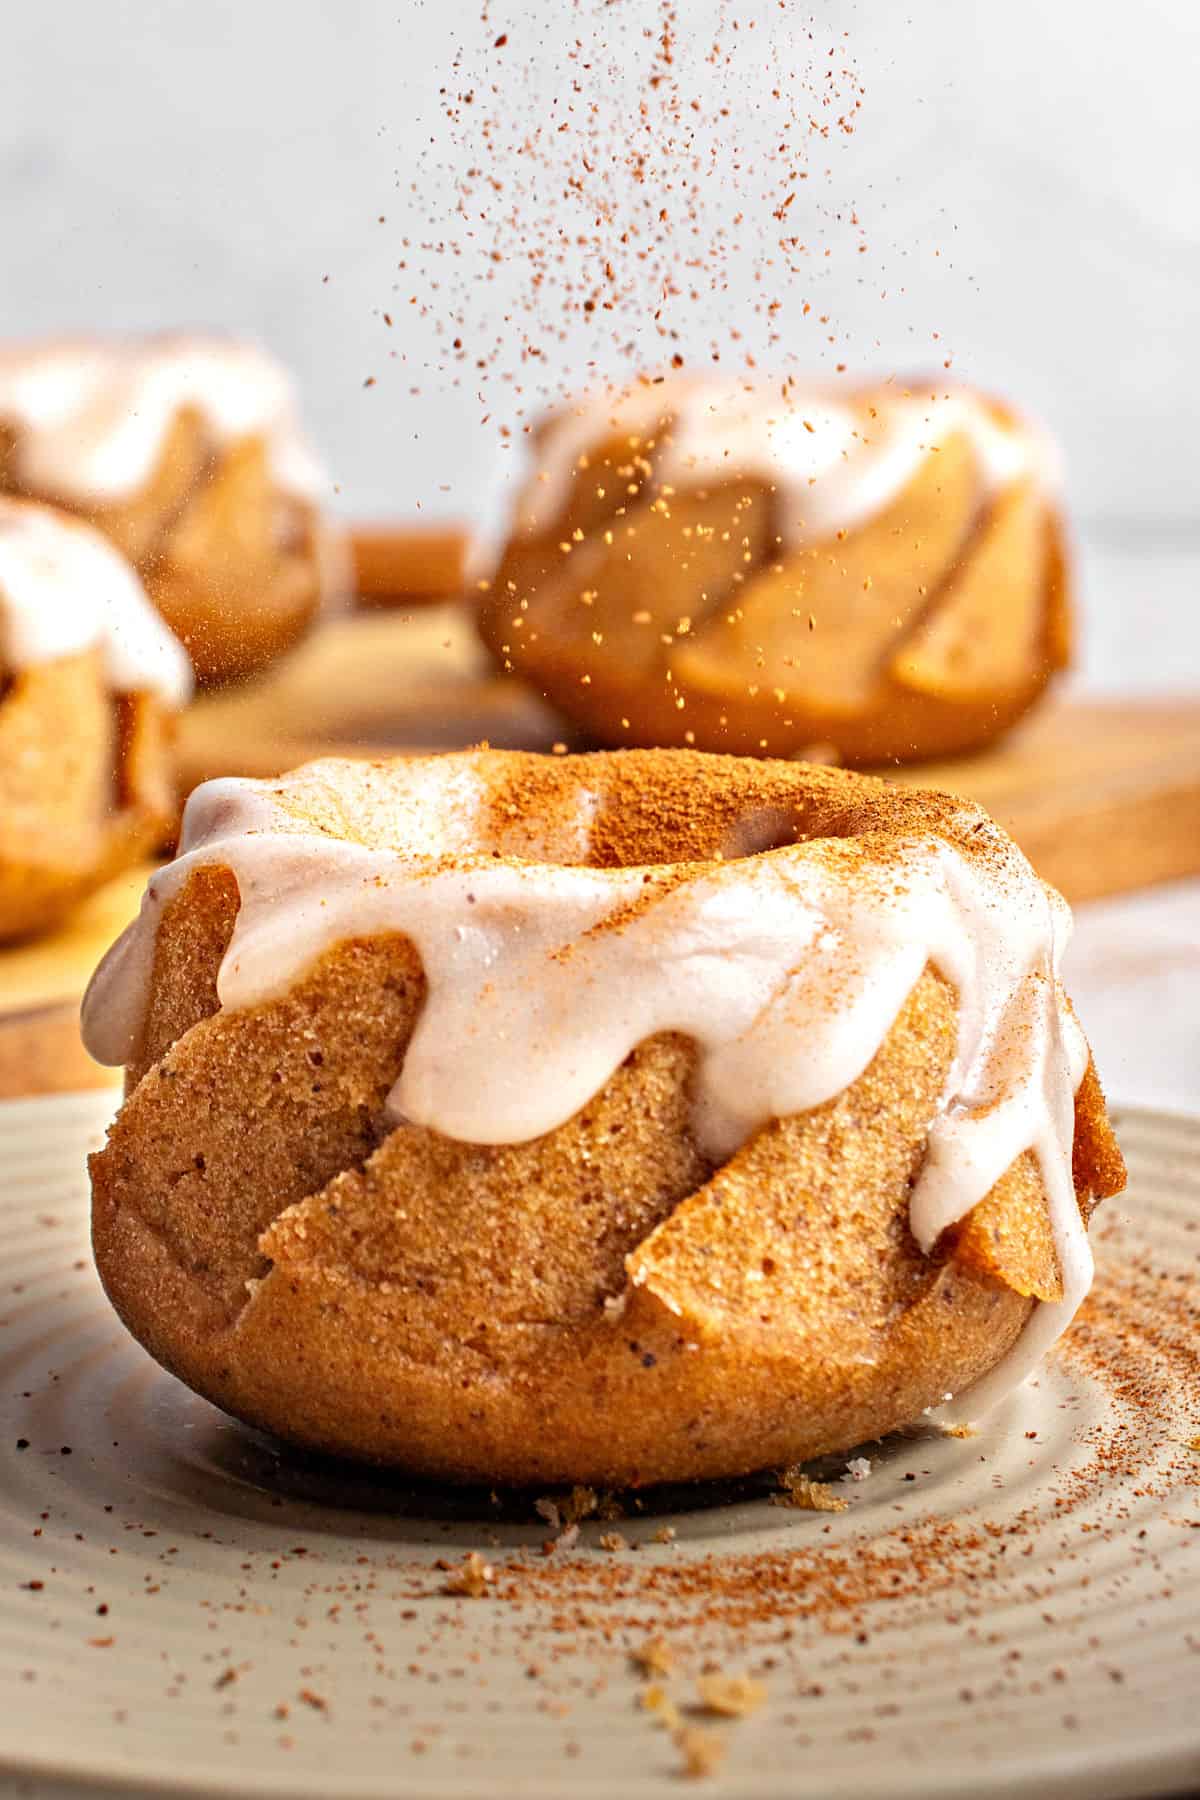
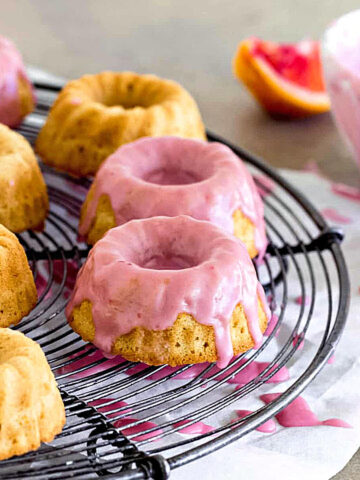
Glazing mini bundt cakes
The domed shape of bundt cakes sometimes makes them tricky to glaze or frost.
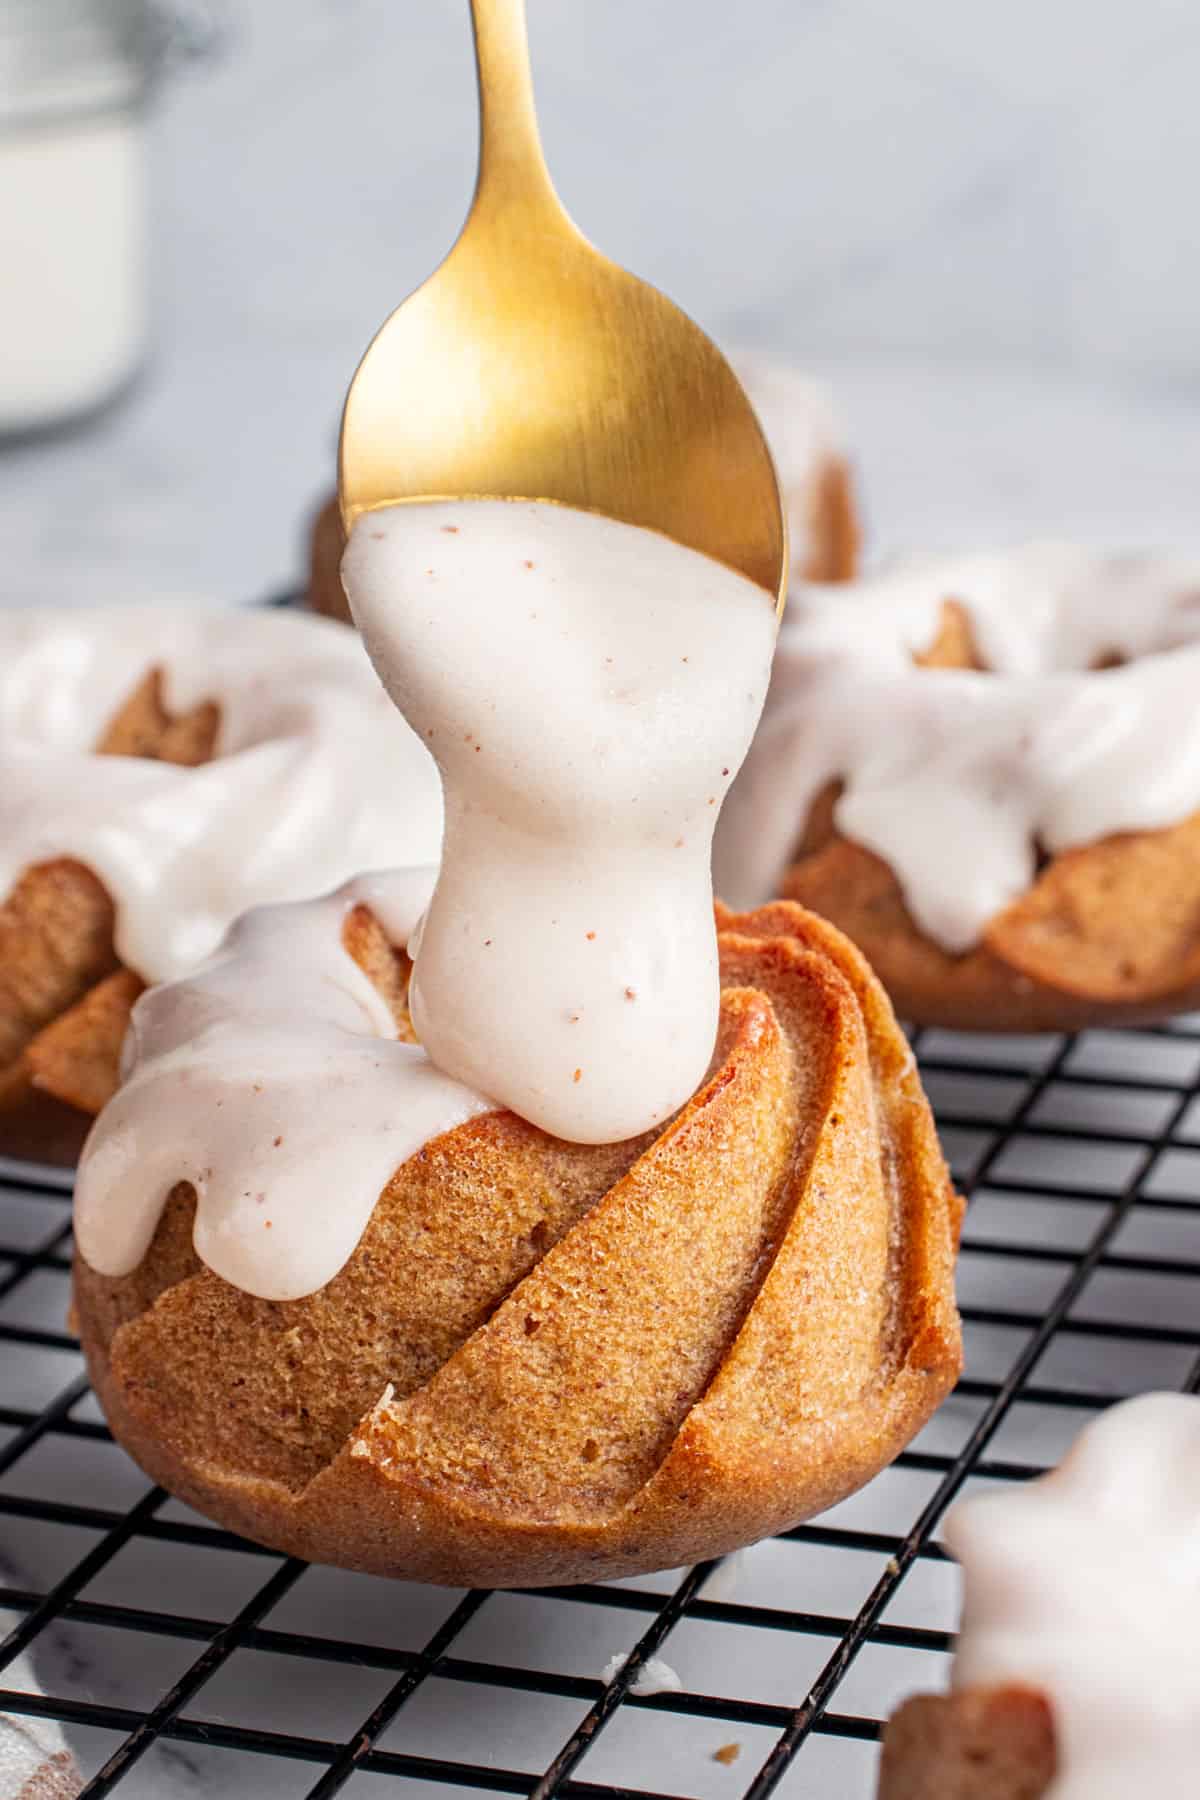
It's easy to do so, but the right consistency is key! Too soft and it will run down the sides too much; too thick and it'll be harder to spread.
If you need to add more liquid, do so in ½ teaspoons (or even less) at a time. A few drops go a long way.
How much frosting? That's up to you! I find that a thick layer is always a good idea. So allow your sweet tooth to decide.
Kitchen notes
- Organization: read the recipe first and ensure you have ingredients at the correct temperature, equipment, and enough workspace. This will make the process so much easier.
- Baking time: Consider that all ovens and pans are different, even if they look similar. The baking time in my recipes is as accurate as possible, but it might take you more or less time. You can use a thermometer (like the OXO oven thermometer) to check that your oven is at the right temperature. I recommend keeping track of how your oven works and what tiny details you might need to adjust.
- Flavorings: adapt the amount and type of spices to your palate. Use any homemade or store-bought mix you like, or use fewer spices than those specified in the recipe. Make this flavorful pumpkin bundt cake your own!
- Add-ins: you can add ½ cup of semisweet chocolate chips or chopped walnuts/pecans to the pumpkin batter.
- Freezing: these moist pumpkin bundt cakes freeze well for a month; make sure they're individually wrapped. I use plastic wrap first and then aluminum foil. Defrost them in the refrigerator (it takes a while, so I recommend doing it the day before) or at room temperature, unwrapped.
- Frosting: You can use a flavored cream cheese frosting by adding ¼ teaspoon of ground cinnamon or ¼ teaspoon of pure almond extract, or you can add some grated orange extract or zest to the frosting itself.
Related recipes you might like:
If you made this recipe and loved it, you can comment below and leave a 5-star ⭐️ review. Also, if you had issues, let me know so we can troubleshoot together.
You can also subscribe to our FREE email series 'Baking the Best' and our regular newsletter. Or follow and save my recipes on Pinterest.
Cinnamon Glazed Mini Pumpkin Cakes
Ingredients
- 2 tablespoons shortening, softened, for greasing the pans
- 3 tablespoons all-purpose flour, for sprinkling the pan
Pumpkin cakes:
- 2 cups all-purpose flour
- 1 teaspoon baking powder
- ¾ teaspoon baking soda
- 2 ½ teaspoons pumpkin pie spice, see Notes below
- ¼ teaspoon salt
- ¾ cup white sugar
- 6 tablespoons brown sugar
- ⅔ cup vegetable oil
- 3 large eggs, at room temperature
- ¾ cup pumpkin puree, at room temperature. Use canned or homemade pumpkin puree.
- ¾ teaspoon vanilla extract
- 3 tablespoons milk, at room temperature
Cinnamon glaze:
- 1 cup powdered sugar
- 2 tablespoons milk
- ¼ teaspoon ground cinnamon, plus extra to sprinkle before serving
Instructions
- Preheat your oven to 350°F (180°C).
- Grease 12-mini Bundt cake pans with 2 tablespoons shortening and sprinkle with 3 tablespoons all-purpose flour, shaking off excess. Reserve.
For the small cakes:
- Sift together 2 cups all-purpose flour, 1 teaspoon baking powder, ¾ teaspoon baking soda, 2 ½ teaspoons pumpkin pie spice and ¼ teaspoon salt in a medium bowl. Reserve.
- Beat ¾ cup white sugar, 6 tablespoons brown sugar and ⅔ cup vegetable oil until smooth and well combined in a large mixing bowl.
- Add 3 large eggs, one at a time, beating well after each addition.
- Add ¾ cup pumpkin puree, ¾ teaspoon vanilla extract and 3 tablespoons milk, and beat until fully incorporated.
- Add the dry ingredients to the pumpkin mixture in 2 parts, beating on low speed *just* until integrated. Be careful not to overmix, as this can make the cakes tough.
- Spoon the batter evenly into the prepared pans, filling each ¾ of their capacity.
- Bake for about 20 minutes, or until a toothpick or cake tester inserted in the center of a cake comes out clean.
- Allow the pan to cool on a wire rack for 15 minutes, then carefully remove them onto the wire rack to cool completely.
For the simple glaze:
- Stir 1 cup powdered sugar, 2 tablespoons milk and ¼ teaspoon ground cinnamon until smooth. It should have the consistency of thick honey.
- Drizzle over the tops of the cooled cakes, allowing it to drip down the sides. Sprinkle with extra cinnamon (optional) before it dries.


Rate and review this recipe