
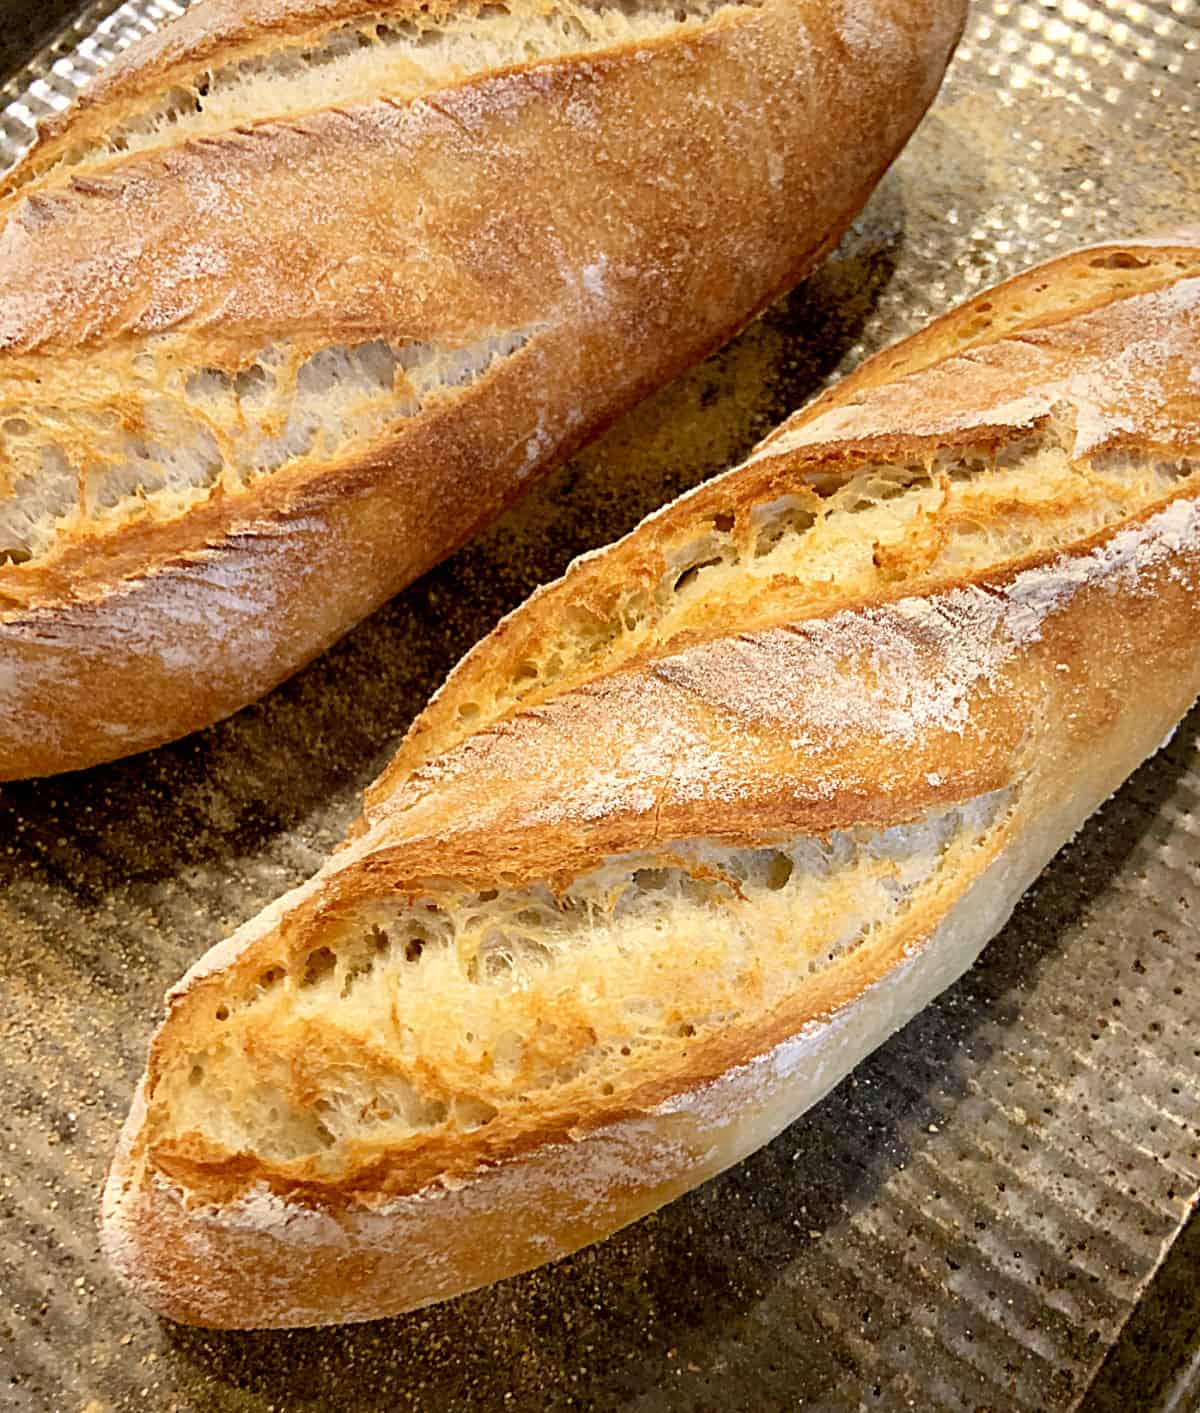
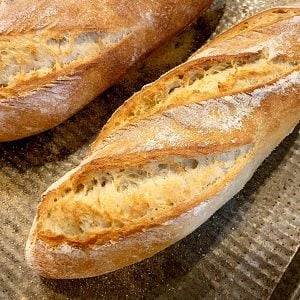
This easy French bread recipe is GOLD (it has dozens of 5-star reviews!) when you want homemade bread without the hassle. It's kneaded in the food processor in 45 seconds! There is a waiting time after that, but very little hands-on work, so it's even perfect for beginner bread bakers. The crust is crackly, and the inside is soft and creamy. Crusty French bread at its best, and with a video tutorial!
SAVE THIS RECIPE
A game-changer
I love making homemade bread. The aroma in the kitchen is unparalleled, as are those first warm, crusty bites.
I started making this bread recipe years ago. And as much as I love kneading by hand (I find it therapeutic) and making my favorite Italian bread recipe, the ease of this French bread dough is unmatched. The nice golden brown crust also has a lot to do with it, let's be honest.
What's the difference with regular French bread? It's the technique, as this one uses a food processor for mixing and there's no kneading at all!
I use it for this quick garlic bread and when I want small bruschettas (or bruschette in Italian). I'm also known for eating half a freshly baked loaf in a matter of minutes; that also happens sometimes. Warm with a dollop of butter or dipped in olive oil, this bread is fantastic!
During the 2020 bread-baking craze, I dusted off this recipe again and made it with regular white bread flour, superfine whole wheat flour and a mix of both. They were all different, but amazing!
- Cathie ⭐️⭐️⭐️⭐️⭐️
This recipe is life-changing! We can have fresh, homemade, delicious bread as often as we like. In our house, someone always finishes their lunch by asking what's for dinner. That's when I think, "Gee, in 45 seconds I could have bread rising for dinner," and I do. Thank you so much!
- Keith ⭐️⭐️⭐️⭐️⭐️
I'm a retired hotel chef. I got bored this morning and googled bread recipes. I thought 'if it's good, I'll share with the neighbors'.
I followed the recipe exactly, which is unusual for me. Point is, I've already eaten one of the loaves, and I don't like any of the neighbors to share. And my kitchen stayed spotless.
- Dietra ⭐️⭐️⭐️⭐️⭐️
I've never baked anything, and I made the most amazing baguettes.
Testing notes
Yeast: for this recipe, you need dry instant yeast, as it rises faster than active dry yeast.
Bread flour: depending on where you live, they have different labels. I use bread flour from the grocery store, and I highly encourage it, as it has a higher protein content, thus developing more gluten, which makes for a better rise and crumb. All-purpose will work if that's all you have.
Water: It should be tepid, barely warm water, and you can use mineral water or tap. Be careful not to use hot water, as it will greatly diminish the yeast's strength or kill it altogether, and the bread won't rise. Slightly warm or tepid means that you can dip your pinky finger, and it will be barely warm.
Bread shapes: Besides the classic French baguette shape or batards (plumper, shorter breads), I sometimes form them into individual sandwich-sized loaves or dinner rolls. Or make a double batch if I have a small crowd or gathering.
Oven: It's highly recommended that you follow directions for both the temperature and the pan with water in the bottom. This will help you get the best results possible.
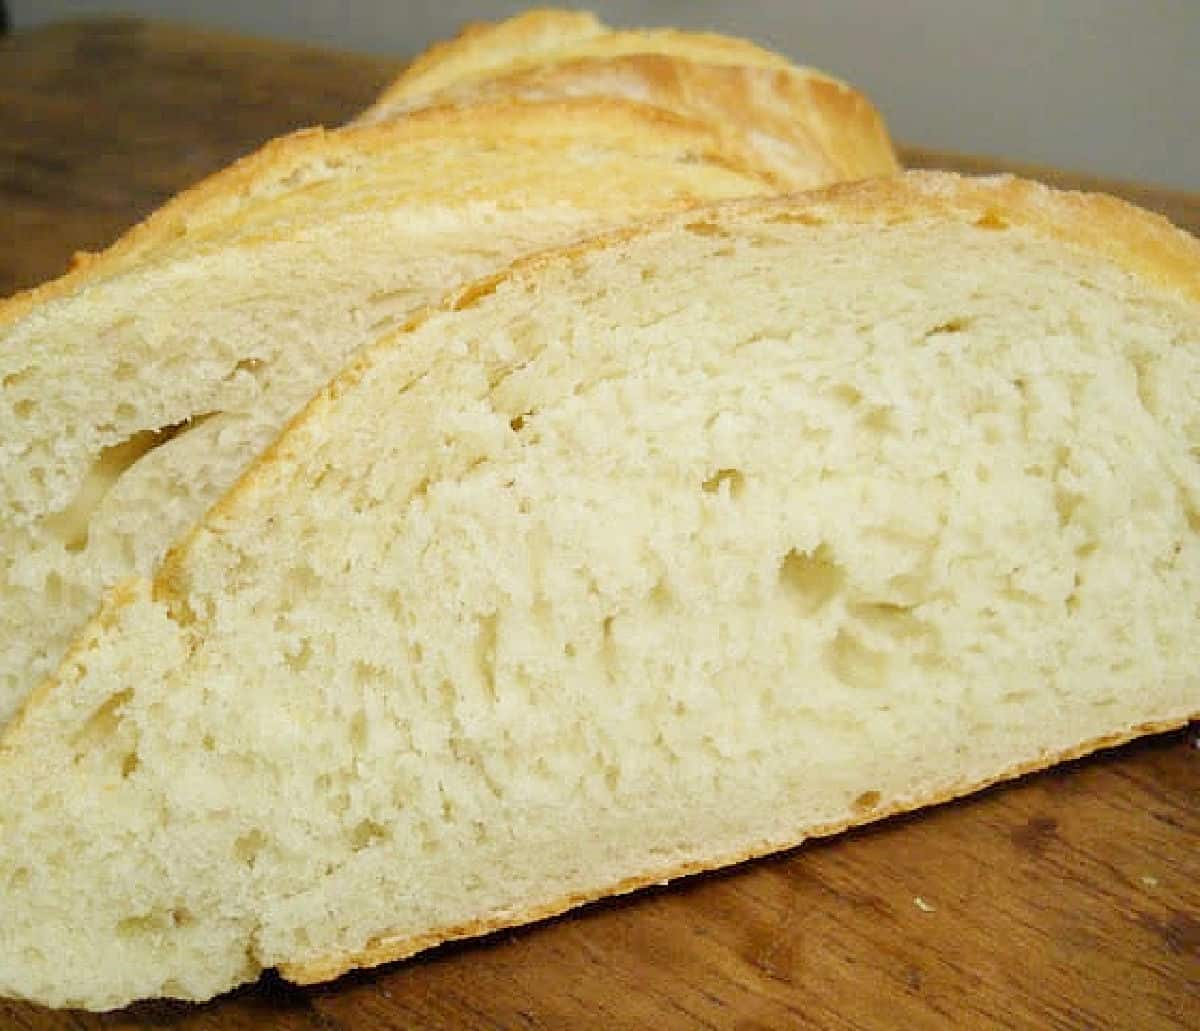
Don't slice it until it's at room temperature, or it will clump. If eating it warm, tear it with your hands rather than cutting it with a knife. French bread is best about half an hour out of the oven (when it has had time to cool down a bit) and those few hours after.
Whole wheat flour variation: I make this bread with finely ground whole wheat flour sometimes. It makes the bread more rustic and without that crackly crust, but it also renders a fantastic, more wholesome bread.
Storage: You can keep it in a bread bag at room temperature, but it will lose the crackly crust unless you warm it before eating. You can't return it to its original state, but it'll be wonderful. You can freeze this bread (I recommend slicing it thickly, wrapping it in plastic, and then in foil or a Ziploc bag).
FAQ
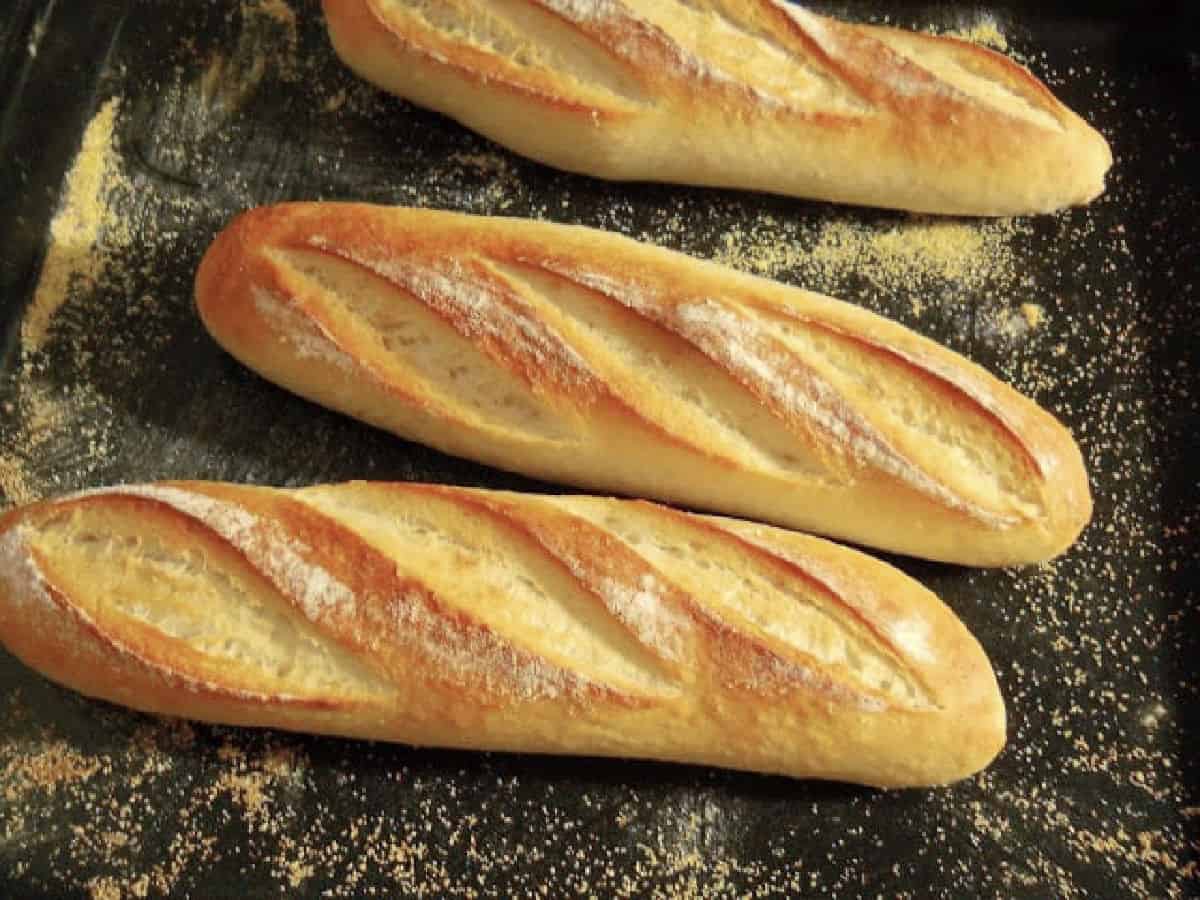
They're both the same. A baguette is a French bread shaped like a stick, long and thin, and the name used for this type of bread in France.
Absolutely! And I recommend doing so if not eating in the first hours of making it, as it can harden or become too chewy pretty fast.
How to make baguettes
You'll love how easy this recipe is to make! There is some waiting time to allow the yeast to render its magic, but besides that, there is little hands-on work.
- Time is the most important step, and this French bread recipe is easy to follow. You only need to process the dough for 45 seconds! Yes, that's right, less than a minute.
- Food processor: It's a necessary appliance for this recipe. Use one that is large enough to hold all ingredients comfortably.
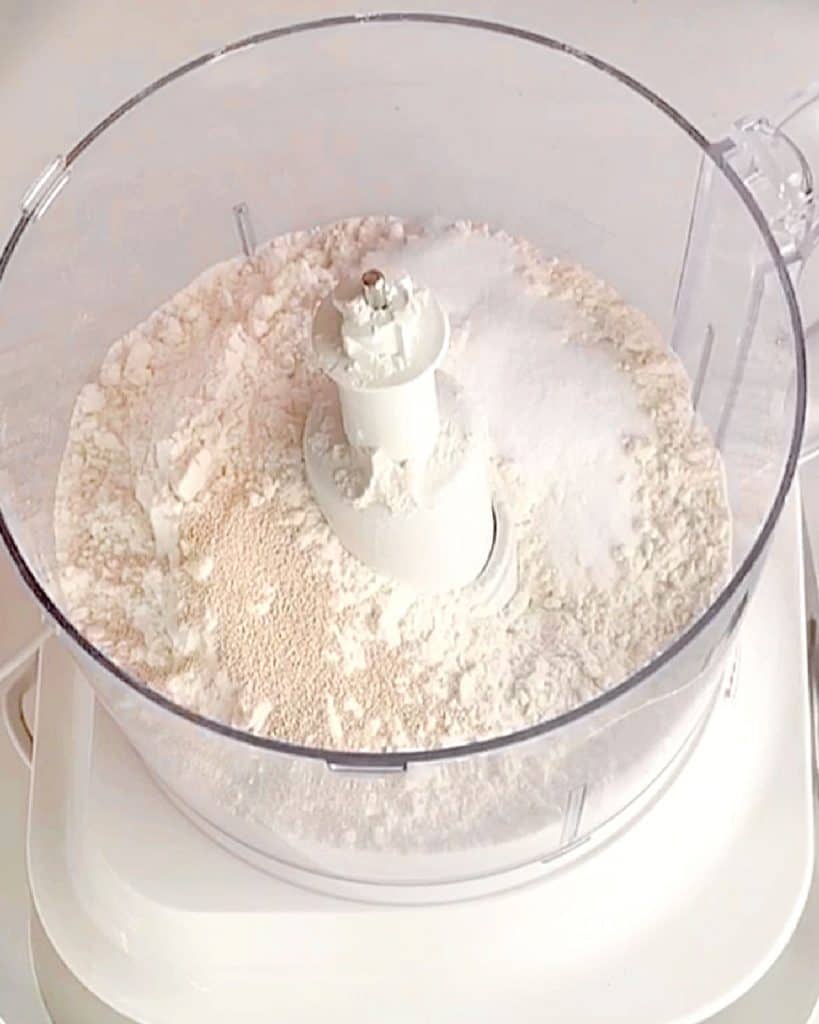
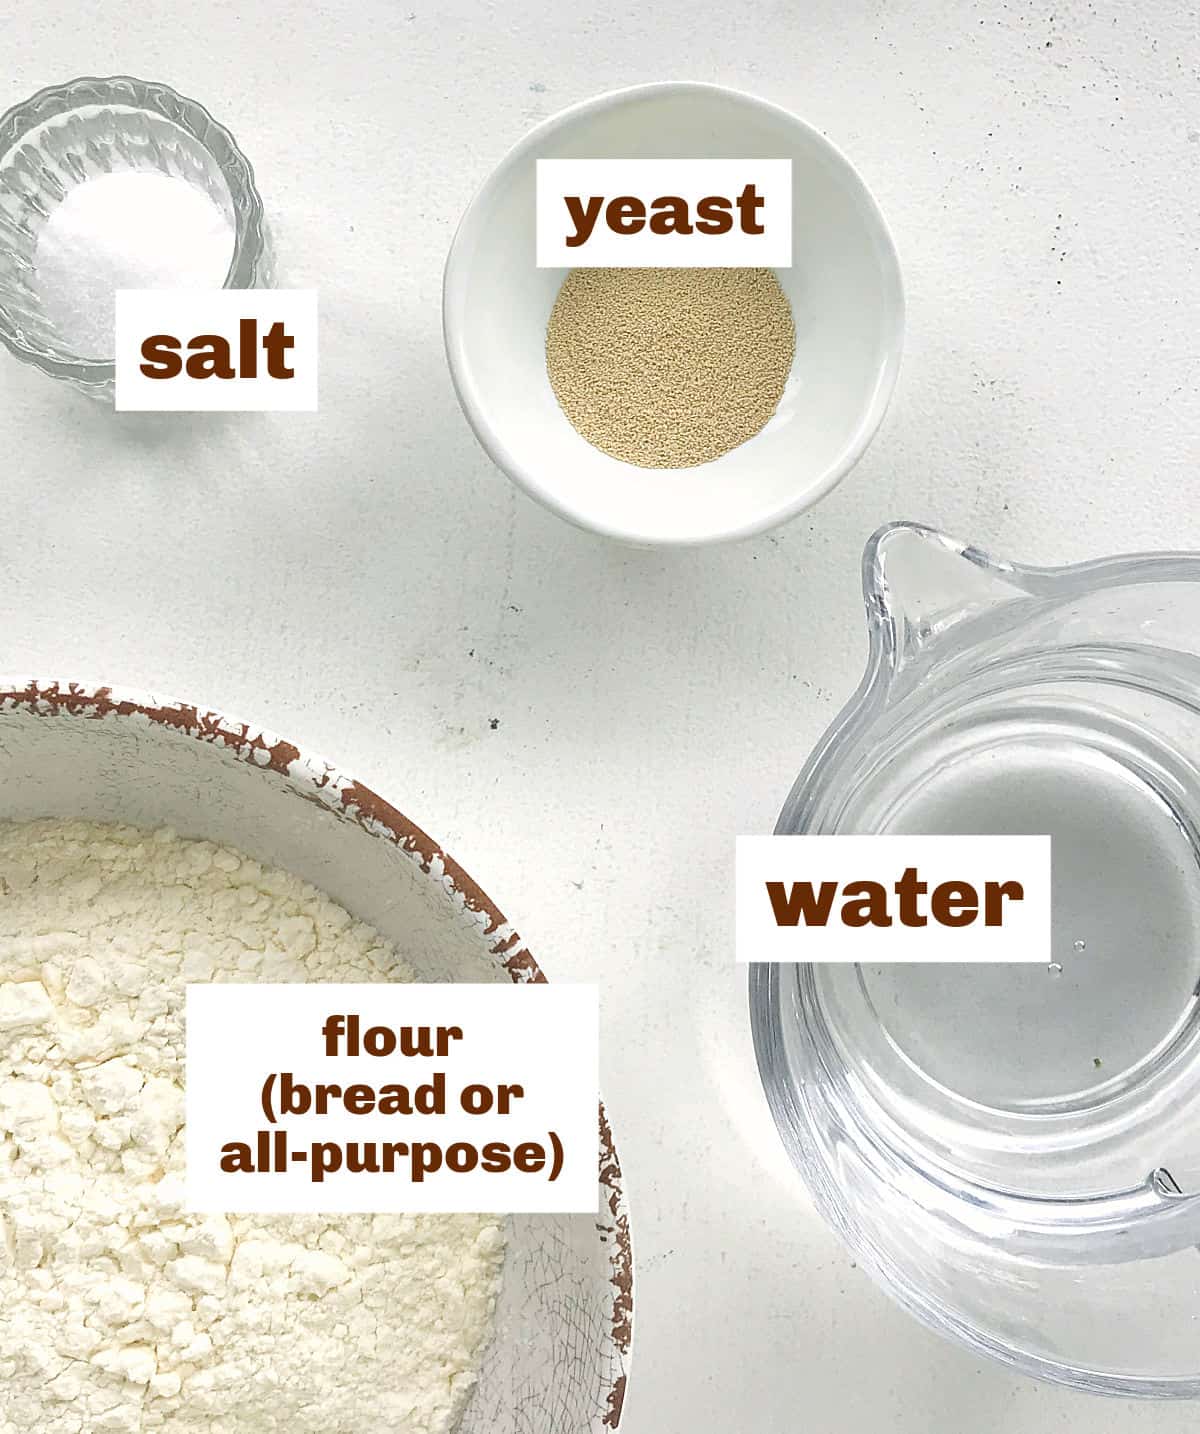
Ingredients
Make sure the salt and the yeast do not touch before adding the water, as it can reduce the latter's strength if that happens. They will combine once the liquid is added.
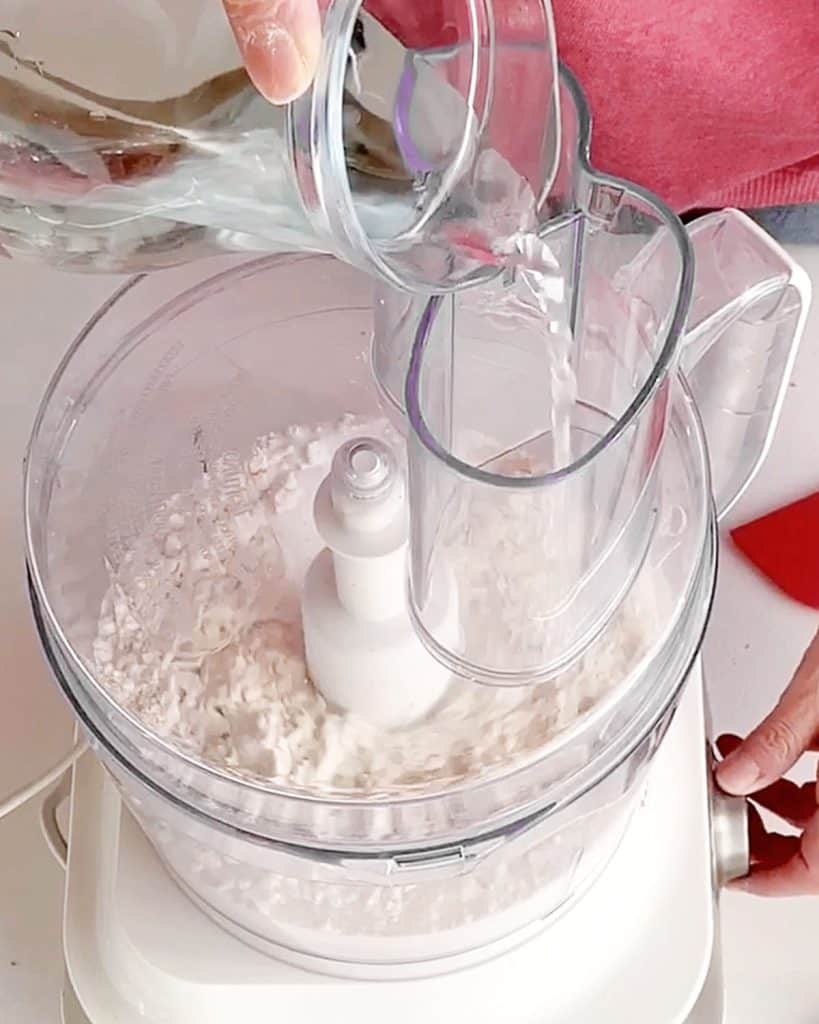
Mixing
Put the ingredients in the bowl of the food processor with the steel blade and add the water through the feed tube while the food processor is running.
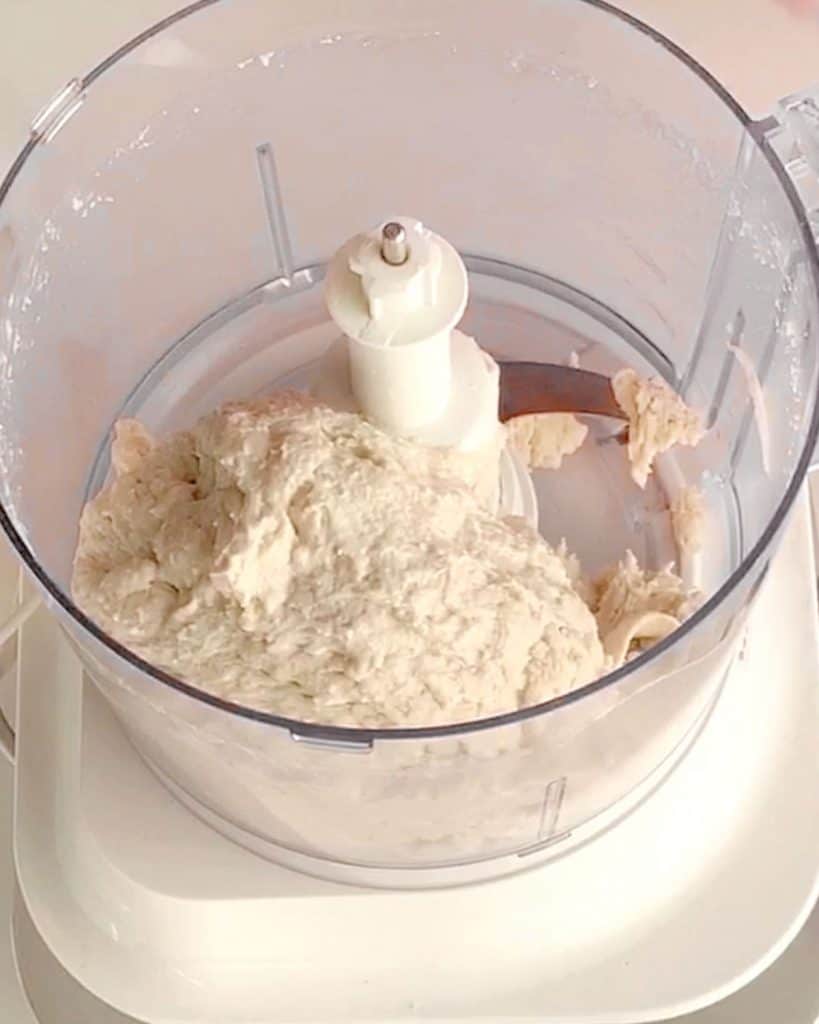
45' dough
It will be rustic, not smooth at all. You then have to let it rest for a couple of hours. The dough won't rise until doubled, so don't worry if it has hardly changed in appearance. But it will be softer and more relaxed, less sticky.
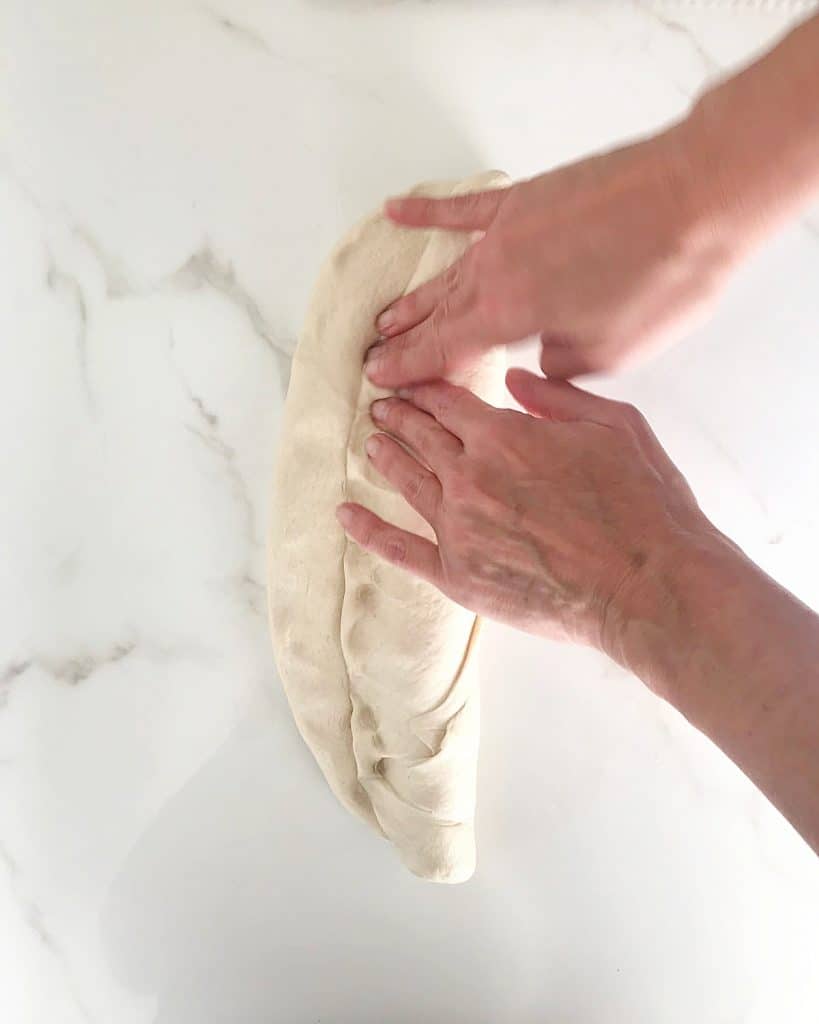
Forming
Baguettes or batards are French names that distinguish the type of loaf. The baguette is thinner and longer (more crust than crumb), and the batards are plumper and shorter (more crumb than crust).
Make a rectangle and roll it up with your hands like cinnamon rolls. Important: pinch the seams each time you roll the dough to keep out as much air as possible.
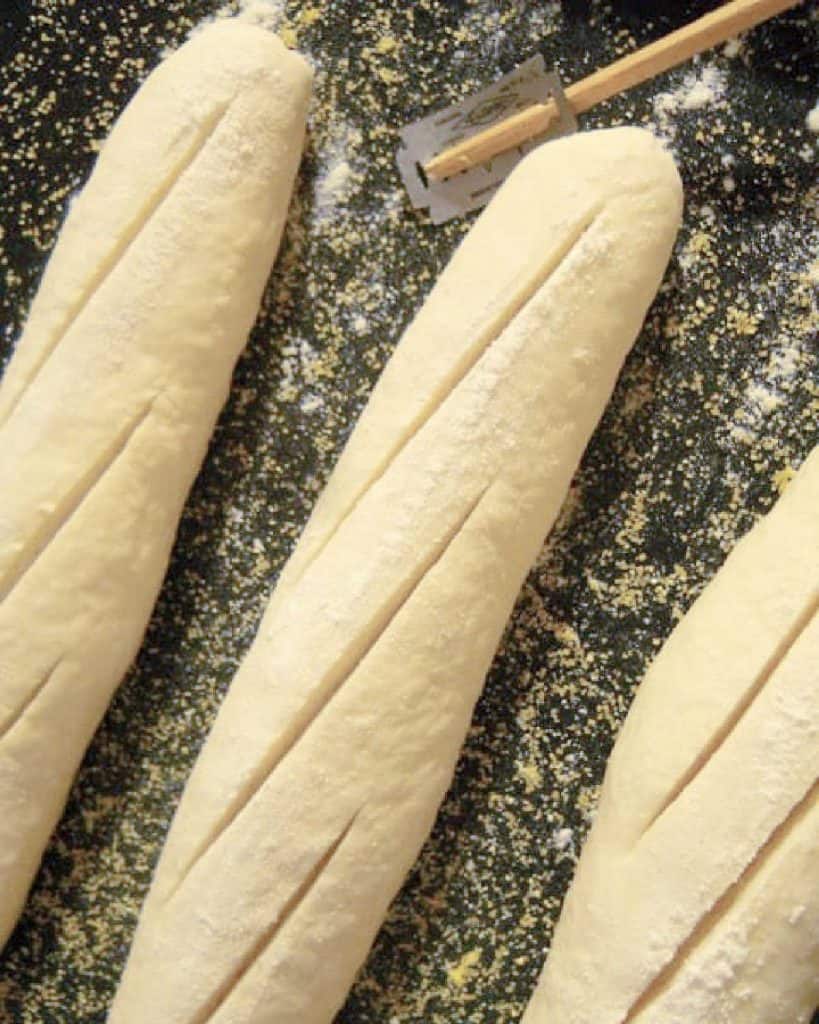
Scoring
This refers to the slits or diagonal cuts that are made on top of the loaf right before it goes into the oven. This helps the bread to rise evenly.
Use a lame (a stick with a razor blade that can be bought online) or a sharp knife.
Vintage Kitchen Tip
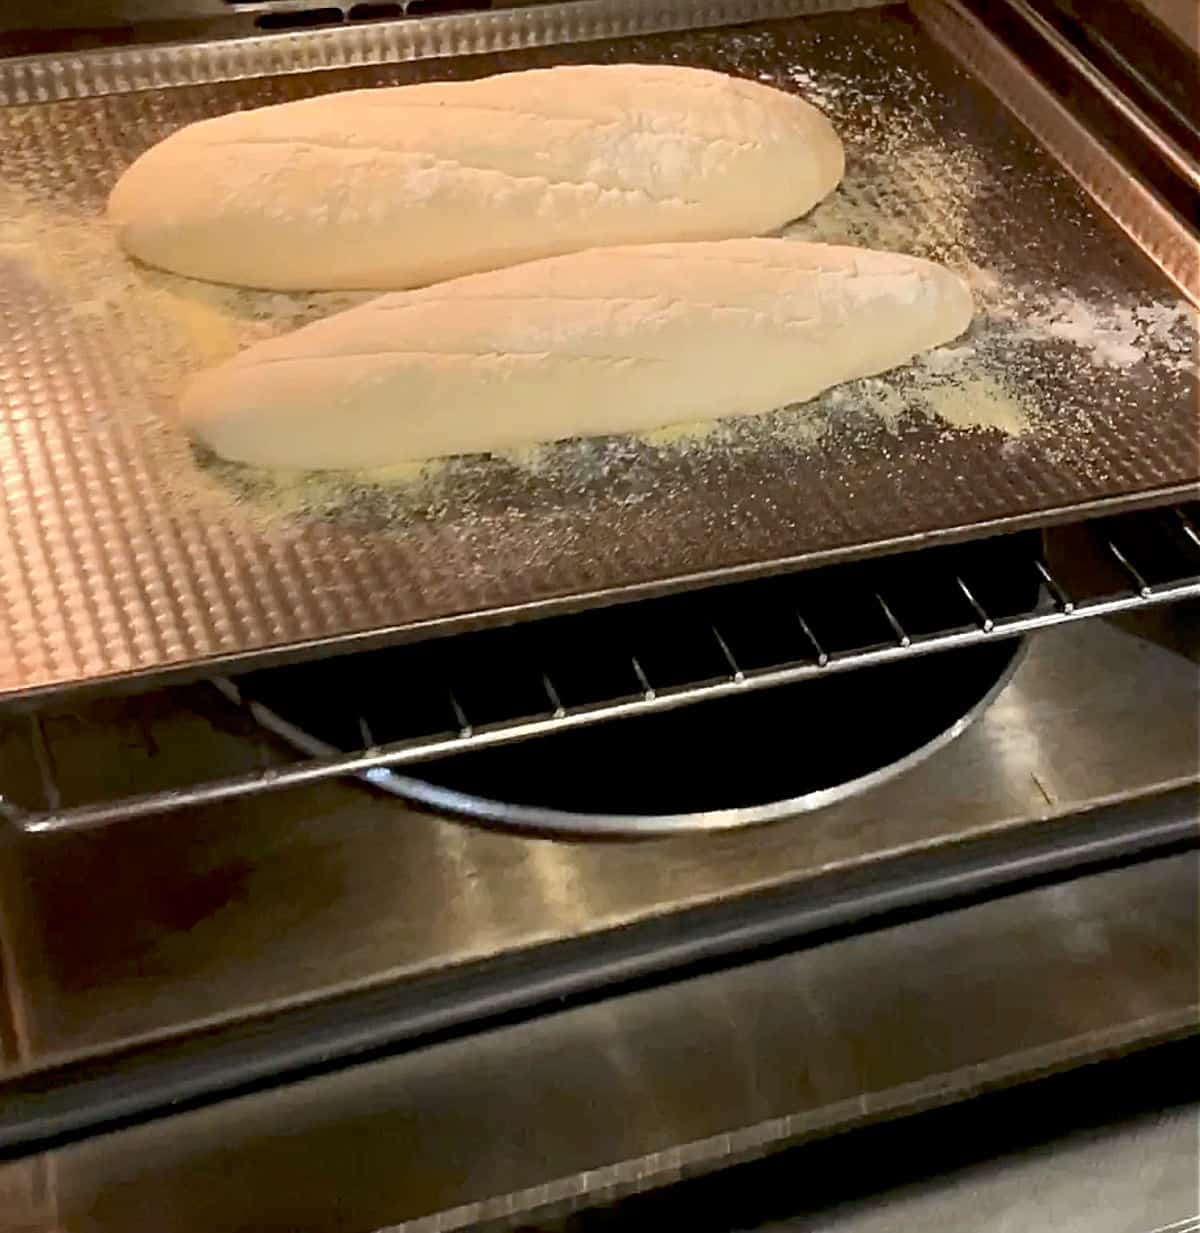
Don't be tempted to make very deep slits, as they will blossom too much during baking. You need quick cuts with a scoring razor or a kitchen knife. Depending on how sharp it is, the dough will wrinkle (see oven image below), and that is fine.
Baking the bread
Oven: This is where the magic happens, and it's highly recommended to put a pan with hot water on the bottom of the oven to create steam while the bread bakes. It helps to create that fabulous crackly crust that we all love!
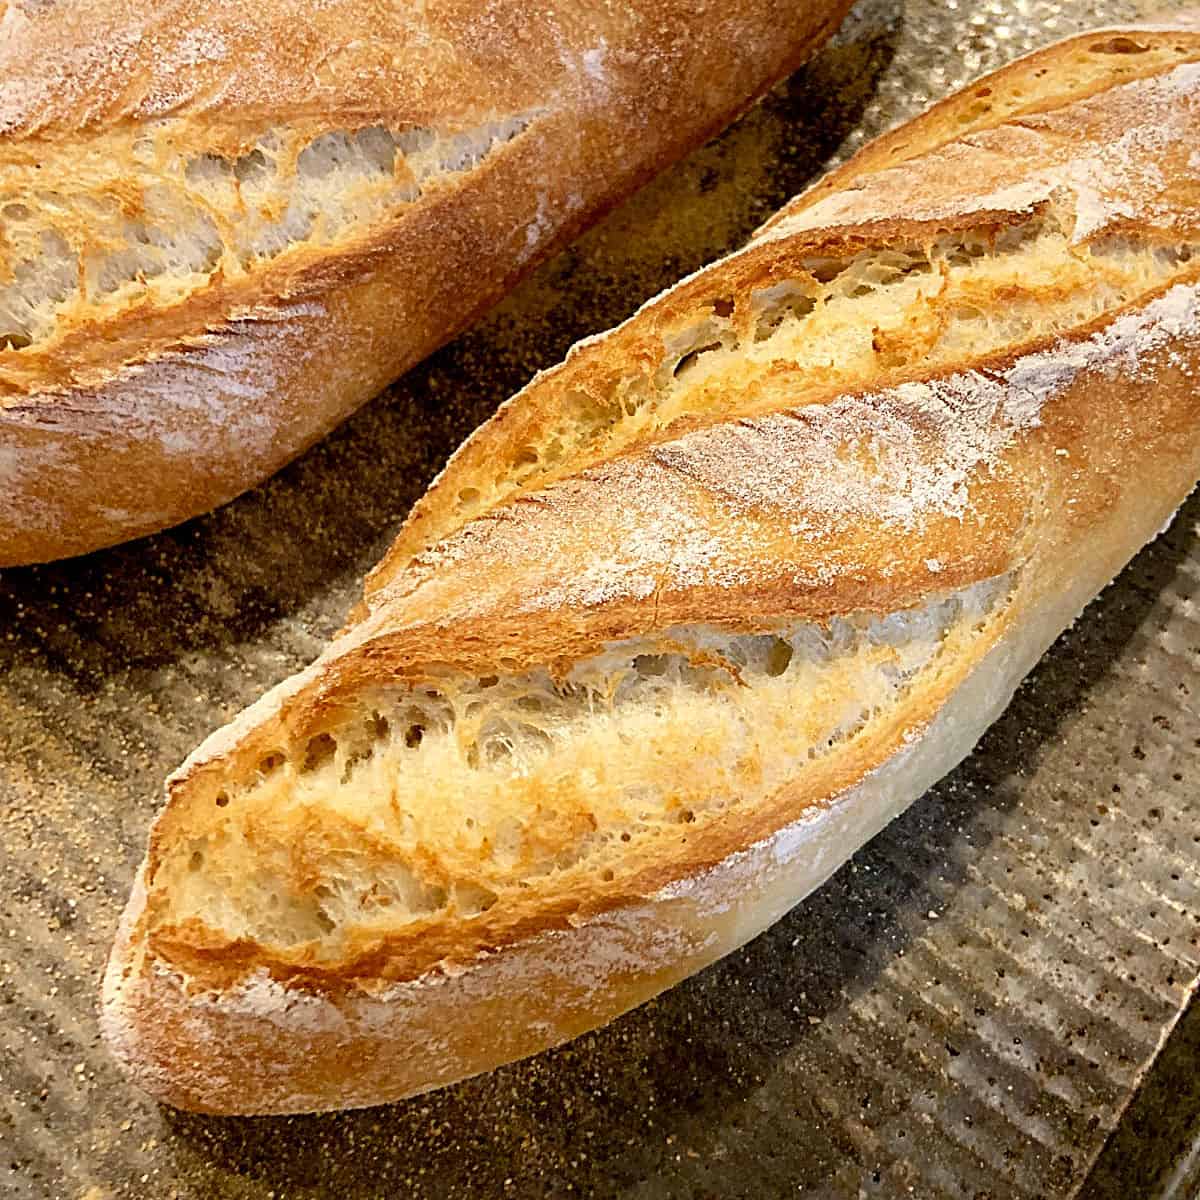
When is it done? The bread will turn a golden brown, and the slits will open. The way to know if it is fully baked is by turning it upside down (carefully, because it's very hot, so use a kitchen towel) and tapping the bottom of the bread. It should sound hollow and not be very soft. That's when the bread is done.
If you made this recipe and loved it, you can comment below and leave a 5-star ⭐️ review. Also, if you had issues, let me know so we can troubleshoot together.
You can also subscribe to our FREE email series 'Baking the Best' and our regular newsletter. Or follow and save my recipes on Pinterest.
As an Amazon Associate, I earn from qualifying purchases. Read my disclosure policy.
Baguette Bread Recipe (no-knead French bread)
Ingredients
- 3 ½ cups bread flour
- 2 teaspoons salt, I use kosher salt
- 1 teaspoon instant dry yeast
- 1 ⅓ cup slightly warm water, I use tap water
Instructions
- Put 3 ½ cups bread flour in the bowl of the food processor.
- Add 2 teaspoons salt on one side and 1 teaspoon instant dry yeast on the other, you don't want them to touch for now.
- Cover with the lid and begin to process at medium/high speed.
- Add 1 ⅓ cup slightly warm water through the feed tube as you begin counting 20 seconds. Either do it out loud or use the phone timer. You're going to see the dough starts to come together.
- Stop the machine after 20 seconds and see that it is not dry. It should be rough; make sure there are no spots of flour at the bottom. If it is dry, add 1 more tablespoon of tepid water.
- Cover the bowl back and now process for 25 more seconds. It should be 45 seconds in total.
- Transfer the dough to a dry bowl, cover it with plastic wrap, and put it in a warm spot or place for 2 hours. The dough rise will be very little; it will not double as with a classic kneaded dough, and that is fine.
- Dump it onto a lightly floured counter, and divide it into 2 or 3 pieces.
- With each piece, make some rough buns by cupping them with both hands until you have a smooth surface, cover them with a clean kitchen towel or loose piece of plastic wrap, and leave them alone for 20 minutes.
- Flatten each piece of dough on the counter (flour it lightly if needed) and shape them into baguettes. I like to make them shorter and thicker.
- Put them on an oven sheet pan lightly sprinkled with flour, polenta or oatmeal on the bottom, and dust the bread pieces with a bit of flour. Cover with a clean kitchen towel and let stand for 40 minutes.
- About 15 minutes before baking, turn on the oven at 450°F (230°C). Have ready a roasting pan and a kettle of boiling water.
- When the 40 minutes are almost over, put the roasting pan on the bottom rack of the oven and carefully fill it halfway with hot water. Close the oven door quickly. This creates steam that is great for developing oven spring that gives the dough a rapid burst of rise at the beginning, and helps to form a crackly crust.
- Make 3 cuts or slits to each loaf with a lame (find where to buy it online in the Notes below) or a very sharp kitchen knife, and immediately put it in the oven.
- Bake for 25-30 minutes, until golden brown and they sound hollow if you turn them over and lightly tap the bottom with your fingers.

Amanda Fisackerly says
What a great recipe! I had the urge to try it today, nipped into kitchen in between working, although slightly over the times specified, and voila! It actually turned out as promised! It's well-risen, absolutely delicious and I'll certainly make this again. Thank you so much, I'm thrilled!