

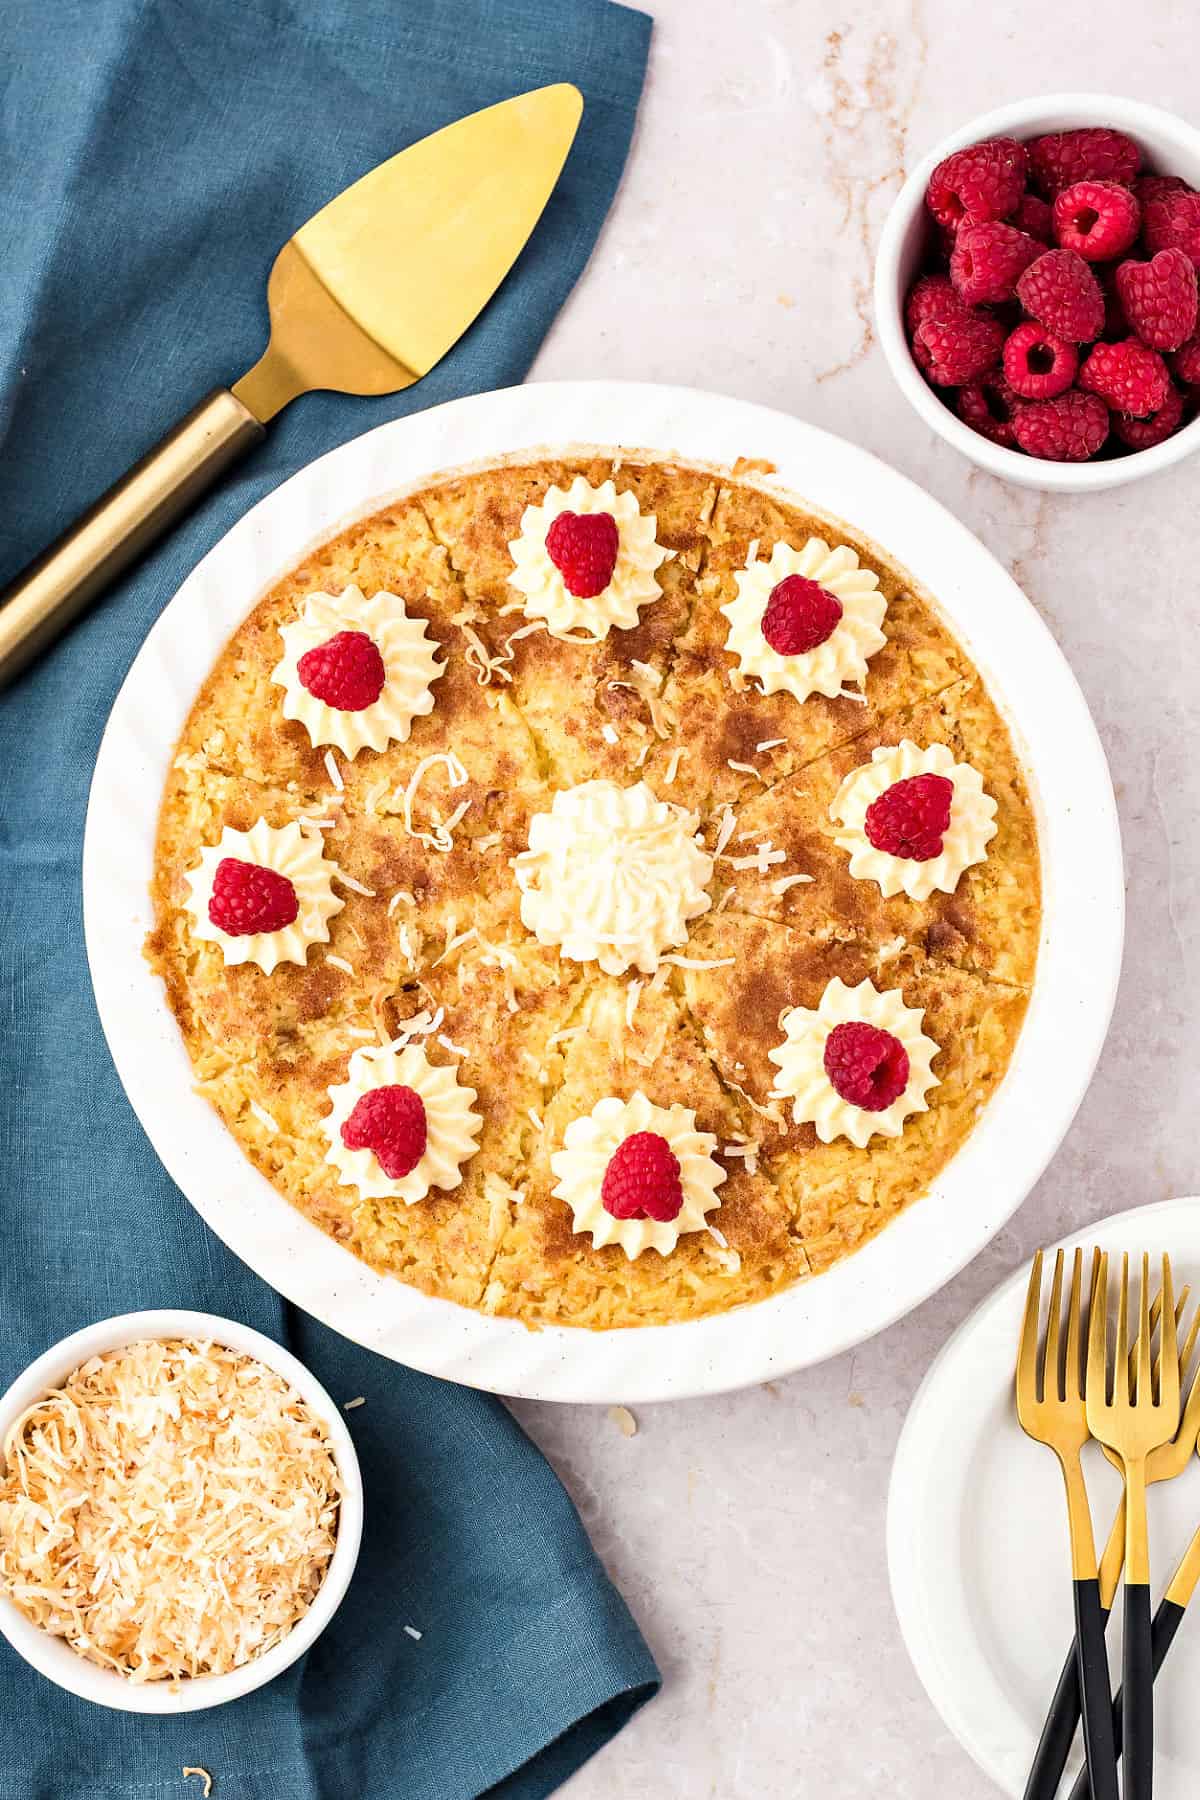
This easy recipe is a vintage dessert that creates its own 'crust' while baking. It's more like a crustless coconut pie or a coconut custard dessert. A simple batter made with pantry staples forms a bottom layer and creamy coconut custard filling during baking. It's pretty simple to make, old-fashioned, and remains popular because it delivers classic pie texture with almost no effort.
It's a 1970s retro dessert popularized by Bisquick (the versatile boxed mix), and I give you the original version and an alternative to make it completely from scratch.
SAVE THIS RECIPE
Magic crustless pie
If you've never made an impossible pie before, here's the deal: you mix everything together in a blender (or a bowl), pour it into a greased pie dish, and bake it.
That's it. The easiest crustless coconut custard pie ever!
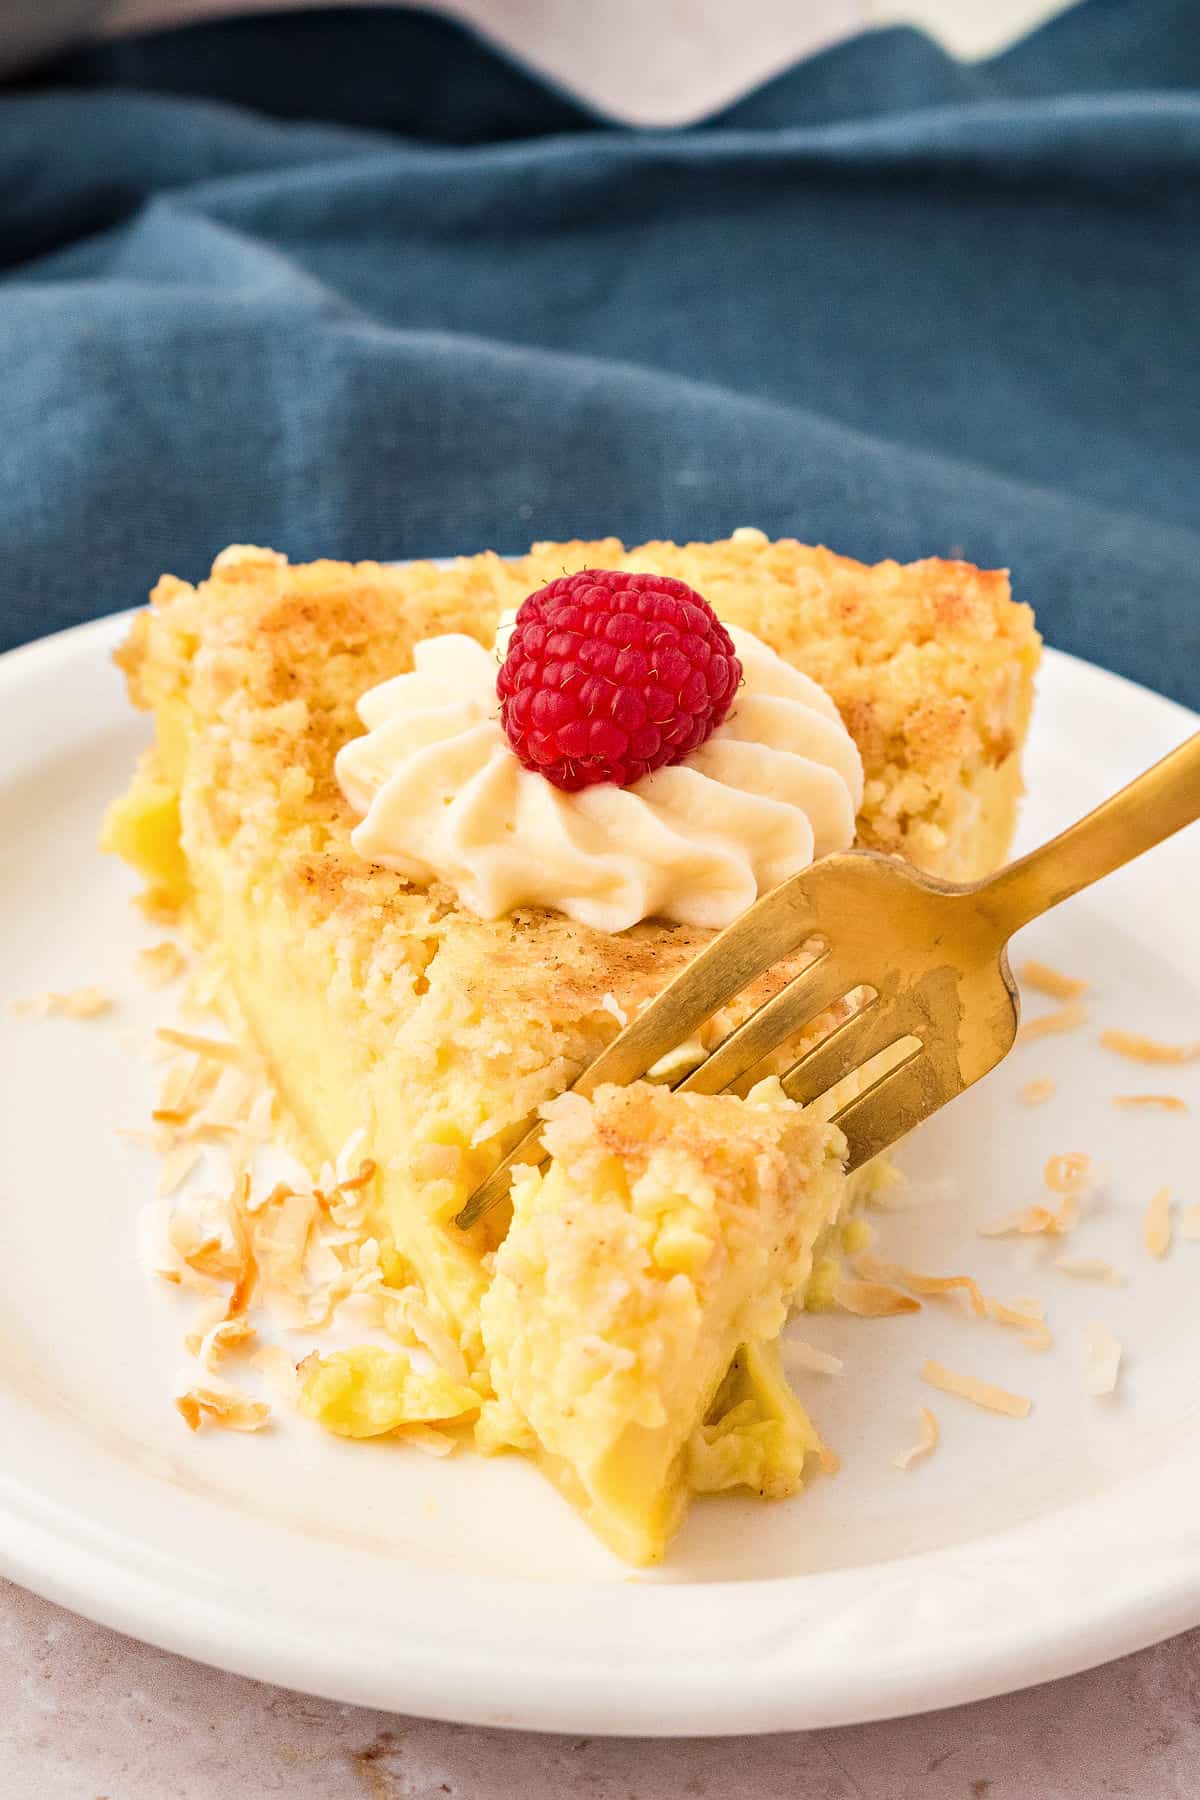
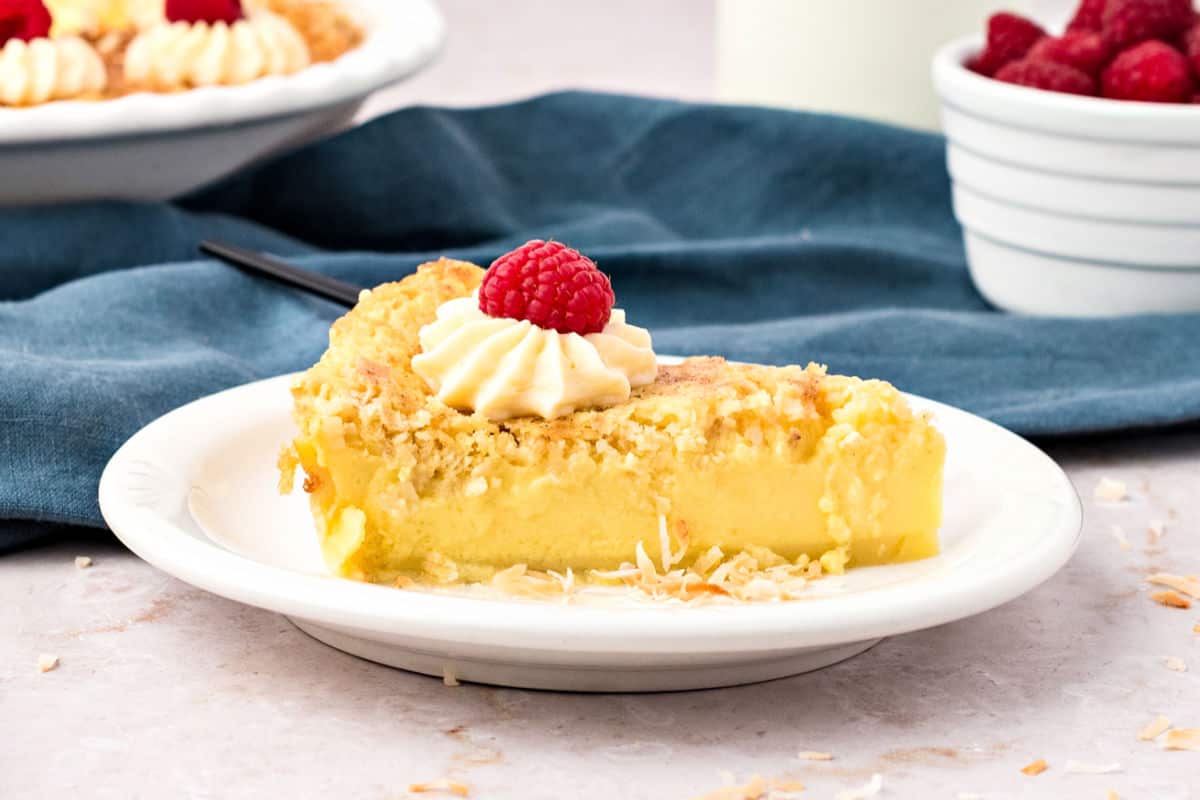
No crust to make, no blind baking, no layers to assemble. The batter does the work: as the pie bakes, the coconut floats up, the custard layer sets in the middle, and the bottom firms into something that eats like a soft crust. It sounds too good to be true; it is, and it works every single time.
This vintage dessert recipe falls along the lines of other simple old-fashioned recipes, like the chocolate pudding cake and the very popular 3-ingredient dump cake, which require pantry staples and little effort or technique on your part.
Testing notes
I use unsweetened coconut. It already has an interesting amount of sugar in the batter and sprinkled on top before baking.
Use a standard 9-inch pie pan or pie dish. Glass or ceramic gives you more even baking than metal. Don't use a springform pan; the batter is too thin and will leak.
The pie is done when the center is just barely set. It should have a slight jiggle, like a cheesecake, but not slosh. The edges will be golden and pulled slightly from the sides of the dish. A knife or toothpick inserted an inch from the center should come out clean. If the top is browning too fast, tent it loosely with foil.
This simple custard pie is actually better the next day. The custard firms up overnight in the fridge, and the flavors deepen. It reheats gently at 300°F if you want to serve it warm, or it's excellent cold straight from the fridge with a little whipped cream. It slices much cleaner once it's had time to firm up.
To use Bisquick mix: the option is in the recipe card. It uses sweetened shredded coconut, less sugar and a few other changes.
FAQ
Yes, but make sure it's full-fat canned coconut milk, which gives you a more intense coconut flavor and a slightly denser custard. Don't use coconut milk beverage (the carton kind); it's too thin and watery.
You can, but I don't recommend it, as the texture of the custard changes a bit after freezing; it can become slightly grainy. It's best fresh or refrigerated, where it lasts for 3-4 days well covered to prevent dryness. If you do freeze it, wrap individual slices and thaw overnight in the fridge.
How to make this crustless coconut pie
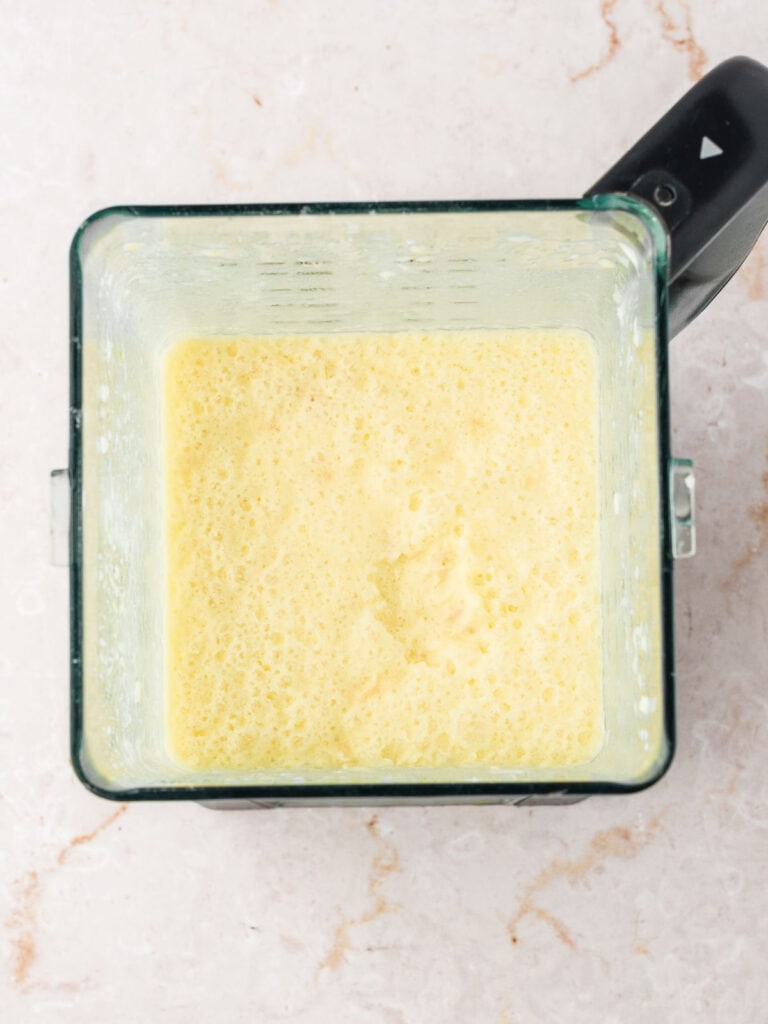
Blender recipe
It's as easy as blending all the ingredients until the eggs are incorporated. Don't overmix!
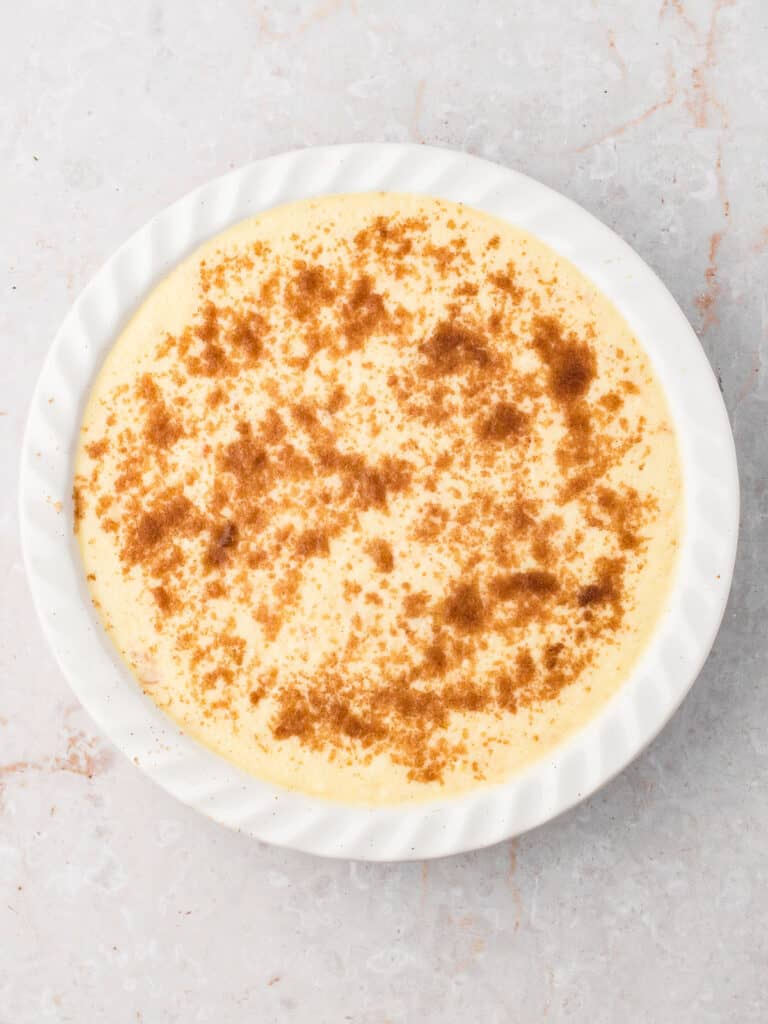
Sprinkle with cinnamon sugar
Though this is an optional step, I like it because it adds color to an otherwise plain-looking dessert.
You can also sprinkle coconut flakes, but be careful as they might burn too much during baking.
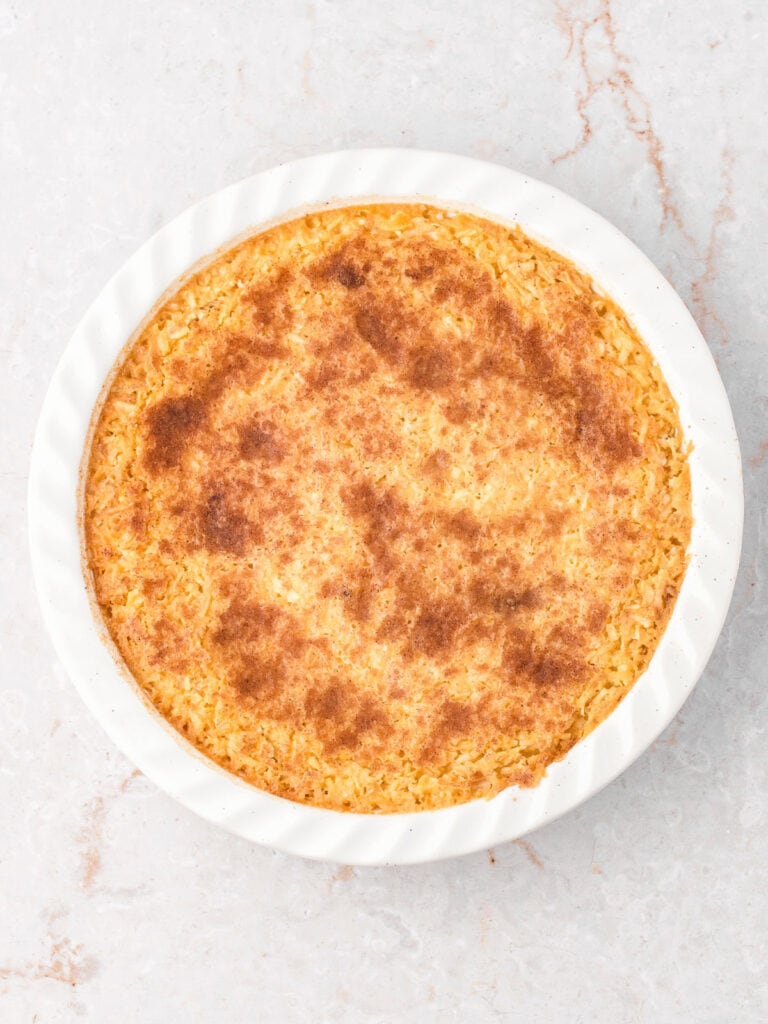
Baking
Bake until dry on top and golden brown, but remove while the center is still jiggling a little. You want the custard to be creamy. It will continue to settle as it cools down and is refrigerated.
If you made this recipe and loved it, you can comment below and leave a 5-star ⭐️ review. Also, if you had issues, let me know so we can troubleshoot together.
You can also subscribe to our FREE email series 'Baking the Best' and our regular newsletter. Or follow and save my recipes on Pinterest.
As an Amazon Associate, I earn from qualifying purchases. Read my disclosure policy.
Impossible Coconut Pie (with and without Bisquick)
Ingredients
From scratch:
- 2 cups whole milk
- 4 eggs
- 1 cup granulated sugar
- ½ cup unsalted butter, melted
- 1 teaspoon vanilla extract
- ½ teaspoon lemon zest, from about ½ a lemon
- ½ cup all-purpose flour
- ¾ teaspoon baking powder
- ¼ teaspoon salt
- 1 cup unsweetened shredded coconut, lightly toasted, see Notes below
- 1 tablespoon light brown sugar mixed with a pinch of cinnamon, for topping
With Bisquick mix:
- 4 eggs
- ¾ cup granulated sugar
- ½ cup Bisquick baking mix
- ¼ cup unsalted butter, softened
- 2 cups milk
- 1 teaspoon vanilla extract
- 1 ⅓ cups sweetened shredded coconut
Instructions
- Preheat the oven to 350°F (180°C).
- Grease a 9 or 10-inch ceramic square baking dish or 9-inch round deep dish pie plate with 2-inch sides or so.
If making it from scratch:
- In a large blender jar, add 2 cups whole milk, 4 eggs, 1 cup granulated sugar, ½ cup unsalted butter, melted, 1 teaspoon vanilla extract, ½ teaspoon lemon zest, ½ cup all-purpose flour, ¾ teaspoon baking powder, ¼ teaspoon salt and 1 cup unsweetened shredded coconut. Blend for about 10 seconds, just until smooth. Don't overmix; you just want the eggs fully incorporated.
If making it with Bisquick:
- In the blender jar, add 4 eggs, ¾ cup granulated sugar, ½ cup Bisquick baking mix, ¼ cup unsalted butter, 2 cups milk, 1 teaspoon vanilla extract and 1 ⅓ cups sweetened shredded coconut. Blend for 10-15 seconds until smooth, and the eggs are well incorporated. Don't overmix!
FOR BOTH:
- Pour into the prepared dish and sprinkle with 1 tablespoon light brown sugar mixed with a pinch of cinnamon, if using. This adds color since the top doesn't brown much on its own.
- Bake for 40-45 minutes, or until almost set in the center. For a creamier bottom layer, remove it while it's still slightly jiggly.
- Cool completely on a wire rack and refrigerate for a few hours or overnight. Serve cold or at room temperature.
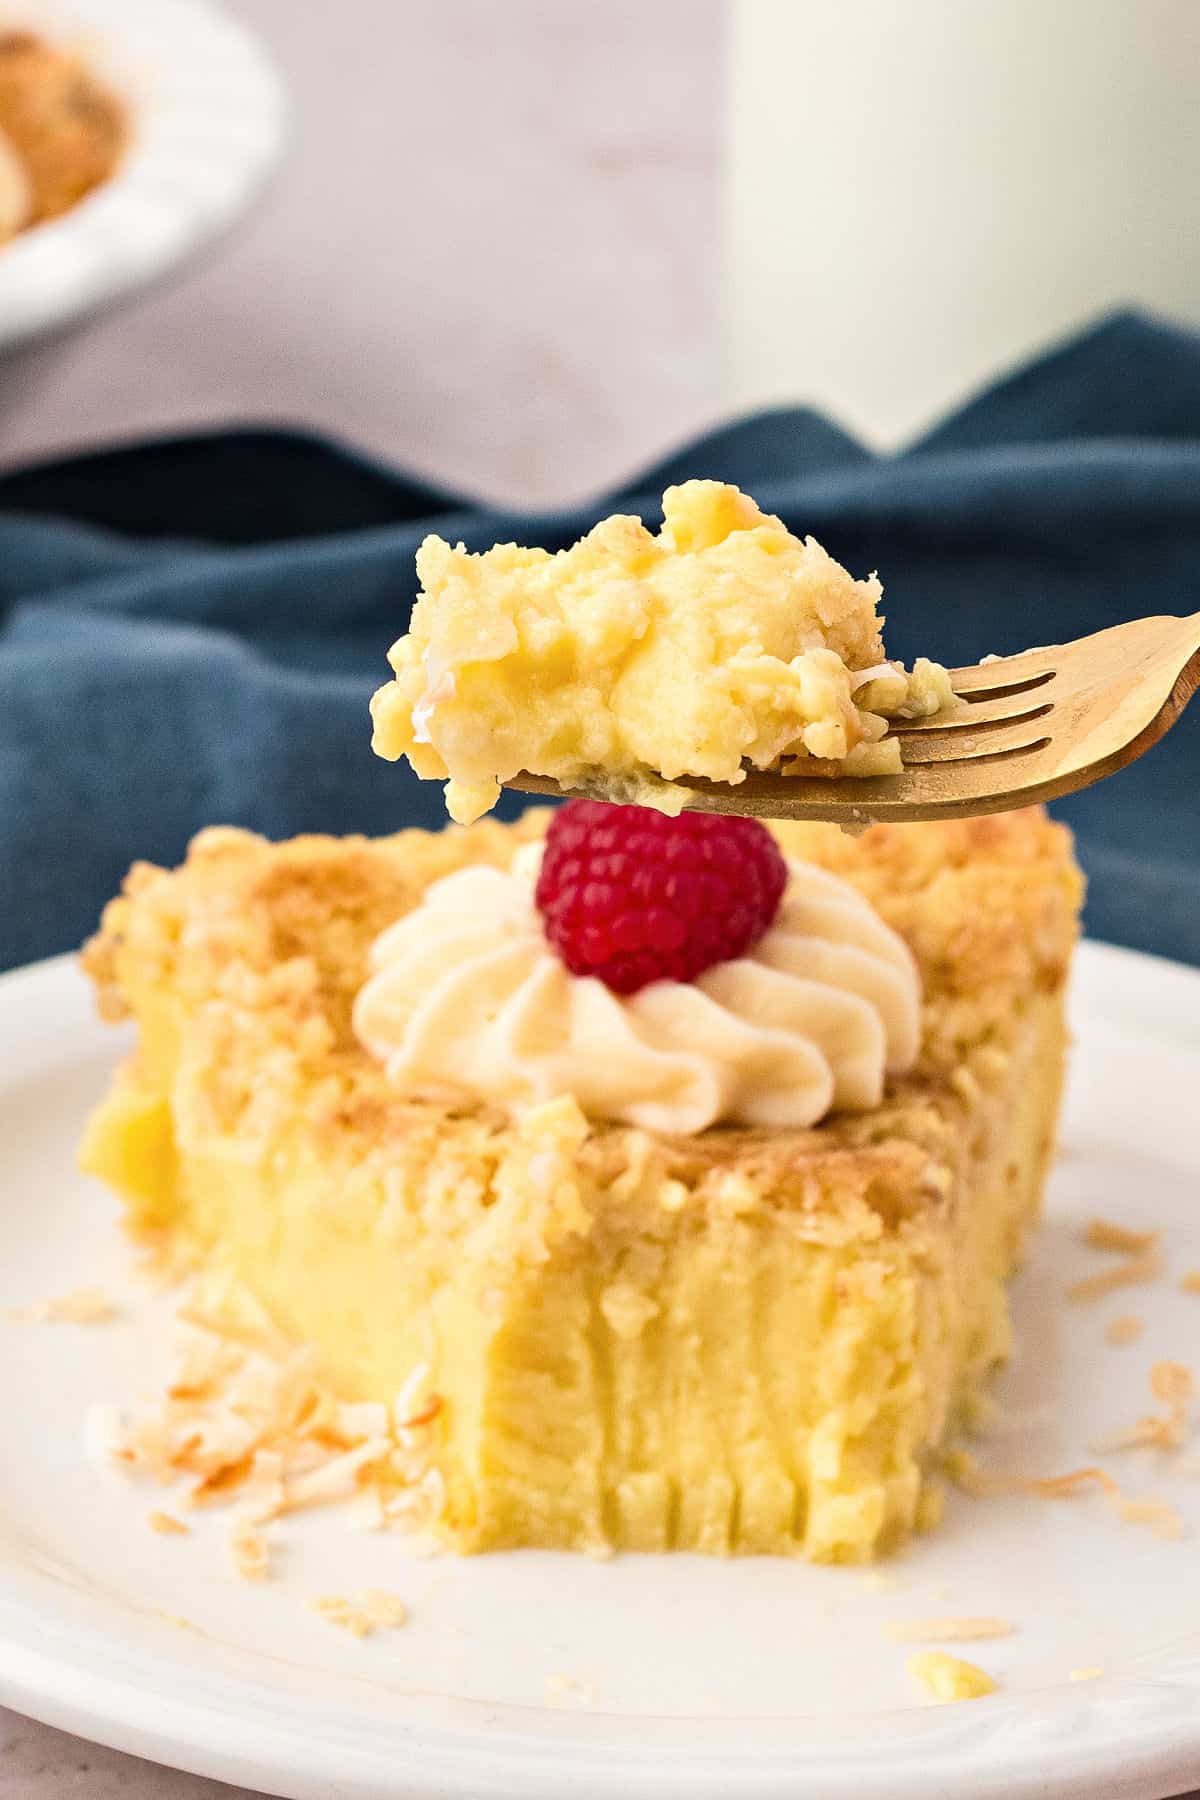
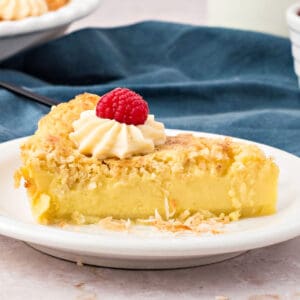
- Serve plain, or with whipped cream and a sprinkle of toasted coconut. You can add some fresh fruit for the hero shots to add some color if necessary. It's delicious, but it can be a rather dull-looking dessert. Here we love it with dulce de leche, as it pairs so well with coconut.
Rate and review this recipe