
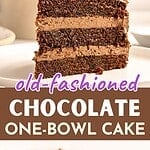
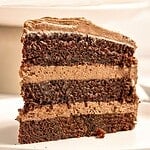
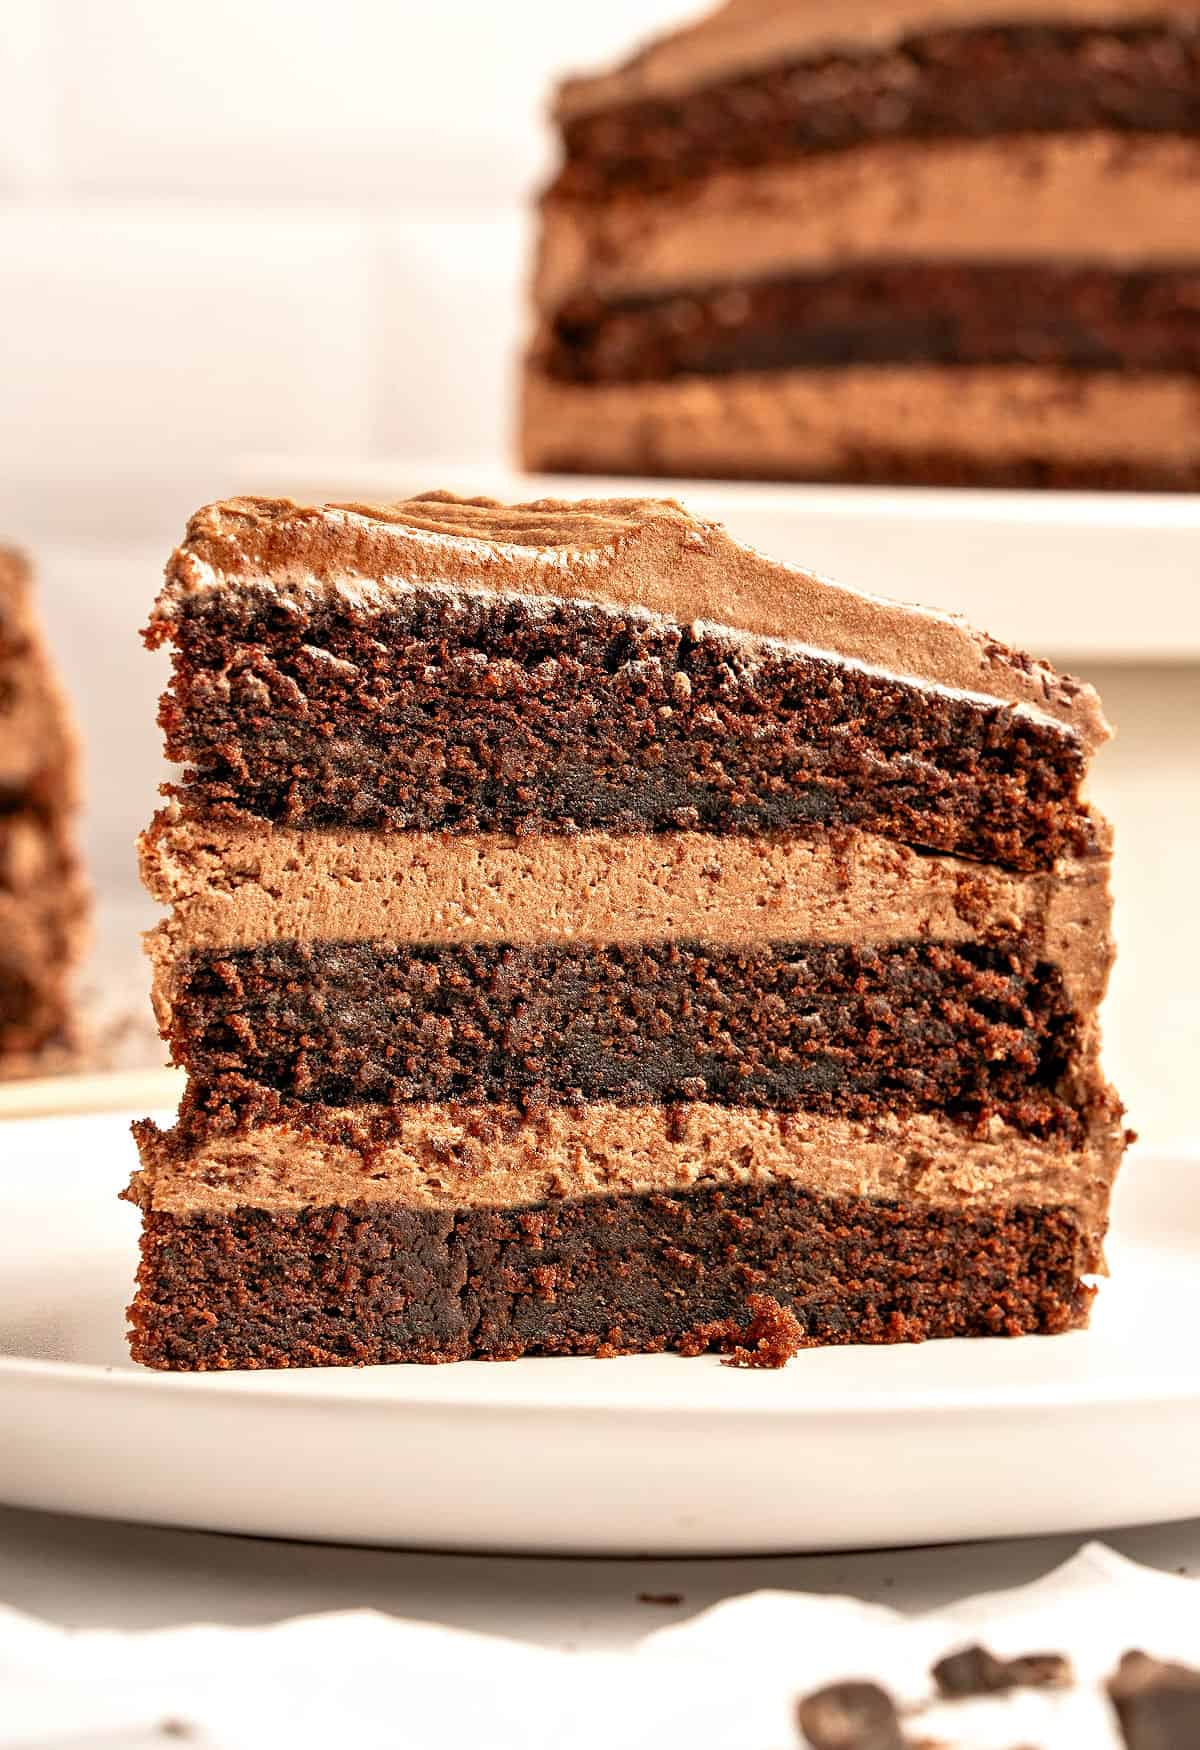
After decades of baking, this is a chocolate layer cake I always default to when I want an easy and reliable recipe. It's one-bowl, made with cocoa powder and buttermilk, so it's intense and tender. The simple mixing technique is the whole appeal of this cake. You're not creaming, not dirtying several bowls, not babysitting a temperamental batter. You dump, you beat, you pour. I use an old-fashioned chocolate frosting to keep it classic and nostalgic, but it's versatile enough to hold almost any type of filling and frosting.
SAVE THIS RECIPE
Excellent cake recipe
I grew up eating this cake religiously every year at a friend's birthday. I anticipated it, feeling happy when there were leftovers, and I could take home a piece. That is, until I was old enough to ask her mom for the recipe and started making it at home.
What I wasn't expecting was for it to be so easy! Just a bowl and an electric mixer are needed, plus a few minutes of beating. It's a simple mixing technique that traces back to mid-century home baking.
Besides the classic birthdays (when I don't make our family's favorite dulce de leche vanilla cake), this cake has been taken to potlucks as a one-layer cake and made into cupcakes for family celebrations. It's one recipe to have in your back pocket and make frequently.
I used this classic chocolate frosting and filling for this post, but it's also great with a white chocolate buttercream (for a contrasting cake) or this quick peanut butter chocolate frosting.
All my tips are below, and I hope you love it as much as I do.
Testing notes
Sift dry ingredients and don't overbeat once you add them. This is important for a soft and tender crumb and to avoid impurities or clumped ingredients in the batter.
Beat for the amount of time specified in the recipe, but don't overdo it. More is not better.
Coffee in chocolate cakes: it enhances and intensifies the chocolate flavor, but you don't taste the coffee. I feel it makes a difference and I always use it, but it's your call.
Cover the cake pans with clean kitchen towels while still hot. Take them out of the oven, place them on a wire rack and cover them for 10 minutes while they cool down. That way, the moisture will be locked inside.
Bake the cake layers the day before. The crumb will settle and gain the structure necessary to hold the filling and frosting better. Cover the rounds in plastic wrap after they've cooled down completely to prevent dryness, and leave them at room temperature overnight.
If you don't want a very sweet cake, don't use too much filling for the layers. The frostings/fillings I recommend in the recipe card are on the sweet side.
Make ahead: the cake layers can be frozen for a month or kept at room temperature for up to 2 days, always covered in plastic wrap. Fill it up to a day before, but frost it a couple of hours before serving.
Make a 2 or 3-layer cake: Divide the batter in three pans (three tiers but thinner cake layers) or bake two layers and have thicker ones. I like both, depending on the filling and the occasion.
How to make a one-bowl chocolate cake
Mixing: an electric mixer (or stand mixer with the paddle attachment, though I find it too much trouble) is highly recommended for this type of cake.
Preparing the springform pans: for layer cakes, you can grease the pans with soft butter, shortening or baking spray. Then, they need a light dusting of flour. This gives me the best results when I remove them.
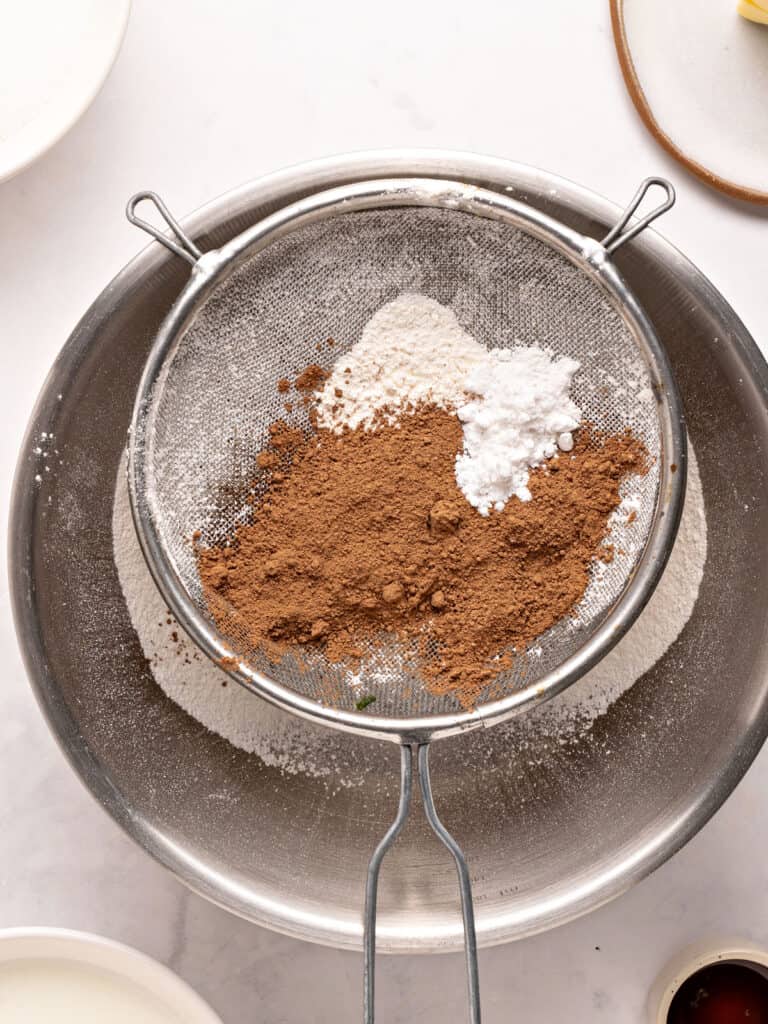
Sifting
It's an essential step that should not be skipped. It adds air to the batter and is crucial for some dry ingredients, like cocoa powder and baking soda, which can clump during storage.
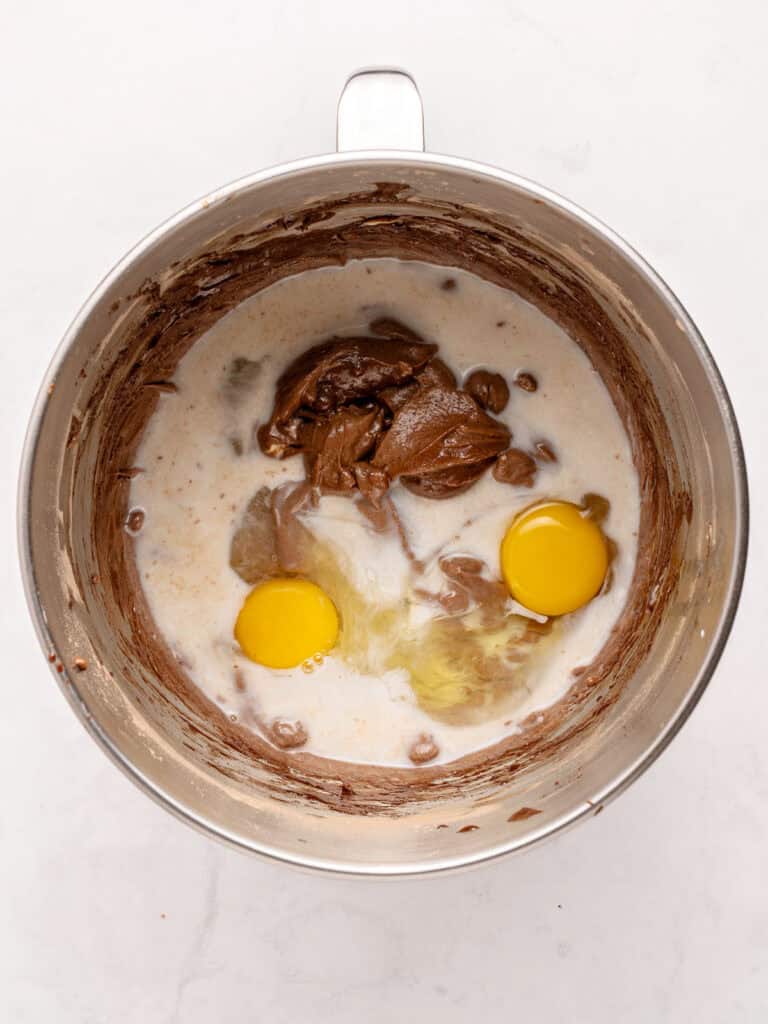
Mixing
The batter is mixed in two steps and all you need is an electric mixer.
The wet ingredients are added in two parts, with the eggs and the second amount of buttermilk at the end.
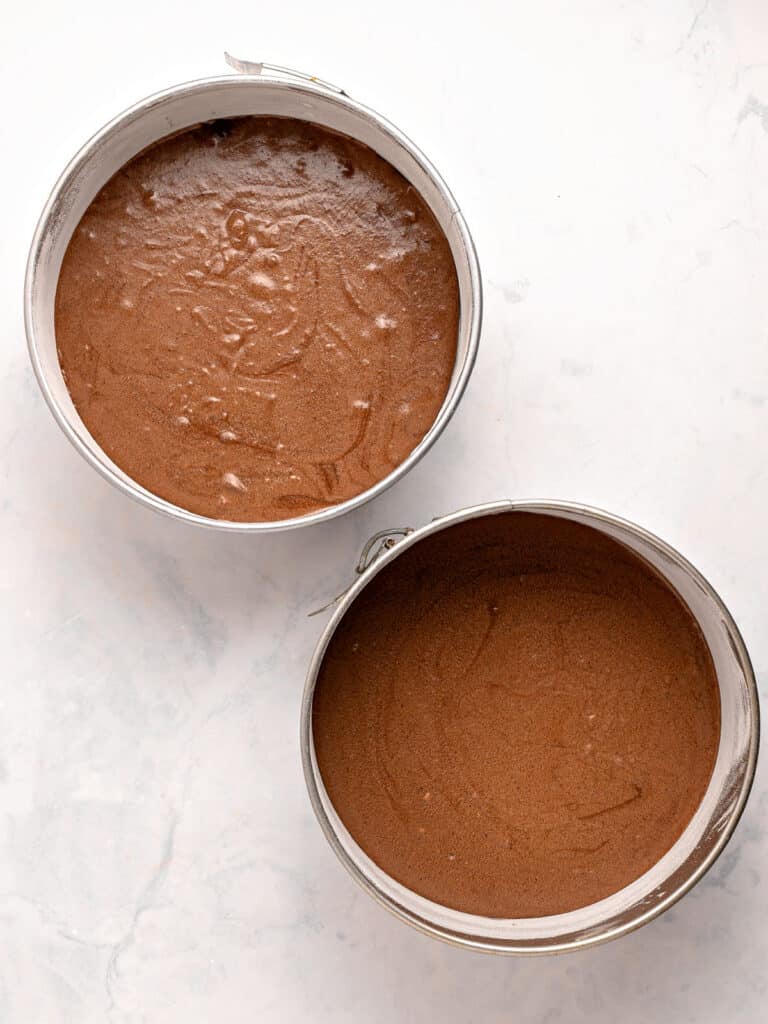
Cake batter
I like two or three 8-inch layers to stack one on top of the other when assembling.
But you can also bake one 9-inch layer and cut it in half, resulting in a wider and shorter cake.
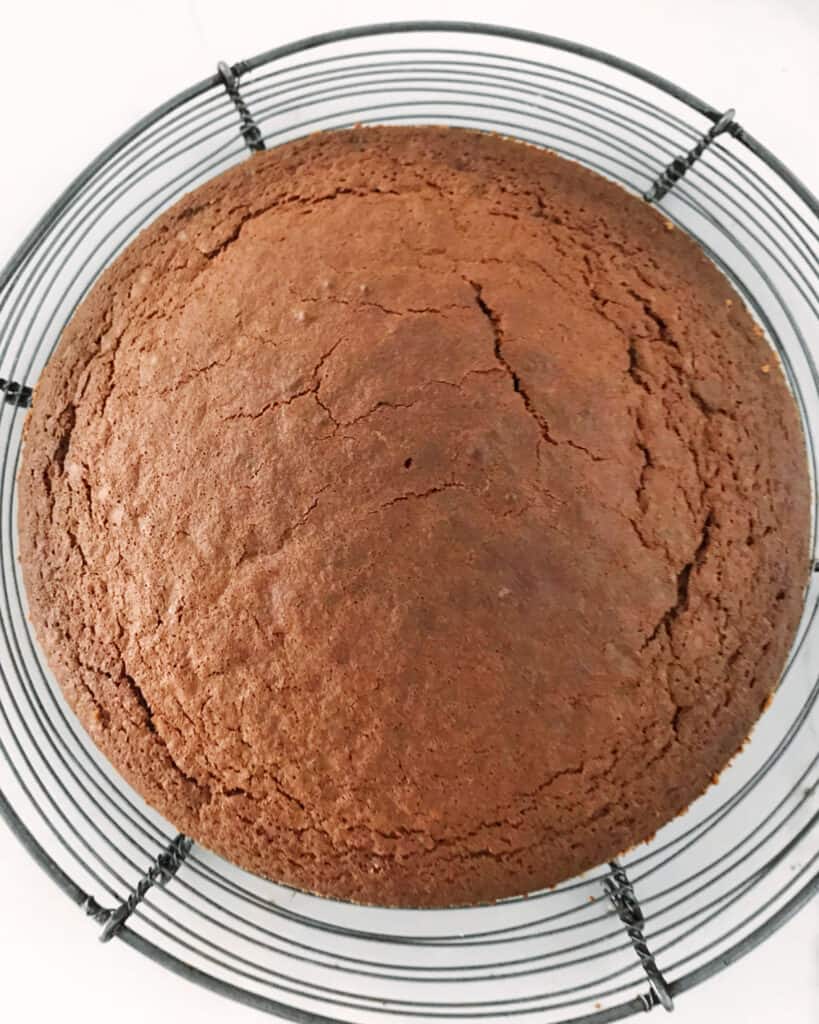
Baking
Don't overbake them so they stay moist. Cover the pan with a clean kitchen towel while the cake is still hot, so it doesn't lose moisture.
If the top is too domed or slightly too dark, simply cut it off. Just the top layer to even it out.
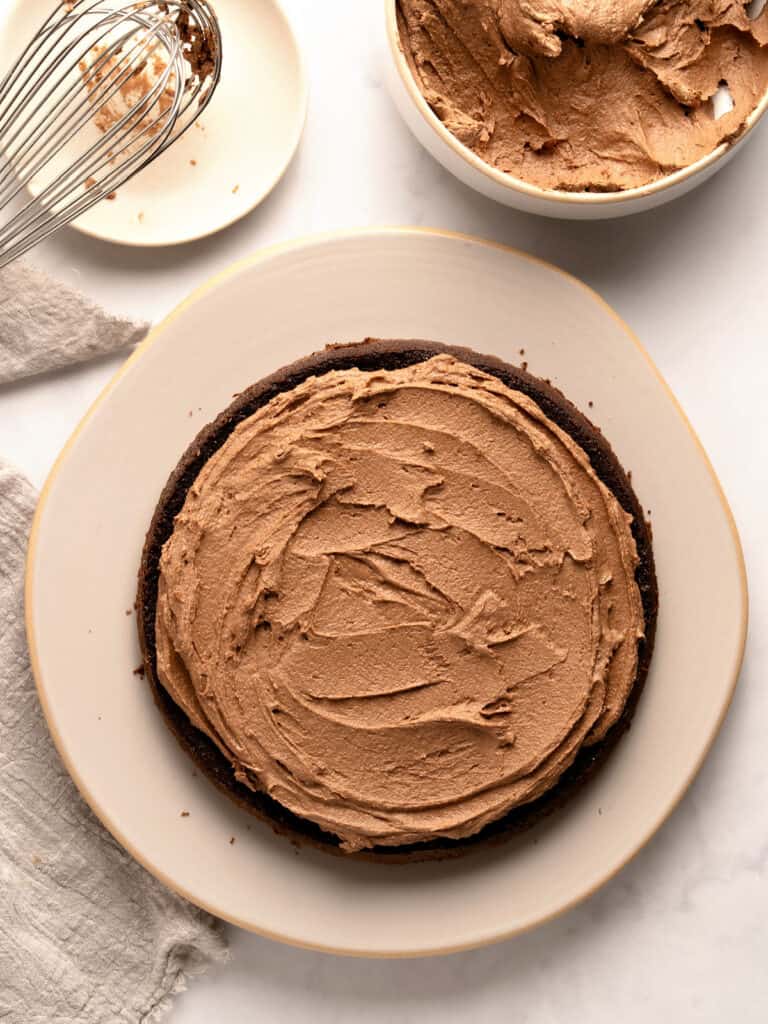
Filling
I used this quick but sweet chocolate sour cream frosting for the filling also, which is very old-fashioned. This is a very versatile cake that admits almost any type of thick filling or buttercream.
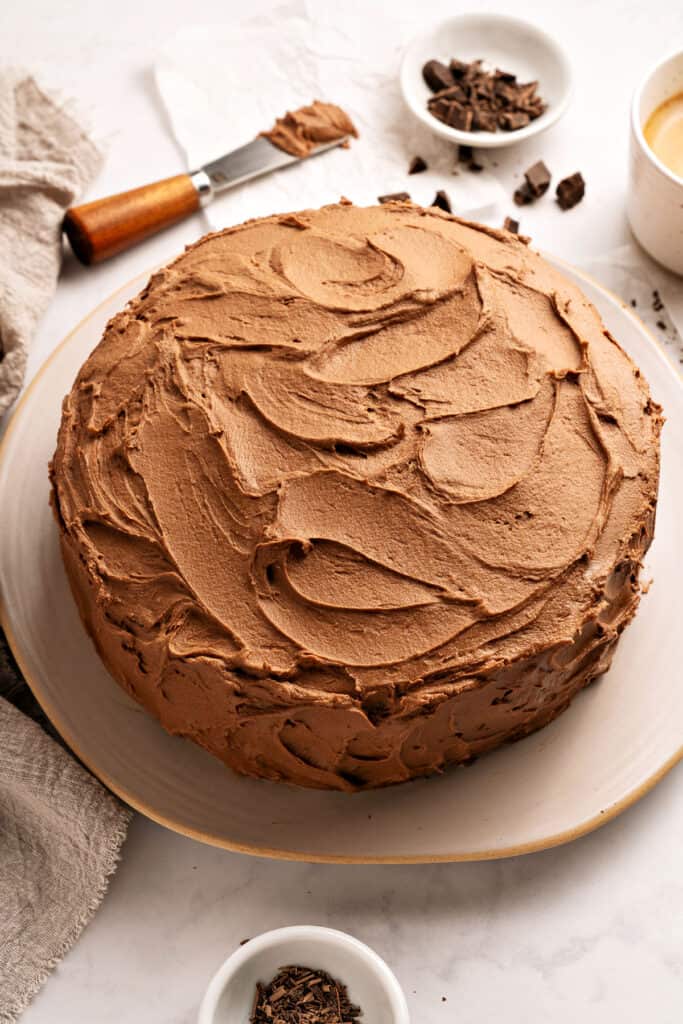
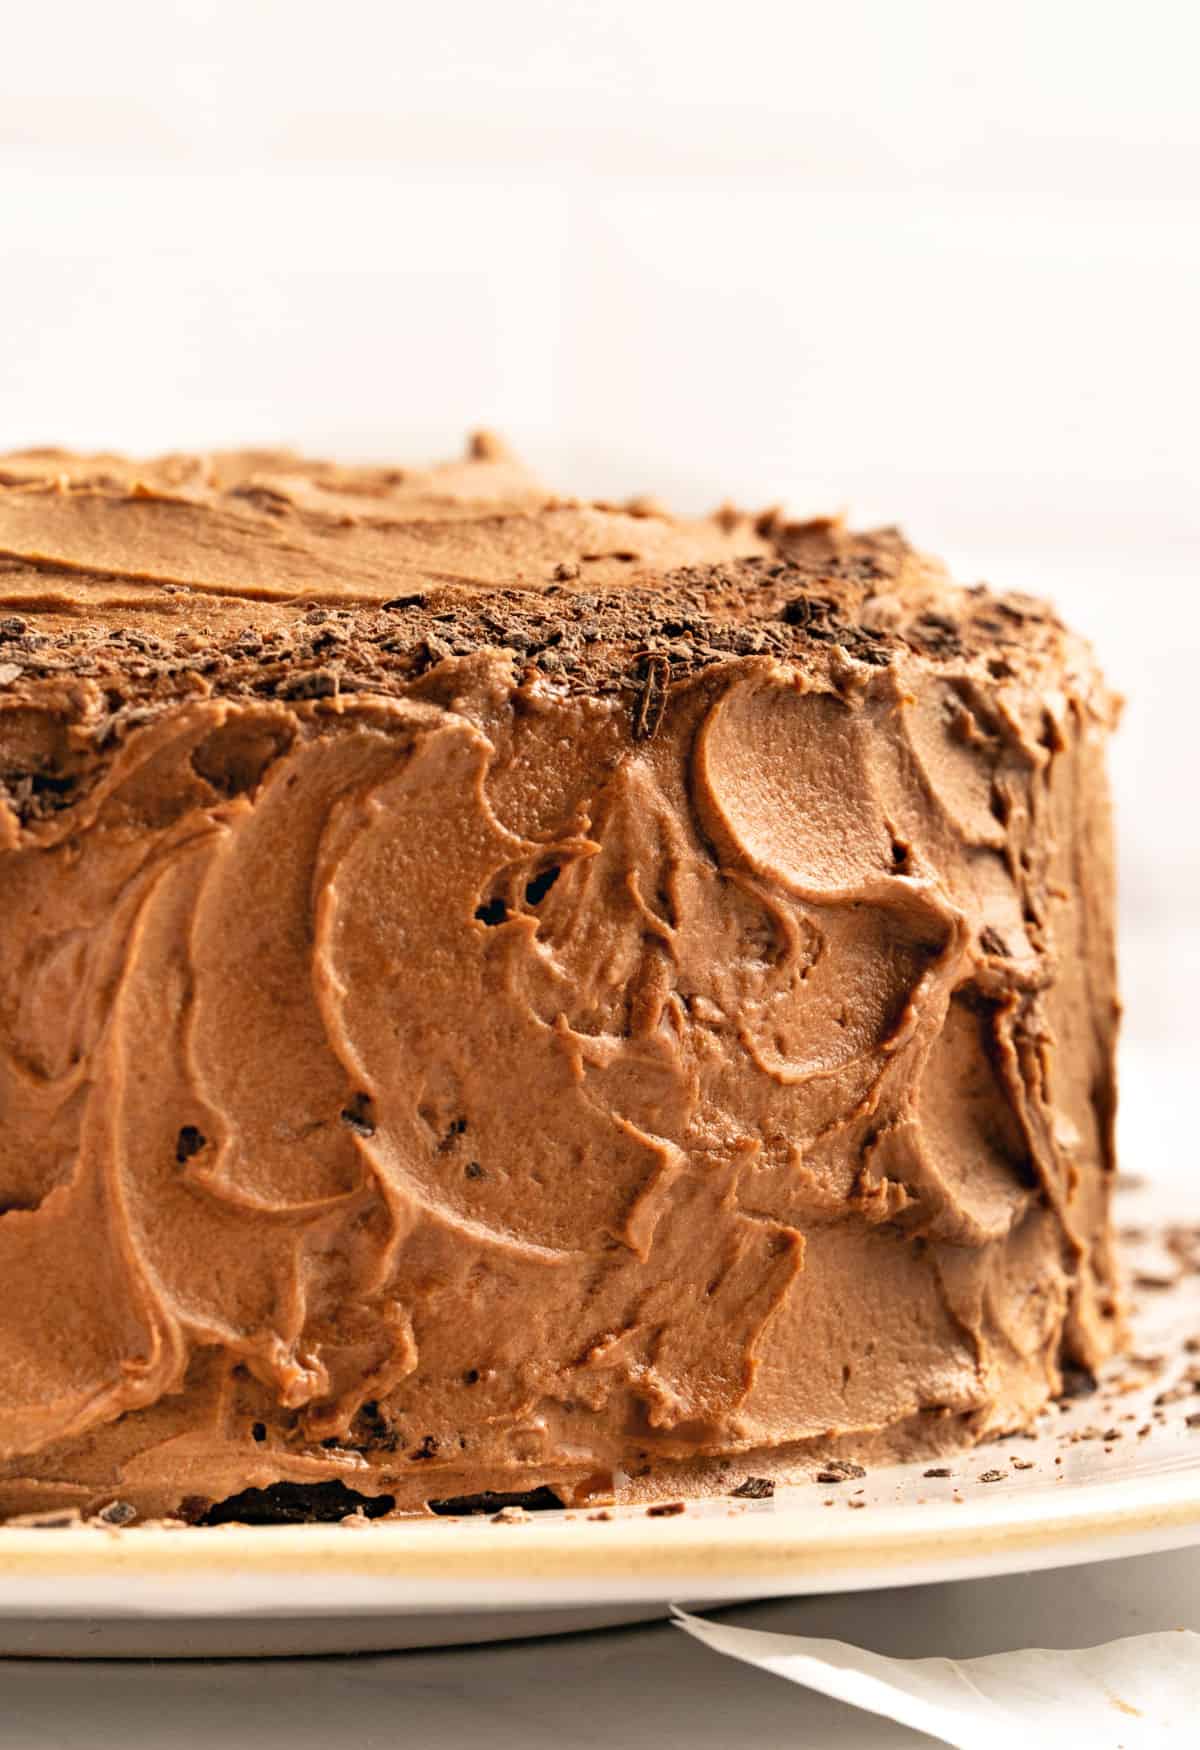
Chocolate frosting
I like rustic cakes, maybe because decorating them is not my forte, so I just use an offset spatula or butter knife to frost it. But this frosting recipe can be piped.
Vintage Kitchen Tip
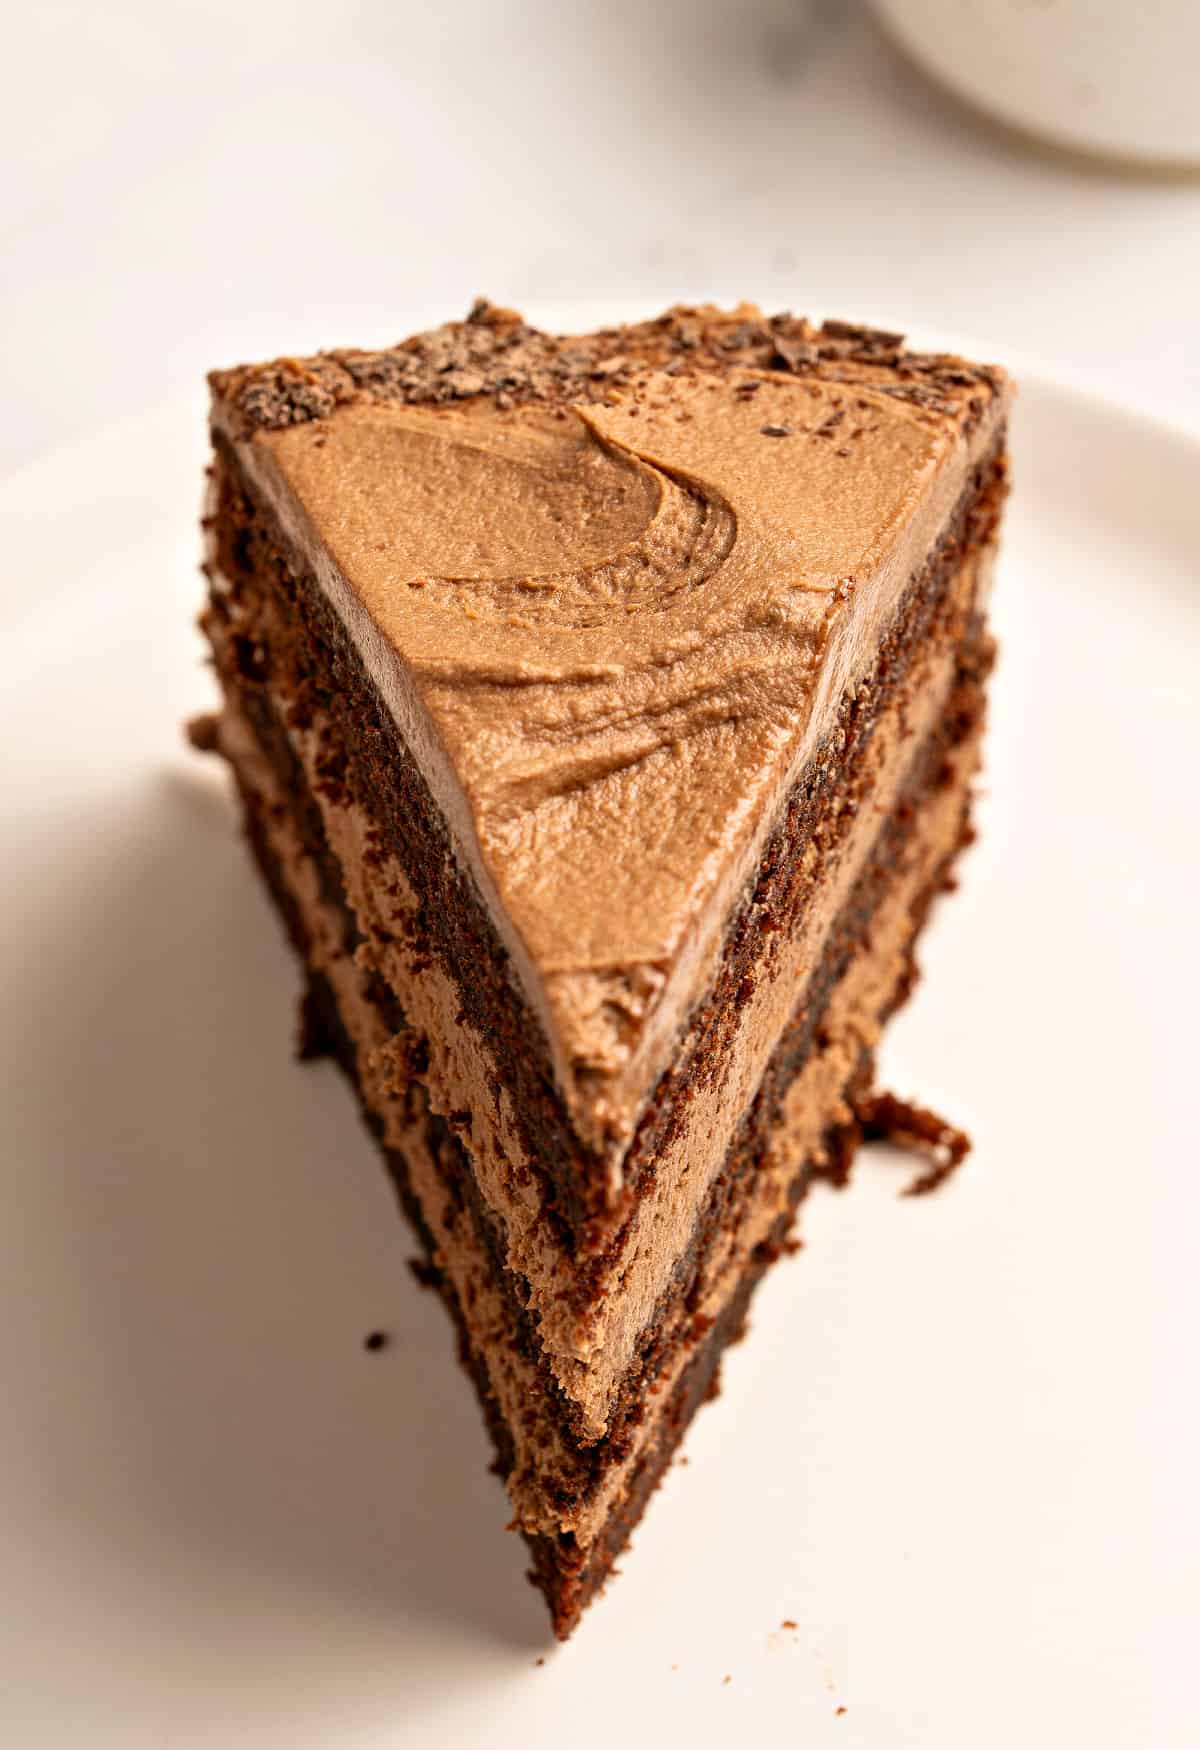
This cake is best filled the day before so the flavors settle and meld.
You can assemble the cake in a springform cake pan (several hours or the day before), using the bottom of the pan as the base. Place one layer, fill it, place the second layer on top, and so forth. When the cake is ready, close the springform ring around the cake again and wrap the whole pan in plastic. That way, the cake is covered and tight. Keep it refrigerated. Frost it close to serving time.
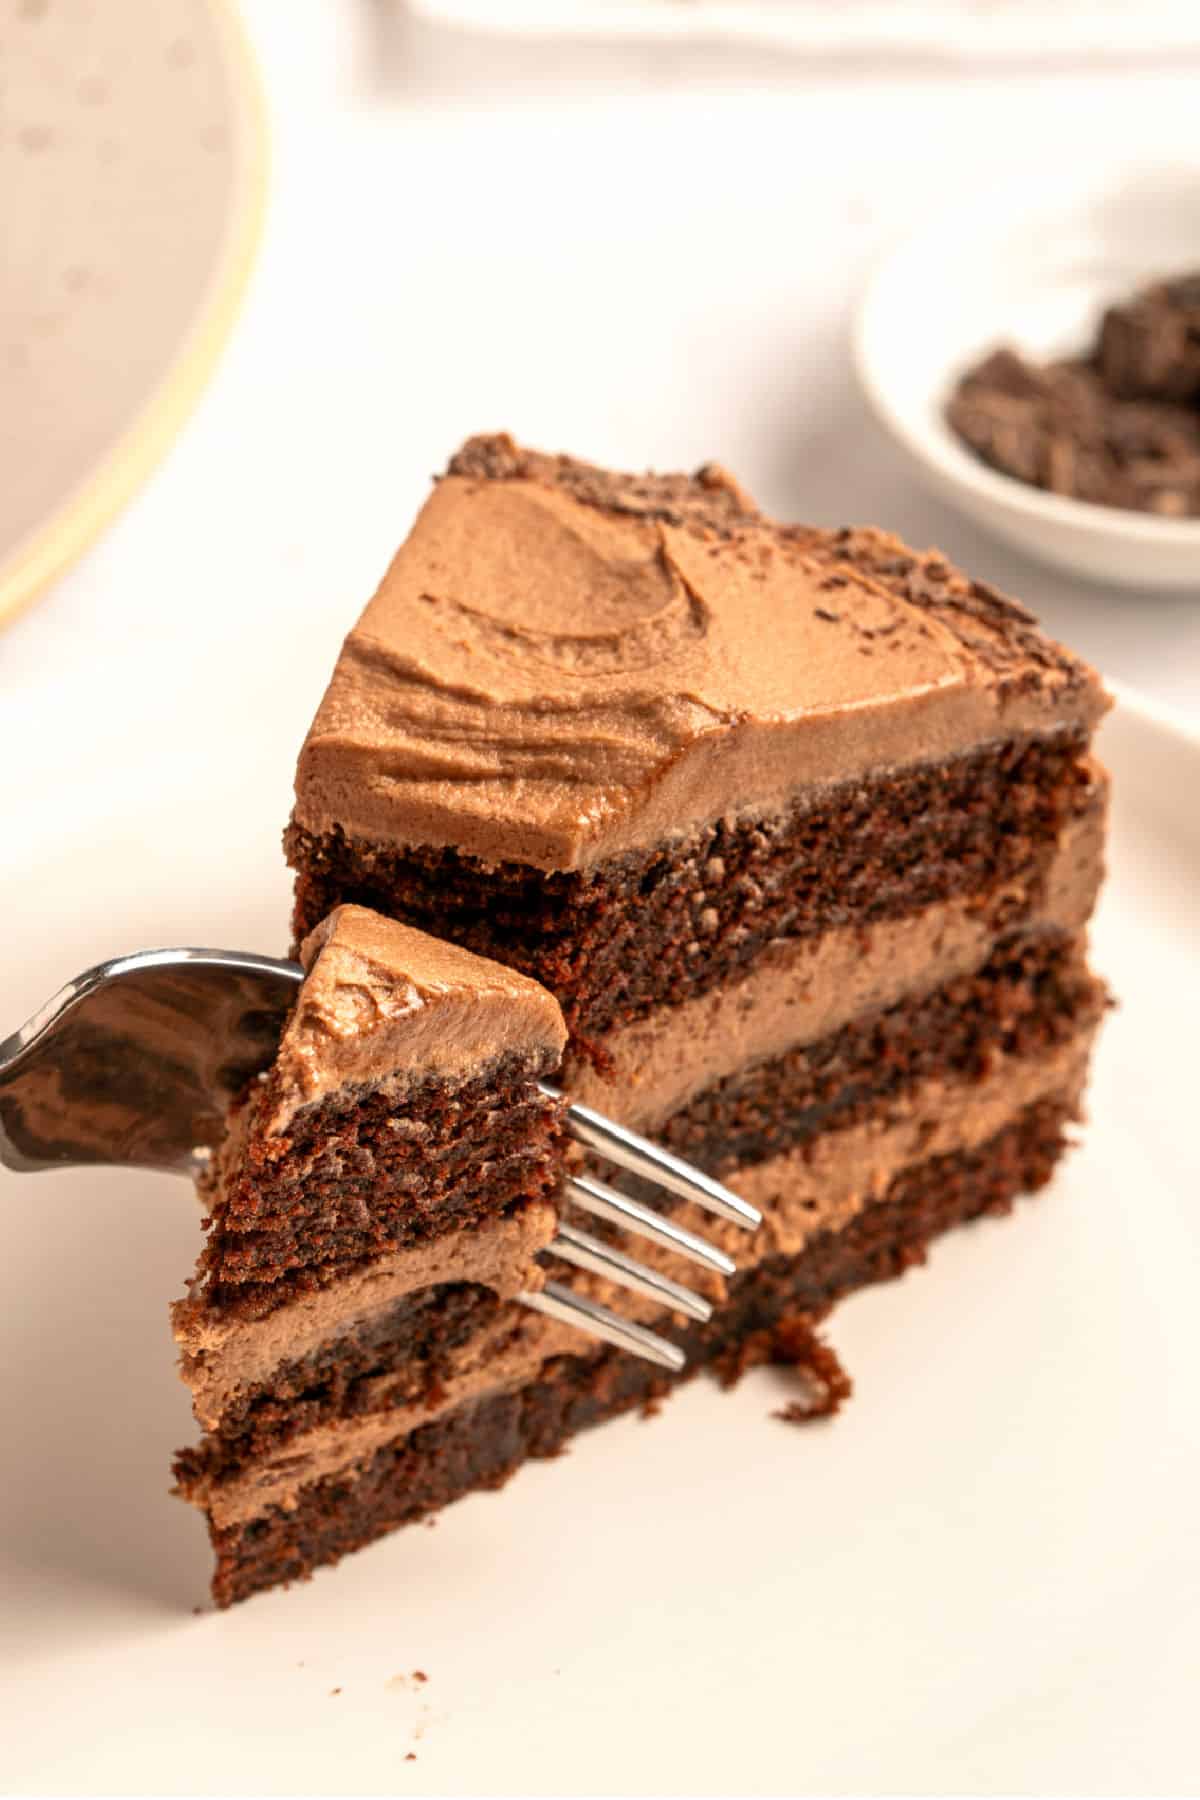
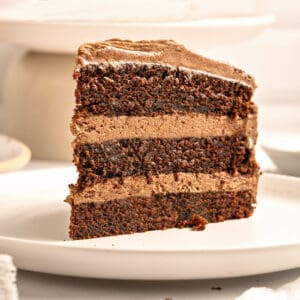
Old Fashioned Chocolate Cake (one bowl, cocoa powder)
Ingredients
- 1 ½ cups all-purpose flour
- ½ cup unsweetened cocoa powder
- 1 teaspoon espresso powder
- 1 teaspoon salt
- 1 ¼ teaspoons baking soda
- 1 ¼ cups sugar
- 1 cup buttermilk
- 1 cup unsalted butter, at room temperature
- 1 teaspoon vanilla extract
- 2 eggs, at room temperature
Frostings and fillings, see Notes below
Instructions
- Preheat oven to 350°F (180°C).
- Butter and flour three 8-inch round cake pans. Or use two pans for taller cakes and just one layer of filling.
Make the chocolate cake batter:
- In a large mixing bowl, sift 1 ½ cups all-purpose flour, ½ cup unsweetened cocoa powder, 1 teaspoon espresso powder, 1 teaspoon salt and 1 ¼ teaspoons baking soda. Stir in 1 ¼ cups sugar until it's evenly mixed.
- Add ¾ cup buttermilk, 1 cup unsalted butter, softened, and 1 teaspoon vanilla extract and beat for 2 minutes on medium/high speed.
- Add 2 eggs and the remaining ¼ cup buttermilk and beat for 2 more minutes, until completely smooth. Don't overbeat.
- Pour into the prepared pans, dividing evenly.
- Bake for 15-20 minutes, until a cake tester or toothpick inserted in the middle comes out clean. These are thin layers, so watch them at the 15-minute mark. You don't want to overbake them.
- Remove from the oven, place on a wire rack and immediately cover the pans with clean kitchen towels. Leave for 10 minutes to allow the steam to moisten the cakes. Remove the towels and let the layers cool completely before filling and frosting.
Assemble the cake:
- Place a cake round on a flat surface or lazy susan.
- Spread a layer of chocolate frosting between each cake layer, making a three-tiered cake. You might not want to use all of the filling if you don't have a sweet tooth.
- Frost the top and sides with more frosting.

Madonna says
Wonderful recipe