
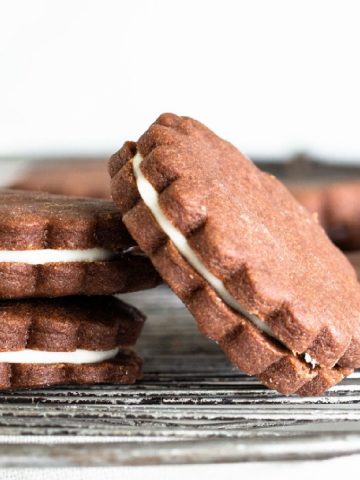
Soft vanilla cookies with a distinctive top layer of half chocolate and half vanilla icing. They are sweet, unique, chewy but cakey, and can become a favorite fast. The different components can be made ahead and assembled shortly before serving them.

SAVE THIS RECIPE
A perennial classic
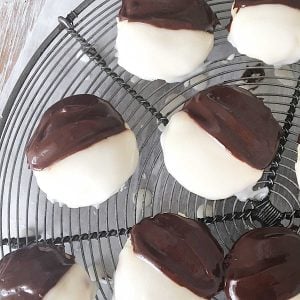
These cookies are round with a unique look. Half the cookie is frosted with vanilla icing, and the other half with chocolate. And often associated with American cuisine, specifically New York.
The cookie itself is soft and cake-like in texture.
Black and white cookies came late into my life, but I'm SO glad they did.
I tried these cookies in New York city many years ago and understood why they have such staunch followers. They are simple, yet have a depth of flavor, a clear case of common ingredients bearing great results.
They make wonderful treats for school lunch boxes. Or to snack on during the day as the hand often finds itself in the cookie jar when you casually go into the kitchen.
- Freshness: you can enjoy them as soon as the frosting dries. So the cookies will be at their freshest flavor and texture.
- Control of ingredients: home baking allows you to control the quality and quantity of the ingredients used. This is particularly important if you have dietary restrictions or preferences.
- Cheaper: buying black and white cookies from a bakery or grocery store can sometimes be expensive, especially if you want a large quantity. Making them at home can be a cost-effective alternative.
- Fun project: though they take some time and have several components, these are great cookies to make with kids, as an Easter project, or just because you love baking for your loved ones.
The cookie itself is vanilla. And by themselves, they don't say much.
But when frosted, the sum of the parts is more than each component.
The result is the softest vanilla cookie with a mix of glazes that work well independently or together. A bite here, a taste there, they have a vintage flavor.
It ends up being delicious and surprising. A meld of vanilla and chocolate, with each bite a surprise depending on what part of the cookie you're eating.

Ingredient list
- All-purpose flour.
- Cornstarch: it adds a melt-in-your-mouth quality.
- Salt.
- Baking powder: make sure it isn't expired.
- Unsalted butter.
- Milk: whole or reduced in fat.
- Eggs: fresh.
- White, granulated sugar.
- Vanilla extract.
- Powdered sugar: also called confectioners or icing sugar.
- Cocoa powder: always use unsweetened.
- Corn syrup: is used to make the frostings shiny and softer. Runny honey can be substituted.
Quantities are listed in the recipe card towards the end of this post. The Ingredients page has more details and lists the brands we use.
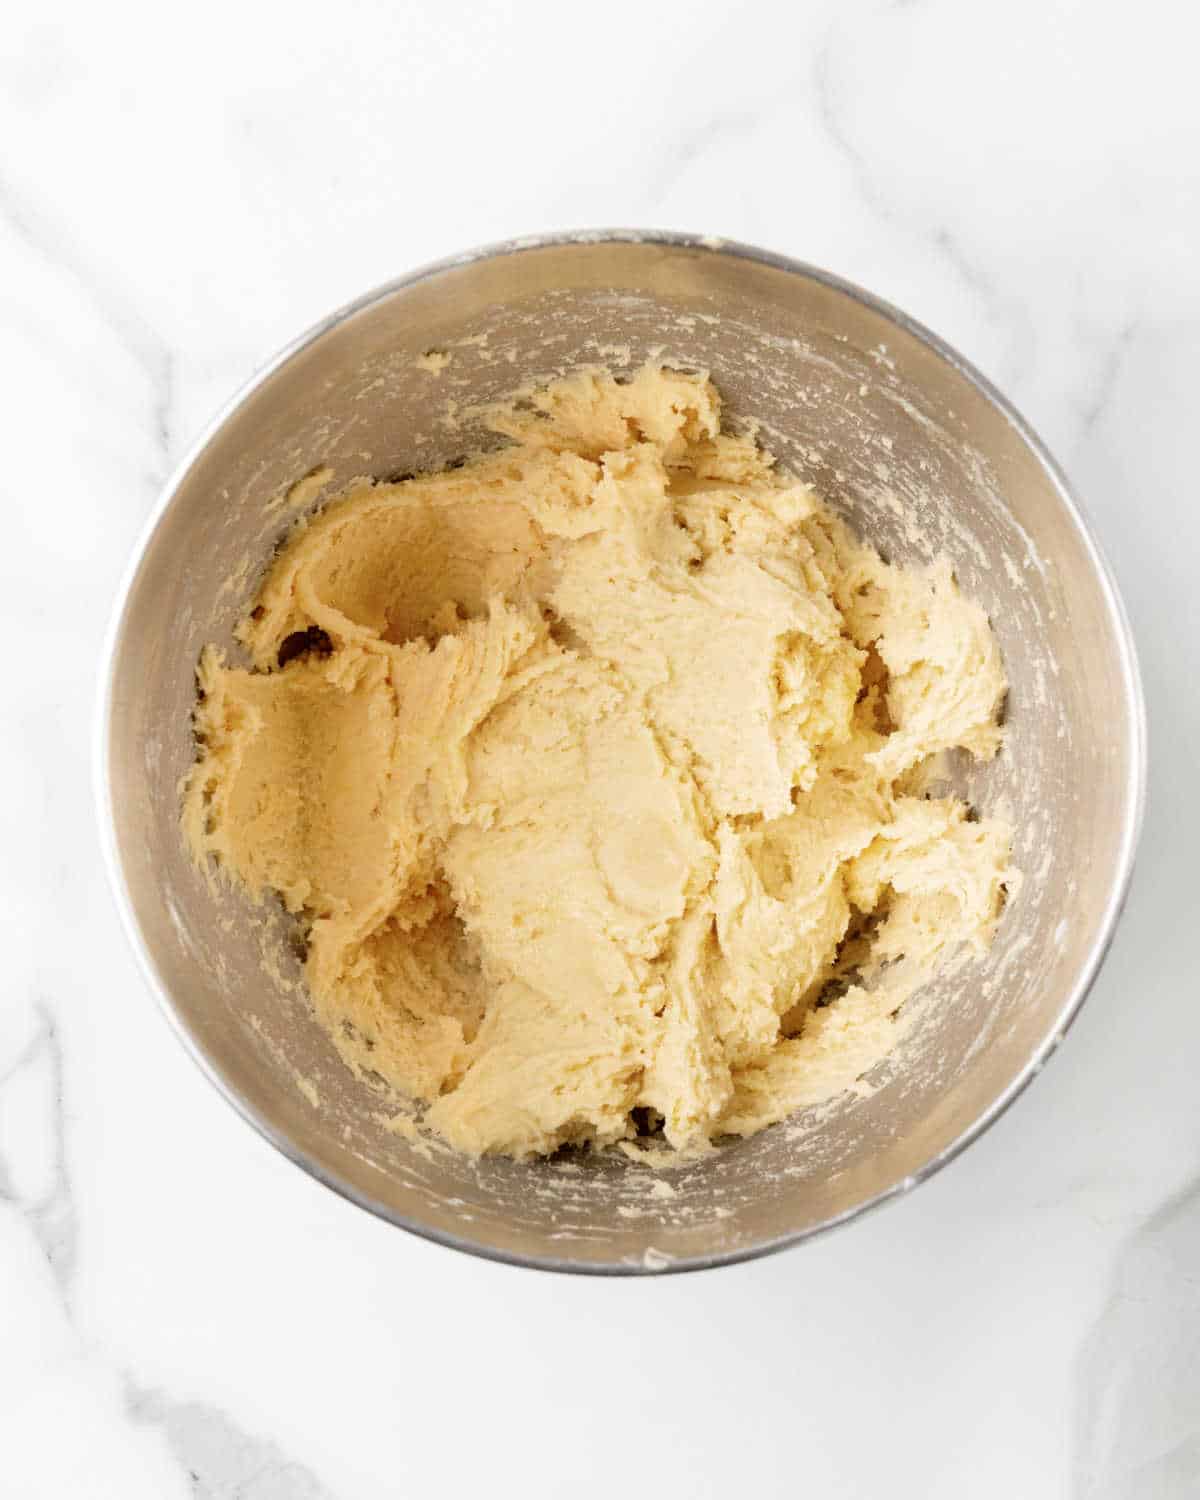
The dough has a softer texture thanks in part to cornstarch. It makes a big difference, adding a melt-in-your-mouth quality that is unbeatable.
It can be made ahead and kept refrigerated for a day or frozen for a month.
The icings
These cookies are covered with fondant icing, flavored half with vanilla and the rest with cocoa powder.
What is fondant or powdered sugar icing? It's one of the simplest and yummiest ways of dressing up a simple cookie. Powdered sugar (or icing sugar) is mixed with a liquid to form a paste. For this recipe, we flavor half with vanilla and the rest with cocoa powder.
Vintage Kitchen Tip
My experience is that it's better to glaze the chocolate half first, let it set completely, and then ice the vanilla half. It's the less messy way.

The dough has a softer texture thanks in part to cornstarch. It makes a big difference, adding a melt-in-your-mouth quality that is unbeatable.
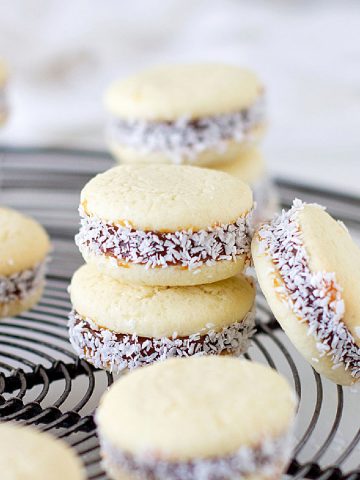
Similar to the way cornstarch alfajores have a melting quality when you eat them.
I tried and tweaked my original vintage recipe; today's remains my favorite. It was tricky, as the cookie can lack in flavor before being glazed.

Kitchen notes
- Organization: read the recipe first and ensure you have ingredients at the correct temperatures, equipment, and enough workspace. This will make the process so much easier!
- Baking time: keep in mind that all ovens and pans are different, even if they look similar. The baking time in my recipes is as accurate as it can be, but it might take you more or less time. You can use a thermometer(like the OXO oven thermometer) to check that your oven is at the right temperature. I recommend you keep track of how your oven works and what tiny details you might need to adjust.
- Glaze: my experience is that it's better to glaze the chocolate half first, let it set completely, and then ice the vanilla half. It's the less messy way.
- How to store these cookies: keep them in tins or other airtight containers, in single layers separated by parchment paper so the icing doesn't crush. They last for a week.
- Freezing the cookie dough: make a flat disc, wrap it well in plastic and then foil, or place it in an airtight sealed bag and freeze for up to a month. Transfer to the fridge the day before you plan to bake them to thaw slowly and remain cold.
Related recipes you might like:
As an Amazon Associate, I earn from qualifying purchases. Read my disclosure policy.
Black and White Cookies
Ingredients
For the cookies:
- ½ cup unsalted butter, at room temperature
- ¾ cup sugar
- 2 large eggs, at room temperature
- 2 ½ cups all-purpose flour
- 2 tablespoons cornstarch
- ¼ teaspoon baking powder
- ¼ teaspoon salt
- ¾ cup milk
- 1 teaspoon vanilla extract
For the white glaze:
- 1 cup powdered sugar
- 2 tablespoons hot water, or milk
- 1 teaspoon light corn syrup
For the chocolate glaze:
- 1 cup confectioners' sugar
- 2 tablespoons hot water, or milk
- 1 teaspoon light corn syrup
- 3 tablespoons cocoa powder, unsweetened
- pinch salt
Instructions
For the cookies:
- Preheat oven to 350ºF (180ºC). Butter or line with parchment paper 2 cookie sheets.
- In a large bowl, beat ½ cup unsalted butter and ¾ cup sugar until creamy, 1 or 2 minutes.
- Add 2 large eggs, half of the milk and 1 teaspoon vanilla extract and mix until combined.
- Add the sifted dry ingredients: 2 ½ cups all-purpose flour, 2 tablespoons cornstarch, ¼ teaspoon baking powder and ¼ teaspoon salt.
- Mix a bit and then add some or all of the rest of the milk until you have a dough that can hold and be scooped. Sometimes I don't use the full amount of milk.
- Drop teaspoonfuls or small scoops of dough a few inches apart onto the baking sheets, and lightly flatten the tips with damp fingers.
- Bake for 12-15 minutes, depending on the size, but check for doneness after 10 minutes. They should've risen slightly and start to barely color on the edges. Let cool completely on wire racks before glazing.
For the white glaze:
- Mix 1 cup powdered sugar, 2 tablespoons hot water 1 teaspoon light corn syrup until smooth.
For the chocolate glaze:
- Mix 1 cup confectioners' sugar, 2 tablespoons hot water, 1 teaspoon light corn syrup, 3 tablespoons cocoa powder and pinch salt in a medium bowl until creamy and smooth.
To assemble the cookies:
- Glaze each half cookie with one of the glazes, spreading it with the back of a spoon or a small spatula. I recommend starting with chocolate. Let it dry completely.
- Glaze the other half with the vanilla glazing mixture, and let it dry completely before eating.
Donna Hoglund says
On step 5 of the recipe, you have to add dry ingredients. Listed is 1 cup of powdered sugar. Should that be the 2 1/2c. flour instead?
Paula Montenegro says
Hi Donna, yes it's flour. There was a glitch in the recipe card instructions, which is corrected now. Thanks for the heads up!
Angie@Angie's Recipes says
They look so tempting with white and black glazes!