

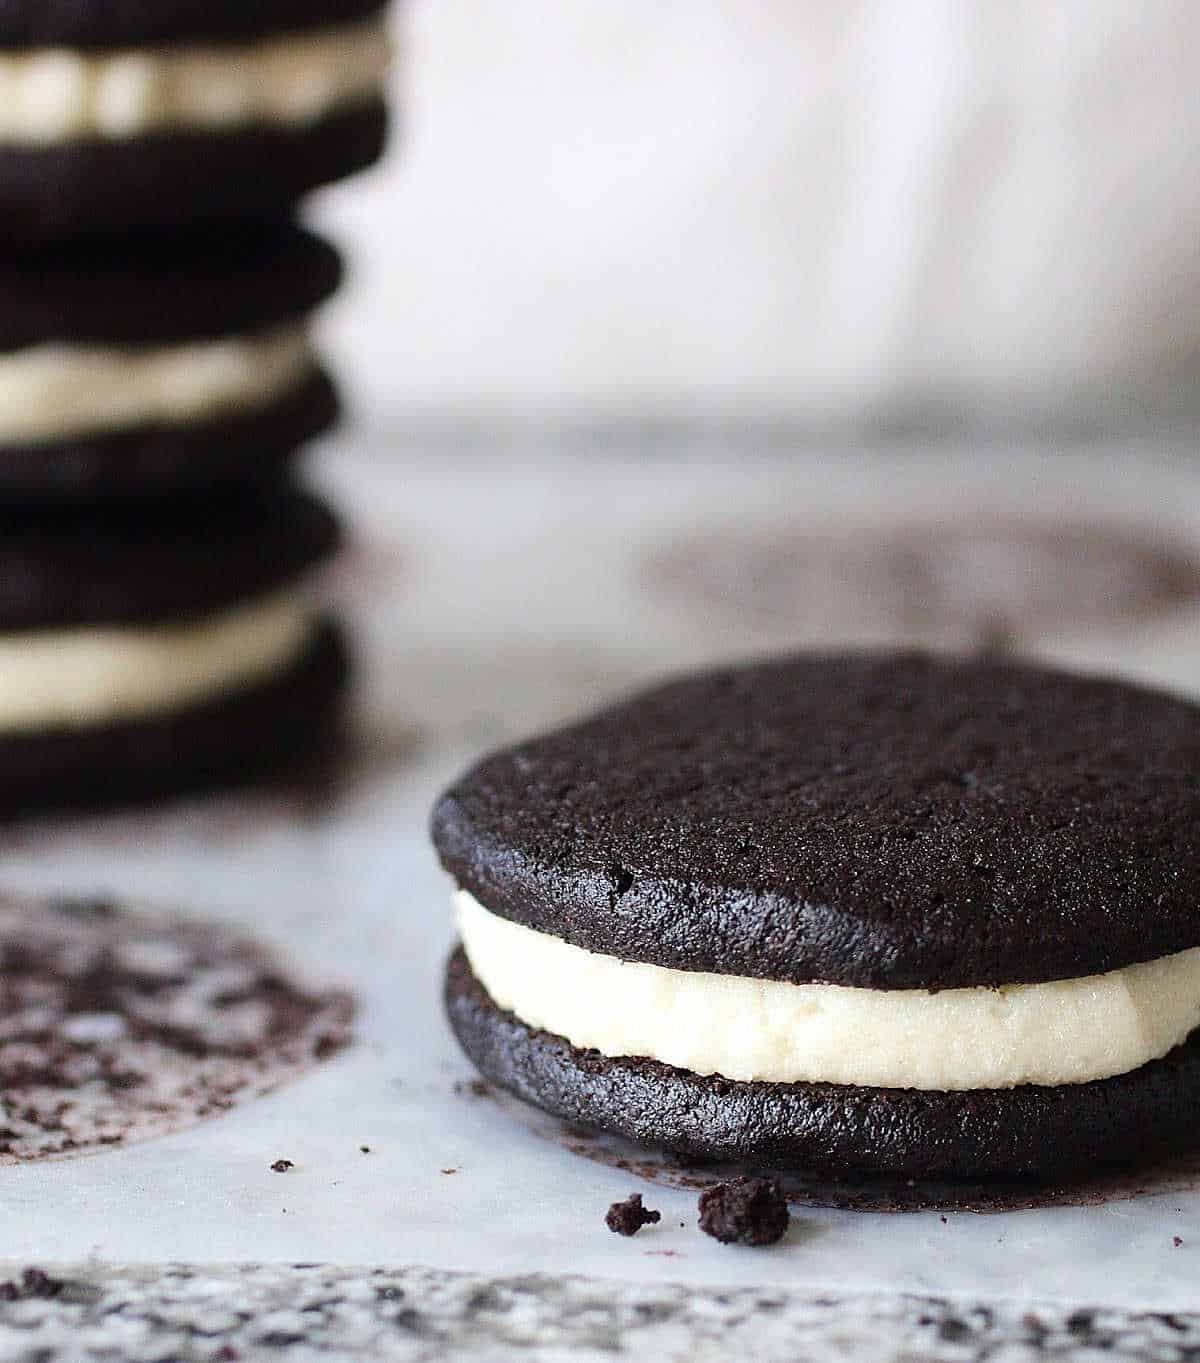
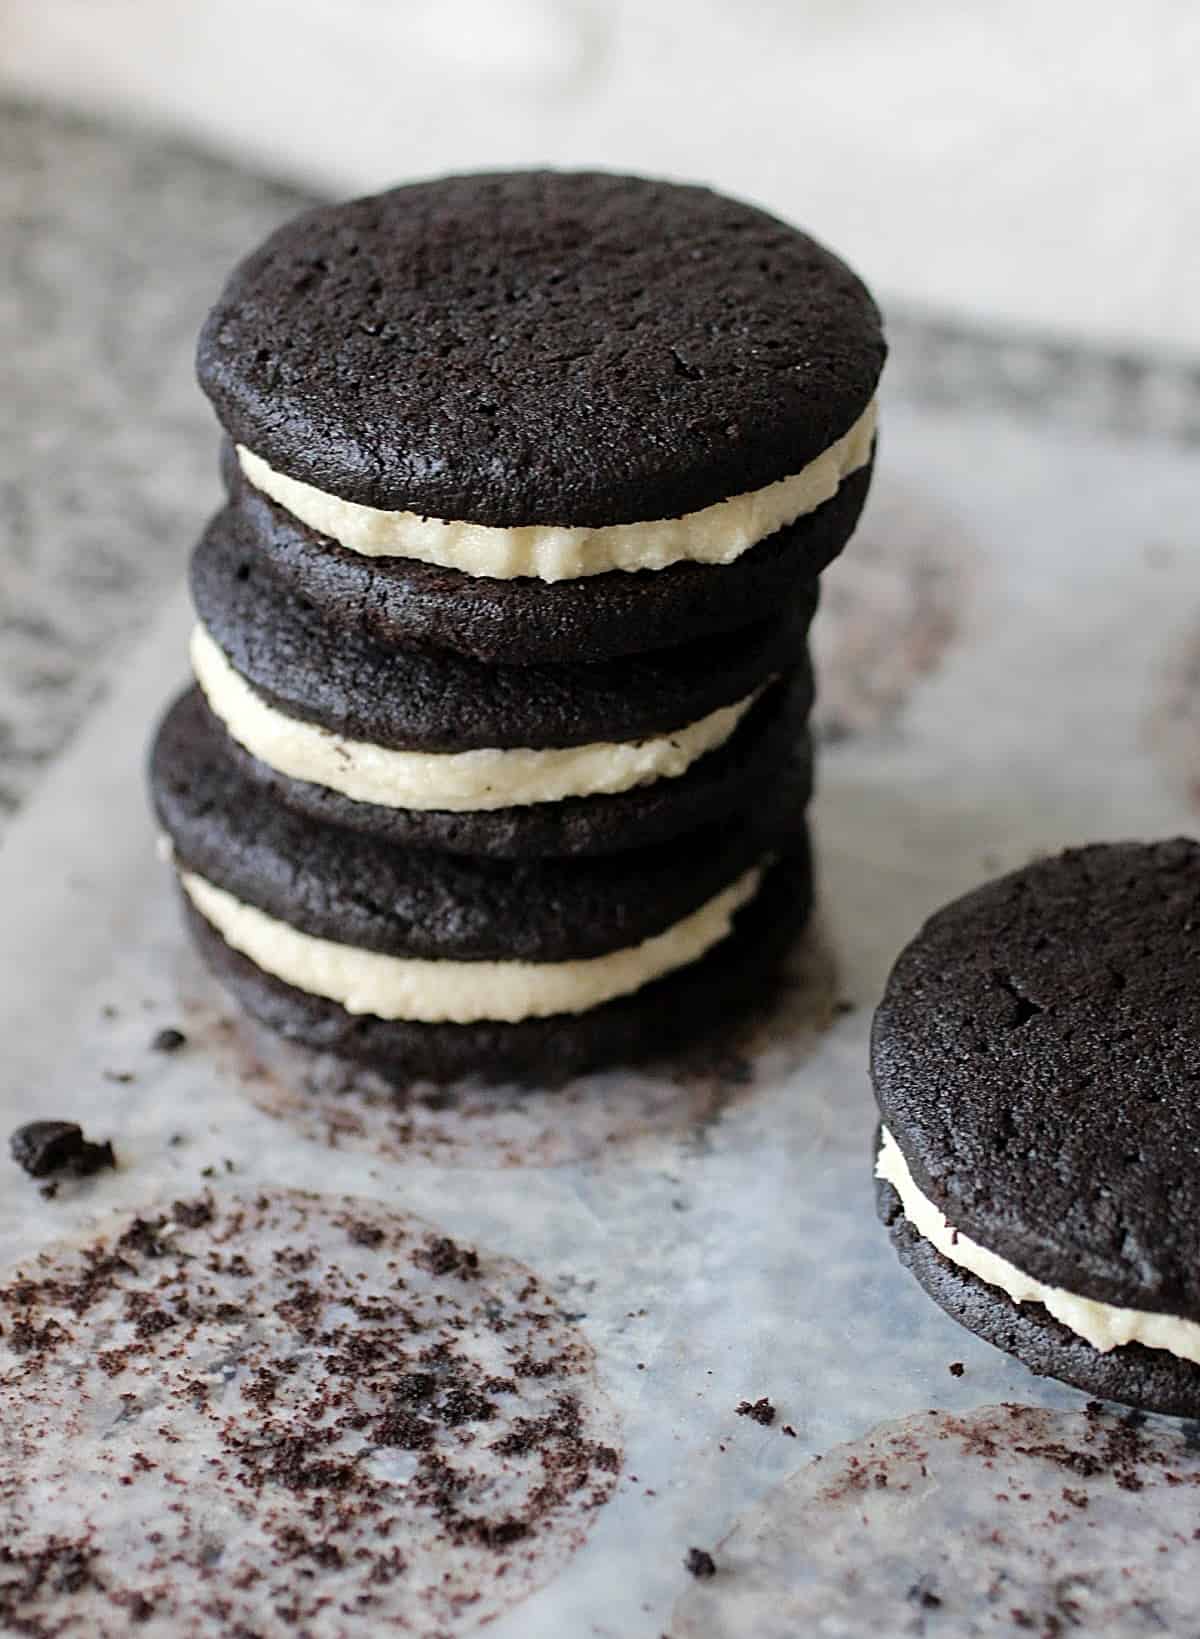
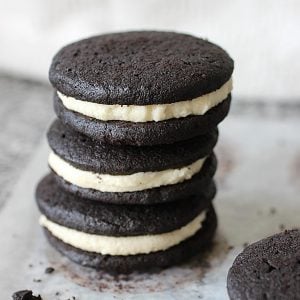
How do you feel about making Oreo cookies at home? Make them as thin or thick as you want, and fill them with all the vanilla frosting you want. If you are not a fan of double-stuffed Oreos, I give you the best tip for making a thinner and firmer filling. Close your eyes and taste that unique flavor, similar to the original, and probably healthier as we know what ingredients go into making them.

SAVE THIS RECIPE
A great recipe from a favorite bakery
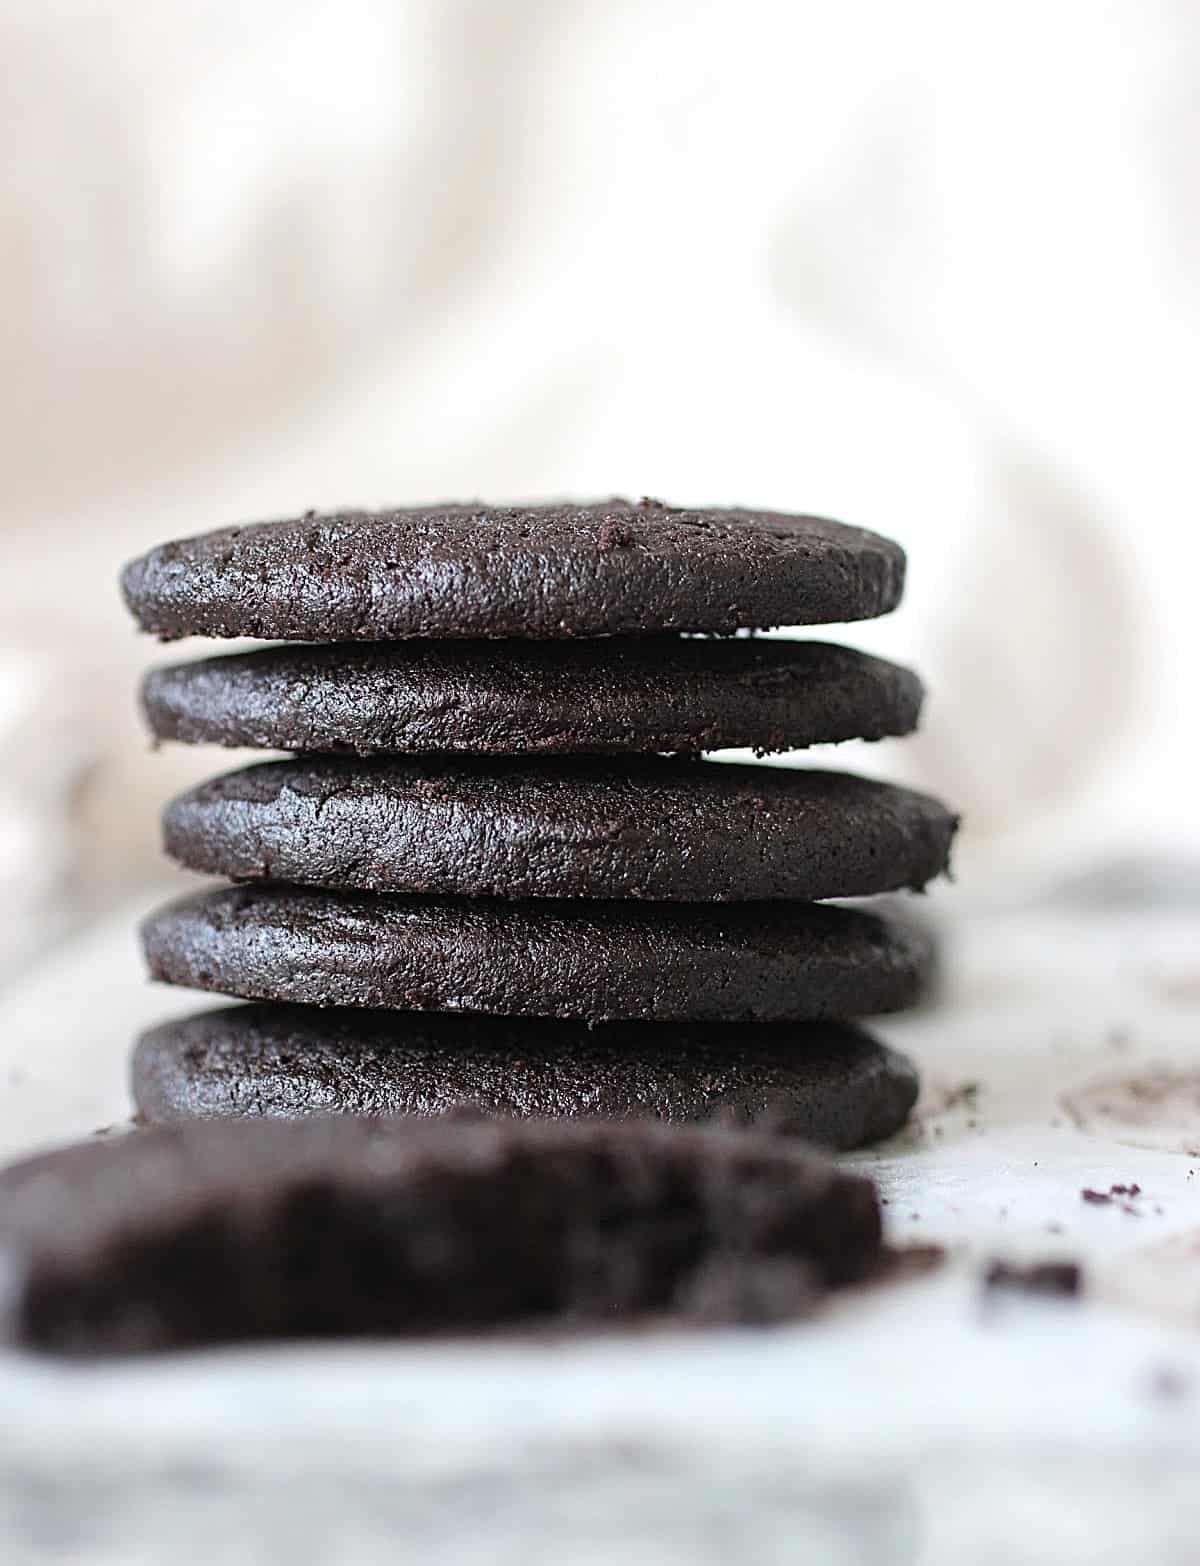
I've given these chocolate cookies to friends, taken them to the office (several times), and not only are they always a hit (that's a no-brainer), but people ask if they're Oreos.
They are, but we all know how homemade versions of commercial cookies are not always on point.
Well, this recipe is.
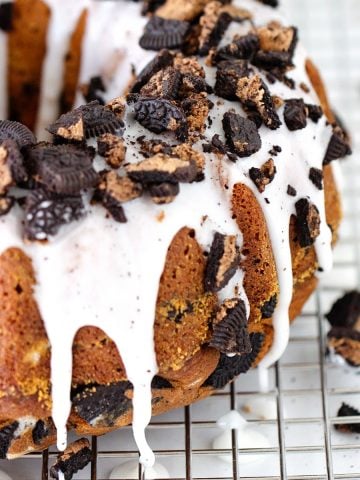
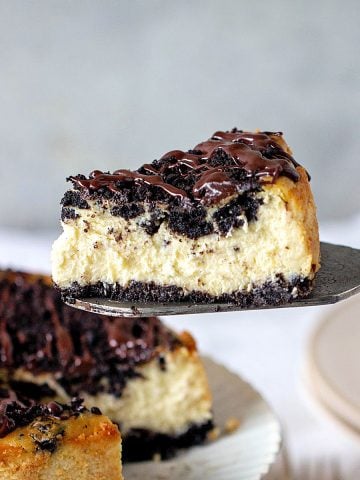
And the cookies without filling can be used for the crumb crust of our phenomenal Oreo cheesecake recipe. Just saying. Or for the white chocolate ghosts or spiders with Oreo cookies for Halloween.
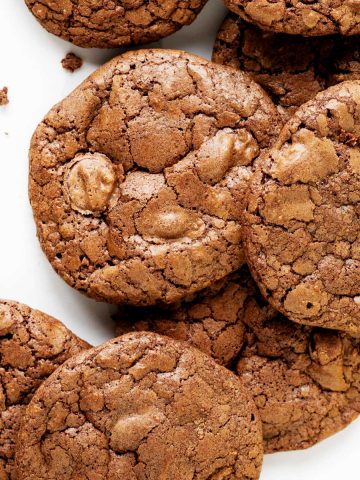
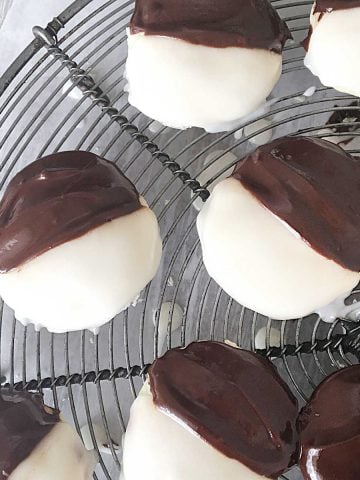
Or follow the coating instructions for these chocolate-dipped Oreos but with homemade ones.
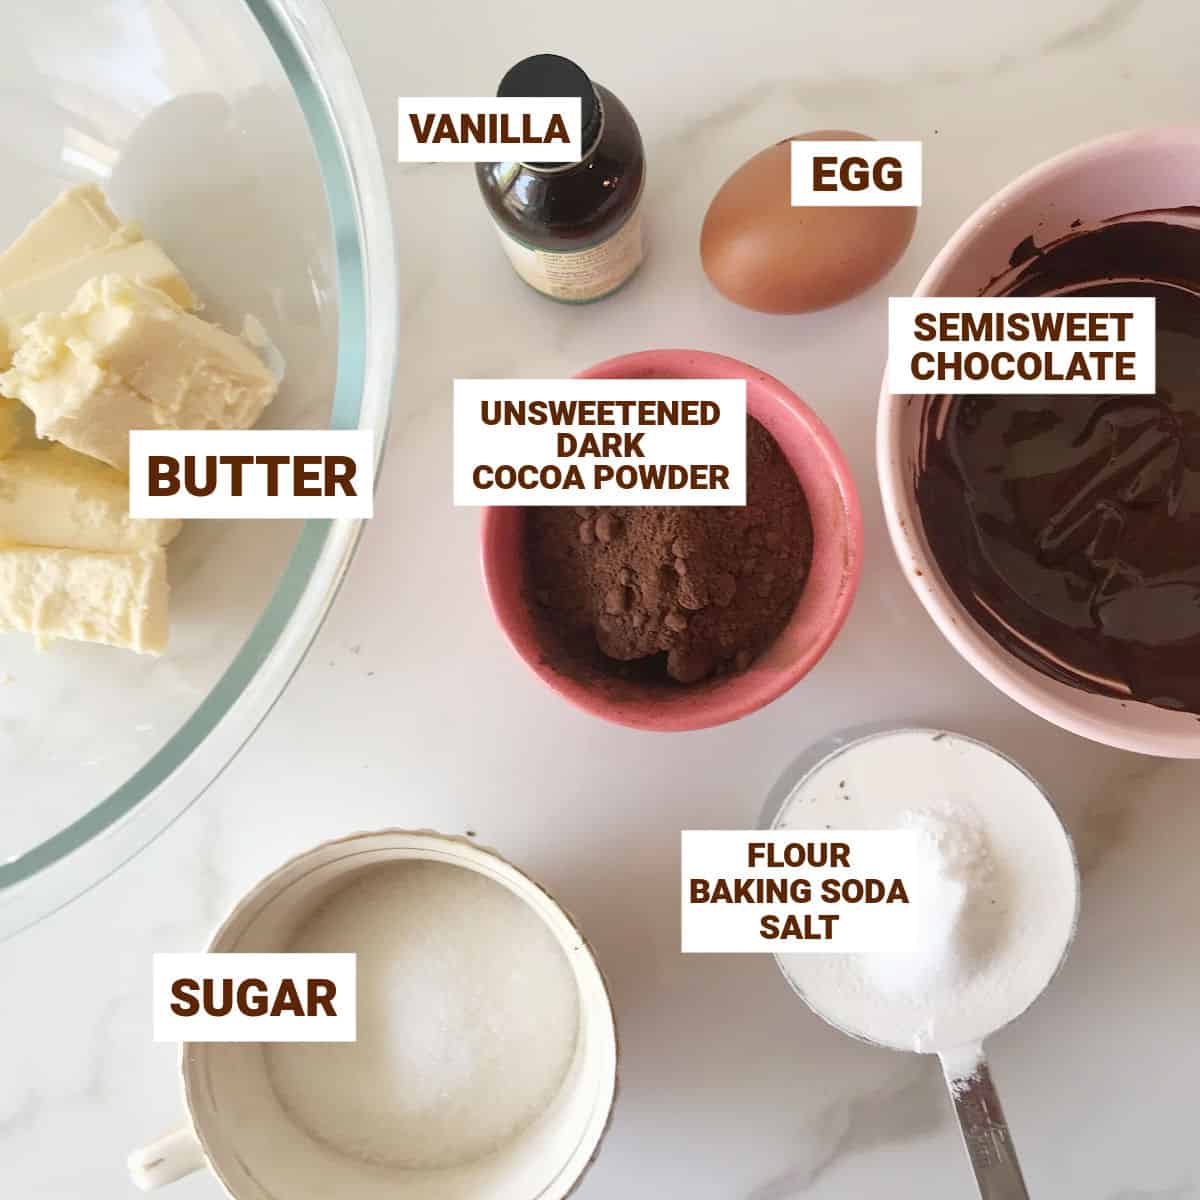
Ingredient list
- Cocoa powder: to get the deep color of these cookies, you need unsweetened black cocoa powder, not the regular one.
- Chocolate: use your favorite dark semisweet chocolate for this recipe.
- Unsalted butter.
- White, granulated sugar.
- Egg: fresh.
- All-purpose flour.
- Baking soda: make sure it's not expired.
- Vanilla extract.
Quantities are listed on the recipe card towards the end of this post. The Ingredients page has more details and lists the brands we use.
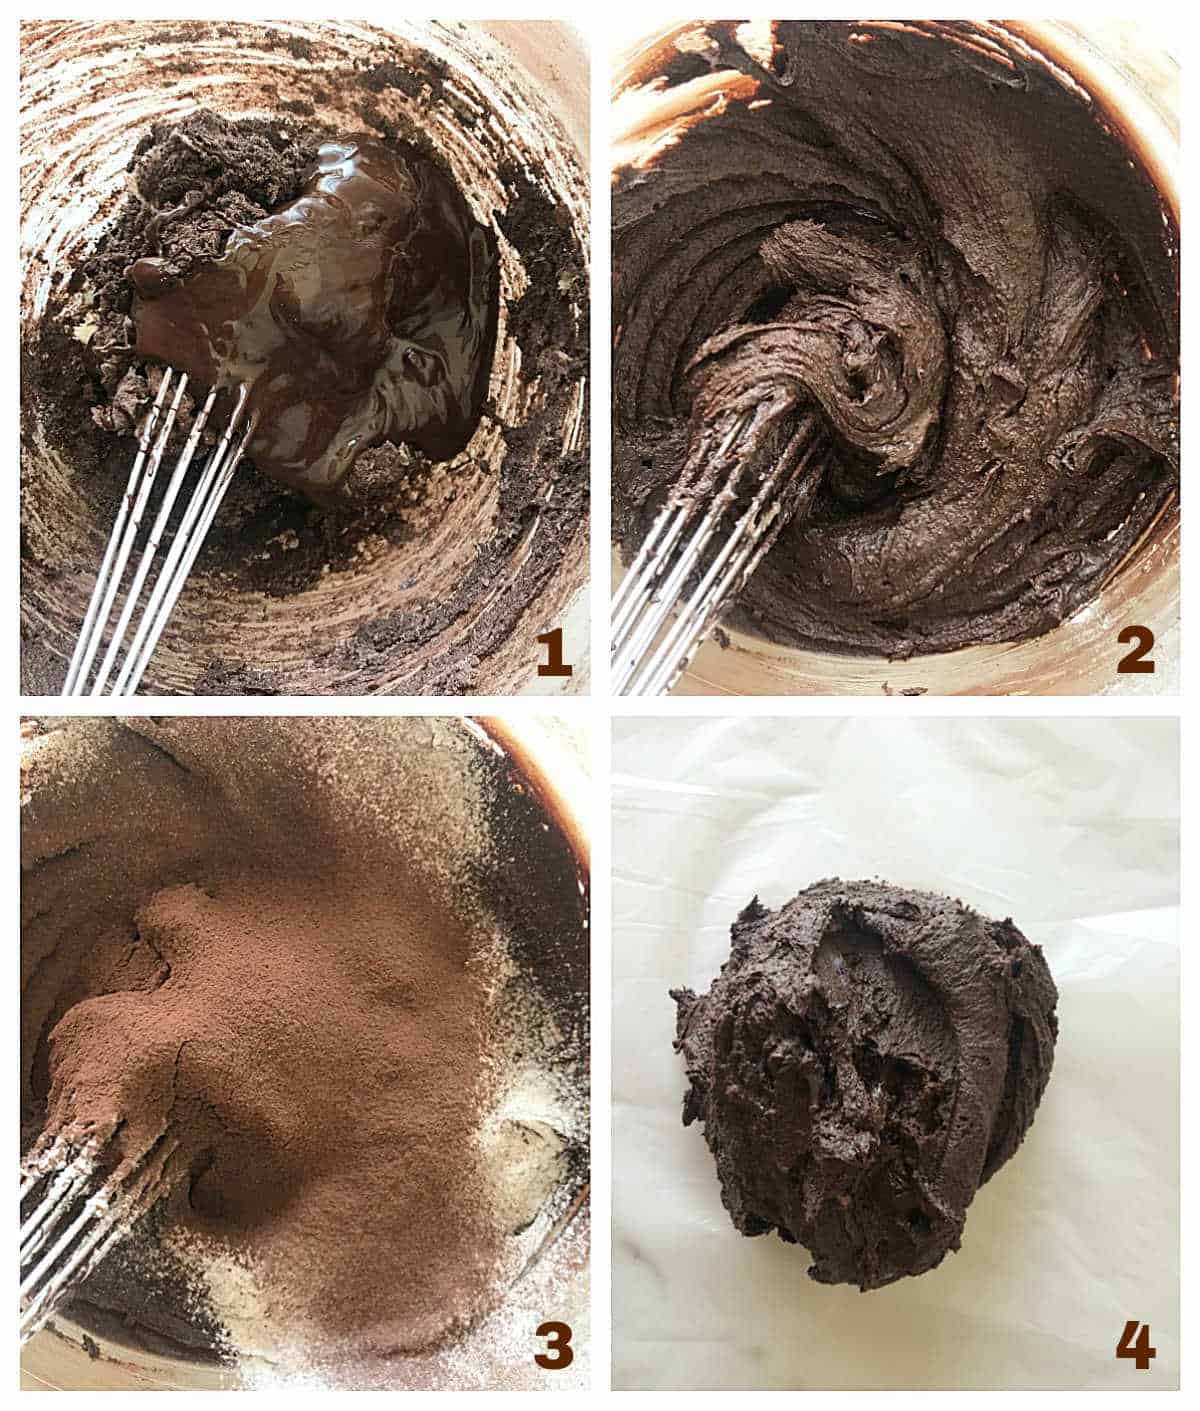
How to make homemade Oreos
- Mix butter with sugar, then add the egg.
- Add the melted chocolate. I do it in two parts to ensure it's well mixed (images 1 and 2, below).
- Sift the dry ingredients over the butter mixture (image 3) to ensure a smooth and faster mixing. This is a good tip because we don't want to overmix a batter or dough once the flour is added.
- The batter will be soft and look somewhat grainy (image 4).
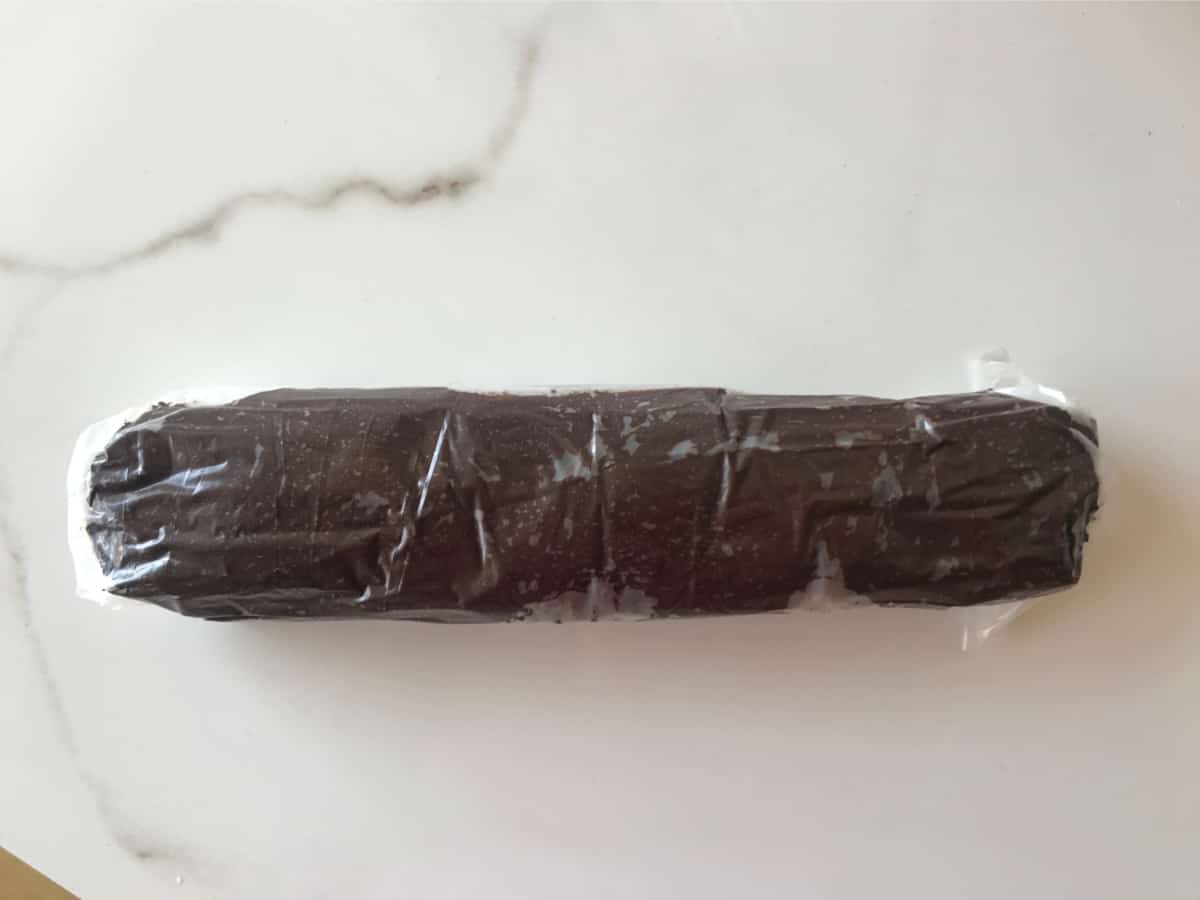
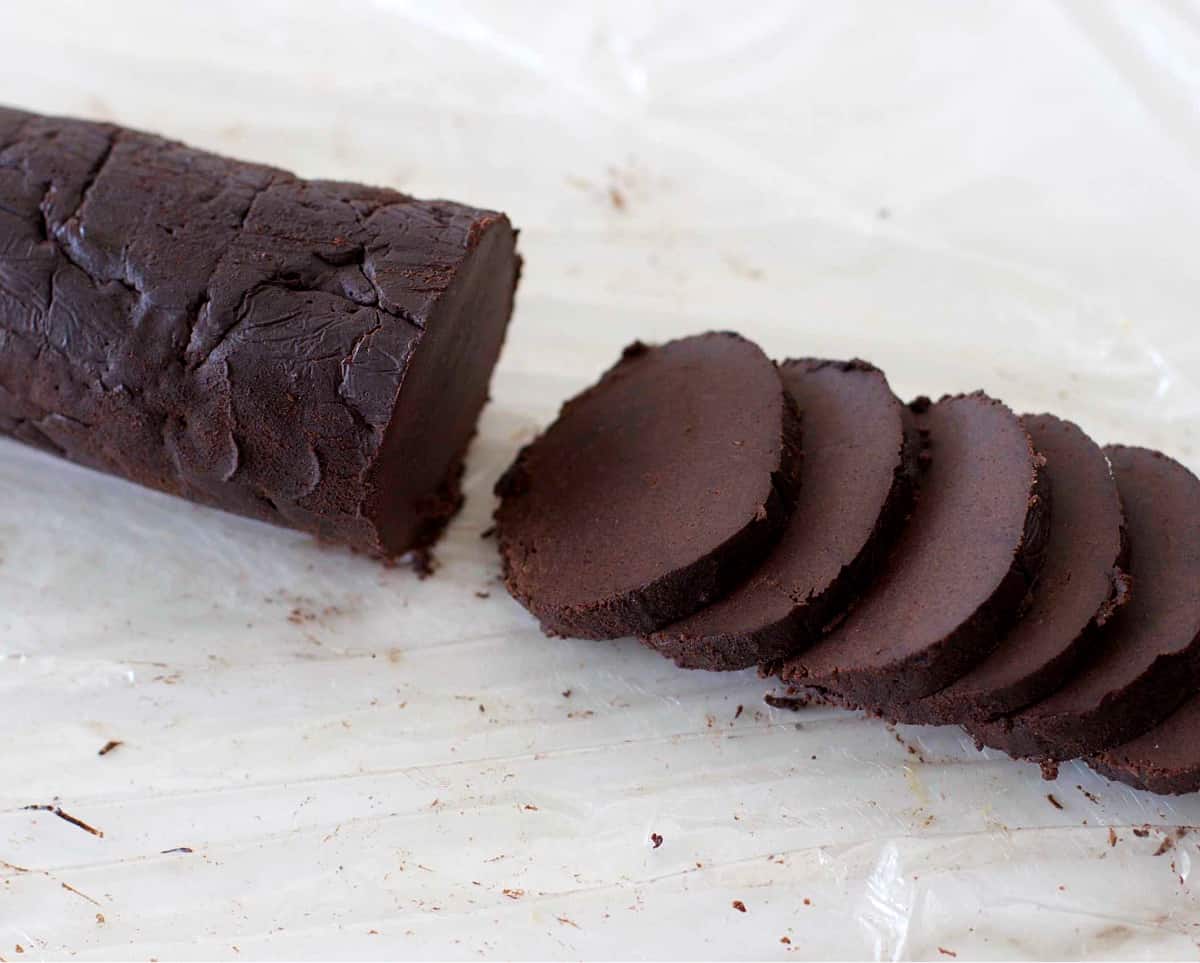
Make a log by dumping the chocolate mixture on a piece of plastic wrap, shaping, and then wrapping it in the plastic until it's as tight as can be. You might want to prick the plastic once or twice to release any trapped air. It will be somewhat irregular (image below).
At this point, it needs to be refrigerated until firm enough to cut. It can also be frozen up to a month.
Commercial Oreo cookies are round and have a pattern.
The easiest way is to round them but let go of the pattern. That's what I do because, you know, I love simplicity.
You can buy cookie stamps online if that's your thing. There might be some with the Oreo inscription probably.
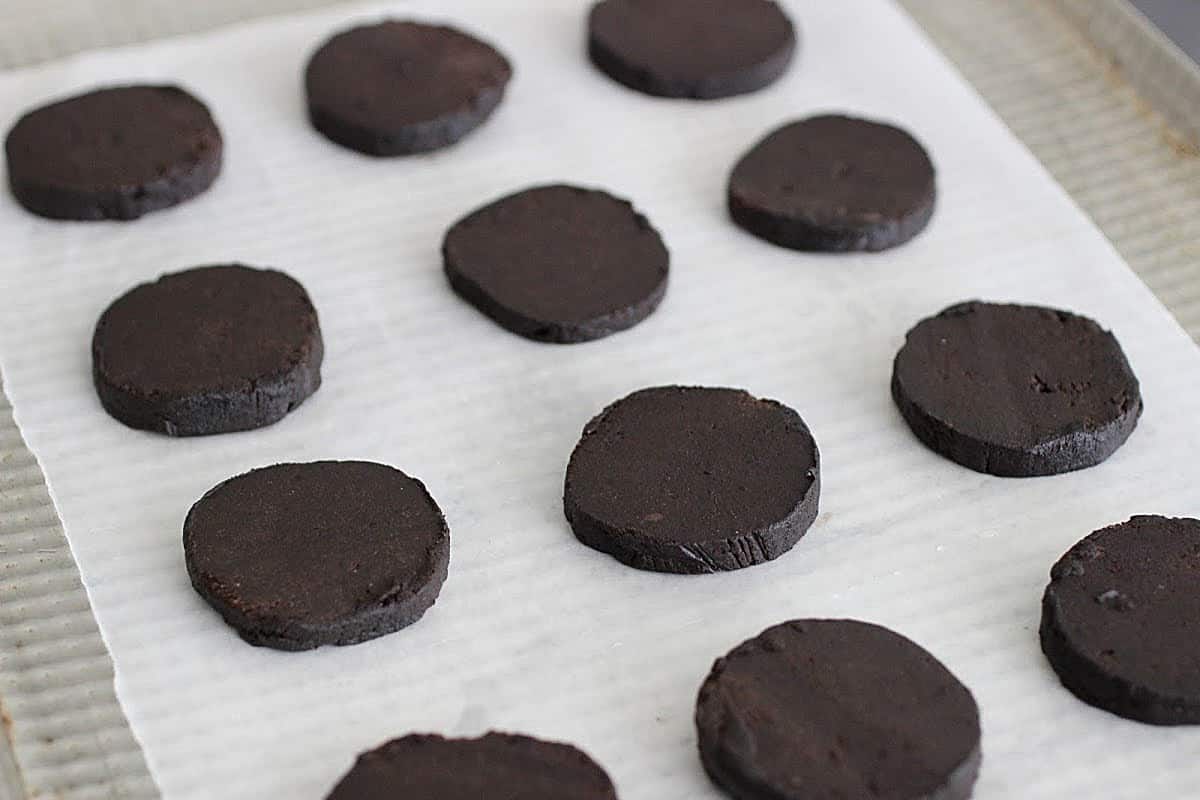
When ready to bake, cut the log into rounds, about ¼ inch thick, or less, if you want thinner cookies.
Recommendation for perfect circles: after cutting the rounds shape them again with your hand, making them as perfect a circle as possible. Because when the log rests in the fridge or the freezer the bottom part flattens a bit.
Baking
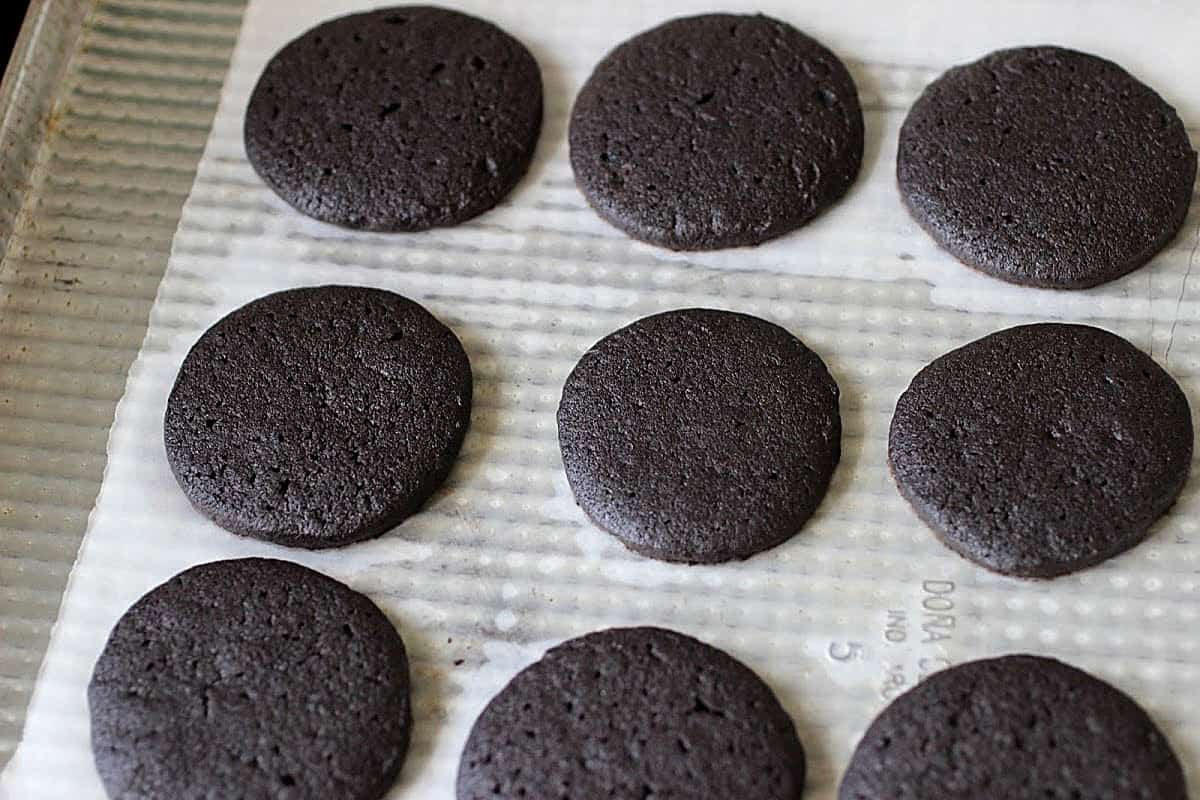
When baking cookies we have to keep an eye on them as a minute or two can make a difference in texture and crunchiness.
This can be tricky because the cocoa powder is very dark but will go from shiny wet to matte.
Always remember to leave space between them as they spread during baking.
Vintage Kitchen tip: do a test run and bake a few and see how long it takes to get the result you want. Cookie sizes and ovens and a minute or two of extra baking time can make a big difference.
The filling
Here, there are a few debates about how it should be. Some use white chocolate as part of it; some don't. Some fillings are fluffier than others. And so on.
After trying several recipes, I still lean towards the easy filling, a simple vanilla buttercream with powdered sugar. It works so well, and it comes together so fast!
The amount of filling and size of the sandwich cookies is up to you.
Browning the butter
But, there's a way to better the consistency of a simple filling - make it firmer so it doesn't overflow when you bite into your gorgeous homemade Oreos - and that is by using brown butter instead of regular butter.
Brown butter is simply cooked butter and what happens is that the water is evaporated (yes, butter has water, sometimes a lot!). So, what happens to the filling when you add it? Since there is less liquid the filling has a more solid structure and firms up once it dries.
The downside is that brown butter is called that way because it turns golden, so your filling will not be as white as regular butter.
You can read all about brown butter in this post. There are photos of how to make it and, of course, a detailed recipe.

Storing
- Individual cookies (no filling) can be stored in airtight tins for weeks (or months!).
- Filled cookies: they keep for a few days in the same container. Remember that the filling will transfer some humidity to the cookies and soften them as the days pass.
- Cookie dough: keep it in the freezer for at least a month. Baked cookies as well.
Related recipes you might like:
As an Amazon Associate, I earn from qualifying purchases. Read my disclosure policy.
This adapted recipe hails from the Flour cookbook, the popular bakery. No wonder it's so good.
Homemade Oreo Cookies
Ingredients
For the cookies:
- 1 cup butter, melted and lukewarm
- ¾ cup sugar
- 1 teaspoon vanilla extract
- 7 ounces semisweet chocolate, melted and lukewarm
- 1 egg, room temperature
- 1 ½ cups all-purpose flour
- ¾ cup cocoa powder
- 1 teaspoon salt
- ½ teaspoon baking soda
For the filling:
- ½ cup butter, room temperature
- 1 ⅔ cups powdered sugar
- 1 teaspoon vanilla extract
- 1 tablespoon milk
- Pinch of salt
Instructions
For the cookies:
- Beat 1 cup butter and ¾ cup sugar in a large bowl until very well mixed.
- Add 1 teaspoon vanilla extract and 7 ounces semisweet chocolate in 2 parts. Mix well.
- Add 1 egg and mix until well incorporated.
- Sift over this mixture (or do it in a different bowl and then add) the 1 ½ cups all-purpose flour, ¾ cup cocoa powder, 1 teaspoon salt and ½ teaspoon baking soda. Do it in 2 parts for easier mixing. Make sure it's very well mixed, leaving no dry spots.
- Have a large piece of plastic wrap on the counter.
- Place half of the batter in the form of a shaggy log lengthwise, and roll the plastic (as you would cinnamon rolls) making a cylinder with the cookie dough. It will feel bloated so lightly pierce the plastic wrap in a few places to release air bubbles. The tighter the better. The ends of the plastic will be rolled; tuck them underneath.
- Repite with the rest of the dough.
- Refrigerate the logs until firm enough to cut, about 1 hour and up to 1 week (or frozen 1 month). Place them in a smooth place in the fridge so that they keep their round shape as much as they can.
- Preheat oven to 325ºF (165°C).
- Line baking sheets with parchment paper,
- Cut the logs into rounds about ¼ inch thick.
- Re-shape them again with your hand to create the best circular shape you can and arrange on the sheets an inch or two apart.
- Bake for 15 to 20 minutes, until they are somewhat firm to the touch.
- Let cool completely on a wire rack before filling. Let the filling harden or set before eating.
For the filling:
- Mix ½ cup butter, 1 ⅔ cups powdered sugar, 1 teaspoon vanilla extract, 1 tablespoon milkPinch of salt in a large bowl until creamy and smooth.
- Add more sugar if you want a firmer filling. The amounts of powdered sugar and butter may need to be adjusted depending on the brands.
- Refrigerate until ready to use.
mj says
I'm definitely gonna try this. How can I adjust the recipe if I want to have golden cookies with no chocolate?
Paula Montenegro says
Hi MJ, I can't give you a definite answer as I never tried making homemade golden Oreos and this recipe has several ingredients that need to be substituted in order to transform it into a vanilla cookie.
Amy Quigley says
Best recipe ever and so easy to follow!
Nicole says
Would you use regular cocoa powder, Dutch process, or dark cocoa powder?
Paula Montenegro says
Hi Nicole, dark cocoa powder so you get the black color in the cookies.
Holly says
FINALLY an Oreo recipe that lives up to its promise! It has everything that I love about Oreos: a wonderfully bittersweet chocolate flavor with a hint of salt.
Delicious. This was a hit with the whole family.
Paula Montenegro says
I'm SO happy to read you all loved it so much! Thanks for the comment, it makes it all worthwhile.
R Lee says
I made these today and they turned out great. After I shaped the dough into a log I pushed it into a paper towel roll and then froze it. Then when I was ready to make the cookies, I took it out of the freezer removed the paper towel roll and just cut the cookies. They seem like they are the right size. I got 36 cookies.I’ll definitely make again. Thank you for posting!
Paula Montenegro says
Happy to hear they turned out well! The paper towel roll is a fantastic idea!
Joan says
In reading your comments about the recipe, you stated that you get a flat spot on your rounds of dough when storing in the fridge. Solution- I simply cut paper towel tubes in half lengthwise, wrap my dough rounds in plastic wrap and slip them into the cut paper towel tube. No more flat bottoms!
Paula Montenegro says
Great tip Joan! Thanks, I will add it to the Notes. Have a great day!
Denise says
This recipe sounds so easy! I cannot wait to try my hand at baking these. I have a feeling they would be a lovely treat for my god-daughter!
Paula Montenegro says
Thanks Denise!