



I make a lot of homemade pumpkin puree every single year, since the canned stuff is not easily available where I live. This is a basic recipe to make pumpkin puree that works with most pie pumpkins and butternut squash. There's little hands-on work involved, and the result is fresh and creamy. It keeps for several days refrigerated in an airtight container and can be frozen. Use it just like you would canned pumpkin.
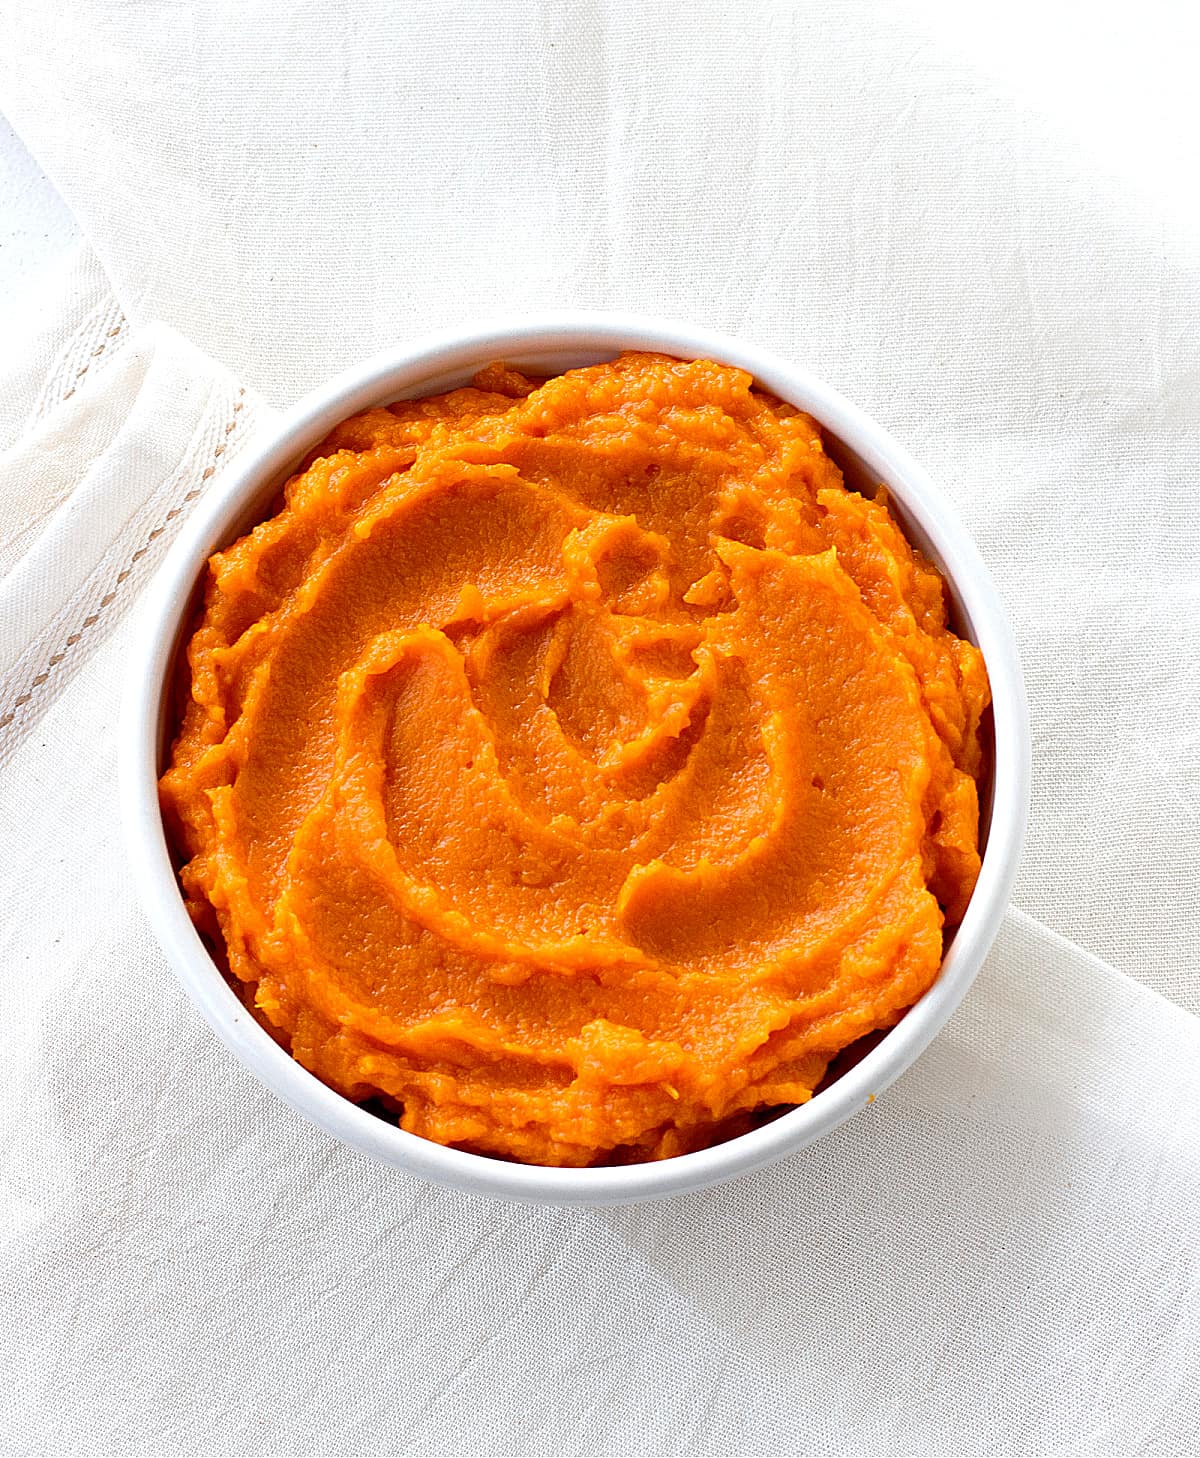
SAVE THIS RECIPE
Easy and versatile
For those who want to use a more natural and fresh pumpkin puree when baking or have a hard time finding canned puree (depending on where you live, it might not be easily available), here is how you can make it at home from scratch.
It takes only 1 ingredient and 3 easy steps: bake, process, and drain.
Pumpkin puree is perfect for making any recipe where you now use canned, from the pumpkin pie with graham crust to a gorgeous, glazed bundt cake with pumpkin, one of the many pumpkin muffins in this blog, and savory dishes like pumpkin gnocchi.
FAQ
They are if you compare plain canned pumpkin with plain puree. That means pumpkin is the only ingredient in both. When you start adding extras (sugar, spices, etc.) they will probably differ in flavor and sometimes texture. Many times canned pumpkin puree is confused with canned pumpkin pie filling, which is already flavored and ready to dump onto the pie crust.
In theory, you can, but in practice, you'll be better off using pie pumpkins, which have a softer, smoother pulp. As opposed to more fibrous ones like spaghetti squash or acorn squash, as the puree will probably never be completely smooth. See below for my choices.
Yes, you can! I use an immersion blender or food processor for a super smooth pumpkin puree. You can also use a potato masher or food mill, but it's a little more laborious.
What pumpkins to use
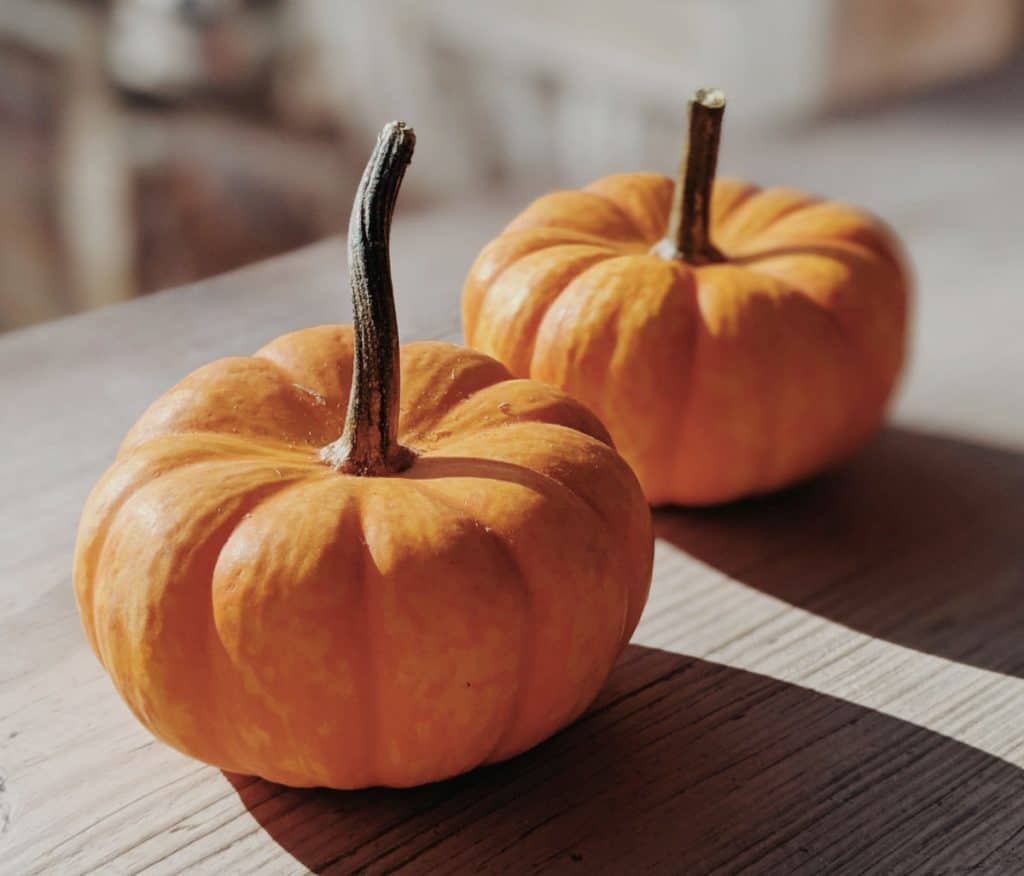
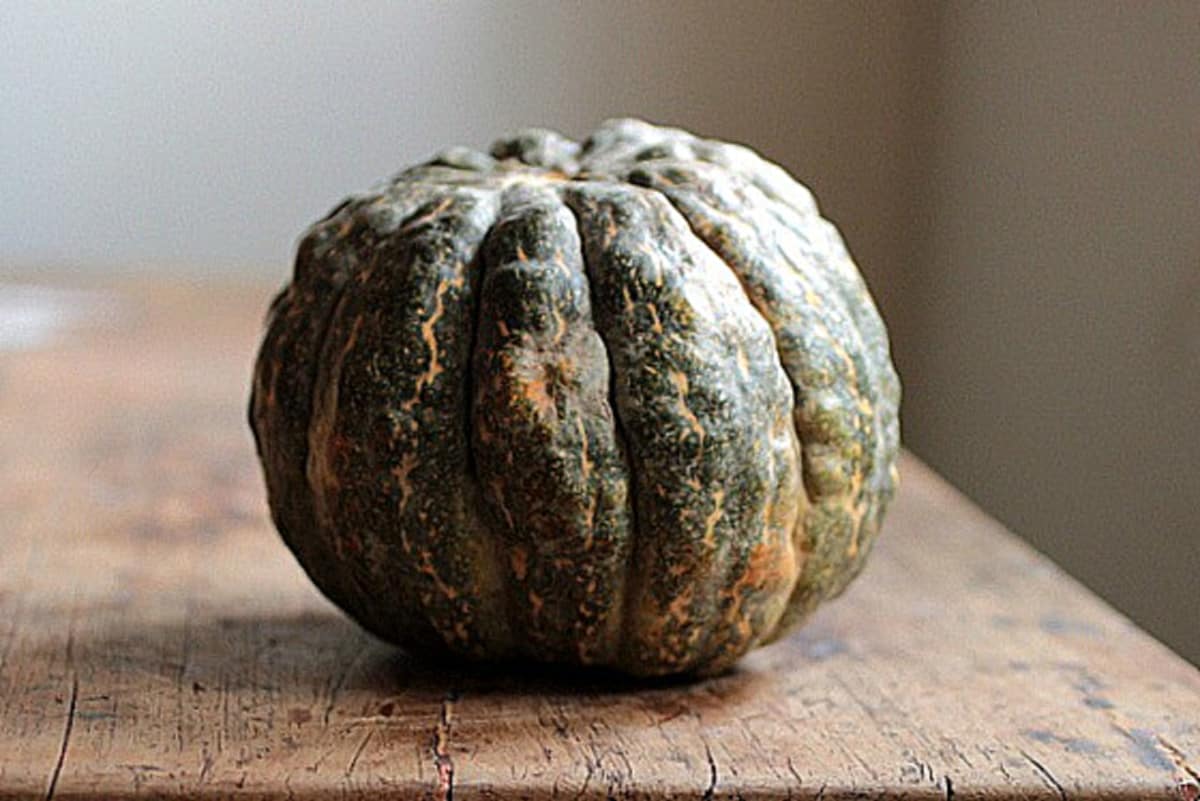
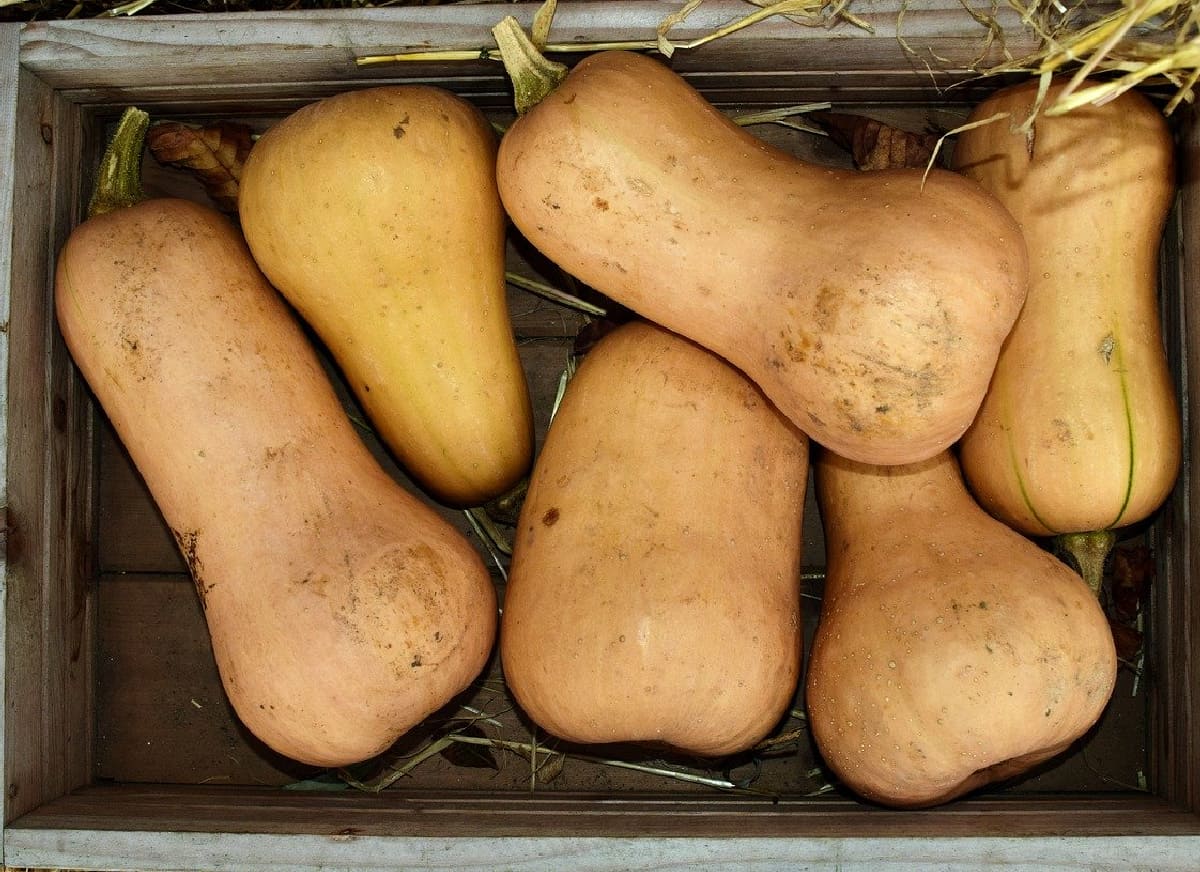
Pumpkins come in different skin colors and sizes.
- I love to use butternut squash, sugar pumpkin (the typical orange one below), or English pumpkin (the green one, which can have different names depending on where you live).
- What pumpkin doesn't work? The ones with a stringy pulp, like spaghetti squash or acorn squash, will not have a smooth consistency after it's pureed.
How to cook the pumpkin or squash
Oven-baked:
Although there are several ways to cook it, I strongly recommend the oven. The flavor is more concentrated, retains the least moisture, and there's practically no hands-on work on your part.
- This doesn't involve any work since all you do is pop it in the oven. Sometimes I use a piece of aluminum foil to line the pan because it's easier to clean afterward, as the juices stay in the paper and not in the pan.
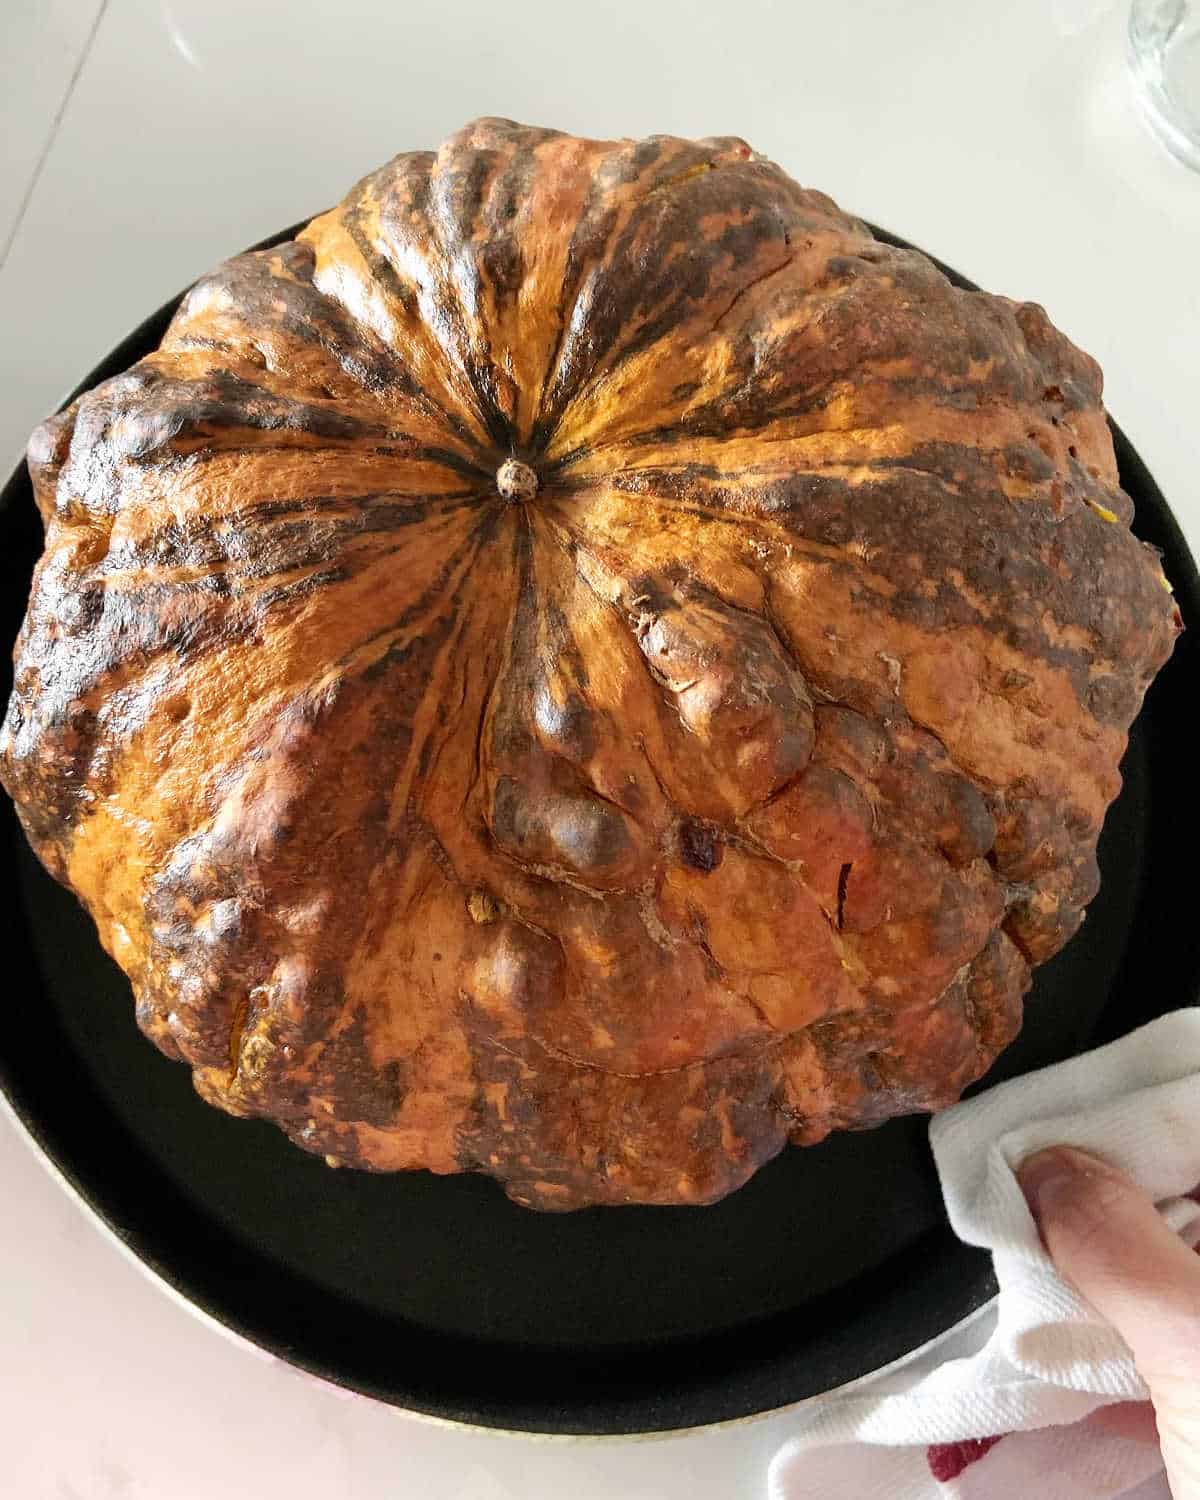
Take the whole butternut squash or pumpkin and roast it until super soft, wrinkled, and a knife easily pierces it. It should be very soft inside. The time varies depending on the size and type, but my experience is at least an hour.
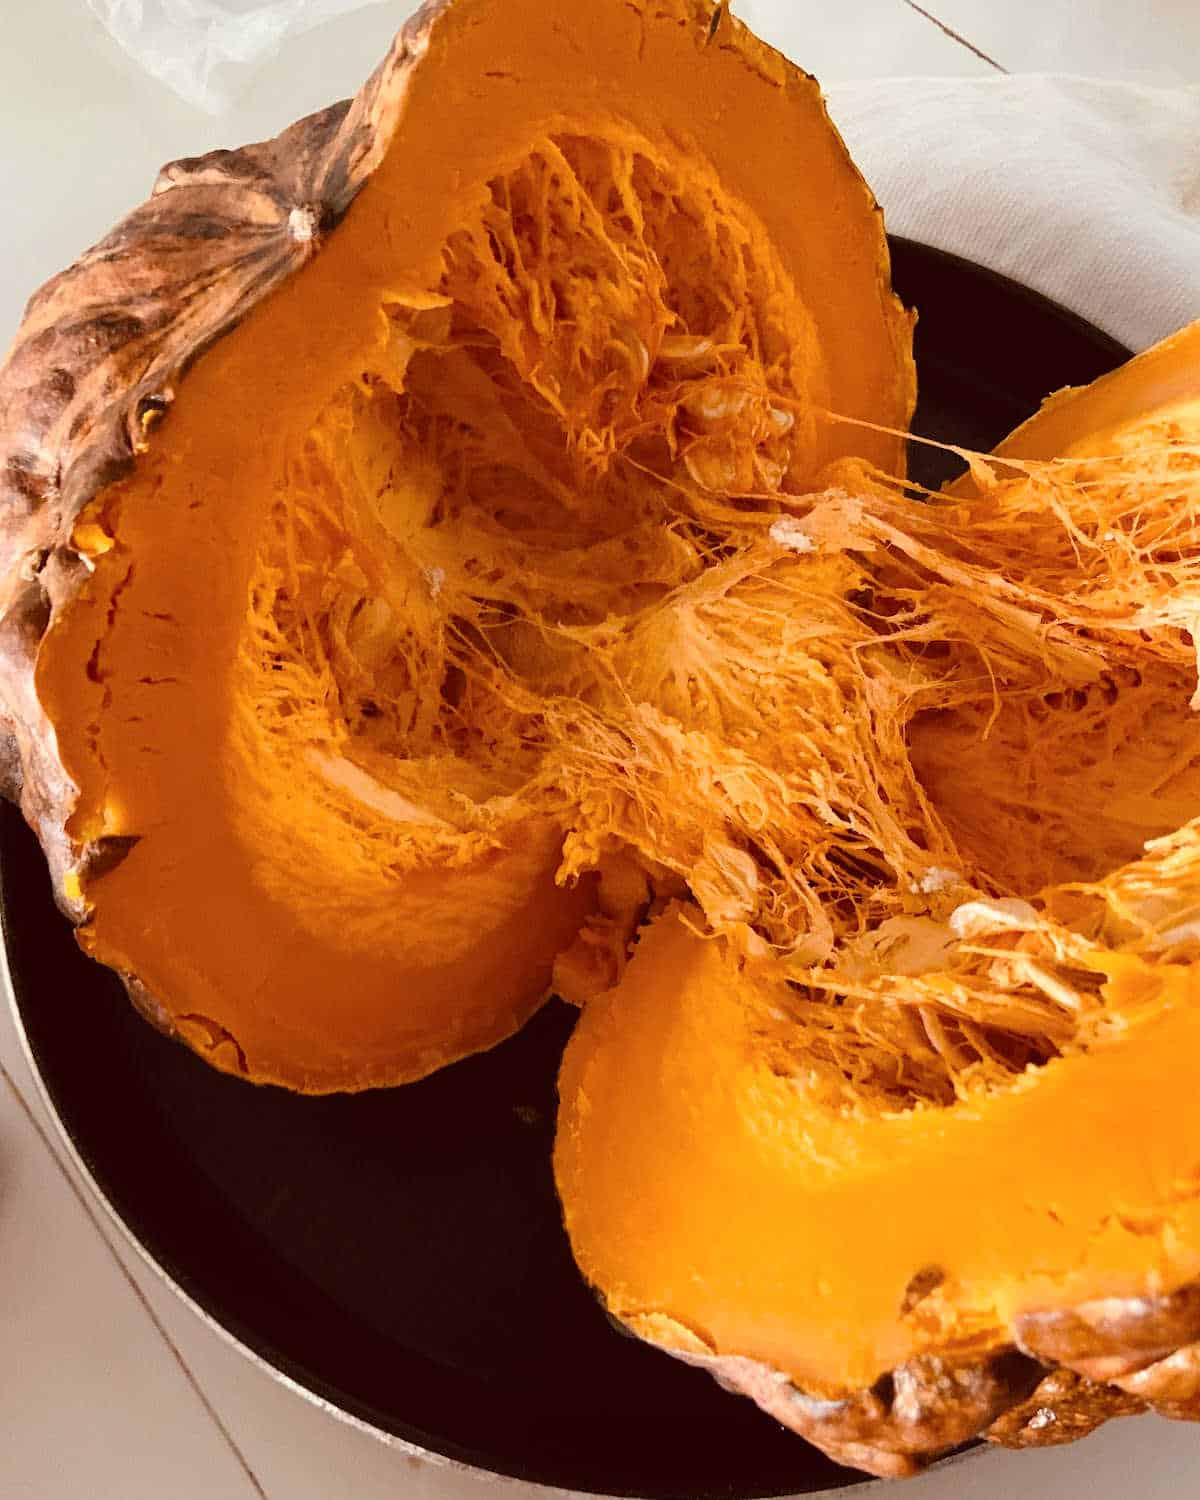
When cooled enough to handle, cut it in half and scoop out the seeds and strings with a spoon.
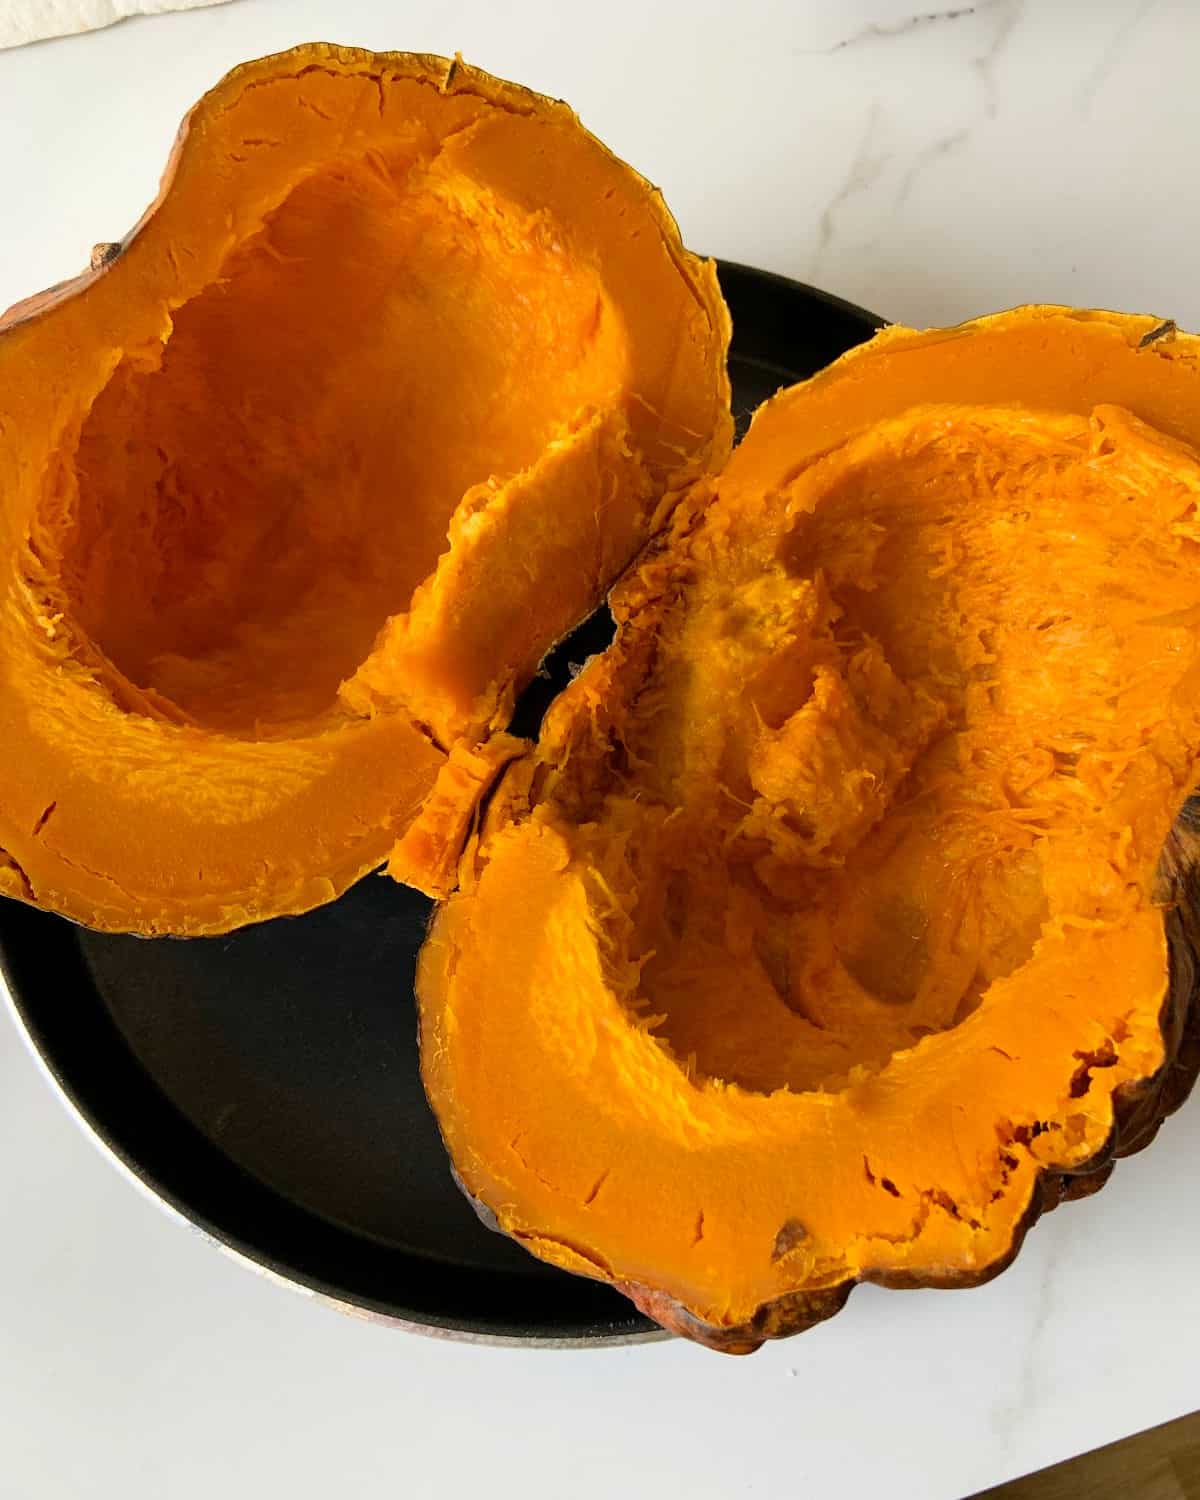
Then scoop the pulp with a spoon and place it in a large bowl if using an immersion blender to puree it.
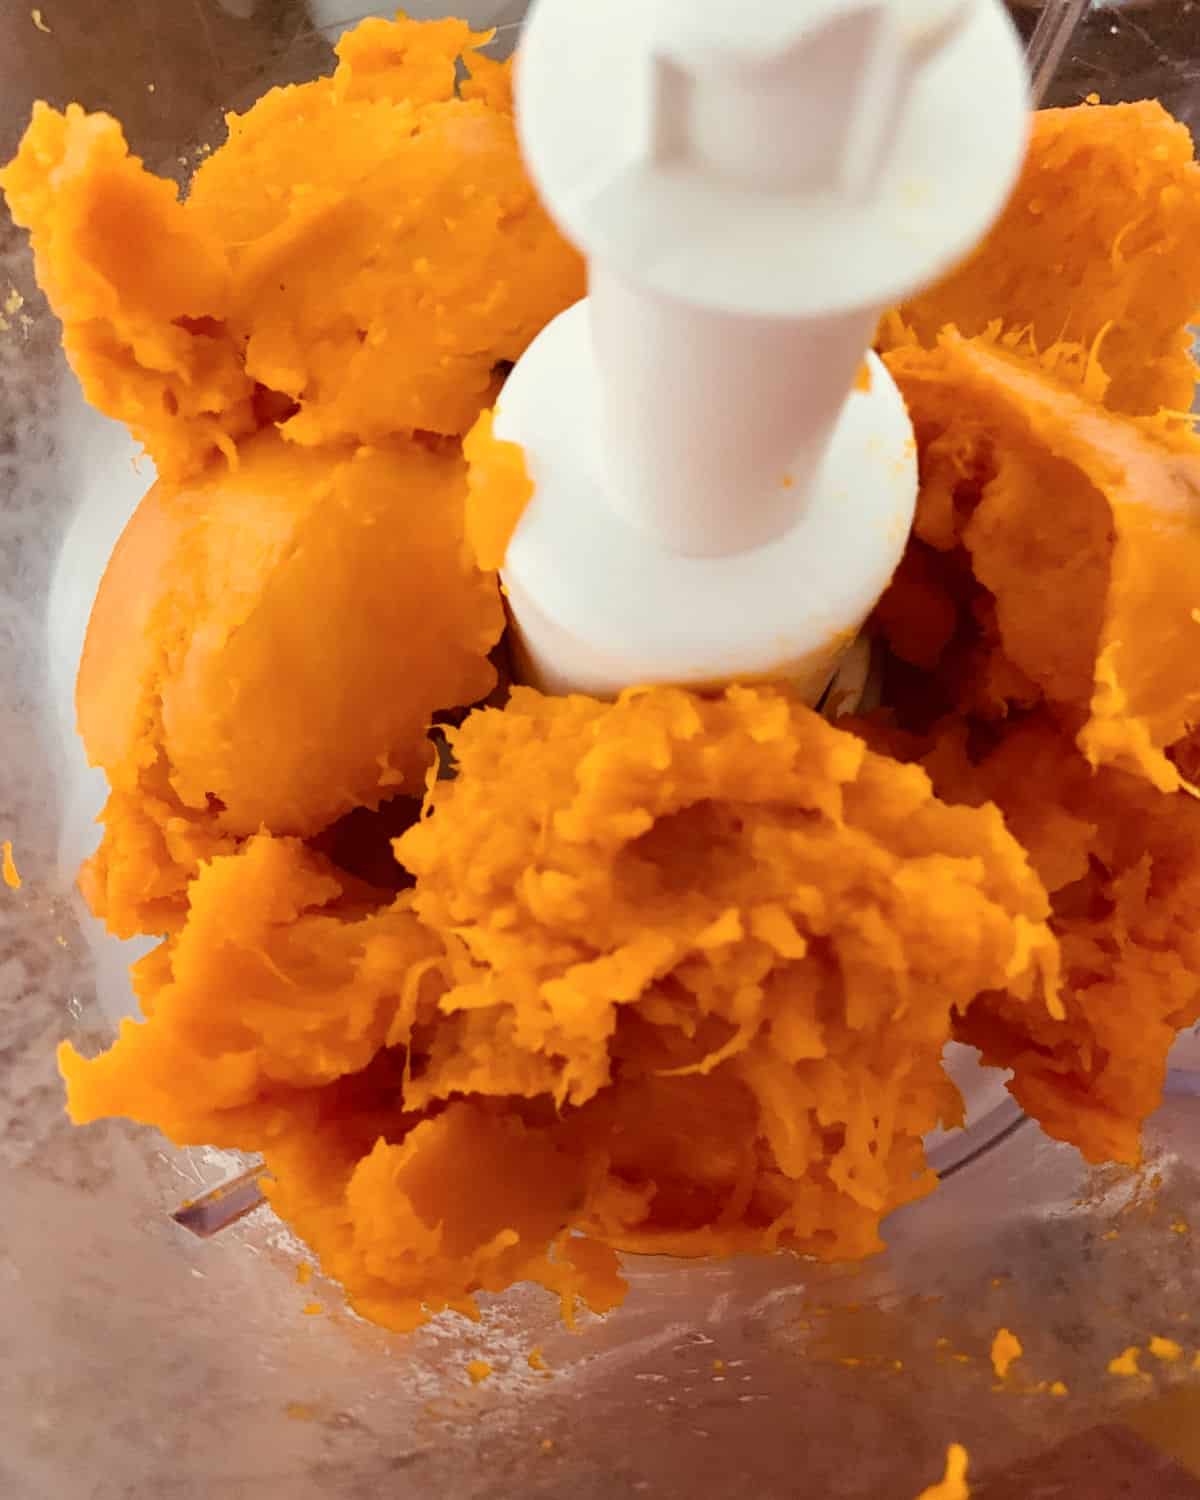
If using a food processor, scoop it directly into its bowl and process until smooth, several minutes, scraping the sides and the bottom once or twice.
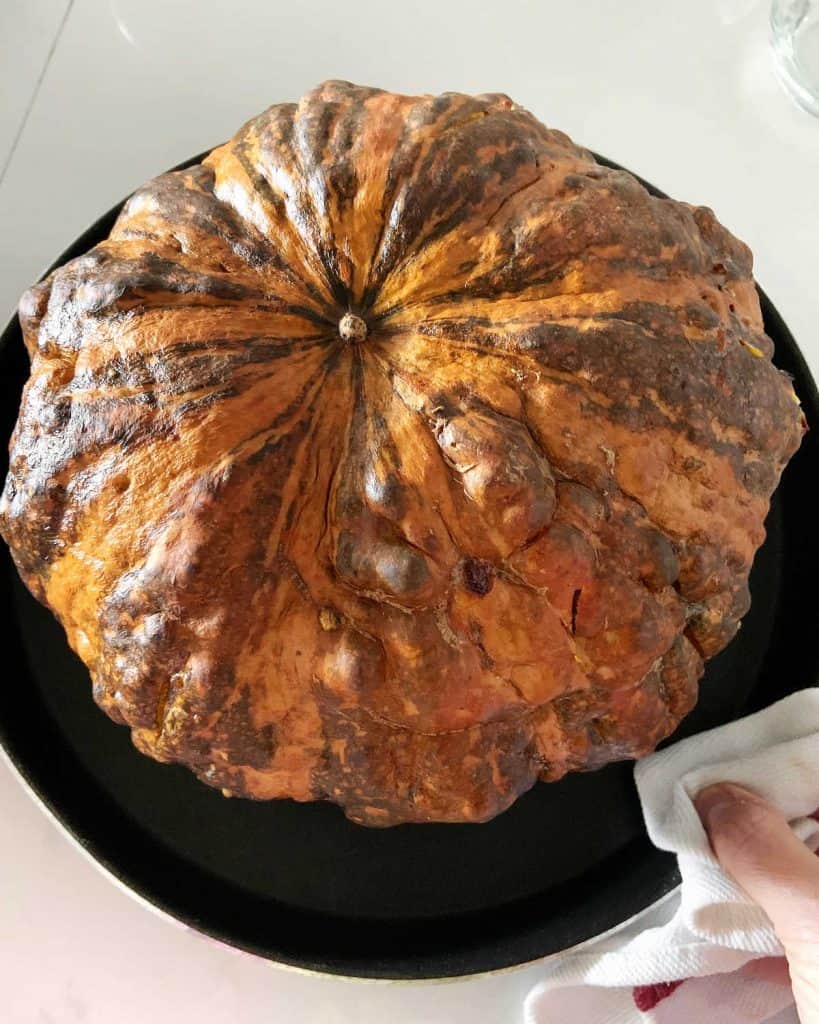
Oven-baked
Take the whole butternut squash or pumpkin and roast it until super soft, wrinkled, and a knife easily pierces it. It should be very soft inside. The time varies depending on the size and type, but my experience is at least an hour.
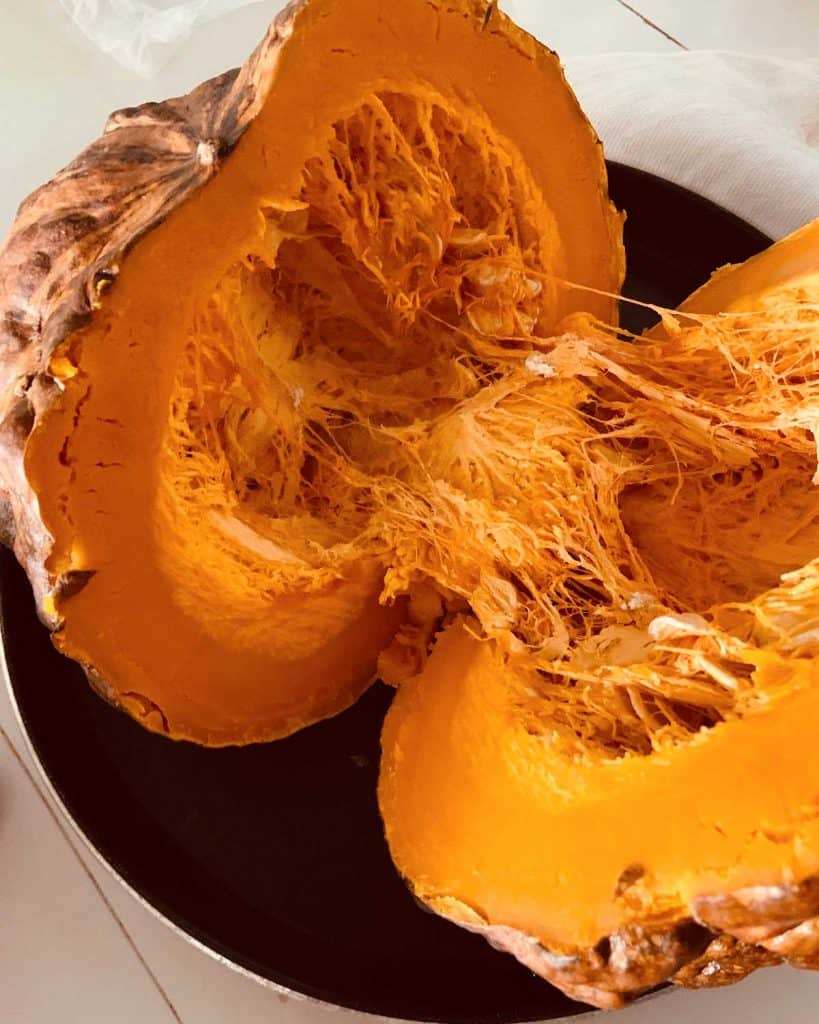
Cut it in half
I do so while still hot, as it's easier to remove seeds and pulp. Use a fork and knife so you don't have to touch it with your hands. You can wait until it's cooled enough to handle, though.
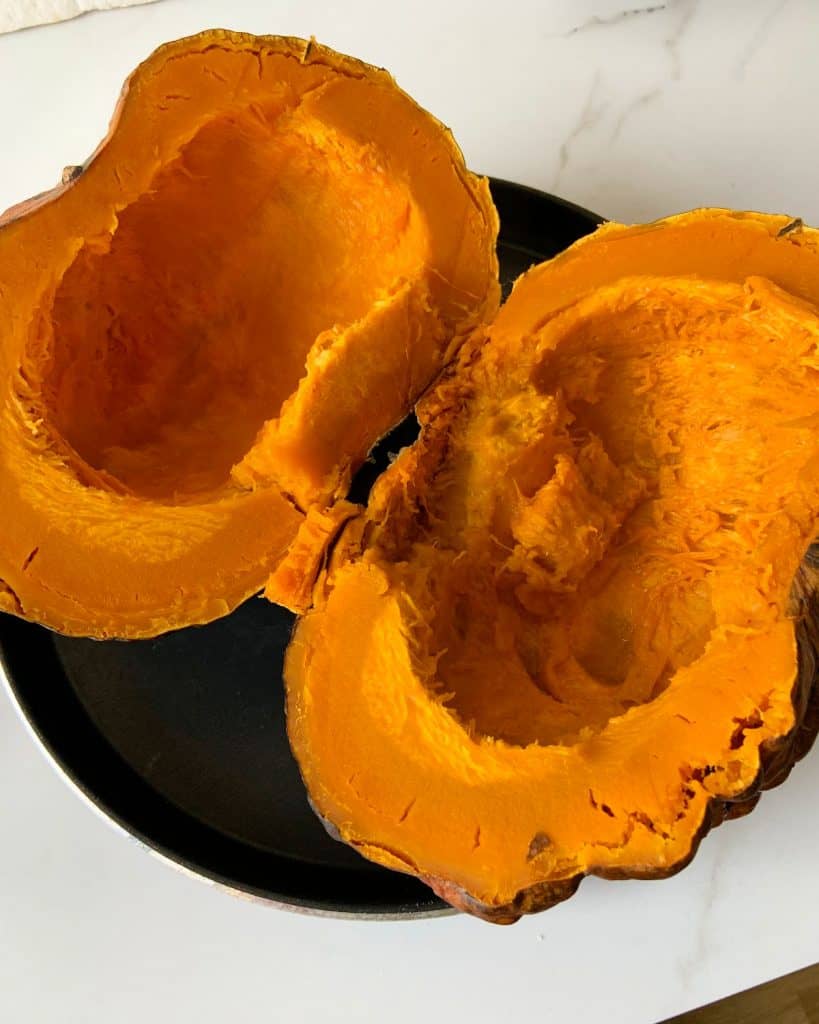
Scooping
Use a spoon to scoop out the seeds and strings attached.
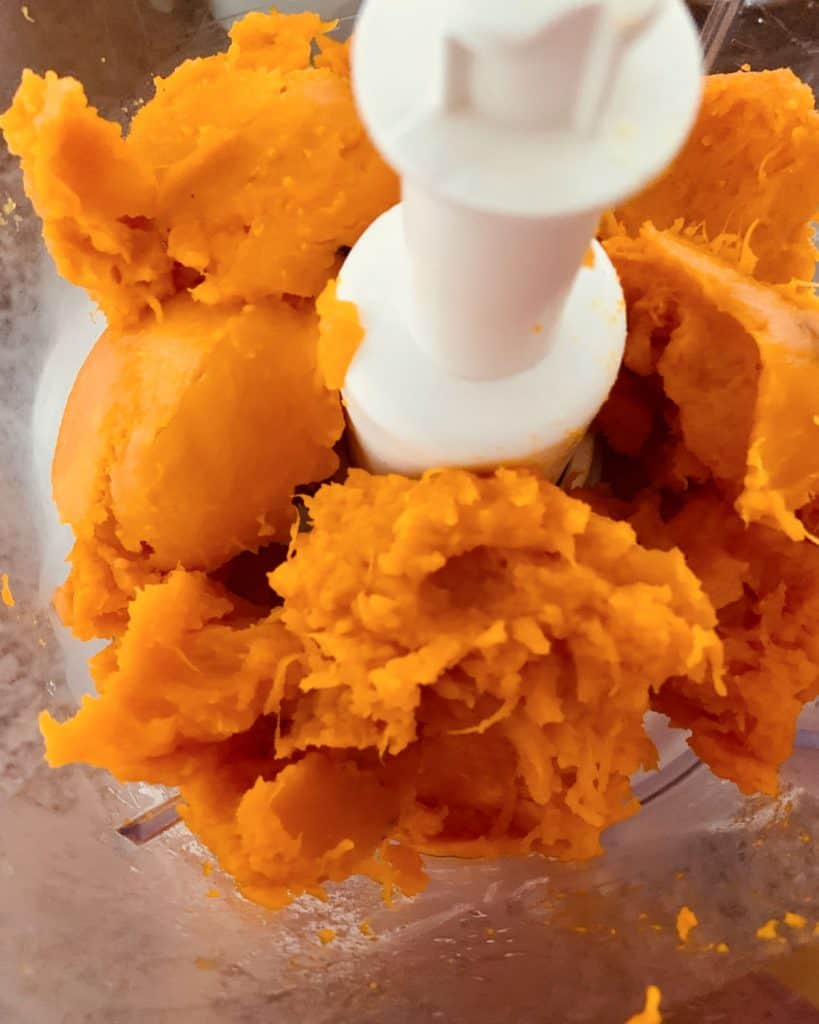
Scoop out the pulp
It will be soft and easy to scoop with a spoon. Transfer to the bowl of a food processor, being careful not to drag bits of skin. The processor is my choice because there will be a large amount of pulp.
You can also use a large bowl and an immersion blender, or a regular blender (which I'm not a fan of as it's harder to remove the pulp from the jar after it's pureed).
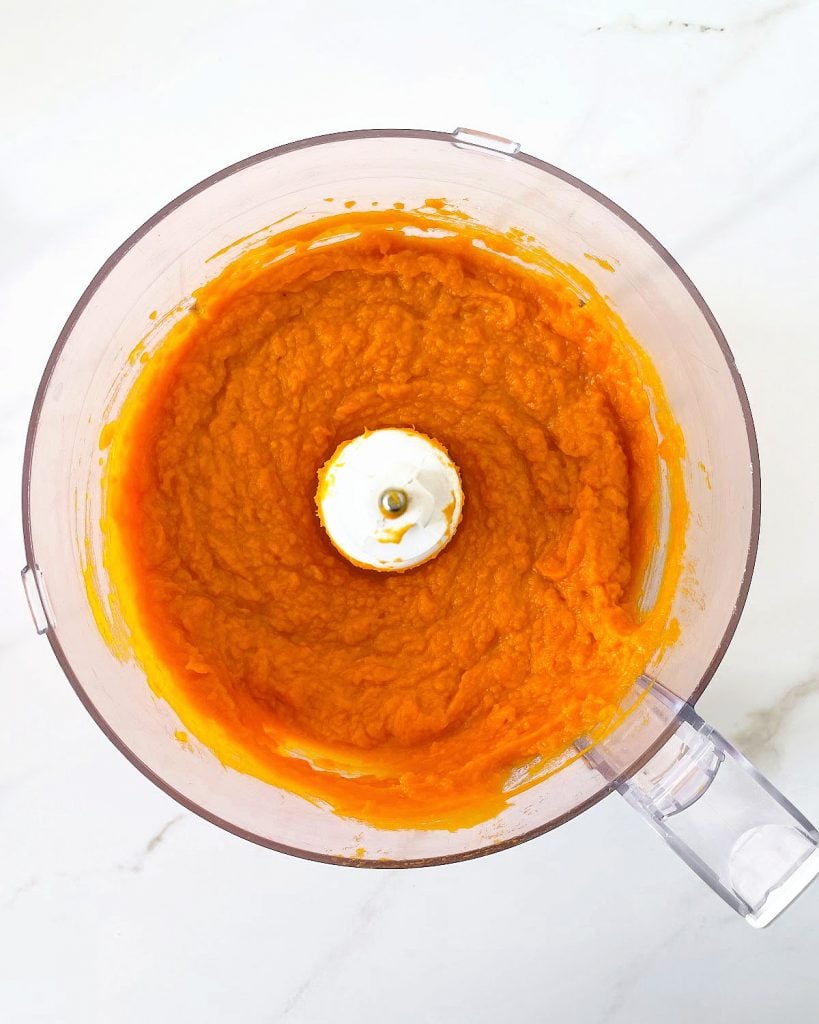
Process it until smooth
This is a highly recommended step if you want a smooth homemade puree. It might sound like an extra one, but it's worth it.
This usually takes several minutes, depending on the method you use (food processor, immersion blender or regular blender). Scrape the sides and the bottom once or twice to ensure an even mixture.
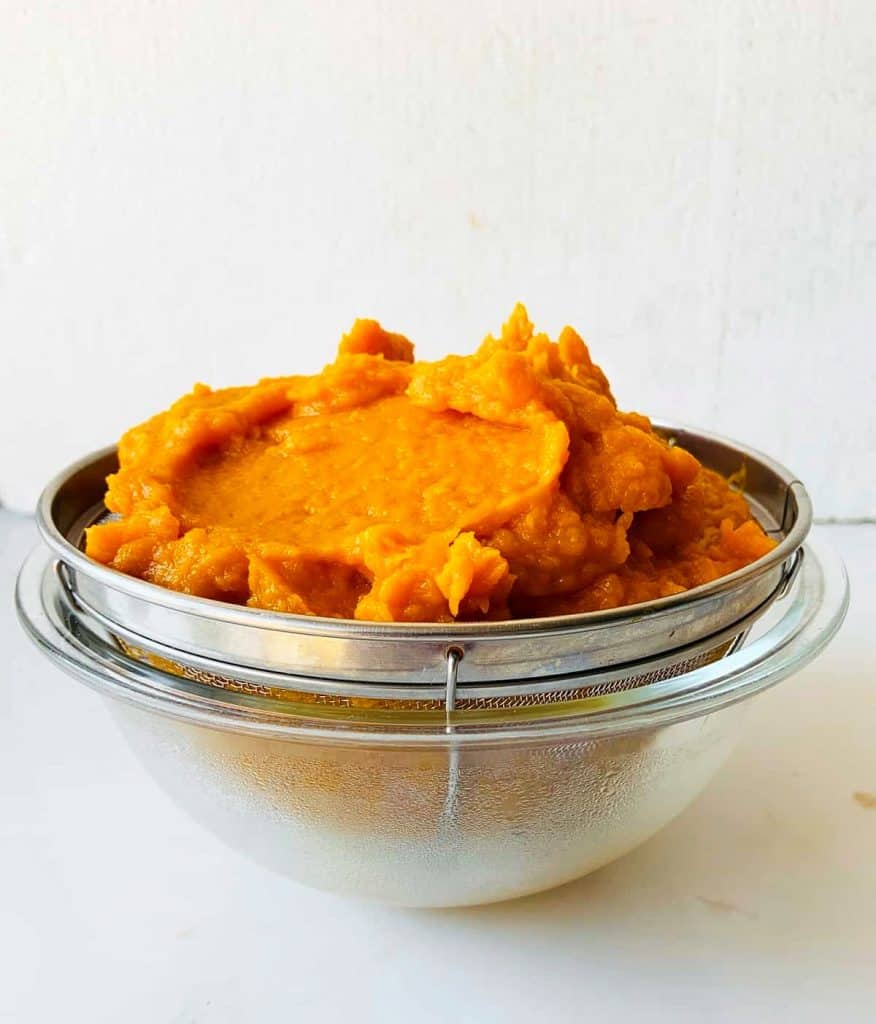
Drain it
It's more a waiting game than a hands-on process. You will need a medium-hole colander and a smaller bowl, so you have space to collect the liquid. Use a medium-sized colander or strainer (not fine, as it won't drain much).
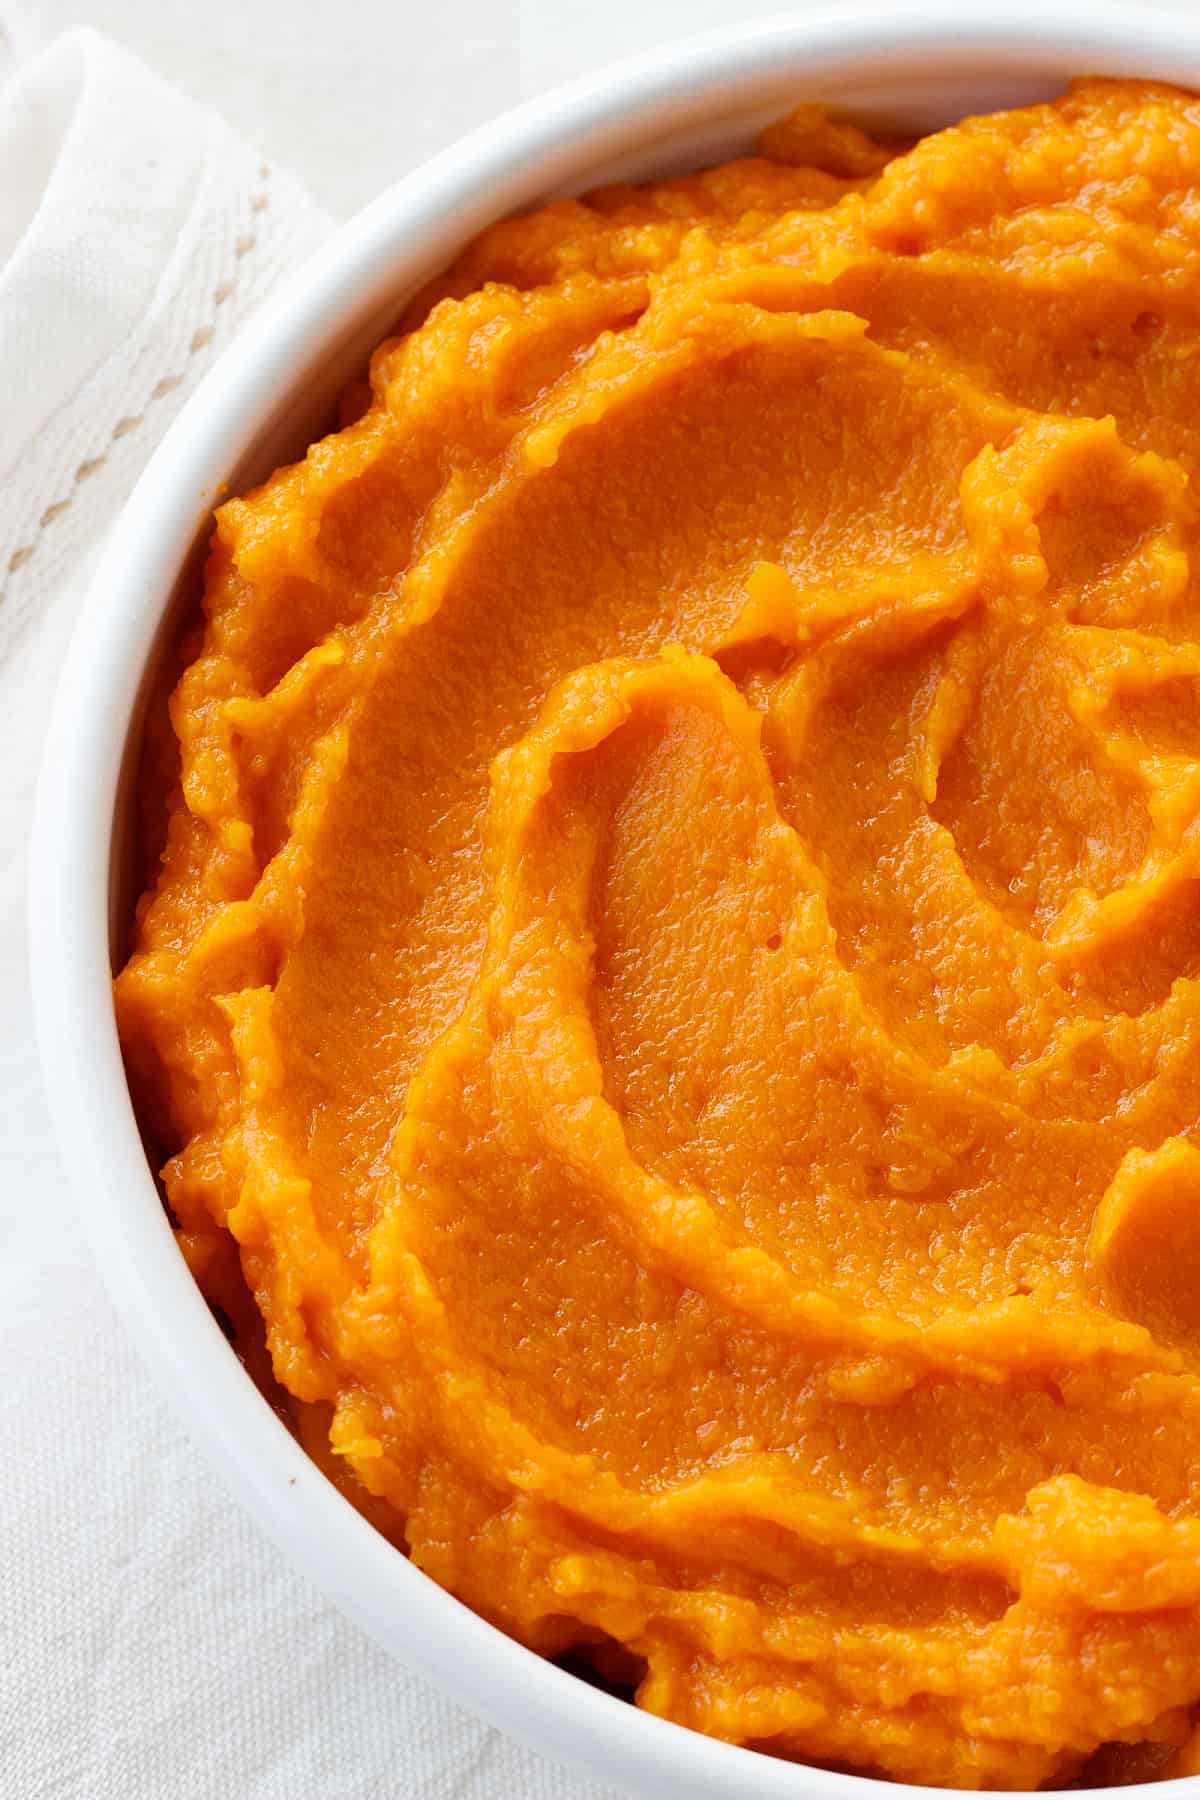
Let it drain well; it should be similar in texture to canned pumpkin. Pie pumpkins usually are not as watery as butternut squash.
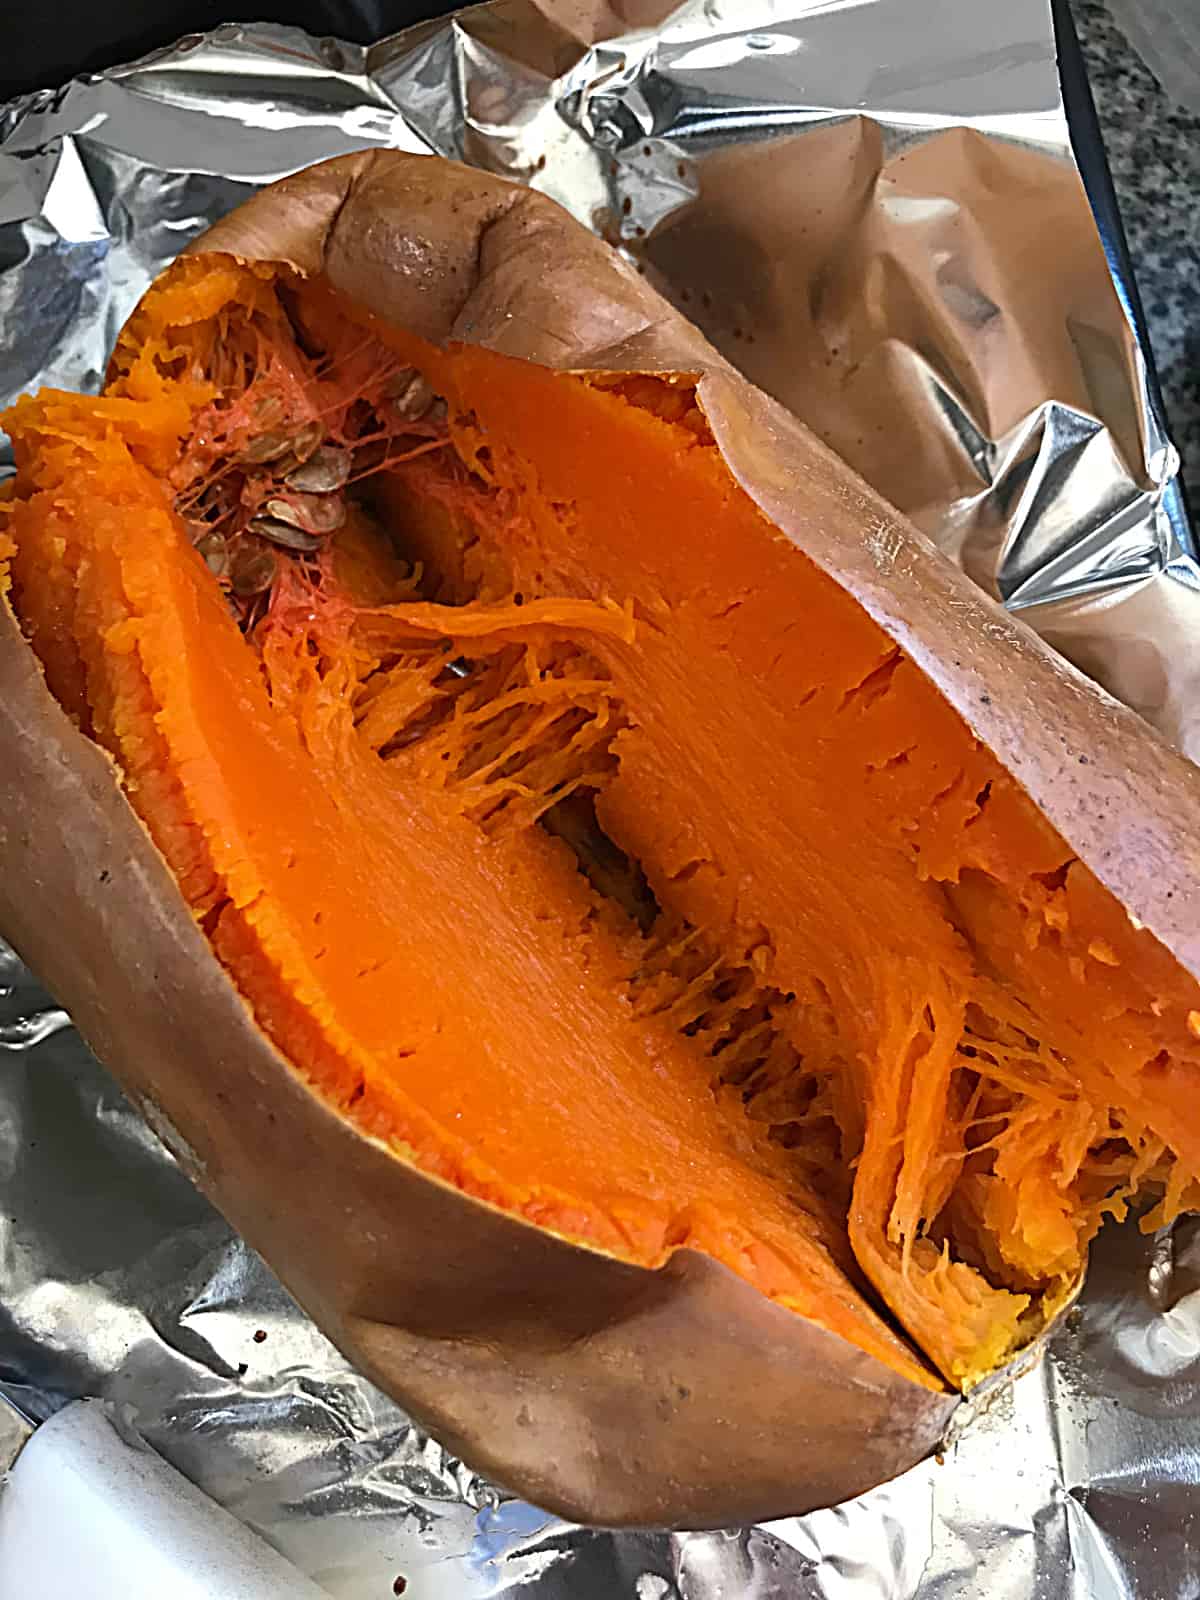
Butternut squash
My experience is that it has more water, is sweeter, and is sometimes creamier than squash.
Follow the same steps as for squash. Bake it until very tender. It will look like this when you open it. Then scoop the pulp and process it. Drain it if necessary.
Steamed or boiled pumpkin
- You can steam it until very soft and mash it. Just the pumpkin, peeled and cut into pieces. No salt or any other ingredient. I do this sometimes when I buy already cut squash or pumpkin, but it takes longer to drain. I use a steamer or a 2-piece pasta cooking pot, one that has a steamer incorporated, with an inch of water in the bottom.
- You can boil it (no salt) and then mash it, but it retains too much water, and it's not ideal for baking. Even after you drain it, it will have lost flavor.
Storing
The drained fresh pumpkin puree lasts for several days (I leave it for no more than a week) in the refrigerator in a sealed container. Always taste or smell it before using it. You will find it's acidic and mildly pungent when it starts to go bad.
You can freeze it and defrost it in the refrigerator. So make a large batch and freeze it for later use.
If you see that it has collected water when it thaws, drain it before using it.
What to do with the pumpkin seeds?
Don't throw them away!
They can be dried out and roasted with different flavors and used for salads, to top pumpkin bread before baking, and as a snack. Find out how to roast pumpkin seeds.
As an Amazon Associate, I earn from qualifying purchases. Read my disclosure policy.

Homemade Pumpkin Puree for Baking
Ingredients
- 4 pound whole pumpkin or butternut squash, if using pumpkin halves see Notes below
- 1 piece aluminum foil or parchment paper, optional
Instructions
- Preheat oven to 350°F (180°C)
- Wash and scrub the 4 pound whole pumpkin or butternut squash, and put it on a baking sheet. Don't cut or open it; you want it whole, skin on. You can line it with 1 piece aluminum foil or parchment paper for easier cleaning afterward.
- Baking it: it takes a while, at least an hour, sometimes half an hour more (it depends on the size and type of pumpkin), until it's fork-tender or can be very easily pierced with a knife. The inside should be very soft.
- Remove from the oven and cut it in half. Remove the pulp with a spoon while it's still hot (it comes off more easily), and put it in the bowl of the food processor.
- Processing: process until it's creamy. It will still be very wet, but that is fine.
- Transfer to a medium-hole colander or strainer (not fine mesh, or it will not drain well), set atop a smaller bowl, so you have space for the drained liquid to collect. You can add a cheesecloth before adding the pulp.
- Draining: let the pumpkin pulp drain until the puree is thick. It will take a while; several hours if too watery.
- Transfer the thick puree to a sealed container and keep refrigerated until ready to use. It keeps for several days.
- Or keep it in the freezer for a month in an airtight container.

Rate and review this recipe