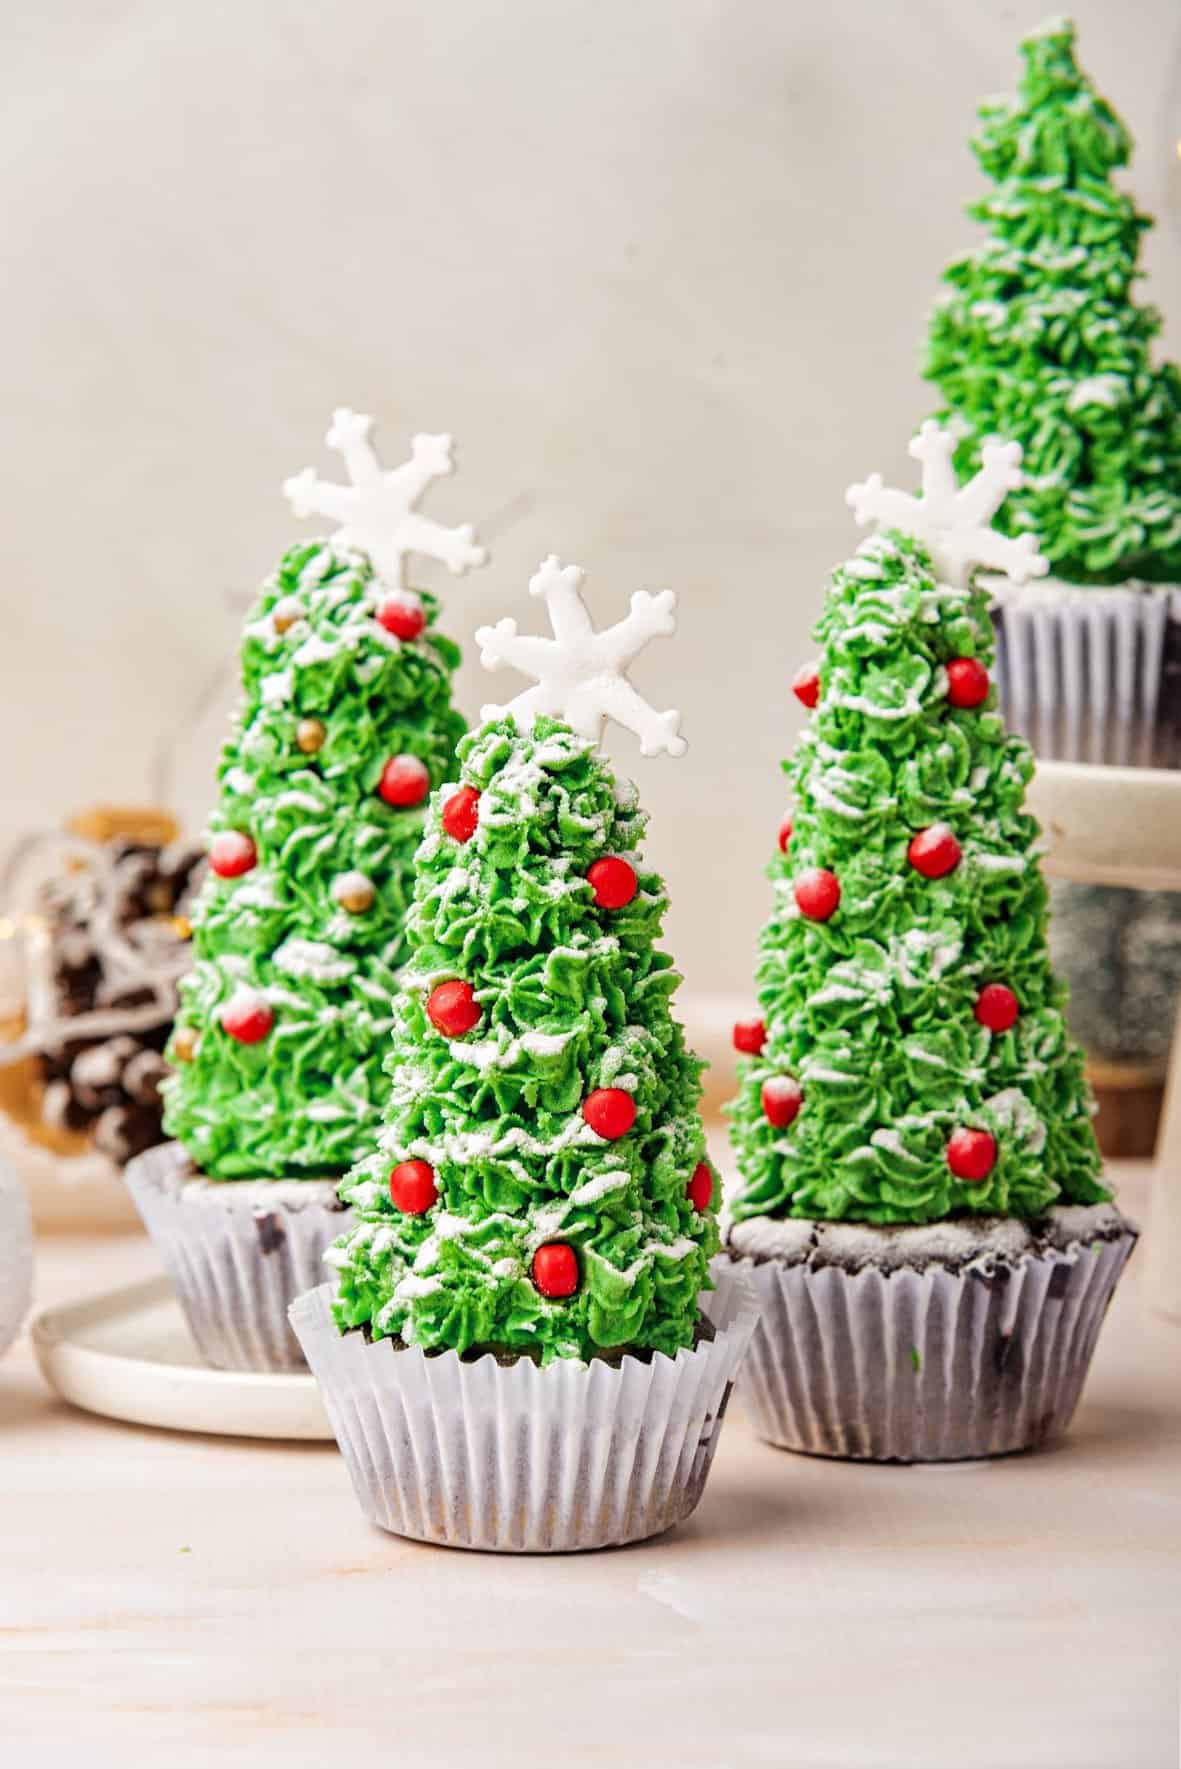
These festive cupcakes make great centerpieces and whimsical desserts. They have a chocolate cake base that can be homemade or from a cake mix and a waffle cone decorated with buttercream. It's not hard to make or assemble, and the components can be prepared beforehand.
Fun holiday recipe
These chocolate cupcakes are the answer if you need some edible centerpieces or showstoppers for the Christmas dessert table. How cute are they, right?
The base is a soft chocolate cake with chips in the batter. I love homemade, but use a cake mix if you're short on time!
Another alternative is making small chocolate bundt cakes or vanilla mini cakes instead of cupcakes.
The buttercream has food coloring and can be vanilla or mint, another flavor that works very well with chocolate and feels festive.
All the components can be made in advance, so making these cute cupcakes isn't daunting or too time-consuming. Freeze the cupcakes and keep the buttercream in the fridge for a week.
Ingredient Notes
Quantities are listed in the recipe card towards the end of this post. The Ingredients page has more details and lists the brands we use.
- Chocolate chips: use your favorite semisweet chips.
- Cocoa powder: always use unsweetened. In my experience, the dark ones are the best (this does not apply to the super dark used for making homemade Oreos known as dark or black cocoa powder).
- Brown sugar: light or dark.
- Baking powder: make sure it hasn't expired.
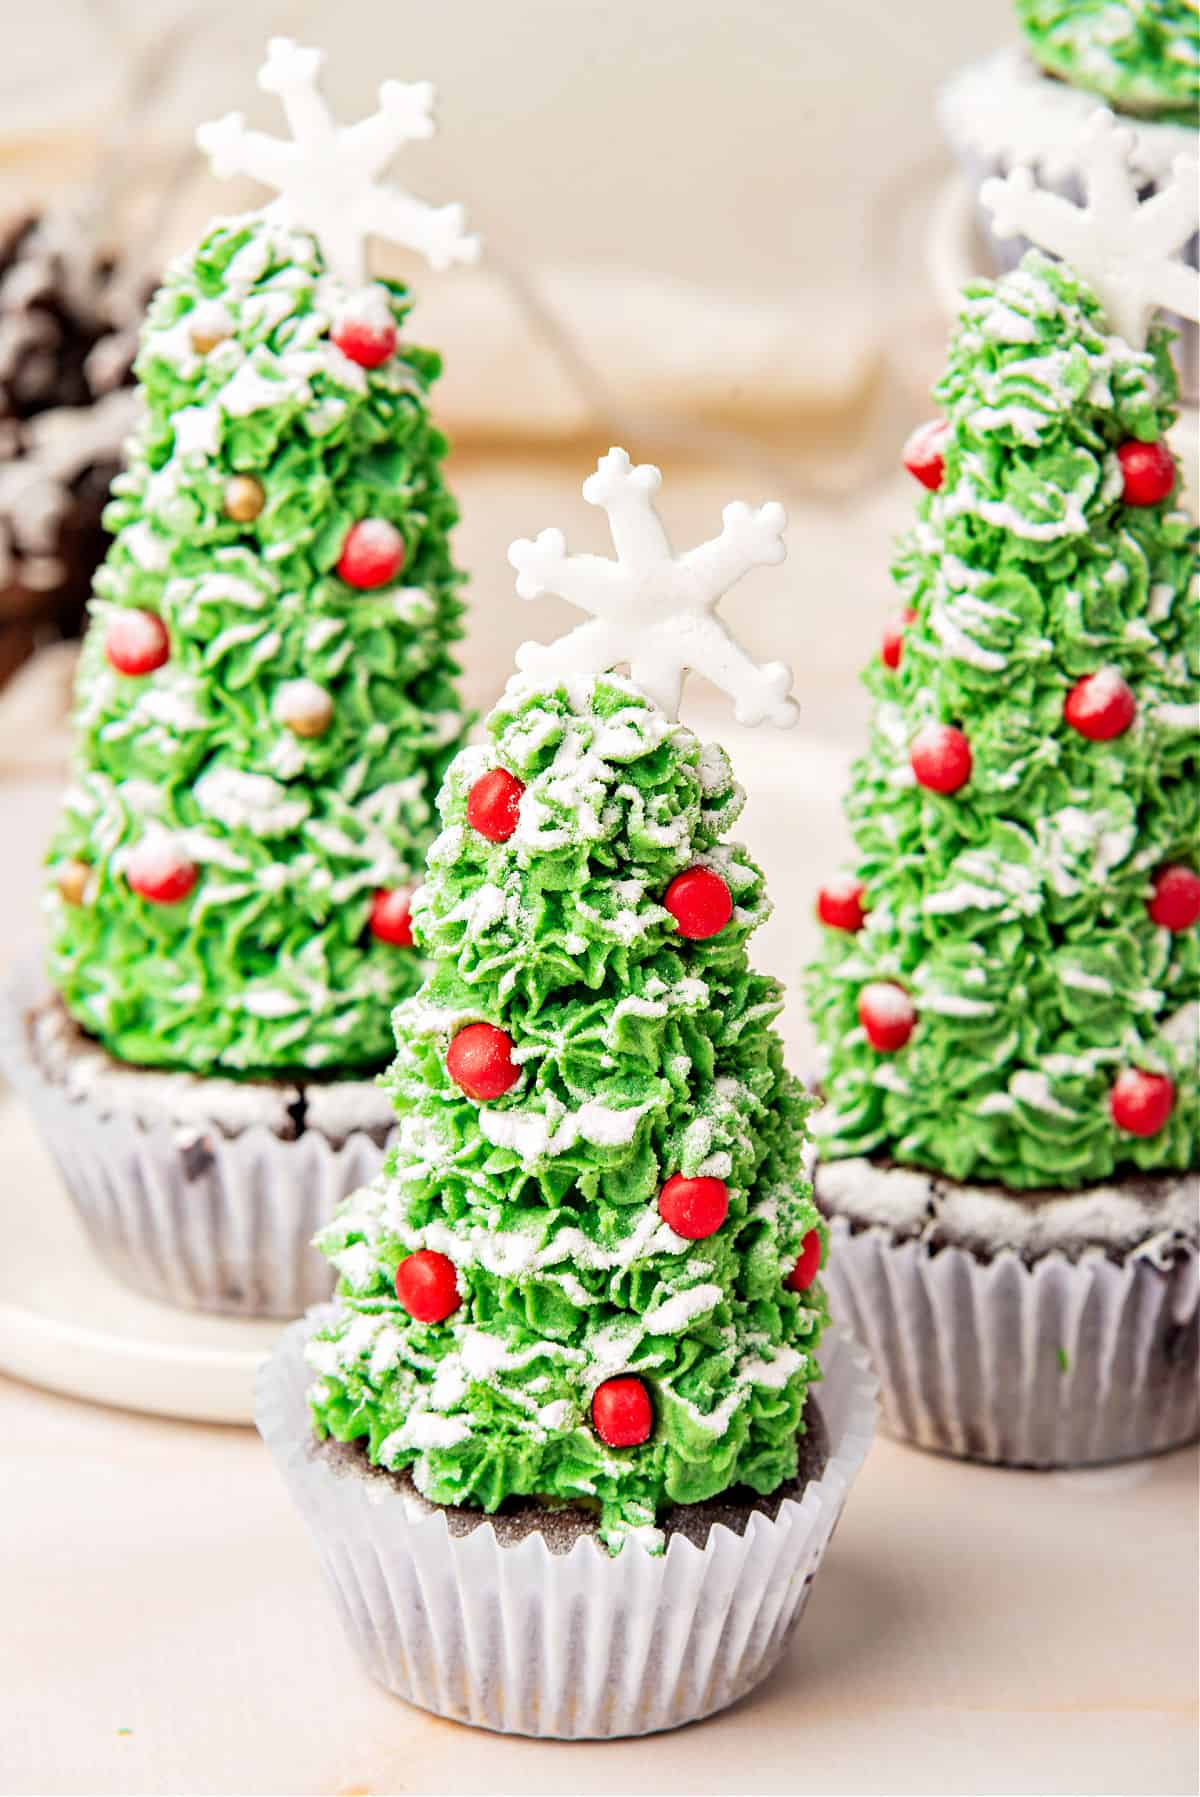
- Decorations: I like red candies and sugar snowflakes, but use your imagination and create your favorite Christmas tree.
Steps to make chocolate cupcakes
Dry ingredients
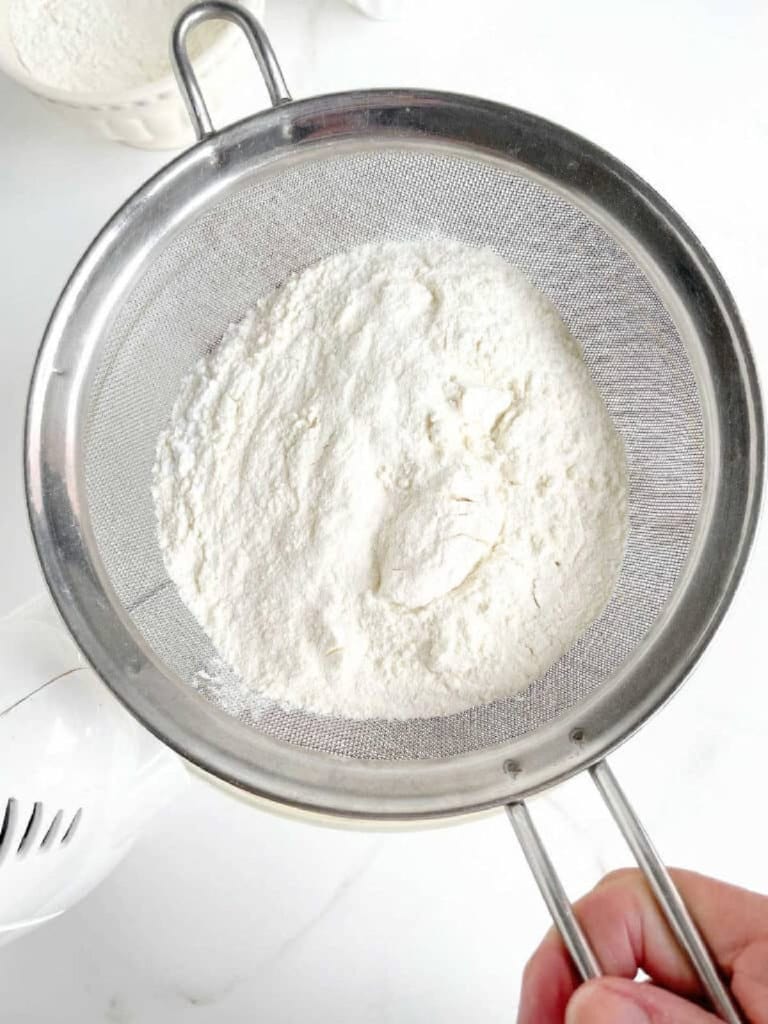
They must be sifted, especially when using baking soda, which can clump during storage.
Chocolate batter
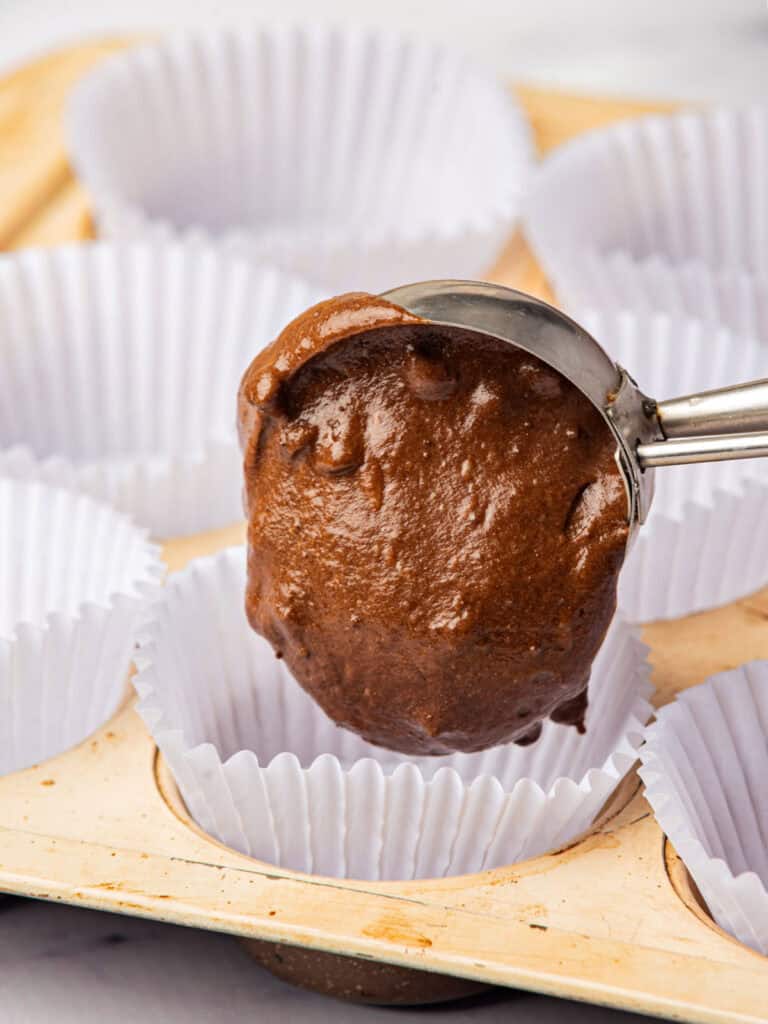
It's shiny and not too stiff.
Before adding the chocolate chips, make sure it's smooth with no flour spots left. But don't overmix it.
Vintage Kitchen Tip
After incorporating flour in a cake batter, we don't want to develop gluten, as it will toughen the baked cake. So mix *just* until it's all well incorporated but don't overbeat. I like to end mixing with a silicon spatula to ensure the ingredients are fully integrated.
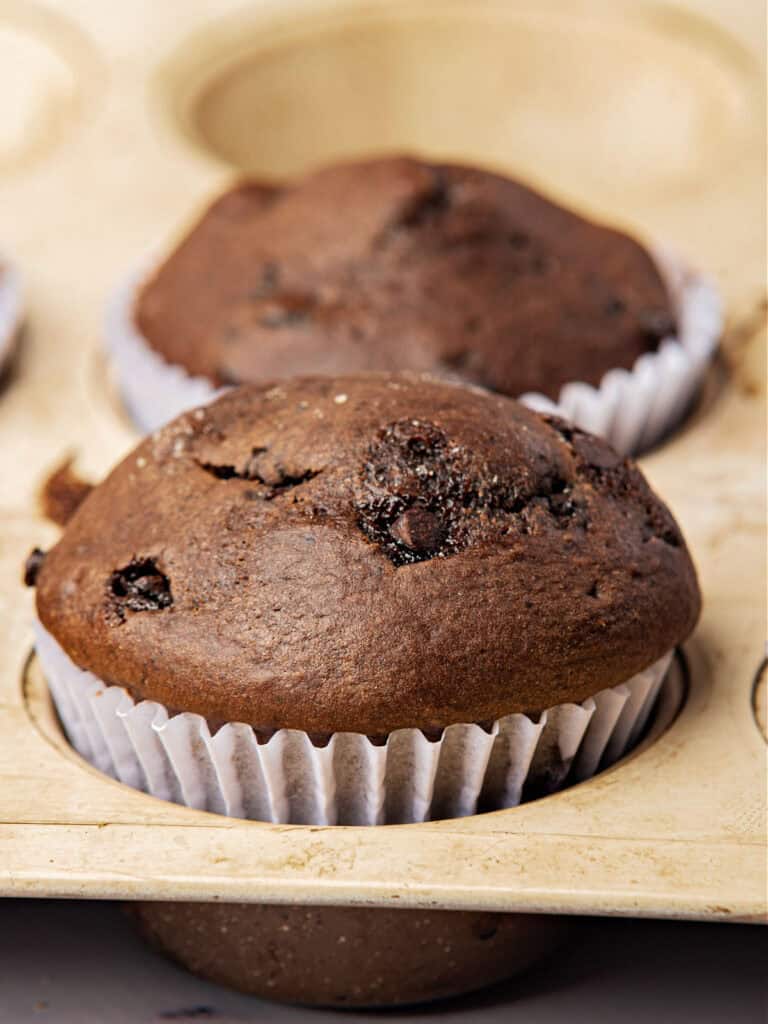
Baking
Paper cups: also called muffin or cupcake liners, it's the easiest, less messy way and there's little washing up afterward.
Though you can just butter the pans, paper liners help to keep the cakes moist and make it easier to present and eat them.
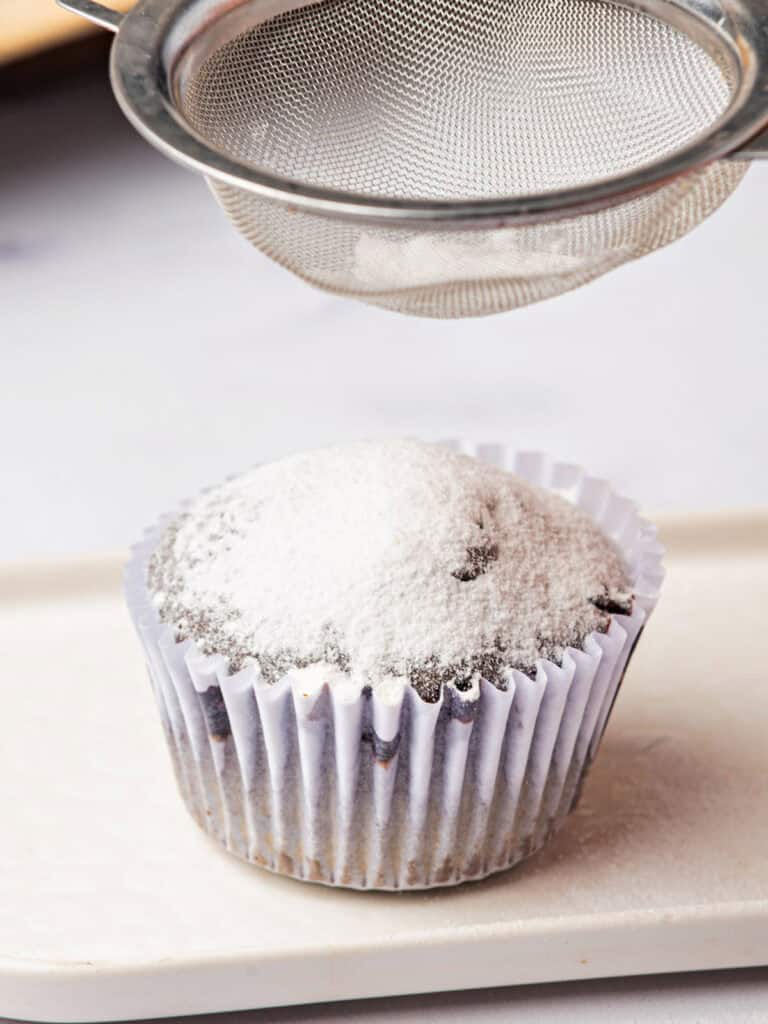
'Snowy' cupcakes
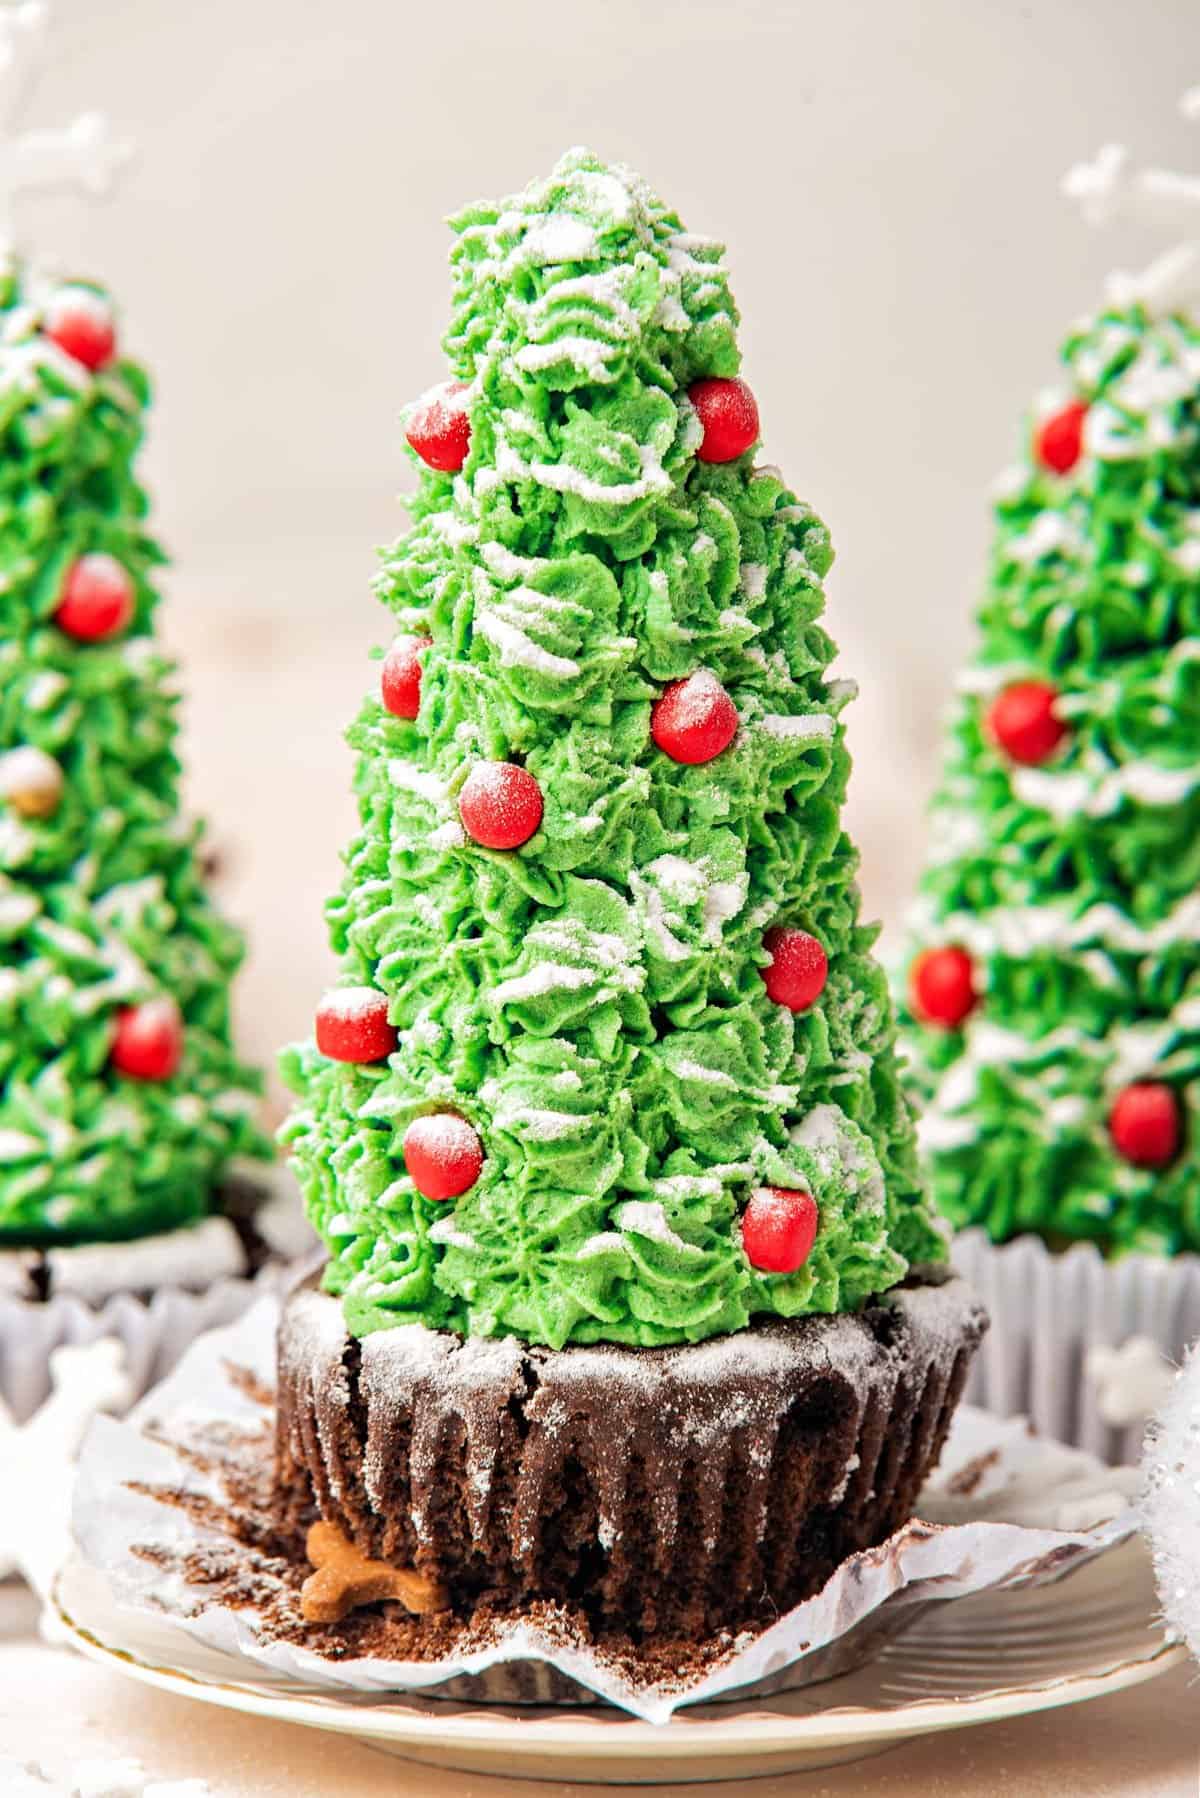
Dust with powdered sugar to create a snow-topped base for the tree.
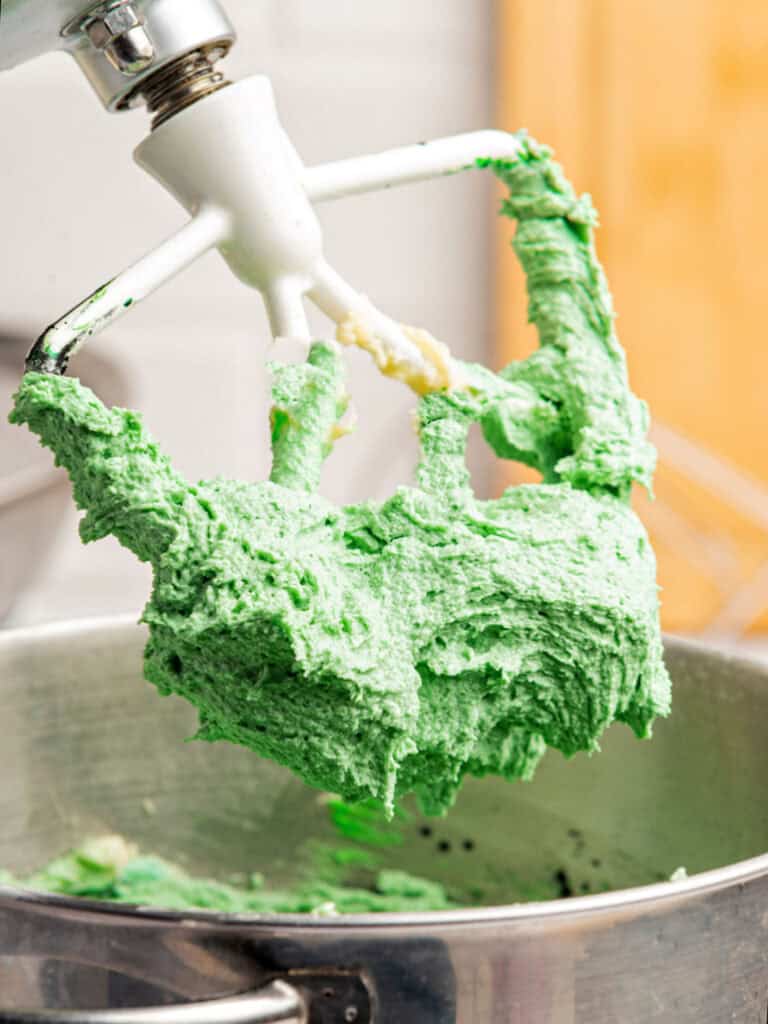
Buttercream
It's vanilla-flavored and easy to make. The green food coloring is essential, and I like to use gel.
Start with a few drops and see how it stains. It's simple to add more but not the other way around.
Adding some mint extract is another possibility.
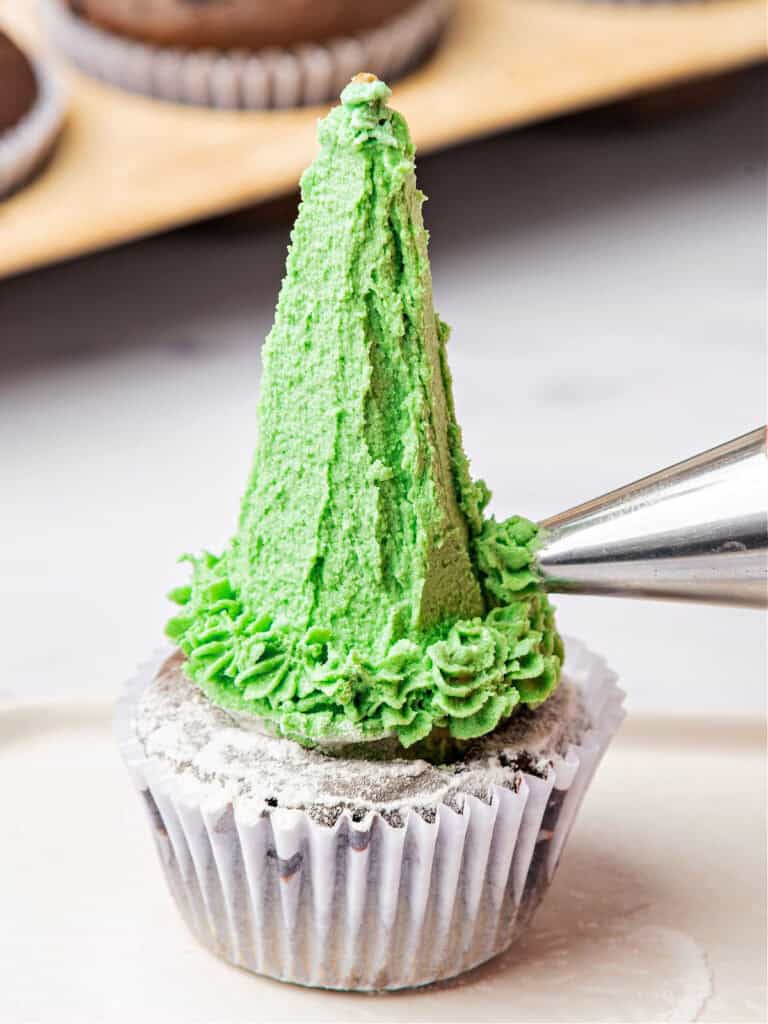
Making the tree
The waffle or sugar cones are coated with the buttercream first. I use an offset spatula for this, but a knife also works.
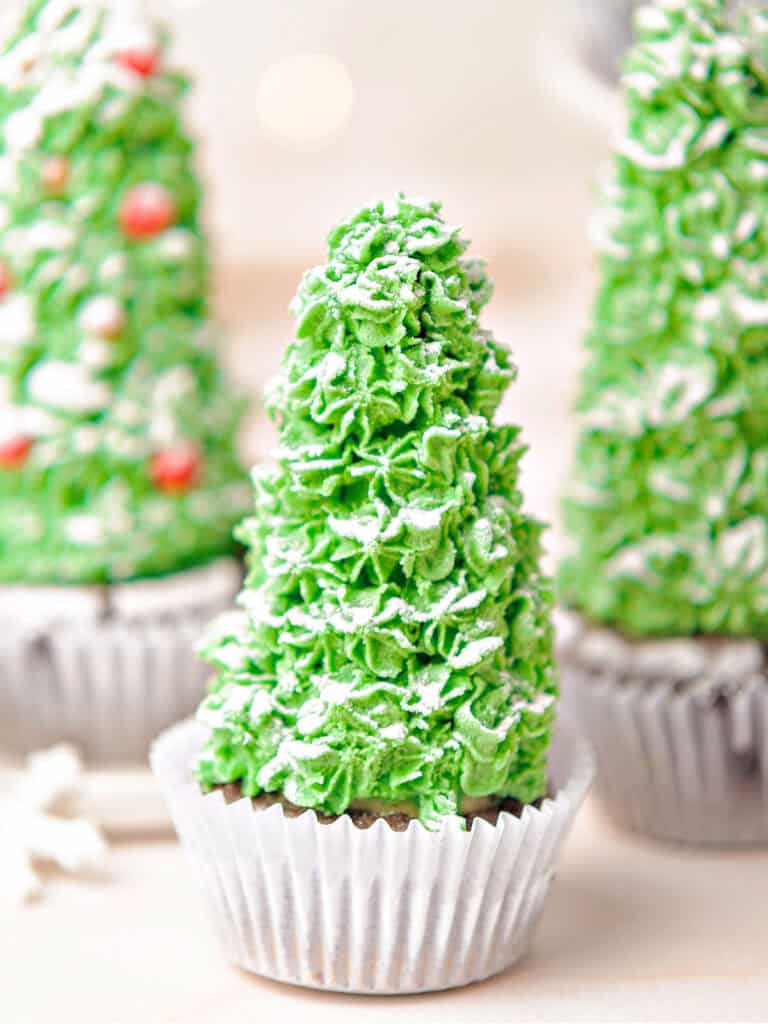
The idea of tree leaves is created by piping more buttercream. Use a plastic piping bag with a star piping tip.
Decorating
You can dust the cones with powdered sugar to create a snowy effect and then press red chocolate candies and other edibles to resemble ornaments.
Kitchen notes
- Organization: read the recipe first and ensure you have ingredients at the correct temperature, equipment, and enough workspace. This will make the process so much easier.
- Baking time: keep in mind that all ovens and pans are different, even if they look similar. The baking time in my recipes is as accurate as it can be, but it might take you more or less time. You can use a thermometer (like the OXO oven thermometer) to check that your oven is at the right temperature. I recommend tracking how your oven works and what tiny details you might need to adjust.
- How to melt the butter and chocolate: I use the microwave (short 15-second spurts and mixing well after each), but you can also melt them on top of a double boiler, being careful that the water is not touching the bottom of the bowl.
- Flavorings: this recipe makes simple chocolate cakes with chips for an extra boost. But you can flavor them with spices like cinnamon, add milk or white chocolate chips for a sweeter version or a tablespoon of your favorite liqueur.
- How to freeze cupcakes: You can make them ahead of time or make a large batch and freeze them. I like to do so while still slightly warm, as I feel they retain the moisture better after thawing. Always wrap them well in plastic or a freezer bag, or use an airtight container suitable for the freezer.
Related recipes you might like:
If you made this recipe and loved it, you can comment below and leave a 5-star ⭐️ review. Also, if you had issues, let me know so we can troubleshoot together.
You can also subscribe to our FREE email series 'Baking the Best' and our regular newsletter. Or follow and save my recipes on Pinterest.
As an Amazon Associate, I earn from qualifying purchases. Read my disclosure policy.
Christmas Tree Chocolate Cupcakes
Ingredients
Chocolate cupcakes:
- ¾ cup unsweetened cocoa powder
- ½ cup boiling water
- 1 cup buttermilk
- 1 ¾ cups all-purpose flour
- 1 ¼ teaspoons baking soda
- ¼ teaspoon salt
- 1 ½ sticks unsalted butter, at room temperature
- 1 cup white sugar
- ½ cup brown sugar, light or dark
- 2 large eggs, at room temperature
- 1 teaspoon vanilla extract
Vanilla buttercream:
- 1 ½ cups unsalted butter, at room temperature
- 4 ½ cups powdered sugar
- 2 to 4 tablespoons heavy or whipping cream, if needed
- few drops green gel food coloring
To assemble:
- 12 waffle ice cream cones
- 2 tablespoons powdered sugar, for dusting
- red candies
- edible Christmas decorations
Instructions
For the cupcakes:
- Preheat oven to 350ºF (180°C). Line 12 muffin or cupcake cups with white paper liners. Depending on your pan and how much you fill them, you might get more cupcakes out of one recipe.
- Put ¾ cup unsweetened cocoa powder in a medium bowl. Add ½ cup boiling water and whisk until a smooth paste forms. Whisk in 1 cup buttermilk until combined. Reserve this chocolate custard.
- Sift 1 ¾ cups all-purpose flour, 1 ¼ teaspoons baking soda and ¼ teaspoon salt in a medium bowl.
- Beat 1 ½ sticks unsalted butter with 1 cup white sugar and ½ cup brown sugar in a large bowl until light and fluffy, about 3 minutes. Use an electric mixer or stand mixer.
- Beat in 2 large eggs, one at a time, mixing well after each addition. Add 1 teaspoon vanilla extract and stir to combine.
- Add the sifted dry ingredients in 2 or 3 batches alternating with the cocoa mixture. Always start and end with the flour mixture. Beat on low speed just until incorporated. Don't overmix so the cupcakes are soft and tender.
- Scoop or spoon batter into the lined muffin cups, filling them no more than ¾ of their capacity.
- Bake for 20 to 25 minutes, or until a cake tester or toothpick comes out clean. The cupcakes should be springy to the touch and the top dry. Let the pan cool for 10 minutes on a wire rack and then remove the cupcakes carefully and place on the same wire rack to cool completely.
For the buttercream:
- In a stand mixer, beat softened 1 ½ cups unsalted butter until creamy.
- Sift in 4 ½ cups powdered sugar and mix on low speed until fully combined and smooth. If the buttercream is too thick, add 2 to 4 tablespoons heavy or whipping cream, one tablespoon at a time, until you reach the desired consistency. It needs to be thick in order to be piped and hold well afterward.
- Add a few drops green gel food coloring and mix until the color is evenly distributed.
To assemble:
- The closer to serving time, the better. Cover each of 12 waffle ice cream cones with a thin layer of green buttercream, ensuring it's fully coated.
- Gently press a coated sugar cone onto each cupcake, making sure it's secure. You can spread a thin layer of buttercream on the bottom rim of each cone so it adheres better.
- Using a piping bag fitted with a small star tip, pipe the remaining buttercream onto each cone to create the appearance of tree branches.
- Lightly dust with 2 tablespoons powdered sugar (use a small sifter or tea colander) to mimic snow and press red candies and edible Christmas decorations to create a festive tree.



Rate and review this recipe