
With just a few (four if you count the water) ingredients, you can transform ordinary hard-boiled eggs and brighten up your Easter bread, the egg basket, or the table centerpieces. The process is pretty simple, but you must organize the space and equipment you'll need to make it smooth. It's a fun project to do with kids.
SAVE THIS RECIPE
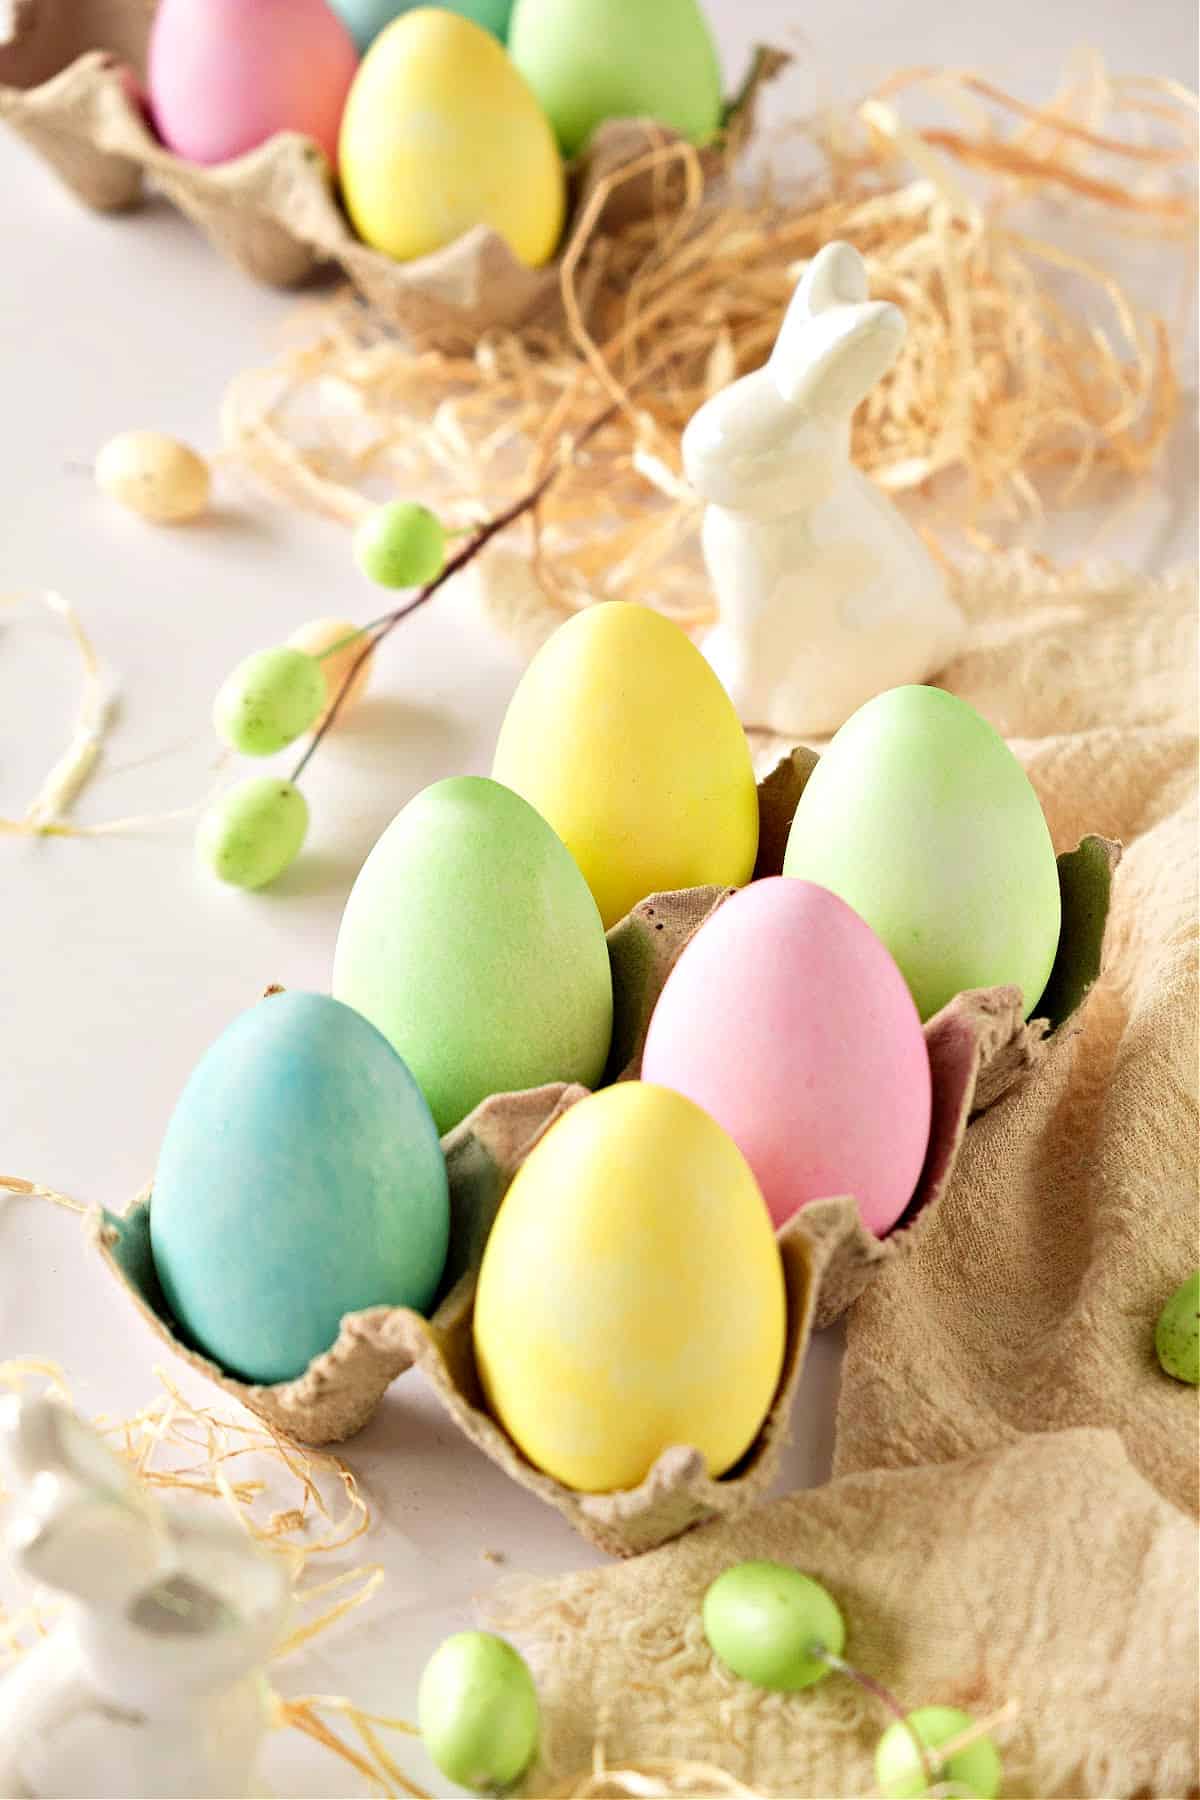
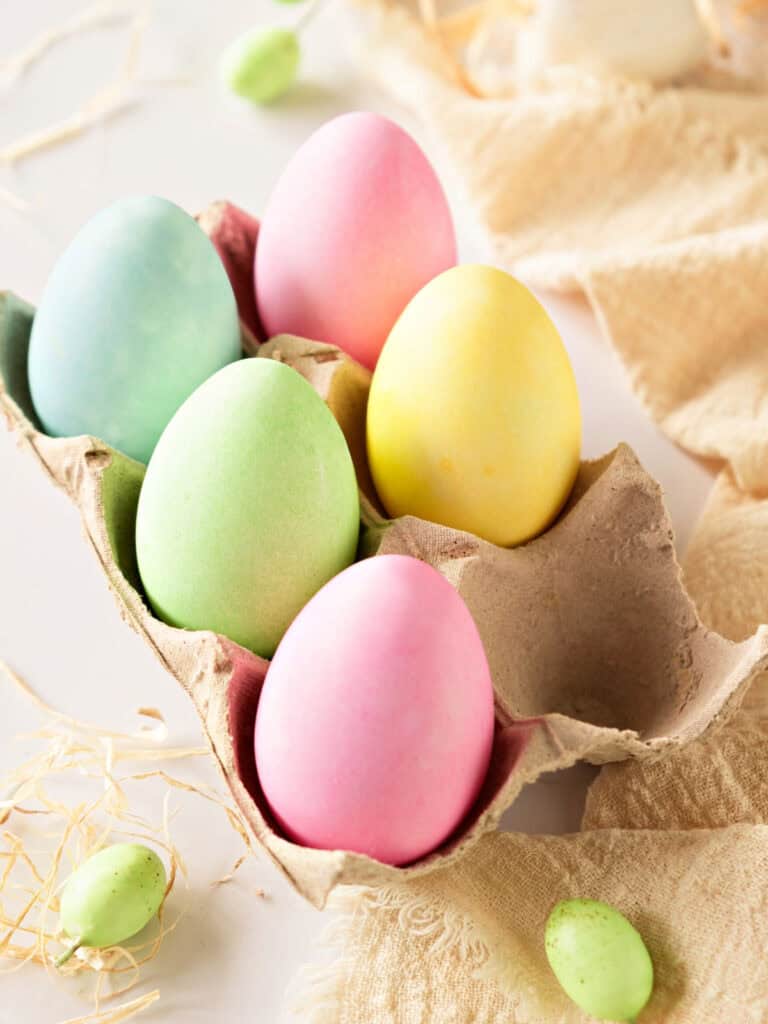
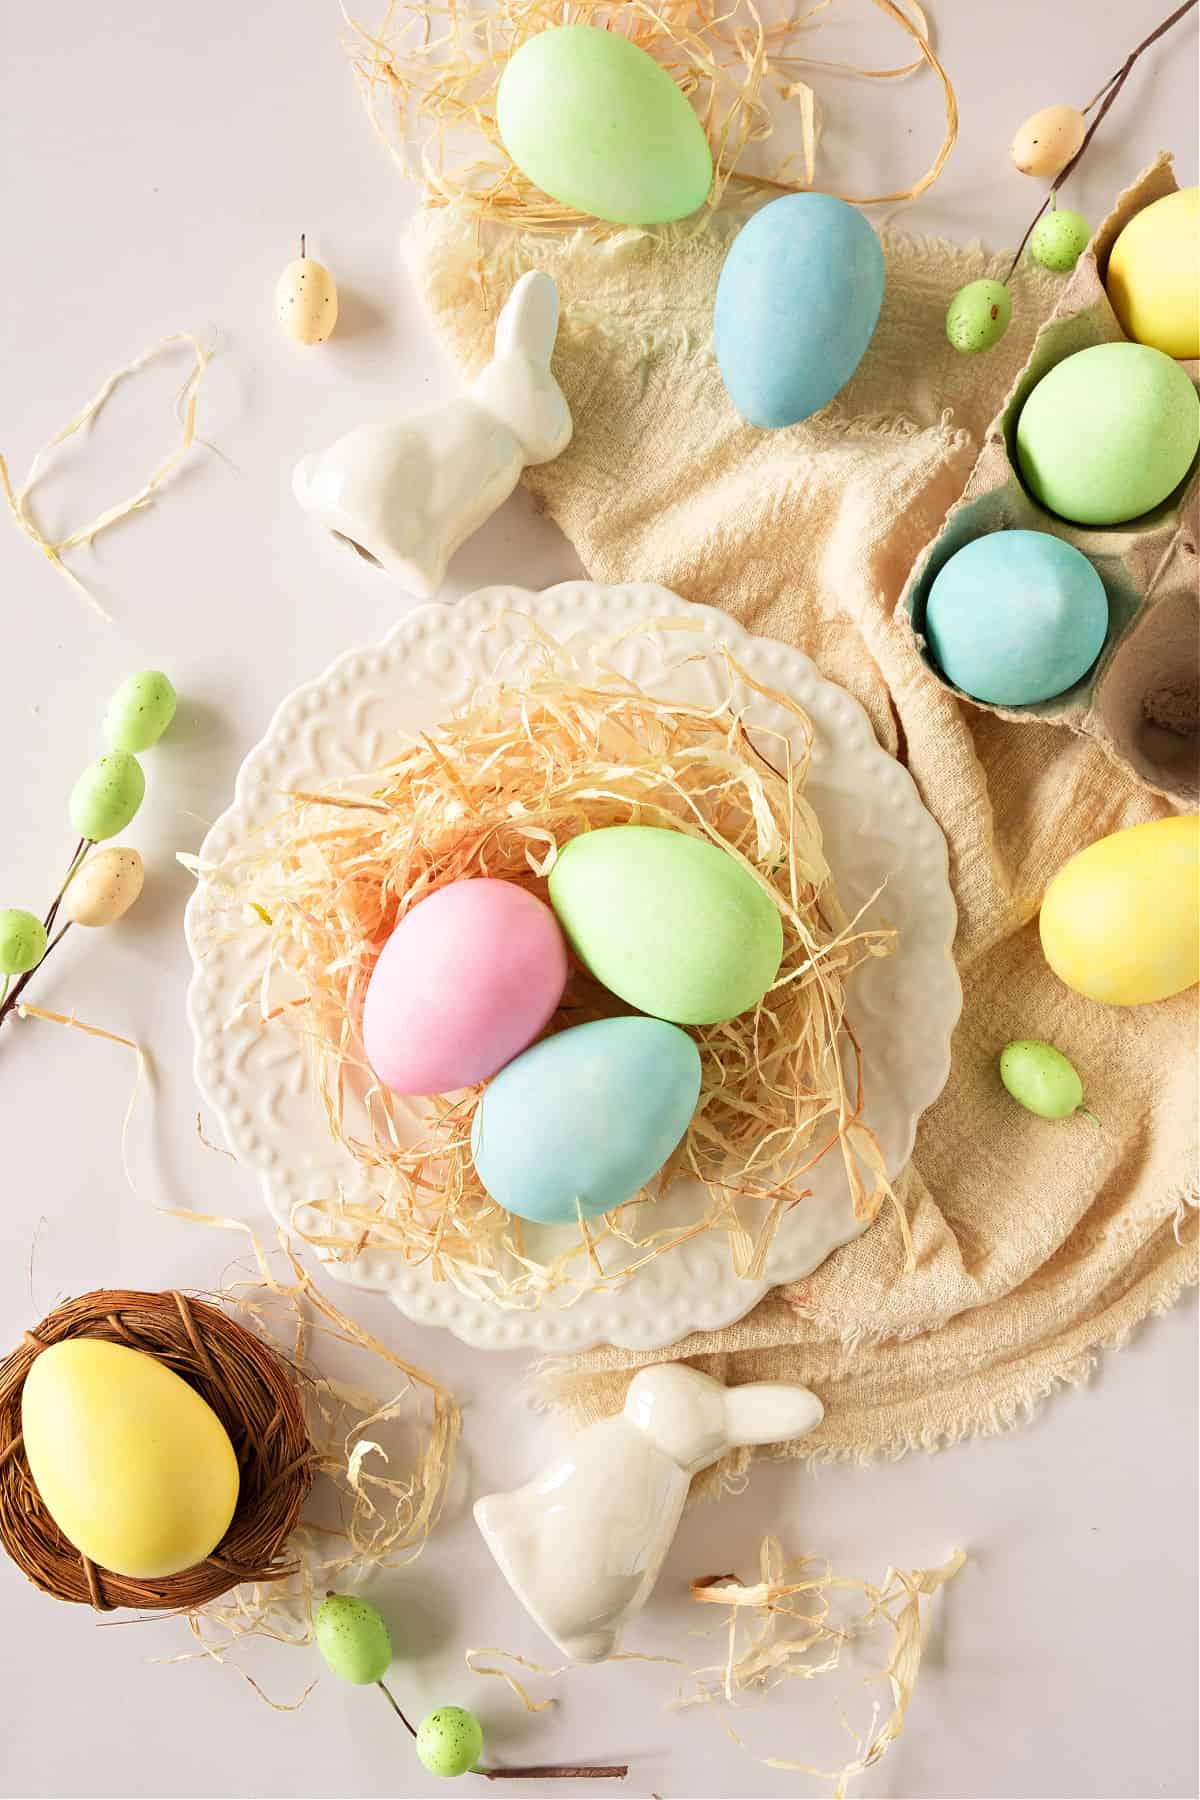
Happy Easter egg-dyeing!
I can't think of a better way to add color to your holiday table while making a protein-packed snack for school or the home office the next day.
And you can skip the store-bought dyeing kits. Except for the food coloring, you probably already have everything you need at home: eggs, white vinegar and water.
The best part? Kids of all ages and adults love making these! And if you dye eggs at home, you can play with different colors and intensities.
Testing Notes
Use water-based gel, liquid, or powder food colorings. Avoid oil-based ones for chocolate as they won't dilute or adhere well.
Thoroughly dried eggs are a must to avoid running or bleeding color.
Rotate eggs frequently while in the dye solution for a more uniform color, unless you want uneven or streaked eggs.
Don't skip the vinegar, as it's essential for the color to adhere well to the eggshells.
I recommend testing the soaking time with 1 or 2 eggs first, especially if it's your first time. The final color can vary depending on the type of dye you use and the color of the eggs. I used brown, which takes longer to color than white due to its tan base. Also, pastel colors are the norm for Easter, so it takes less time to get pink than a deep red for the 4th of July.
Steps to dye eggs
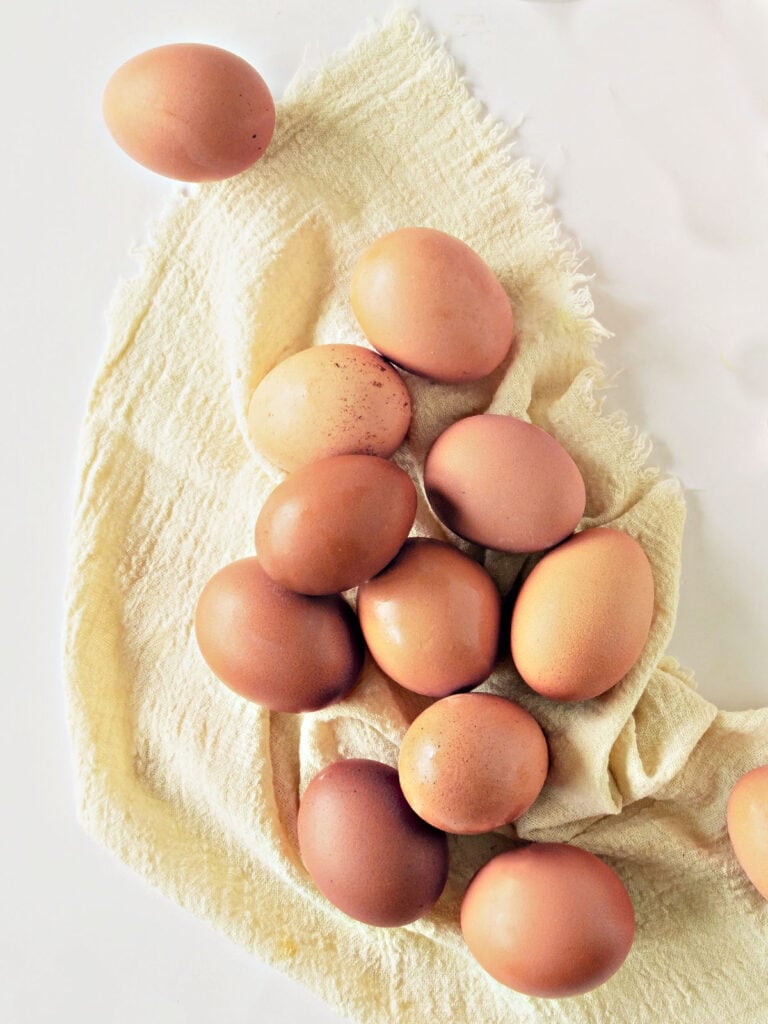
Prepare the eggs
Hard-boil the eggs and let them cool completely. Make sure they're dry before dyeing, or the color will not take.
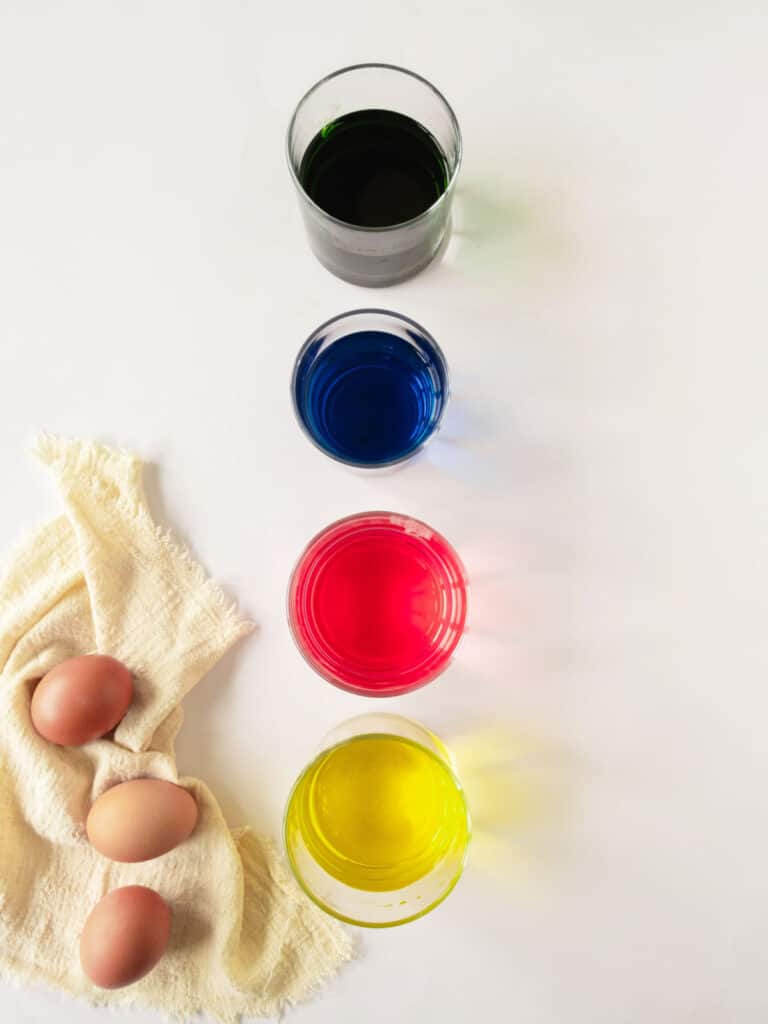
Set up your dye stations
For each color, prepare a small bowl or a large cup. I recommend deep ones where an egg fits comfortably unless you're making a very large batch of eggs, in which case you might want to soak several at a time in each color.
Stir each mixture well, and don't forget the vinegar, or the color won't set properly!

Dye the eggs
Gently lower an egg into each dye solution using a spoon. Let the egg sit in the dye for about 5 minutes for light colors, or up to 10 minutes for deeper colors. You can rotate the egg occasionally for even coloring.
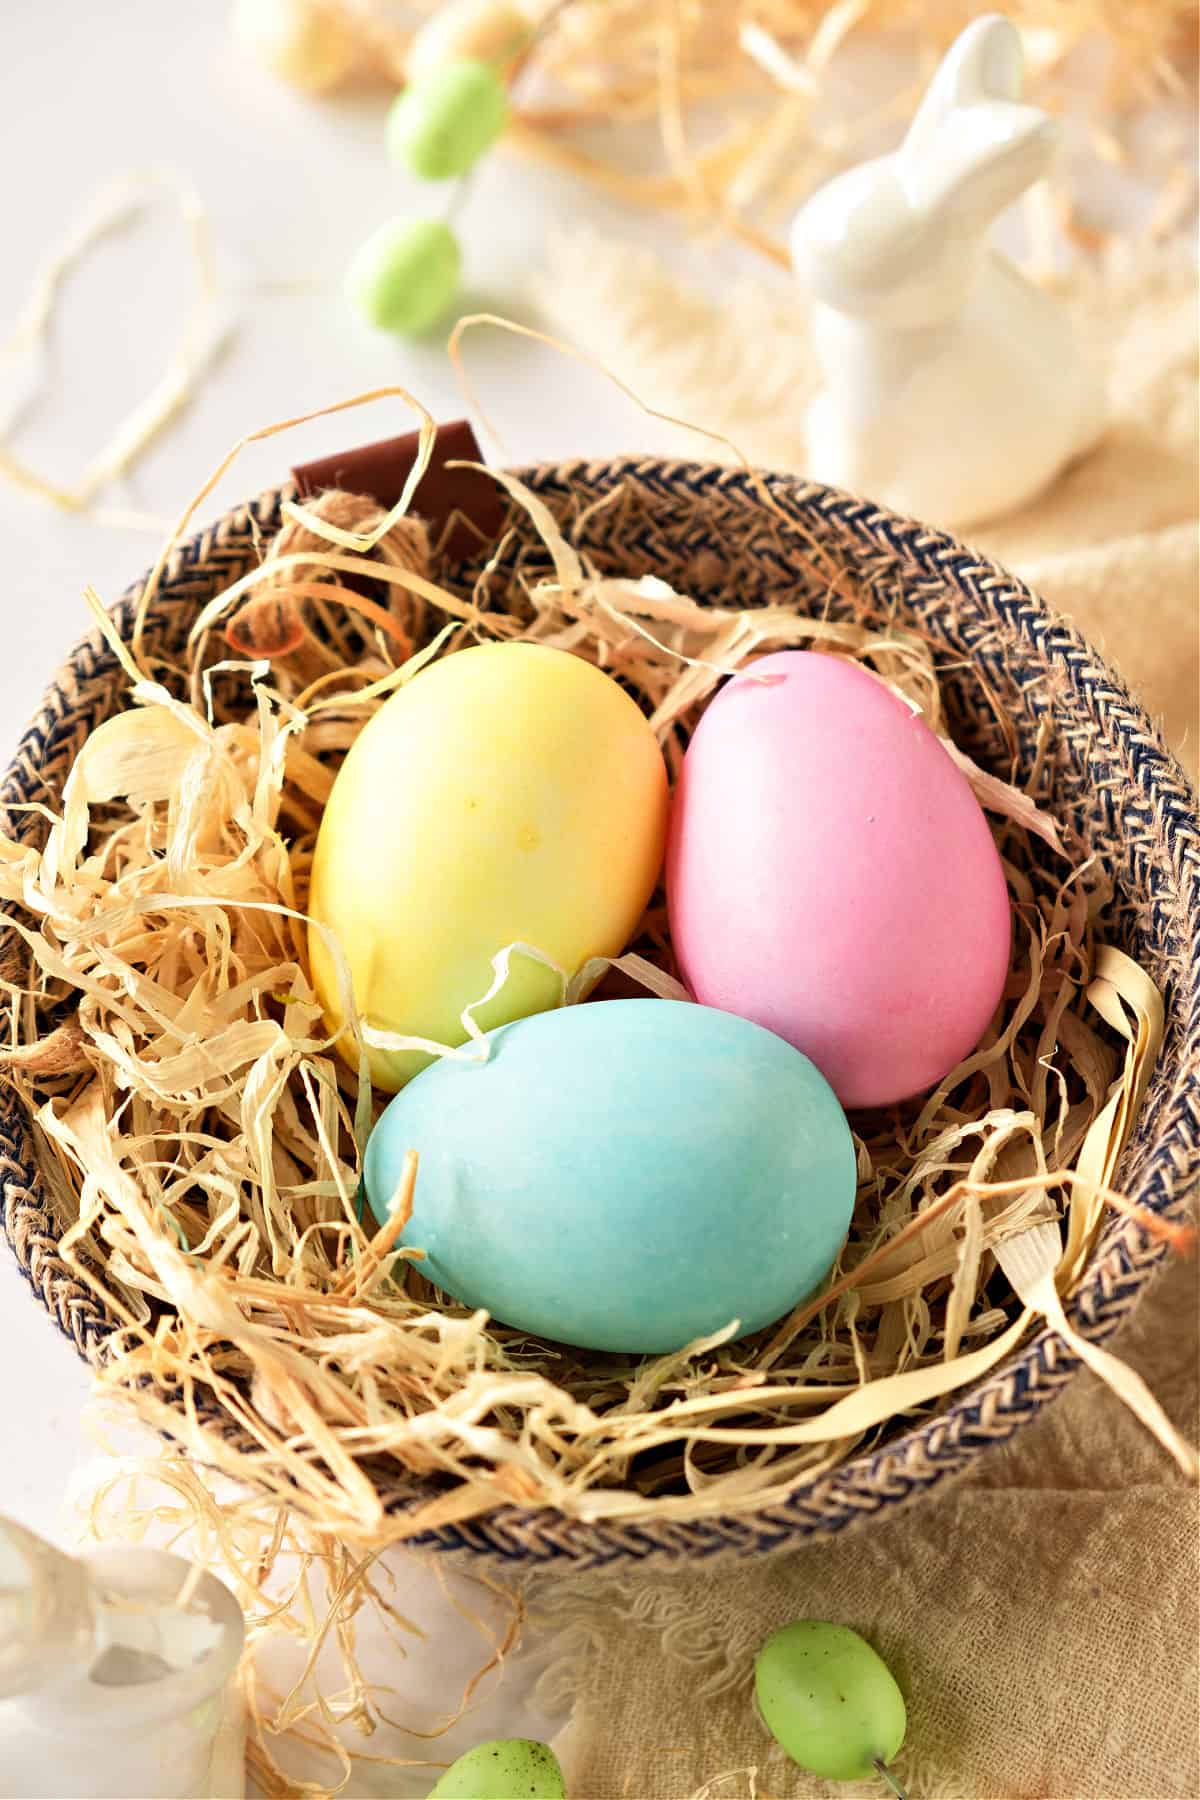
Remove and dry
Carefully lift the egg out with a spoon and place it on a paper towel or wire rack to drain any excess dye.
Once it's no longer dripping, transfer them to an empty egg carton to dry completely.
Kitchen Notes
Organization: Read the recipe first and ensure you have the ingredients at the correct temperature, the utensils and equipment needed, and enough workspace. This will make the process so much easier.
Hard-boiled eggs: To prevent cracking as much as possible, add a tablespoon of salt to your boiling water.
For perfect hard-boiled eggs, I place them in a pot of cold salted water and count exactly 10 minutes (I use my phone) from the moment the water starts to boil. Then I remove them from the hot water with a slotted spoon and place them in ice water for ten minutes to cool. My mother lets the water come to a boil, removes the pot from the heat, covers it with a lid or plate, and lets it sit for 12 minutes before removing the eggs to the bowl of ice water.
Deeper colors. Add more food coloring drops or let the eggs sit in the dye solution longer for more vibrant colors. Or soak them twice: remove the eggs from the color bath, dry them, and then re-soak them. You'll probably have to experiment with times and amounts of dye before you get to your ideal colors.
Handling wet eggs: Use a slotted spoon or tongs to handle eggs while dyeing to avoid getting dye on your fingers. Use rubber kitchen gloves.
Extended shelf life: Keep your decorated eggs refrigerated when not on display. They'll be good to eat for about one week after boiling.
If you made this recipe and loved it, you can comment below and leave a 5-star ⭐️ review. Also, if you had issues, let me know so we can troubleshoot together.
You can also subscribe to our FREE email series 'Baking the Best' and our regular newsletter. Or follow and save my recipes on Pinterest.
As an Amazon Associate, I earn from qualifying purchases. Read my disclosure policy.

How to Dye Easter Eggs
Ingredients
- 12 eggs, raw or hard-boiled, see Notes below
- 4 cups water
- 8 teaspoons white vinegar
- 4 water-based food coloring dyes, yellow, green, red and blue. Don't use oil-based dyes!
Instructions
Prepare the dye baths:
- Place about 1 cup of hot water (but not boiling) in each of 4 container bowls.
- Add 2 teaspoons of white vinegar to each bowl (it's 1 teaspoon vinegar per ½ cup of hot water) and stir. The vinegar helps the dye adhere to the eggshells, so you must use it.
- Add drops of a different food coloring to each container, depending on the desired color intensity. Use blue, green, yellow and red. Make sure to have separate containers for each color you want to use.
To dye the eggs:
- Carefully, especially if handling raw eggs, place 1 or 2 eggs (depending on the size of the bowls) into each of the dye baths using tongs or a slotted spoon, ensuring they are fully submerged. Allow the eggs to soak in the dye for 3-5 minutes for white eggs and 10-15 minutes for brown eggs. Depending on how dark you want the color, they might take longer. Turn them frequently so they color more evenly.
- Carefully remove the eggs from the dye baths and let them dry on a wire rack or paper towels. Once they are no longer dripping and dry, store the eggs in a cool, dry place. I use egg cartons and keep them in the fridge.
Rate and review this recipe