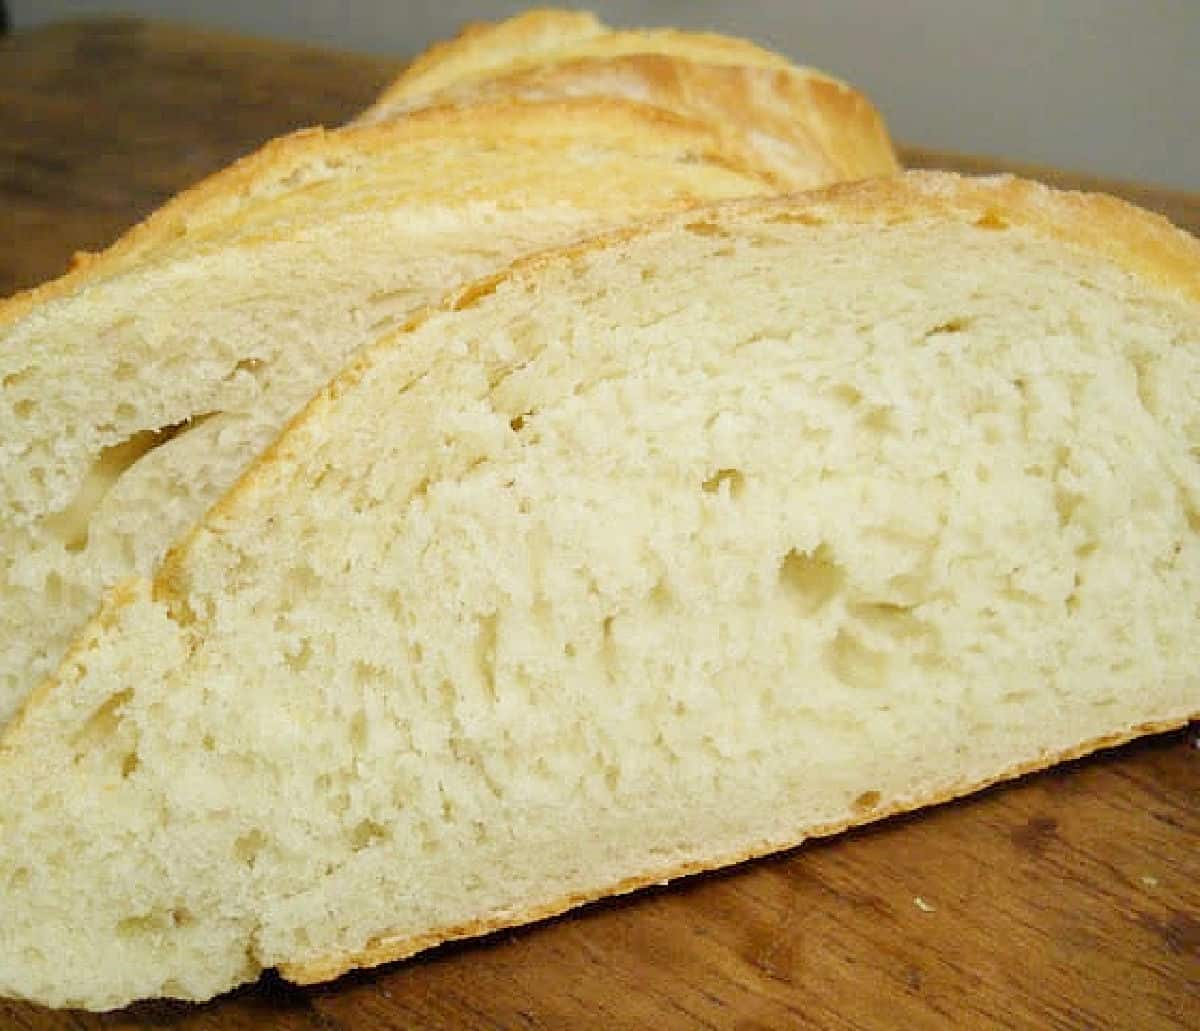
This French bread recipe is GOLD when we want homemade bread without the hassle. It's kneaded in the food processor in 45 seconds! There is waiting time after that, but very little hands-on work. The crust is crackly, and the inside is soft and creamy. Crusty French bread at its best, and with a video tutorial!
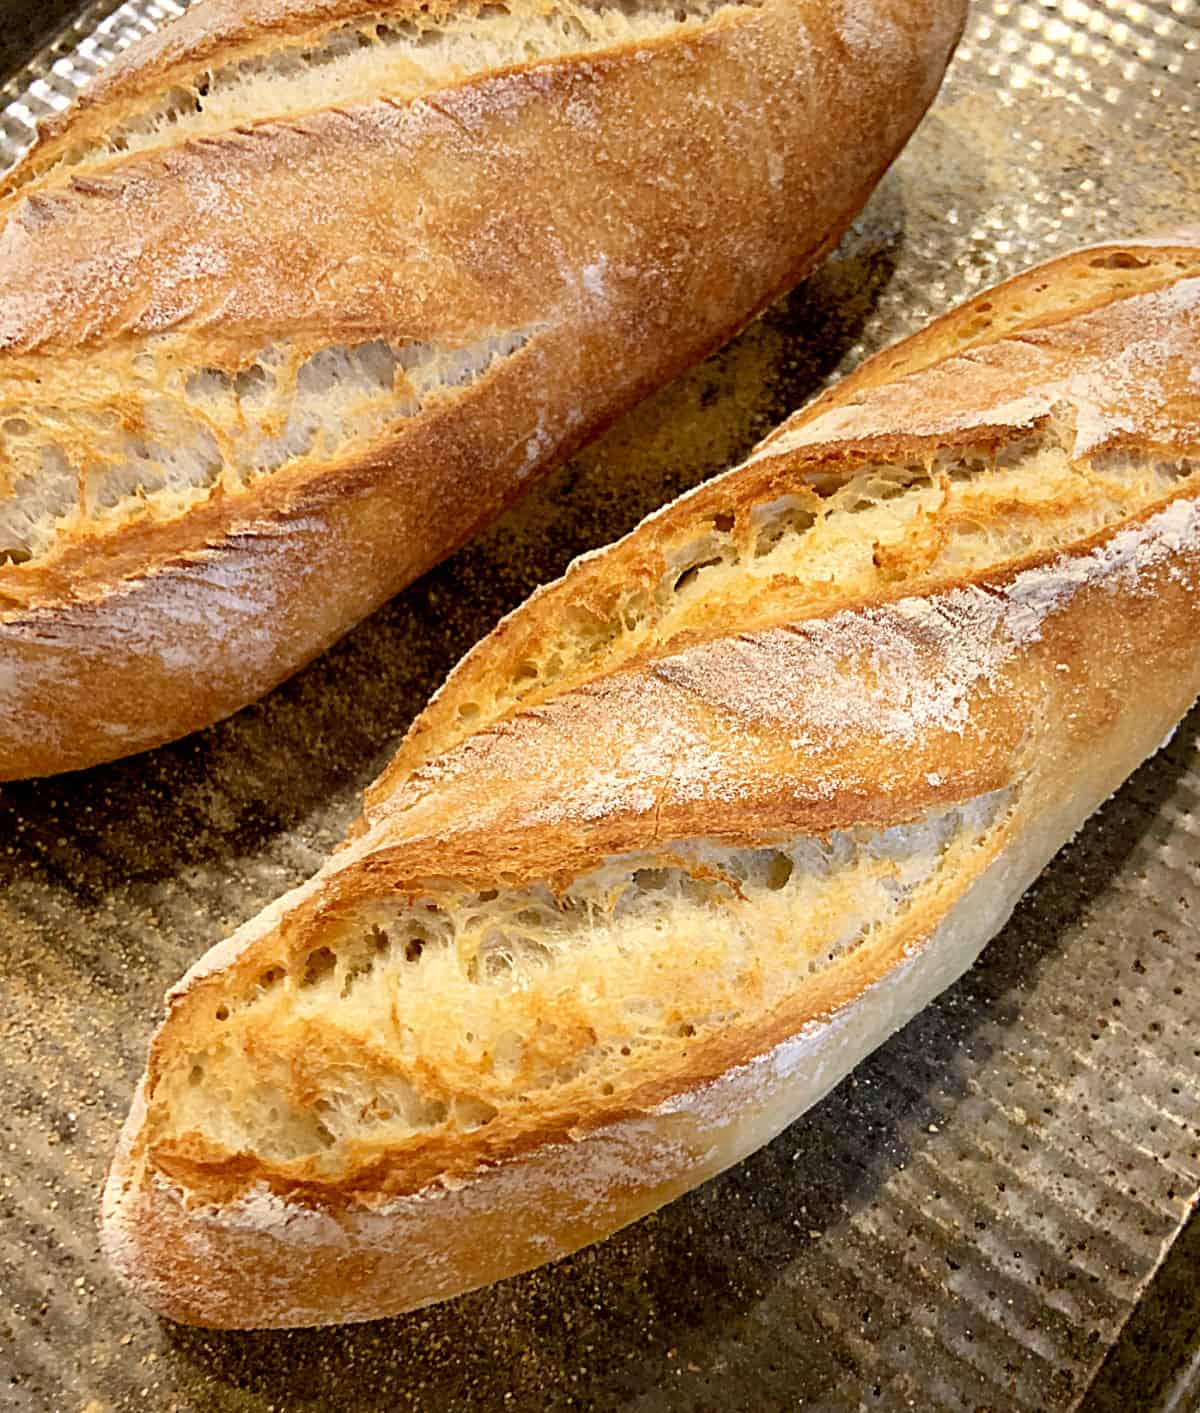
This recipe is a game changer
I started making this bread recipe years ago. I would make a double batch, form it into individual sandwich-sized loaves and freeze them.
Or eat a freshly baked loaf in a matter of minutes; that also happened sometimes. Warm with a dollop of butter this bread is fantastic!
During the 2020 bread-baking craze, I dusted off this recipe and made it with regular white bread flour and superfine whole wheat flour. Both are amazing! The latter is more rustic and doesn't completely develop that crackly crust, but that is minor compared to the easiness of this recipe.
I love making homemade bread. The aroma in the kitchen is unparalleled, as are those first warm crusty bites.
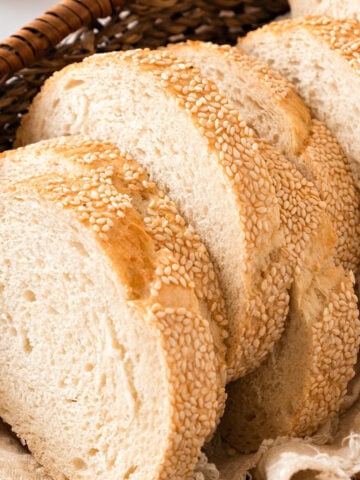
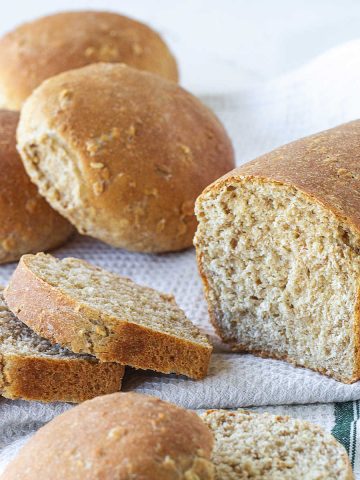
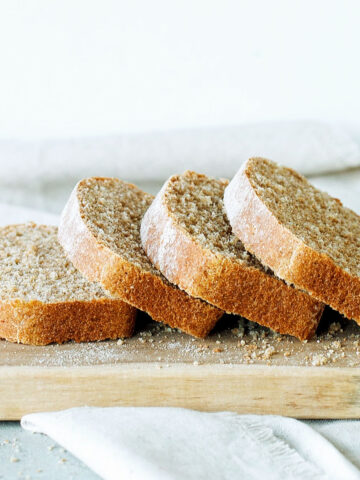
For breakfast and sandwiches, I tend to lean towards fiber-laden ones like this whole wheat oatmeal bread recipe that is versatile and delicious. For bruschettas, there's nothing like this Italian semolina bread.
So, let's go straight into the details of making this French bread.
FAQ
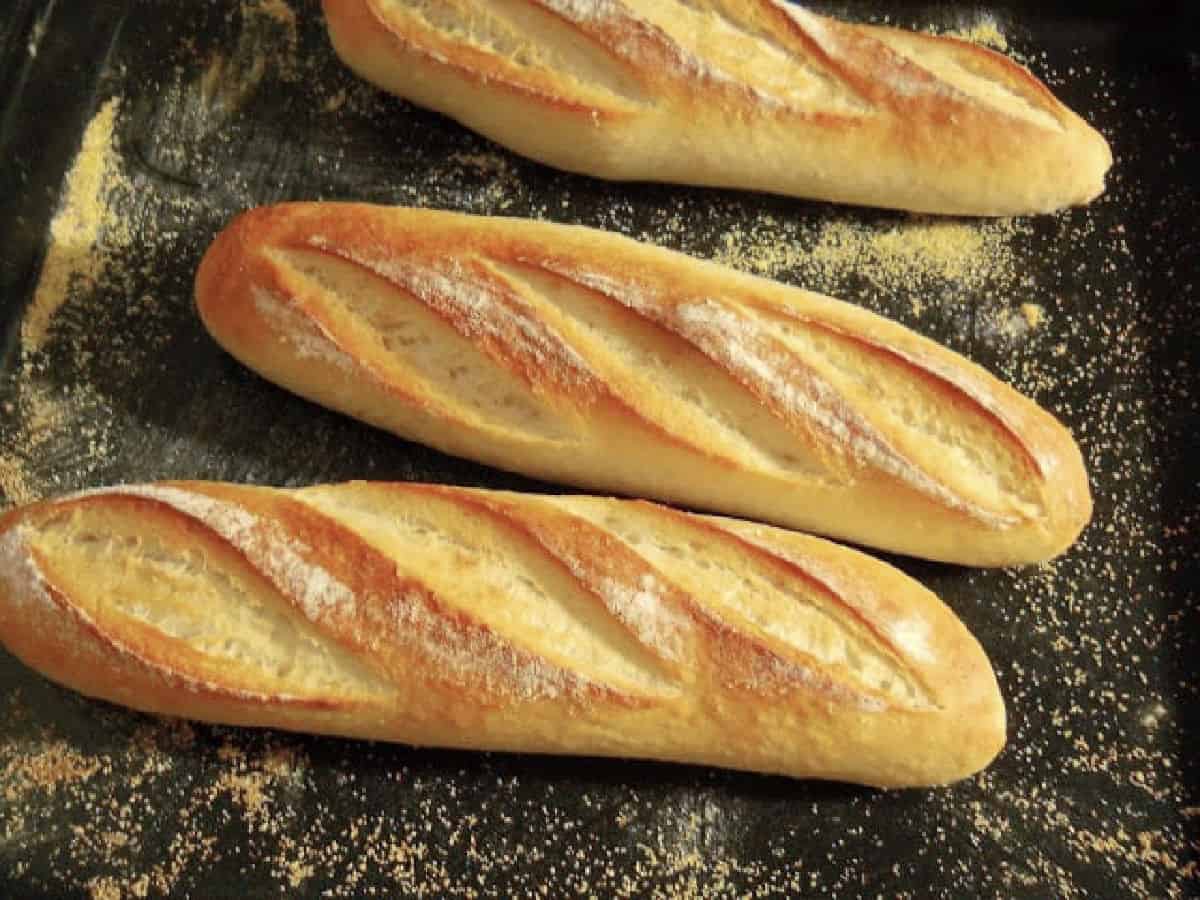
They're both the same. A baguette is a French bread shaped like a stick, long and thin, and the name used for this type of bread in France.
Absolutely! And I recommend doing so if not eating in the first hours of making it as it can harden or become too chewy pretty fast.
Ingredient Notes
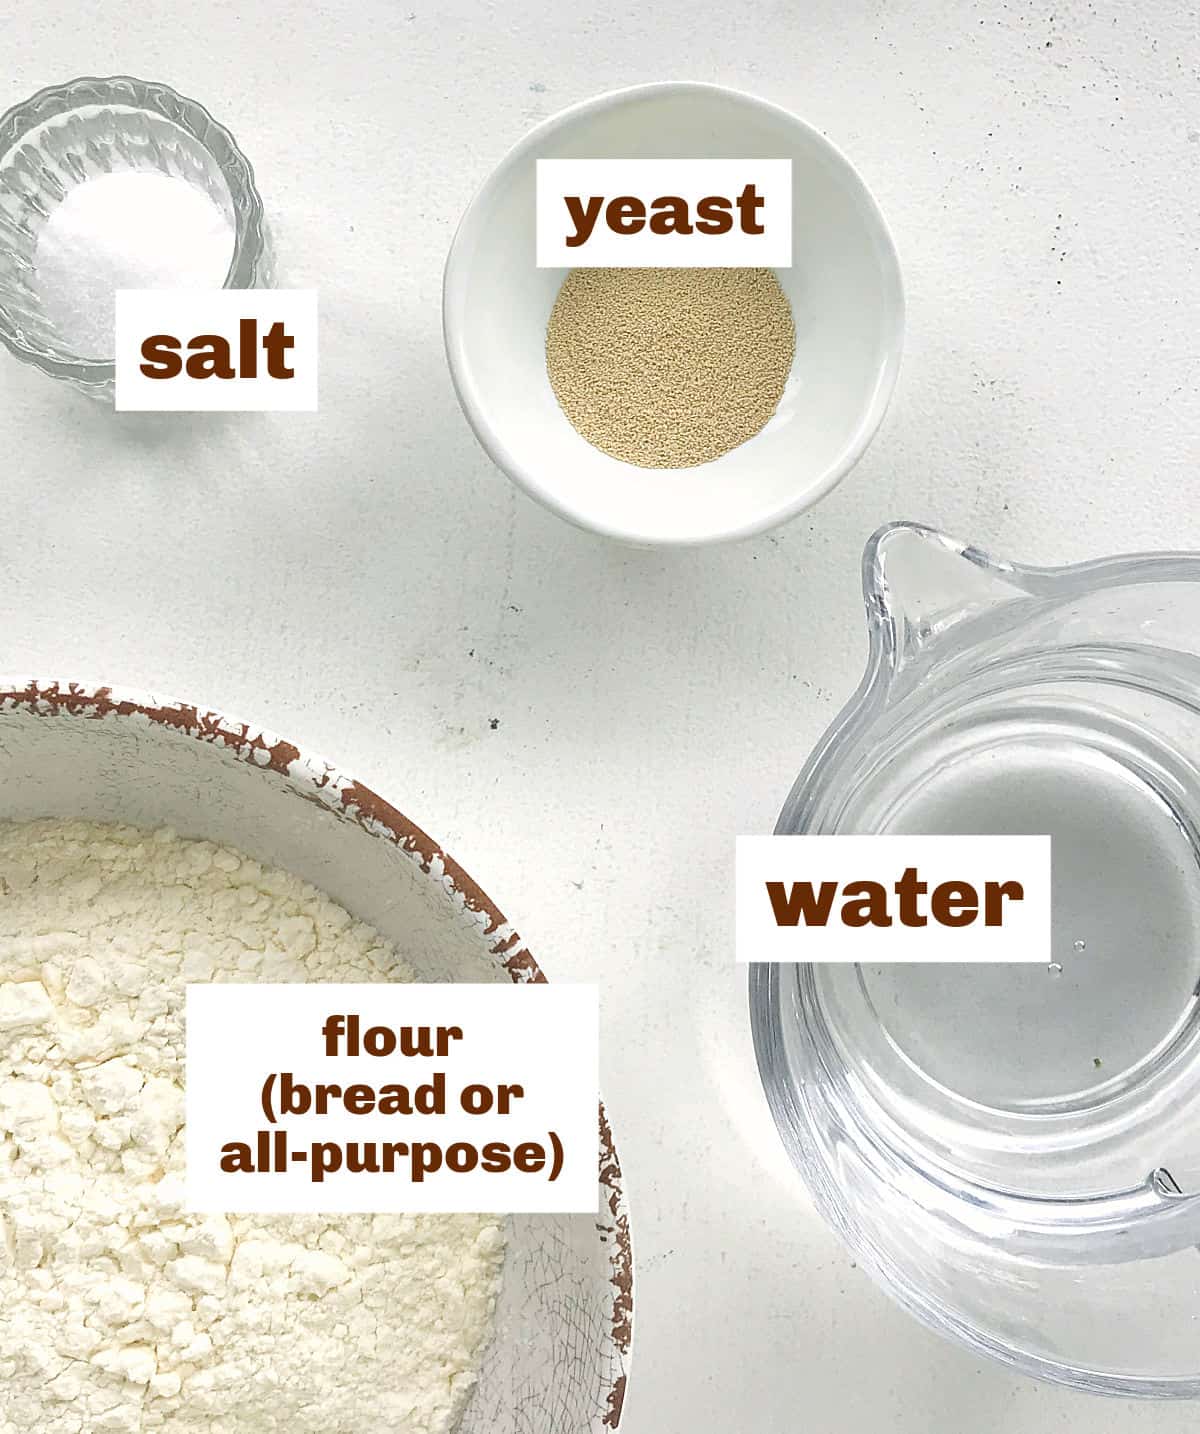
Quantities are listed on the recipe card towards the end of this post. The Ingredients page has more details and lists the brands we use.
- Yeast: for this recipe, you need dry instant yeast.
- Flour: depending on where you live they have different labels. I use bread flour, and I highly encourage it, as it has more protein, thus developing more gluten which makes for a better rise and crumb. All-purpose will work if that's all you have.
- Salt.
- Water: it should be tepid, and you can use mineral water or regular tap water. Be careful not to use hot water as it will greatly diminish the yeast's strength or kill it altogether, and the bread won't rise. Slightly warm or tepid means that you can dip your pinky finger and it will be barely warm.
How to make baguettes
You'll love how easy this recipe is to make! There is some waiting time to allow the yeast to render its magic, but besides that, there is little hands-on work.
- Time is the most important step, and this French bread recipe is easy to follow. You only need to process the dough for 45 seconds! Yes, that's right, less than a minute.
- Food processor: it's a necessary appliance for this recipe. Use one that is large enough to hold all ingredients comfortably.
Ingredients
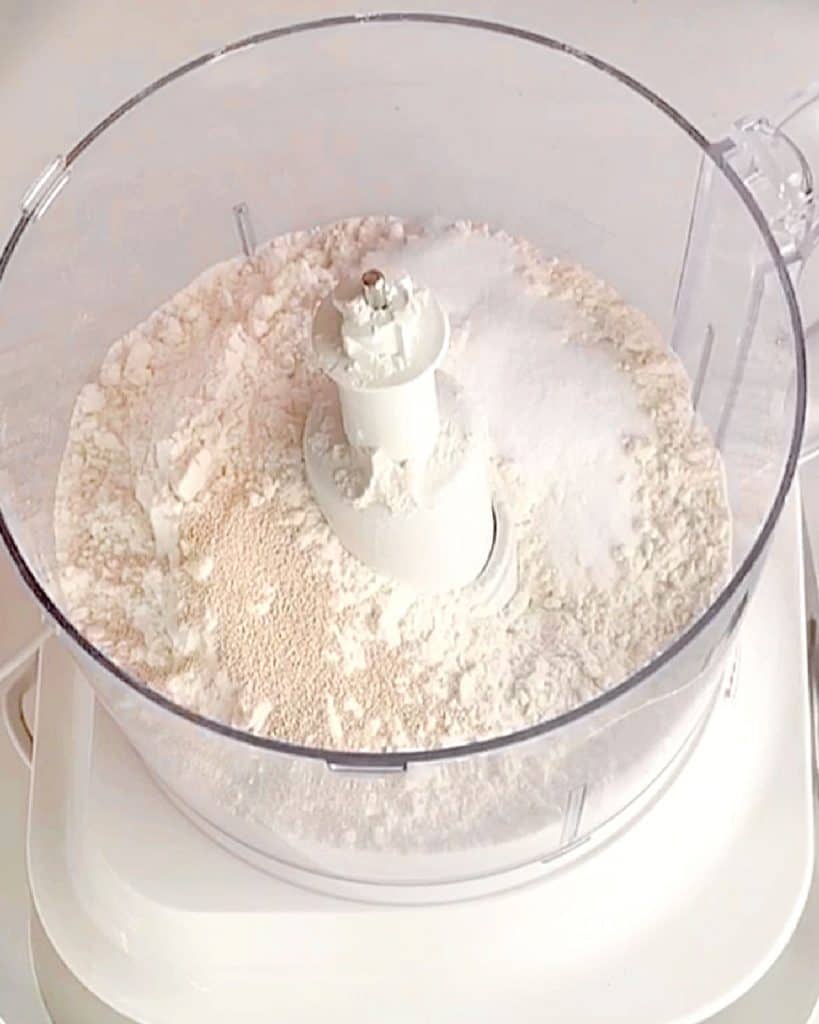
Make sure the salt and the yeast do not touch before adding the water, as it can reduce the latter's strength if that happens. They will combine once the liquid is added.
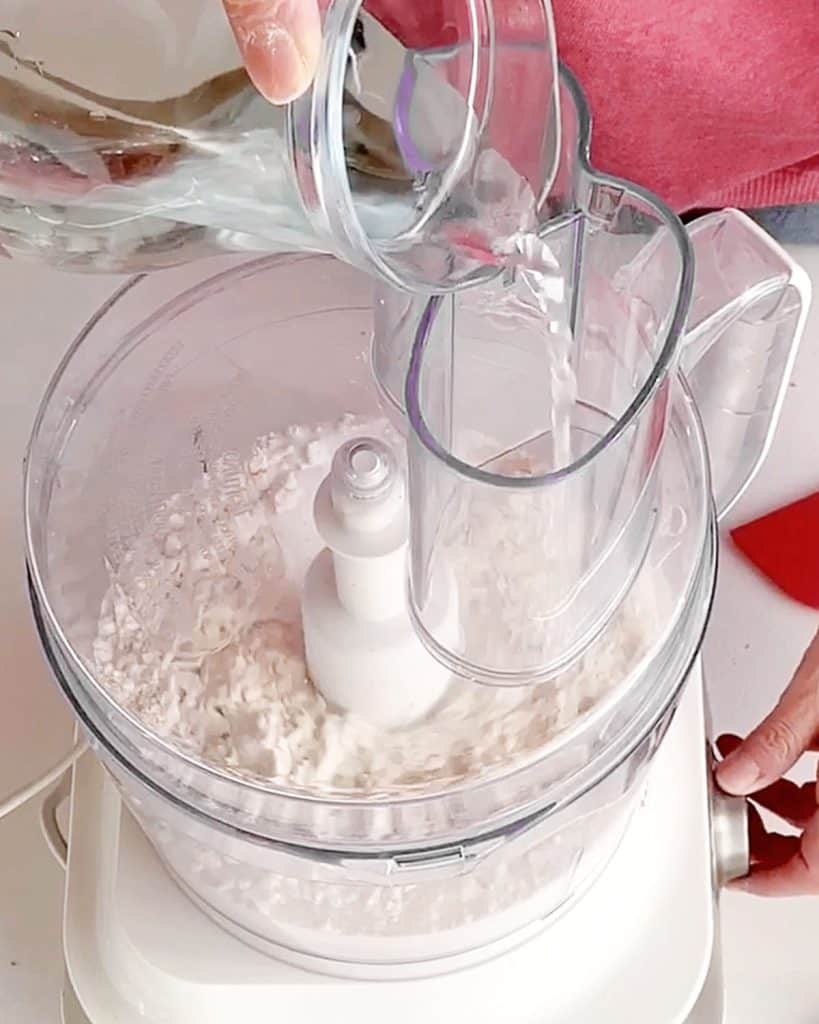
Mixing
Put the ingredients in the bowl of the food processor with the steel blade and add the water through the feed tube while the food processor is running.
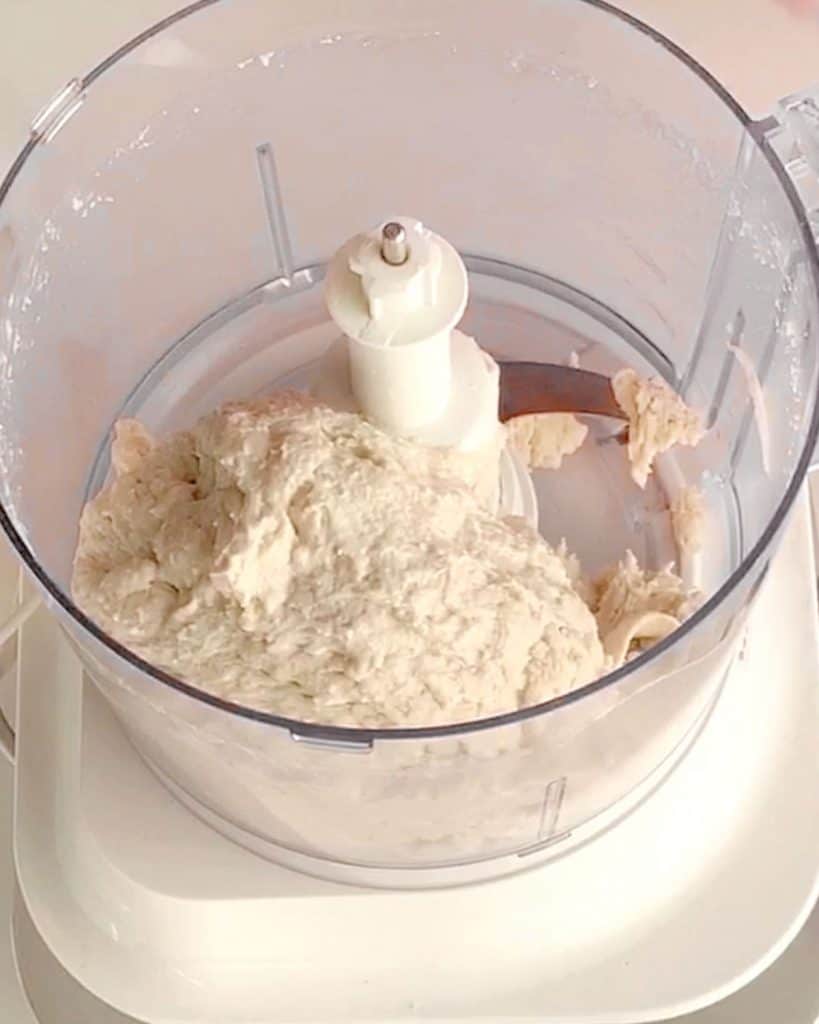
45' dough
It will be rustic, not smooth at all. You then have to let it rest for a couple of hours. The dough won't rise until doubled, so don't worry if it has hardly changed in appearance. But it will be softer and more relaxed.
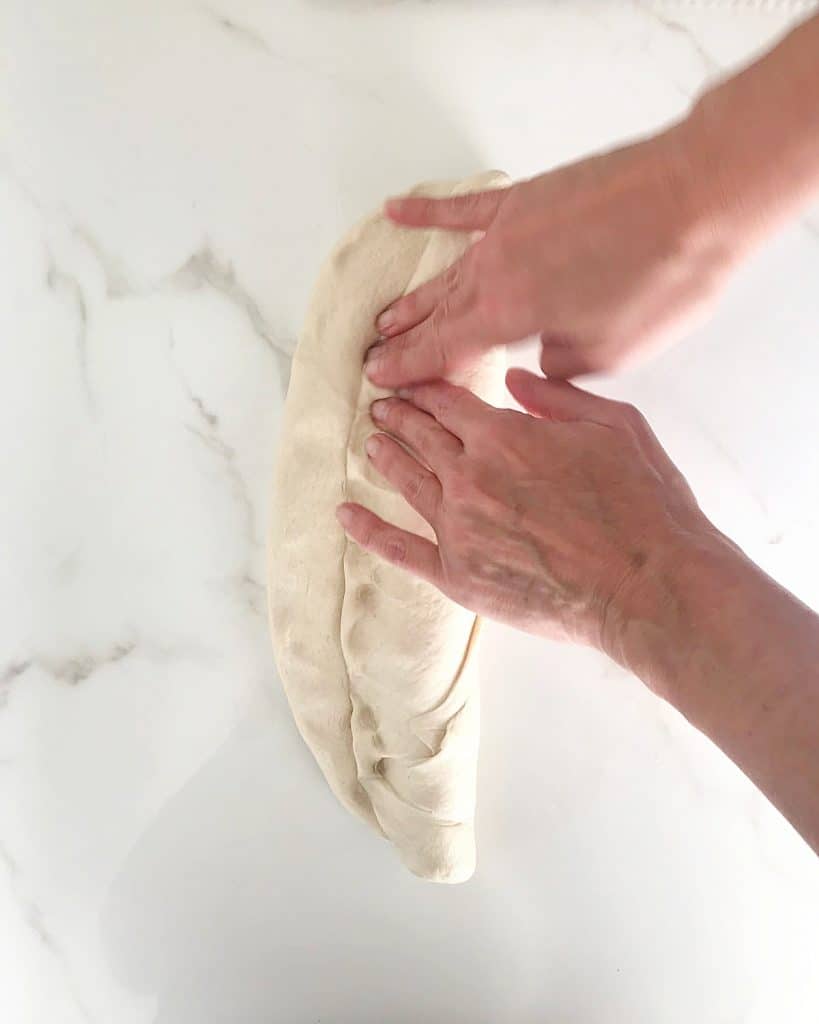
Forming
Baguettes or batards are French names that distinguish the type of loaf. The baguette is thinner and longer (more crust than crumb), and the batards are plumper and shorter (more crumb than crust).
Make a rectangle and roll it up with your hands like cinnamon rolls. Important: pinch the seams each time you roll the dough to keep out as much air as possible.
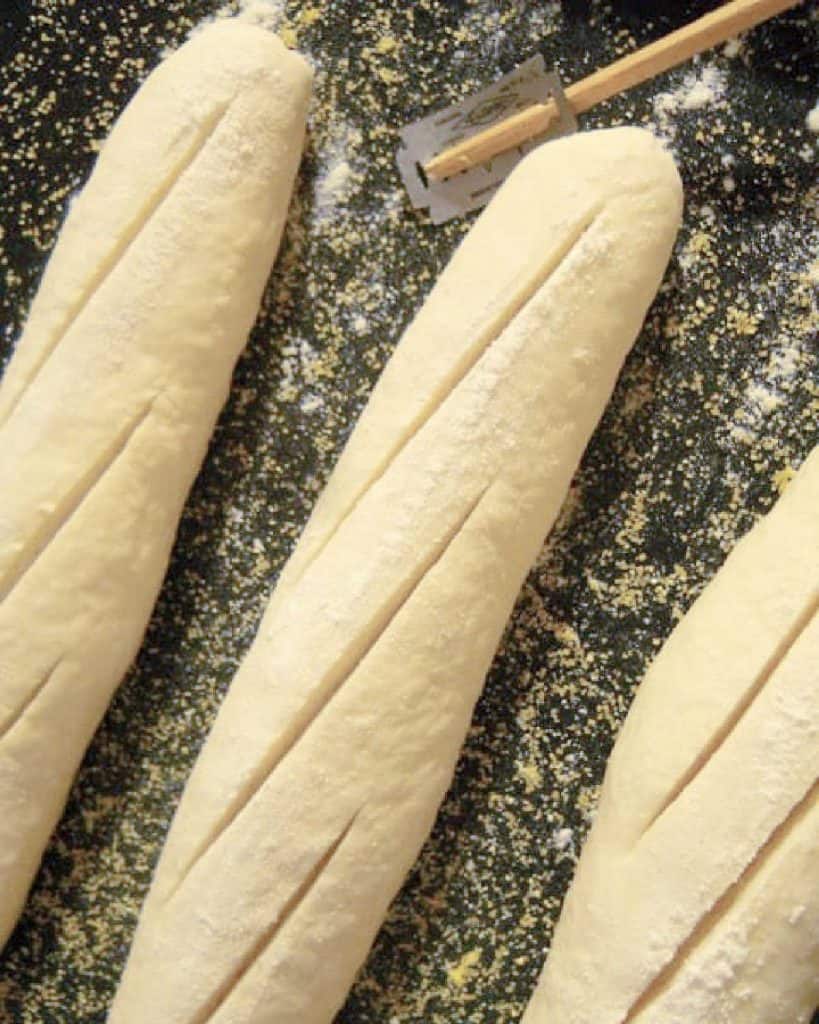
Scoring
This refers to the slits that are made on top of the loaf right before it goes into the oven. This helps the bread to rise evenly.
Use a lame (a stick with a razor blade that can be bought online) or a sharp knife.
Vintage Kitchen Tip
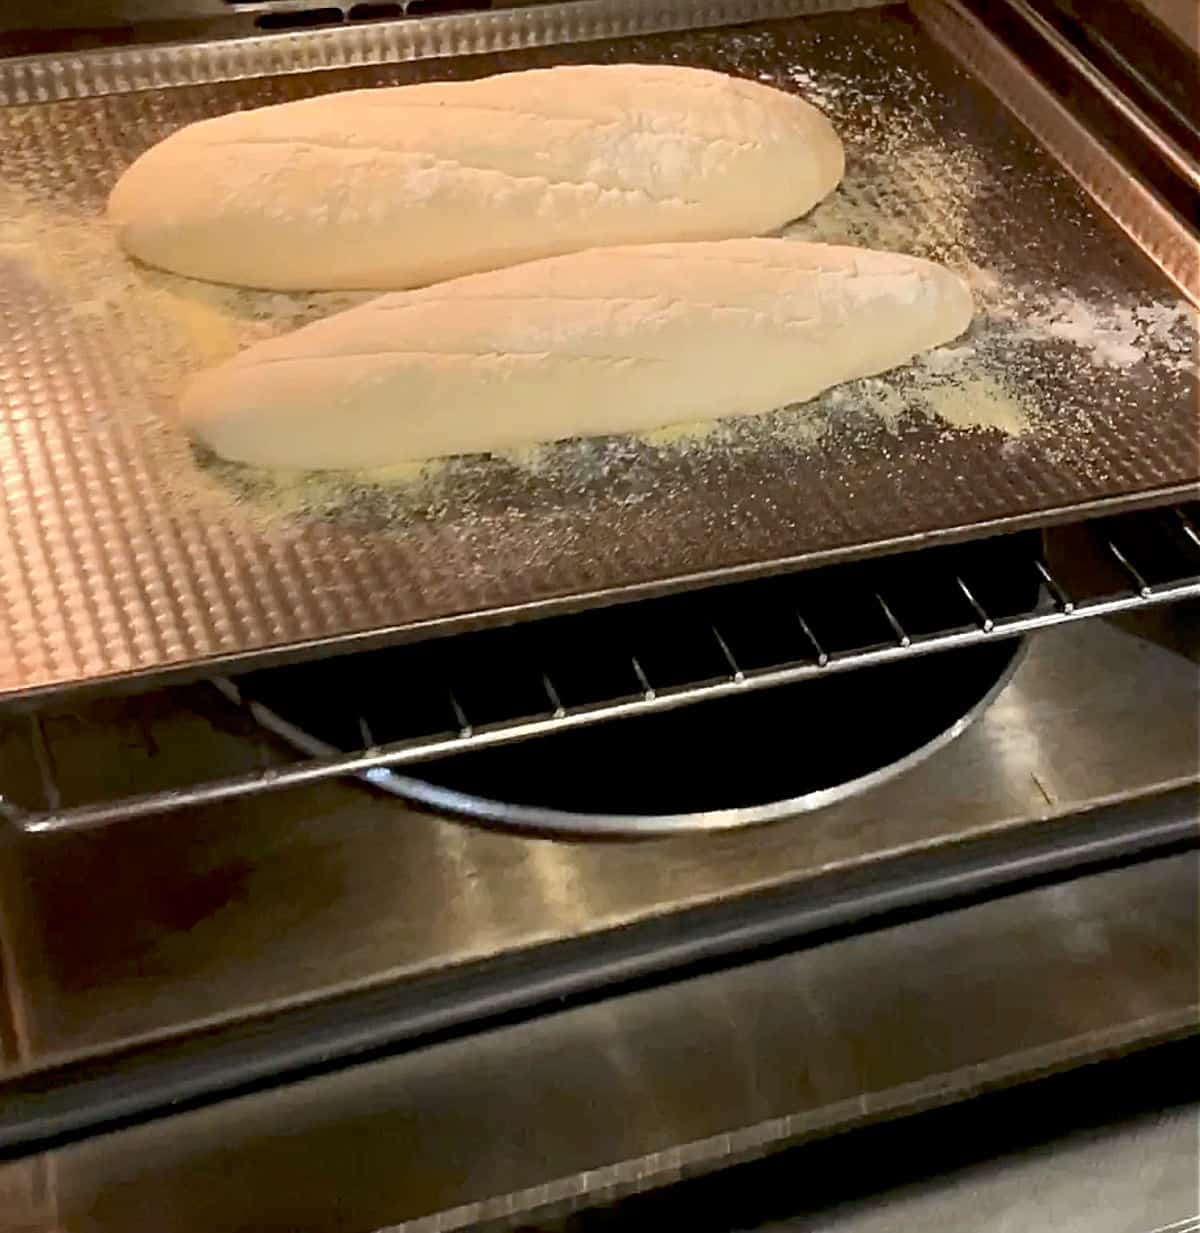
Don't be tempted to make very deep slits, as they will blossom too much during baking. You need quick cuts with a scoring razor or a kitchen knife. Depending on how sharp it is, the dough will wrinkle (see oven image below) and that is fine.
Baking the bread
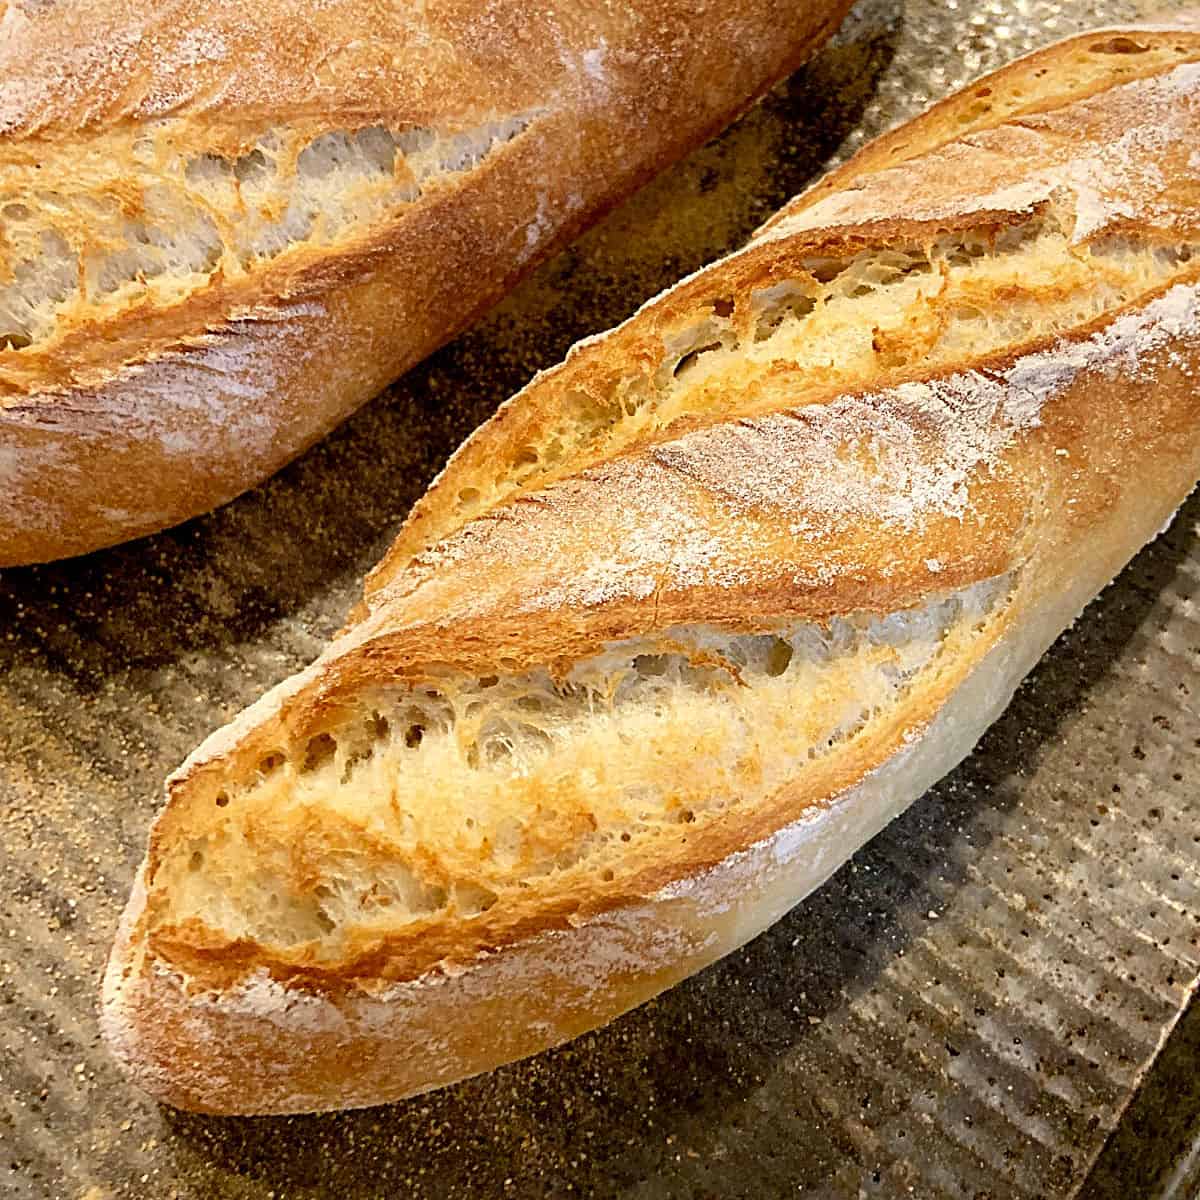
Oven: this is where the magic happens, and it's highly recommended to put a pan with hot water on the bottom of the oven to create steam while the bread bakes. It helps to create that fabulous crackly crust that we all love!
When is it done? The bread will turn a golden brown, and the slits will open. The way to know if it is fully baked is by turning it upside down (carefully because it's very hot, so use a kitchen towel) and tapping the bottom of the bread. It should sound hollow and not be very soft. That's when the bread is done.
Kitchen Notes
- Organization: read the recipe first and ensure you have ingredients at the correct temperature, equipment, and enough workspace. This will make the process so much easier.
- Baking time: keep in mind that all ovens and pans are different, even if they look the same or very similar. The baking time in my recipes is as accurate as it can be, but it might take you more or less time. You can use a thermometer (like the OXO oven thermometer) to check that your oven is at the right temperature. I recommend you keep track of how your oven works and what tiny details you might need to adjust.
- Time: this is a no-knead bread, but you need resting and proofing time (when the yeast does its magic), so plan accordingly.
- Flour: You can use white bread flour, all-purpose flour, or superfine whole wheat flour. The last one makes the bread more rustic and without that crackly crust, but it also renders a fantastic, more wholesome bread.
- Oven: It's highly recommended that you follow directions for both the temperature and the pan with water in the bottom. This will help you get the best results possible.
- Storing: French bread is best about half an hour out of the oven (when it had time to cool down a bit) and those few hours after. You can keep it in a bread bag at room temperature, but it will lose the crackly crust unless you warm it before eating. You can't return it to its original state, but it'll be wonderful. You can freeze this bread (I recommend slicing it thickly, wrapping it in plastic, and then in foil or a Ziploc bag).
Related recipes you might like:
If you made this recipe and loved it, you can comment below and leave a 5-star ⭐️ review. Also, if you had issues, let me know so we can troubleshoot together.
You can also subscribe to our FREE email series 'Baking the Best' and our regular newsletter. Or follow and save my recipes on Pinterest.
As an Amazon Associate, I earn from qualifying purchases. Read my disclosure policy.
Crusty French Bread Recipe
Ingredients
- 3 ½ cups bread flour
- 2 teaspoons salt
- 1 teaspoon instant dry yeast
- 1 ⅓ cup tap water, slightly warm
Instructions
- Put 3 ½ cups bread flour in the bowl of the food processor.
- Add 2 teaspoons salt on one side and 1 teaspoon instant dry yeast on the other, you don't want them to touch for now.
- Cover with the lid and begin to process at medium/high speed.
- Add 1 ⅓ cup tap water through the feed tube as you begin counting 20 seconds. Either do it out loud or use the phone timer. You're going to see the dough starts to come together.
- Stop the machine after 20 seconds and see that it is not dry. It should be rough; make sure there are no spots of flour at the bottom. If it is dry, add 1 more tablespoon of tepid water.
- Cover the bowl back and now process for 25 more seconds. It should be 45 seconds in total.
- Transfer the dough to a dry bowl, cover it with plastic wrap, and put it in a warm place for 2 hours. The dough is hardly going to rise or double, and that is fine.
- Dump it onto a lightly floured counter, and divide it into 2 or 3 pieces.
- With each piece, make some rough buns by cupping them with both hands until you have a smooth surface, cover them with a clean kitchen towel or loose piece of plastic wrap, and leave them alone for 20 minutes.
- Flatten each piece of dough on the counter (flour it lightly if needed) and shape them into baguettes. I like to make them shorter and thicker.
- Put them on an oven sheet pan lightly sprinkled with flour, polenta or oatmeal on the bottom, and dust the bread pieces with a bit of flour. Cover with a clean kitchen towel and let stand for 40 minutes.
- About 15 minutes before baking, turn on the oven at 450°F (230°C).
- Have ready a roasting pan and a kettle of hot water.
- When the 40 minutes are almost over, put the roasting pan on the bottom of the oven and carefully fill it halfway with hot water. Close the oven door. This creates steam that is great for forming that crackly crust.
- Make 3 cuts or slits to each loaf with a lame (find where to buy it online in the Notes below) or a very sharp kitchen knife, and immediately put it in the oven.
- Bake for 25-30 minutes, until golden brown and they sound hollow if you turn them over and lightly tap the bottom with your fingers.


Melanie says
Has anyone used rapid rise yeast? The store was out of the one called for in the recipe and we are snowed in!
Paula Montenegro says
Hi Melanie! I have used it with other breads and you need less of rapid rise. I use about 3/4 of the active dry quantity given. I think it will work. Since it makes two loaves, you can test it with half the recipe and adjust.
Keith says
I'm a retired hotel chef. I got bored this morning, and googled bread recipes. I picked this one, and I thought 'if it's good, I'll share with the neighbors' (I just moved here in December.)
I followed the recipe exactly, which is unusual for me.
Point is, I've already eaten one of the loaves, and I don't like any of the neighbors to share.
And my kitchen stayed spotless.
Paula Montenegro says
Hahaha you made my day with this comment Keith! Happy to know it worked out so well.
SmallTownGirl says
Excellent! My recipe is the same. Only difference is adding a pan of water and an add'l tsp of salt. Yum!!
Cathie says
This recipe is life changing! We can have fresh homemade delicious bread as often as we like.. and we like often. You can't wait until the last minute but in our house someone always finishes their lunch by asking what's for dinner. That's when I think, "Gee, in 45 seconds I could have bread rising for dinner" and I do. Thank you so much!
Paula Montenegro says
This comment made my day! And I agree Cathie, life changing.
Anonymous says
What if I do not have oatmeal or polenta?
Anonymous says
What if I don’t have polenta or oatmeal?
Paula Montenegro says
Hi, use a light sprinkle of flour for the bottom of the pan. I'll add it to the recipe card. Happy baking!
Marie says
I’ve tried many recipes and this by far is my favorite! Can it be made in a regular loaf pan? If so, would you recommend one or two loafs?
Paula Montenegro says
Hi Marie! I never tired this particular recipe, but you could use two loaf pans to bake it. That said, you will not get the same crust a baguette has, and I think that's the charm of this type of bread. Also, the crumb is denser, not as fluffy as regular sandwich bread.
I would try with half the recipe and 1 pan and see how it goes.
Dietra Nickerson says
I’ve never baked anything and I made the most amazing baguettes. I’m glad I saw this before. I watched a 60 minute video. I made it in less than 15 minutes and that was getting out the food processor lol
Ashley says
This is a simple, quick, but DELICIOUS recipe!
Dani says
Managed to pull this off despite it only being my 2nd time ever baking yeasted bread... Thank you for this!
Paula Montenegro says
I’m so happy to know that Dani!
Alaaeldin says
Very good
Ori says
This is my go-to bread recipe! I tend to make one oval-shaped loaf (instead of two smaller ones) and just up the baking time to 32-33 minutes. It comes out a little darker, but still very good.
I also find this actually lasts a surprisingly long time out on my counter, so long as I put it on the cutting board cut side down.
Jan Niskala says
Hi Paula, I want to try your Crusty French Bread (Baguettes) Recipe. You mix this with your Food Processor... Unfortunately I don't have one of those, can this recipe be made using a stand mixer and the dough hook? If you get a chance please let me know. Thanks so much,
Jan
Paula Montenegro says
Hi Jan, yes, the recipe itself is for a standard baguette, so it can be made the old fashioned way in the stand mixer.
Roy Livingston says
Easy and perfect!
Taste just like fresh out of a Jersey bakery
Joy H says
Making this bread for the second time today. Absolutely delicious!!!!
My question is, if you don't have a food processor, can you use a stand mixer?
Paula Montenegro says
Hi Joy! If you use a stand mixer you knead it the traditional way, for about 8-10 minutes before letting the dough rise. Happy baking.
Kathy b says
Hi sorry about this but what is 315gms in fluid once’s
Paula Montenegro says
Hi Kathy, 315 grams are 10.65 fluid ounces of water.
Cathie says
I've my made this 5 or 6 times now. It delicious and so easy. So "hands-off"!