• Skip to primary navigation
  • Skip to main content
  • Skip to primary sidebar
  • Recipe Index
    • Appetizers & Dips
    • Bakery Recipes
    • Bars & Brownie Recipes
    • Bread Recipes
    • Brunch & Breakfast Recipes
    • Cakes, Cupcakes & Cheesecakes
    • Cheese Recipes
    • Chocolate Recipes
    • Condiments & Sauces
    • Cookies & Crackers
    • Desserts
    • Fruit Recipes
    • Grains & Legumes
    • Muffins and Quick Breads
    • Pasta Recipes
    • Pies & Tarts
    • Readers' Favorite Recipes
  • Collections
    • Freezer Friendly
    • Heritage Recipes
    • Seasonal Recipes
      • Fall
      • Winter
      • Spring
      • Summer
    • Vintage Recipes
    • Holiday Recipes
      • Christmas
      • Easter
      • St. Patrick's Day
      • Thanksgiving
      • Valentine's Day
  • Basic recipes
  • About this blog
    • The author
    • Privacy policy
    • Cookie Policy
    • Accessibility statement

Vintage Kitchen Notes logo

menu icon
go to homepage
  • ALL RECIPES
  • Holidays
  • Seasonal
  • Vintage
  • About
    • Facebook
    • Instagram
    • Pinterest
  • subscribe
    search icon
    Homepage link
    • ALL RECIPES
    • Holidays
    • Seasonal
    • Vintage
    • About
    • Facebook
    • Instagram
    • Pinterest
  • ×

    Home » Recipes » Bread Recipes

    Published: Nov 10, 2022 by Paula Montenegro · Income from ads and affiliate links 75 Comments

    No-Knead Baguette Recipe

    Jump to Recipe
    Golden loaf of bread on metal pan, brown overlay and white text

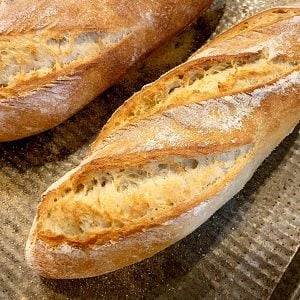
    When we want homemade bread without the hassle, this french bread recipe is GOLD. It's kneaded in the food processor in 45 seconds! There is waiting time after that, but very little hands-on work. The crust is crackly, and the inside is soft and creamy. Crusty French bread at its best, and with a video tutorial!
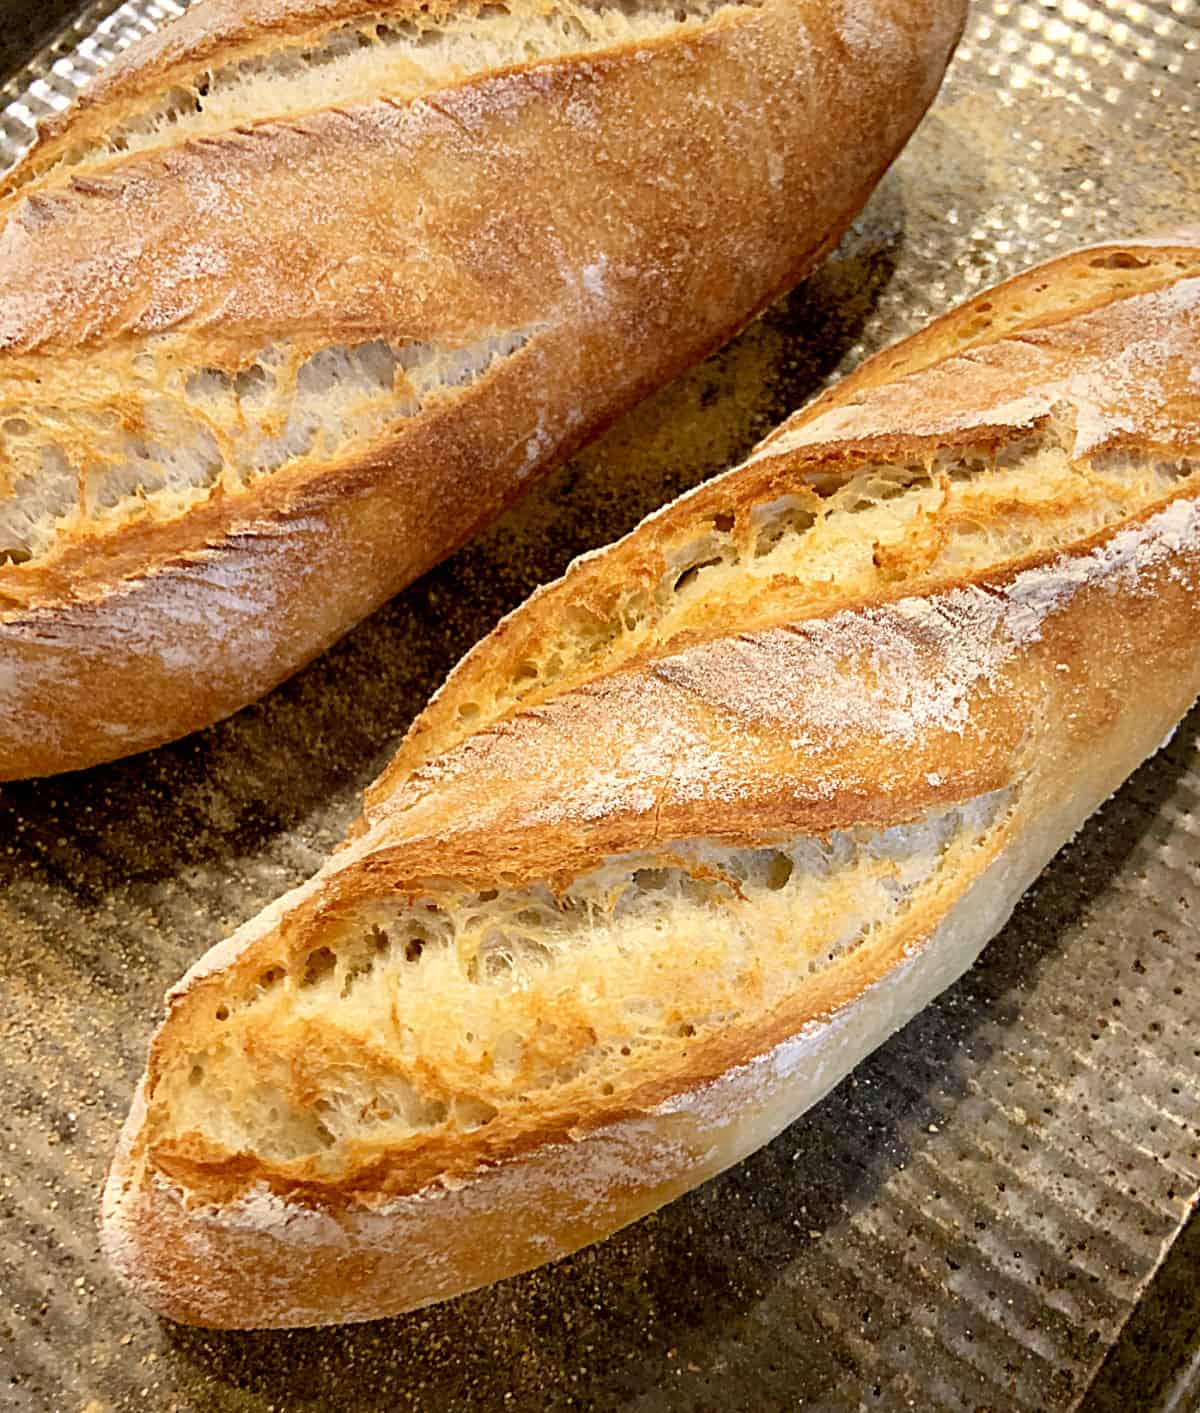
    Loaves of crusty French Bread on metal sheet.

    As an Amazon Associate, I earn from qualifying purchases. Please read my disclosure policy.

    I started making this bread recipe years ago. I would make a double batch, form it into individual sandwich-sized loaves and freeze them.

    Or eat a freshly baked loaf in a matter of minutes; that also happened sometimes. Warm with a dollop of butter this bread is fantastic!

    During the 2020 bread-baking craze, I dusted off this recipe and made it with regular white bread flour and superfine whole wheat flour. Both are amazing! The latter is more rustic and doesn't completely develop that crackly crust, but that is minor compared to the easiness of this recipe.

    I love making homemade bread. The aroma in the kitchen is unparalleled, as are those first warm crusty bites.

    For breakfast and sandwiches, I tend to lean towards fiber-laden ones like this whole wheat oatmeal bread recipe that is versatile and delicious. For bruschettas, there's nothing like this Italian semolina bread.

    So, let's go straight into the details of making this French bread.

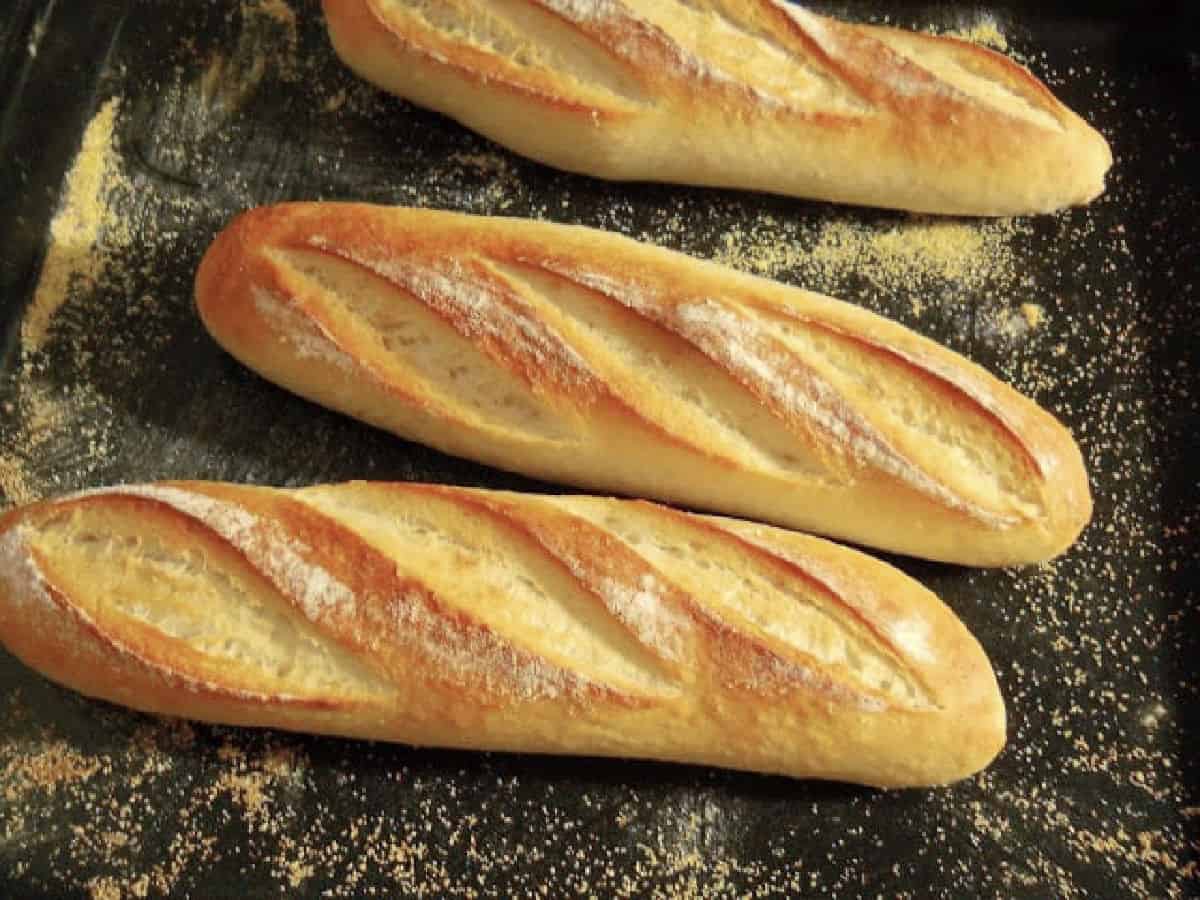
    Golden homemade French baguettes on a dark baking tray.
    Table of Contents Hide
    Ingredients
    How to make baguettes
    Forming and scoring the loaf
    Baking the bread
    Kitchen notes
    Frequently asked questions
    OTHER BREAD RECIPES YOU'LL LOVE:
    Crusty French Baguette

    Ingredients

    They are few, and you probably have them all in your pantry.

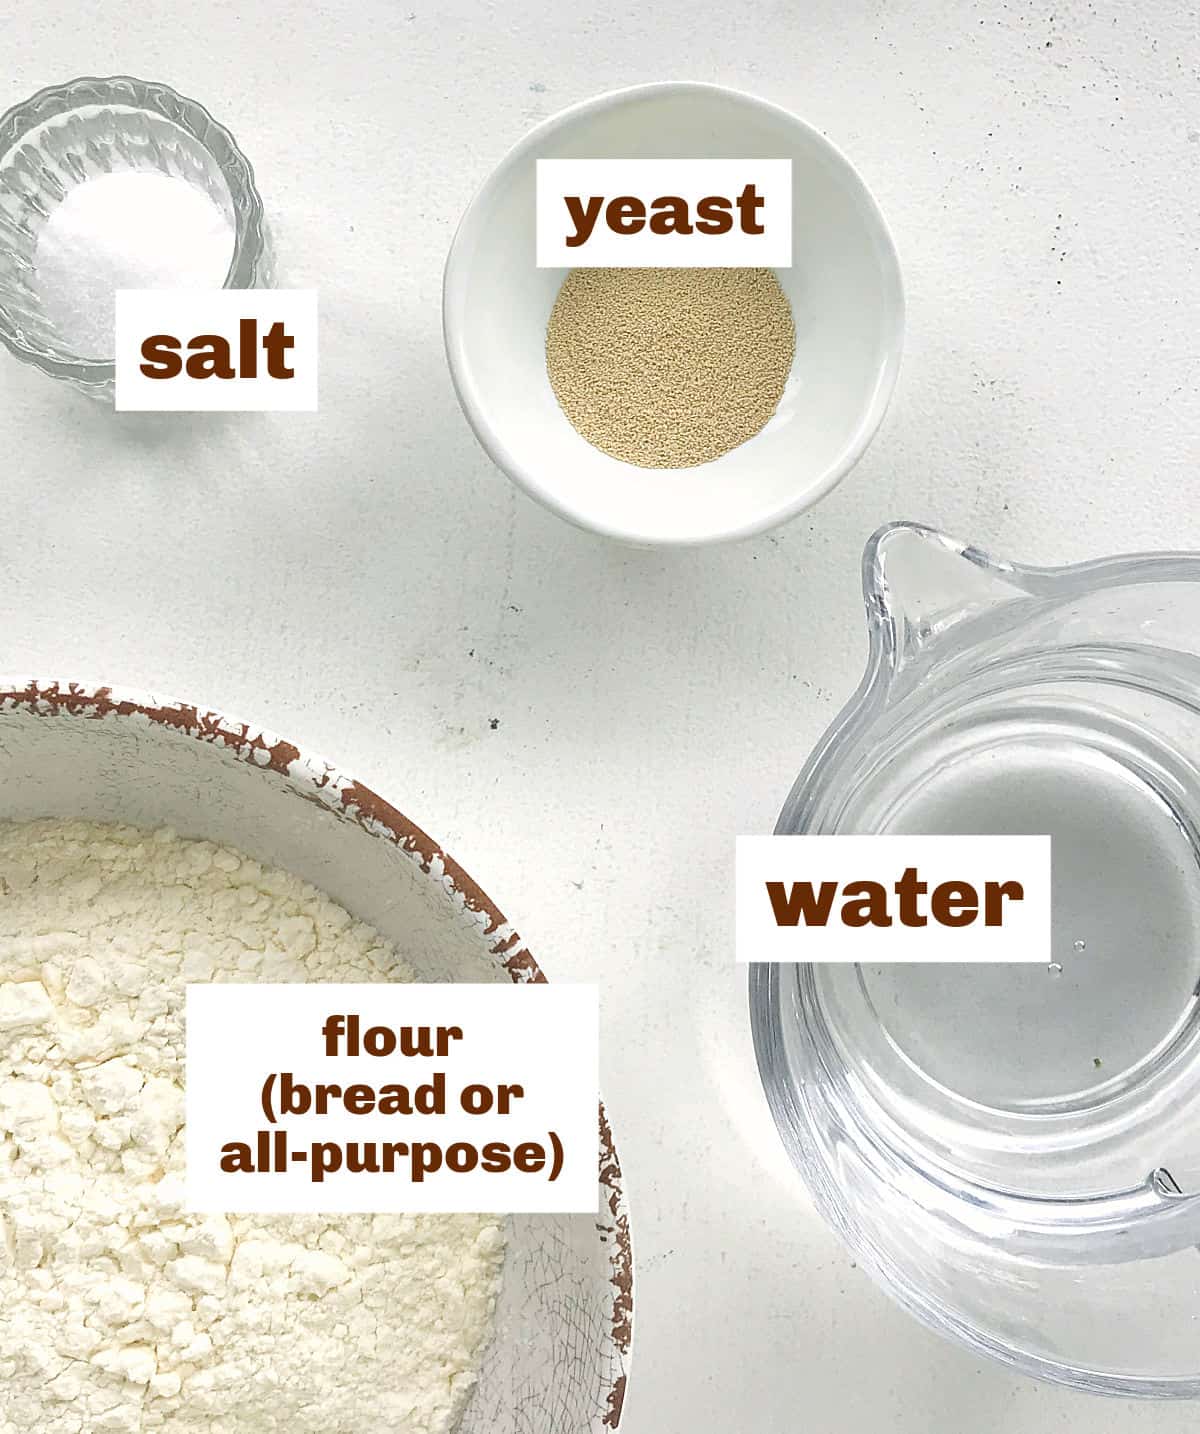
    French bread, in essence, is the recipe with the fewest ingredients because it only uses flour, salt, yeast, and water.

    • Yeast: for this recipe, you need dry instant yeast.
    • Flour: depending on where you live they have different labels. I use bread flour, and I highly encourage it, as it has more protein, thus developing more gluten which makes for a better rise and crumb. All-purpose will work if that's all you have.
    • Salt: I like to use kosher salt when baking. But regular table salt works just fine.
    • Water: it should be tepid, and you can use mineral water or regular tap water. Be careful not to use hot water as it will greatly diminish the yeast's strength or kill it altogether, and the bread won't rise. Slightly warm or tepid means that you can dip your pinky finger and it will be barely warm.
    White surface with bowls containing french bread ingredients.

    Watch our video tutorials 👇🏻


    How to make baguettes

    You'll love how easy it is to make this recipe! There is some waiting time to allow the yeast to render its magic, but besides that, little hands-on work.

    • Time is the most important step and makes this french bread recipe easy. You only need to process the dough for 45 seconds! Yes, that's right, less than a minute.
    • Food processor: it's the necessary appliance for this recipe. Use one that is large enough to hold all ingredients comfortably.
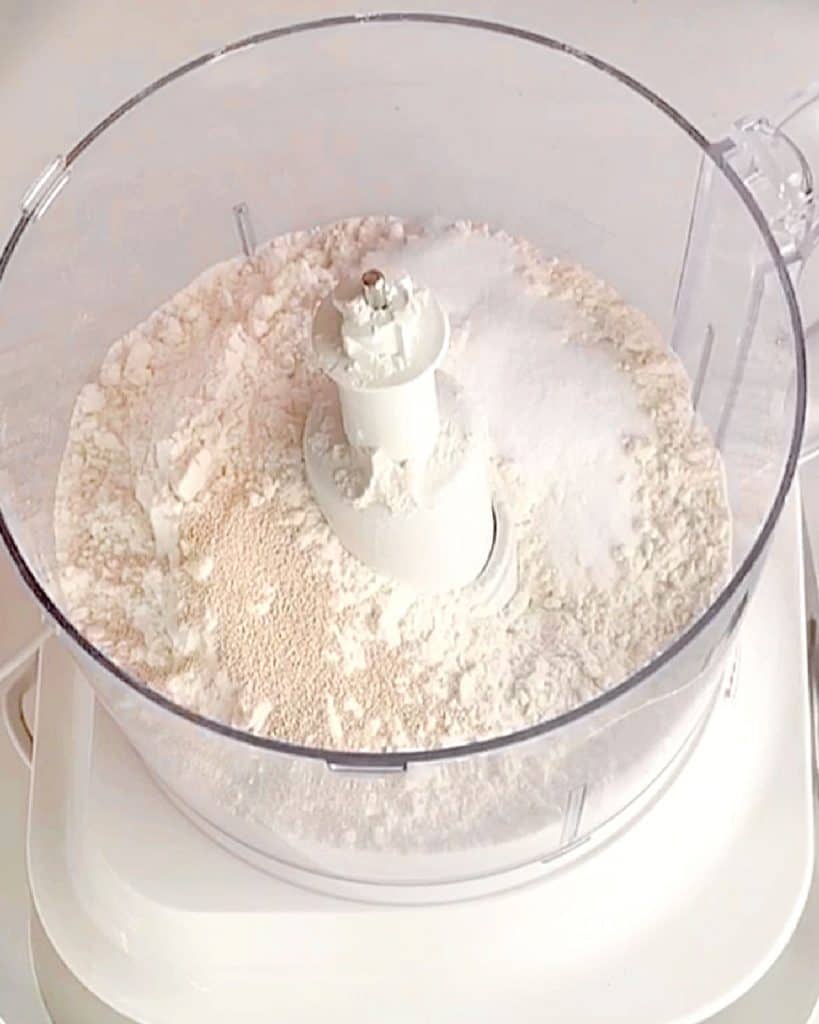
    Bowl of a food processor on a white surface with flour, yeast, and salt.

    Make sure the salt and the yeast are not touching before adding the water, as it can reduce the latter's strength if that happens. They will combine once the liquid is added.

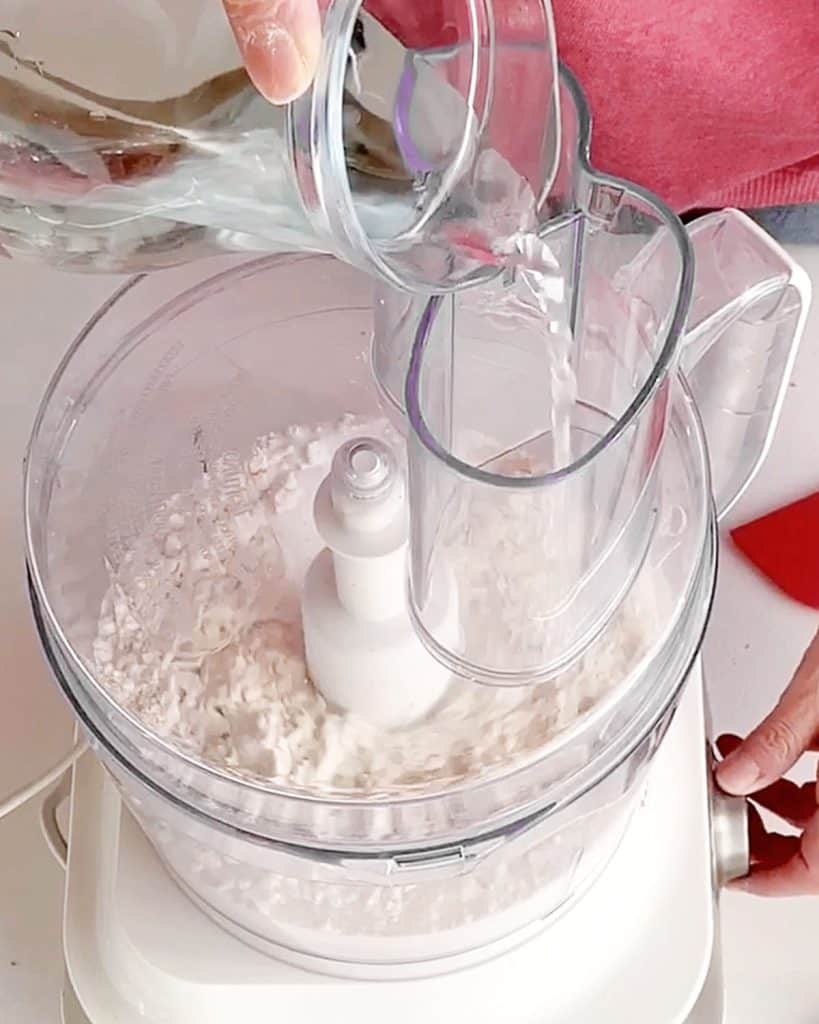
    Adding water through feed tube of a food processor to flour mixture.

    Mixing: the process for making this dough is simply putting the ingredients in the bowl of the food processor with the steel blade and adding the water through the feed tube while the food processor is running.

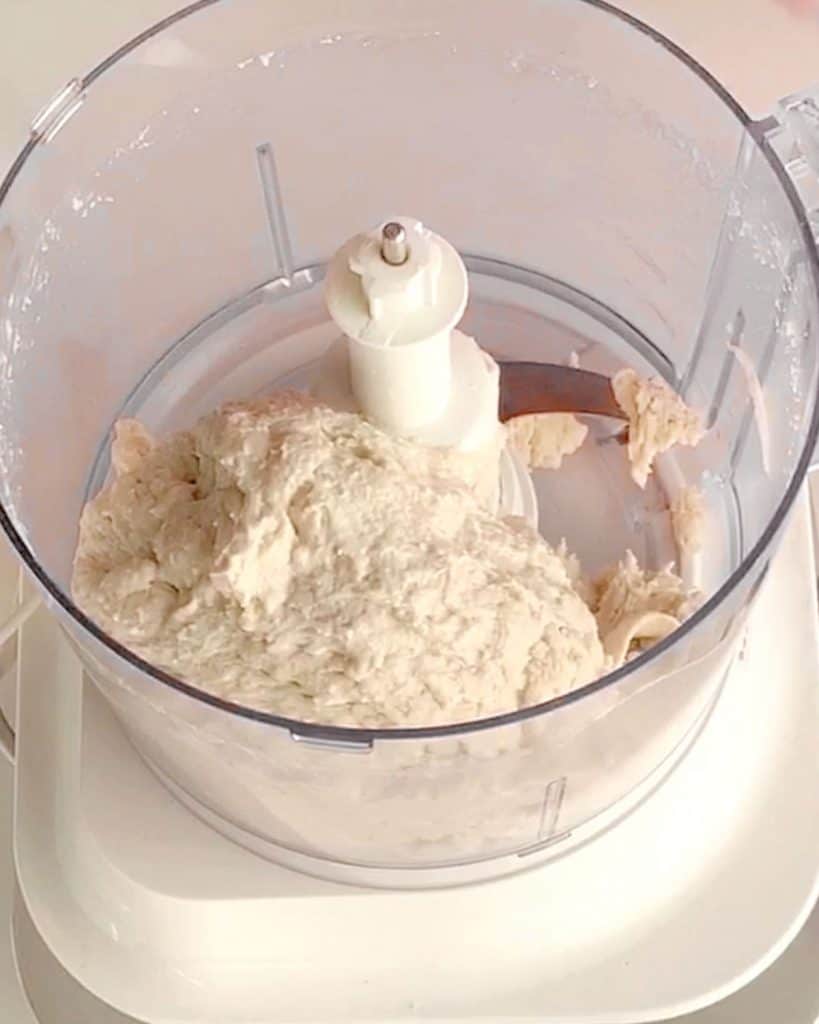
    Bread dough in the bowl of a food processor. View from above.

    Dough: it will be rustic, not smooth at all. You then have to let it rest for a couple of hours. The dough won't rise until doubled so don't worry if it has hardly changed in appearance. But it will be softer and more relaxed.

    Forming and scoring the loaf

    Baguettes or batards: they are French names that distinguish the type of loaf. The baguette is thinner and longer (more crust than crumb), and the batards are plumper and shorter (more crumb than crust).

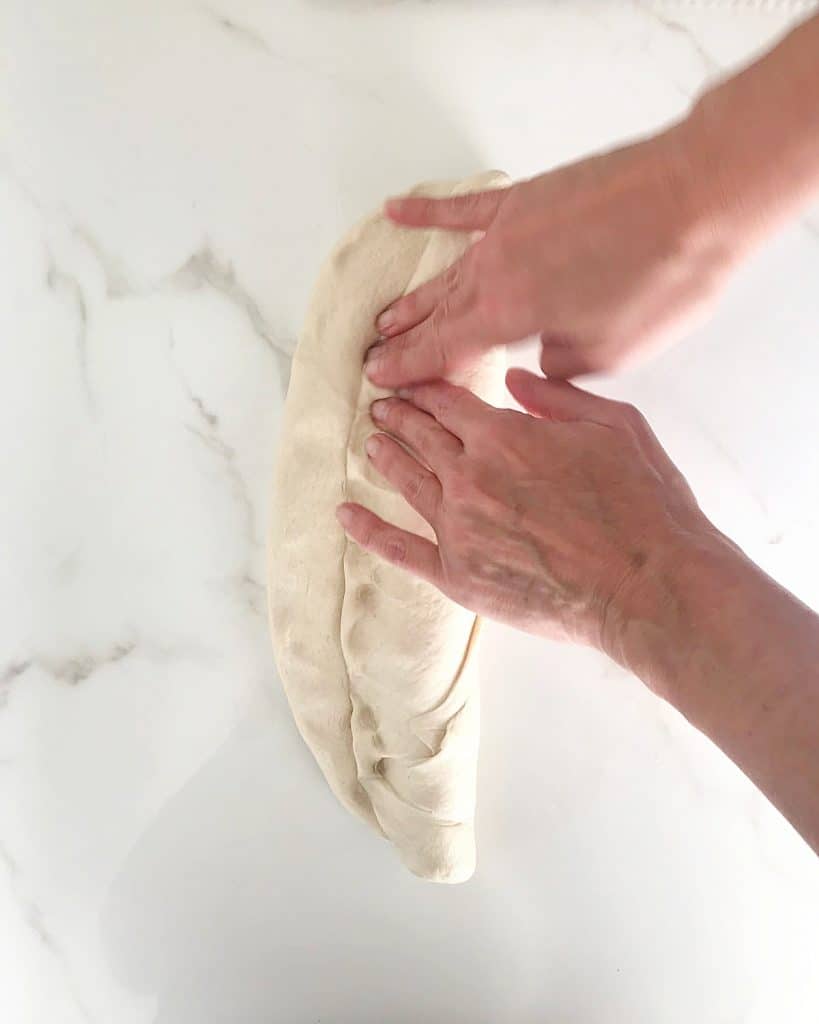
    How to form them?

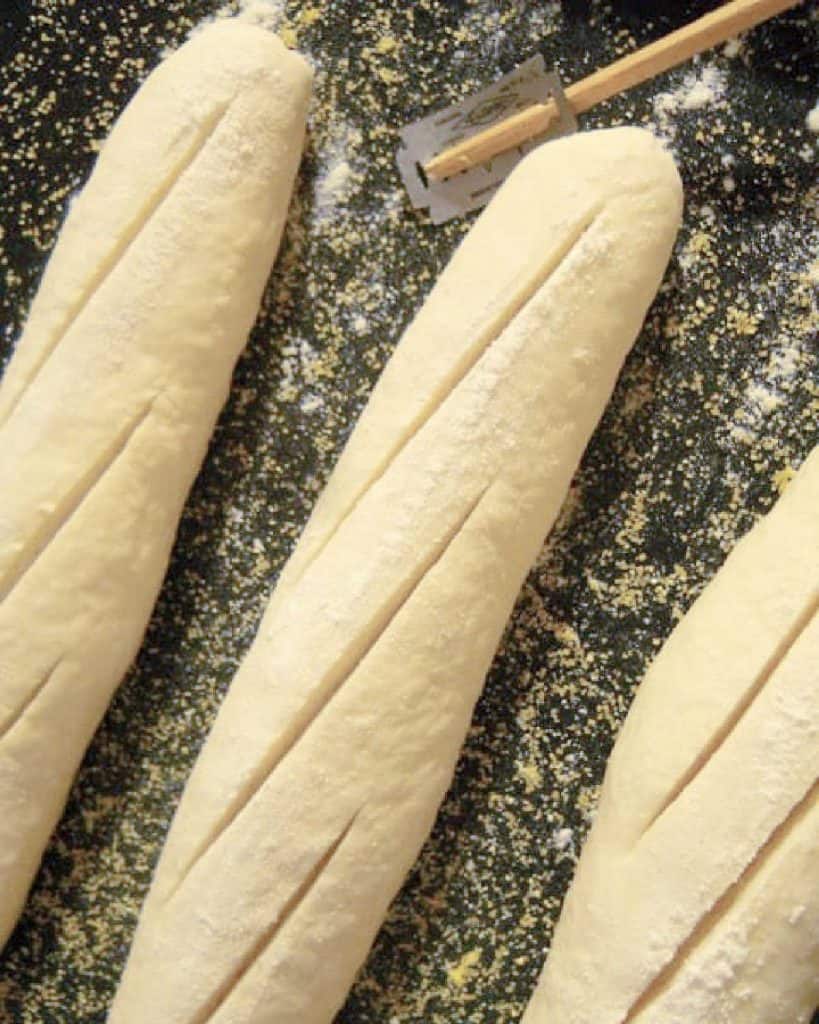
    Scoring: this refers to the slits that are made on top of the loaf right before it goes into the oven. This helps the bread to rise evenly.

    Scoring razor: if you plan on making French bread often, I highly recommend buying a bread lame for dough scoring, which is a stick with a razor blade that makes clean slits.

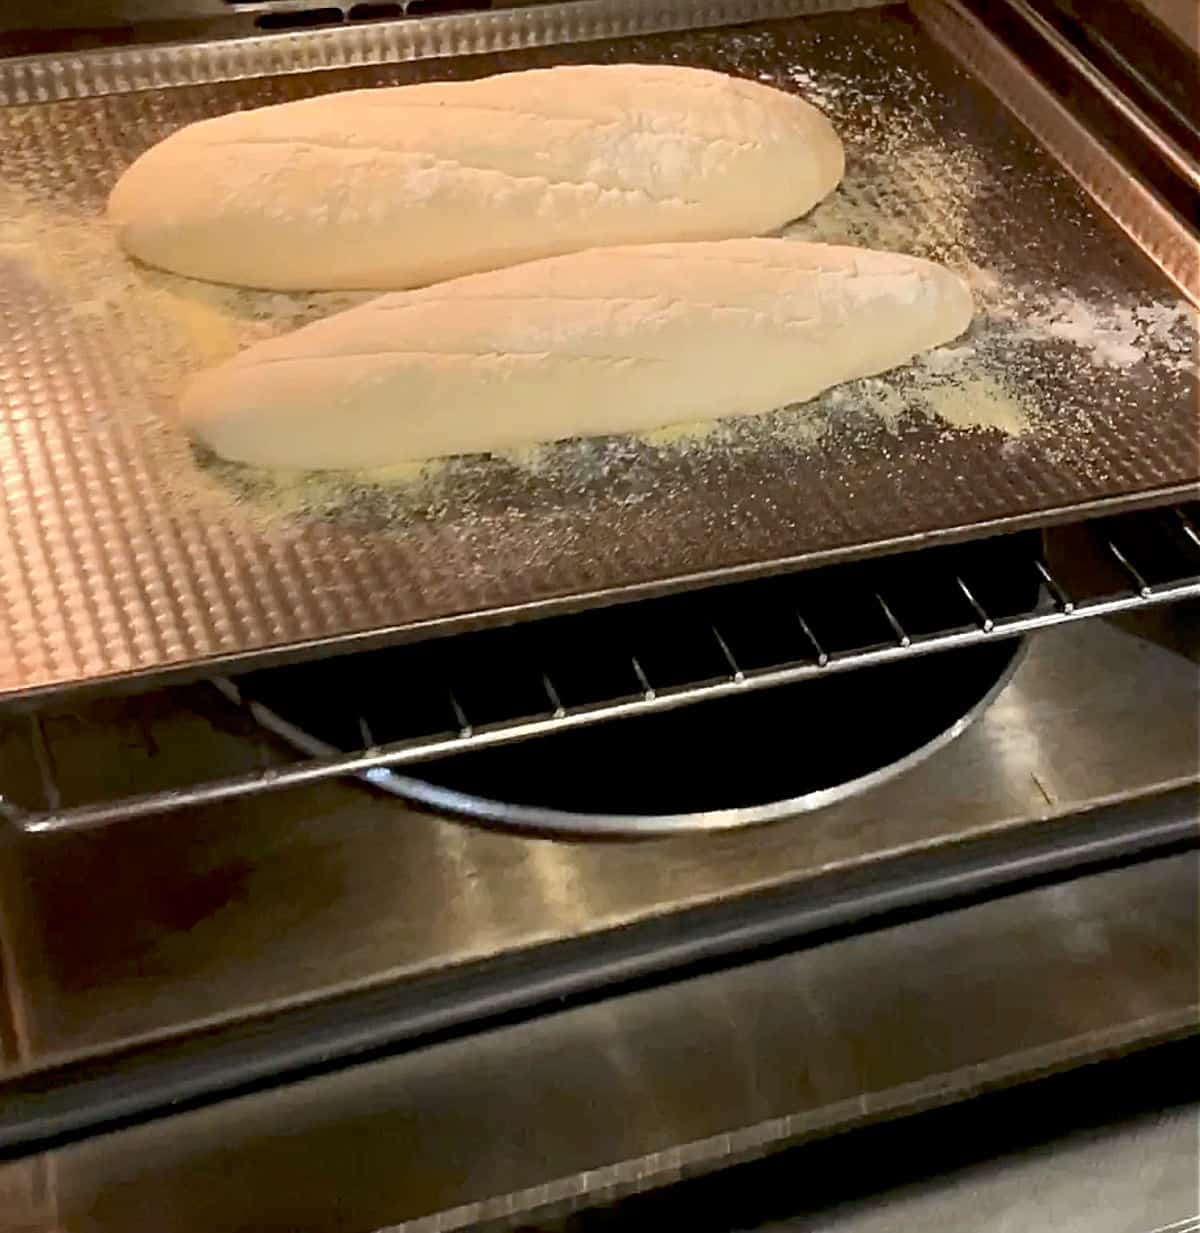
    Using a sharp kitchen knife is the homemade version, and the slits are not always as slick. See the image of the bread in the oven below for how irregular the cuts are when made with a knife. They still work though! Don't get me wrong. But the blossoming might not always be as it should.

    Hands forming a baguette on a white marble surface.

    Make a rectangle and roll it up with your hands like cinnamon rolls. Important: pinch the seams each time you roll the dough to keep out as much air as possible.

    Scored baguettes on a dark baking pan with a lame (razor) beside them.

    Use a lame (a stick with a razor blade that can be bought online) or a sharp knife.

    Vintage Kitchen tip: Don't be tempted to make very deep slits as they will blossom too much during baking.

    Baking the bread

    Oven: this is where the magic happens, and it's highly recommended to put a pan with hot water on the bottom of the oven to create steam while the bread bakes. It helps to create that fabulous crackly crust that we all love!

    When is it done? The bread will turn a golden brown, and the slits will open. The way to know if it is fully baked is by turning it upside down (carefully because it's very hot, so use a kitchen towel) and tapping the bottom of the bread. It should sound hollow and not be very soft. That's when the bread is done.

    Metal pan with loaves of bread in the oven, a pan with water in the bottom

    Kitchen notes

    • Organization: read the recipe first and ensure you have ingredients at the correct temperature, equipment, and enough workspace. This will make the process so much easier.
    • Baking time: keep in mind that all ovens and pans are different, even if they look the same or very similar. The baking time in my recipes is as accurate as it can be, but it might take you more or less time. You can use a thermometer(like the OXO oven thermometer) to check that your oven is at the right temperature. I recommend you keep track of how your oven works and what tiny details you might need to adjust. 
    • Time: this is a no-knead bread, but you need resting and proofing time (when the yeast does its magic), so plan accordingly.
    • Flour: you can use white bread flour, all-purpose flour, or superfine whole wheat flour. With this last one, the bread will be more rustic and not have that crackly crust, but it renders a fantastic healthier bread.
    • Oven: it's highly recommended that you follow directions for both the temperature and the pan with water in the bottom. This will aid in getting the best results possible.
    • Storing: French bread is best about half an hour out of the oven (when it had time to cool down a bit) and those few hours after. You can keep it in a bread bag at room temperature, but it will lose the crackly crust. Unless you warm it before eating. You can't bring it back completely to its original state, but it'll be wonderful. And you can freeze this bread (I recommend slicing it thickly, wrapping it in plastic, and then in foil or a Ziploc bag).
    Partial view of golden French bread baguettes on metal sheet pan

    Frequently asked questions

    What is the difference between French bread and baguette?

    They are both the same. A baguette is a French bread shaped like a stick, long and thin, and the name used for this type of bread in France.

    What is the difference between French bread and Italian bread?

    French bread is the simplest type of bread, using a few ingredients (flour, salt, yeast, and water), with a crackly crust, and a more airy crumb. Italian bread can be more sophisticated, with a denser crumb with a coarse crust, and often includes durum flour (a type of flour used for making pasta) such as our very popular Semolina Bread recipe.

    Can French bread be frozen?

    Absolutely! And I recommend doing so if not eating in the first hours of making it as it can harden or become too chewy pretty fast.
    Is French bread considered to be white bread?

    If you mean white sandwich bread then no, not at all. But French bread is white in the way that it's made with white wheat flour as opposed to whole wheat for example.

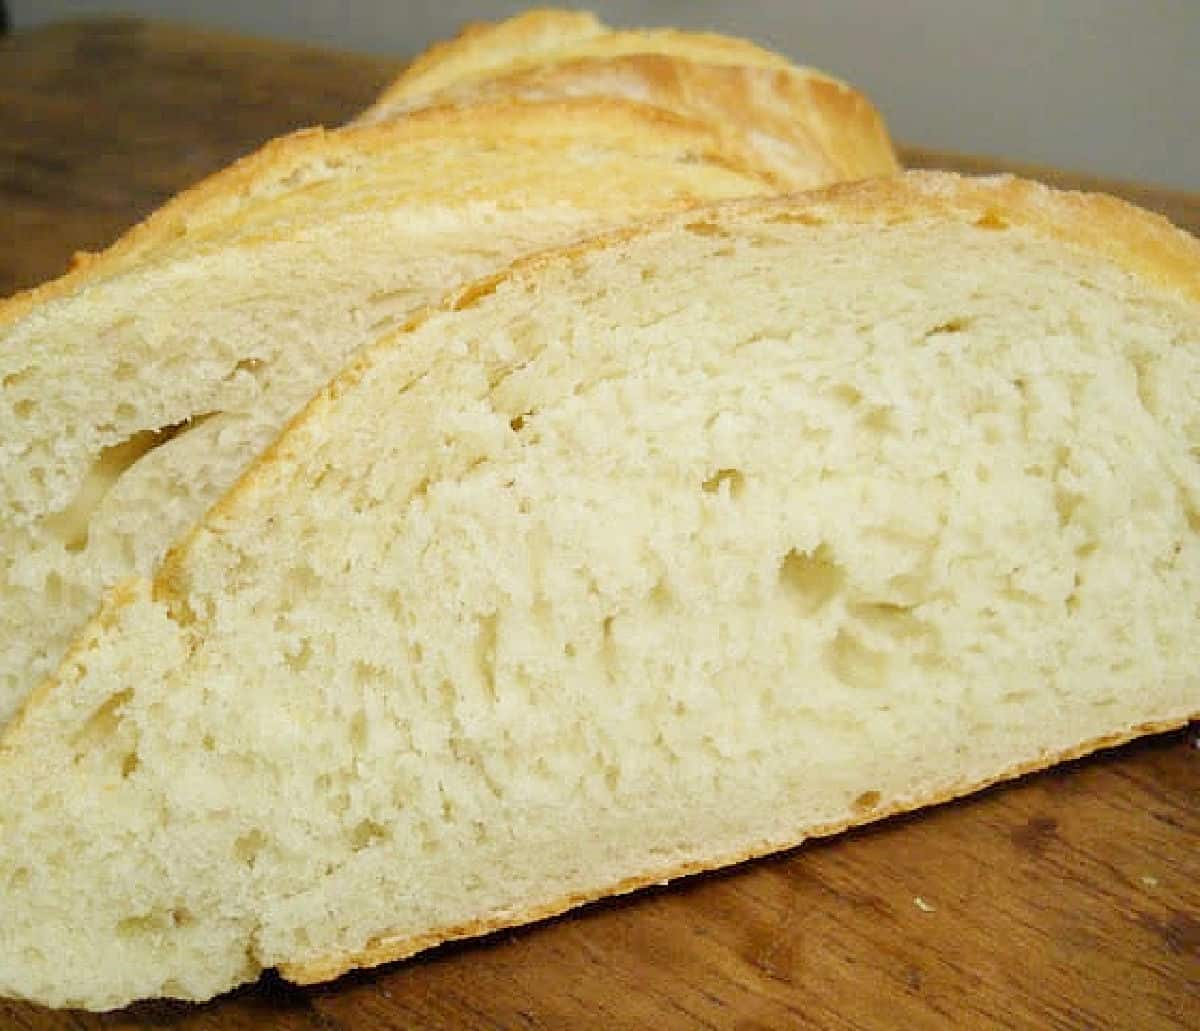
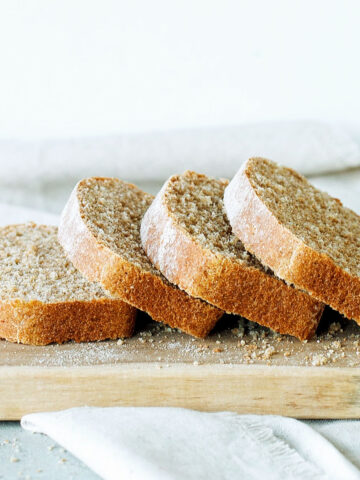
    Close up of bread whitish crumb interior, slices on wood

    OTHER BREAD RECIPES YOU'LL LOVE:

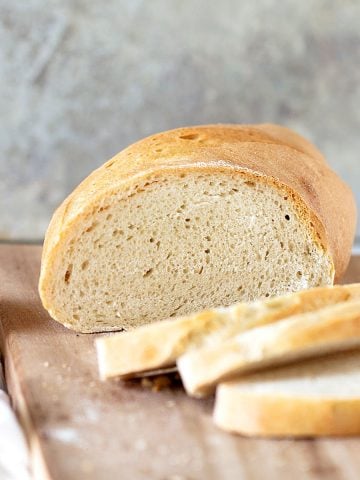
    • Grey background with loaf of bread with sliced on a wooden board.
      Semolina Bread Recipe
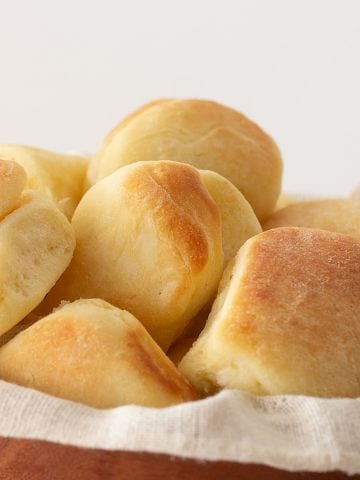
    • On a linen napkin several golden dinner rolls
      Parker House Rolls (no-knead recipe!)
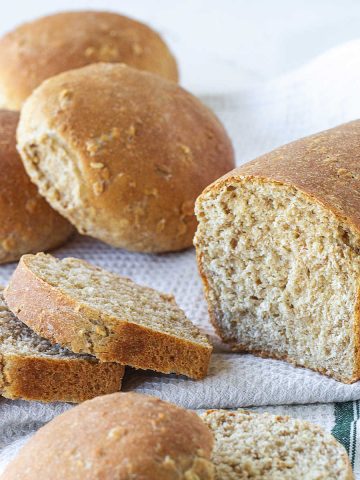
    • Sliced and half loaf of bread and hamburger buns on a white kitchen towel.
      Whole Wheat Oatmeal Bread (rolls, buns, and loaf)
    • 100% Whole Wheat Bread

    Let me know in the comments below if you made this recipe and loved it and if you had issues so we can troubleshoot together. I love to hear what you think, always. Thanks for being here. It's much appreciated.
    You might also consider subscribing to our FREE email series to Boost your Home Baking Skills! And our regular newsletter.
    And let's connect via Facebook, Instagram, and Pinterest.

    Print
    clockclock iconcutlerycutlery iconflagflag iconfolderfolder iconinstagraminstagram iconpinterestpinterest iconfacebookfacebook iconprintprint iconsquaressquares iconheartheart iconheart solidheart solid icon
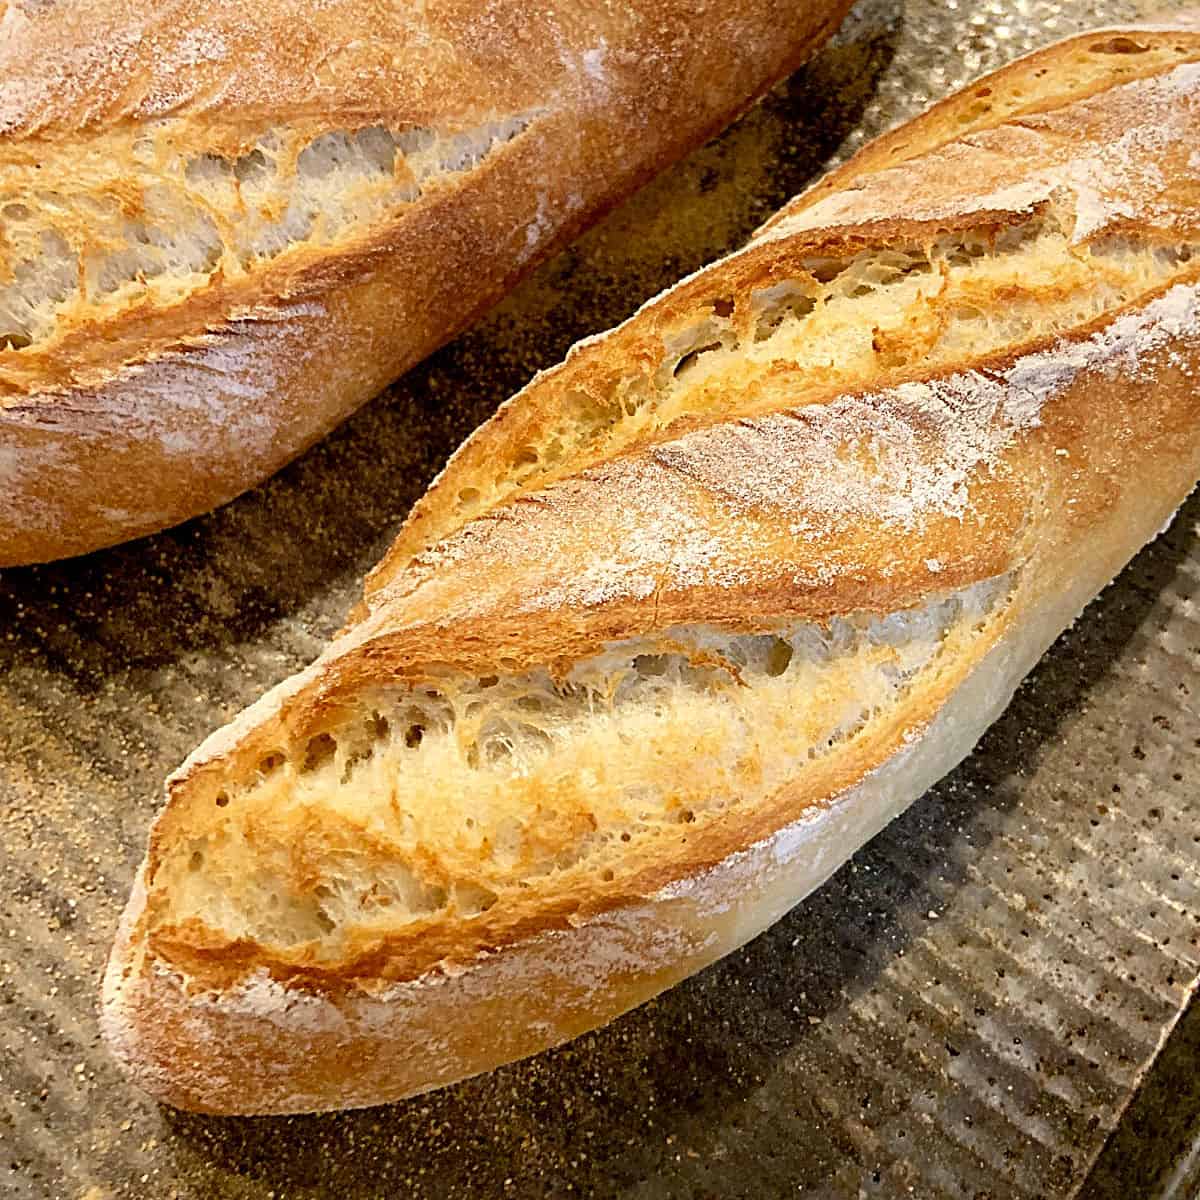
    Close up of golden French bread on metal sheet pan

    Crusty French Baguette

    ★★★★★

    4.6 from 24 reviews

    Print Recipe
    Save Recipe Recipe Saved

    This bread recipe is GOLD. It's made in the food processor, there's no kneading at all, has a crackly crust, and a soft creamy crumb.

    • Total Time: 3 hours 40 minutes
    • Yield: 3 medium

    Ingredients

    Units
    • 3 ½ cups (500g) bread flour
    • 2 teaspoons (12g) salt
    • 1 teaspoon (3.5g) instant dry yeast
    • 310g (1 ⅓ cup) slightly warm tap water

    Instructions

    1. Put the flour in the bowl of the food processor.
    2. Add salt on one side and yeast on the other, you don’t want them to touch for now.
    3. Cover with the lid and begin to process at medium/high speed. 
    4. Add the water through the feed tube as you begin counting 20 seconds. Either do it out loud or use the phone timer. You’re going to see the dough starts to come together.
    5. Stop the machine after 20 seconds and see that it is not dry. It should be rough; make sure there are no spots of flour at the bottom. If it is dry, add 1 more tablespoon of tepid water.
    6. Cover the bowl back and now process for 25 more seconds. It should be 45 seconds in total.
    7. Transfer the dough to a dry bowl, cover it with plastic wrap, and put it in a warm place for 2 hours. The dough is hardly going to rise or double, and that is fine.
    8. Dump it onto a lightly floured counter, and divide it into 2 or 3 pieces. 
    9. With each piece, make some rough buns by cupping them with both hands until you have a smooth surface, cover them with a clean kitchen towel or loose piece of plastic wrap, and leave them alone for 20 minutes.
    10. Flatten each piece of dough on the counter (flour it lightly if needed) and shape them into baguettes. I like to make them shorter and thicker. 
    11. Put them on an oven sheet pan sprinkled with polenta or oatmeal on the bottom, and dust the bread pieces with a little flour. Cover and let stand for 40 minutes.
    12. About 15 minutes before baking, turn on the oven at 450°F / 230°C.
    13. Have ready a roasting pan and a kettle of hot water.
    14. When the 40 minutes are almost over, put the roasting pan on the bottom of the oven and carefully fill it halfway with hot water. Close the oven door. This creates steam that is great for forming that crackly crust.
    15. Make 3 cuts or slits to each loaf with a lame (find where to buy it online in the Notes below) or a very sharp kitchen knife, and immediately put it in the oven. 
    16. Cook for 25-30 minutes, until golden brown and they sound hollow if you turn them over and lightly tap the bottom with your fingers. 

    Notes

    • Organization: read the recipe first and ensure you have ingredients at the correct temperature, equipment, and enough workspace. This will make the process so much easier.
    • Baking time: keep in mind that all ovens and pans are different, even if they look the same or very similar. The baking time in my recipes is as accurate as it can be, but it might take you more or less time. You can use a thermometer(like the OXO oven thermometer) to check that your oven is at the right temperature. I recommend you keep track of how your oven works and what tiny details you need to adjust. 
    • Time: this is a no-knead bread, but you need resting and proofing time (when the yeast does its magic), so plan accordingly. 
    • Flour: you can use white bread flour, all-purpose flour, or superfine whole wheat flour. With this last one, the bread will be more rustic and not have that crackly crust, but it renders a fantastic healthier bread.
    • Oven: it's highly recommended that you follow directions for both the temperature and the pan with water in the bottom. This will aid in getting the best results possible. 
    • Storing: French bread is best about half an hour out of the oven (when it had time to cool down a bit) and those few hours after. You can keep it in a bread bag at room temperature, but it will lose the crackly crust. Unless you warm it before eating. In this case, you can't bring it back completely to its original state, but it'll be wonderful. And you can freeze this bread (I recommend slicing it thickly, wrapping it in plastic, and then in foil or a Ziploc bag). 
    • Author: Paula Montenegro
    • Prep Time: 10 minutes
    • Resting time: 3 hours
    • Cook Time: 30 minutes
    • Category: Bread
    • Method: Baking
    • Cuisine: International

    Nutrition

    • Serving Size: ⅛
    • Calories: 218
    • Sugar: 0.2 g
    • Sodium: 584.4 mg
    • Fat: 1 g
    • Carbohydrates: 43.7 g
    • Fiber: 1.6 g
    • Protein: 7.4 g
    • Cholesterol: 0 mg

    Keywords: french bread, baguettes

    Did you make this recipe?

    Tag @vintagekitchenblog on Instagram and hashtag it #vintagekitchenblog

    More Bread Recipes

    • Tight cluster of hot cross buns. Close up image.
      Hot Cross Buns
    • Top view of sliced and half round of whole wheat bread on a dark wood board on a grey surface.
      Irish Brown Bread
    • Baked Irish soda bread with raisins on a wooden board with kitchen towel in the background.
      Irish Soda Bread with Raisins
    • Round wire rack with slices and half loaf of soda bread; green and white kitchen towel in the background.
      Easy Irish Soda Bread (4 ingredients!)

    About Paula Montenegro

    I'm Paula, a baker for more than 30 years and your designated recipe developer, sharing the best ones here with simple ingredients + easy-to-follow instructions.

    Reader Interactions

    Comments

      Thank you for leaving a review for this recipe Cancel reply

      Your email address will not be published. Required fields are marked *

      Recipe rating ★☆ ★☆ ★☆ ★☆ ★☆

      This site uses Akismet to reduce spam. Learn how your comment data is processed.

    1. David says

      April 01, 2023 at 3:14 pm

      Wow your measurements on water in grams is os far off. Get a new scales.

      ★★★

      Reply
      • Paula Montenegro says

        April 01, 2023 at 3:35 pm

        No, it's not.

        Reply
    2. Marilyn Cain says

      March 19, 2023 at 4:30 pm

      Really enjoyed this as is. However i like a more yeasty flavour so i increased great to one packet of yeast and added 1 tbsp of dried rosemary and 1 tbsp thyme. Wow how great this was. Extra yeast grave me more softer inside bread. Still beautifully crusty. Thx

      ★★★★★

      Reply
    3. Nathalie says

      March 18, 2023 at 6:41 pm

      Very very good. It’s not the first time that I make them and they are my favourite. May I ask, if we froze them, do we need to unfreeze them before putting them in the oven or they can be cooked frozen at 450, 25@30 minutes. Thanks

      ★★★★★

      Reply
      • Paula Montenegro says

        March 19, 2023 at 6:05 am

        Hi Nathalie! Do you mean to freeze the unbaked dough after it's formed? You have to thaw it in the refrigerator (usually overnight) and then let it come to room temperature and let it rise for the second time before baking. You can't bake it directly because it's not completely proofed and will not rise well.

        Reply
    « Older Comments

    Primary Sidebar

    Person with apron and tray of scones

    Hi, I'm Paula!

    A baker for more than 30 years and your designated recipe finder, sharing the best ones on this blog, with simple ingredients + easy-to-follow instructions.

    More about me →

    Featured in:

    Several colorful logos on white canvas

    Popular recipes

    • Shortbread fingers stacked on white surface
      The Best Lemon Shortbread
    • A white bowl with peach dump cake, blue spoon
      Peach Dump Cake
    • Easy No Bake Lemon Dessert
    • White plate with two wedges of roasted pumpkin, white background, herbs, forks, salt.
      Easy Roasted Pumpkin
    • Purple bowl with almond cream being lifted with a silver spoon. Grey and white surface and background.
      Frangipane (almond cream) with video!
    • Lifting a slice of ricotta cheesecake from the whole cake on a white plate with a silver knife. White background.
      Crustless Ricotta Cheesecake

    Fruit desserts

    • Serving of apple berry crumble in a white bowl. Hands holding it. Teal background.
      Apple Berry Crumble
    • Close up of chocolate cherry dump cake serving in a white bowl.
      Chocolate Cherry Dump Cake
    • White round dish with peach crisp and silver spoon
      Easy Peach Crumble (or crisp)
    • White plate with square of apple crumb bar with ice cream. Green cloth in the background.
      Easy Apple Crumb Bars

    Footer

    About

    The author
    Privacy Policy
    Amazon Associate
    Cookie Policy
    Accessibility

    Contact

    Sign Up! for emails and updates
    Contact


    Copyright © 2022 Vintage Kitchen Notes