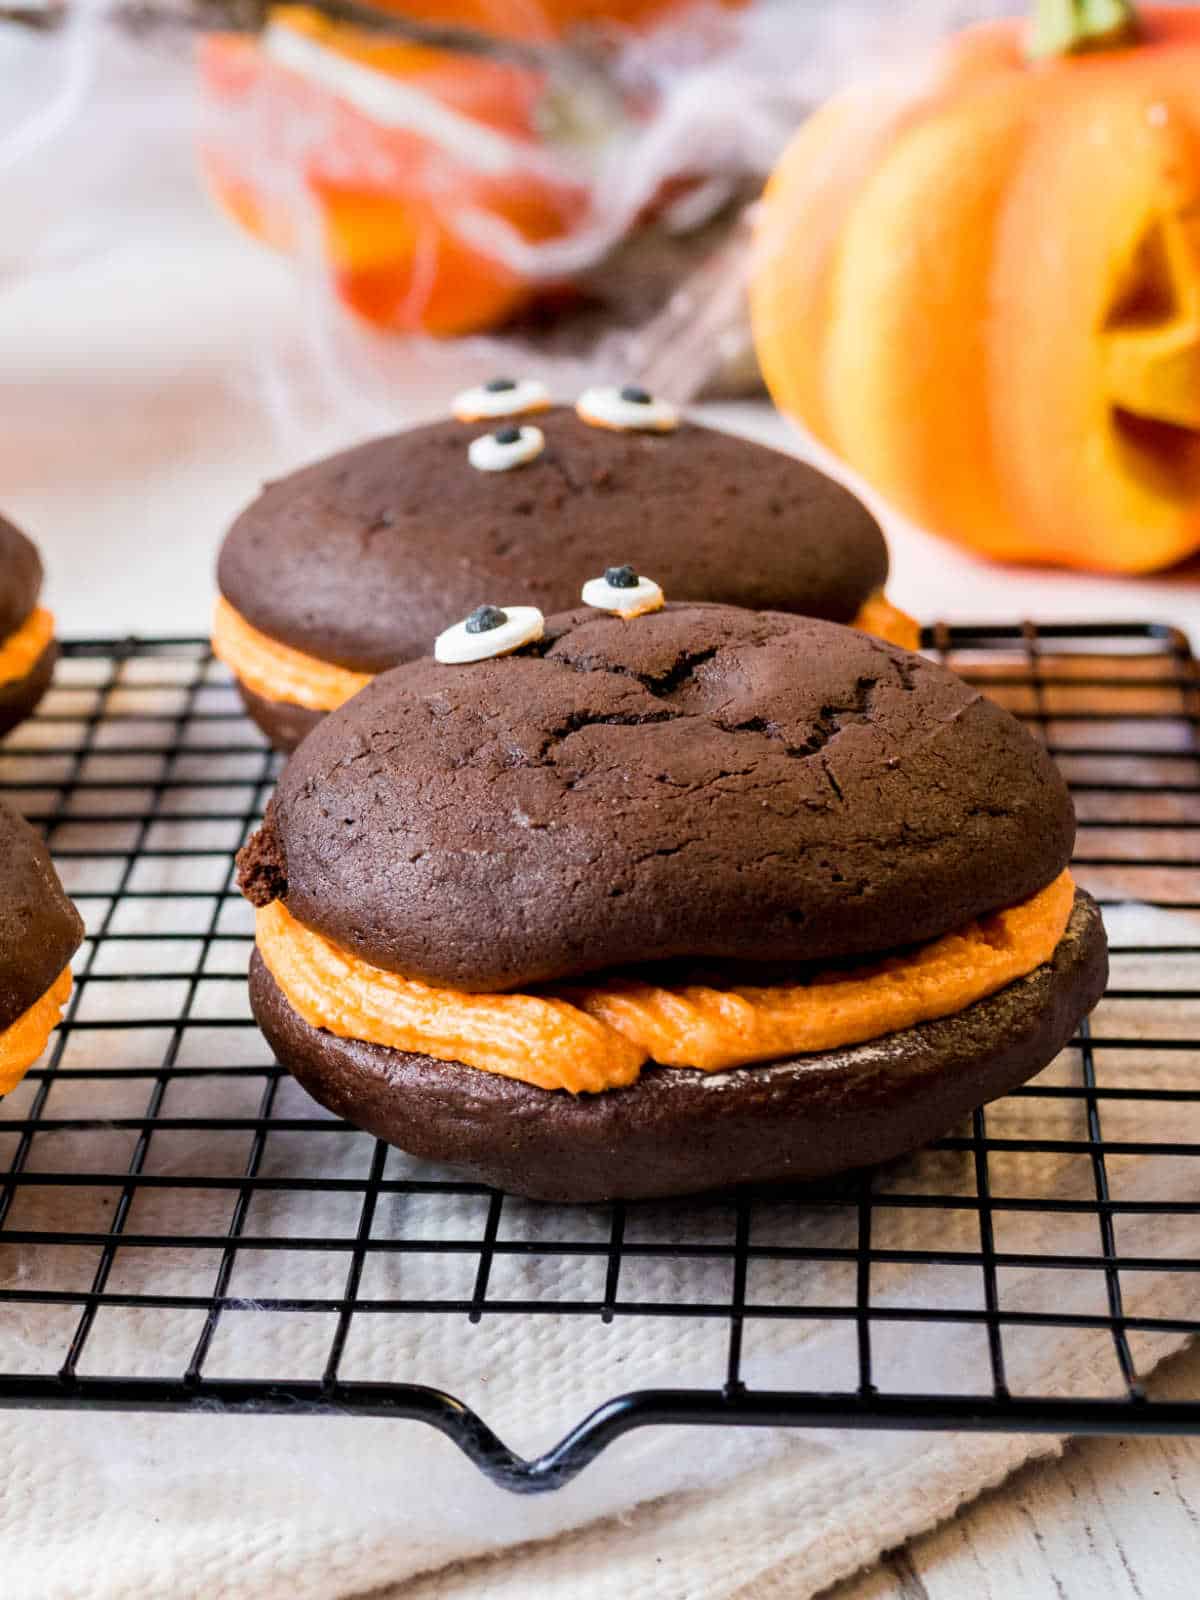
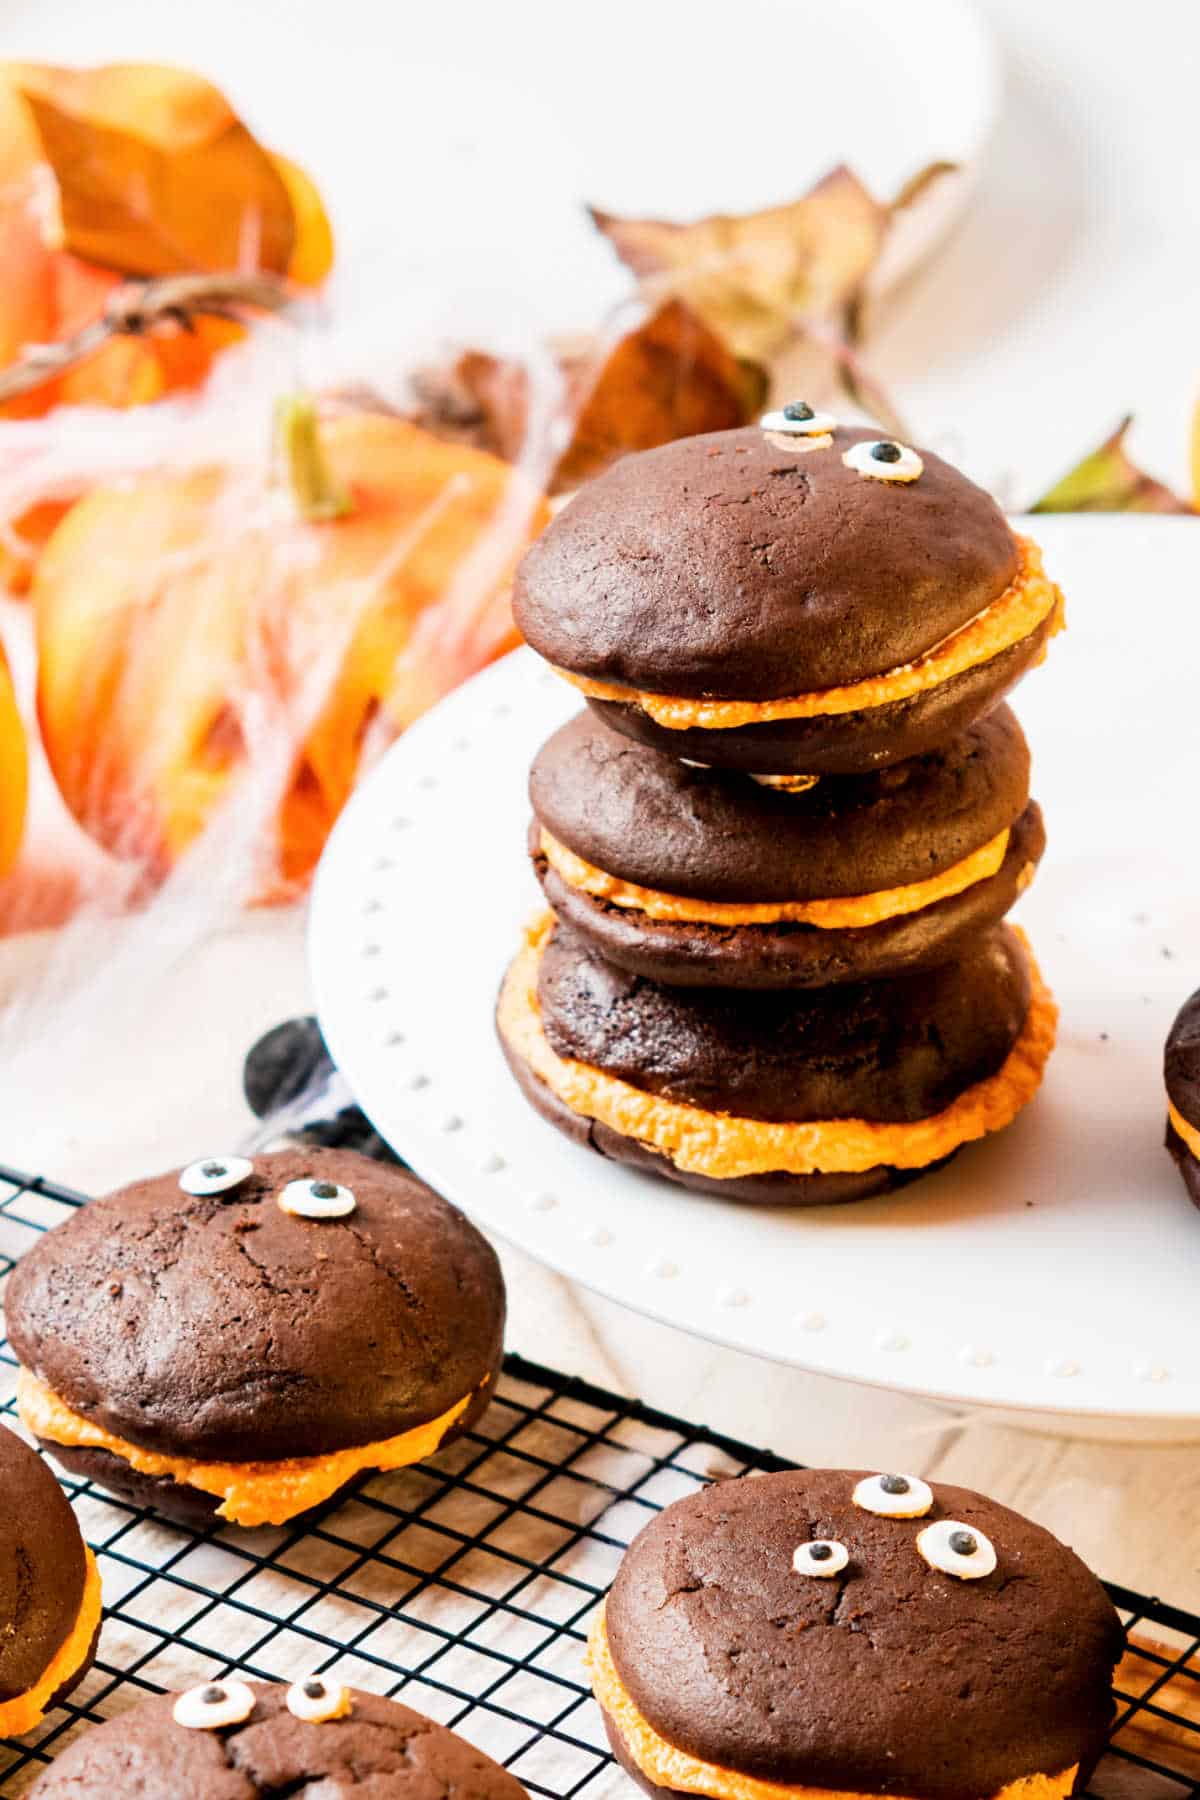
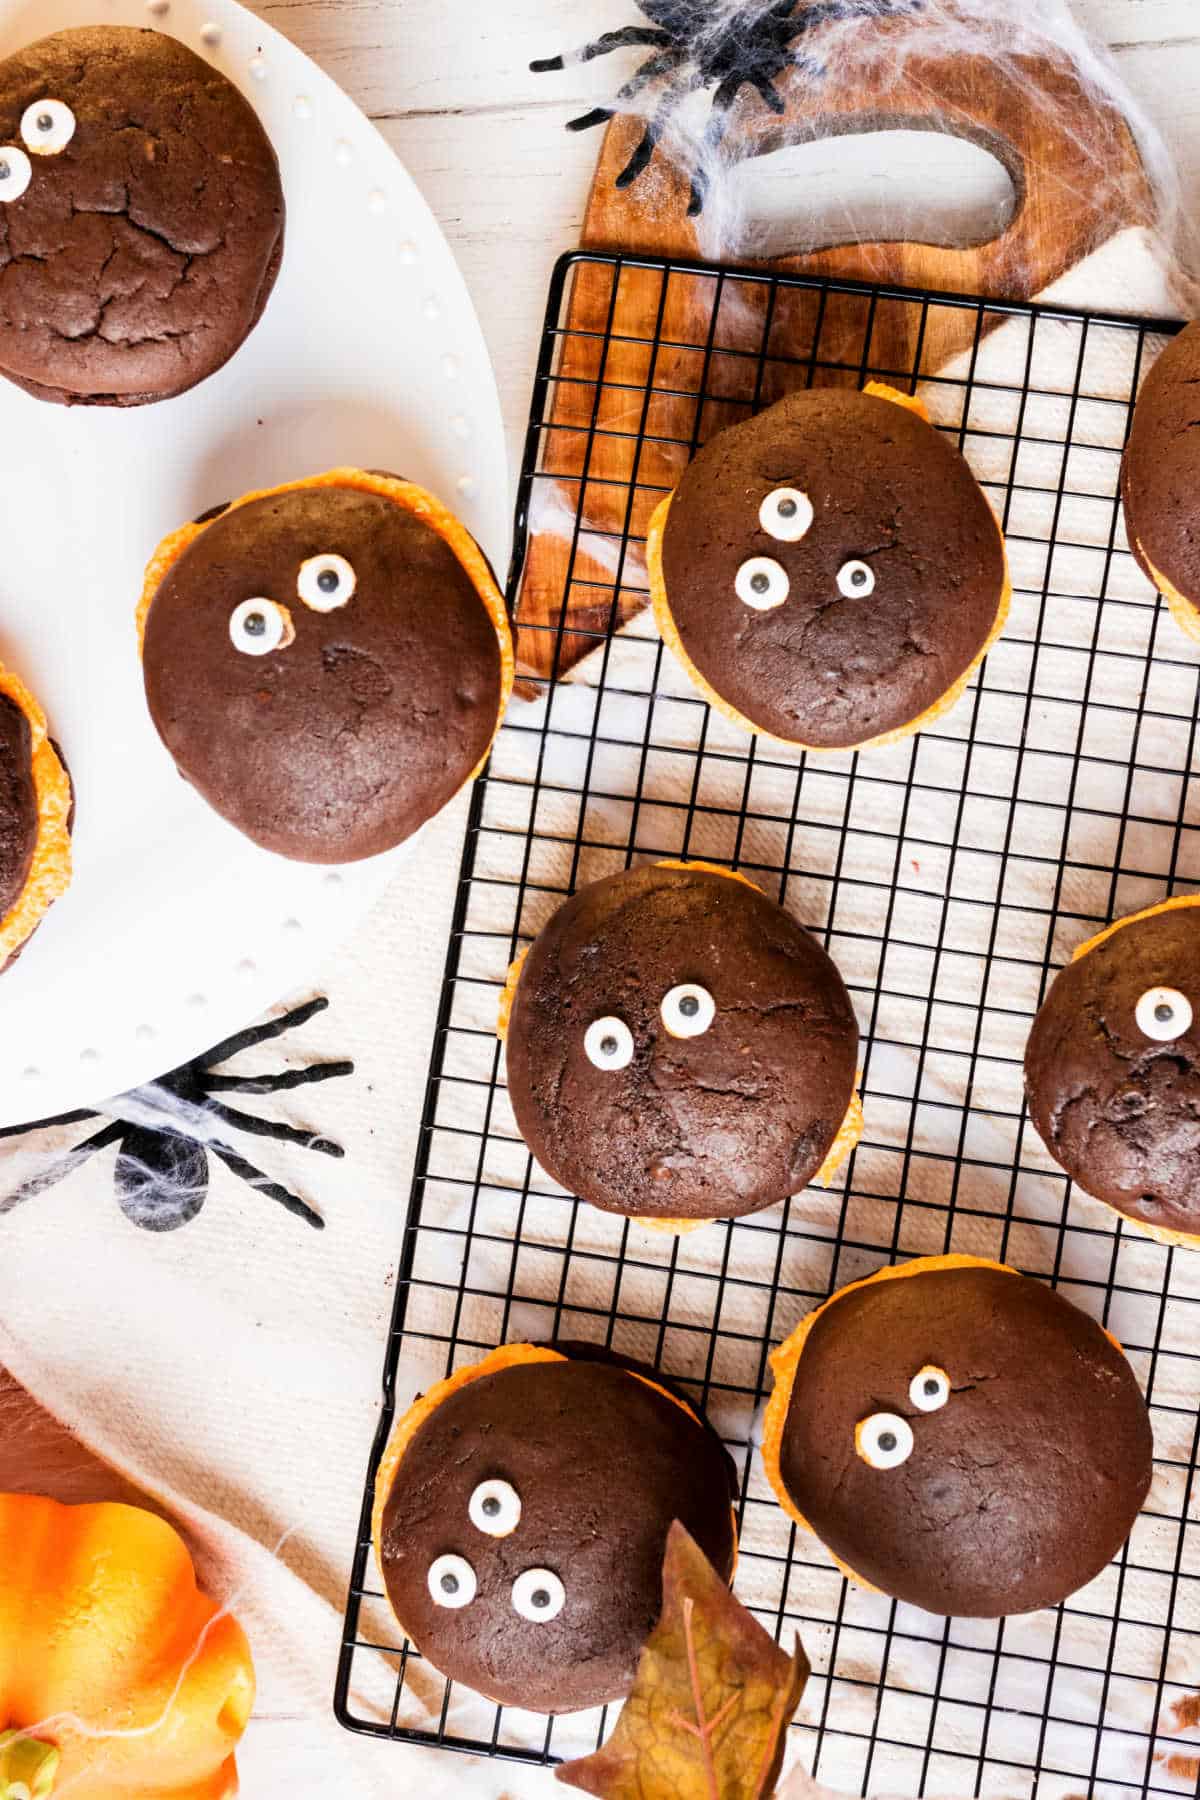
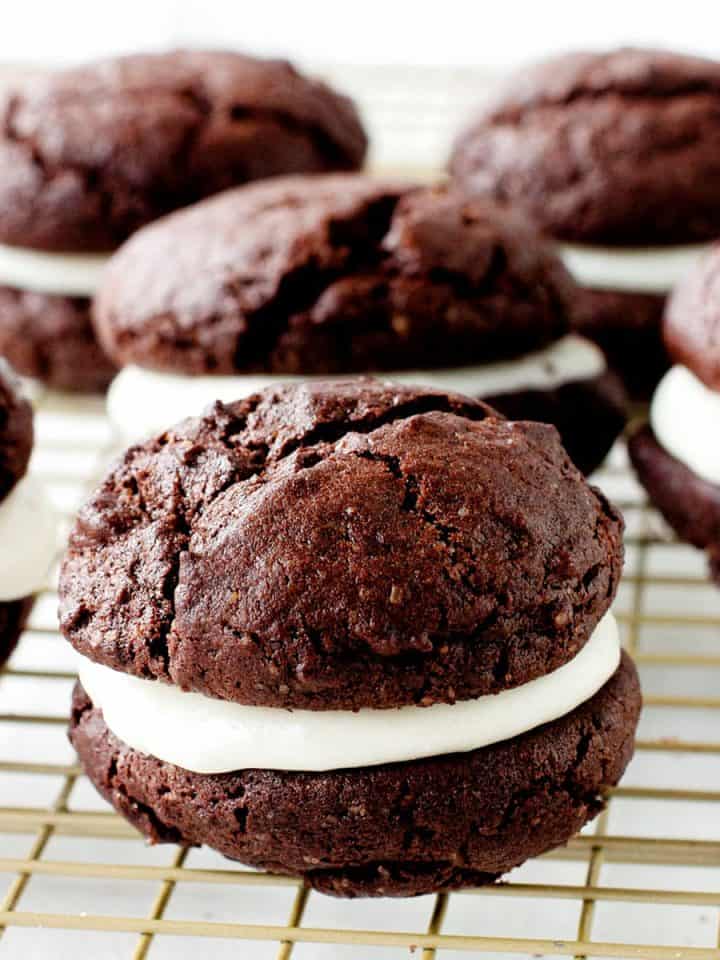
These are soft chocolate cookies sandwiched with an orange-colored cream cheese or buttercream filling. It's a super cute Halloween bake that's great to make with kids. Top them with eyeball candies or other thematic extras.
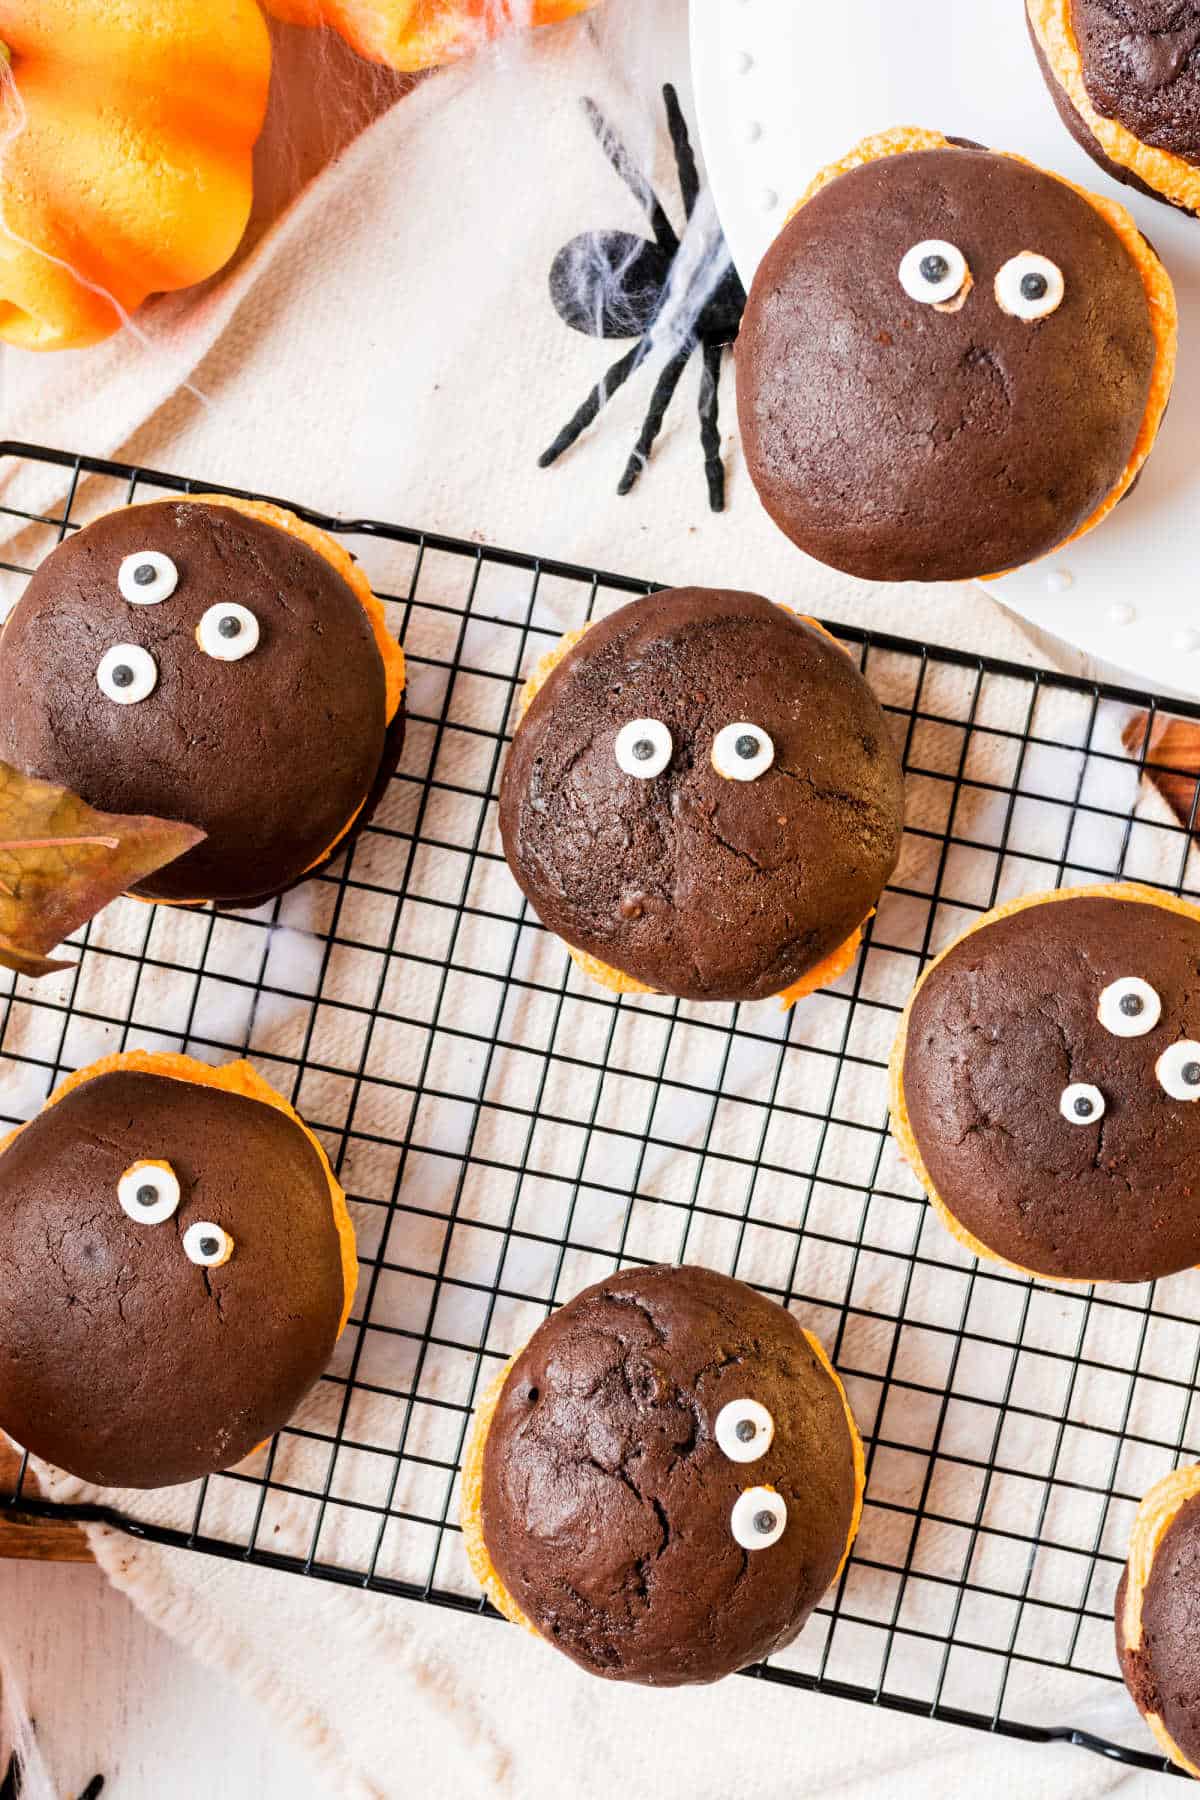
The minute I discovered whoopie pies, I was hooked.
And there's proof in the archives where you can find pumpkin whoopie pies (so good!) and red velvet whoopie pies.
We added a few Halloween recipes to get ready for the last part of the year, and this one was a no-brainer.
What are whoopie pies?
They are sweet sandwiches made of a very soft, moist cake-like batter that is neither a cake nor a soft cookie. And they're called pies, so there's that, lol.
The filling is usually cream cheese frosting or buttercream like we're using today.
These might be the perfect answer if you like chocolate cake and soft, thick chocolate cookies.
Ingredients
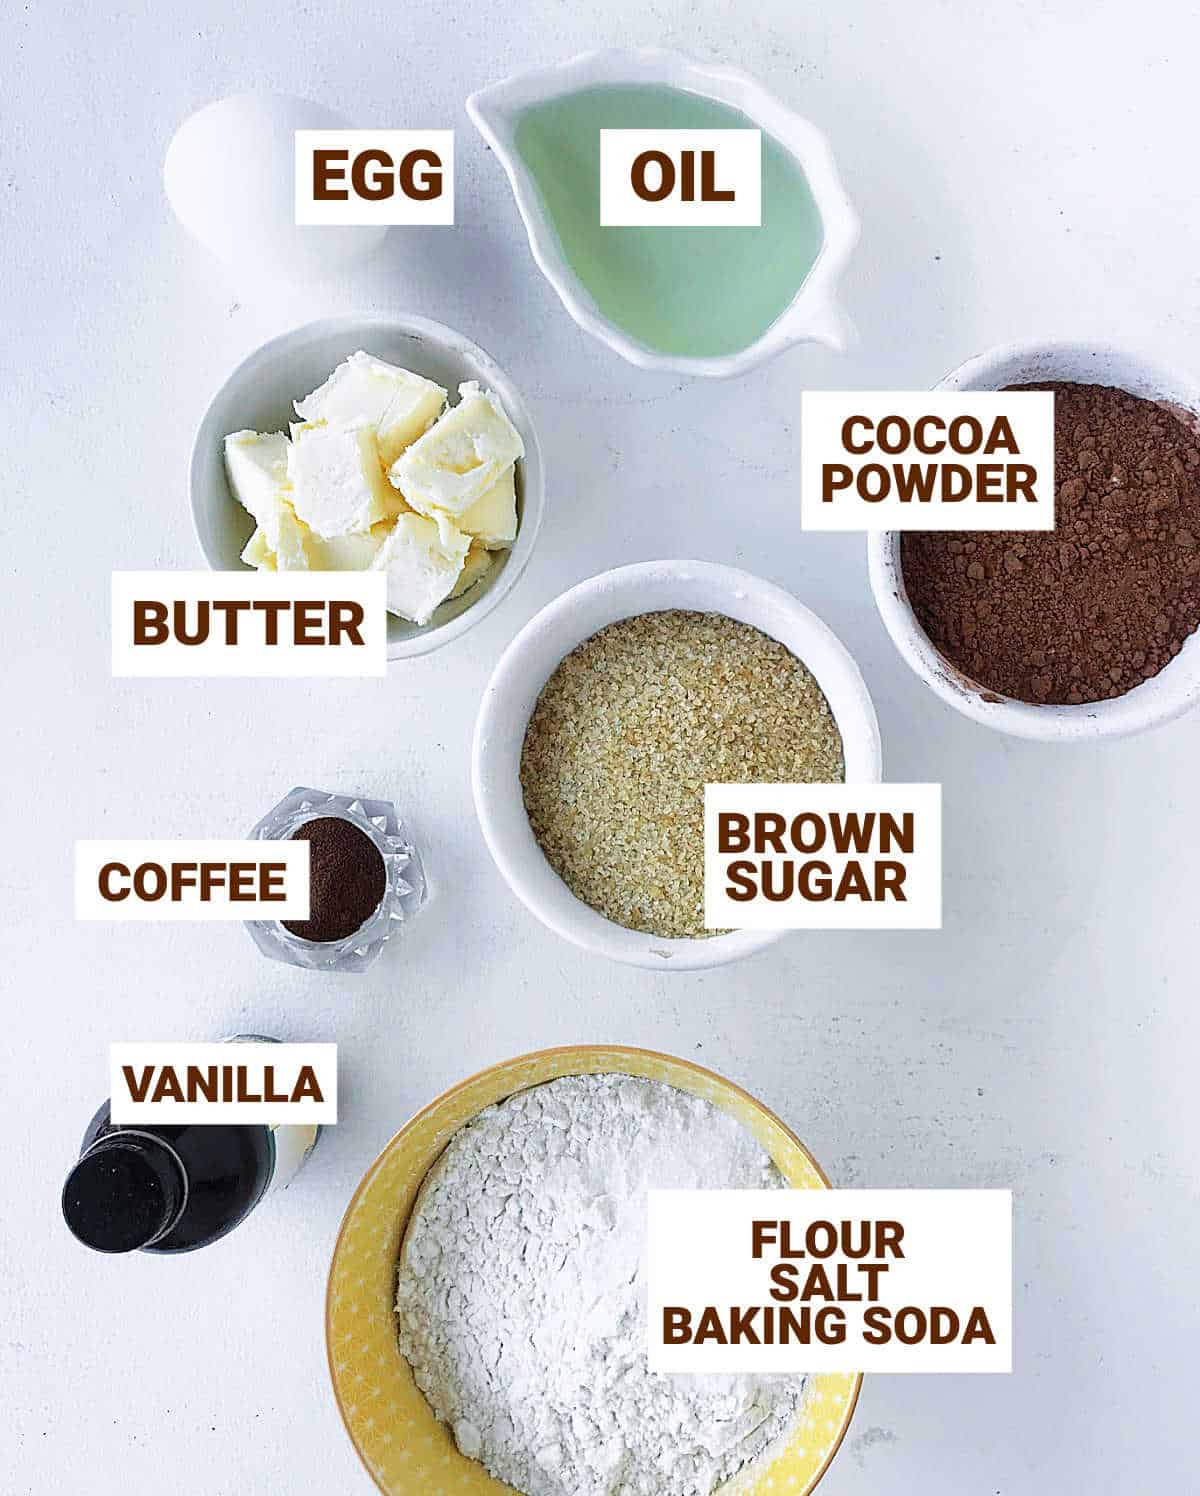
- Cocoa powder: always use unsweetened. The better the cocoa, the better the flavor. I like Hershey's unsweetened cocoa powder, Ghirardelli Premium baking cocoa, and Scharffen Berger natural cocoa powder. And, in my experience, the dark ones are the best (this does not apply to the super dark used for making homemade oreo cookies known as dark cocoa powder).
- Brown sugar: it adds a great caramel tone and moisture.
- Oil and butter: I love to use both for extra moisture from the oil and flavor from the butter.
- Flour: all-purpose or cake flour, both work.
- Baking soda: it makes them rise a bit but not much and not be too cakey.
- Vanilla: I use pure vanilla extract or pure vanilla paste when available, but a good vanilla essence (artificially flavored) also works.
- Coffee: use a powder like instant coffee or coffee extract, they round up the chocolate flavor wonderfully, but they don't have a coffee flavor.
- Powdered sugar: also called confectioners or icing sugar, you can easily buy it online. Domino powdered sugar is a very popular one.
- Milk: if needed for the filling.
See the recipe card at the end of this post for quantities.
How to make whoopie pies
It's a super easy recipe.
You need a large bowl and an electric mixer. The dough comes together in 5 minutes. There is a refrigeration time, so plan for that part.
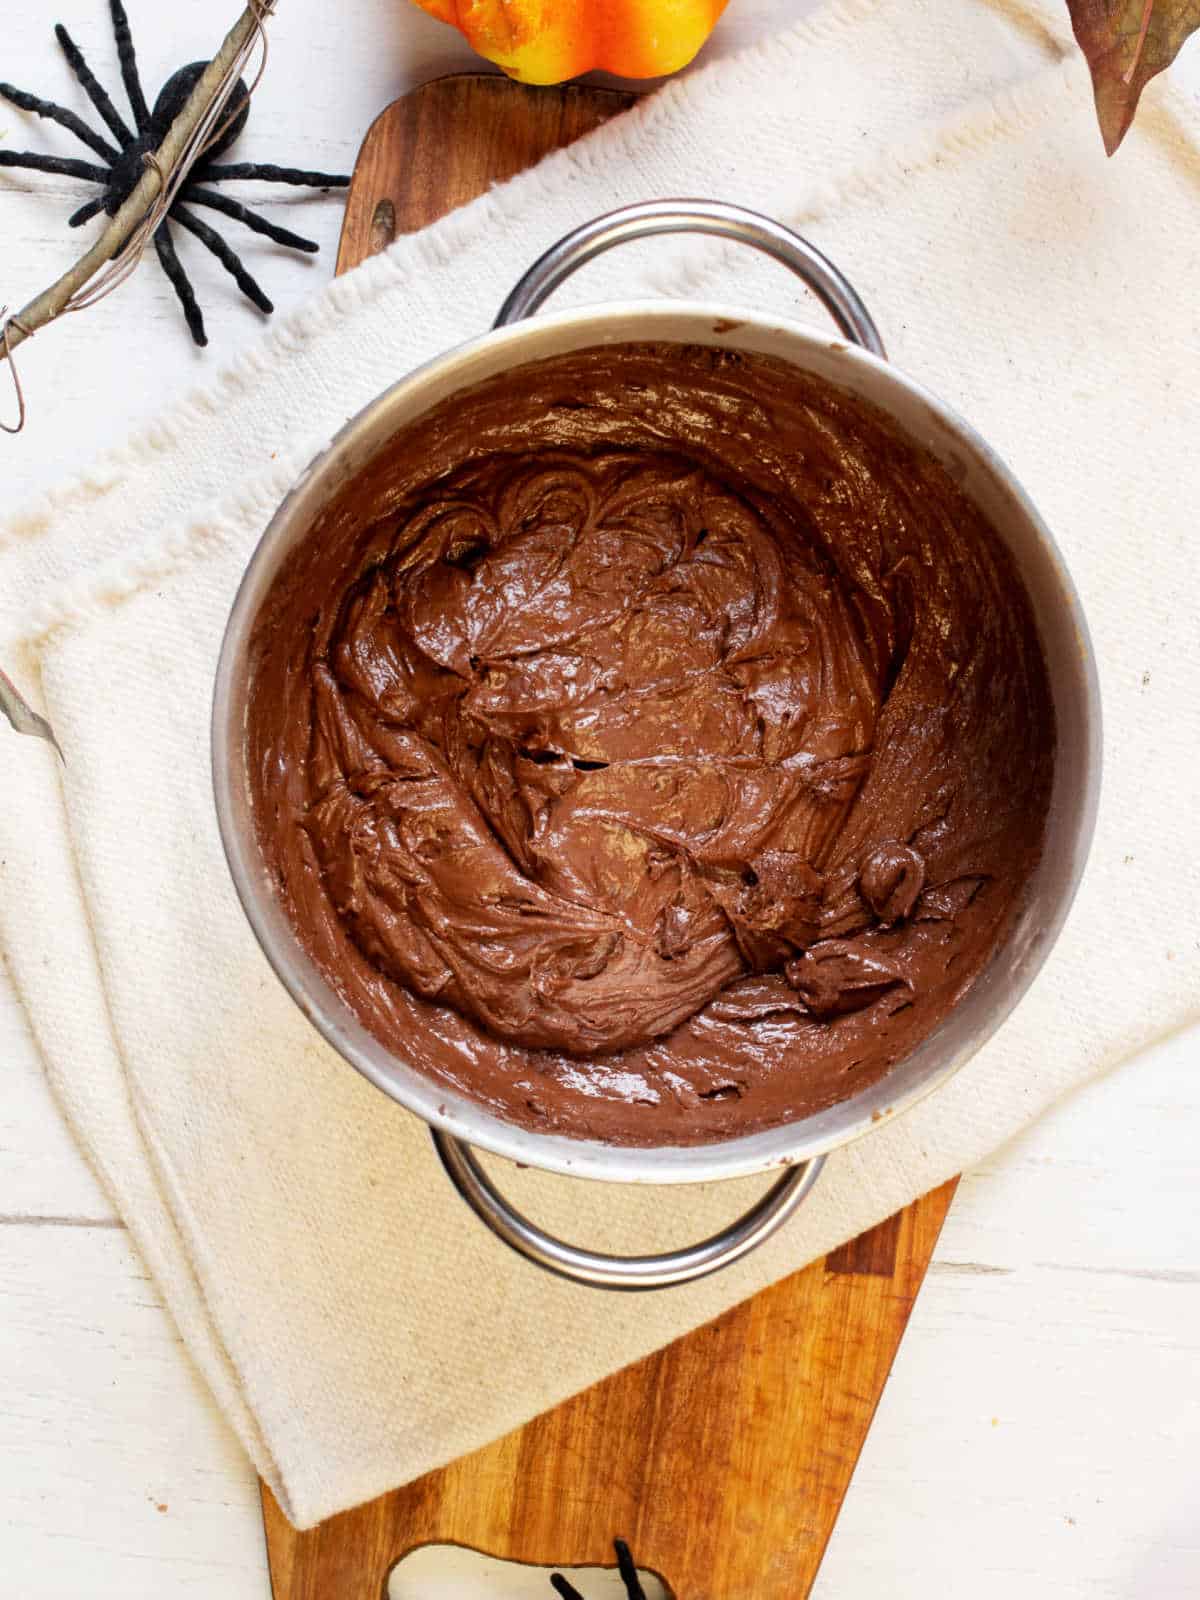
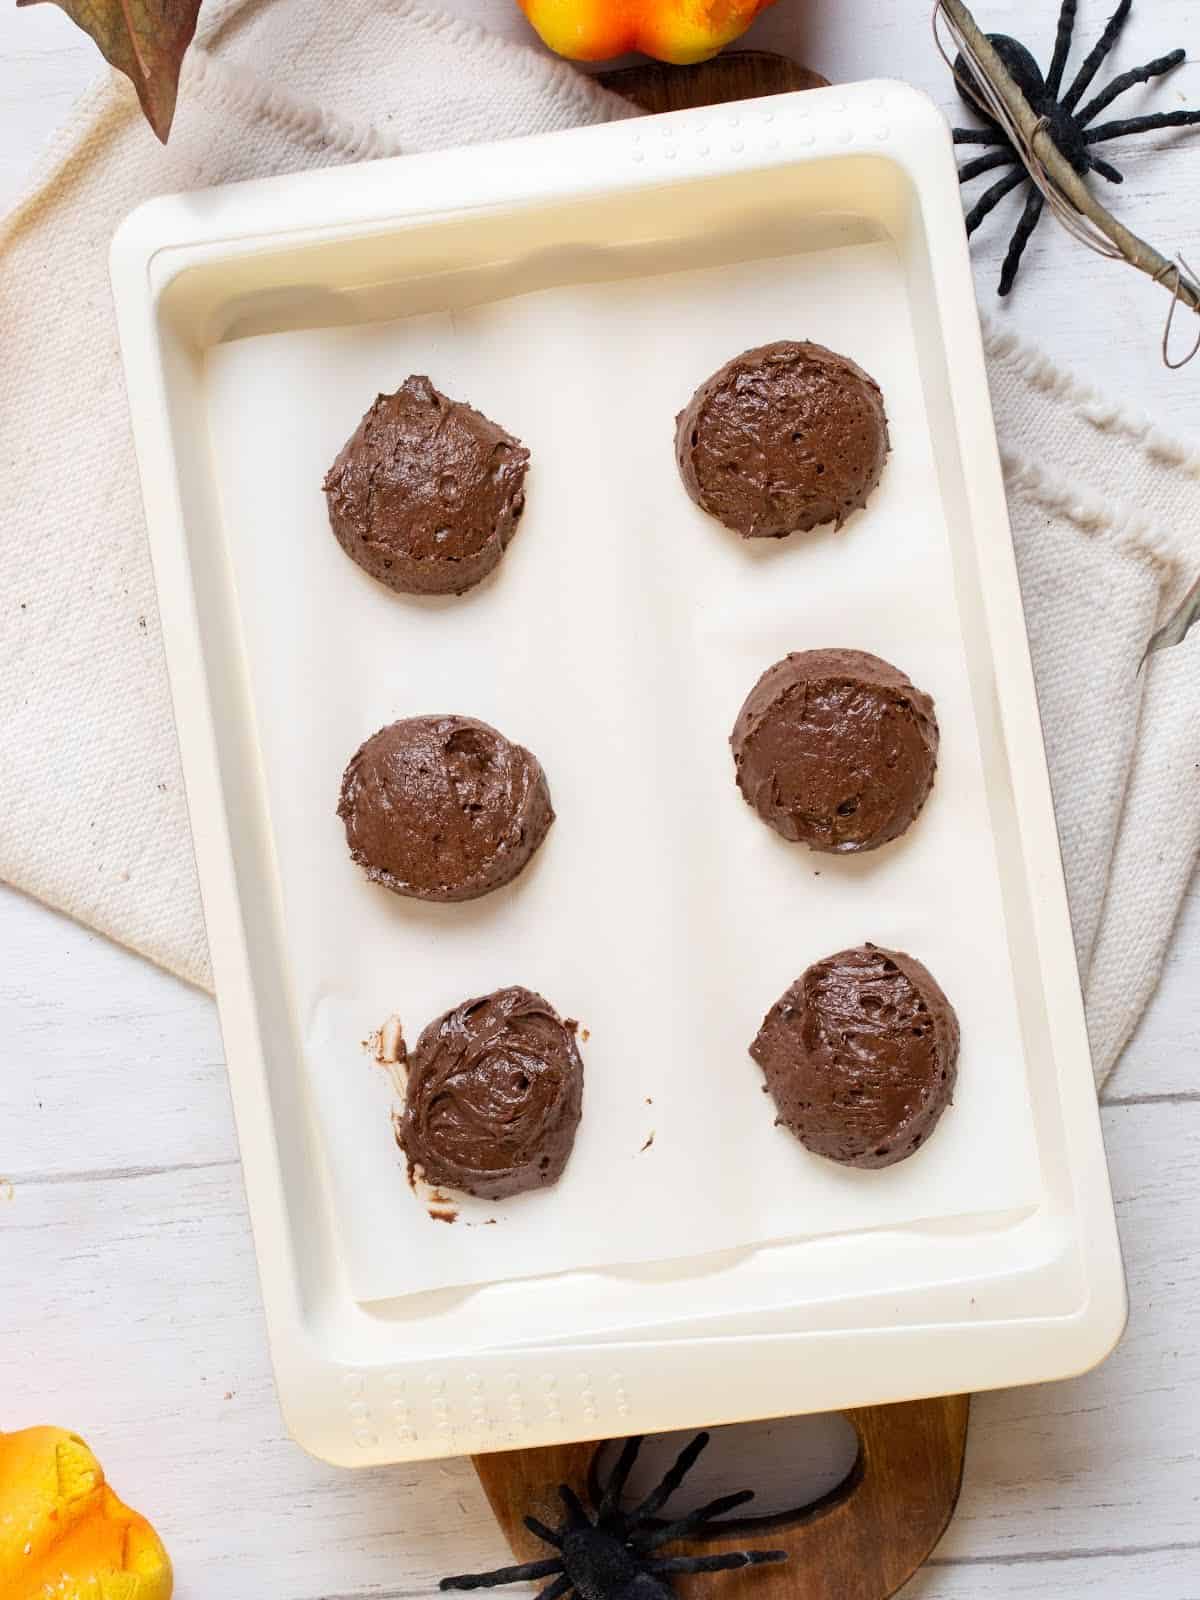
Scoop out portions of the chocolate batter on a parchment-lined baking sheet. Make sure there's space between them.
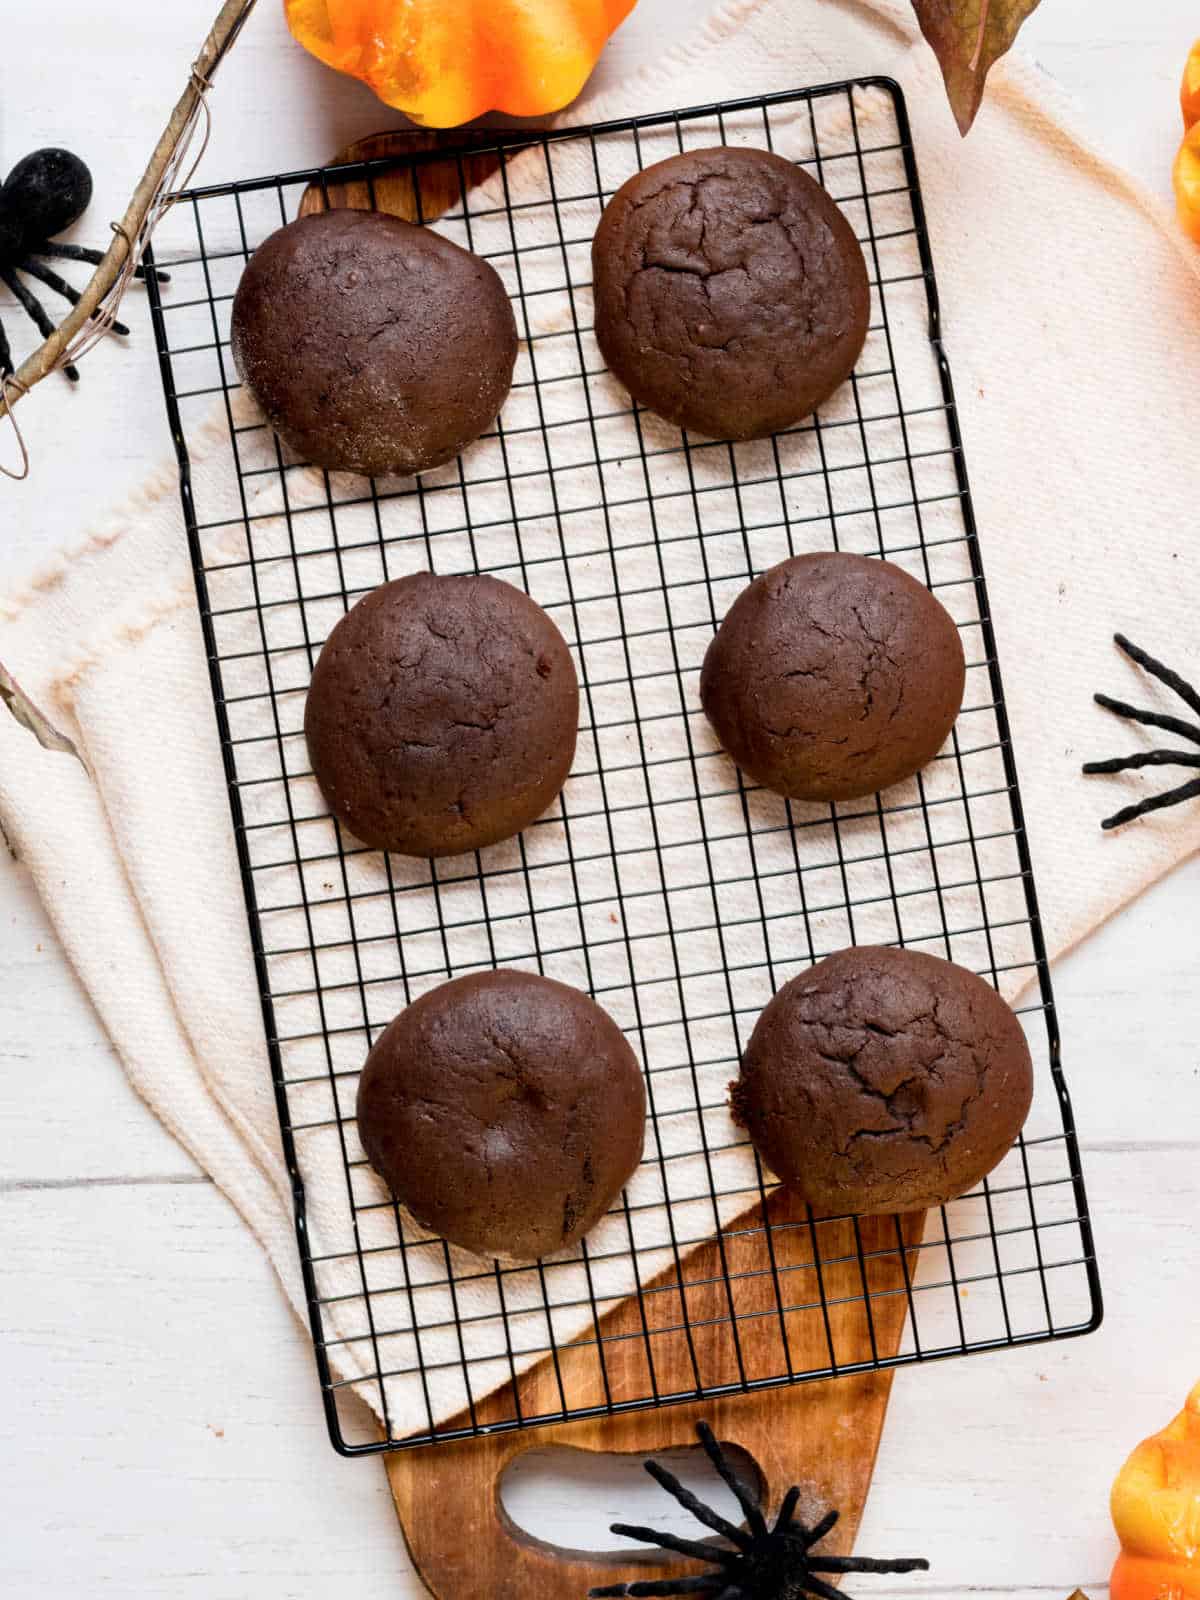
Bake according to instructions in the recipe card below and let cool completely on a wire rack before filling.
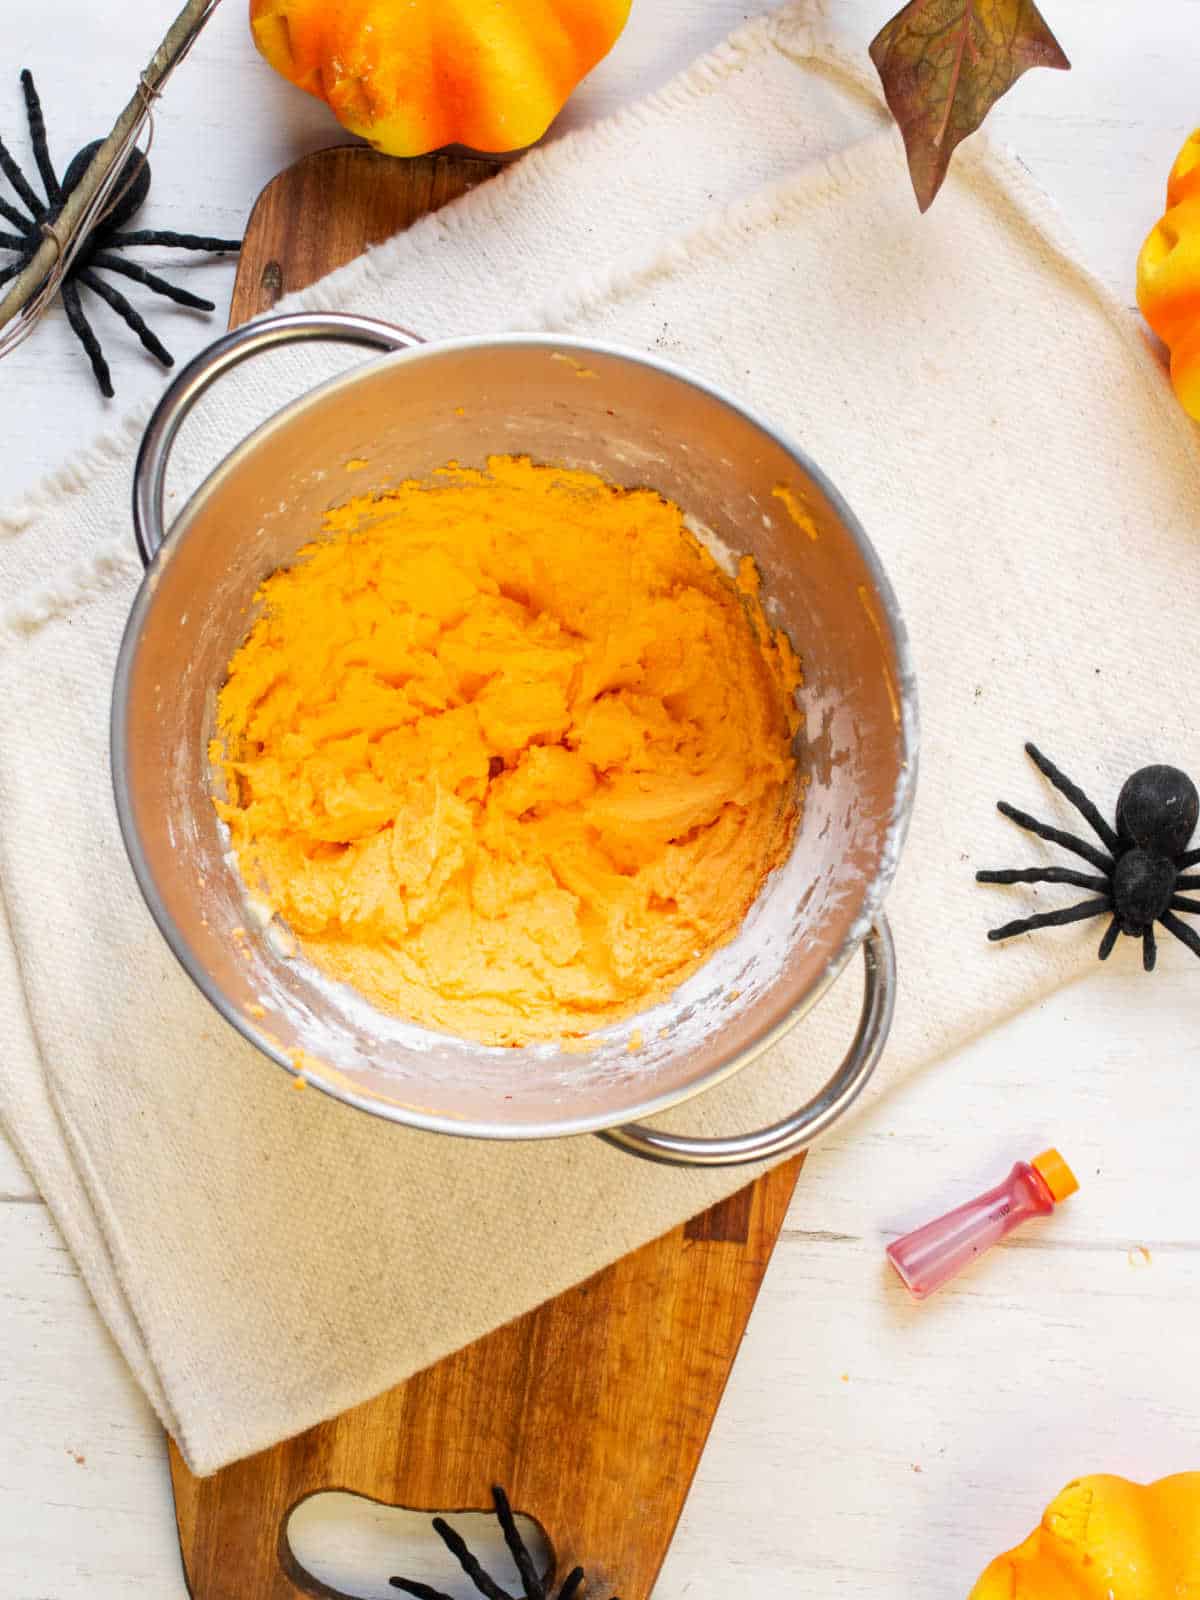
Buttercream filling: the traditional recipe is dyed orange with a few drops of edible food coloring.
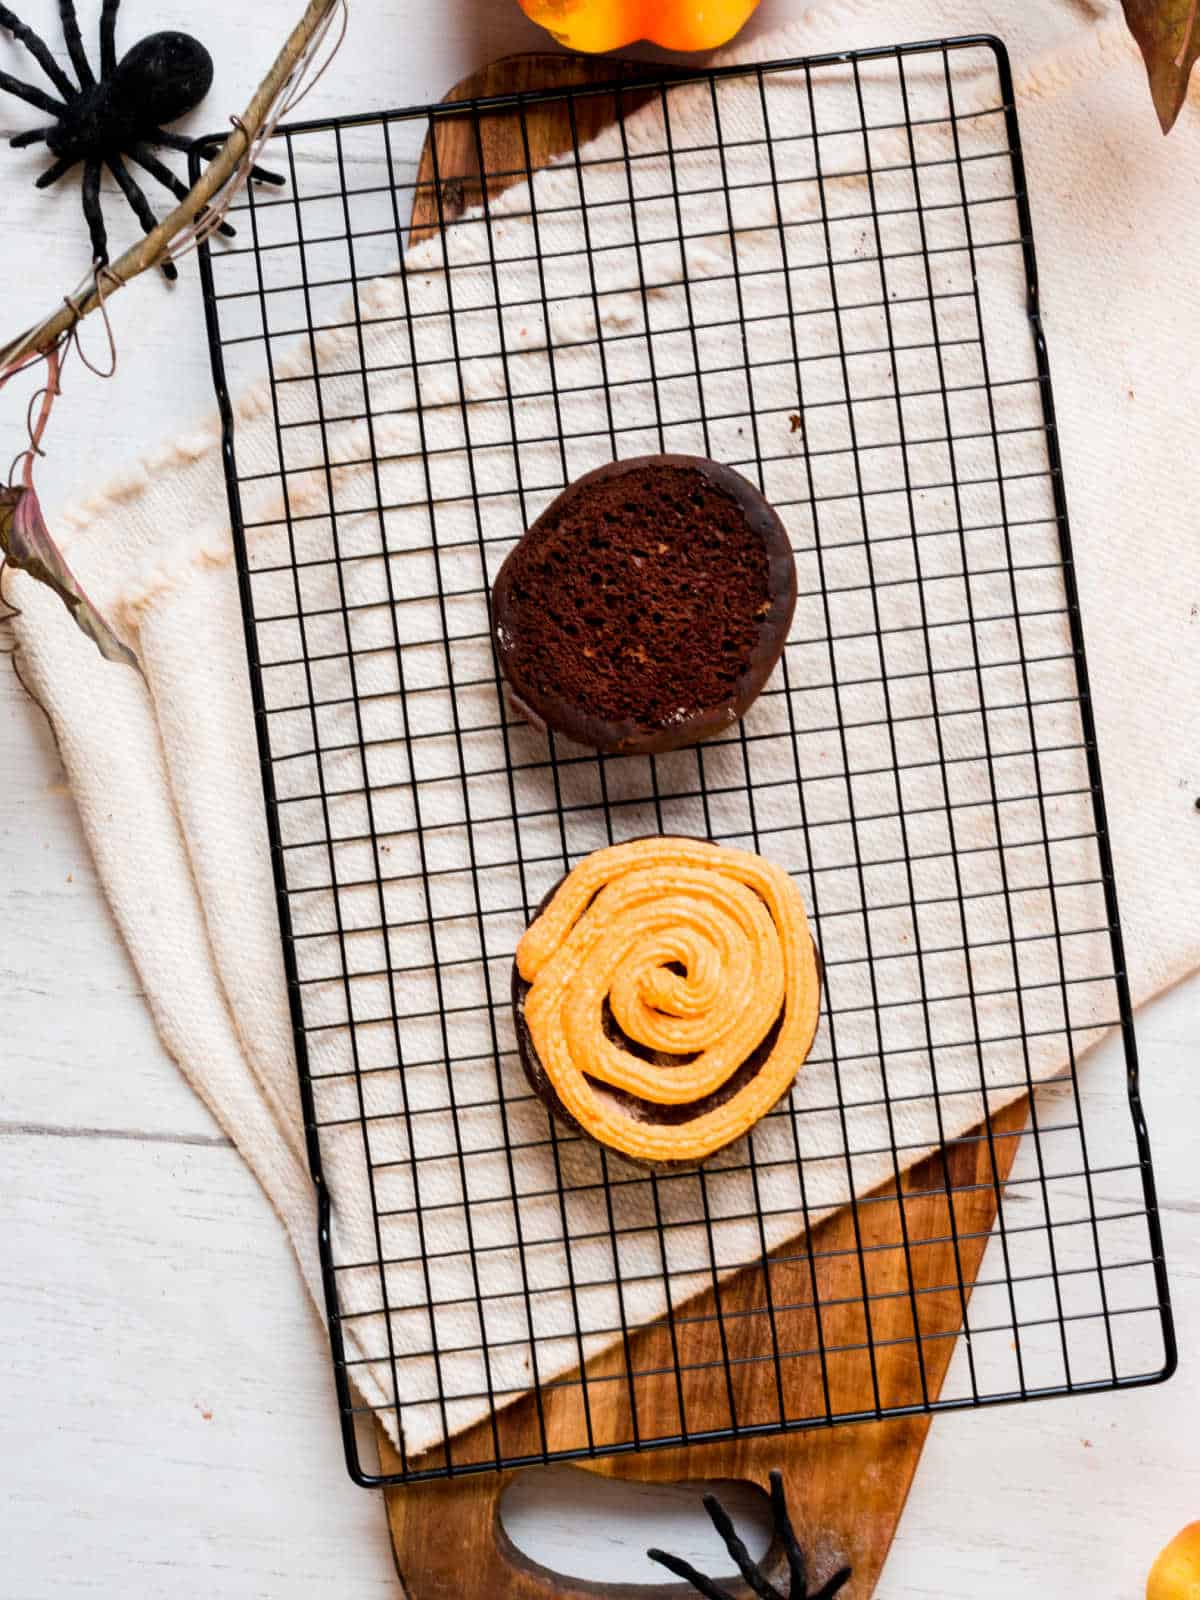
You can pipe the filling or use a spoon. Fill half the cookies and press the other halves on top to create a sandwich.
Buttercream filling
It's an easy recipe that comes together fast and keeps well in the refrigerator if you want to make it ahead.
Orange color: edible food colors come in liquid form, gel, or paste, such as Wilton orange paste, Americolor orange soft gel, or LorAnn orange liquid food color.
Vintage Kitchen tip: food dyes vary greatly depending on the type and brand. So, when adding color to a preparation, start with a drop or two and see how much it dyes. You can add more but not subtract it.
Cream cheese filling
Another option to fill these chocolate sandwich cookies.
If you have some leftover cream cheese frosting it's a great alternative.
As with the buttercream option, dye it with orange food coloring and use a pastry bag or a spoon to fill the whoopies.
Kitchen notes
- Organization: read the recipe first and ensure you have ingredients at the correct temperature, equipment, and enough workspace. This will make the process so much easier.
- Baking time: consider that all ovens and pans are different, even if they look similar. The baking time in my recipes is as accurate as it can be, but it might take you more or less time. You can use a thermometer(like the OXO oven thermometer) to check that your oven is at the right temperature. I recommend you keep track of how your oven works and what tiny details you might need to adjust.
- Storing: soft cookies can be kept in an airtight container or jar for a few days. You can also freeze them for a month. Always ensure they're well wrapped. Be careful not to smash them.
- How do you keep whoopie pies fresh? For the freshest cakes, eat them within a day of making them. After that, keep them in an airtight container. If you fill them as you plan to eat them (a few hours ahead at the most), they will last longer without becoming soggy.
- Why do whoopie pies come out flat? The consistency of the batter is crucial for a good whoopie pie to hold its shape. That depends on the recipe. Too much liquid and the batter will be too thin and spread too quickly when baking. This recipe today makes perfectly plump and moist whoopie pies.
Related recipes you might like:
Let me know in the comments below if you made this recipe and loved it and if you had issues so we can troubleshoot together. I love to hear what you think, always. Thanks for being here. It's much appreciated.
You might also consider subscribing to our FREE Baking the Best email series and our regular newsletter. Or connect via Facebook, Instagram, and Pinterest.
As an Amazon Associate, I earn from qualifying purchases. Please read my disclosure policy.
Print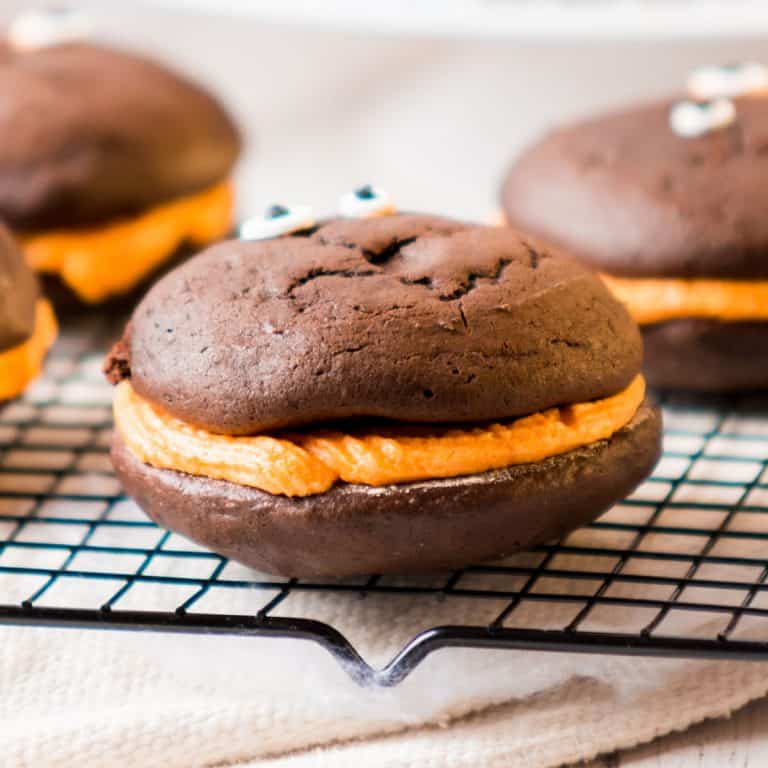
Easy Halloween Whoopie Pies
These are soft chocolate cookies sandwiched with an orange-colored cream cheese filling. A super cute Halloween bake that's great to make with kids. Top them with eyeball candies or other thematic extras.
- Total Time: 2 hours 30 minutes
- Yield: 10 whoopies
Ingredients
For the chocolate whoopies:
- 3 tablespoons unsalted butter, at room temperature
- 3 tablespoons oil
- ½ cup brown sugar
- 1 egg, at room temperature
- 1 teaspoon pure vanilla extract or paste
- 1 teaspoon instant coffee powder or ½ teaspoon coffee extract
- ¾ cup all-purpose or cake flour
- ½ cup unsweetened cocoa powder (see Notes below for brands)
- ½ teaspoon baking soda
- ¼ teaspoon salt
For the filling:
Buttercream option
- ½ cup unsalted butter, at room temperature
- 1 cup powdered sugar
- A few drops of vanilla extract
- 1-2 tablespoons of milk, if needed
- A few drops of orange food coloring
- Edible eyes
Cream cheese option
- 2 tablespoons cream cheese, at room temperature
- 1 tablespoon unsalted butter, at room temperature
- 1 to 1 ½ cups powdered sugar
- A few drops of orange food coloring
- Edible eyes
Instructions
For the chocolate whoopies:
- Beat butter with sugar and oil in a bowl for about 1 minute.
- Add egg, vanilla, and coffee and mix until well integrated.
- Sift the cocoa powder over this mixture and mix.
- Add sifted flour, baking soda, and salt in 2 parts. Integrate well but don't overbeat at this point (only mix to incorporate) because the cakes will be tough if beaten too much.
- Cover the bowl and refrigerate for about 2 hours, until firm enough to scoop.
- Preheat oven to 350°F/180°C.
- Line a cookie sheet with parchment paper.
- Scoop portions of chocolate dough and place with an inch or two of separation between them.
- Bake for 12 to 15 minutes, until crackled, dry, and still slightly soft when barely pressed.
- Let cool completely on a wire rack and fill with the filling of your choosing (below).
- Place edible candy eyes or other thematic decorations on top. You might want to dab a tiny bit of filling so they stick better.
- Keep at room temperature for a day or two, or put in airtight containers. You can also store the whoopies without filling for a few days, and fill them when ready to eat.
For the buttercream filling:
- Beat butter until creamy and smooth.
- Add the powdered sugar gradually and the vanilla.
- Beat until completely smooth and very thick.
- Add milk, a teaspoon at a time, if needed. You want a very thick mixture that doesn't drip.
- Add the orange color a few drops at a time and mix before adding more until you attain the desired orange color.
For the cream cheese filling:
- Mix butter and cheese until creamy and smooth.
- Add 1 cup of powdered sugar little by little until it is very thick.
- Add more sugar if you want a thicker mixture.
- Add the orange color a few drops at a time and mix before adding more until you attain the desired orange color.
Notes
- Organization: read the recipe first and make sure you have ingredients at the right temperatures, equipment needed, and enough workspace. This will make the process so much easier!
- Baking time: keep in mind that all ovens and pans are different, even if they look the same or very similar. The baking time in my recipes is as accurate as it can be, but it might take you more or less time. Use a thermometer inside the oven (like the OXO oven thermometer) to check that the temperature is right. I recommend you keep track of how your oven works and what tiny details you might need to adjust.
- Cocoa powder: always use unsweetened. The better the cocoa, the better the flavor. I like Hershey's unsweetened cocoa powder, Ghirardelli Premium baking cocoa, and Scharffen Berger natural cocoa powder. And, in my experience, the dark ones are the best (this does not apply to the super dark used for making homemade oreo cookies known as dark cocoa powder).
- Orange color: edible food colors come in liquid form, gel, or paste, such as Wilton orange paste, Americolor orange soft gel, or LorAnn orange liquid food color.
- Storing: soft cookies can be kept in an airtight container or jar for a few days. You can also freeze them for a month, always well wrapped. Be careful not to smash them. You can also store filled whoopies, but they will turn softer faster due to the moisture of the filling.
- How do you keep assembled whoopie pies fresh? For the freshest cakes, eat them within a day of making them. After that, keep them in an airtight container. If you fill them as you plan to eat them (a few hours ahead at the most), they will last longer without becoming soggy.
- Prep Time: 15 minutes
- Refrigeration time: 2 hours
- Cook Time: 15 minutes
- Category: Cookies
- Method: Baking
- Cuisine: American




doris says
these look good but the only I would is leave out the coffee since I don't drink and can't stand anyways and ya I know ya all say ya can't taste it and I know theres a different texture and don't like
Marlene Gris says
Your recipe states that the fllling is a cream cheese filling but there is no mention of it in the ingredients.
Paula Montenegro says
Hi Marlene! I rewrote the recipe card, so it's easier to choose between the fillings (cream cheese or buttercream). Have a great Halloween!