

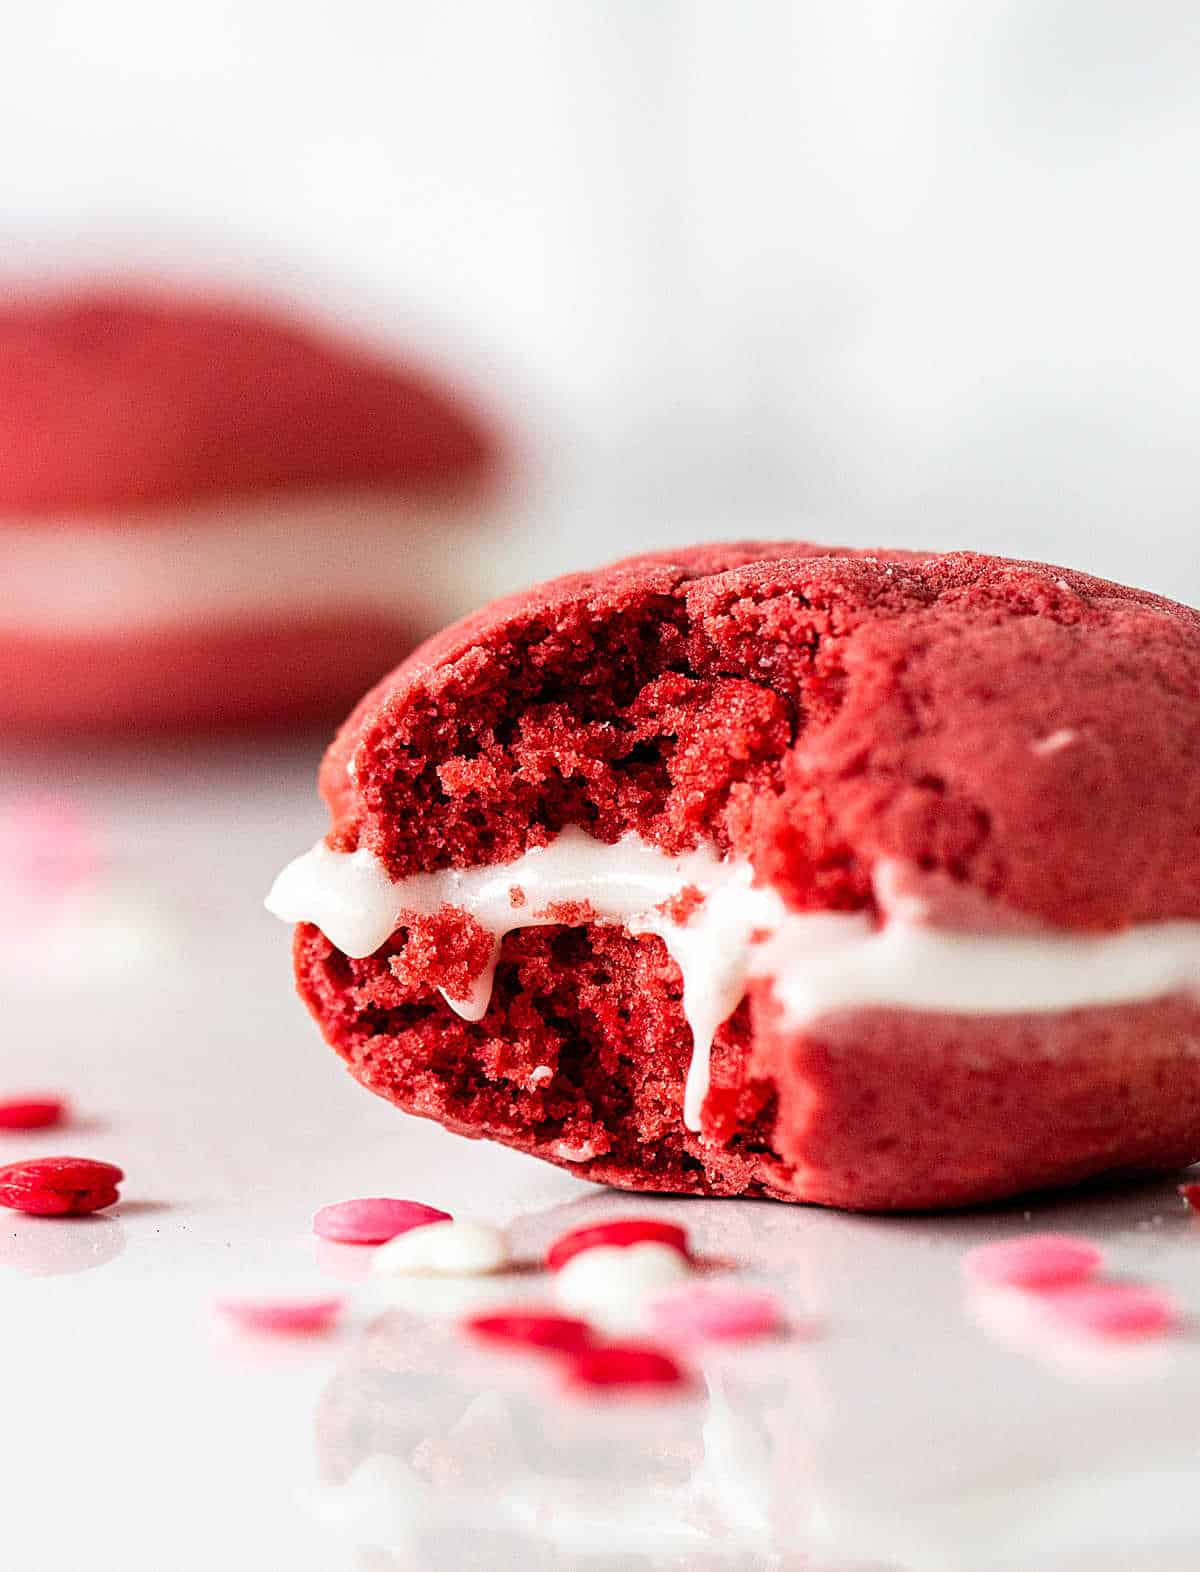
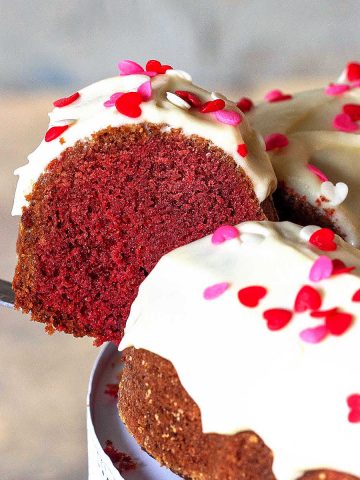
A small treat to celebrate, this is a cross between a cake and a soft cookie. And it's called a pie. I know. But it's delicious. And so easy to make, a no-brainer really if you want to have red velvet cake without the fuss. And they are filled with the wildly loved cream cheese frosting.
SAVE THIS RECIPE
I discovered whoopie pies a few years ago, and started making them often.
They were a wonderful surprise, to realize they were soft but tasty, sweet from the filling, and so very easy to make.
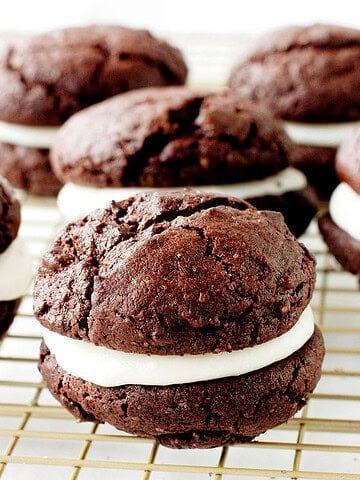
So now it's all about whoopie pies in this house, not just for Valentine's Day, but also chocolate whoopie pies for Christmas and pumpkin whoopie pies for Thanksgiving.
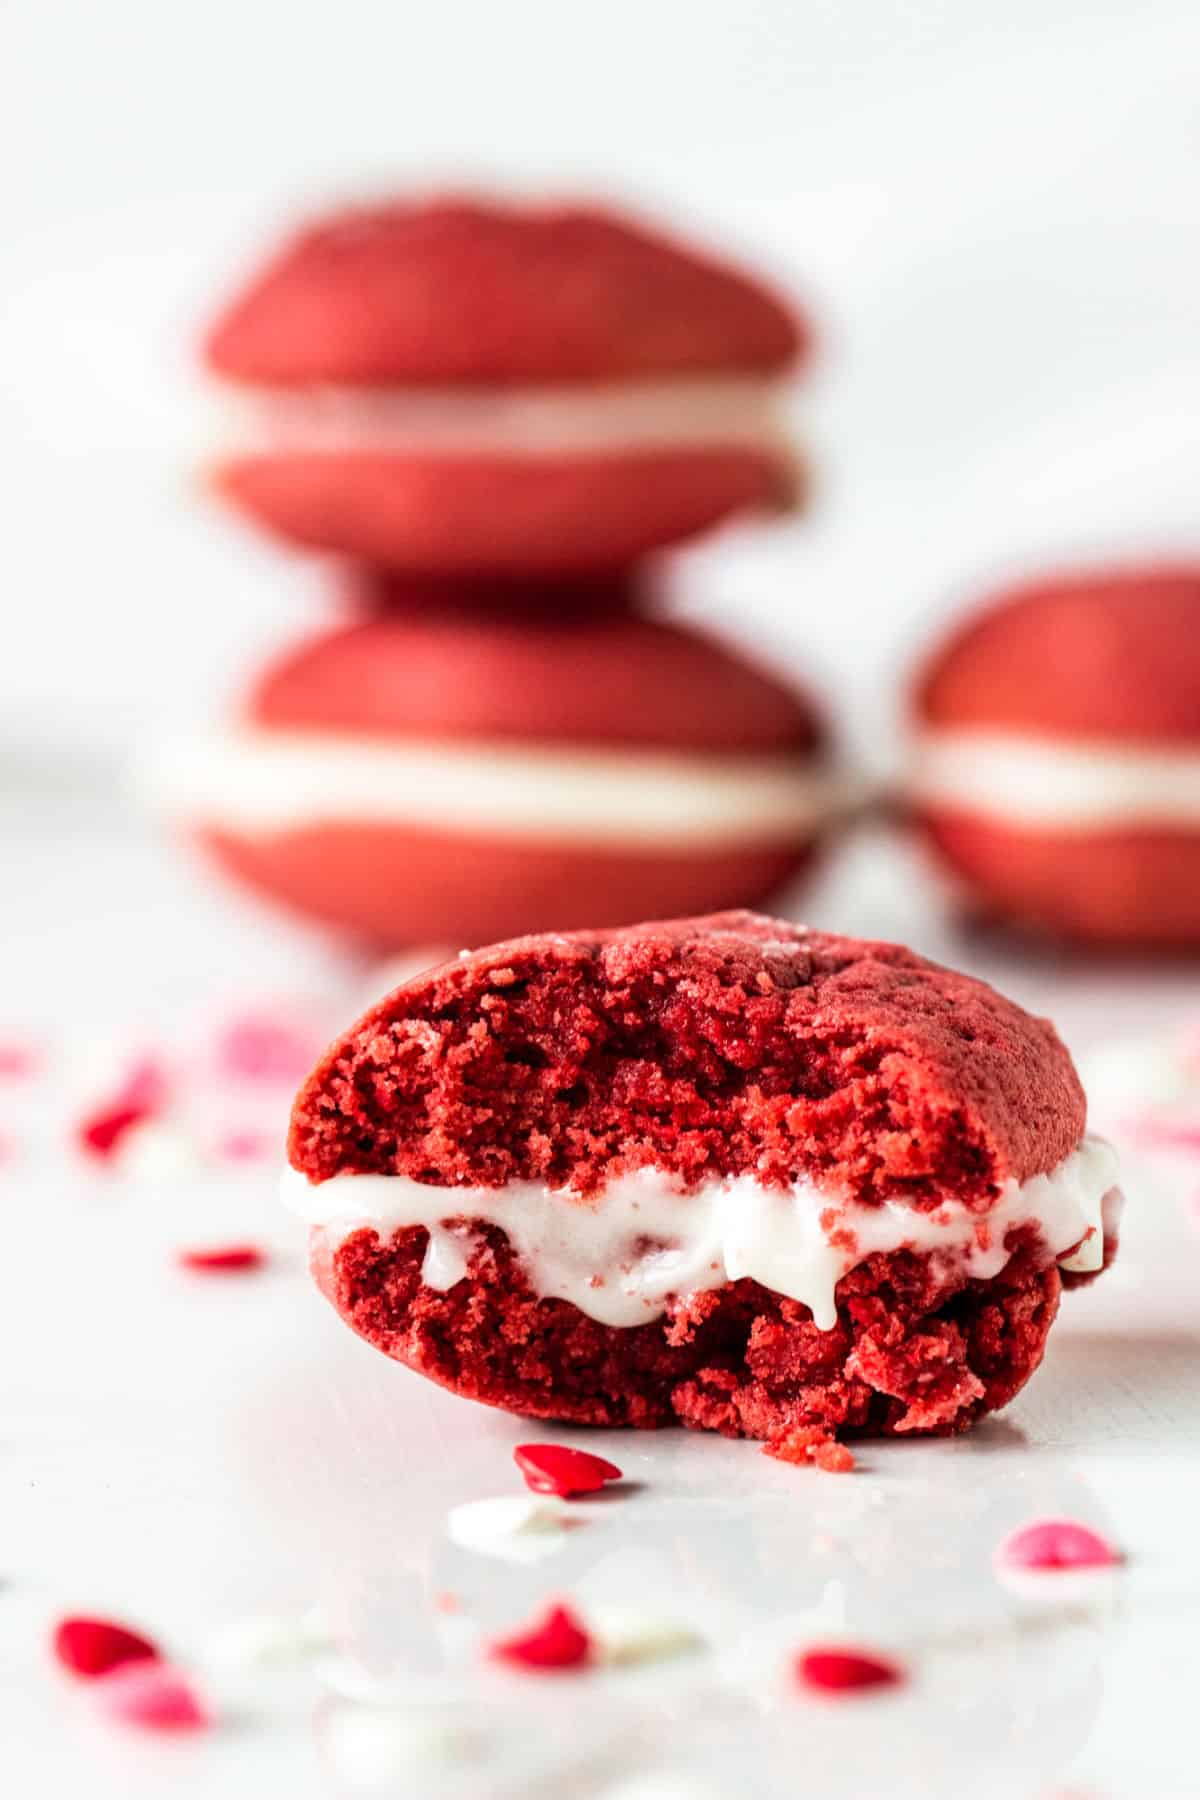
It's a cake-like soft sandwich cookie. Why it's called a pie is not quite clear, though they supposedly originated in the Amish community as a way to use leftover cake batter and frosting. In this blog, you can find them in the cakes category and the cookies recipe archive.
Traditionally, they are filled with marshmallow creme or cream cheese frosting, the one used for carrot cakes and in the hummingbird cake recipe. I also like red velvet whoopie pies filled with this fabulous 5-minute chocolate frosting.
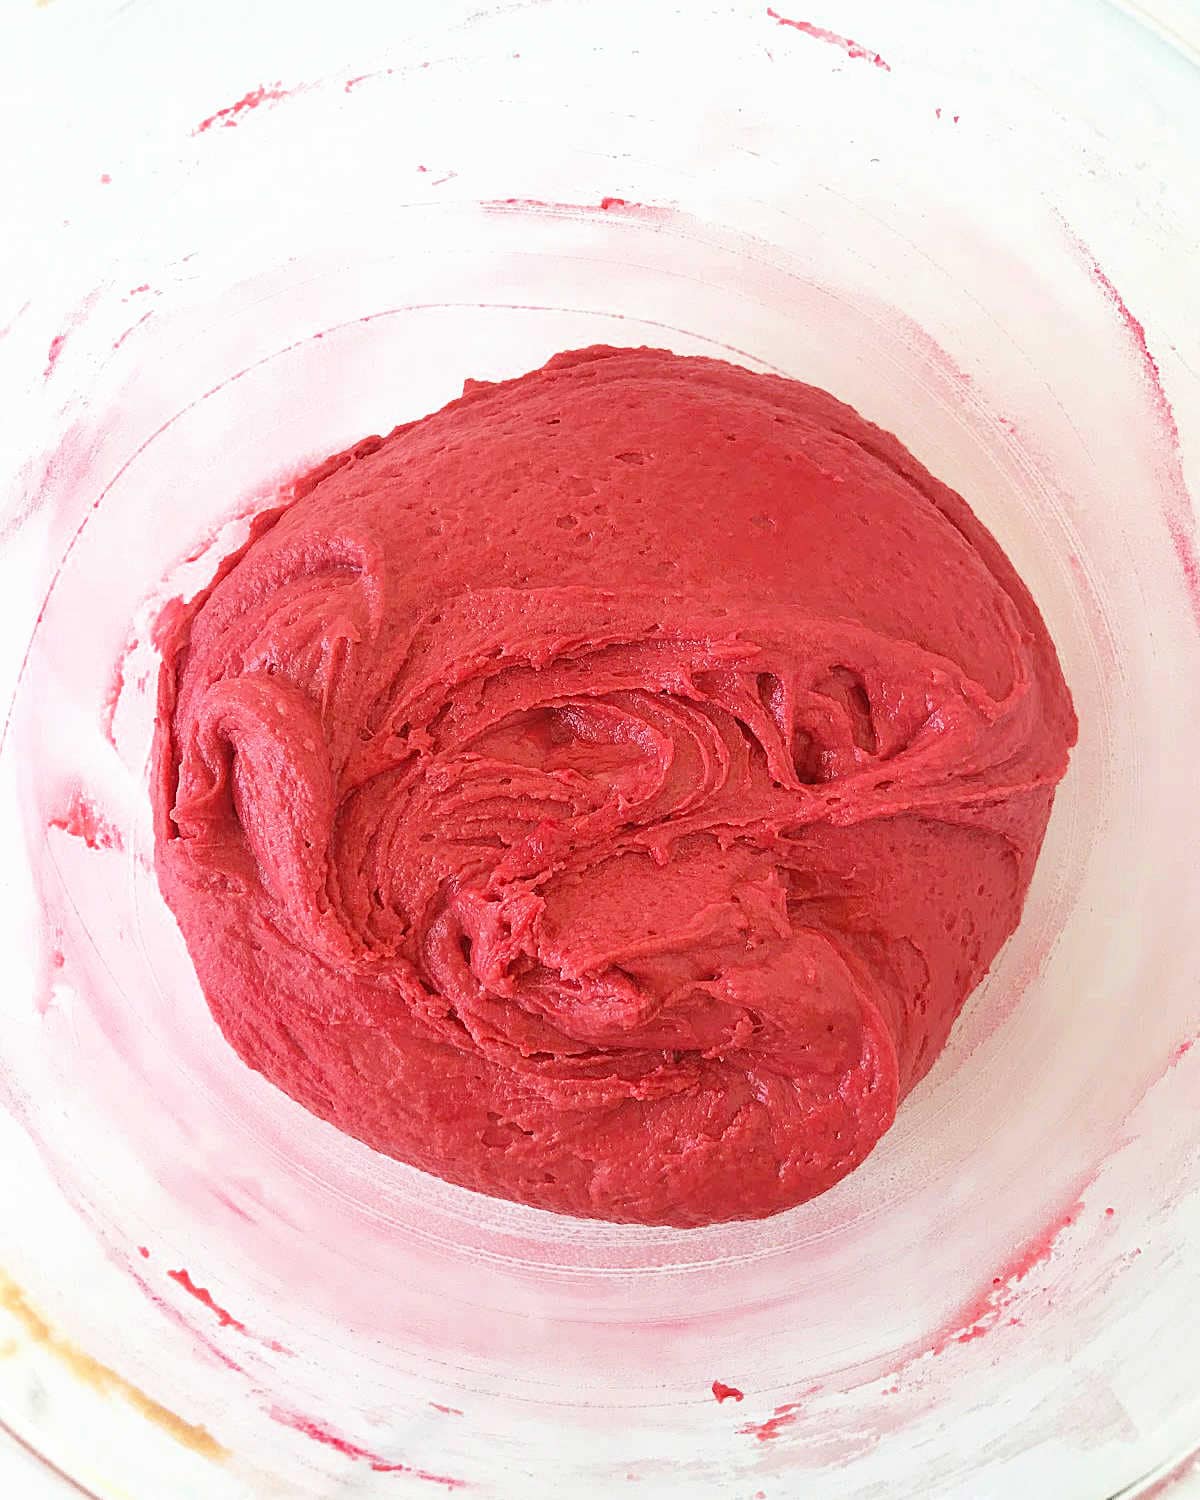
The consistency of the batter is crucial for a good whoopie pie that holds its shape, and this depends on the recipe. Too much liquid, for example, and the batter will be too thin and spread too quickly when baking. This recipe today makes perfectly plump and moist whoopie pies.
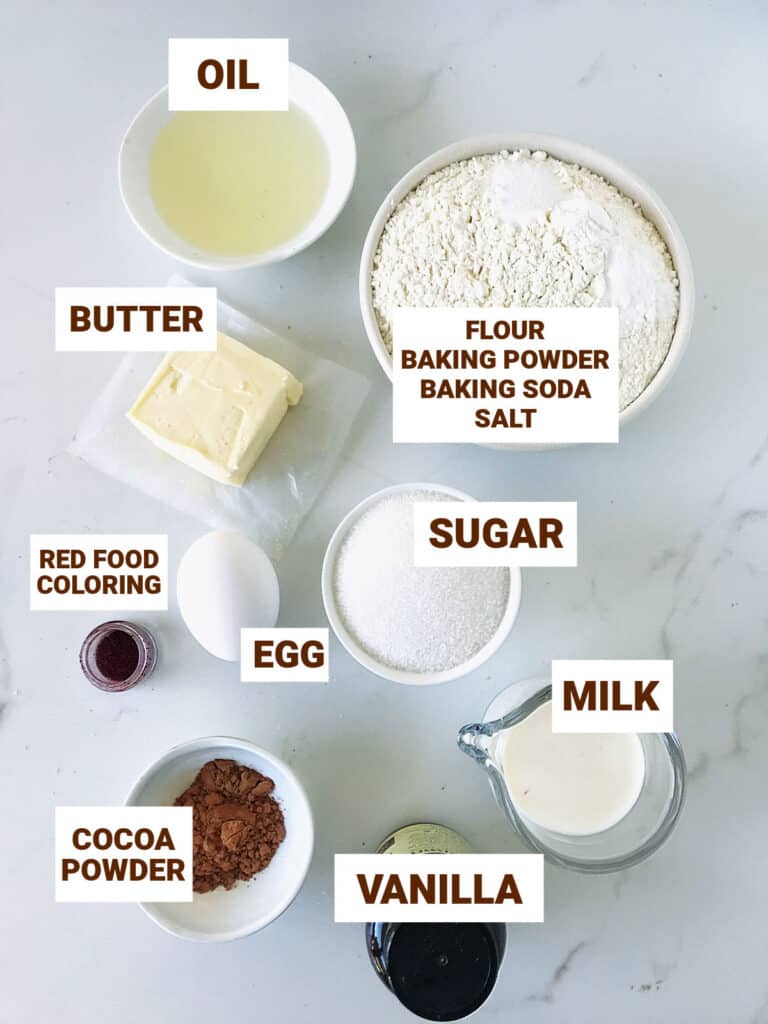
Ingredient list
- Vegetable oil: I use sunflower, but canola or other neutral one works.
- Unsalted butter.
- Unsweetened cocoa powder. It isn't red velvet without that small amount of chocolate. The darker the cocoa, the deeper the red color.
- Red food coloring: it must be water-based (as opposed to oil-based). You can use powder food dye or gel food color. Both work, but gels don't need to be dissolved first.
- White, granulated sugar.
- Light brown sugar (or use all white).
- Egg: fresh, large.
- All-purpose flour.
- Salt.
- Baking powder and baking soda: make sure they aren't expired.
- Milk.
- Vanilla extract.
See the recipe card towards the end of this post for quantities. You can check the Ingredients page for more details and the brands we use.
How to make red velvet whoopie pies
Making whoopie pies is easy. It's a soft cookie batter that comes together very quickly, and you can use a wire whisk or electric mixer; no need for a stand mixer.
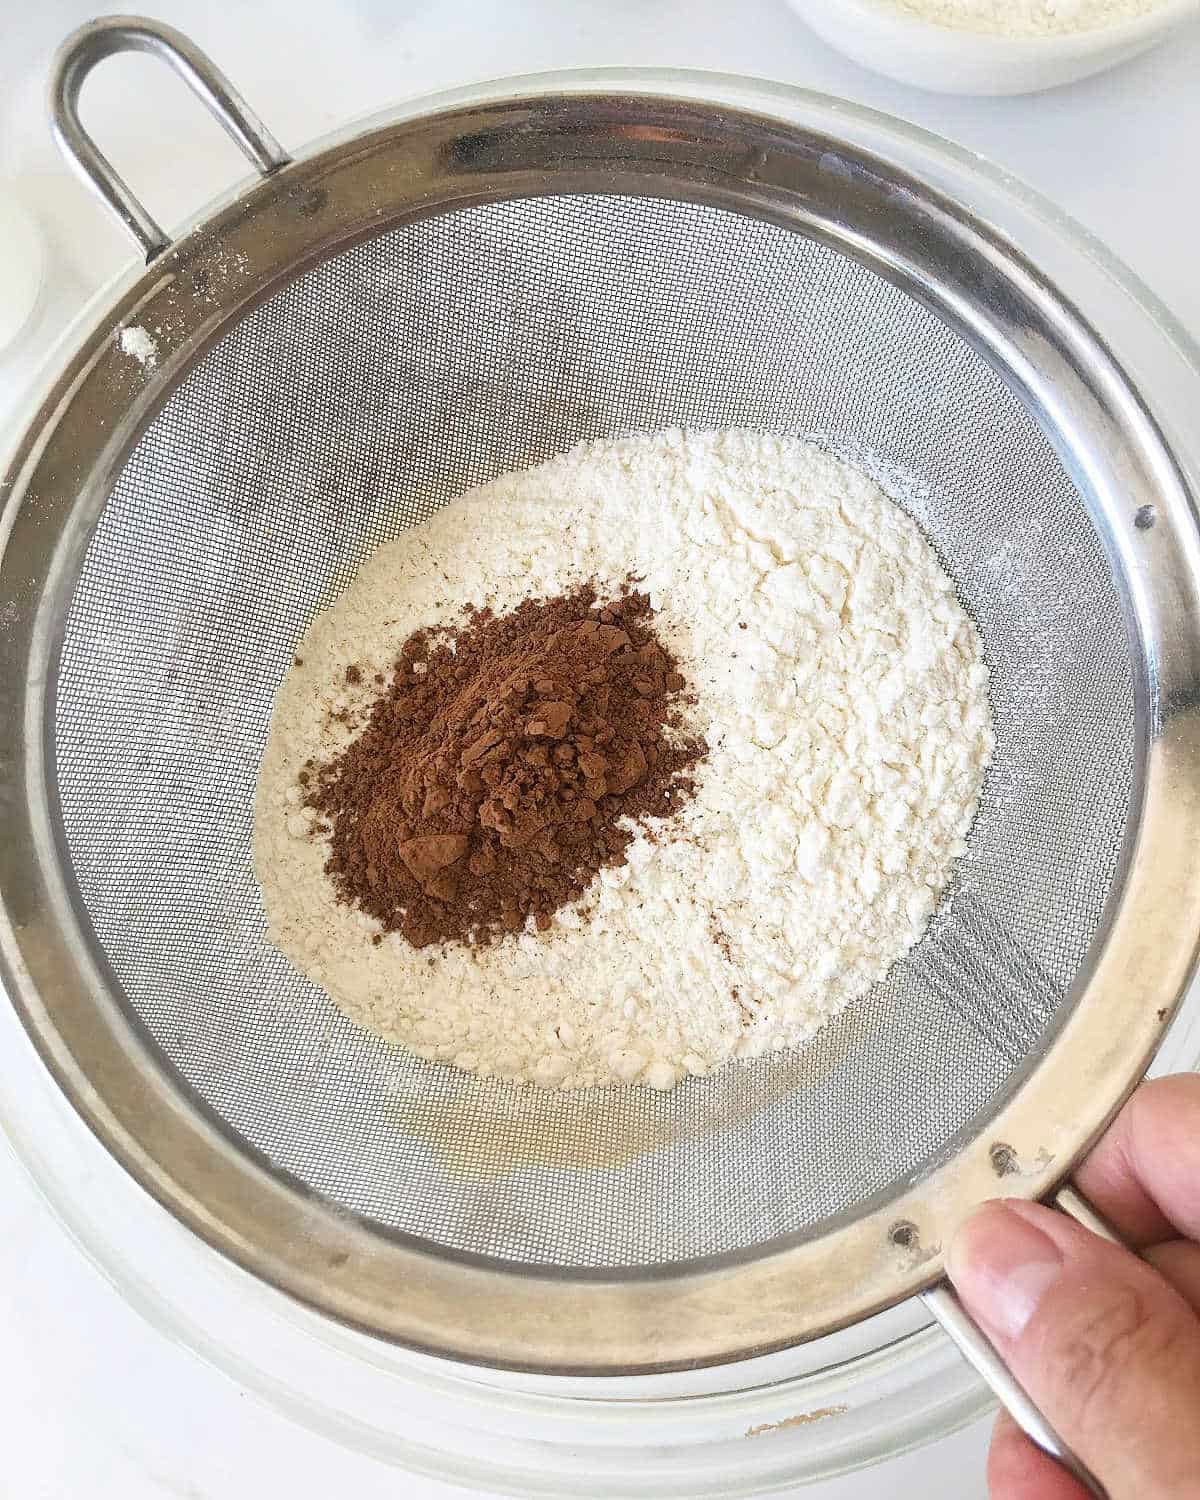
Sifting dry ingredients: this is important, especially with cocoa powder and baking soda, as they can clump during storage and might dissolve properly.

The amount of red food coloring should be small so it doesn't interfere with the texture and flavor. I like gel-based ones (no need to dissolve) or powdered food dye dissolved in the liquid before adding.
Refrigerate the red velvet dough for an hour or until it's slightly firmer to have better-shaped and thicker whoopie pies.
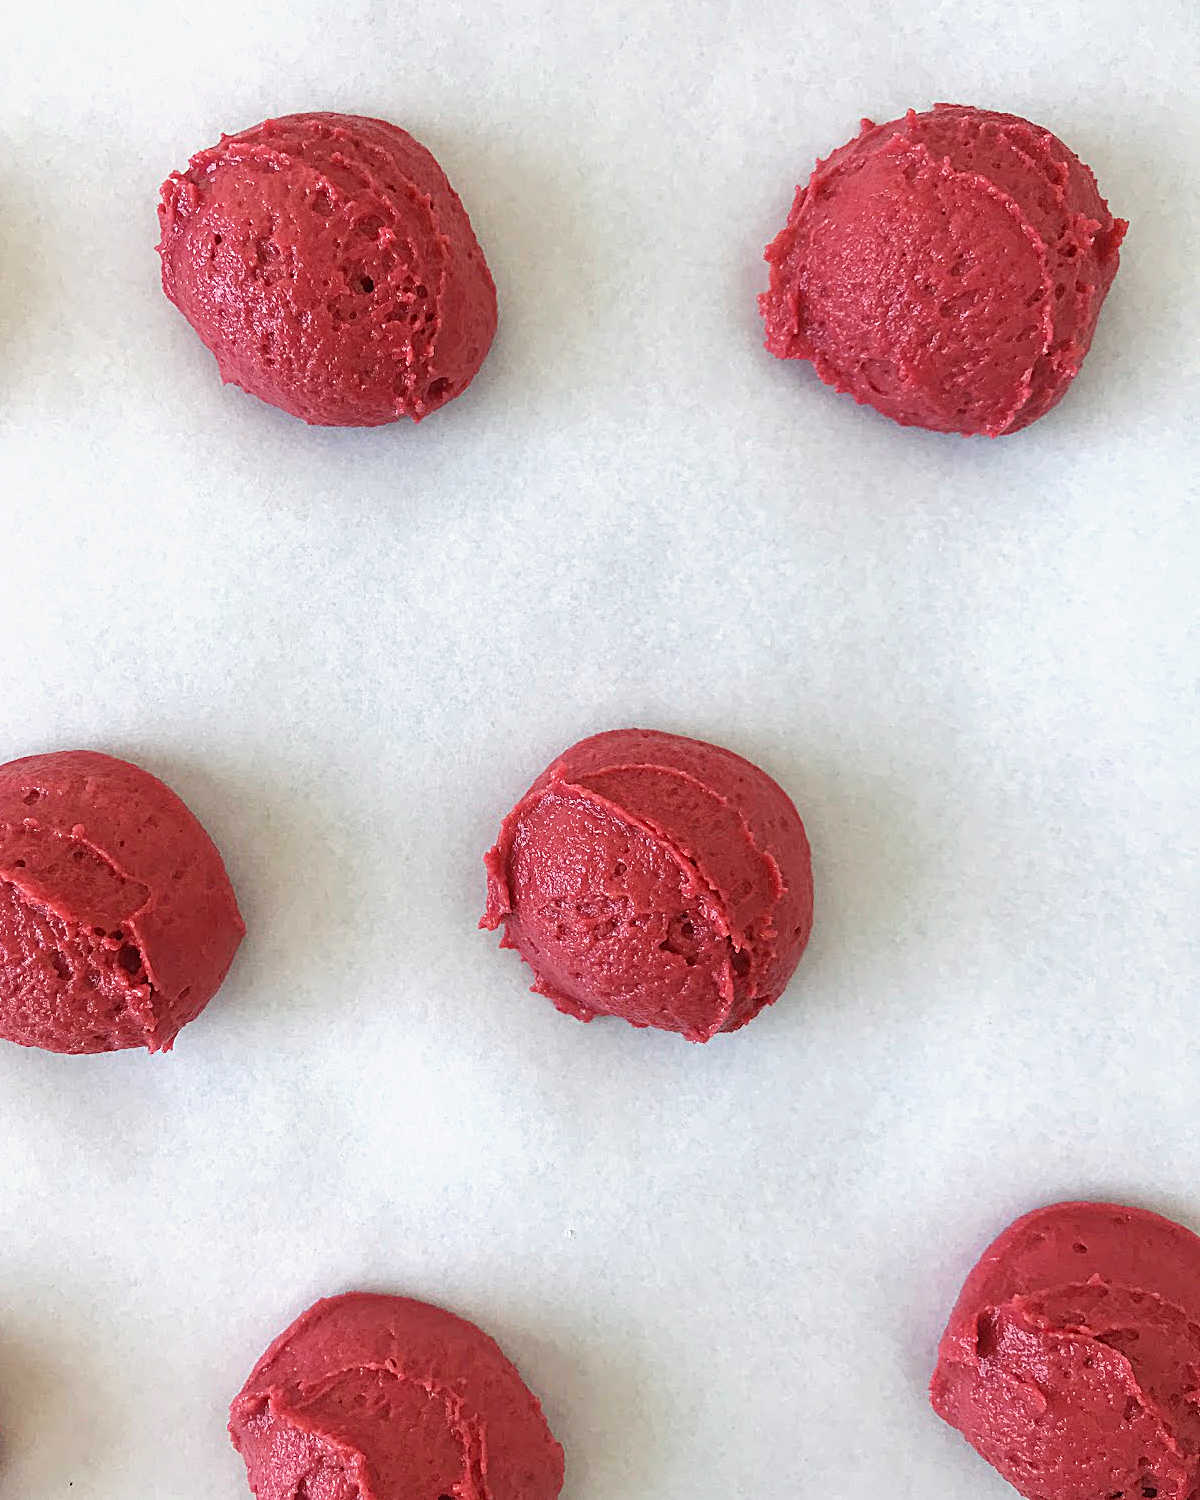
Make sure you leave space between the mounds of batter because they expand during baking. Use a cookie scoop to make even whoopies.
Vintage Kitchen tip: the cookie dough can be kept in the fridge for up to 3 days before baking. Ensure it's tightly covered in plastic wrap or an airtight container to prevent dryness.
Whoopie pie filling
Use a piping bag or spoons to fill each cakey cookie.
- Cream cheese frosting: it's our favorite one and easy to make.
- Marshmallow: homemade or store-bought marshmallow creme or fluff is a great option.
- Buttercream: red velvet pairs well with vanilla or white chocolate buttercream.

Storage
- Soft cookies: place them in an airtight container before filling. Separate them with parchment paper as they're tender and might stick.
- Cream cheese frosting: can be made ahead and kept in a covered bowl or airtight container for a week in the fridge or a month in the freezer (use a freezer-safe container).
- Room temperature: the filled cookies keep well for 2-3 days.
- Refrigerator: keep the whoopie pies or the soft cookies for up to a week, well covered as instructed above.
- Freezing: wrap individually in plastic wrap and then aluminum foil, or use an freezer-safe airtight container with parchment paper to separate layers. They keep for a month. Thaw in the fridge overnight or at room temperature, uncovered.
Related recipes you might like:

If you made this recipe and loved it, you can comment below and leave a 5-star ⭐️ review. Also, if you had issues, let me know so we can troubleshoot together.
You can also subscribe to our FREE email series 'Baking the Best' and our regular newsletter. Or follow and save my recipes on Pinterest.

Red Velvet Whoopie Pies
Ingredients
- ½ cup unsalted butter
- ¾ cup sugar
- ¼ cup light brown sugar
- 1 egg, at room temperature
- 2 cups + 2 tablespoons all-purpose flour
- 2 tablespoons unsweetened cocoa powder
- ½ teaspoon baking powder
- ¼ teaspoon baking soda
- ¼ teaspoon salt
- ⅓ cup milk
- ¼ cup oil
- 1 teaspoon vanilla
- ½ teaspoon red gel food coloring, the amount will vary depending on the type and brand you use
For the filling:
- 2 tablespoons 30g butter, at room temperature
- 4 tablespoons 60g cream cheese, at room temperature
- 2 cups 300g powdered sugar
- OR use marshmallow fluff, creme from the store
Instructions
- Beat butter with sugars in a large bowl for two minutes.
- Add egg and mix to incorporate well.
- If using powder red coloring, mix it with 2 tablespoons of the amount of milk in the ingredients.
- Add the sifted dry ingredients (flour, cocoa powder, baking powder, baking soda, and salt) to the butter mixture in 2 parts, alternating with the milk and oil in 1 part. You can either sift them apart or have them measured and sift them directly, as I do. At some point it might look slightly curdled; that is fine if you still have the last part of dry ingredients to add.
- Mix the red coloring with the vanilla, ensuring it's all well incorporated, but don't overbeat as it will toughen the cookies when baked.
- Cover and refrigerate for about 2 hours or until it firms up. Or overnight.
- Preheat the oven to 350°F (180°C).
- Scoop portions of the red velvet dough and place on a parchment-lined cookie sheet, about an inch and a half apart. Or use a piping bag and pipe them on the prepared baking sheets.
- Bake for 10 minutes. It might take a minute longer, but make sure they are not completely dry. They should be slightly soft.
- Let cool completely on a wire rack.
- Mound a teaspoon of cream cheese filling on half the cookies and top with the rest, pressing down lightly.
- Keep at room temperature for a day and refrigerate leftovers, covered, for a few days.
For the cream cheese filling:
- Mix butter and cheese until creamy and smooth.
- Add powdered sugar little by little until it is very thick. Add more sugar if you want a thicker mixture.
angiesrecipes says
How beautiful! They are just like mini layered cakes 🙂