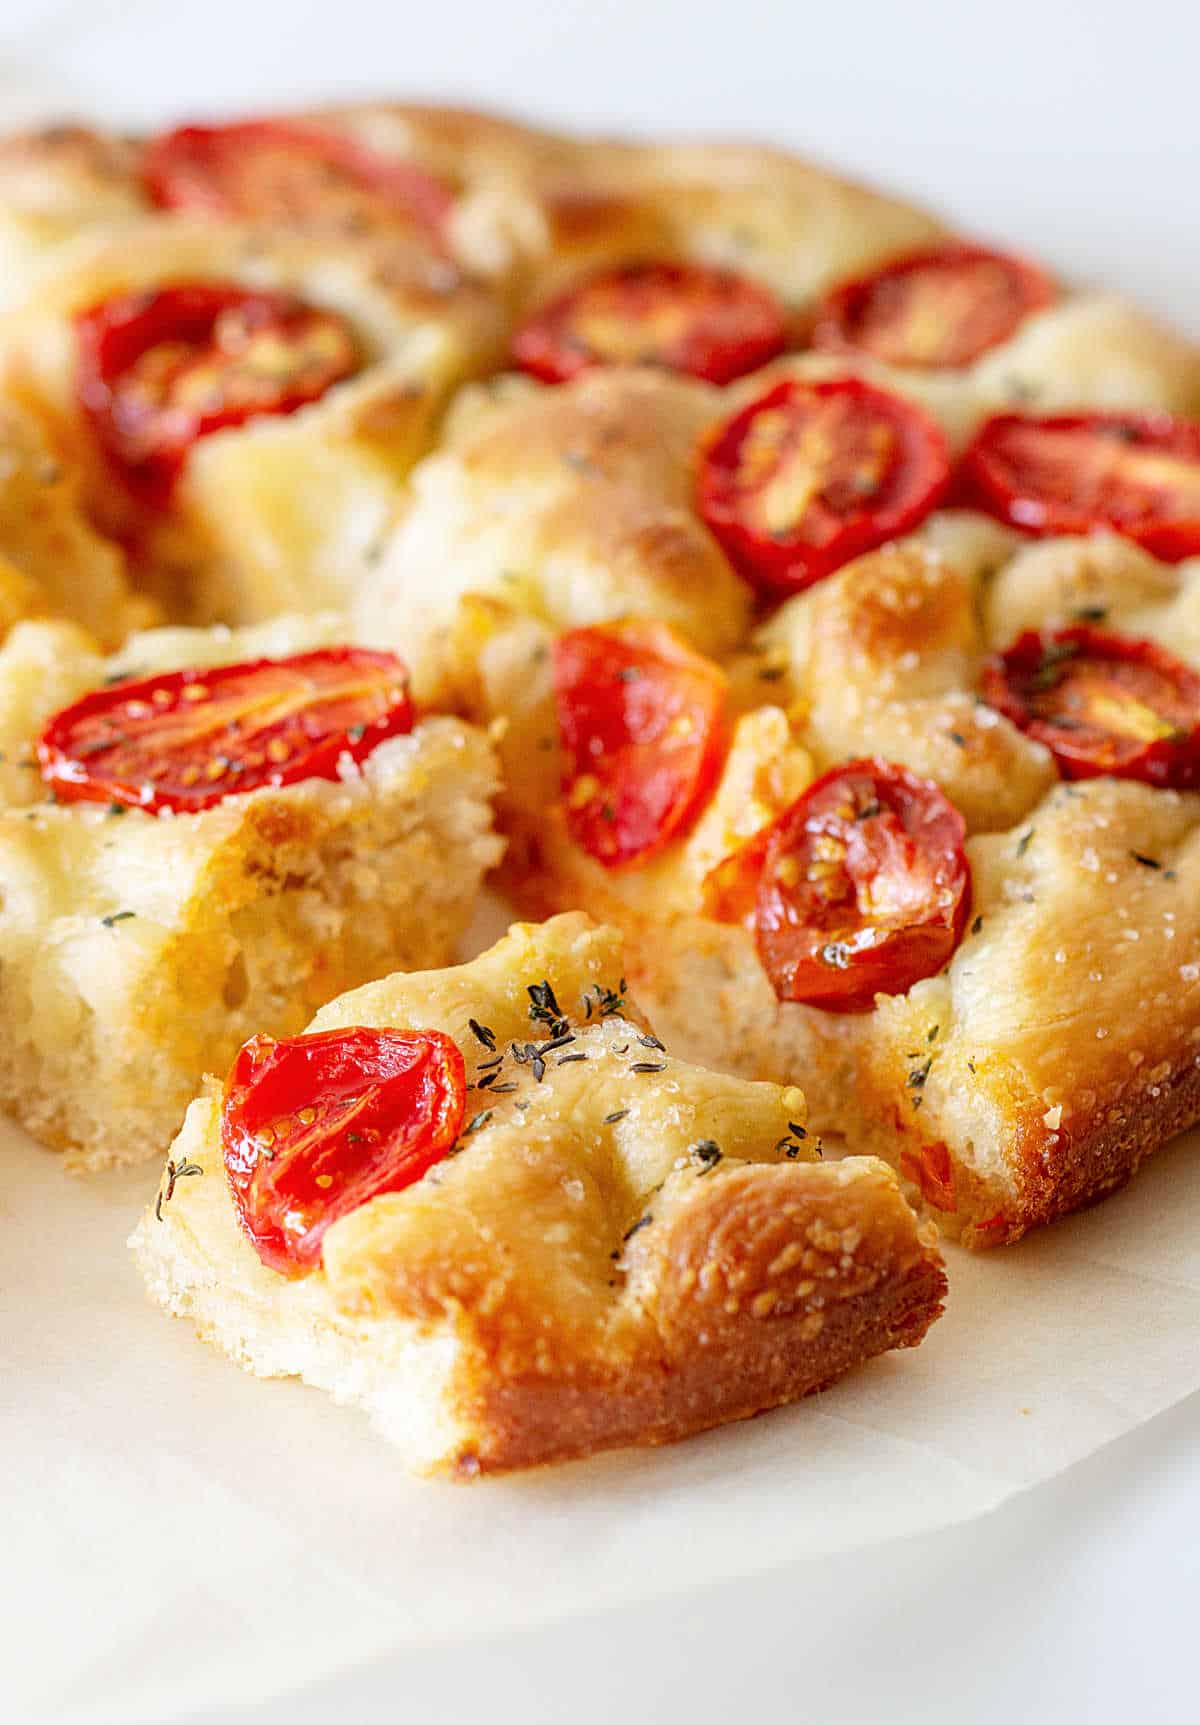
Also called focaccia bread, this is one of my favorite recipes to make with yeast. It's a simple dough with few ingredients, and the result is spectacular: golden crust, salty and oily in the best possible way, with unparalleled crunchiness. It's very versatile with toppings, but tomatoes and herbs are fantastic. The aroma in the kitchen will make you a fan if you're not one yet.
Italian bread
I can't write enough good things about focaccia.
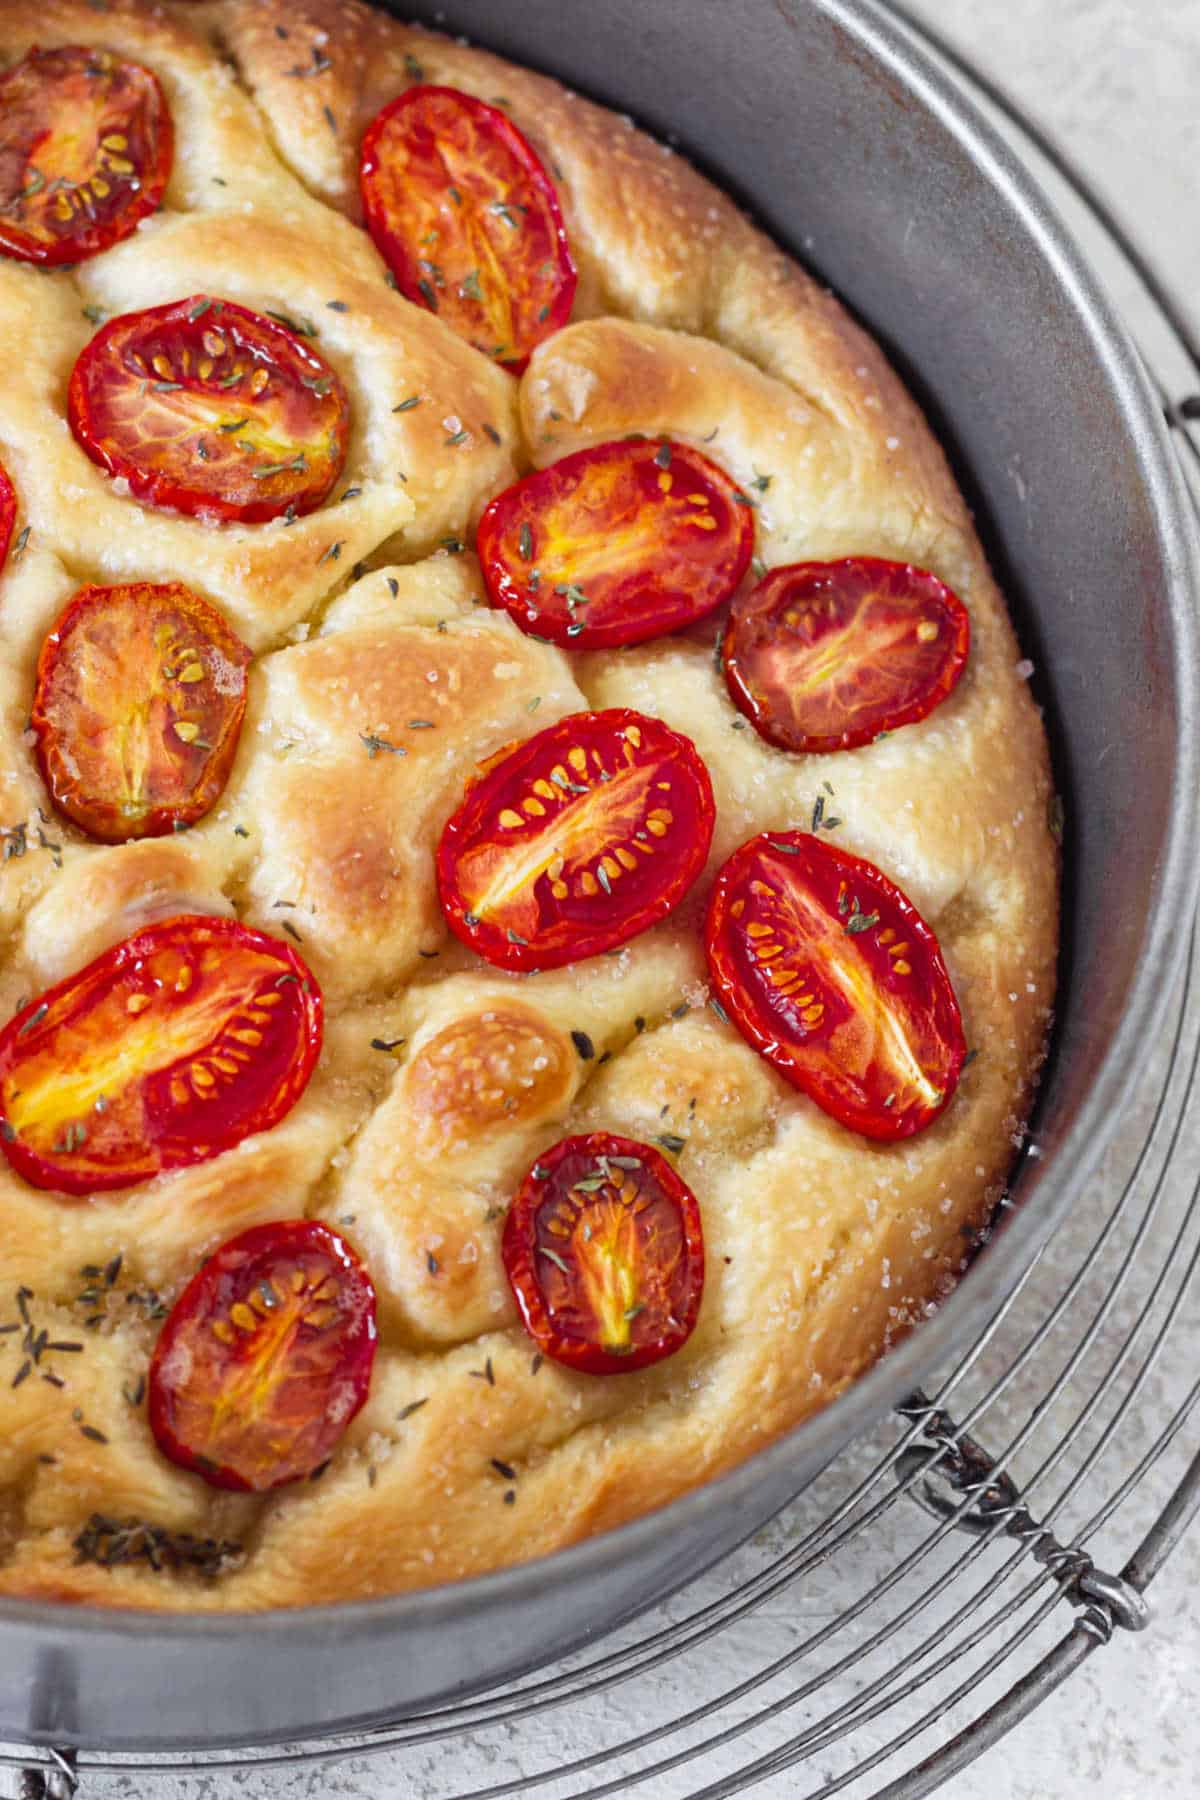
It's an Italian yeasted bread, similar to a pizza but taller, with a crunchy golden-brown crust that is heaven.
It's one of those amazing bread recipes you'll want to make repeatedly. Like the semolina bread, another Italian recipe we love.
Once you make it, you'll understand why I'm such a fan! If you already eat it regularly, I bet you understand me completely.
It's very versatile when it comes to topping ingredients, which include mostly Mediterranean flavors like garlic, sun-dried tomatoes, olives, potato slices (it seems weird but is so good), goat cheese, etc.
Step-by-step VIDEO
FAQ
It can, and many times it is. But the toppings and thickness of the bread are very different.
That has to do with the yeast: it might've been old and lacked strength, it might've been a small amount so it didn't have enough rising power, or you may have forgotten to add it (it happens!). Unless you make a recipe that calls for a sourdough starter, you need to use yeast that is active.
Well wrapped in plastic, it can last 2 days at room temperature but might lose some of its crunchiness. After that, put it in the fridge. Or you can freeze it, well wrapped, for a month. Thaw at room temperature. Always warm it in a medium oven (350°F/180°C) for about 15 minutes before eating.
Ingredient Notes
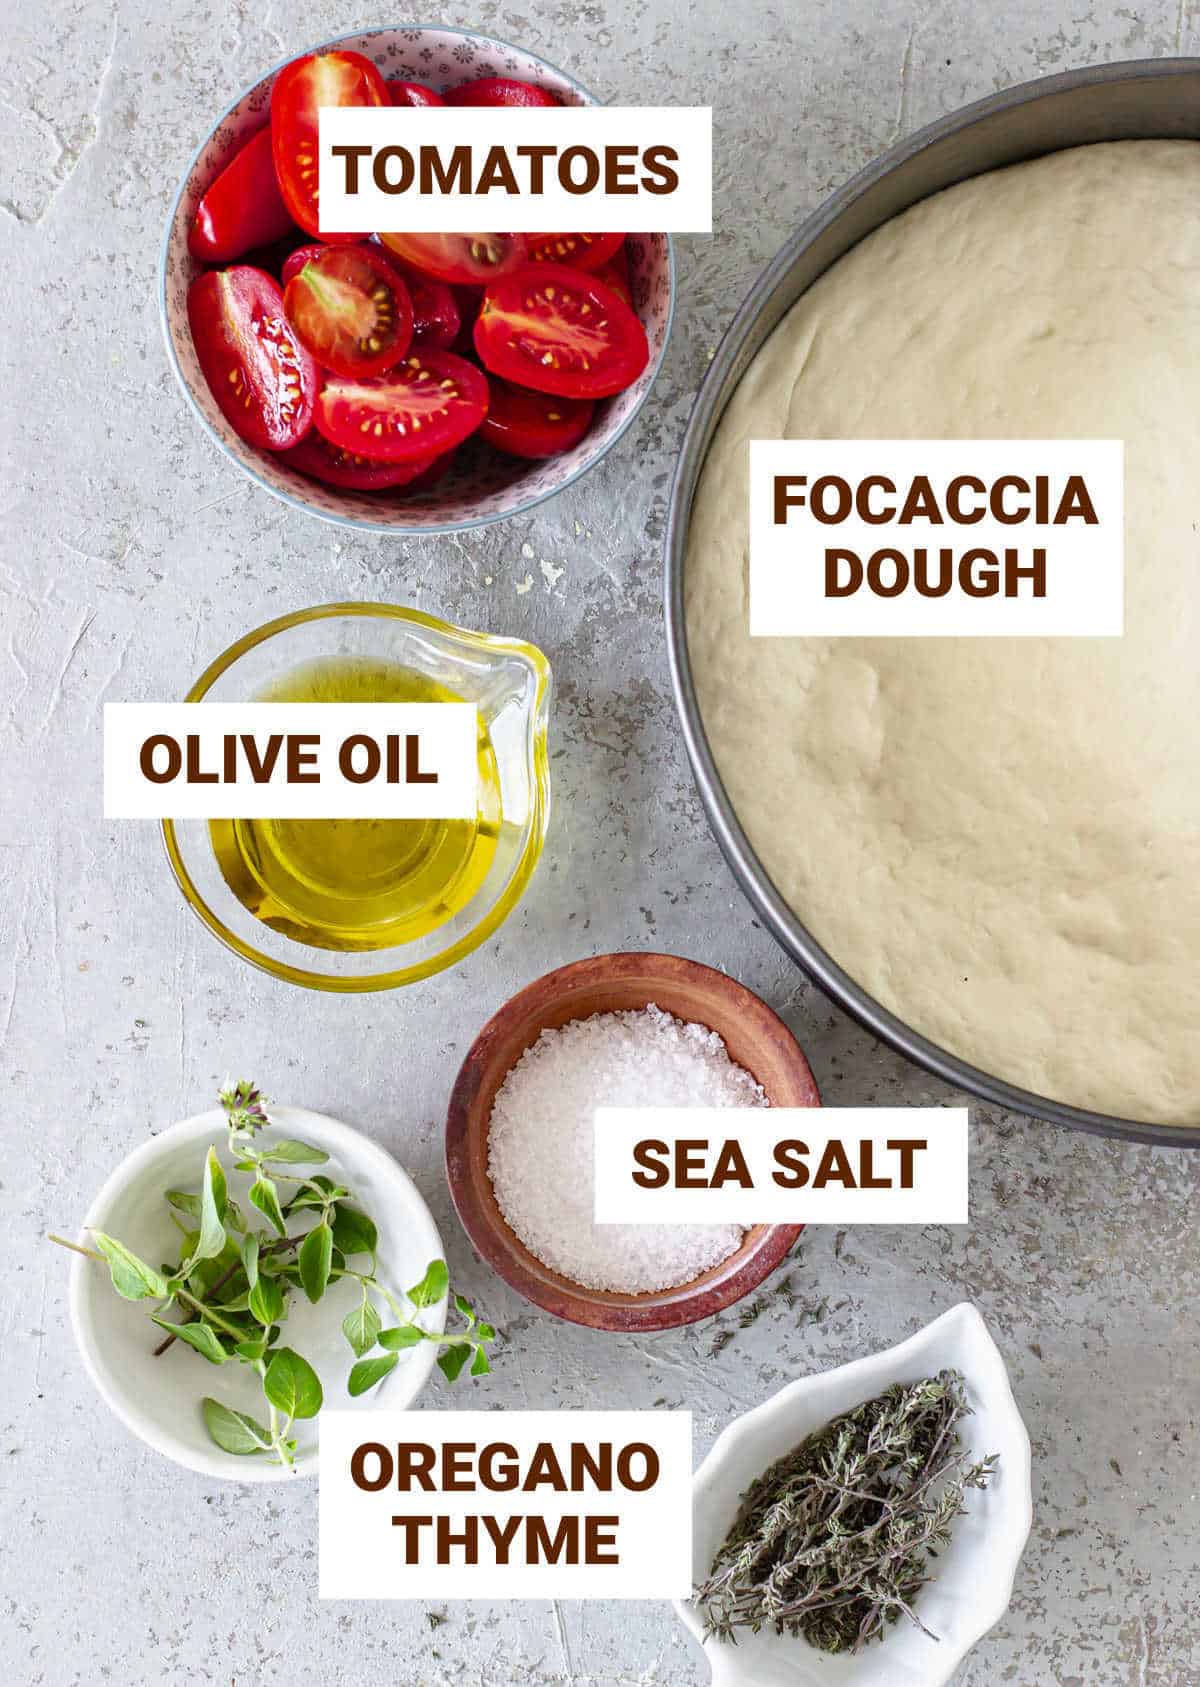
- Flour: use bread flour if possible. It has more gluten, a protein good for yeasted recipes because it creates the structure, the net that will hold the bread as it rises. All-purpose flour can also be used and works very well.
- Yeast: this recipe works with dry (instant or active dry) and fresh. I usually use dry because it keeps in the fridge for a longer time. All types are explained in the recipe card so you can choose which one to use.
- Olive oil: this is essential for the flavor and texture of the focaccia, especially the top of the bread, which will be incredibly crunchy. So use the best extra virgin one you can afford.
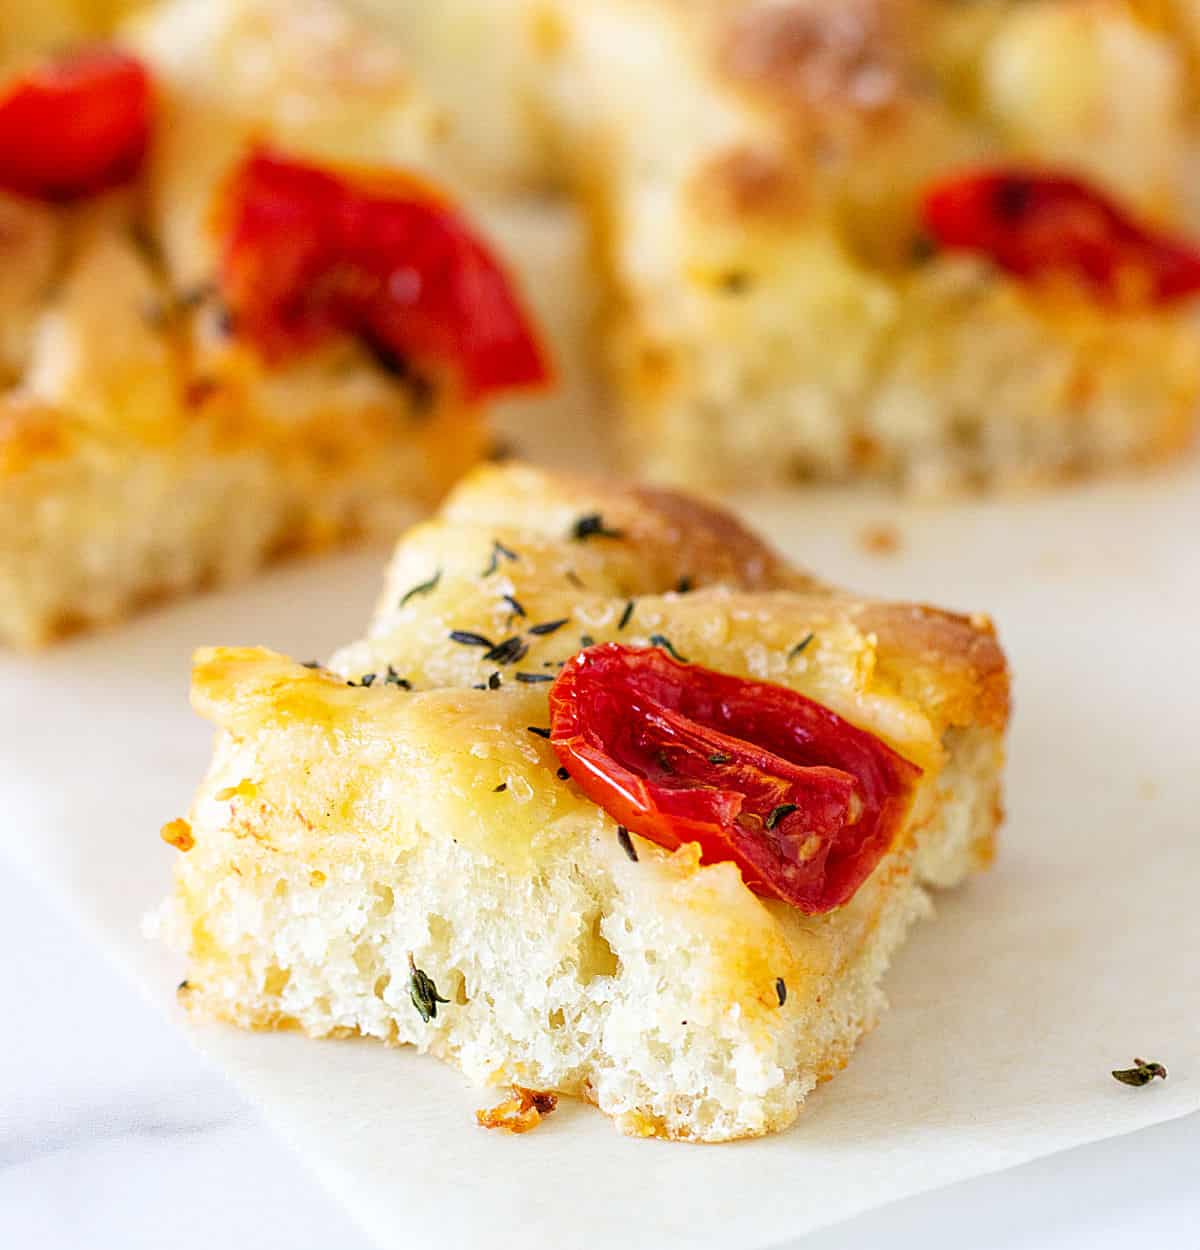
- Tomatoes: I favor cherry tomatoes big time because they're less watery, have great flavor year-round, and it's easier to cut the focaccia without dragging the whole tomato slice. But all types work: heirloom, grape tomatoes, etc.
- Herbs: fresh or dried, they both work. Traditional focaccia is made with rosemary, but for this tomato version, we use fresh oregano and thyme.
Quantities are listed in the recipe card towards the end of this post. The Ingredients page has more details and lists the brands we use.
Steps to make focaccia
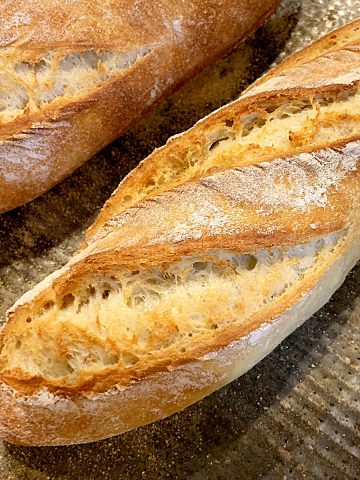
Though there are exceptions (like the No-knead French Bread recipe), making yeast doughs usually includes kneading them for a while, like 10 minutes by hand, and letting them rest before baking to allow the yeast and structure to develop and do their magic in the oven.
Focaccia is a very easy bread to knead and quite forgiving when it comes to proofing or doubling in size, so it's a great recipe to start your baking journey.
It's hard to mess up, but following instructions is still paramount.
You need to respect the fact that yeast has a process; you need a warm place to let it rise, do so in an oiled bowl, a preheated oven, and so forth.
Don't rush it, and you'll be fine even if it's your first time making it.
Kneading
- By hand: use a large bowl, a wooden spoon (or a regular one) and my hands. For me, kneading by hand is one of the reasons I love to bake with yeast, especially with simple doughs like this one.
- With a mixer: you can use the bowl of a stand mixer to make the first part of the dough (and the dough hook to knead it) until you have a smooth, soft dough that leaves the sides of the bowl. It will be faster and take less arm muscle.
Assembling the focaccia
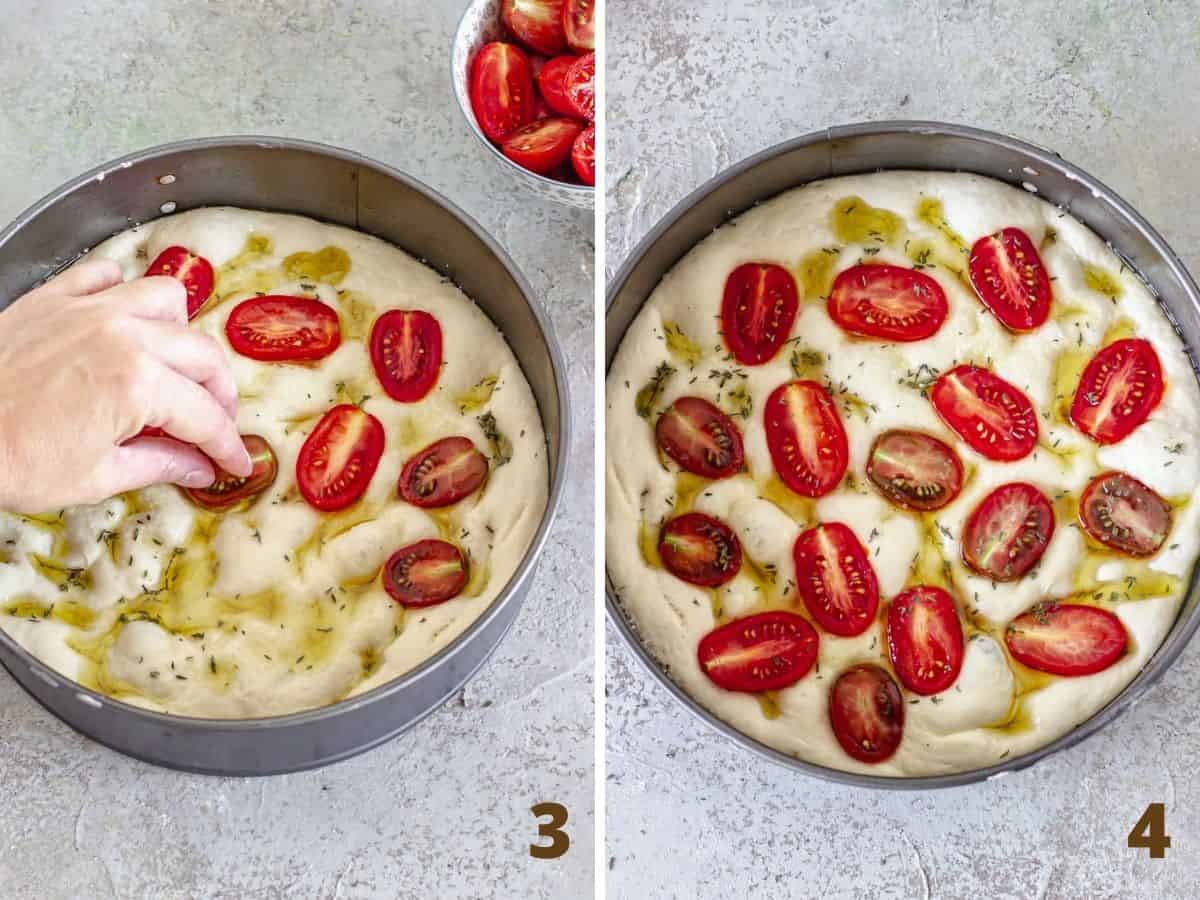
- Pan: you can use a round cake pan (images below) or a rectangular sheet pan or baking pan like the one shown in the video tutorial above. The difference will be in height and sometimes how the bottom of the focaccia bakes. Some types of material give it a better color than others.
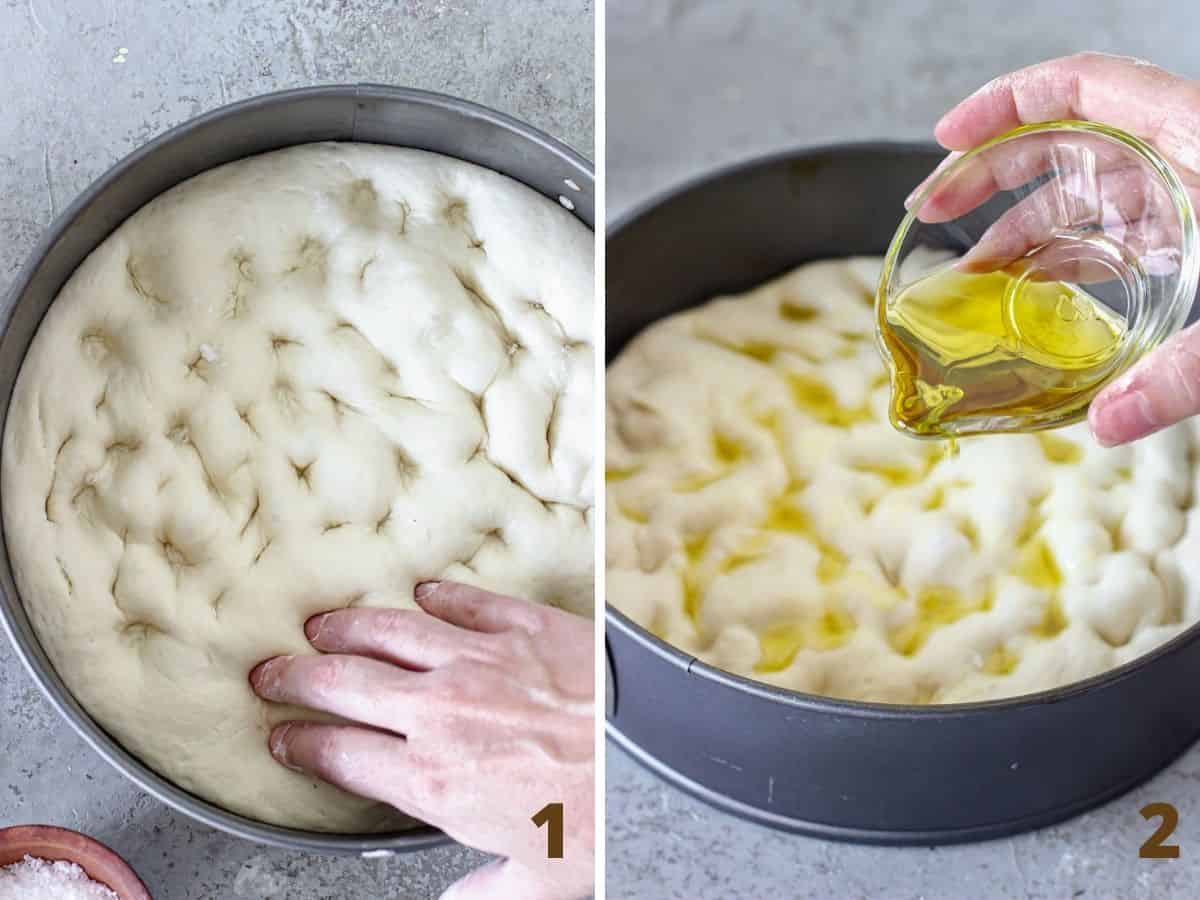
- Dimpling the dough: this is a key step so the oil can pool there and create the traditional crackly golden crust. What you do on the surface of the dough is crucial to making a good focaccia.
- Oil and salt: olive oil is non-negotiable when it comes to making this focaccia bread. And the best brand you can afford will give you the best flavor. The salt is also important and I love sea salt or kosher salt, coarser than regular table salt.
- Tomatoes: halved cherry tomatoes are my favorite because they are good most of the year. Other types like grape tomatoes or heirlooms lack flavor if not in season. But it's your bread so it's your choice.
Baking
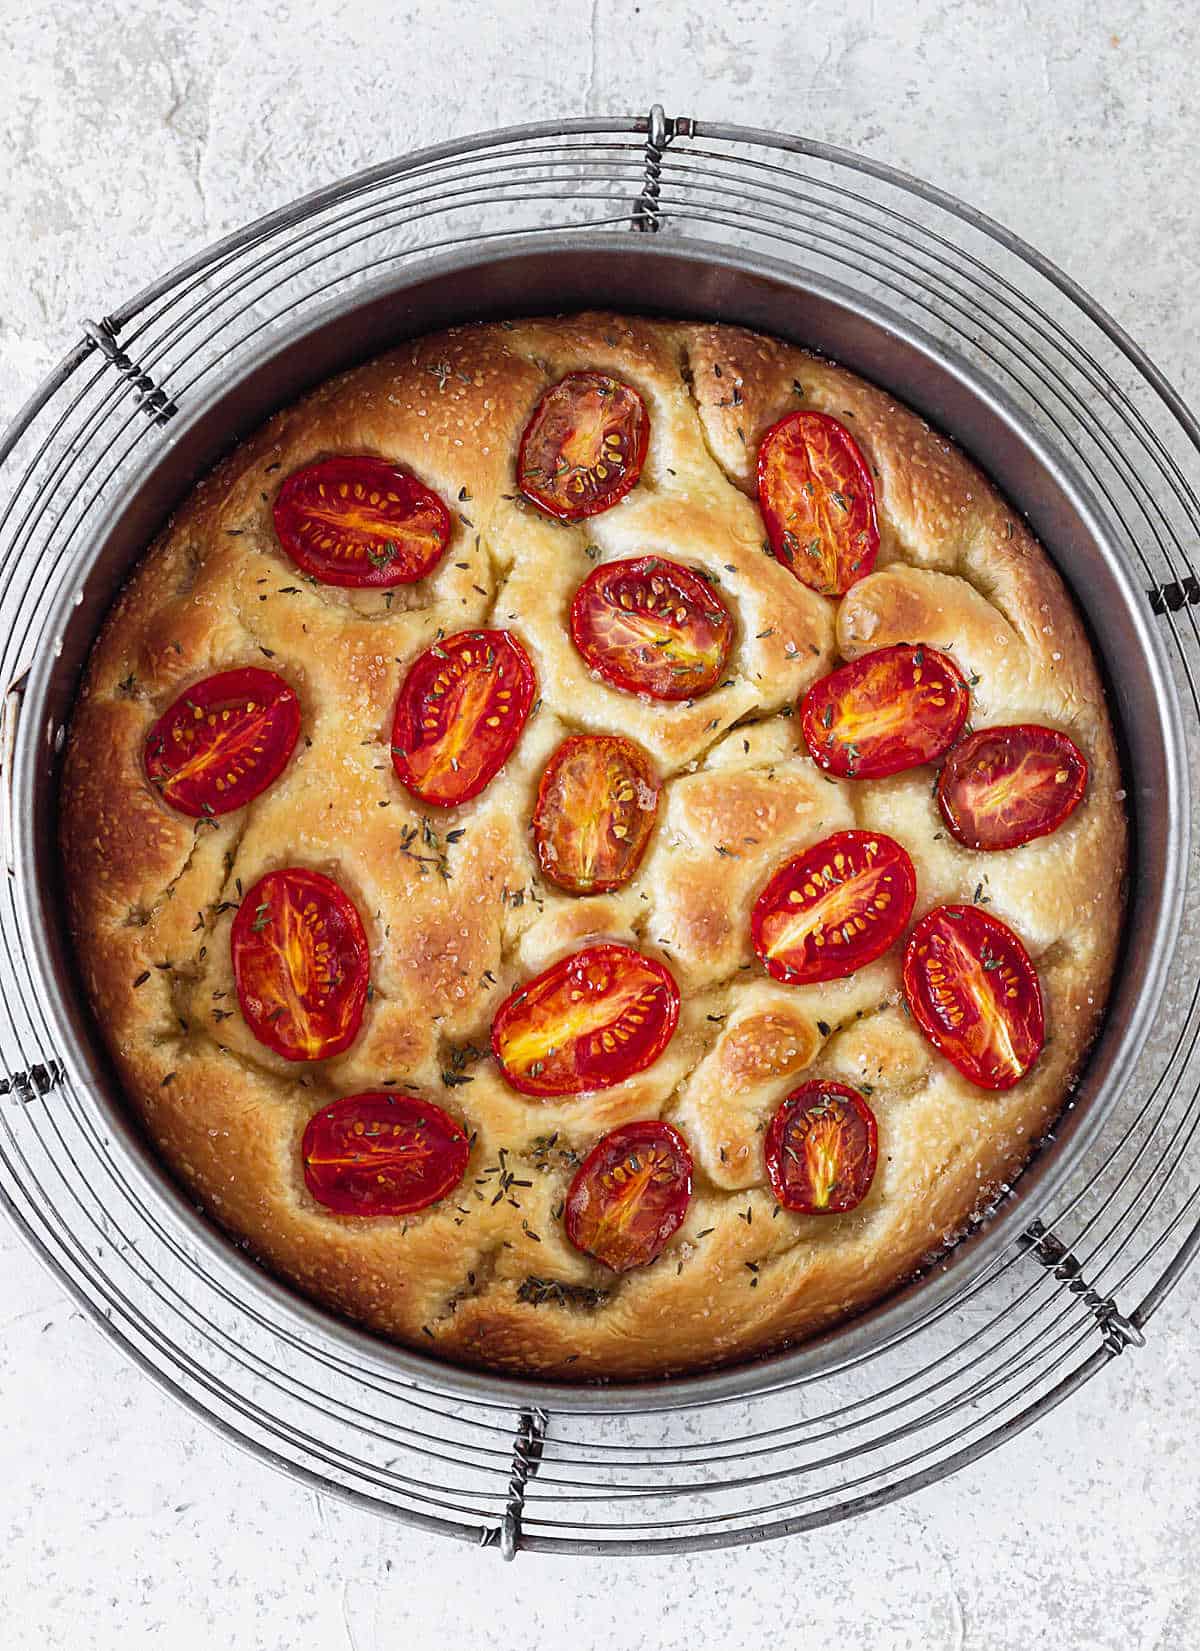
- Pre-heated oven: this is crucial as the bread needs a hot oven to get that first boost and rise well. If you didn't remember to turn it on, do so and let the focaccia wait the ten or fifteen minutes it takes for it to come to the needed temperature. Don't place the pan in a cold oven.
- Steam: creating some type of steam as you put the focaccia into the oven will help even more with that insanely crackly crust. If you don't, the focaccia bread will still be amazing, so don't fret too much about it. But if you're up to it, have ready a sprayer with water and squeeze it several times as you put the pan in the oven. The water will quickly evaporate, creating steam. Immediately close the door so it doesn't go out. You can also use half a cup of very hot or boiling water and throw it quickly in the bottom of the oven, but this one is trickier.
- When is it done? it will turn golden brown and crisp, and the bottom will sound hollow when lightly tapped.
- Baking stone: I never baked it on a baking stone but I know people that use it. They use a piece of parchment paper to stretch and dimple the risen dough instead of a baking sheet and use a pizza peel to slide the paper into the oven.
Kitchen notes
- Organization: read the recipe first and ensure you have ingredients at the correct temperature, equipment, and enough workspace. This will make the process so much easier.
- Baking time: consider that all ovens and pans are different, even if they look similar. The baking time in my recipes is as accurate as it can be, but it might take you more or less time. You can use a thermometer (like the OXO oven thermometer) to check that your oven is at the right temperature. I recommend you keep track of how your oven works and what tiny details you might need to adjust.
- Yeast:
Make sure it's active. To do that put a pinch of active dry or fresh yeast, whichever you're using, in a small cup and add a few teaspoons of water. It should start to foam in a few minutes, or start showing a few bubbles or bulge a little. In short, it should not be the same way as when you started. For instant yeast, you have to add a few teaspoons of flour also and sometimes wait a little longer until you start to see some activity.
Active dry yeast. This is the type I use because it's easy to store for a long time in the refrigerator and works very well every time. You'll find an explanation of all types of yeast in the Notes part of the recipe card. - Details: baking with yeast is all in the details, so don't overlook them. By details I mean use active yeast, use lukewarm water for the yeast mixture, proof in a warm place and use an oiled bowl, let it double in size. All of those words mean a lot and make sure you take them seriously. I add this bullet point because paying attention to those little words will make baking much easier and the results better.
- Toppings: play around with different herbs and other ingredients like kalamata olives, sun-dried tomatoes, sliced onion, and roasted garlic cloves. I sometimes add some tomato pesto and goat cheese, and you can probably get away with some tomato sauce if you like thick pizza though it's not what is used. Let your imagination and palate try new combinations.
- Make ahead: I recommend making the focaccia and freezing it if you want to make it ahead of time. Always well wrapped, first in plastic wrap and then in aluminum foil.
Related recipes you might like:
If you made this recipe and loved it, you can comment below and leave a 5-star ⭐️ review. Also, if you had issues, let me know so we can troubleshoot together.
You can also subscribe to our FREE email series 'Baking the Best' and our regular newsletter. Or follow and save my recipes on Pinterest.
Tomato Focaccia (best recipe)
Ingredients
- 1 cup warm water
- 2 teaspoons active-dry yeast, or 6 teaspoons fresh
- 1 teaspoon sugar or honey
- 2 to 2 ½ cups bread or all-purpose flour
- 3 tablespoons olive oil
- 2 teaspoons kosher or sea salt
Topping:
- 2 or 3 tablespoons olive oil
- ½ teaspoon sea or kosher salt, not fine table salt
- 1 cup cherry tomatoes, halved
- 1 teaspoon dried or fresh oregano
- 1 teaspoon dried or fresh thyme
Instructions
- Put 1 cup warm water, 2 teaspoons active-dry yeast and 1 teaspoon sugar or honey in a large bowl (if you use a stand mixer use its bowl) and mix lightly. Leave 4-5 minutes until foamy or bubbly.
- Add 1 cup flour and mix with a spoon.
- Add 3 tablespoons olive oil and 2 teaspoons kosher or sea salt.
- Mix everything and add the rest of the 1 and ½ cups flour, half a cup at a time. Wait until all the flour is incorporated and see if it comes together. You might not need all the flour.
- Move this shaggy mass to the counter and knead for 5 minutes (if using a stand mixer with the dough hook) until it's well integrated and smooth but slightly sticky. This is fine. Don't be tempted to add flour until it loses all the stickiness because it will make a tough bread.
- Transfer to an oiled bowl, turn the dough so that all sides are greased, cover with film or a kitchen towel and leave to rise until it doubles its volume, about 1 hour.
- Have ready a round or square 8 or 9-inch pan, well oiled. The difference in size will result in a higher or shorter focaccia.
- Punch the dough down softly and transfer the dough to the oiled pan.
- Stretch with your hands without forcing it and making sure it doesn't tear. It might refuse to stretch as much as you want on your first try, so let it rest for a few minutes and stretch it some more. Do this until it fills the pan.
- Cover with a kitchen towel or loose piece of plastic wrap and leave to rise until puffy, about 45 minutes. At this point, you can put the pan (tightly covered with plastic wrap but not touching the surface if possible) in the refrigerator until the next day. Take it out and leave it at room temperature until it puffs up before continuing.
- Turn the oven to 400°F (200°C) about 20 minutes before you plan to bake it, so it's well pre-heated.
- Dimple the surface with your fingers, making indentations but without breaking the dough. Some dimples will stay in place, some will spring back, it's normal. Just make sure most of the surface is covered.
- Drizzle 2 or 3 tablespoons olive oil and sprinkle about ½ teaspoon sea or kosher salt and 1 teaspoon dried or fresh oregano and 1 teaspoon dried or fresh thyme on top.
- Top with 1 cup cherry tomatoes, halved, or slices of large, round ones.
- Bake for 35-40 minutes, until golden brown and crisp. If in doubt, lift carefully a corner of the focaccia (you should be able to do this pretty easily) and check that the bottom is brown and crisp. Leave it a few more minutes if you need to.
- Transfer to a wire rack and let cool a little before removing it from the pan.
- Eat warm, or let cool completely, wrap tightly and freeze for a month or more. Let thaw at room temperature and warm before eating.
Notes
Active dry. This is my first choice and the one I always use. It's easy to store in the refrigerator and allows the dough to rise well without the risk of doing it too quickly. This type of yeast needs to be mixed first with a liquid and a tiny bit of sugar to activate.
Instant dry or rapid rise. I sometimes use it if I don't have active dry yeast. The difference is that its particles are smaller and it activates quicker, hence the name. It doesn't need to be mixed with liquid first, you can add it directly to the flour. I found that it can rise too quickly sometimes, especially if the place is warmer than usual. So it's not the one I usually use.
Fresh yeast. This one is my last choice, not because it doesn't work well, but because it doesn't keep for long, a few weeks at the most in the fridge, if that. It comes in a cube usually and, when it's fresh, it should be crumbly, with an even whitish grey hue and foam after a few minutes when mixed with liquid and sugar. You need 3 times the amount, so if a recipe calls for a teaspoon of dry yeast, you should use three of fresh.
Activating yeast. You have to make sure it's active. To do that put a pinch of active dry or fresh yeast, whichever you're using, in a small cup and add a few teaspoons of water. It should start to foam in a few minutes or start showing a few bubbles or bulge a little. In short, it should not be the same way as when you started. For instant yeast, you have to add a few teaspoons of flour also and sometimes wait a little longer until you start to see some activity. Toppings: play around with different herbs and other ingredients like olives, sun-dried tomatoes, onion, etc. Let your imagination and palate try new combinations. Make ahead: I recommend making the focaccia and freezing it if you want to make it ahead of time. Always well wrapped, first in plastic wrap and then in aluminum foil. Overnight focaccia recipe, another way of making this fabulous Italian bread, but with a different technique. The dough rises as you sleep, and there's no kneading!


Maryann Kuehl says
Delicious! Everyone loves it !
Ryan Renee says
I’ve doubled this recipe a few times. It’s super yummy!
Barbara Skinner says
Making this now, but I'm confused. It's in an oiled bowl, rising for one houra and i plan to bake it tomorrow.
After it's risen in the bowl for an hour, do I put it in the pan and let it rise again before putting it in the fridge, or do I simply transfer it from the bowl to the pan and put it in the fridge right away, letting it rise tomorrow as it warms up? TIA
Paula Montenegro says
Hi Barbara, I don't generally bake focaccia the next day, but I would let it rise once in the bowl, transfer it to the pan and put it in the fridge. How much it will rise overnight depends on how cold your fridge is.
J. Walko says
Hi,
Could you do the first steps in a bread machine (not a mixer) and then bake in the oven?
Thanks!
Paula Montenegro says
Yes, you can.
michelin says
A big thank you.
angiesrecipes says
One of my favourite Italian classics. It's easier to make and the result is always great. Yours looks bakery perfect, Paula.
Paula Montenegro says
Thanks Angie!