This is the best white loaf of bread I ever made. So good, I sold it at a Cafe I once had, and it flew off the shelves. We made the best morning toast and sandwiches with it. If you're apprehensive about using yeast, I share step-by-step photos and tips to guide you.
SAVE THIS RECIPE
A basic loaf
Making sandwich white bread at home isn't just about saving money, though you will.
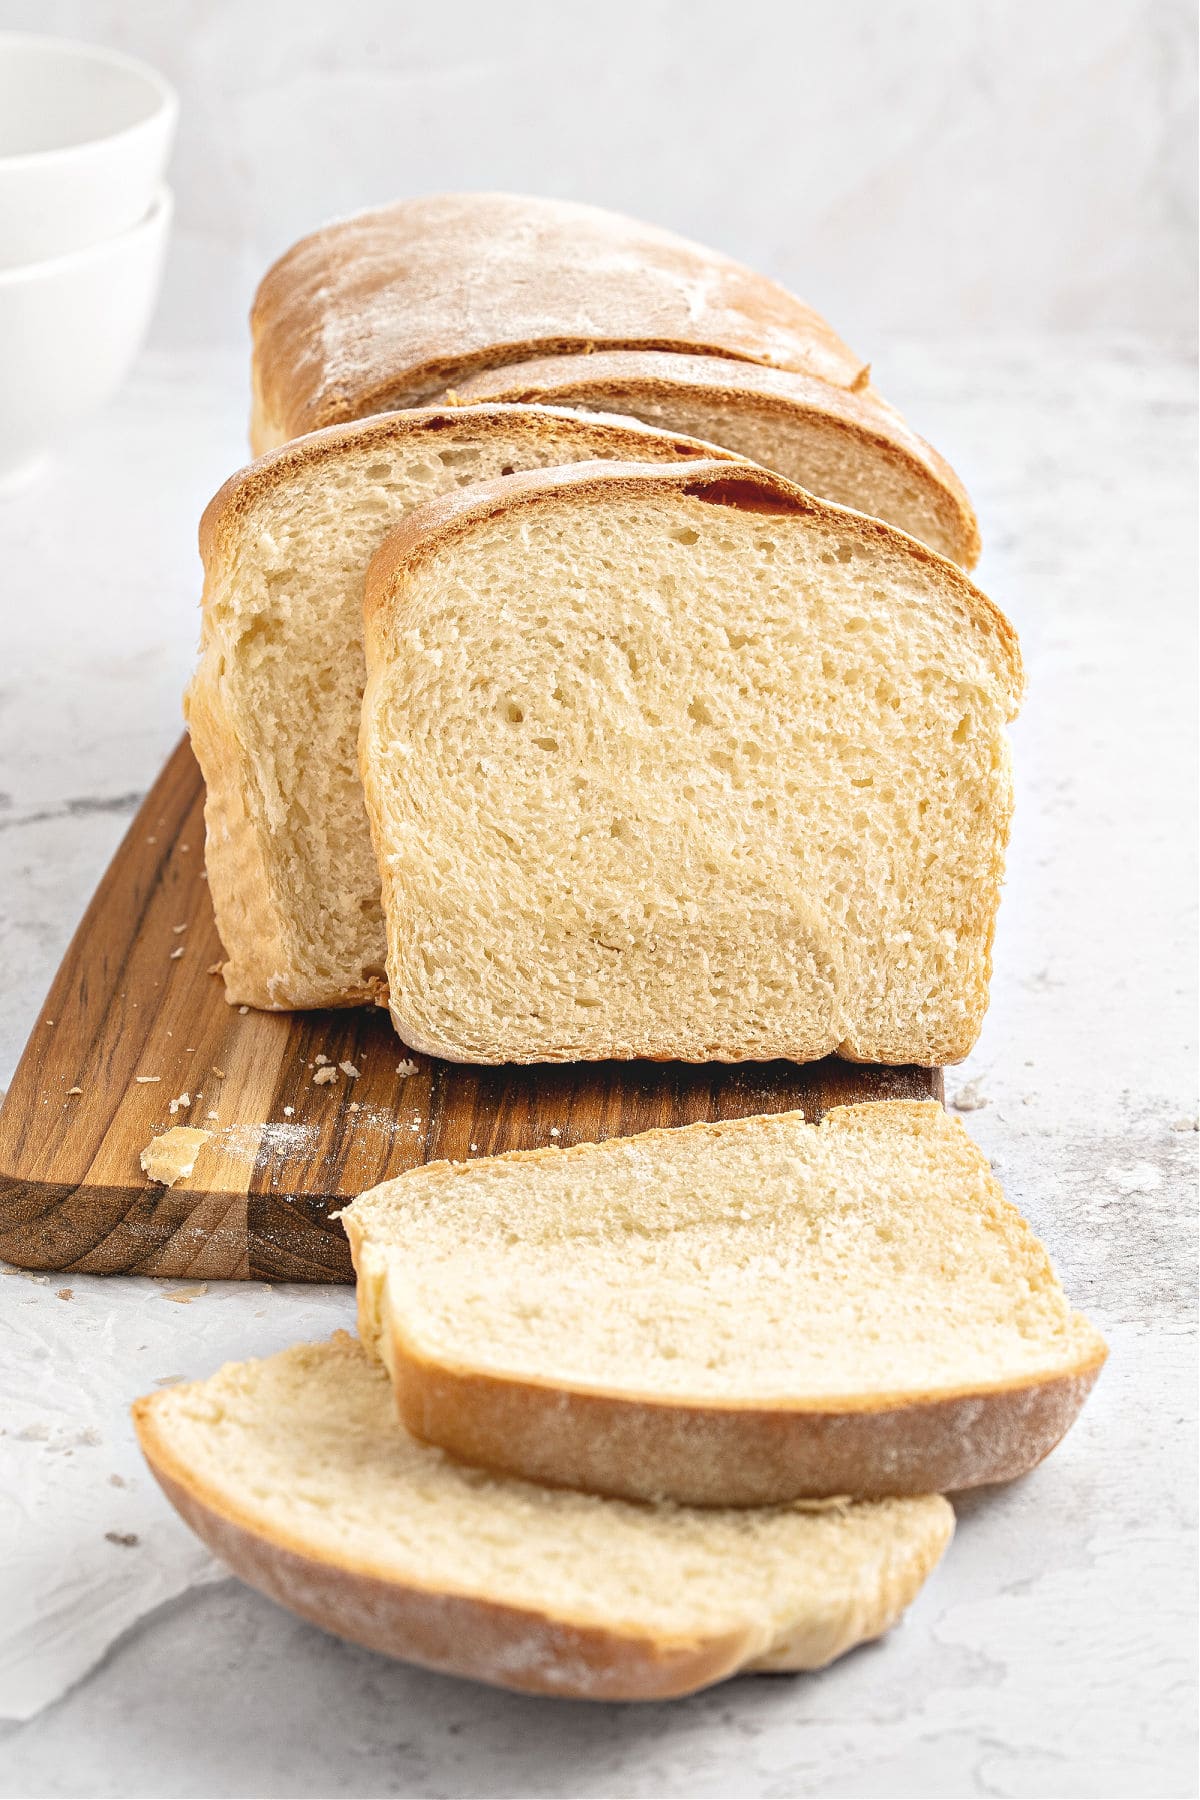
Your homemade bread will be fresher than anything you can buy, with a softer crumb and better flavor. Plus, it's very satisfying to slice into a loaf you made from scratch, even if the process is mostly just waiting around for the dough to rise.
It uses water and milk, so you get that soft crust and beautiful crumb that's so characteristic.
The best part is that you know exactly what goes into it-simple ingredients, just good old pantry staples. If you use organic, so much the better.
This bread is especially good for morning toast, an egg salad sandwich or with ham salad. For heartier sandwich breads, check out the rye loaf and oatmeal whole wheat bread.
Testing Notes
Use bread flour. It has more gluten and helps the loaf develop a breadier texture as opposed to being very soft and cakey. That said, it does work with all-purpose flour, though it's not my recommendation.
The dough should be soft and supple but not too firm. Add flour gradually during mixing and kneading to avoid a dense loaf. Wait for 20-30 seconds between additions of extra flour to make sure you need it.
Temperature matters: Make sure the milk and water are warm but not hot (around 110°F/43°C) to avoid killing the yeast. Don't use cold liquids either, as they slow down yeast activity.
For the dough to rise and double in size, it's essential to place the bowl in a warm, not cold, space. I sometimes wrap the bowl in a blanket (or even a sweater!) if the kitchen is too cold. The time frame is very important, because if the dough takes too long to rise, it loses some of its strength and will not bake well.
Allow the bread to cool down completely before slicing it to avoid clumping.
How to Make Sure Yeast Works
- Check expiration date: Replace if expired.
- Visual check: Should be beige to light brown and granular/powdery. Avoid if grayish, clumpy, or discolored.
- Smell test: Should have a mild, slightly sweet smell. Strong or unpleasant odors indicate it's bad.
Proofing test: Mix ½ teaspoon sugar in ¼ cup warm water (comfortable to touch). Sprinkle ½ teaspoon of dry yeast on top and stir gently. Wait 5-10 minutes until you start to see some activity. Fresh yeast will foam and bubble more while instant yeast bubbles less than active dry yeast.
Golden Rule: When in doubt, buy new! It's better to be safe than to have your baked goods fall flat and be inedible. You'll have to throw it out and start again.
Process steps
This is a straightforward dough, and a stand mixer with the dough hook is recommended for kneading. But you can knead it by hand (and I still do sometimes) using a large bowl. You need counter space and some patience as the dough comes together; it's pretty sticky at the beginning.
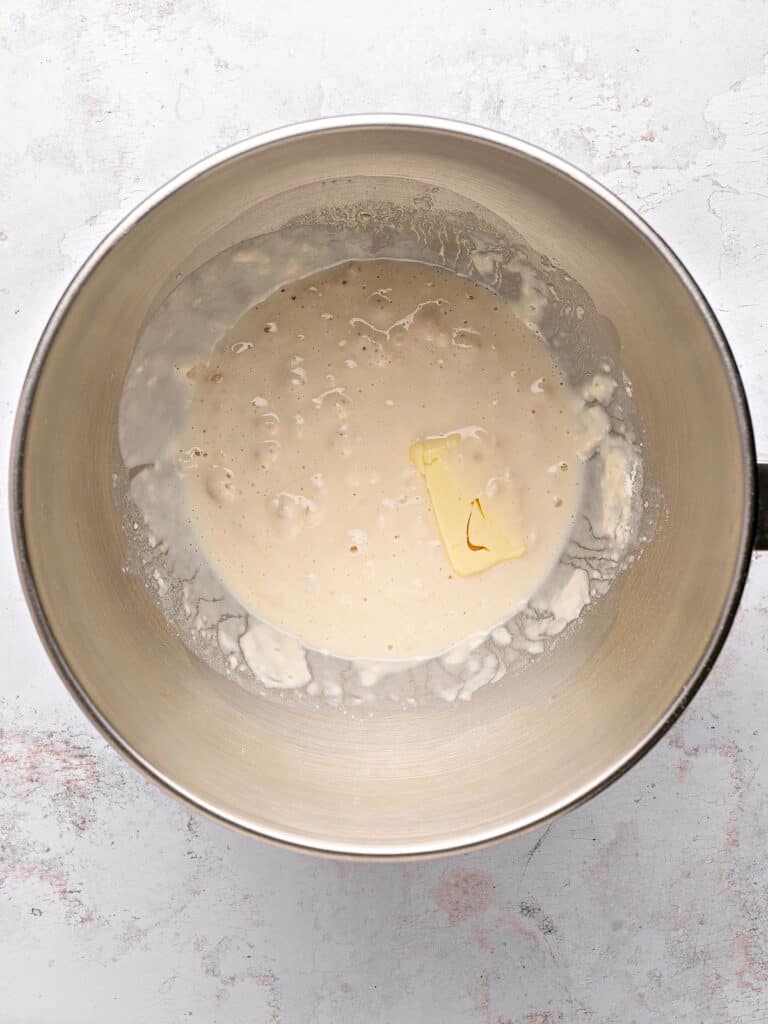
Yeast mixture
When you add the soft butter and the first amount of flour, it will not fully integrate, and that is fine. It will all come together later as you add more flour and knead the dough.
If kneading with a stand mixer, use the mixer bowl from the start.
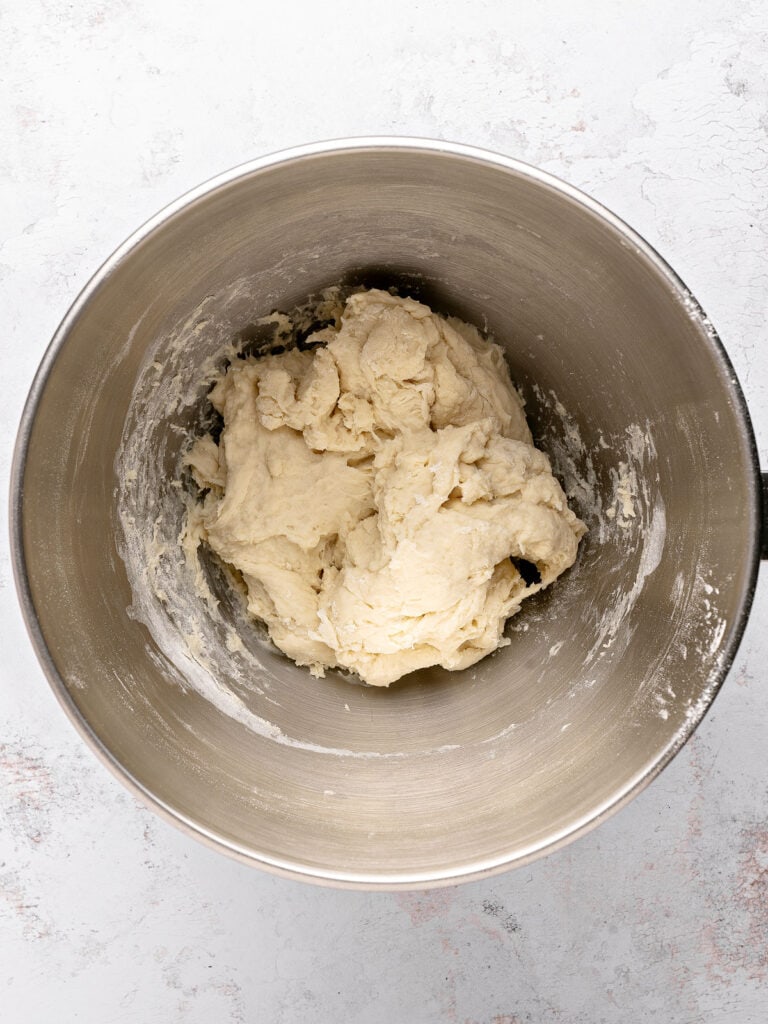
Shaggy mass
This is the first preparation, before adding all the flour. It's rustic and thick.
At this point, attach the dough hook to the stand mixer.

Dough before rising
The dough will be sticky at first but will become soft and supple with each turn.
If kneading by hand, a dough scraper is a handy tool.
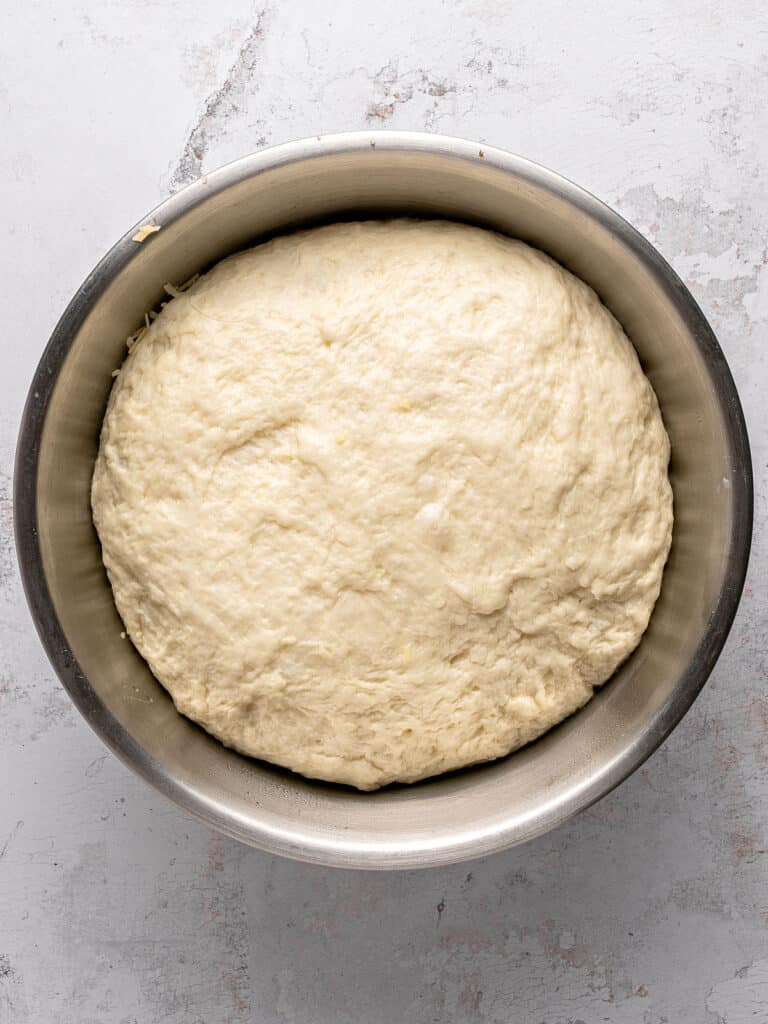
First rise
Oil or grease the bowl, and then turn the dough so that all sides are coated with oil. This, and covering the bowl, prevents the top layer from drying.
If your kitchen is cold, choose a warm (not hot) room, or it will take too long to proof (rise).
Let the dough rise until doubled in size. It should be noticeable. If it doesn't move much after 30 minutes, it means the room is too cold.
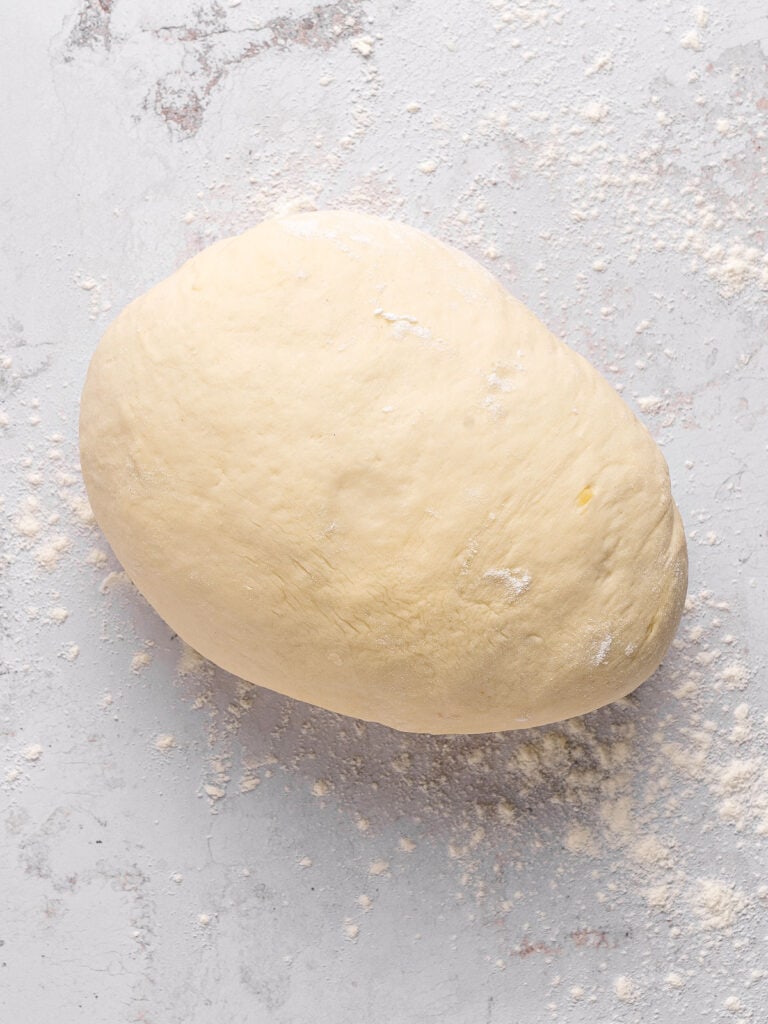
Ready to form
After rising (proofing), the bread dough will be more elastic but firm and easier to handle.
Turn it onto a lightly floured surface and knead by hand a little more until smooth.

Roll the dough
Use a rolling pin or pat it with your fingers until you have a rectangle as long as the loaf pan you'll be using.
Lightly flour the work surface as needed to prevent sticking, but don't overdo it.
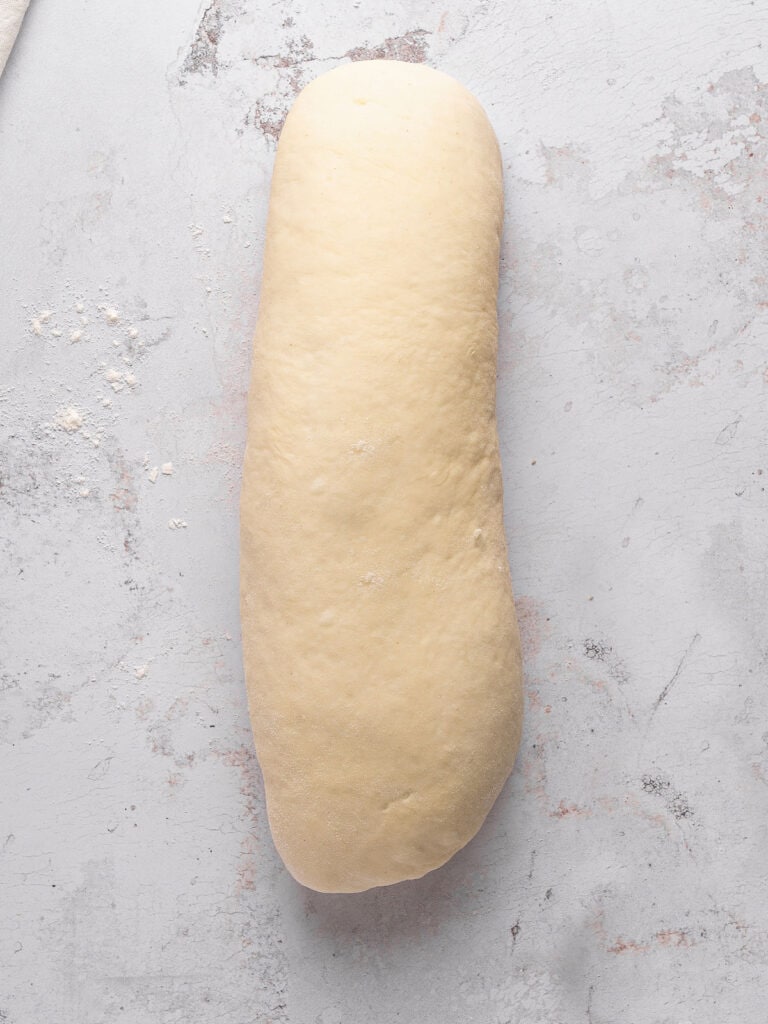
Formed loaf
Roll as you would cinnamon rolls, pinching the seams with each turn so the dough is tight without air pockets.
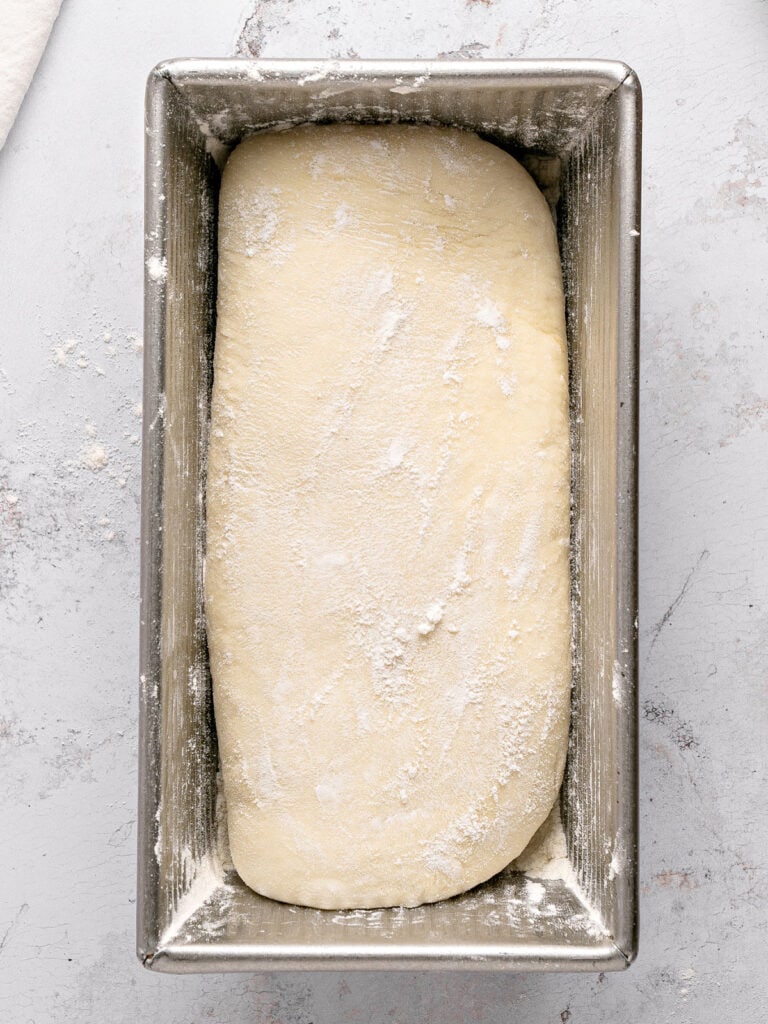
Final rise
Place the dough, seam side down, in the prepared pan and let it rise again before baking.
Again, choose a warm (not hot) room, or it will take too long to proof (rise).
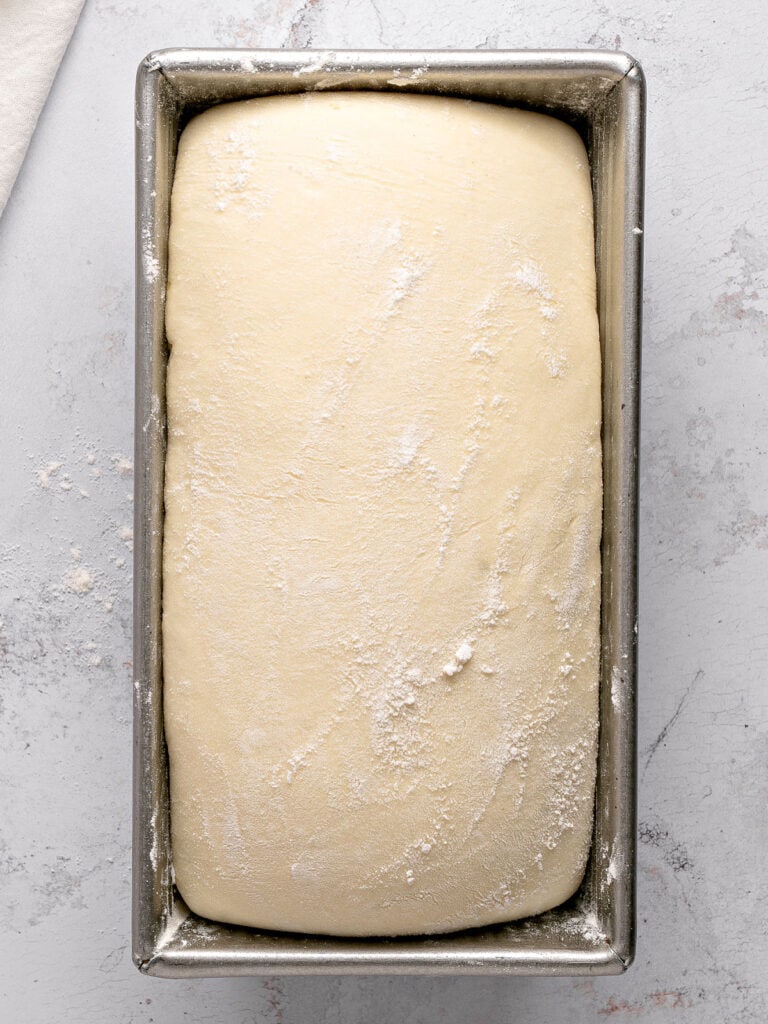
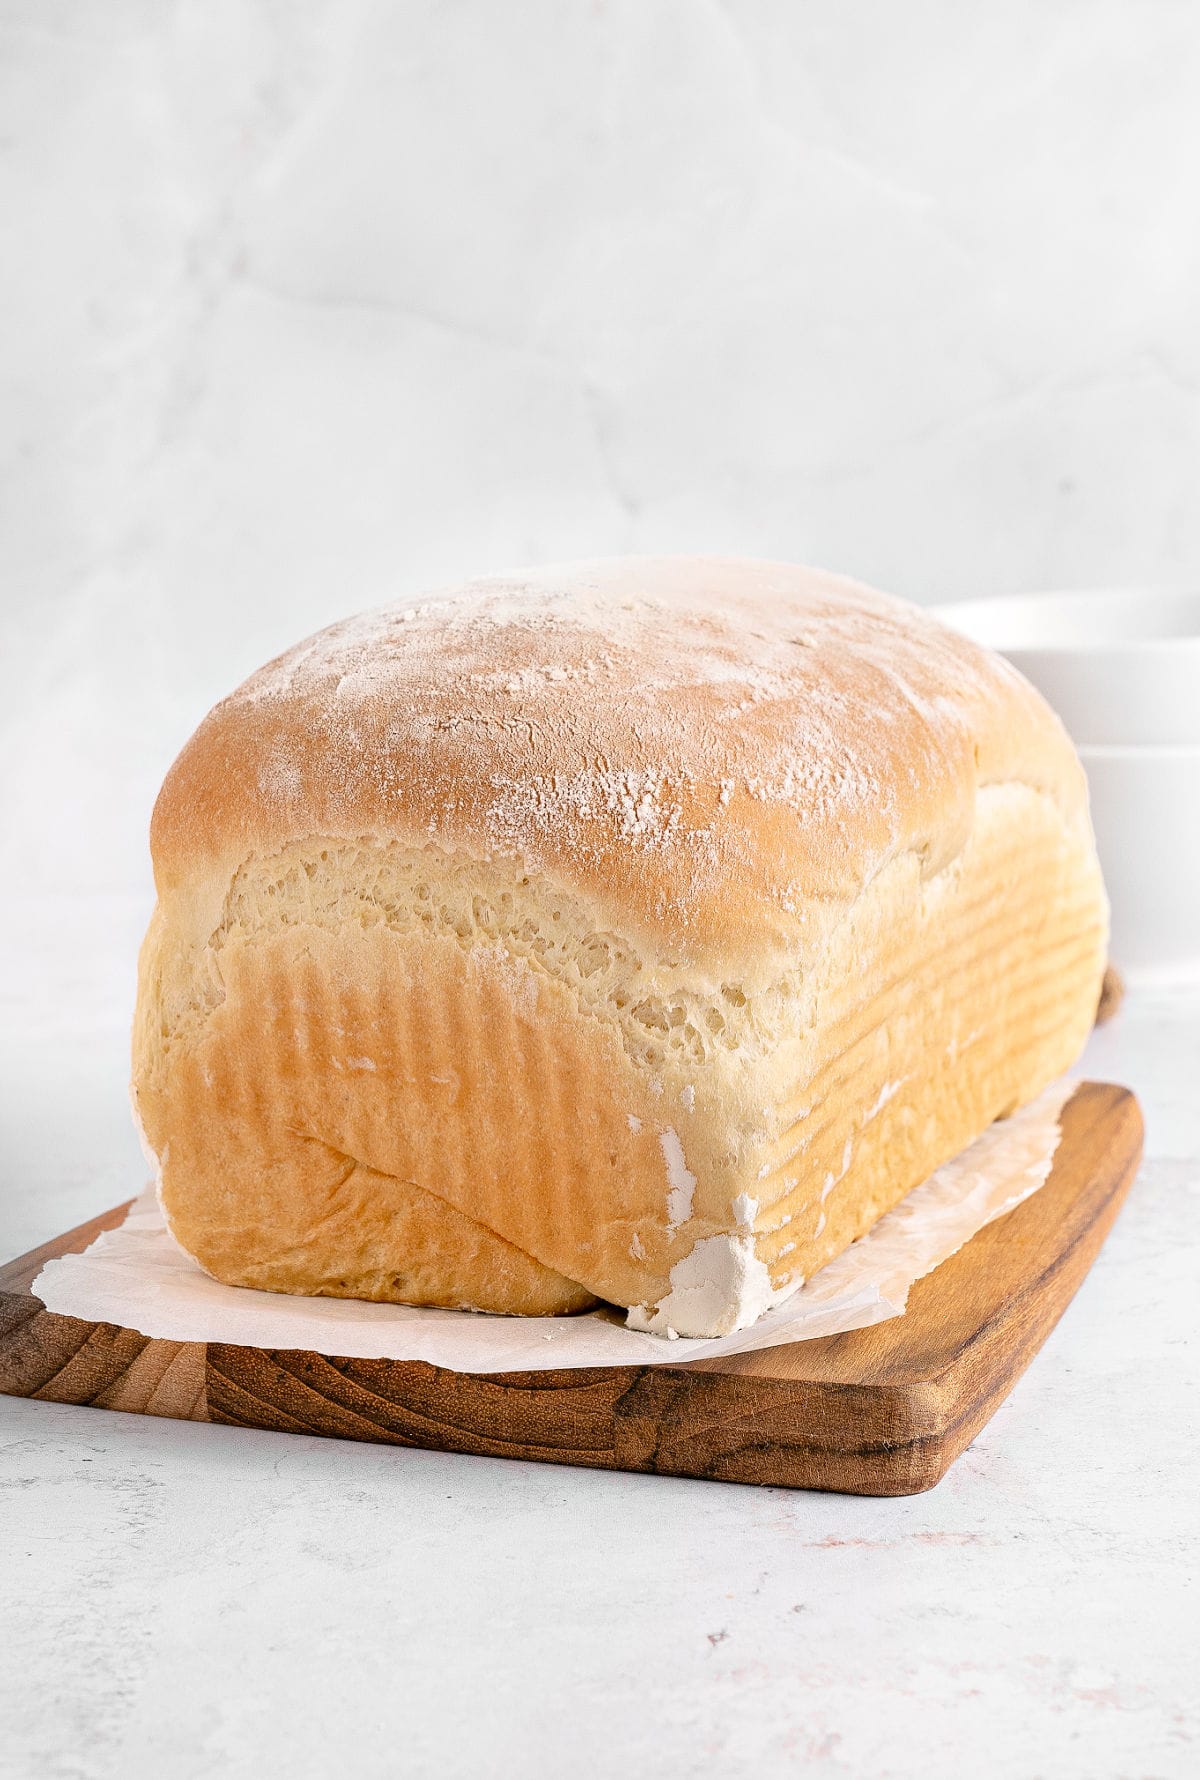
Before baking
After proofing, the dough will be puffed and almost reach the top of the pan.
This type of bread doesn't always require an egg wash before baking; I don't use it.
I either leave it plain, with a slight dust of flour, or brush it with melted butter for a soft crust. You could also brush it with water and a sprinkle of seeds for a crunchier top.
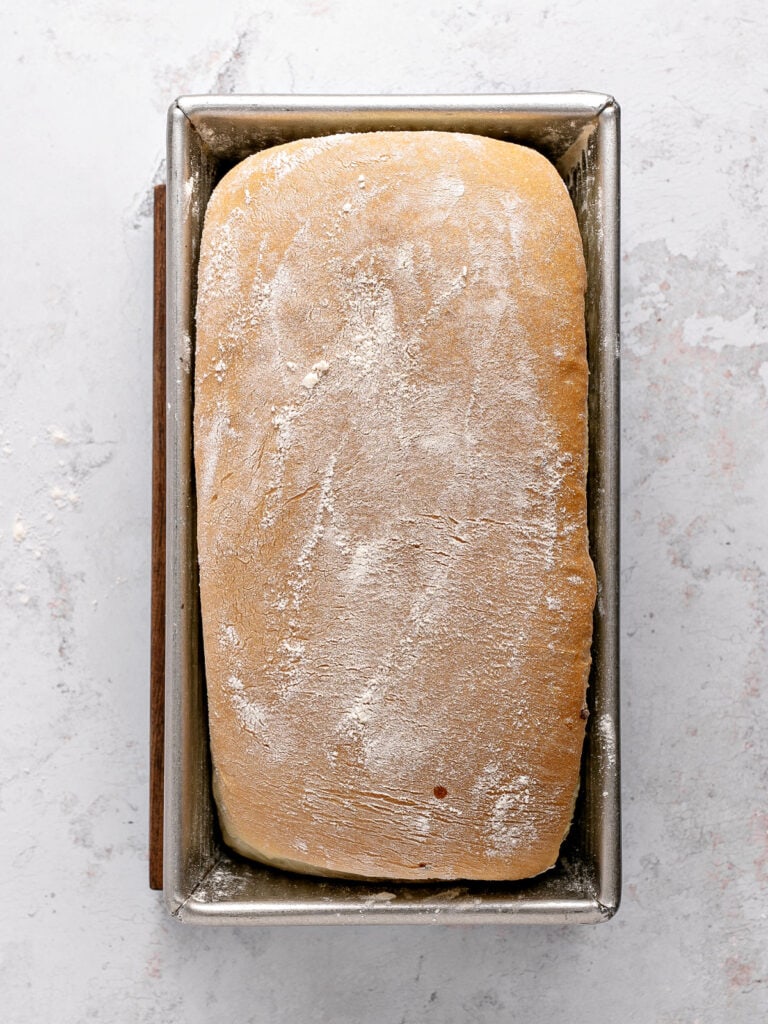
Baking
How do you know when it's done? The top will be golden brown, firm to the touch, and dry; the bottom will be golden and sound hollow if you lightly tap it with your knuckles. If it's too doughy and light colored and hasn't firmed up, it needs more bottom heat. Place the rack in the lowest setting and bake the bread longer for about 5-10 minutes.
")
If you made this recipe and loved it, you can comment below and leave a 5-star ⭐️ review. Also, if you had issues, let me know so we can troubleshoot together.
You can also subscribe to our FREE email series 'Baking the Best' and our regular newsletter. Or follow and save my recipes on Pinterest.
As an Amazon Associate, I earn from qualifying purchases. Read my disclosure policy.
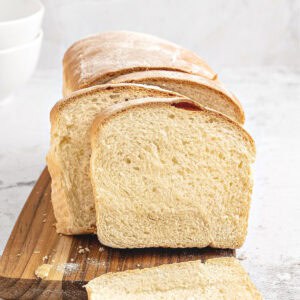
Homemade Sandwich Bread (the best)
Ingredients
- ½ cup warm water
- ½ cup warm milk
- 1 ½ tablespoons sugar or honey
- ½ tablespoon active-dry yeast, if using instant yeast, see Notes below
- 1 ½ tablespoons unsalted butter, at room temperature
- 1 teaspoons salt
- 3 to 3 ½ cups bread or all-purpose flour
Instructions
- In a large mixing bowl, combine ½ cup warm water, ½ cup warm milk and 1 ½ tablespoons sugar or honey. Stir until the sugar dissolves. Sprinkle ½ tablespoon active-dry yeast over the liquid and let it sit for 5-10 minutes until it becomes foamy and bubbly. If the yeast doesn't foam, it may be expired or the liquid was too hot.
- Add 1 ½ tablespoons unsalted butter to the yeast mixture and stir until combined. Add 1 teaspoons salt and 3 cups of flour, mixing with a wooden spoon until a shaggy dough forms.
- Turn the dough out onto a lightly floured surface and knead for 8-10 minutes by hand, or use a stand mixer with dough hook for 5-6 minutes on medium speed. The dough should become smooth, elastic, and slightly tacky but not sticky. If the dough is too sticky, gradually add the remaining ½ cup, a few tablespoons at a time, until the dough pulls away from the sides of the bowl.
- Place the kneaded dough in a greased bowl, turning it once to coat all sides with oil. Cover with a damp towel or plastic wrap and let rise in a warm, draft-free place for 1-1½ hours, or until doubled in size.
- Punch down the risen dough to release air bubbles. Turn it out onto a lightly floured surface and shape into a loaf. To do this, flatten the dough into a rectangle roughly the width of your loaf pan, then roll it up tightly from one short end, pinching the seam closed.
- Place the shaped loaf seam-side down in a greased 9x5-inch loaf pan. Cover and let it rise for 45-60 minutes, or until the dough crowns about 1 inch above the rim of the pan.
- Preheat your oven to 375°F (190°C). Bake the loaf for 35-40 minutes, or until the top is golden brown and the bread sounds hollow when tapped on the bottom. The internal temperature should reach 190°F (88°C).
- Remove the bread from the pan immediately and let it cool on a wire or cooling rack for a few hours before slicing. This allows the crumb to set properly and not clump.
Patti says
I’ve baked bread all my life, learned from my mother. This is the easiest recipe, by far, and so good. Thanks!
Paula Montenegro says
I love it too Patti! Thanks for letting me know.