


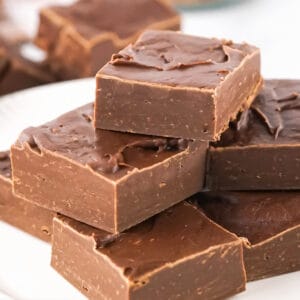
This is the very popular condensed milk fudge, an easy candy recipe that involves just two ingredients, a few minutes in the microwave or stove and some time in the fridge until it firms up. You can use any chocolate flavor, and it's the perfect canvas for add-ins. It's always a favorite and keeps well for a few weeks.
With over a dozen 5-star reviews, it's one of my go-to recipes when I need something for a potluck, when friends come over for coffee, or as part of dessert. I usually add lightly roasted pistachios and a pinch of sea salt.
SAVE THIS RECIPE
Can't-go-wrong candy
This is an easy chocolate fudge recipe with two simple ingredients that are easily available: condensed milk and semisweet chocolate.
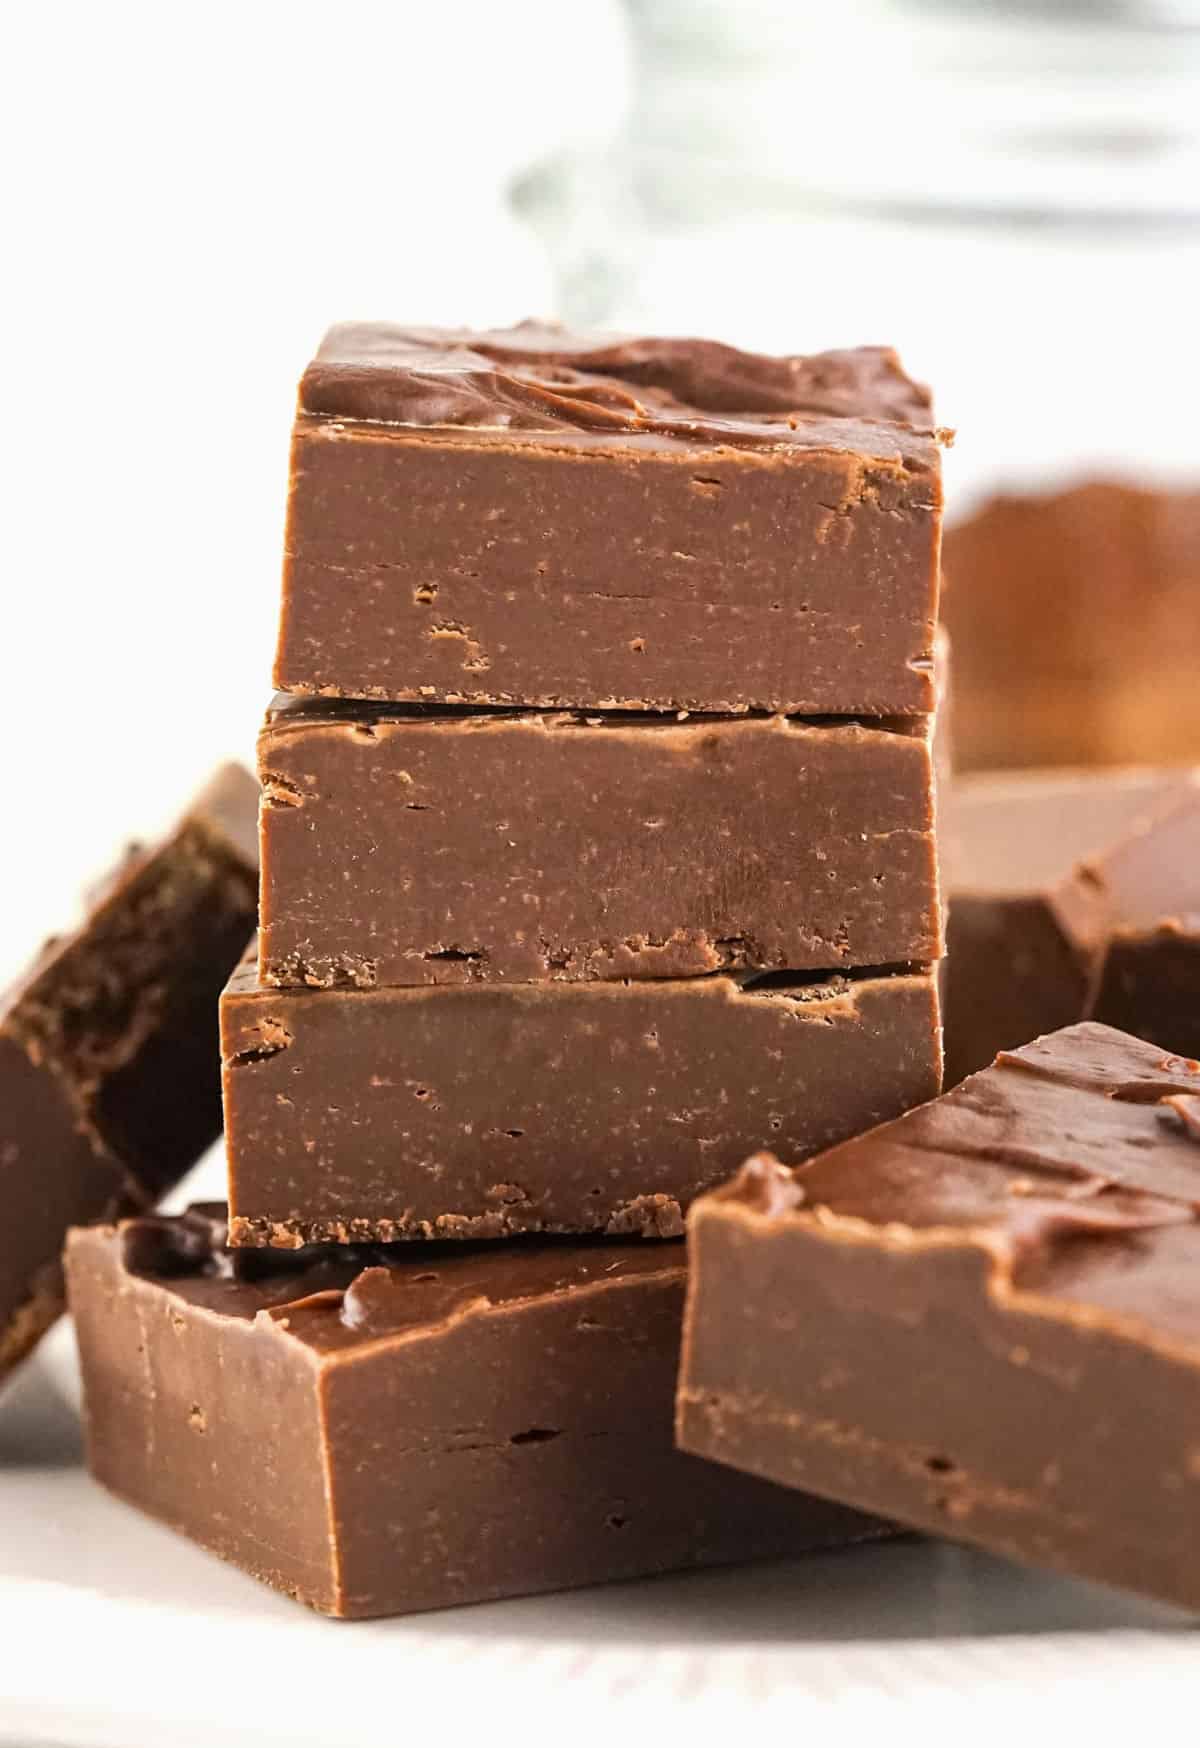
Texture and flavor: it's rich, creamy and melts in your mouth with a sweet and deep chocolate flavor.
No advanced skills or candy thermometer required: this is the best part of this homemade fudge. Simply melt, mix and refrigerate until set.
Crowd-pleaser: This fudge is so popular that I make it year-round and change the add-ins depending on the season or the occasion. It's a great dessert when back-to-school is in full swing, to take to a potluck or bake sale, for game night, picnics and the holidays, of course! It also makes an excellent homemade hostess gift.
I have several of these treats in the archives: chocolate peanut butter fudge is a classic, this unique pink strawberry fudge made with frosting, and a perfect treat for the holiday season, the cranberry pistachio fudge, among others.
- Gwen ⭐️⭐️⭐️⭐️⭐️
Brilliant. A super quick, easy, no-fluff recipe. Thank you!
- Donna ⭐️⭐️⭐️⭐️⭐️
This is a great recipe!! We make it every year for part of our Christmas candies!! Have been using this recipe for several years now and doubt we'll go back to the old way of making fudge because this is just so easy and so versatile for different flavors!!
- Barbara ⭐️⭐️⭐️⭐️⭐️
Best fudge I ever had.
Testing notes
Use sweetened condensed milk: it's a must ingredient and can't be substituted. Use the regular type, NOT unsweetened or evaporated milk.
If using semisweet chocolate chips, choose ones that melt well and easily (not all of them do so well, as I explain in this article about choosing chocolate chips). The melted chocolate should be shiny and smooth, not dull or gritty. I generally use good-quality callets or dark chocolate bars for this reason. If in doubt, melt a little chocolate first in the microwave and see how it goes. Here are the chocolate brands I normally use.
Work quickly once the chocolate starts melting, so it doesn't start to take before it's well mixed with the milk and spread in the pan (if using add-ins, this is especially important). Make sure the chocolate melts fully. Both ingredients should be fully integrated, and the mixture have an even color.
Amount of chocolate: as a rule, the ratio of chocolate to condensed milk is 1:1 (same volume). But if the fudge pieces will be on the table for several hours or taken for a road trip, I recommend using 15 or 16 ounces of chocolate, as it will be firmer and hold better. Also, you can use 12 or 13 ounces if you want a softer bite. You can test making half the recipe and see which one suits you better.
How to make condensed milk fudge
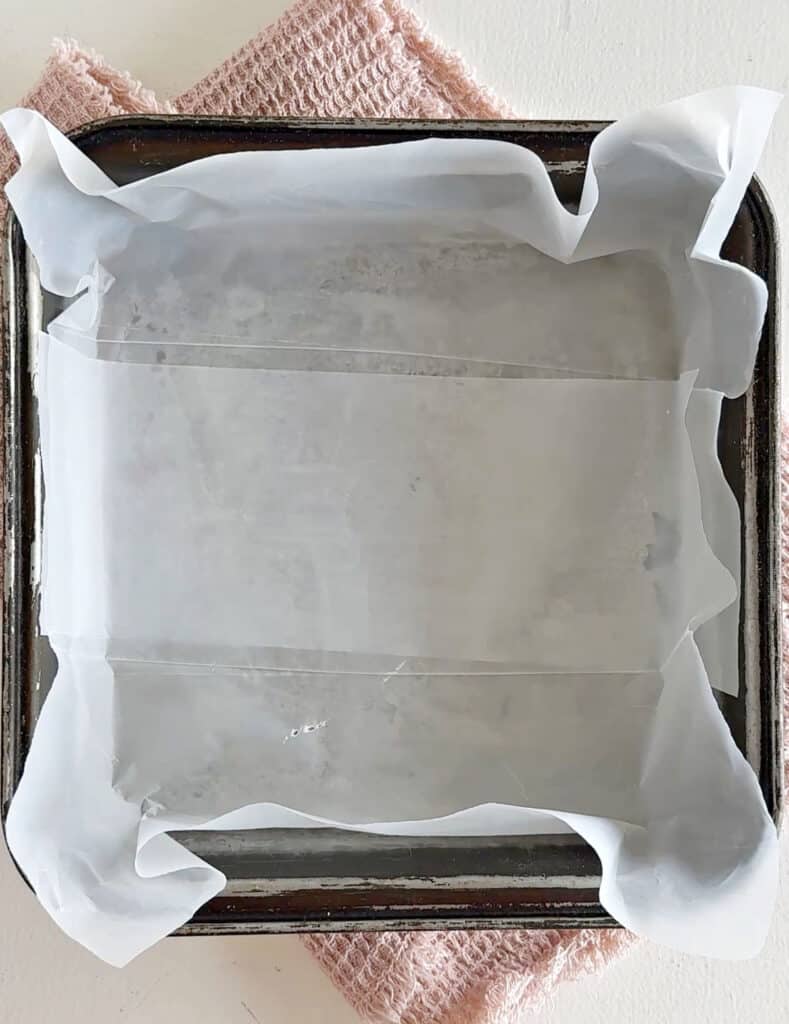
Prepare the pan
I use freezer sheets (what I normally use as separators). Depending on their size, you might need more than one. Make sure they overlap and cover the whole bottom and sides of the pan.
If I'm out of sheets, I use plastic wrap (a bit tricky but doable) or aluminum foil. Parchment paper can stick, but that depends on the type of parchment you use.
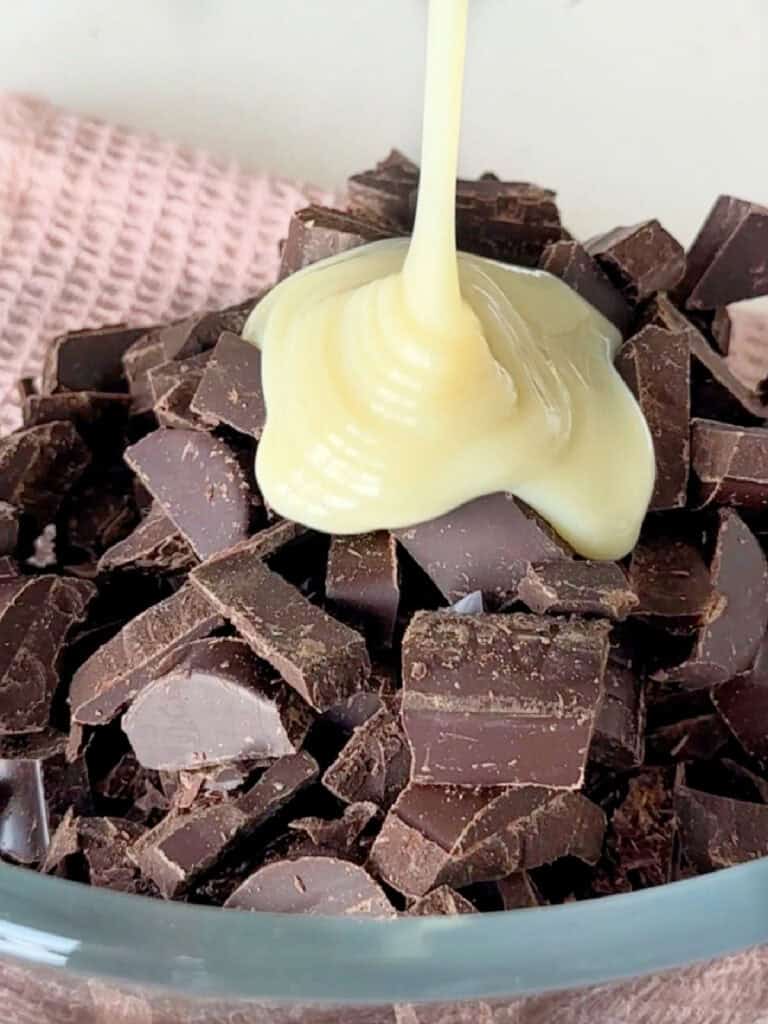
Mix and melt
Mix chocolate pieces or chips with the condensed milk in a microwave-safe bowl. I use glass. Use the microwave or the stove (double boiler) to melt it.
Stir between microwave spurts or regularly if using the stove. Both ingredients must integrate completely. I use a spatula.
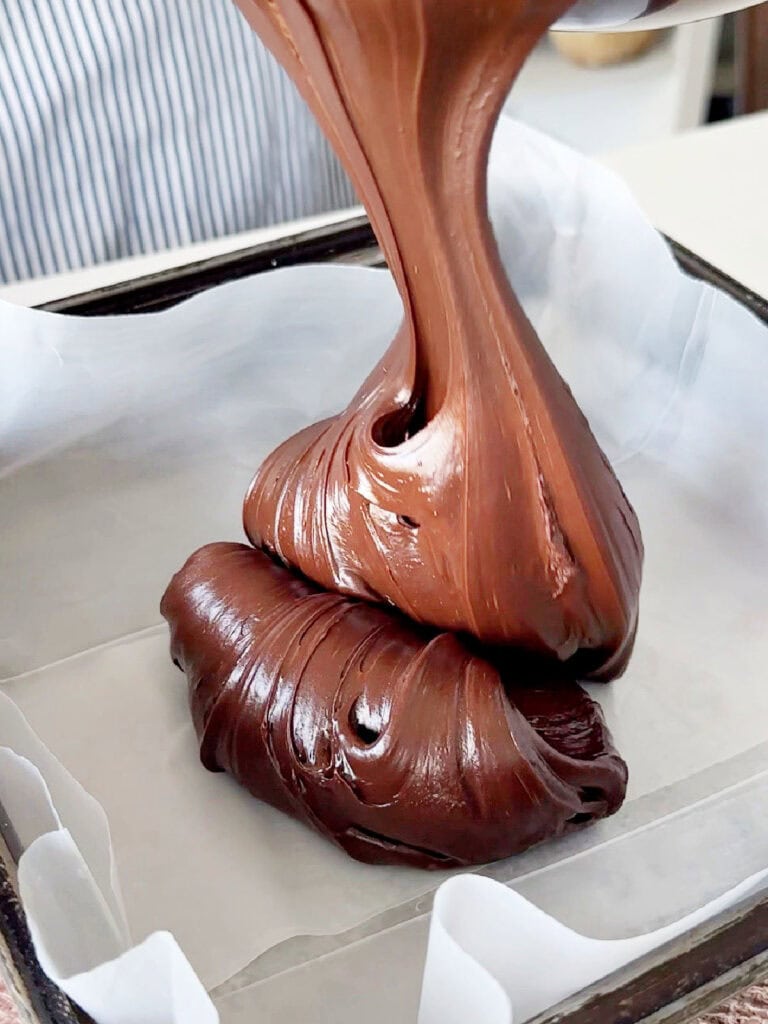
Shiny mixture
The chocolate milk preparation is shiny and unctuous!
Pour it in the middle of the pan, so as not to disturb the lining too much, as it can shift easily. You want it to stay put.
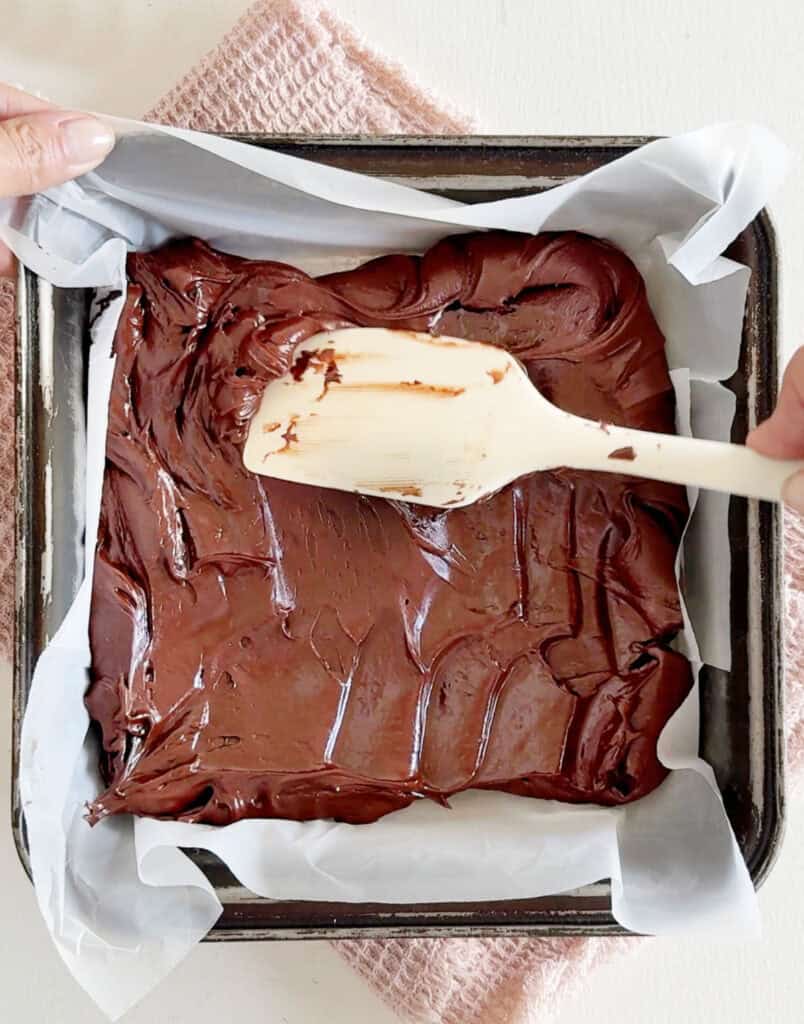
Even it out
I use a spatula and help myself with my other hand to keep the lining in place.
It's a thick mixture, so do it patiently. Cover the whole surface, including the angles.
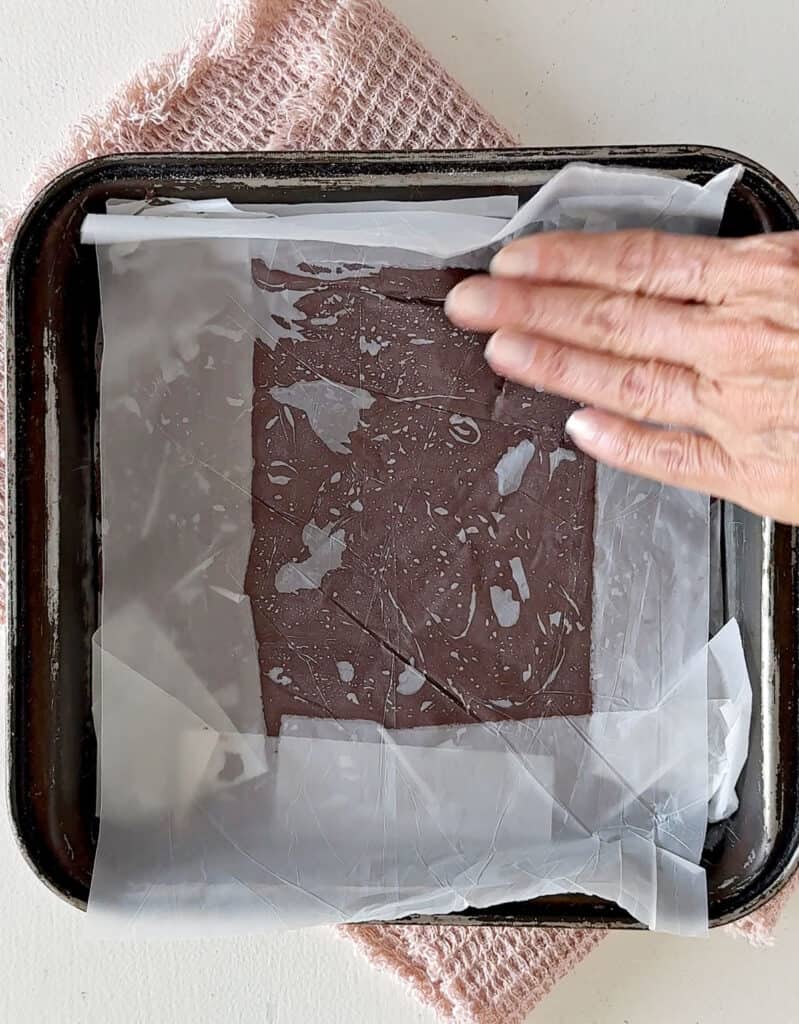
Cover and chill
I fold down the excess from the sheets and add another one on top to cover the whole surface, patting it to further even out the fudge mixture. It's now ready to be chilled until firm enough to cut.
This is especially good if you're storing the fudge in the freezer for several days before serving, as it prevents it from drying out.
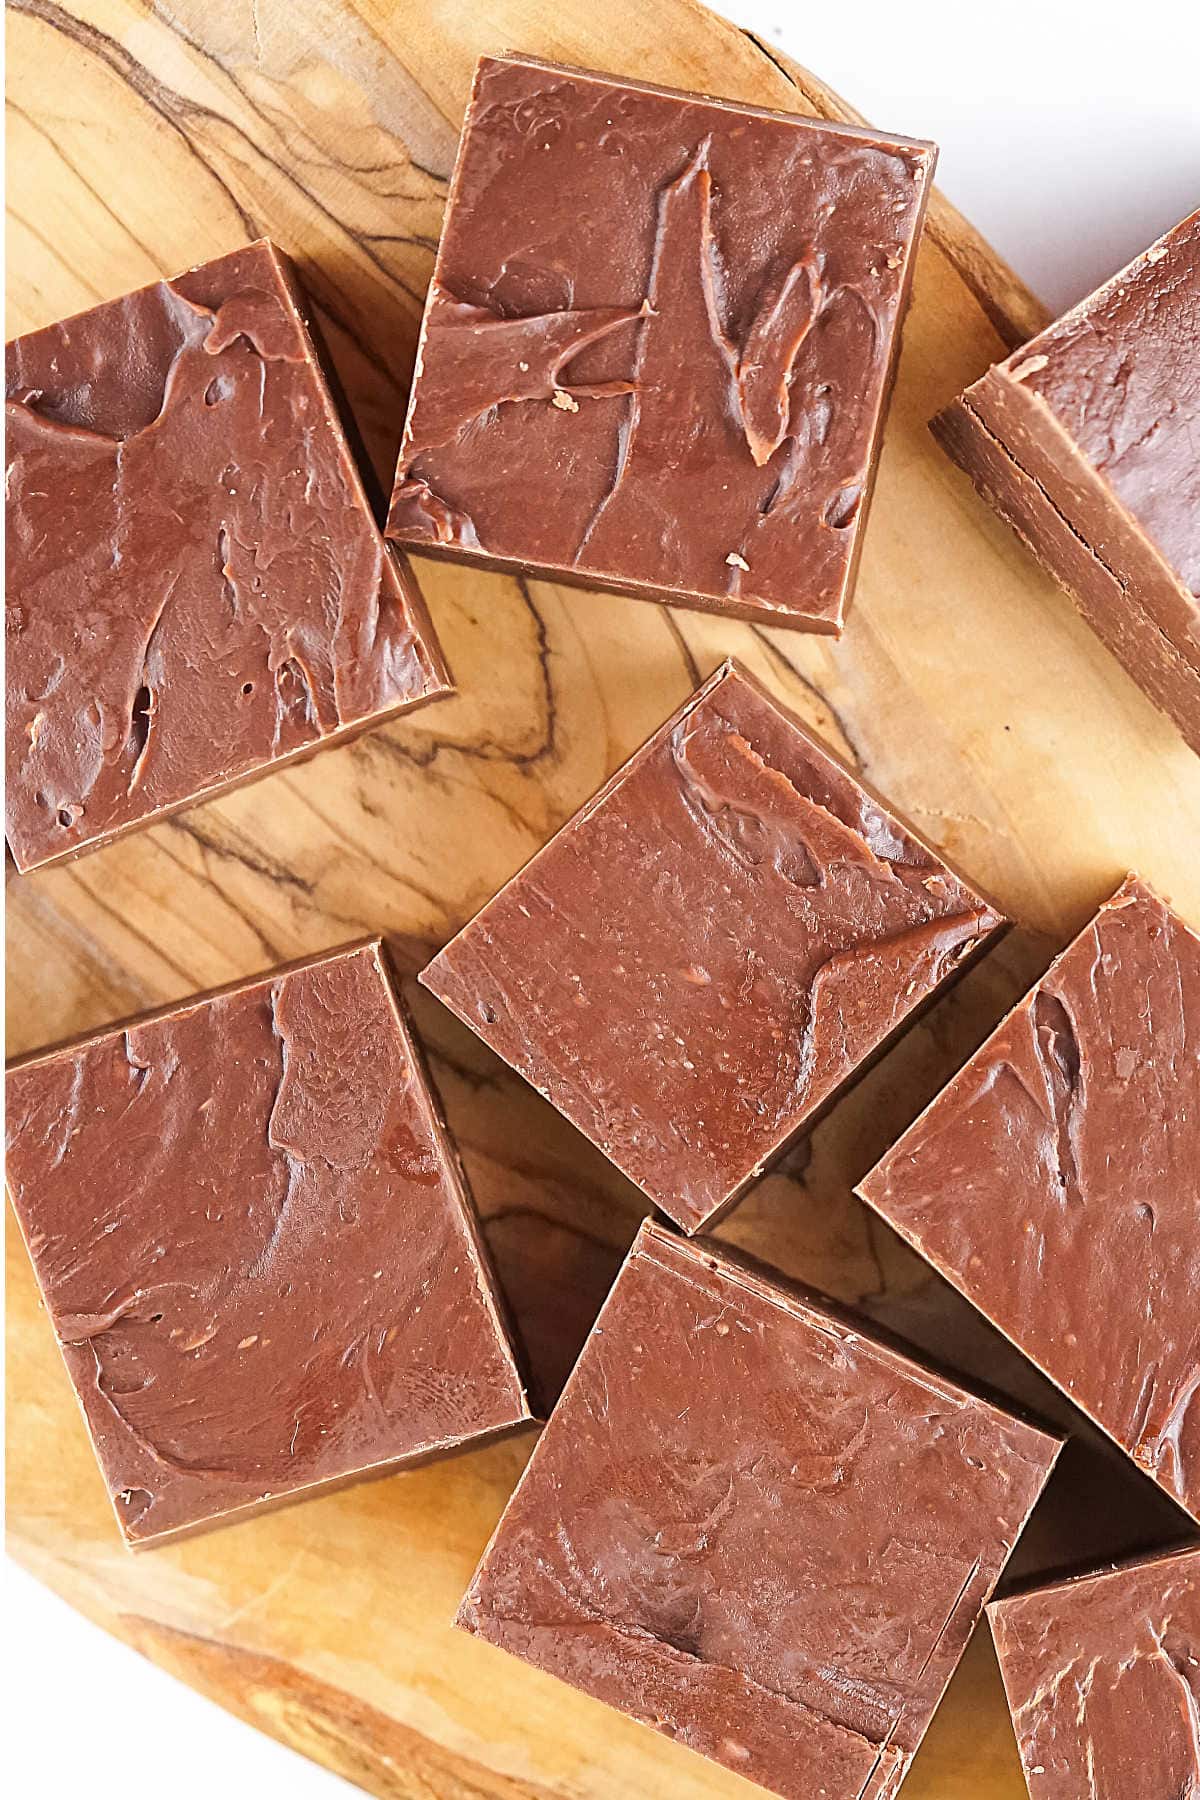
Cutting and storage
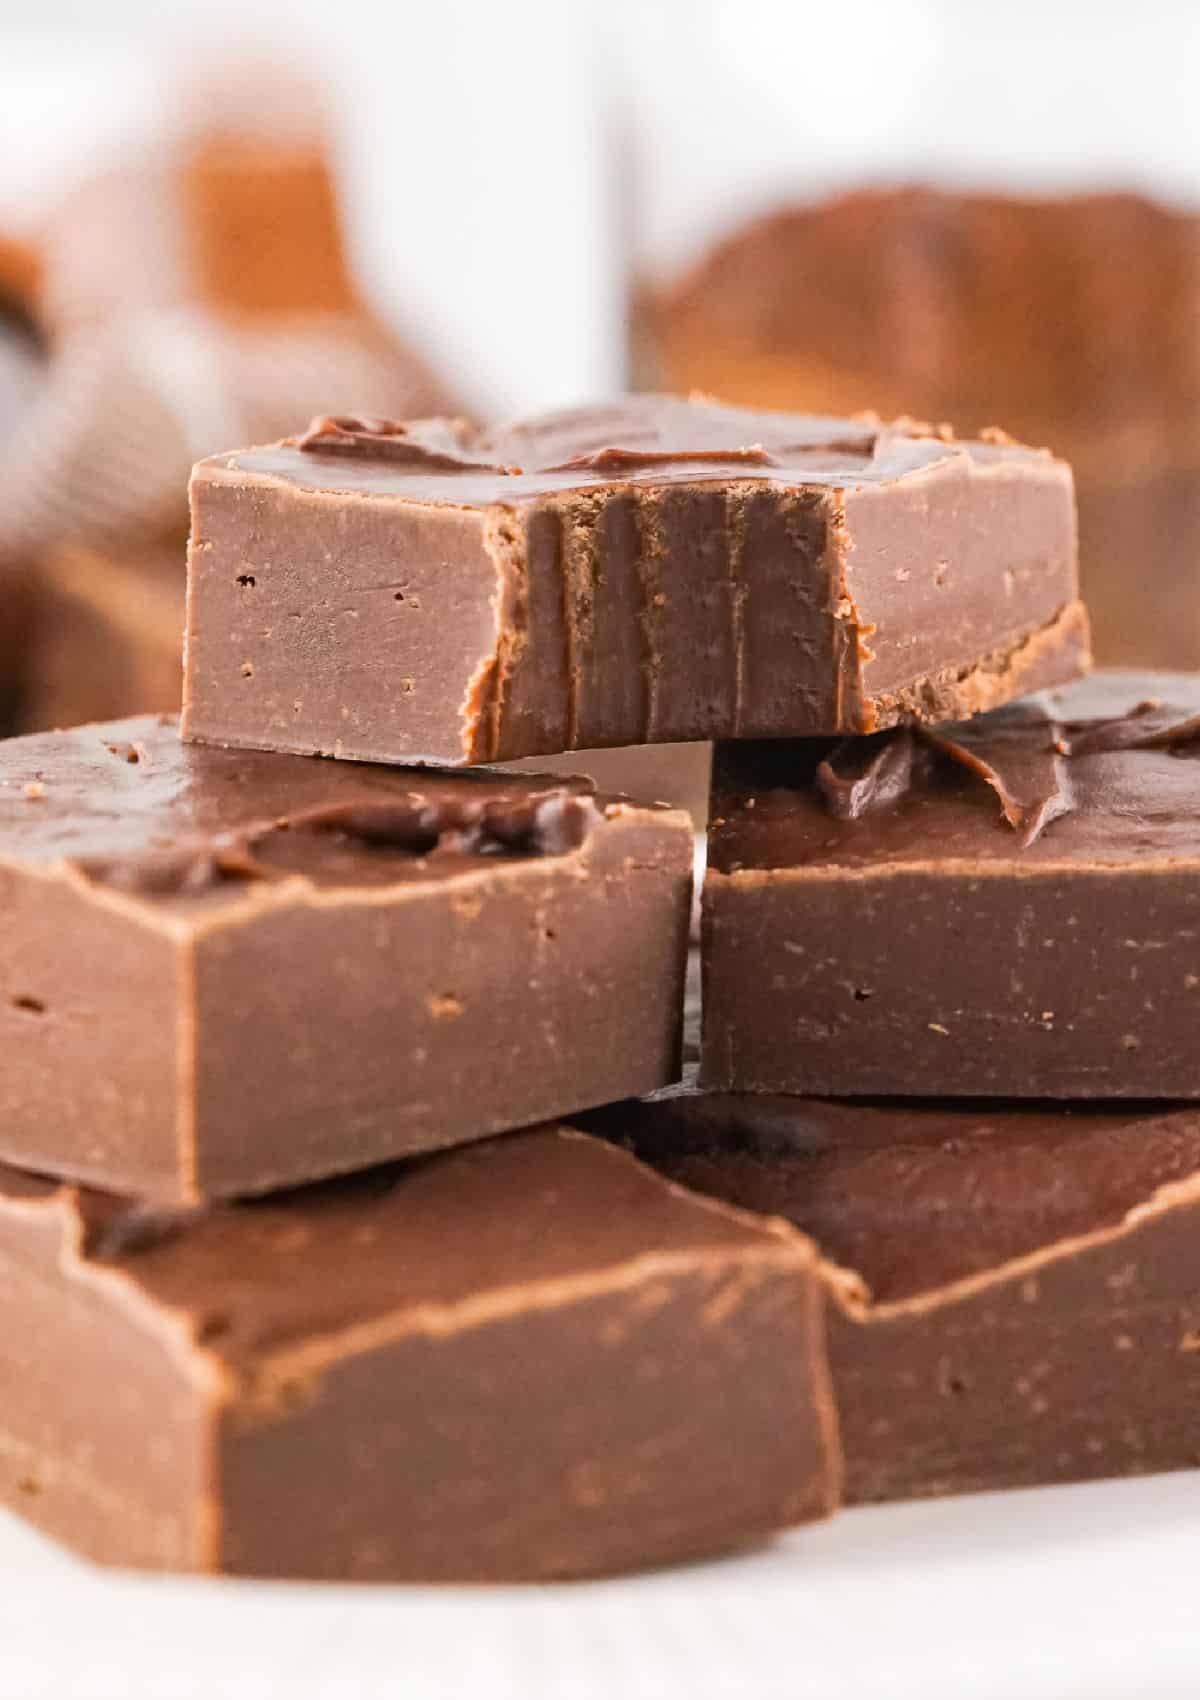
- I like to eat it just cool enough, almost at room temperature, as the chocolate flavor is better.
- When fresh out of the fridge or freezer, let the fudge warm up a bit, or it will be a little hard to portion.
- Keep the fudge in an airtight container in the fridge for up to 2 weeks and in the freezer for up to 3 months.
- Avoid dryness: once you cut the fudge, don't leave it out long, or it will dry up quickly. A few hours is fine. If it's becoming soft and sticky, pop it in the fridge for a little while until firm again. This will also depend on the quality of the chocolate, as better qualities soften and melt more easily.
- Leftover fudge squares are better stored in the fridge, in an airtight container. Use freezer sheets or pieces of parchment paper to separate layers if needed.
Variations & substitutions
- Different types of chocolate: Use milk chocolate chips or the sweeter white chocolate chips. The mixture will vary in shine and texture depending on the type and brand of chocolate you use. Milk and white have more sugar, so they behave differently.
- A pinch of sea salt added at the end, right before you spread it in the pan, is fantastic, and it won't taste salty; it'll be just a hint if you use it sparingly.
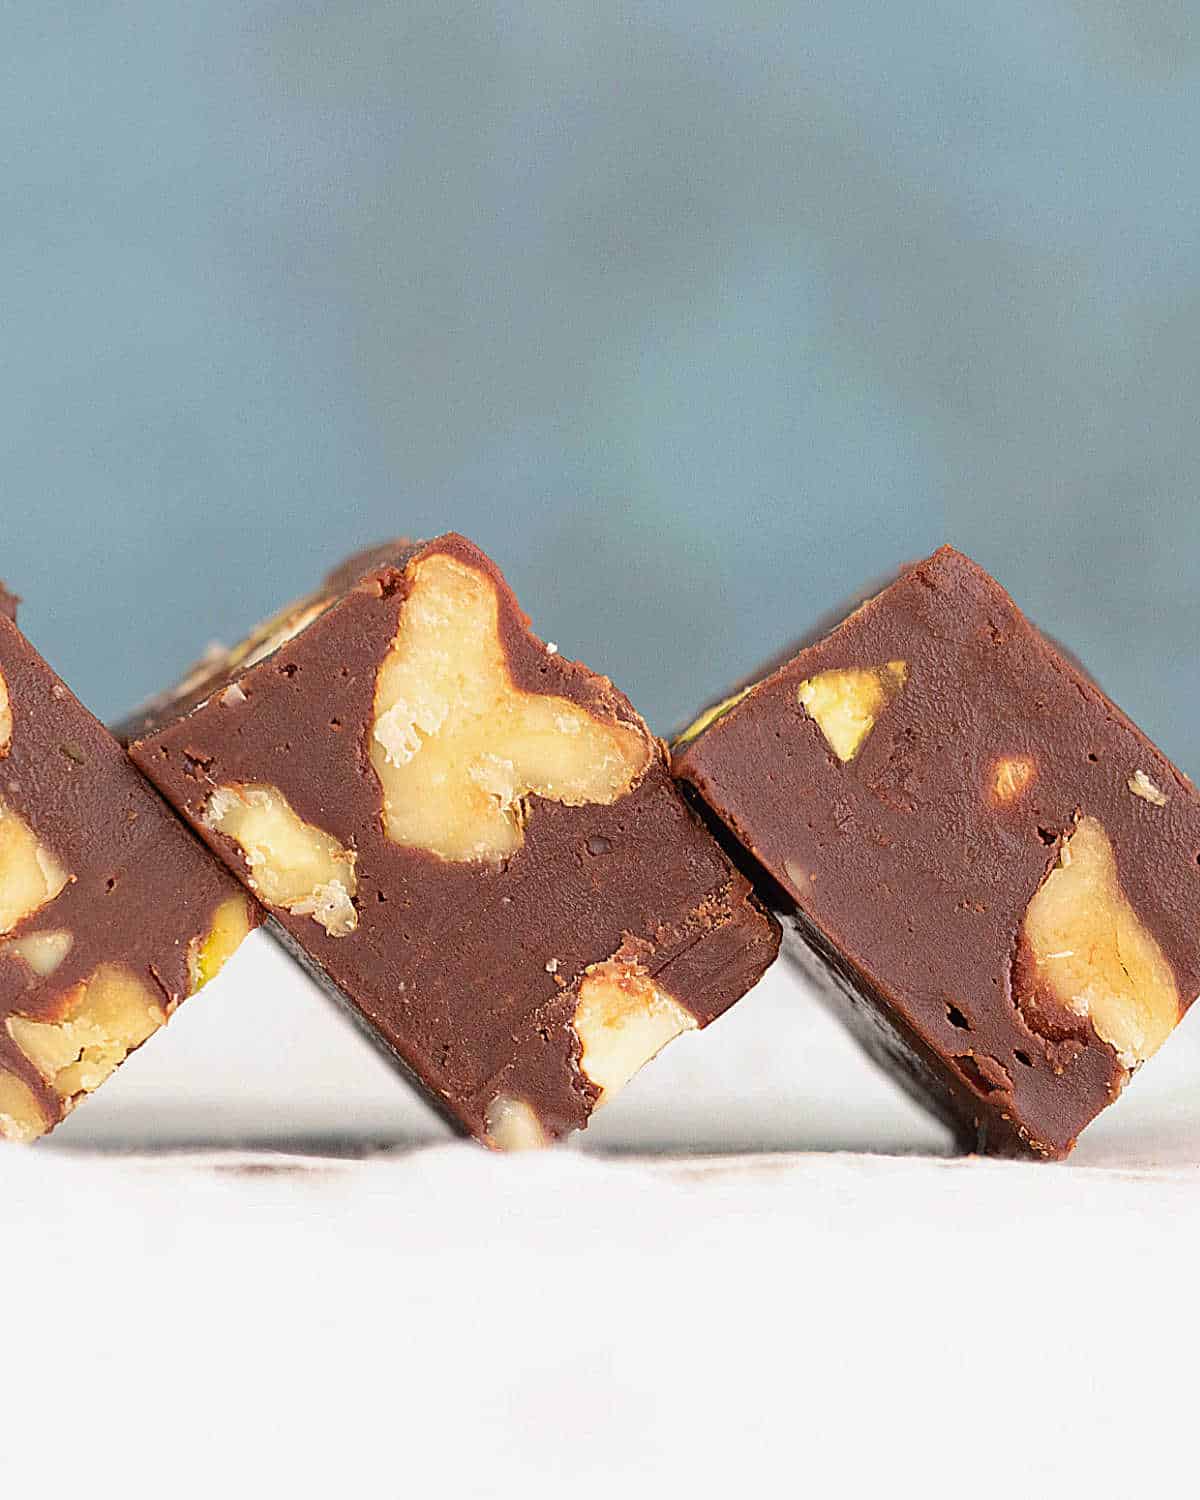
- Nuts or dried fruit: Or both. Add any nut or chopped dried fruit you like with the chocolate you choose. Image below. I love using lightly toasted almonds, pistachios and a little flaky sea salt.
- Peanut butter: swirl it into the melted chocolate mixture before setting it. Add dollops on top and marble it using a toothpick or skewer.
- Other chips: readers tried it with butterscotch morsels and mint chips, and they loved it, but I haven't tried those versions yet.
If you made this recipe and loved it, you can comment below and leave a 5-star ⭐️ review. Also, if you had issues, let me know so we can troubleshoot together.
You can also subscribe to our FREE email series 'Baking the Best' and our regular newsletter. Or follow and save my recipes on Pinterest.
As an Amazon Associate, I earn from qualifying purchases. Read my disclosure policy.
Condensed Milk Fudge Recipe (2 ingredients)
Ingredients
- 1 can sweetened condensed milk, 14 ounces
- 14 ounces semisweet chocolate, see Notes below
Instructions
- Line a square, 8-inch pan with two strips of parchment paper wide as the pan. It will cover the bottom and two sides. Reserve. Some people spray or butter the pan instead of lining it; it's not my favorite and I don't, but you can.
- Combine 14 ounces semisweet chocolate and 1 can sweetened condensed milk in a medium, microwave-safe mixing bowl.
- If using the microwave, do so in 30-second spurts, stirring well in between, until the chocolate chips or pieces melt and turn smooth when stirred.
- If using the stove, place the bowl over a saucepan with simmering water over low heat, so that it doesn't touch the bottom of the bowl. Stir with a spatula until it melts.
- Stir well to integrate both ingredients fully.
- Pour the mixture into the prepared pan and spread even, tapping the pan on the counter to flatten.
- Place in the refrigerator until set. It's about 2 hours for me, but it might take more or less, depending on your fridge.
- Run a smooth-bladed knife around the edges to loosen up the fudge and transfer the whole block to a cutting board. Use the parchment paper to lift the whole piece.
- Using a sharp kitchen knife, slice the fudge into 1-inch pieces.
Pauline says
Fudge
Deb Bonge says
Fantastic
Bonnie Johnson says
Bonnie Johnson
Anonymous says
Absolutely lovely fudge, made this with white chocolate, took into work for the girls, they loved it, so easy to make, 10/10 ❤️
Gwen Holmes says
Brilliant. A super quick, easy, no faff recipe. Thank you
Maureen says
Highly disappointed with this recipe. The first time I tried it was with Nestle semi-sweet chocolate chips and the second time I used butterscotch chips. The chocolate fudge wasn't sweet enough for me and not all the chips melted; and the butterscotch never firmed up 🙁 I ended up with a taffy instead of a fudge. Not sure I will try it a third time 🙁
Paula Montenegro says
Hi Maureen, for a sweeter fudge milk chocolate is the best option.
Kathleen Tyler says
Great easy fudge! Yum!!!
Pj says
Could you use coconut milk here?
Paula Montenegro says
Hi, I can't say as I've never tried it.
Rita says
My fudge never got firm
.following directions and dud not work
Mary says
Awesome fudge recipe!
Lyn says
I used butterscotch morsels and it was delicious!
Susan says
Easy and it comes together fast
Bonita Ruggle says
Easiest recipe for fudge. Love it!
Maureen Loehr says
Love it. So simple to make and my family loves it.
Margaret says
Can you add expresso powder to this recipe
Paula Montenegro says
Hi Margaret, yes you can. Make sure it dissolves when you melt the chocolate and condensed milk.
Brenda Vaughn says
Do you think this would mail by priority mail well? And since for a Christmas present, could you crush peppermint candy to sprinkle on some?
Paula Montenegro says
Hi Brenda! It can be priority mailed. Use the largest amount of chocolate. I take batches of these everywhere. Happy baking.
Donna says
This is a great recipe!! We make it every year for part of our Christmas candies!! Have been using this recipe for several years now and doubt we’ll go back to the old way of making fudge because this is just so easy and so versatile for different flavors!!
Paula Montenegro says
I agree Donna! I have some old-fashioned ones and it's always 'nah, I'll just open a can of condensed milk'. It's a fantastic recipe that never disappoints. Try them with a good amount of toasted pistachios and almonds; I take them everywhere and people go bonkers.
Barbara Kay Harris says
Best fudge I ever had
Nani says
You can also use peanut butter chips then swirl or stir in smooth or chunky PB before pour it into the pan.
David Allen Owens says
I made the peanut butter fudge recipe for Christmas and everyone loved it,I got one piece went back for a second piece and it was gone....they all keep asking me to make more.....thanks we all loved it.....