
Fun jello shots with candy corn colors that can easily be transformed into jello cups without alcohol, so that you can cater to everyone. They combine the nostalgia of the popular candy with the thrill of a boozy shot. They're simple to put together; just follow my tips. They are a must for Halloween night and can be made in advance, so you can enjoy the holiday!
SAVE THIS RECIPE
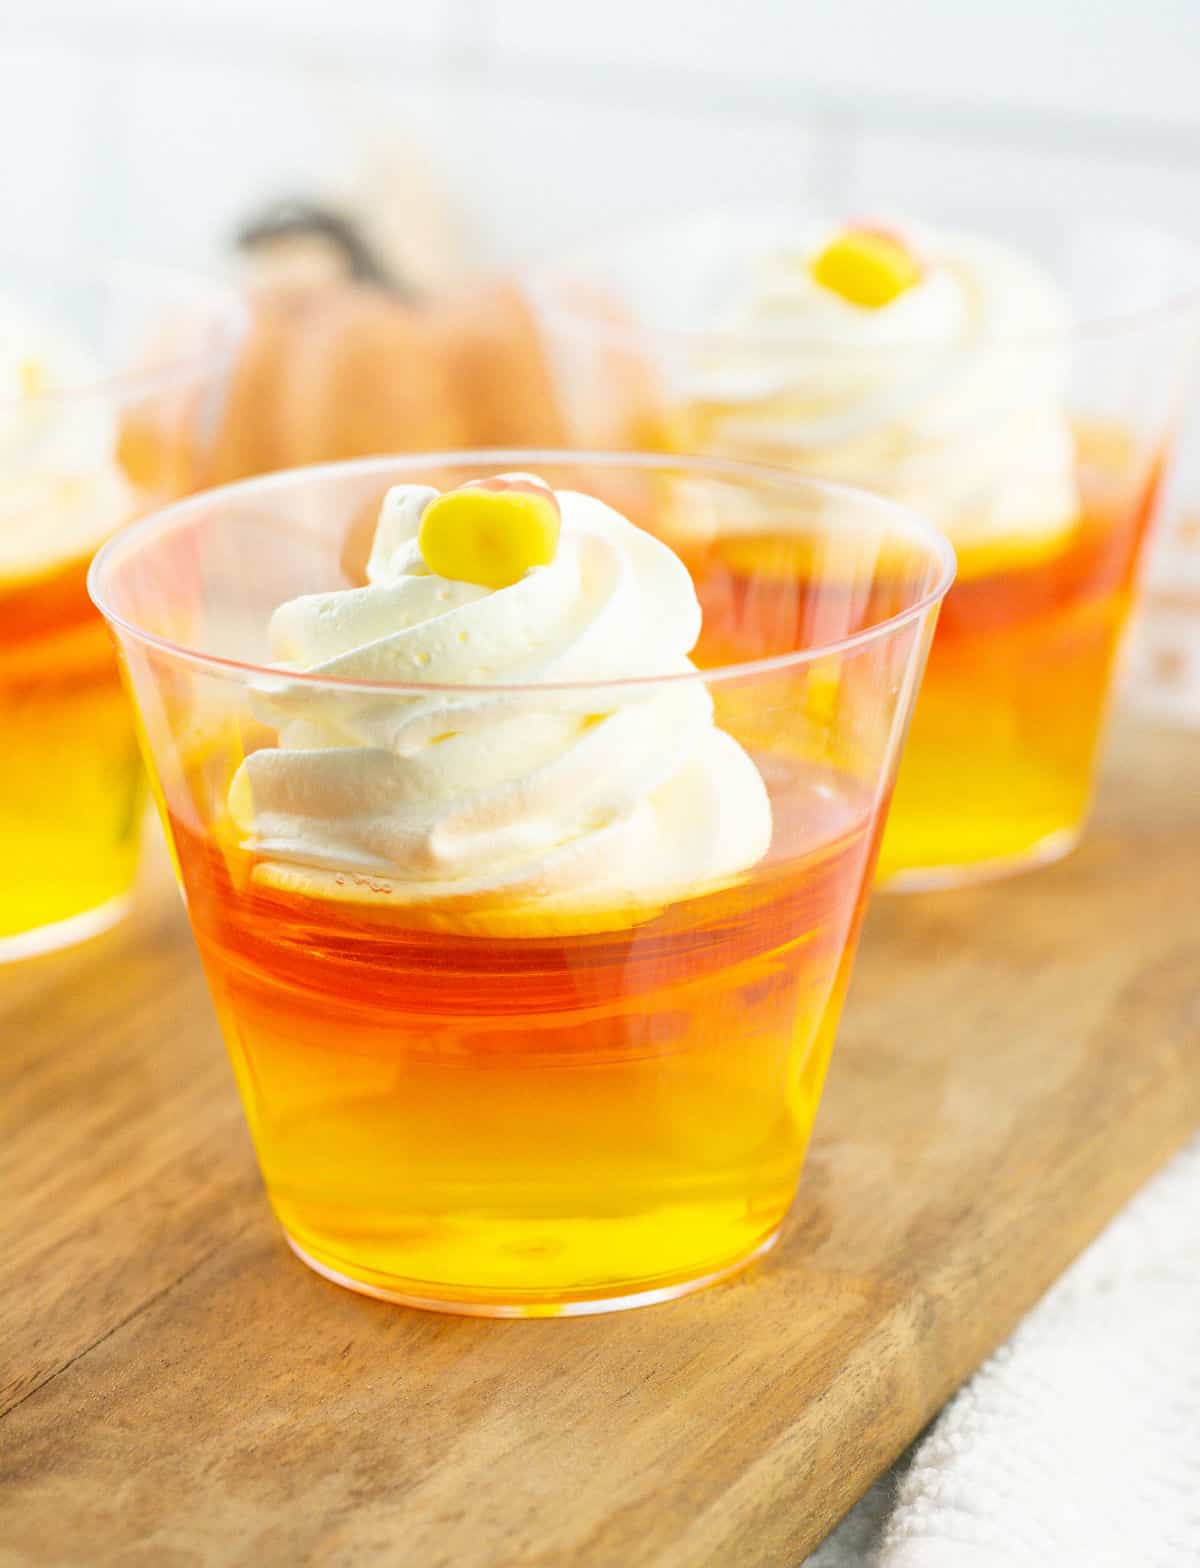
Fun jello cups
These jello shots bring a unique and eye-catching element to your party or get-together. They combine the sweetness of jello and candy corn with a kick and unique flavor from the vodka.
There's some mixing and then waiting for the gelatin layers to set, but it's a pretty simple and easy recipe.
This is a bright and fun Halloween treat, perfect to make with kids (without the alcohol) or to enjoy with grown-ups while trick-or-treating. So it's a win-win for everyone!
Like the Halloween red jello shots, the fun and popular bloody Halloween cupcakes or the very unique white chocolate ghosts, I use store-bought pantry items for an easy recipe that'll leave you time to enjoy whatever Halloween party is happening in your neighborhood!
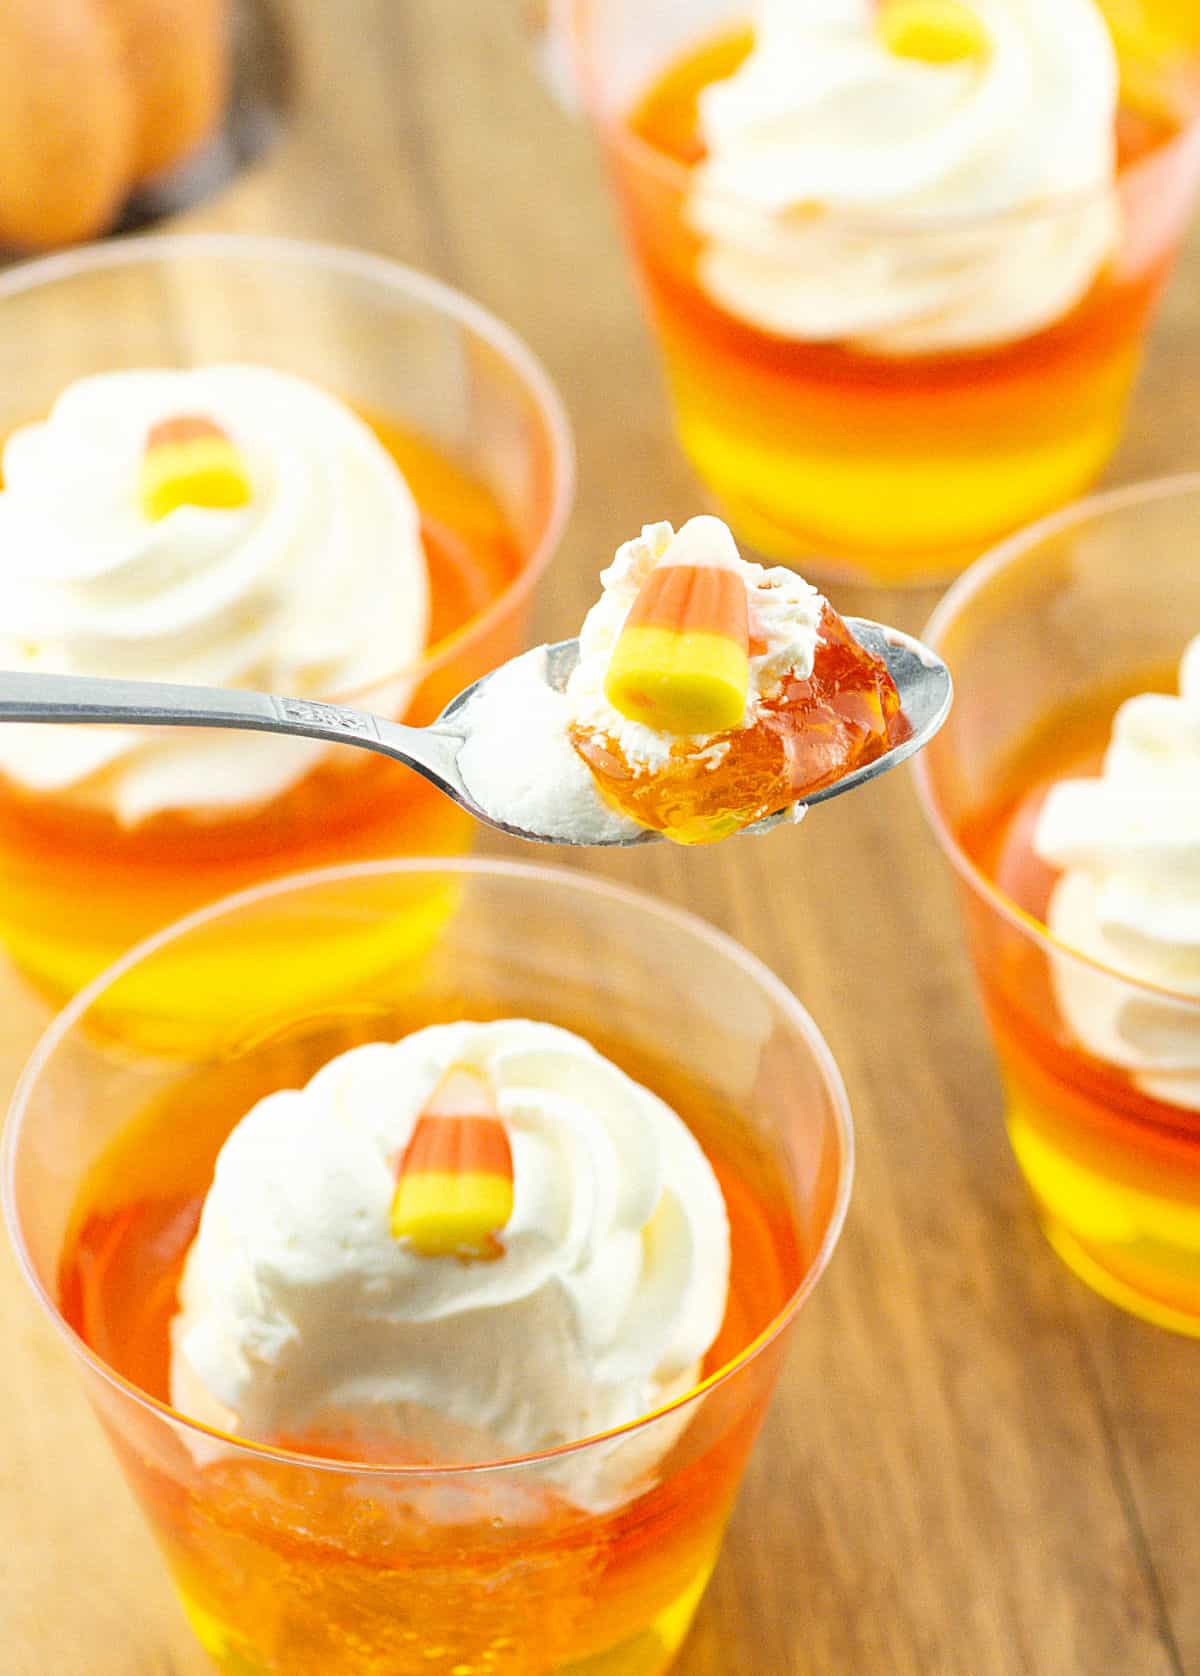
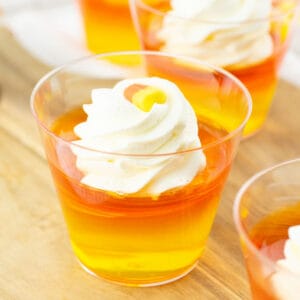
Serve them with a dollop of whipped cream (or store-bought topping like Cool Whip) and consider adding a fresh candy corn garnish for that extra pop of color and flavor.
Make ahead: Jello cups last a few weeks in the fridge, so layer them ahead and add the whipped topping at the last moment.
Testing notes
Paula's tips that make a difference.
Organization: Read the recipe first and ensure you have the ingredients at the correct temperature, equipment, and enough workspace. This will make the process so much easier.
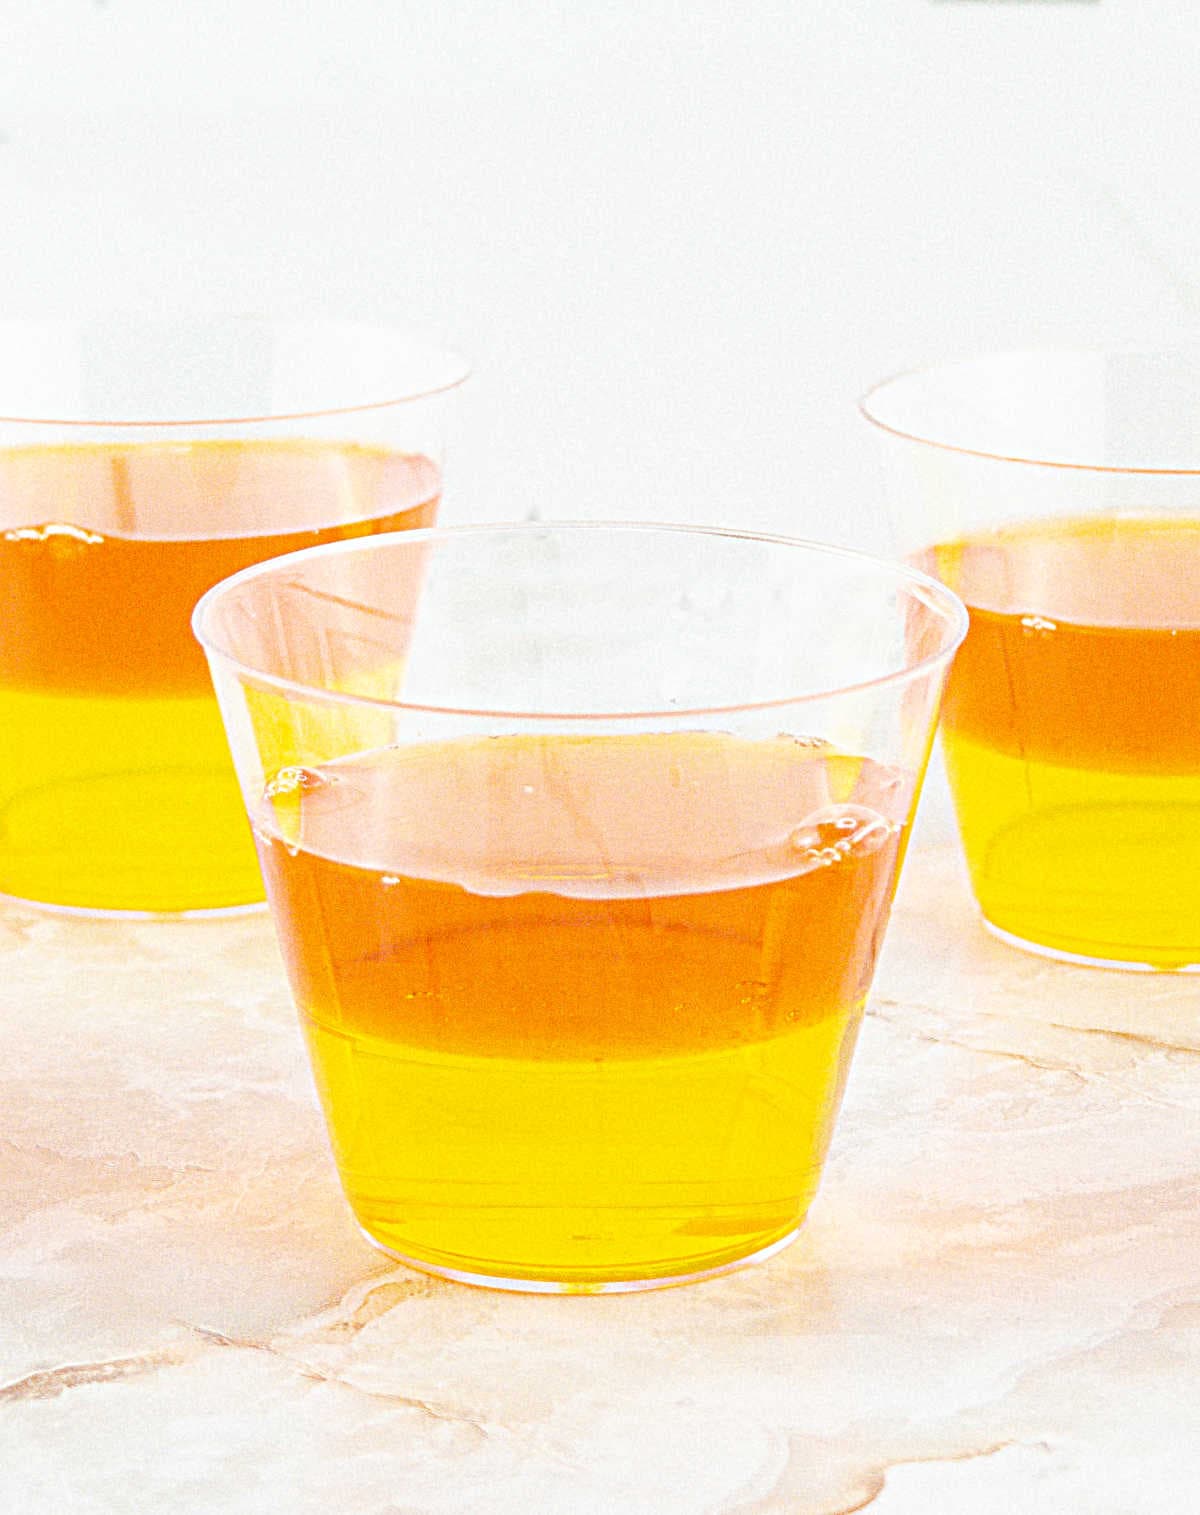
Let the first jello layer fully solidify before adding the second one. This way, you get clear and defined colored layers.
The second layer of gelating (the orange mixture in this case) should be pourable but barely warm, not hot, or it will start seeping into the yellow one.
Vodka: I use plain vodka, but there are flavored ones that you might want to experiment with, like vanilla vodka and cream vodka.
Storage: Jello cups can be stored in the fridge for up to a week without the topping. Place them in an airtight container or cover each cup with plastic wrap. Don't store them with the candy corn on top, as it will dissolve due to condensation.
Ingredients
Quantities are listed on the recipe card towards the end of this post. The Ingredients page has more details and lists the brands we use.
- Lemon jello: I use Jell-O lemon gelatin.
- Orange jello: I use Jell-O orange gelatin.
- Vodka: omit if making jello cups for kids.
- Whipped topping, such as Cool Whip. Or use homemade whipped cream.
How to make jello shot cups
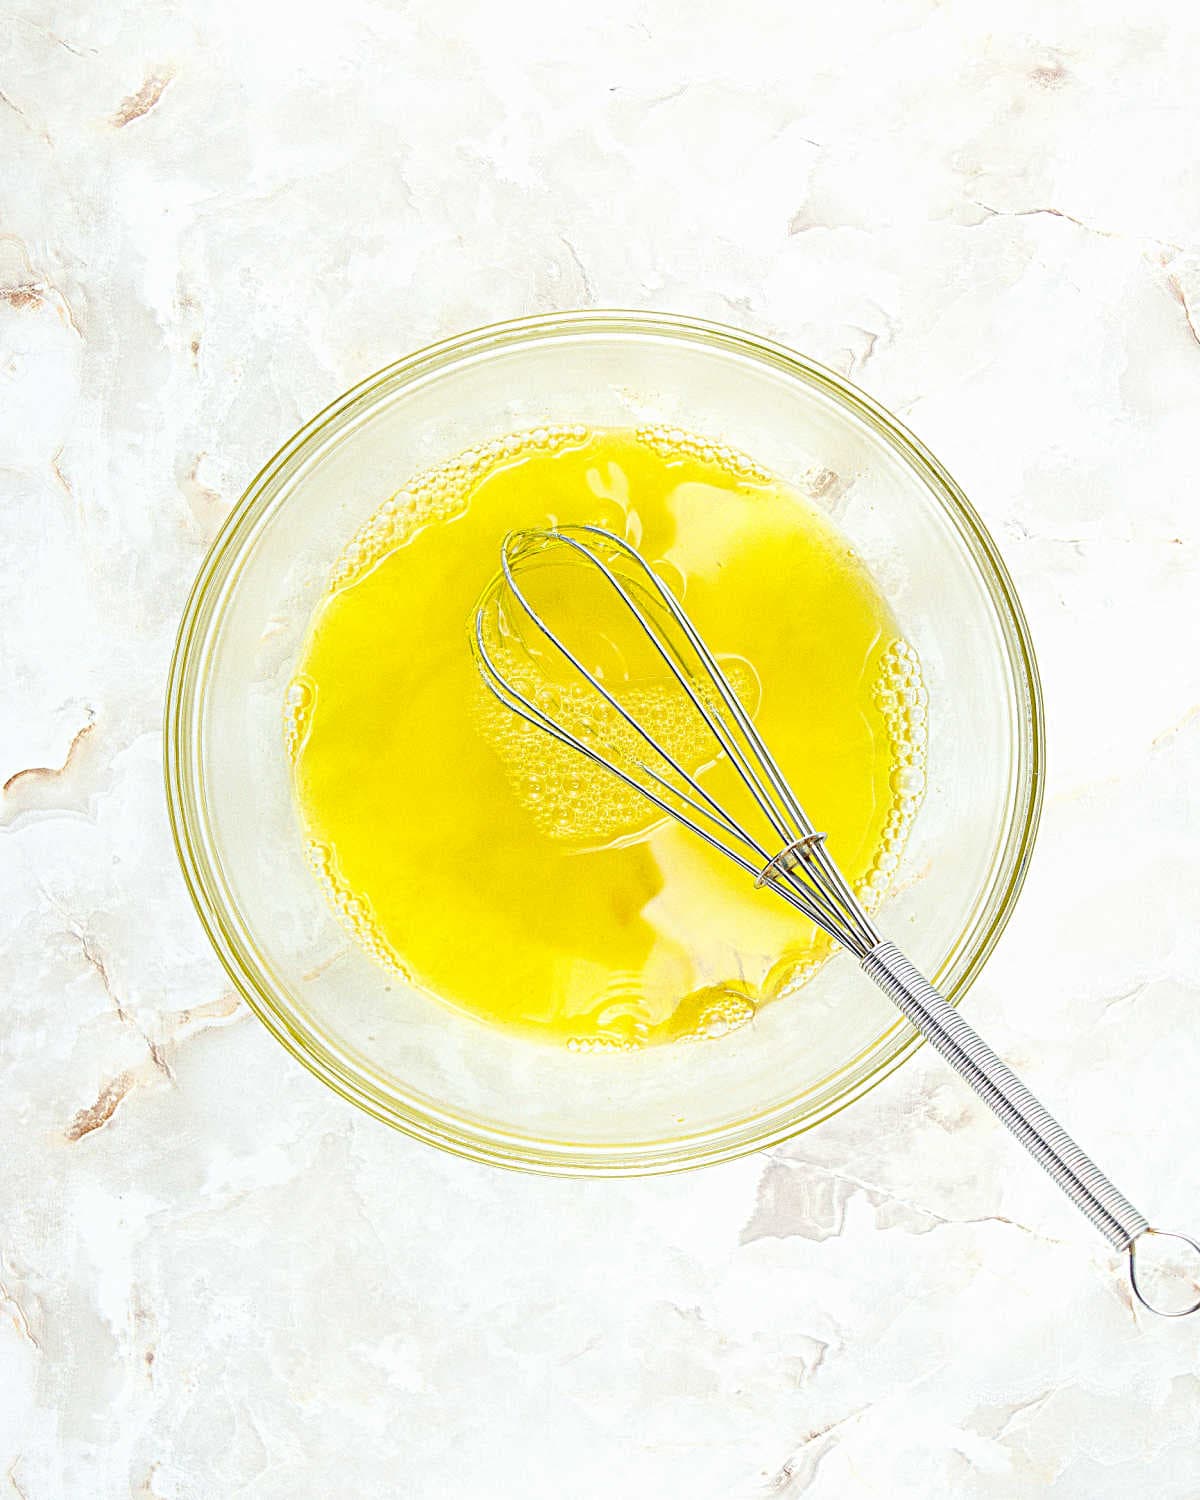
- Each gelatin packet must be mixed with water (and vodka if using) in a separate bowl. Use a hand whisk for easier mixing.
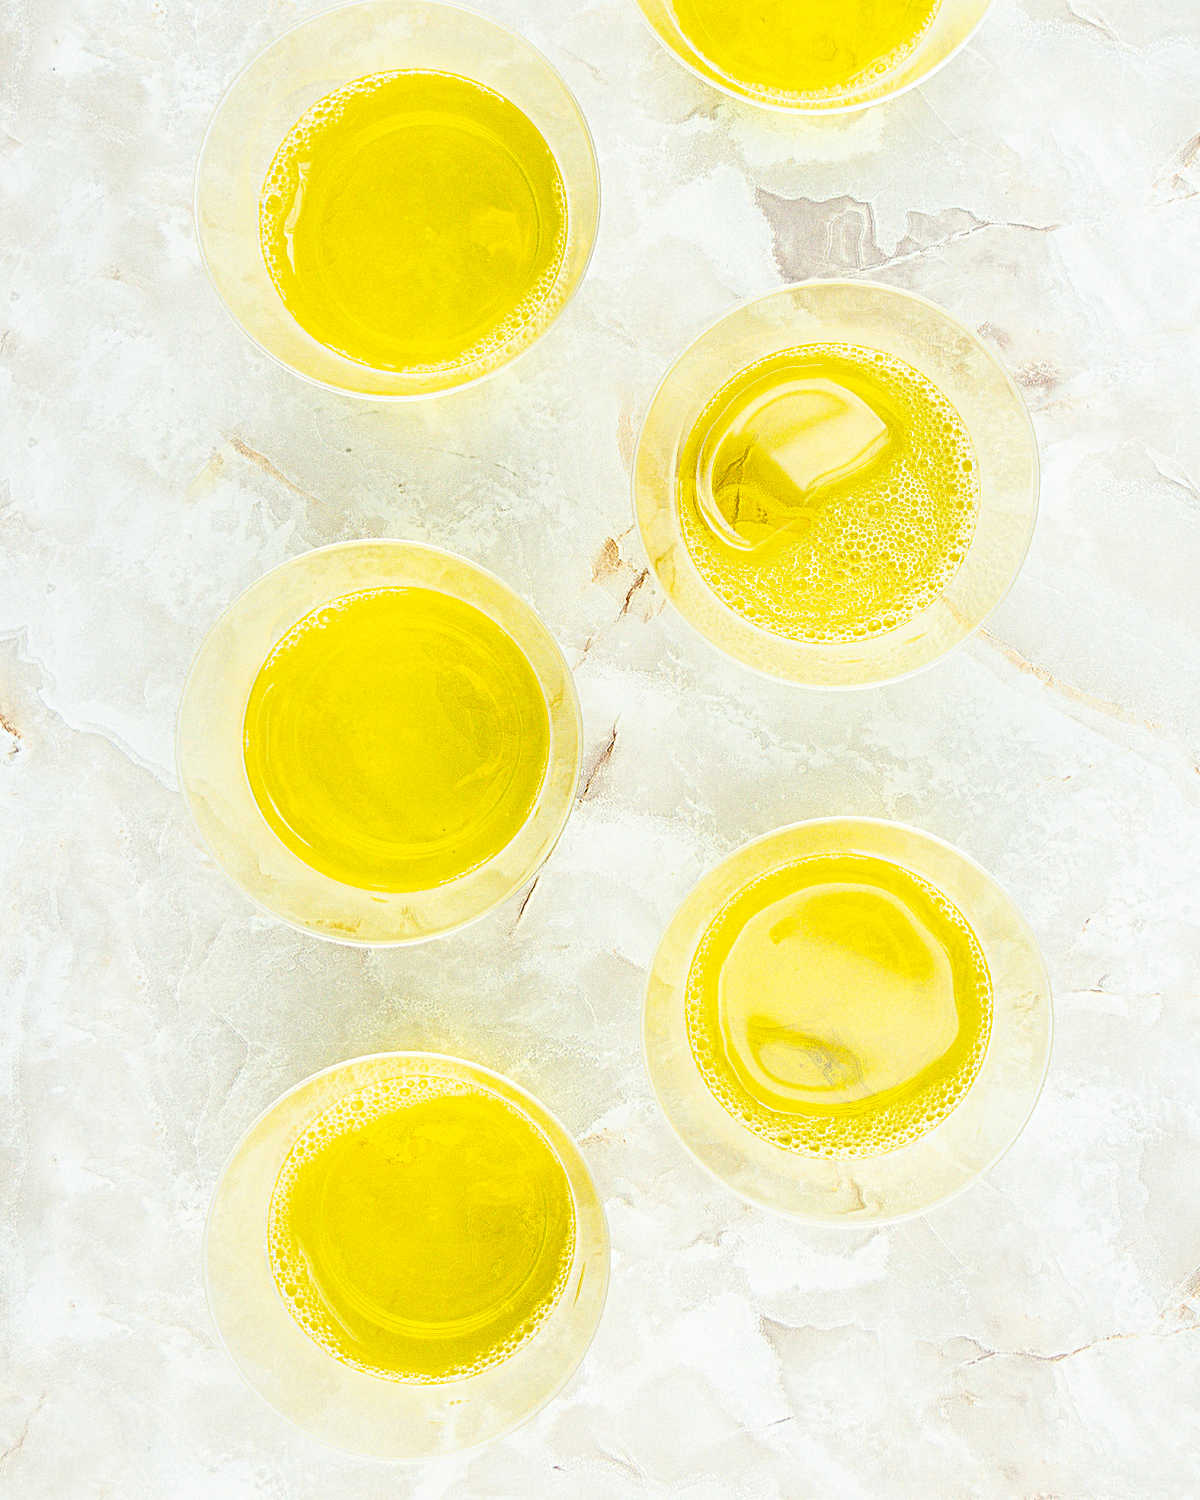
- Use a pitcher to pour the jello into the cups. Refrigerate until completely set.
As an Amazon Associate, I earn from qualifying purchases. Read my disclosure policy.
Candy Corn Jello Shots (with/without vodka)
Ingredients
For the yellow layer:
- 3 ounce package lemon-flavored jello
- 1 cup boiling water
- 1 cup vodka, or cold water if making cups without alcohol
For the orange layer:
- 3 ounce package orange-flavored jello
- 1 cup boiling water
- 1 cup vodka, or cold water if making cups without alcohol
For the white layer:
- 2 cups Cool Whip or freshly whipped cream
- 1 cup candy corn, for decoration
Instructions
- Layout the cups or containers you'll use on a flat surface. I use a large cookie tray that fits in my fridge.
- Place 3 ounce package lemon-flavored jello in a medium bowl.
- Pour 1 cup boiling water and stir until completely dissolved.
- Pour in 1 cup vodka (or cold water if making cups without alcohol) and stir until combined. The mixture should just be warm to the touch.
- Carefully pour into the containers. Use a pitcher or tablespoons if the cups are small. Chill the jello cups in the fridge for about 1 and ½ hours or until set.
- Once the yellow has begun to set up, you can begin making the orange-flavored gelatin.
- Repeat the instructions using 3 ounce package orange-flavored jello, 1 cup boiling water and mixing it with the powder and 1 cup vodka.
- Let it cool down as much as possible without letting it set. Stir it frequently until it thickens and is barely warm.
- Pour the orange gelatin mixture over the yellow jello carefully and in a circular motion.
- Transfer the jello cups to the refrigerator and allow to set for about 1 and ½ hours or until completely set.
- When ready to serve, prepare a piping bag fitted with a large star tip or use a spoon to add 2 cups Cool Whip or freshly whipped cream to the top of the orange layer, dividing evenly among the shots.
- Top with 1 cup candy corn, dividing them between the cups right before serving.
Rate and review this recipe