

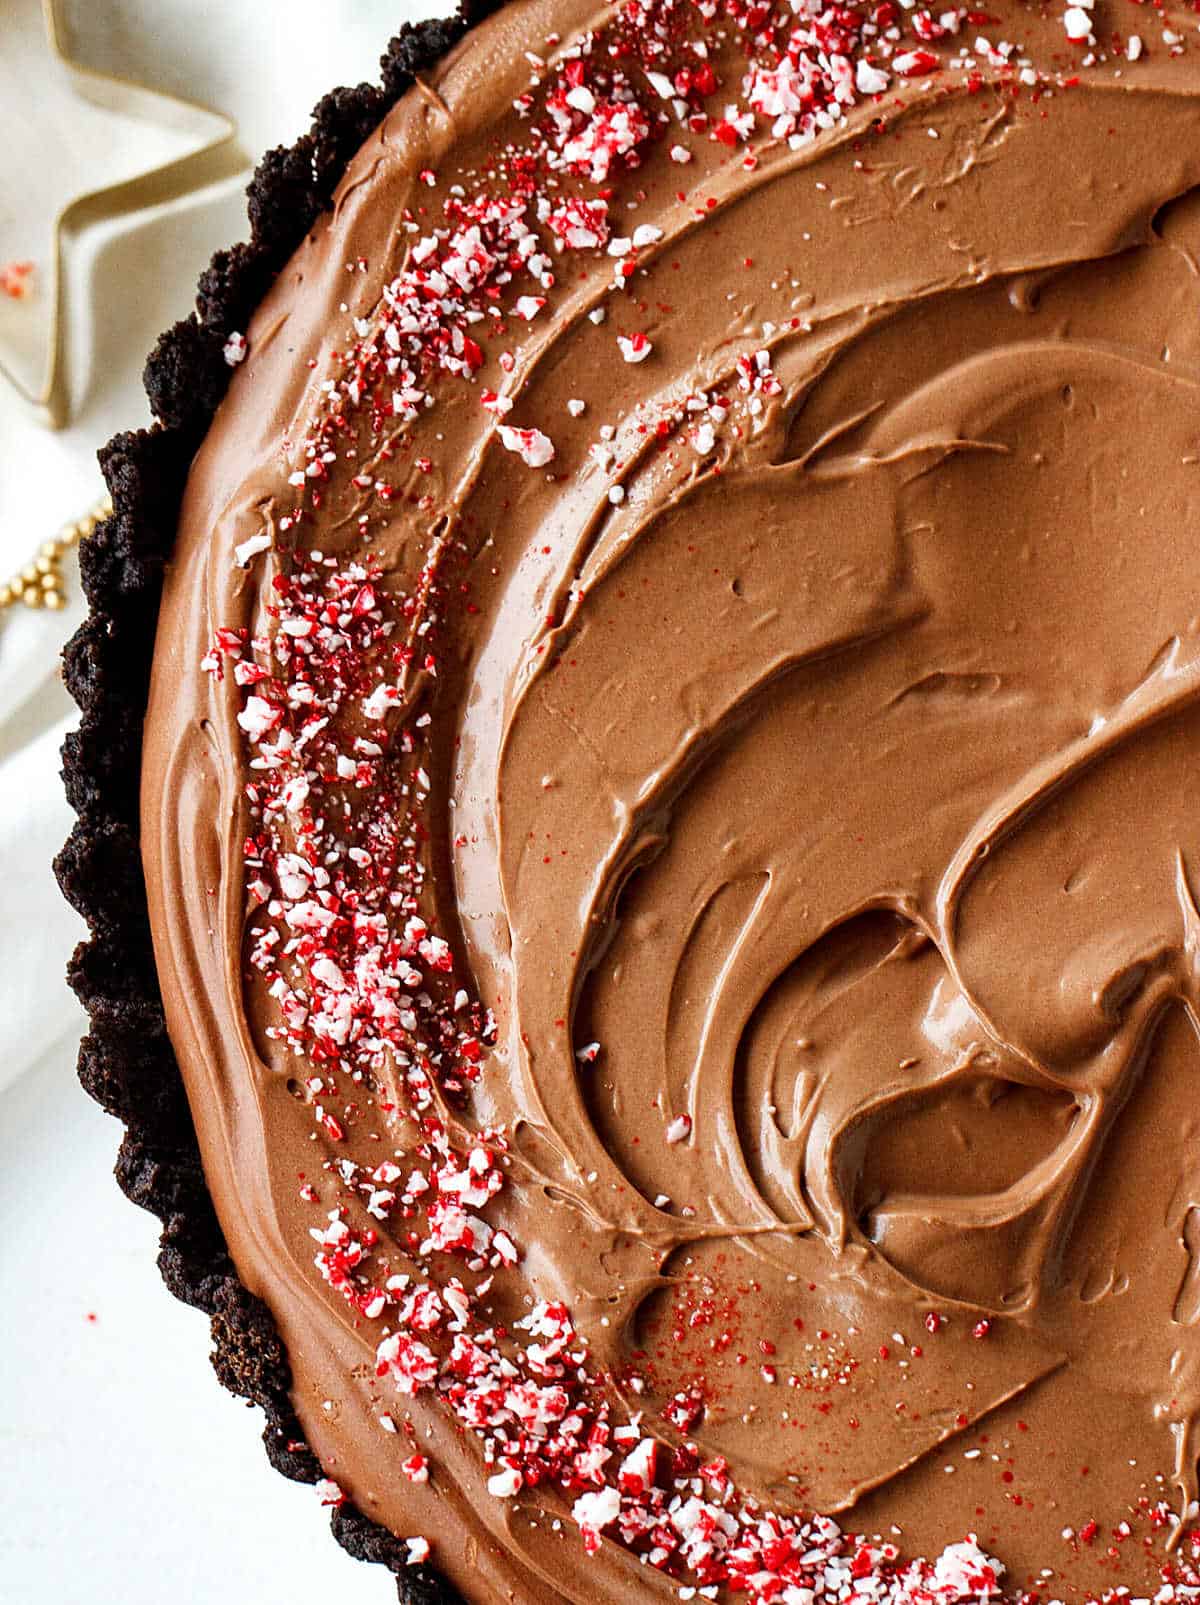
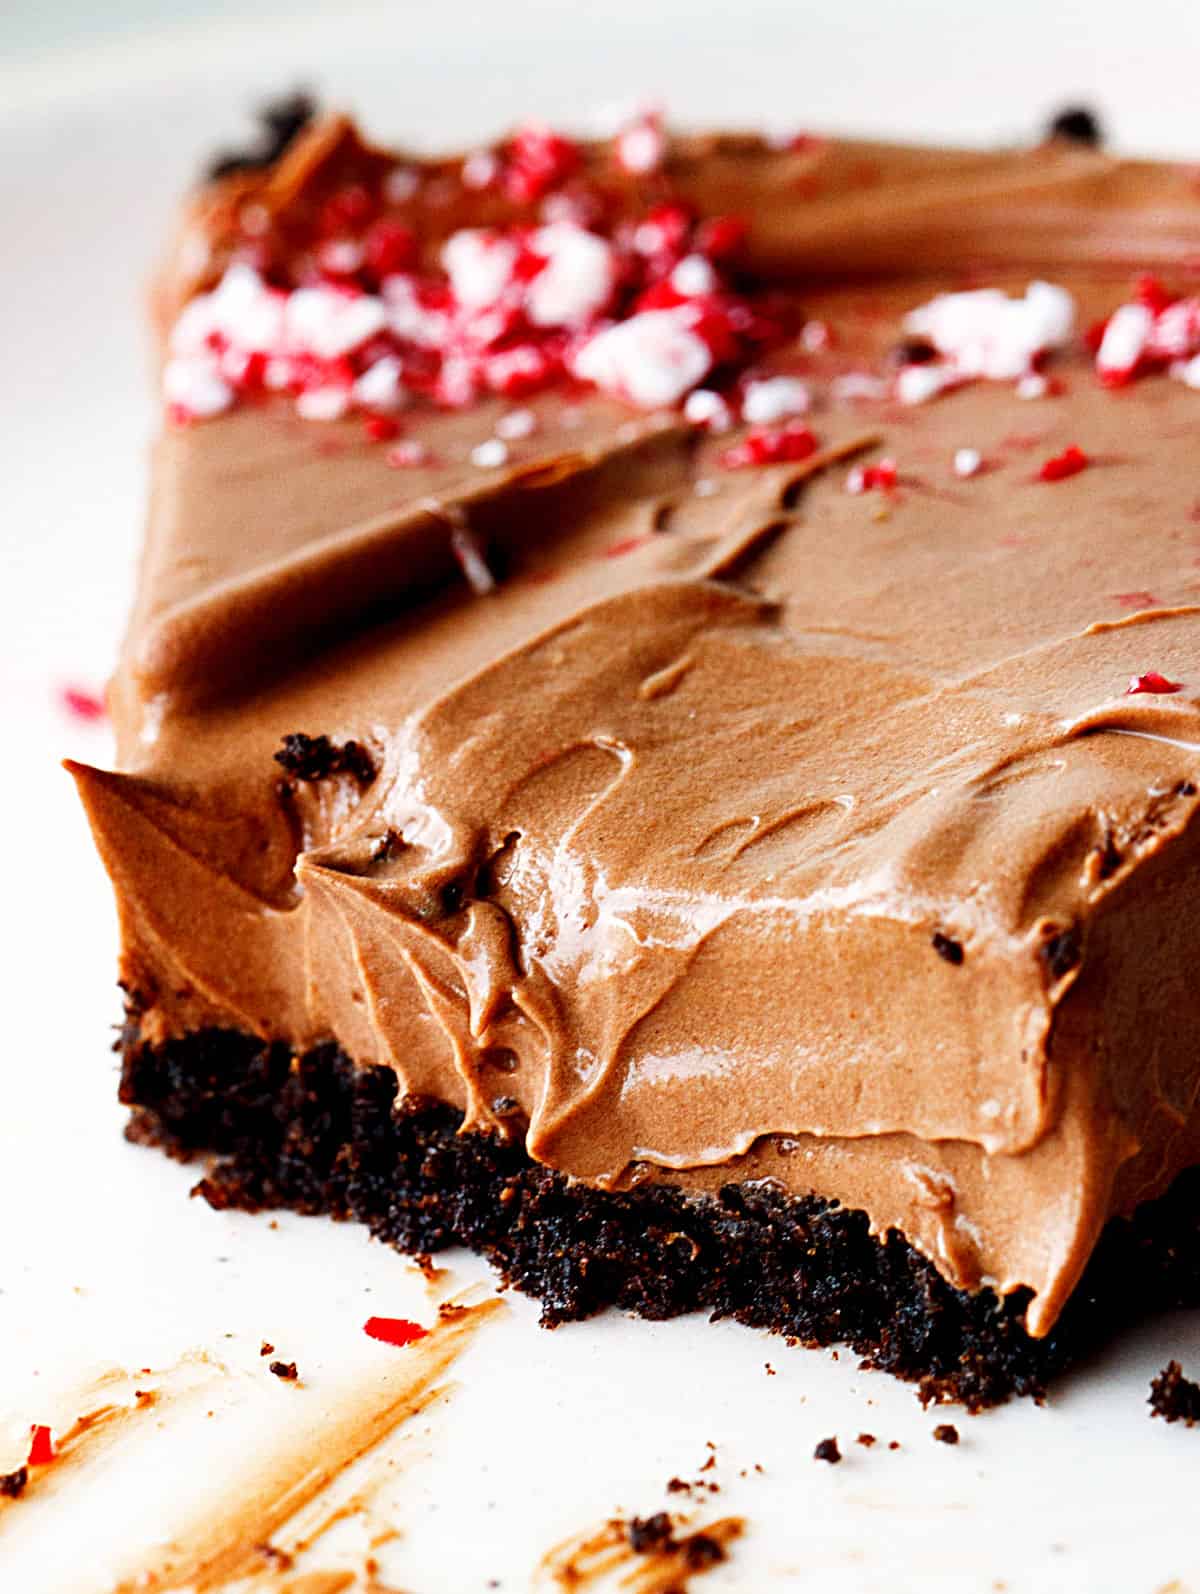
Smooth and incredibly creamy, this chocolate mint mousse tart uses a chocolate cookie crust, making it easy to assemble. And it can be frozen. Chocolate and mint are the perfect pair for holiday desserts. Combine them in a mousse pie, and you have a crowd-pleaser.
SAVE THIS RECIPE
The smoothest filling
This vintage recipe I'm sharing today surprised me.
Not initially, because I love this combination of flavors (peppermint chocolate brownies, anyone?) and the recipe seemed pretty straightforward.
But the first step results in a very dubious-looking mess, like jello with insufficient liquid, and you don't quite know what to do with it.
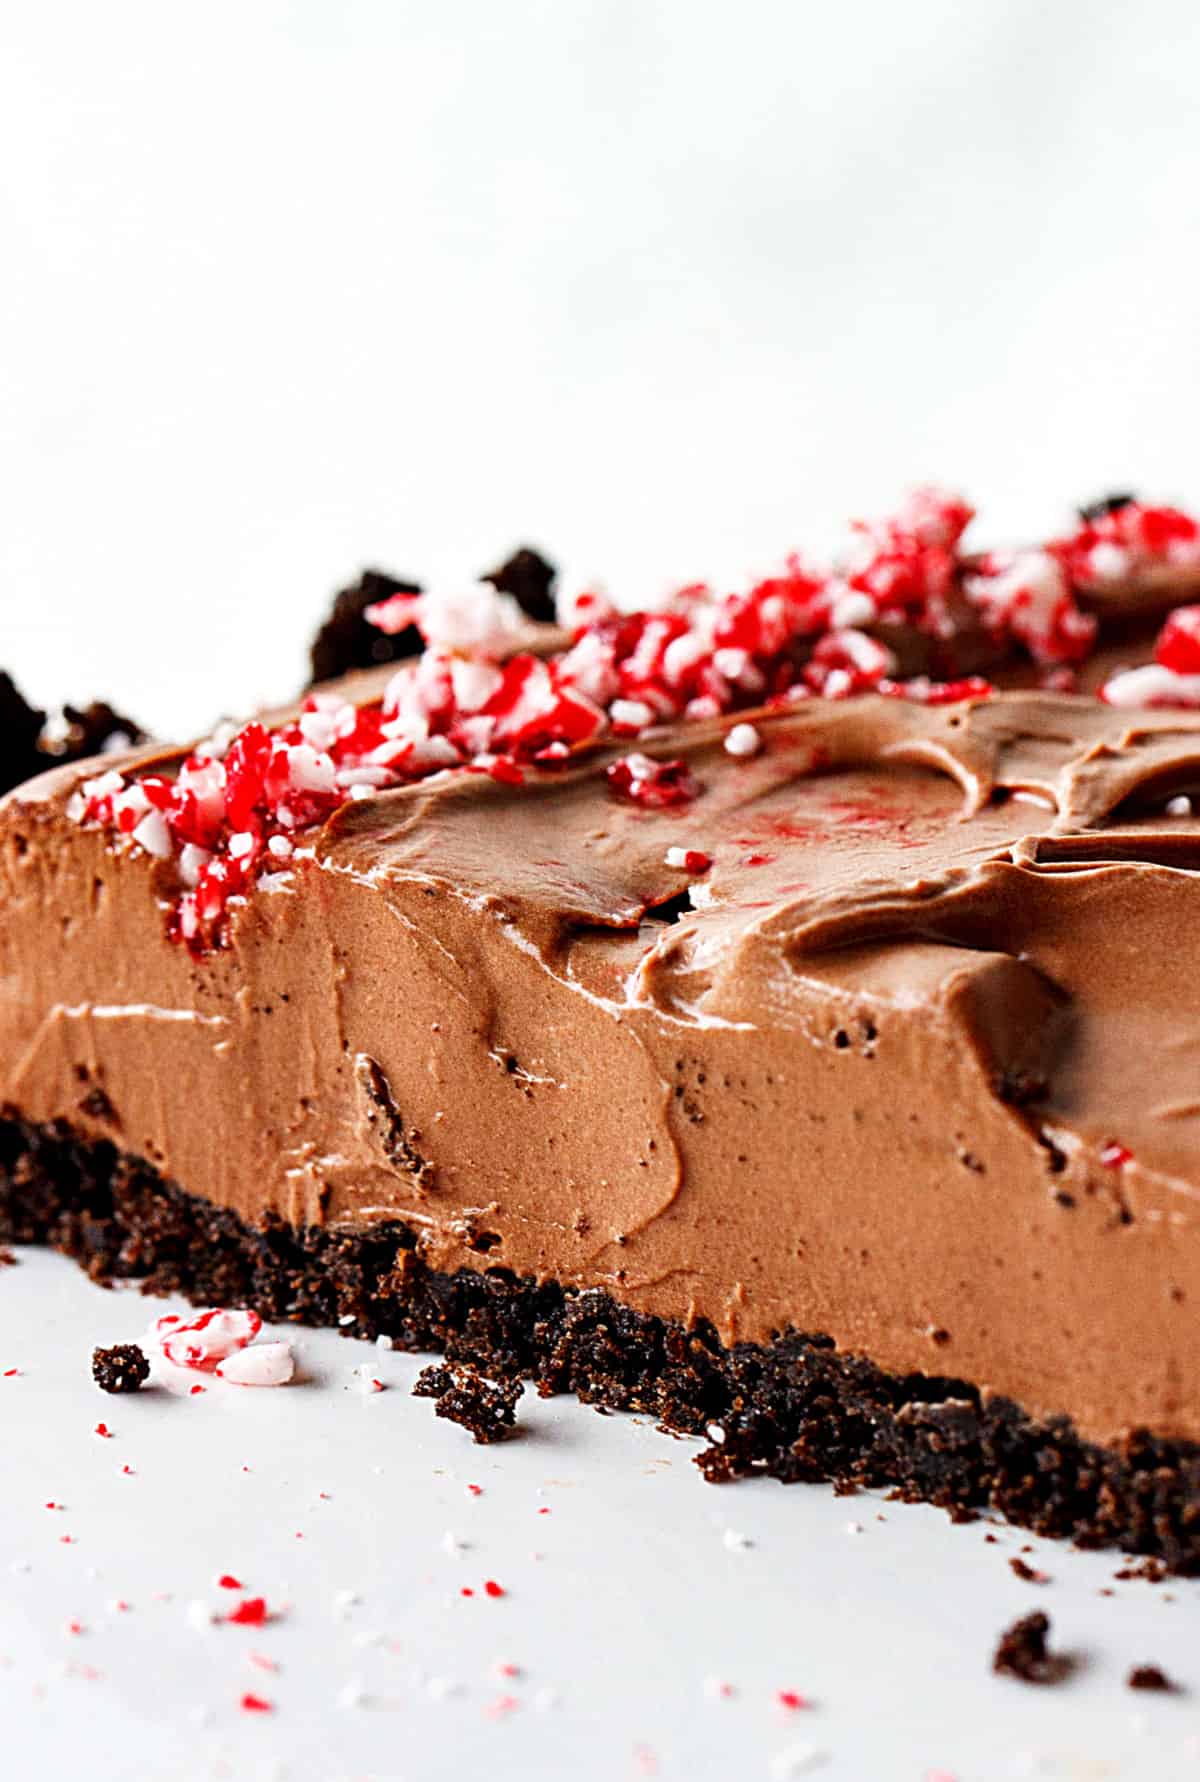
After the cream is added and the whole thing is whipped, a satiny, smooth, perfectly colored mixture emerges, wiping away all doubts. You just know it'll be a great dessert.
I sometimes wonder how we get to the end of a recipe with such a bad start.
Easy to make: besides the needed refrigeration, this is an easy dessert to put together! It can be made the same day you plan to eat it.
Flavor: the mint can be adjusted to your taste, and though semisweet chocolate is always a favorite, you can use bittersweet for a stronger flavor or mix in some milk chocolate for a sweeter pie.
Make ahead: it can be frozen for several weeks or kept in the refrigerator for a few days.
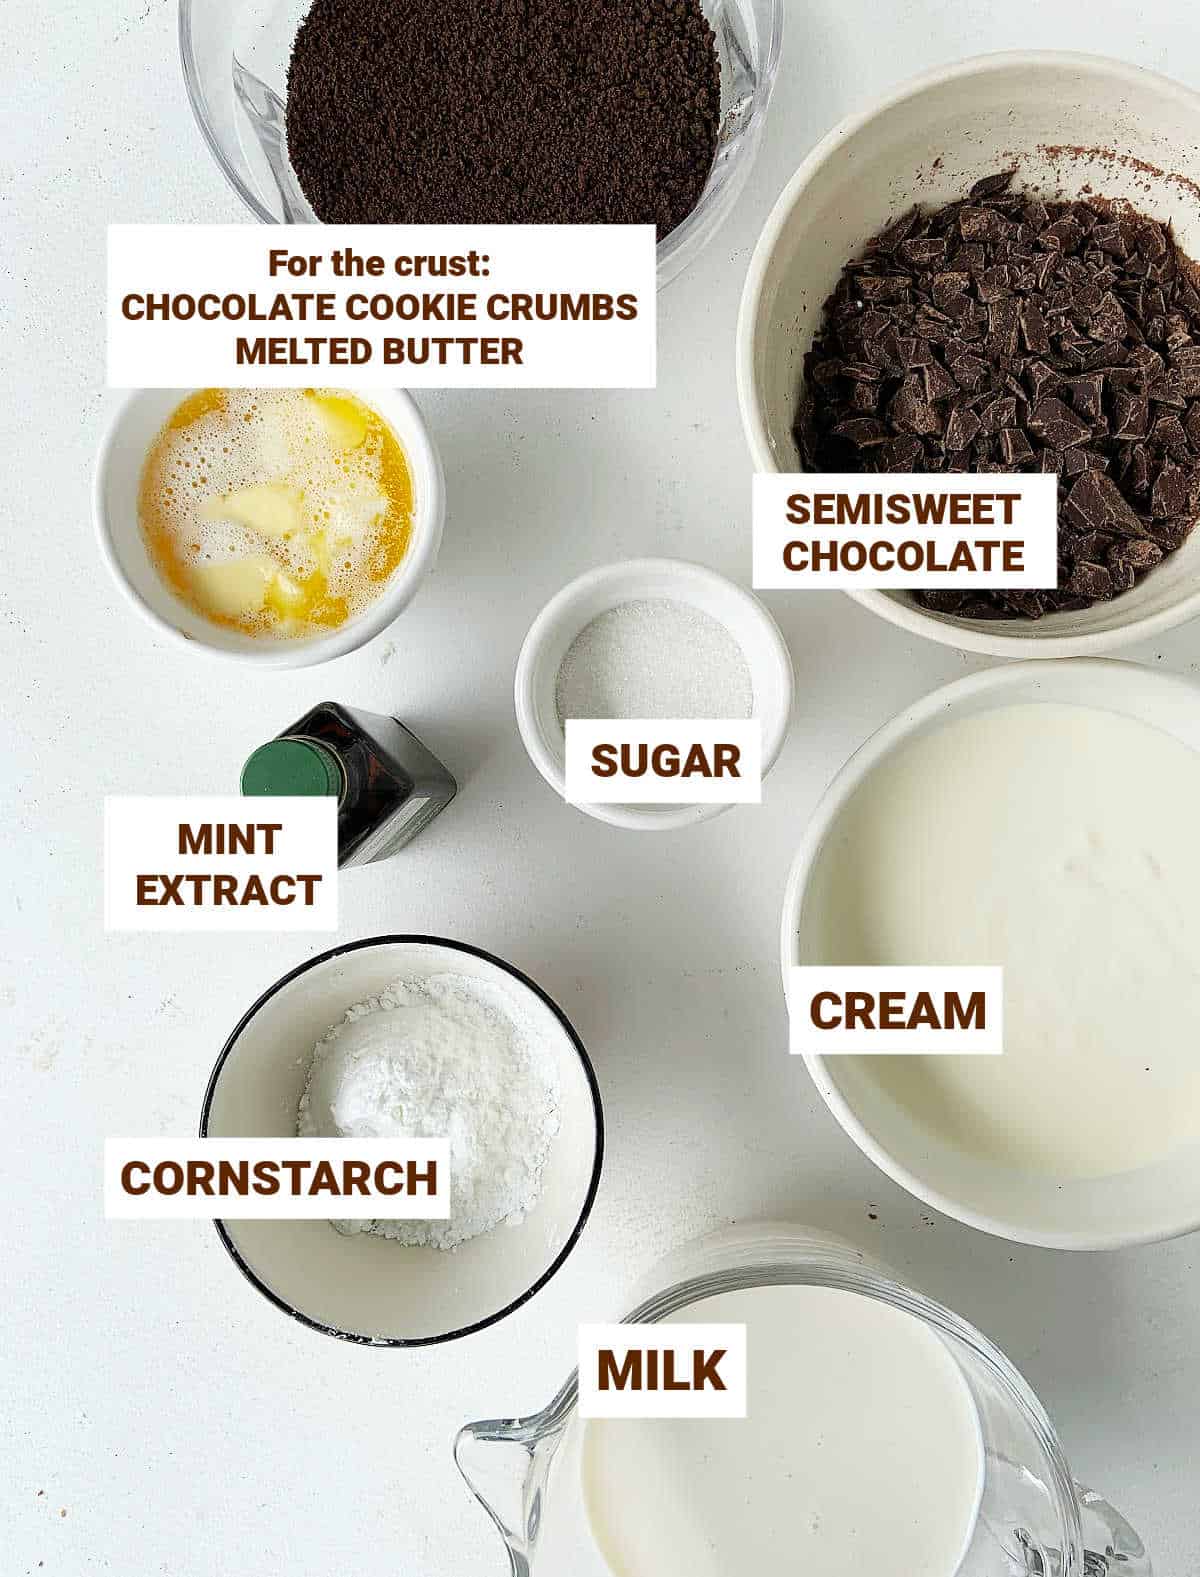
Ingredients
Quantities are listed in the recipe card towards the end of this post. The Ingredients page has more details and lists the brands we use.
- Chocolate: Use your favorite dark semisweet chocolate.
- Cream: heavy whipping, double or heavy cream is the best for achieving the desired texture and thickness. Single cream won't give you the same results.
- Cornstarch: It's used to thicken and create structure.
- Cookie crumbs: Use plain chocolate cookies, not stuffed or filled. You can also use a store-bought chocolate pie crust.
- Mint extract: You can use pure peppermint extract or a mint emulsion.
How to make a peppermint chocolate pie
The cookie crust
Crumb crusts are very easy to put together and can even be a no-bake if you mix the ingredients and pop the pan in the refrigerator to firm up completely.
I like to bake it for 10 minutes to make it sturdier since I remove it from the pan before serving it. I recommend this extra step.
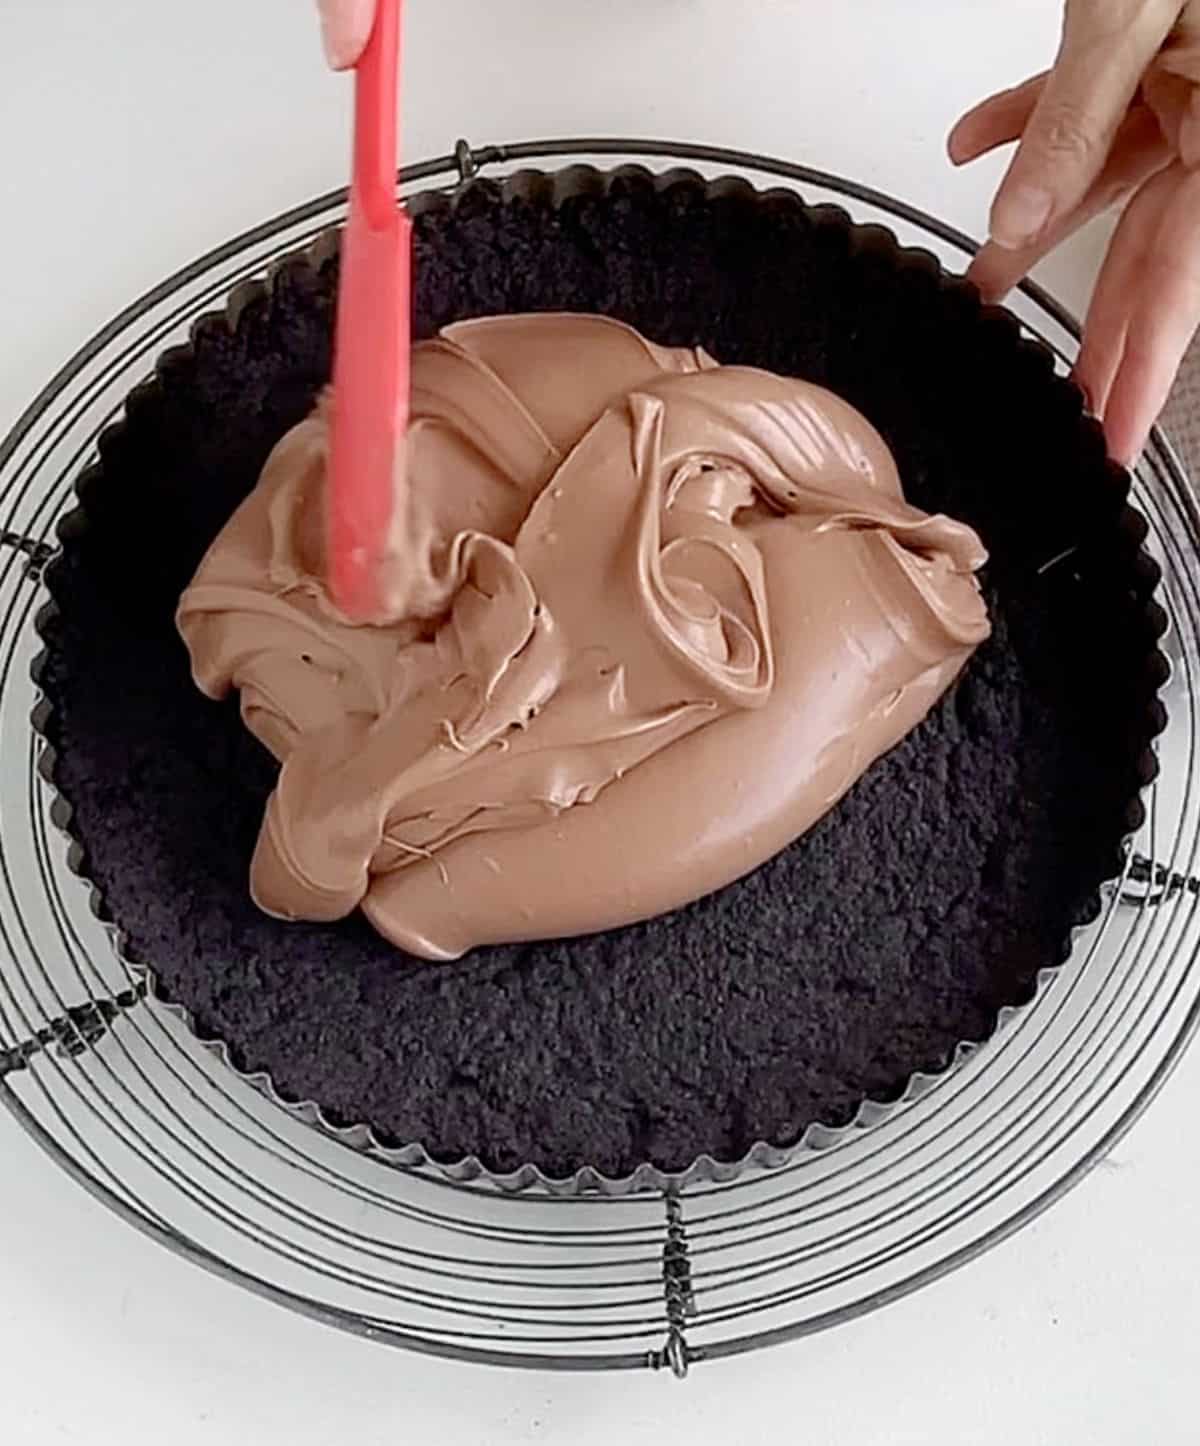
The filling
There are two parts: one is a stovetop pudding-like mixture that has to be chilled until cold before being whipped with cream to make the most luscious mousse.
Refrigeration time aside, it comes together quickly and is easy to make.

Kitchen notes
- Organization: Read the recipe first and ensure you have the ingredients at the correct temperature, equipment, and enough workspace. This will make the process so much easier.
- Storage: The mousse needs a few hours of chilling before serving to firm up. It should be served cold. Store leftovers in the refrigerator, covered, or in the freezer. Thaw at room temperature until you can cut it.
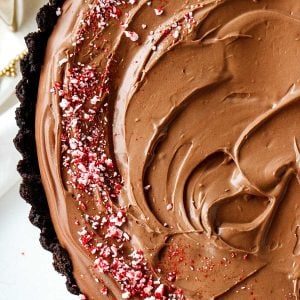
- Topping: In addition to the crushed candy cane, you can use shaved chocolate. You can certainly serve this pie with whipped cream. I personally think it's too much, as it will overpower the mousse, but that's me.
As an Amazon Associate, I earn from qualifying purchases. Read my disclosure policy.
Chocolate Peppermint Pie (easy mousse recipe)
Ingredients
For the cookie crust:
- 2 cups plain chocolate cookie crumbs
- 8 tablespoons unsalted butter, melted
For the chocolate filling:
- 4 tablespoons sugar
- 2 ½ tablespoons cornstarch
- 1 cup whole milk
- 5.5 ounces semisweet chocolate, chopped (if you use chips, make sure they melt well)
- ½ teaspoon peppermint extract
- 1 cup heavy or heavy whipping cream
- crushed candy canes, for decoration
Instructions
For the chocolate crust:
- Preheat oven to 350ºF (180°C).
- Mix 2 cups plain chocolate cookie crumbs with 8 tablespoons unsalted butter until it looks like wet sand. Place the mixture in a 9-inch pie pan with a removable bottom. Carefully press evenly against the bottom and sides of the pan.
- Bake for 10 minutes. Let cool on a wire rack completely.
For the mousse filling:
- Combine 4 tablespoons sugar and 2 ½ tablespoons cornstarch in a small saucepan.
- Add 1 cup whole milk, mix well until cornstarch is dissolved and cook on medium heat until the mixture reaches the boiling point. Stir frequently to avoid lumps. Boil for 1 minute, whisking constantly. It will thicken.
- Remove from heat and immediately add 5.5 ounces semisweet chocolate and ½ teaspoon peppermint extract. Combine well. The mixture will look like jello gone bad, don't worry.
- Cover with plastic wrap touching the surface and let cool to room temperature. You can speed this process by refrigerating it.
- Beat chocolate mixture a bit with an electric mixer until it starts to soften.
- Add 1 cup heavy or heavy whipping cream and slowly beat until smooth, about 3 minutes.
- Pour the filling into the prepared crust and spread evenly. Refrigerate until ready to serve, at least 2 hours.
- Sprinkle with crushed candy canes right before serving.
Lauren Visser says
I made this for our famalies Christmas dessert and everyone loved it
Jenica says
This feels like a silly question, but can any pie recipes be made in a tart pan instead?
Paula Montenegro says
Hi Jenica, for this recipe you can, but not always. It depends on the amount of filling as tart pans are shallower than pie dishes.
angiesrecipes says
That chocolate mousse filling looks so silky and wonderful!
Karen (Back Road Journal) says
Thank goodness you didn't have a fire! You sound like you have been eating deliciously. Thanks for sharing this chocolate lovely.
Nancy @ gottagetbaked says
lol thank God you had the surgical steel pans! If that happened to me with my ordinary flimsy steel, my place would've caught on fire! I am ALWAYS forgetting something in the kitchen. If I don't put my timer on, I totally walk away, start doing something else, then run panicked to my oven when I realized I left a sheet of cookies or a pan of cake, praying it's not burnt. This pie looks so luscious and dreamy. And congrats on the recognition - you deserve it!
Laura says
Yum. I want this now.
Lisa Crunkhorn says
This is making me crazy, Paula. A chocolate mint mousse pie? Can I come over for a giant slice? I'm seriously salivating here! Pinned.
And a HUGE congrats on the features too. You deserve them, well done! 🙂 And the pan, yikes!
-Lisa.
Sweet 2 Eat Baking
e / dig in says
i live in fear of burning my house down, ever since i walked away from some stewing fruit and came back to a smouldering tar-y mess. i was going to throw the pot away (it wasn't an expensive one) and my parents, who hate waste, took it from me - i think dad sanded away the yuck with a power tool!!! so i am extra paranoid now.
i've never made a chocolate mousse pie; that looks so decadent but the recipe instructions seem so easy!
Renee Dobbs says
So lucky you only had to deal with a smoke filled house and the pan. When I was a kid, my dad went outside and forgot to turn off a pan with grease on the stove and caught the kitchen on fire.
Beautiful tart and sounds so nice and creamy. A treat for chocolate and mint lovers.
Lizzy Do says
I'm so glad I'm not the only one who has those kitchen moments! Just glad there wasn't any worse damage. Your pie is stunning...and it would certainly be popular with my kids. Pinning to save!
Caroline - All That I'm Eating says
This looks so good, I could just do with a slice!
yummychunklet says
Ooh, this chocolate mint pie sounds delicious. Almost like a grasshopper pie!
cakewhiz says
omg! chocolate overload....my favorite type of overload 😀
this looks divine Paula!
Medeja says
oh this pie looks chocolate and good!
surgical steel pans? how much does it cost..I have a feeling that they wouldnt be easy and cheap to get 😀