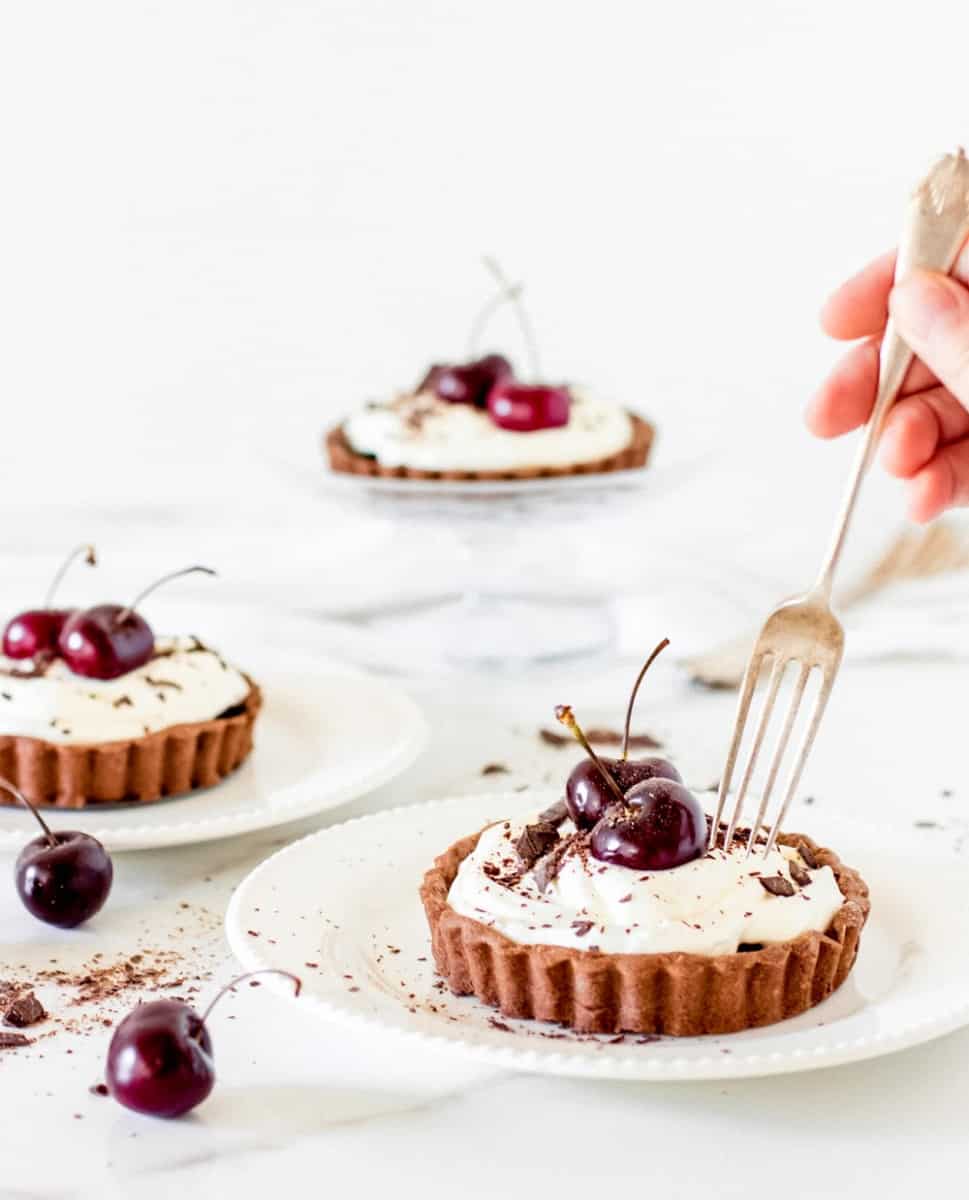
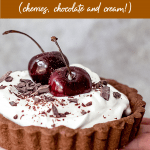
A twist on the black forest cake, these tarts have the perfect chocolate crust, a layer of raspberry jam, sweet cherries, whipped cream and chocolate shards! Much easier to make than it looks, it is a sophisticated and simple dessert at the same time. And super delicious, of course!
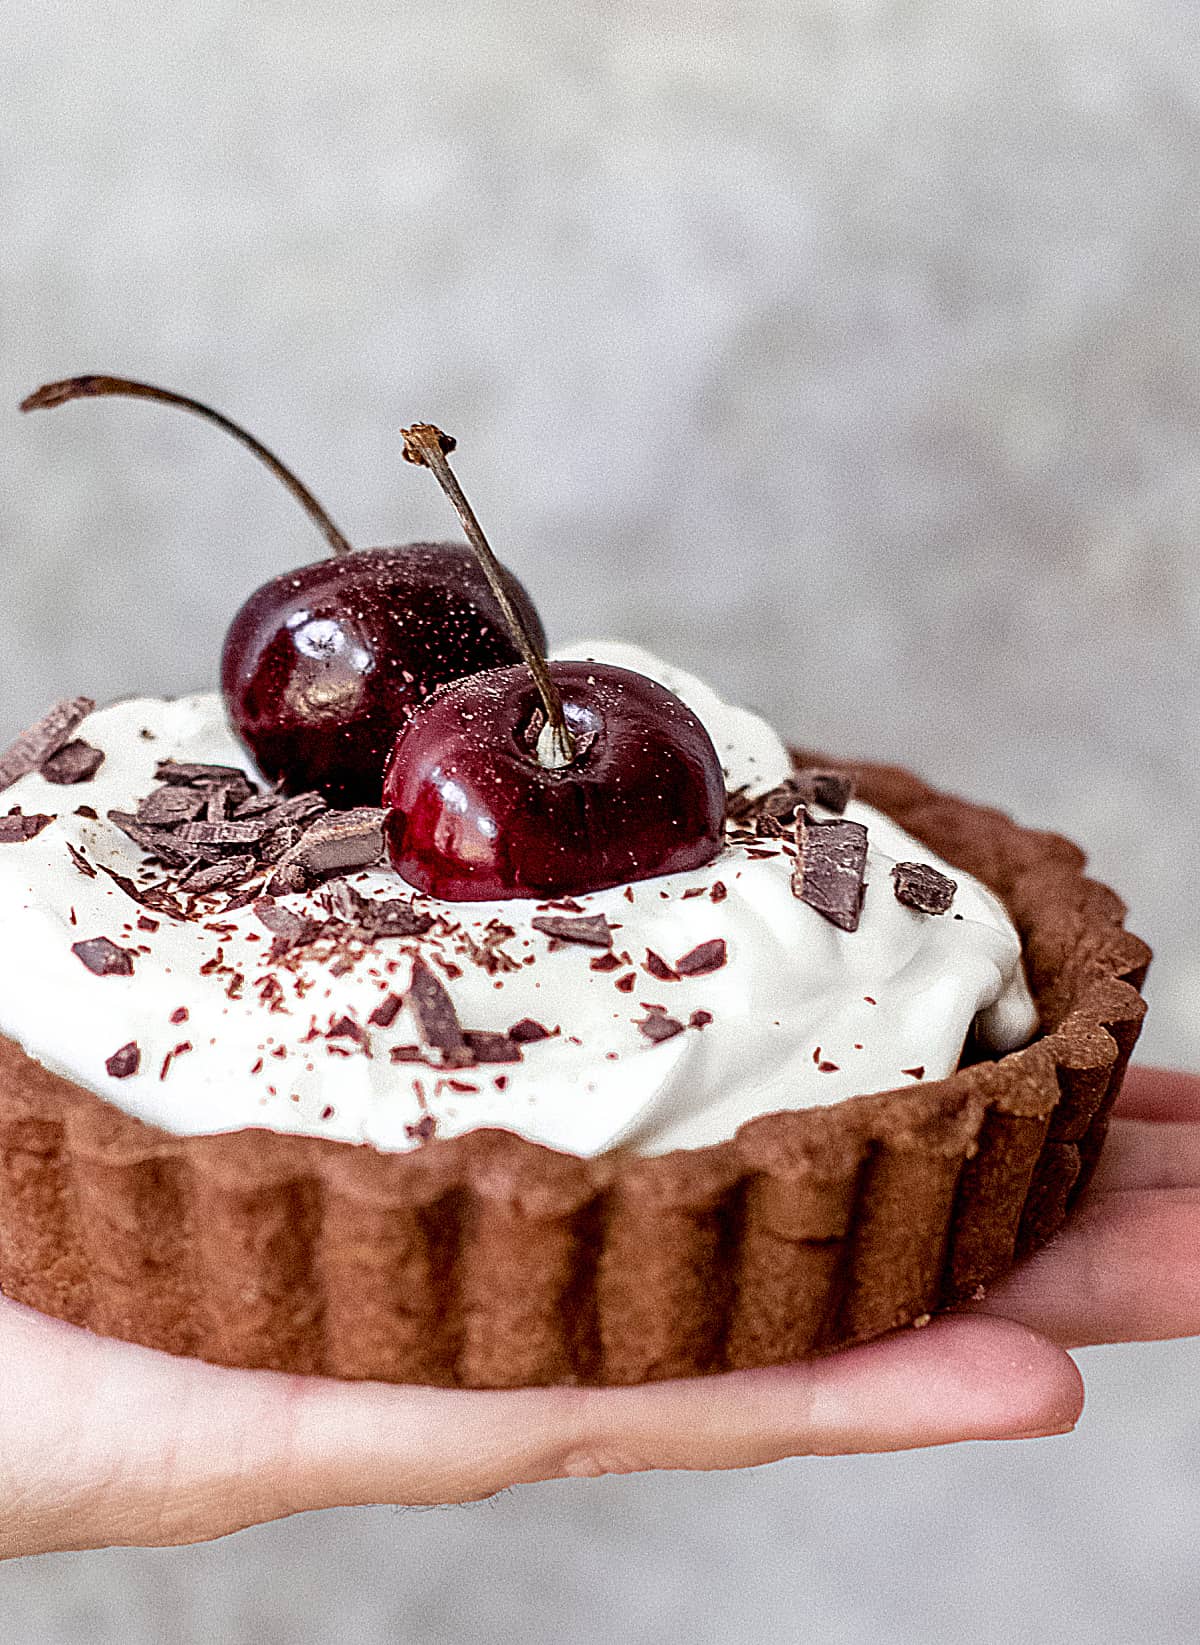
Chocolate, cherries and cream
I ate the black forest cake for the first time many, many years ago. It didn't spark any fireworks or lasting memories until I started making it on my own! There is a big difference when the cream is super fresh, the chocolate cake is moist and fudgy, and the cherries are fresh.
That's what this black forest tart is about. The best ingredients are piled together, and the result is a wonderful dessert.
It's perfect for a dinner party and Valentine's Day when chocolate and hearts are in full demand.
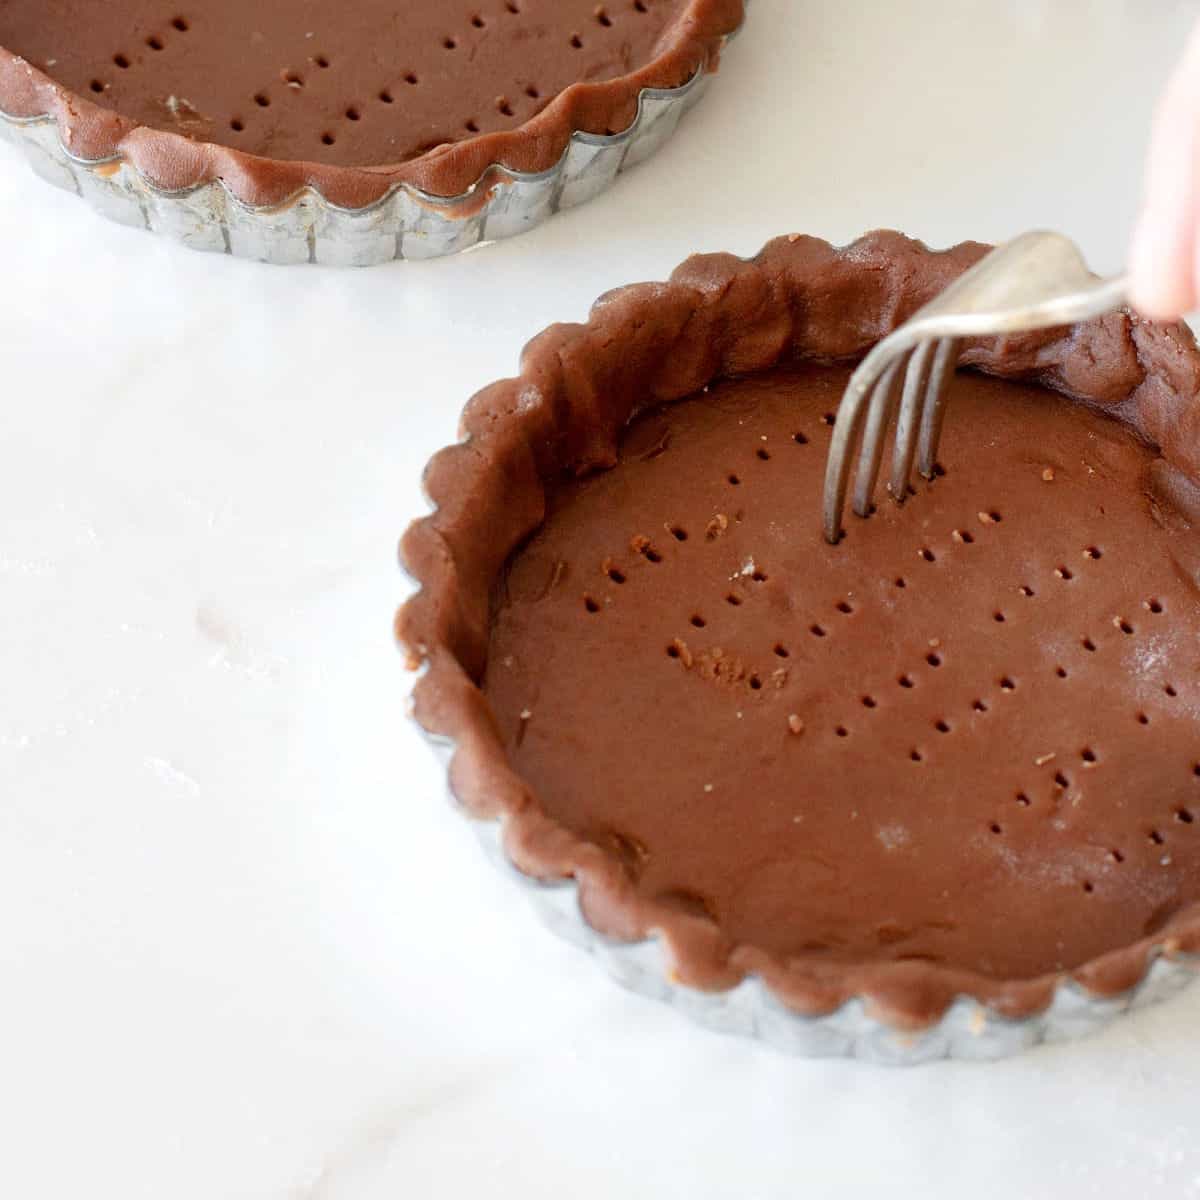
Chocolate pie crust
It took me a long time to achieve the type of chocolate dough I wanted: easy to make, flaky and with an intense but not astringent chocolate flavor. It was so worth the wait!
So, if you have the chocolate pie crust ready, the rest of this cherry tart is a snap to put together, I promise.
You can make individual tartlets or one big 9-inch black forest tart.
Crust alternative: you can use a chocolate cookie crust, as I do for cheesecake sometimes. It's simpler and quicker to put together. Simply chill it until firm or bake it for 10 minutes at 325°F/170°C.
Vintage Kitchen Tip
Use individual tart pans with removable bottoms. If you can't and use ones without, make sure you remove the tart shells from the molds before filling them! Otherwise, it'll be very hard to.
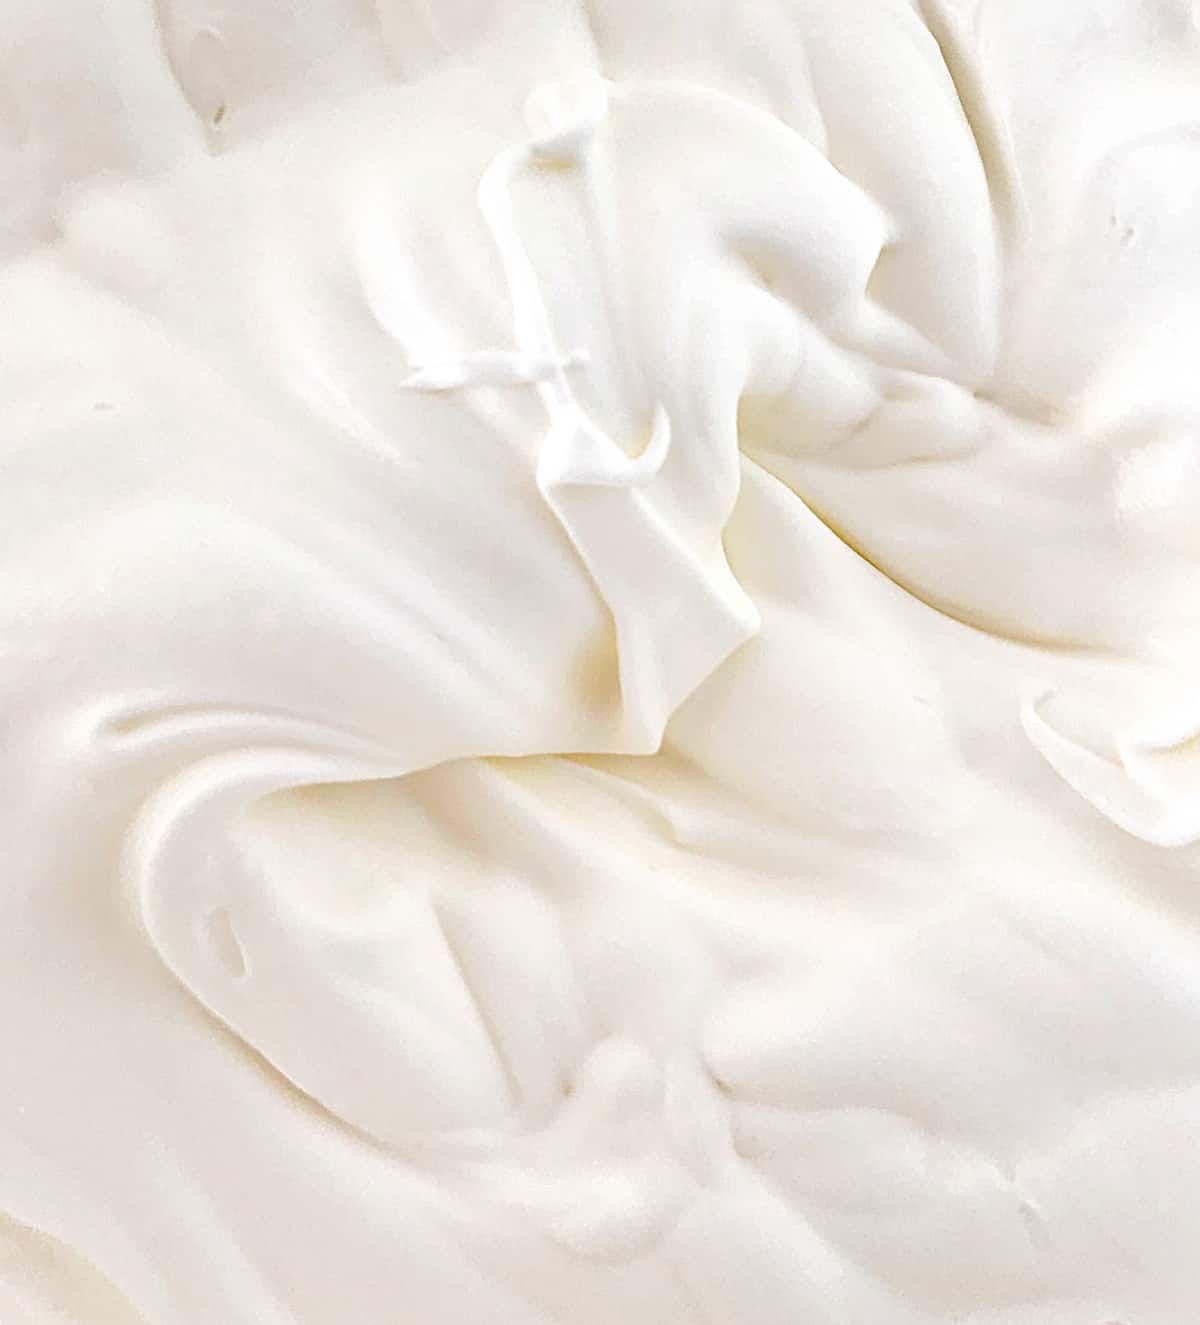
Whipped cream
It's a crucial component of this recipe.
Choose heavy or double cream that is fresh and good for whipping. I know that sounds obvious, but dairy products vary in the percentage of water content, among other things. In my experience, the more water, the less they hold and the easier they curdle.
I never use light creams for this type of topping as they don't have the right consistency or flavor. But if you like it and are familiar with it you can use it.
More stable topping
I always add a few tablespoons of cream cheese to the cream before whipping. It's optional, but it gives the cream more structure and helps it hold better for a few days.
Assembling the tarts
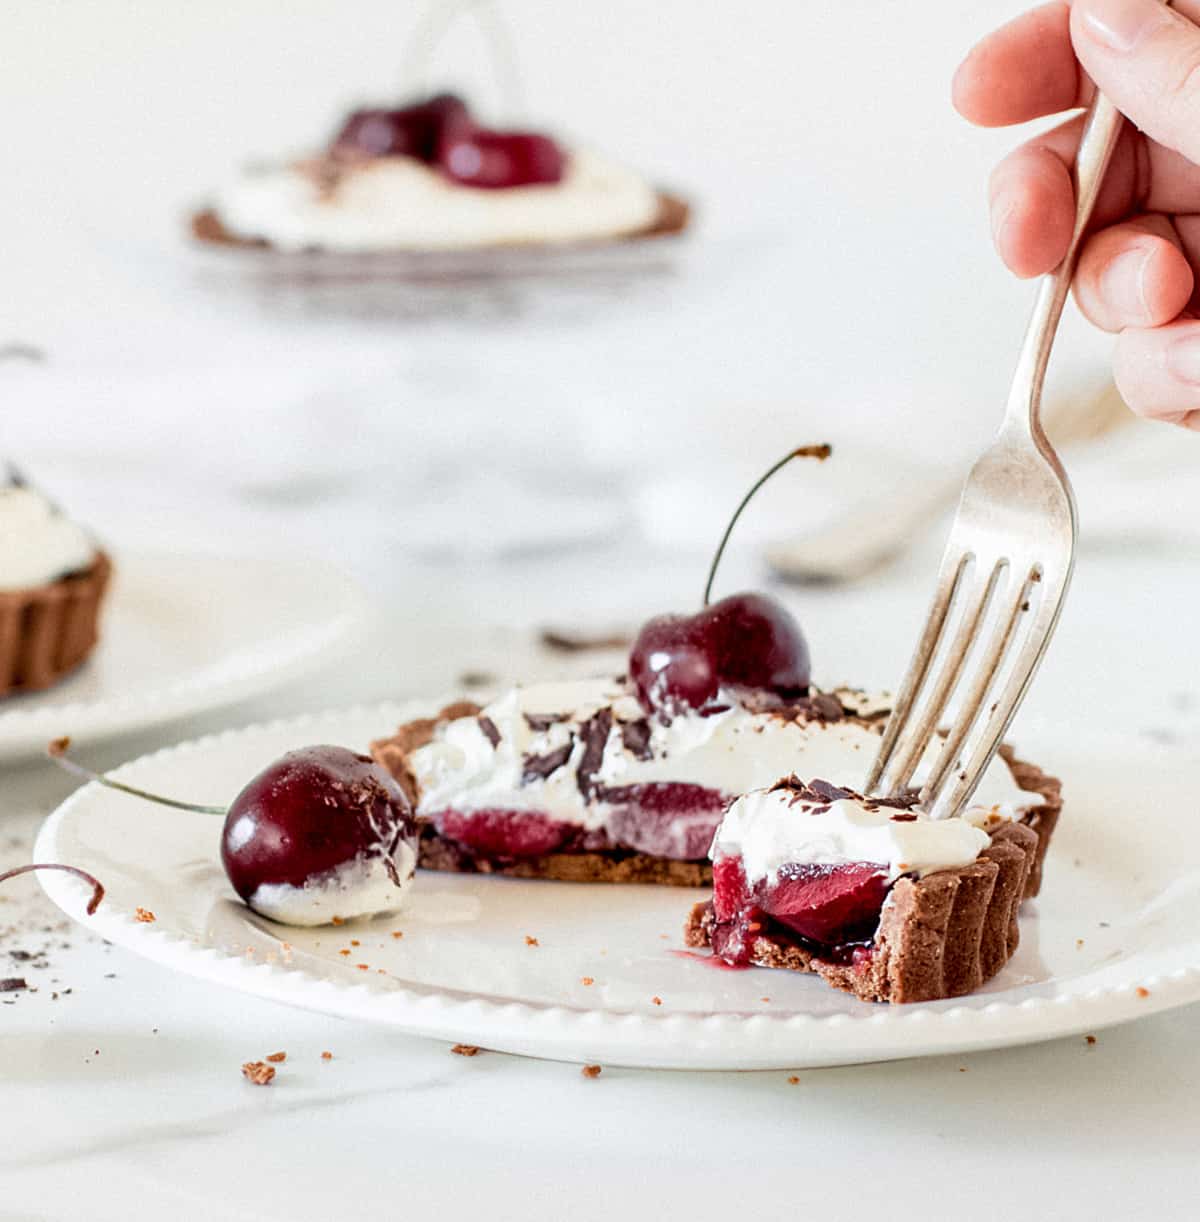
Putting these individual pies together is very easy after you make and bake the tart shells.
- Raspberry jam: Choose a good brand with a definite raspberry flavor. It's so much better if you make your own!
- Cherries: I use fresh cherries, pitted and halved. You can also use frozen ones that have been defrosted. They will be soft and somehow wilted, but they go under the cream, so it's not much of a deal. Make sure they are not watery, as they will make the crust soggy. You can also use canned cherries (well-drained) if that's all you can find.
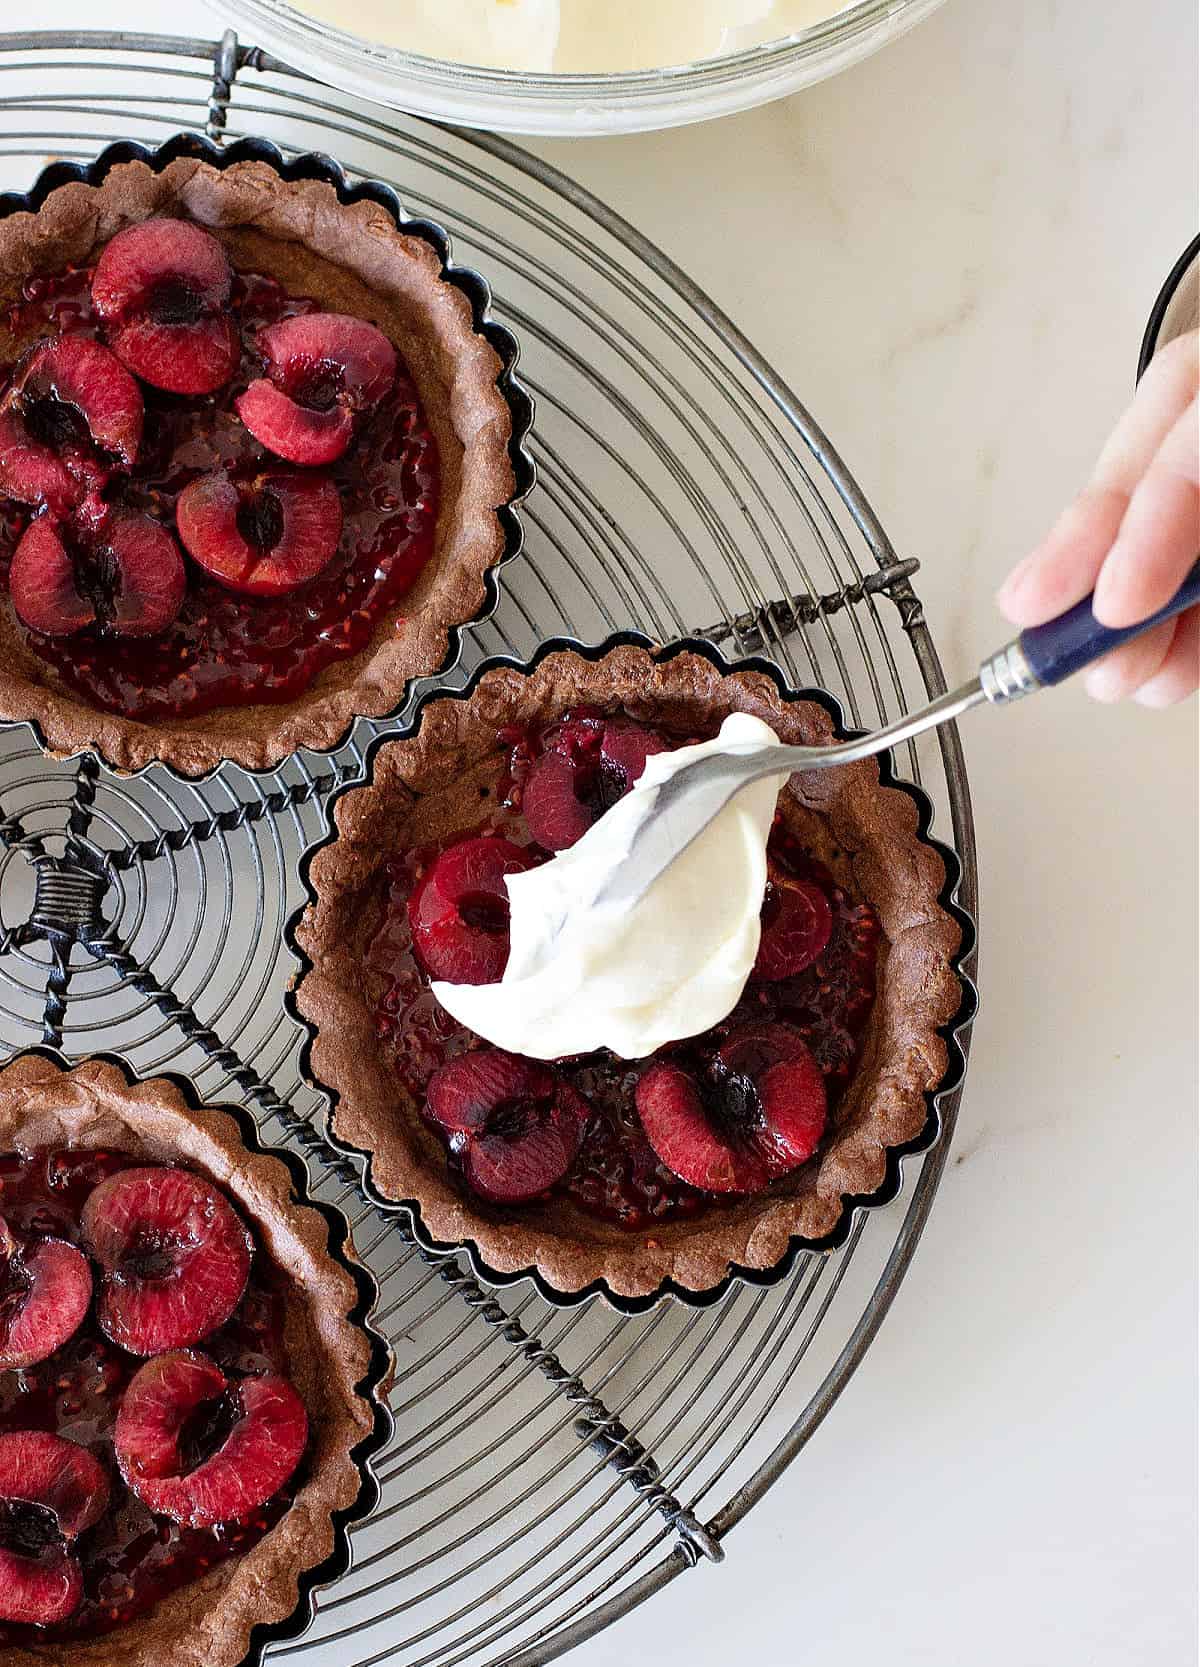
Finishing touches
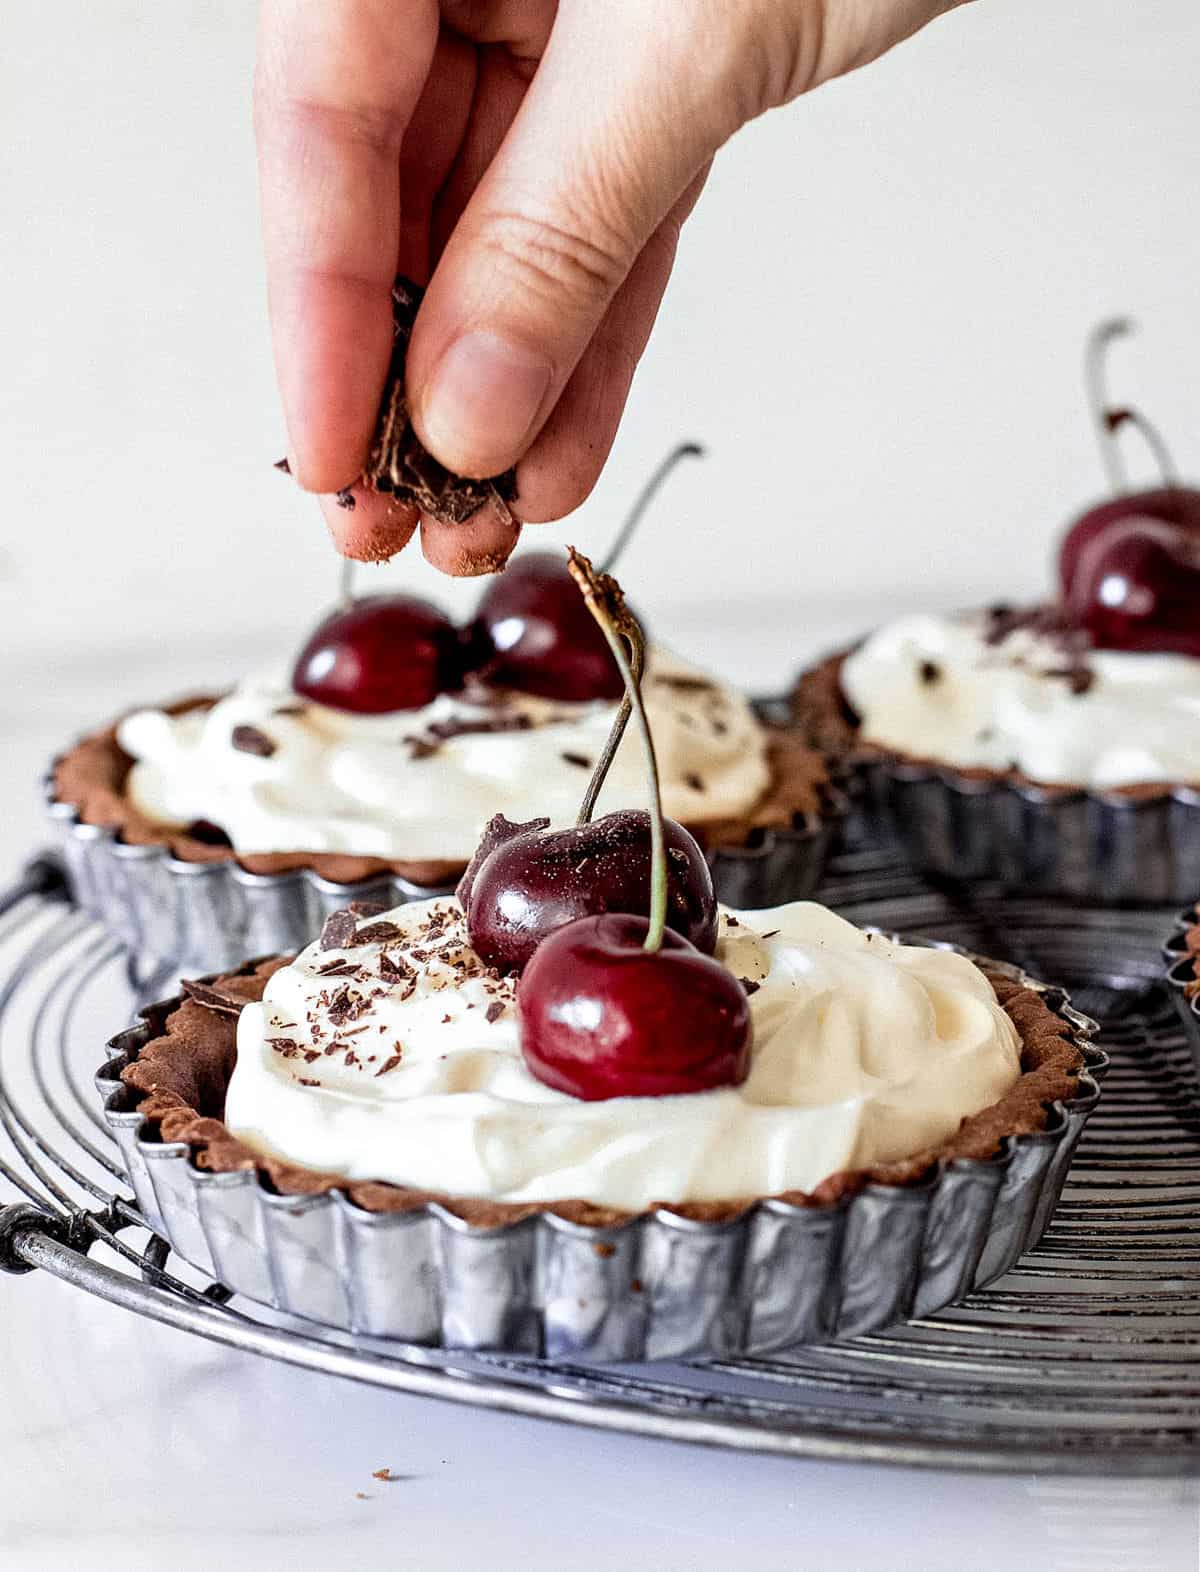
I like to add some chocolate shards or grated semisweet chocolate and add some fresh whole cherries.
Other ways to finish them are to add white chocolate shavings or a dusting of cocoa powder.
Kitchen Notes
- Organization: read the recipe first and ensure you have ingredients at the correct temperature, utensils and equipment needed, and enough workspace. This will make the process so much easier.
- Baking time: consider that all ovens and pans are different, even if they look similar. The baking time in my recipes is as accurate as possible, but it might take you more or less time. You can use a thermometer (like the OXO oven thermometer) to check that your oven is at the right temperature. I recommend tracking how your oven works and what tiny details you might need to adjust.
- Make ahead tart shells: you can bake them up to 2 days before and keep them in an airtight container. Or have the tart pans lined with the dough, prick them with a fork and freeze for several days before baking them. Bake them for enough time to cool completely before assembling the dessert.
- The whipped cream can be kept refrigerated and covered for a day before assembly. The cream thickens when refrigerated, so take that into account if making it ahead of time and don't whip it too stiff.
- Chocolate ganache: add a thin layer before the whipped cream for a deeper chocolate flavor.
- Variations: use a liquor, like maraschino or cassis, to flavor the cream or to mix into the jam. Add a little ground cinnamon to the dough or almond extract to the jam for a different flavor profile.
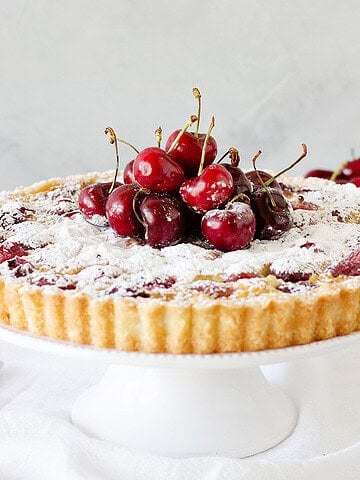
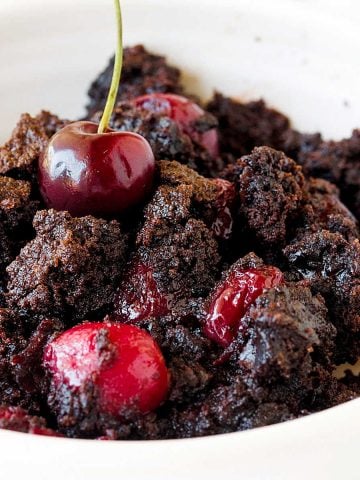
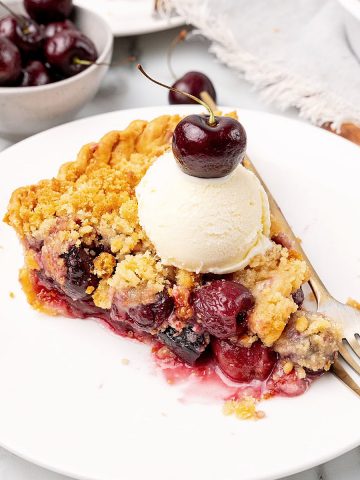
Related recipes you might like:
One last thing
If you made this recipe and loved it, you can comment below and leave a five-star ⭐️ review. Also, if you had issues, let me know so we can troubleshoot together. I appreciate honest feedback and suggestions.
You can also subscribe to our FREE email series 'Baking the Best' and our regular newsletter. Or follow and save my recipes on Pinterest.
As an Amazon Associate, I earn from qualifying purchases. Read my disclosure policy.
Black Forest Tarts (chocolate cherry)
Ingredients
For the chocolate crust:
- 1 ¼ cups all-purpose flour
- 2 tablespoons unsweetened cocoa powder
- pinch of salt
- ⅓ cup powdered sugar
- ½ cup unsalted butter, cold and in small pieces
- 1 egg yolk
- ½ teaspoon vanilla extract
- ice water, see Notes below
For the filling:
- 8 tablespoons raspberry jam
- 2 to 3 cups fresh cherries, pitted and cut in half or fourths
For the whipped cream:
- 1 ½ cups heavy cream
- 2 tablespoons sour cream or cream cheese
- 3 to 4 tablespoons powdered sugar
For decoration:
- whole cherries
- chocolate shavings
Instructions
For the chocolate pie crust:
- In the food processor: Place 1 ¼ cups all-purpose flour, 2 tablespoons unsweetened cocoa powder, pinch of salt and ⅓ cup powdered sugar in the bowl and pulse a few times to combine. Add ½ cup unsalted butter, cold and in cubes, and pulse a few times to mix. The butter should be roughly the size of peas.
- Add 1 egg yolk and ½ teaspoon vanilla extract, if using, and pulse a few times until the mixture moistens. Be careful not to start forming a ball of dough.
- By hand: stir 1 ¼ cups all-purpose flour, 2 tablespoons unsweetened cocoa powder, pinch of salt and ⅓ cup powdered sugar in a large bowl until combined. Scatter ½ cup unsalted butter cubes on top. Use your hands or a pastry cutter to incorporate them into the flour until the butter is the size of peas.
- Add 1 egg yolk and ½ teaspoon vanilla extract, if using, and mix with a fork until moistened. The dough will be irregular and floury, as it's harder to incorporate evenly by hand.
- For both methods: dump the shaggy mass onto a counter or working surface. Use your hands to gently gather the dough into a pile and press it together with your palms, then fold it over on itself. You can use a dough scraper to help lift and fold it. At first, it will appear to never bind or come together properly. But it will. Keep turning it onto itself and using your until you have a ball of dough. The key is to use a gentle touch and avoid overworking the dough. You should still see some marbled bits of butter in the dough; this is what will make your crust flaky. If it's impossible to make a dough ball, drizzle a tablespoon of ice water on the dry mixture.
- Wrap it in a plastic or freezer bag and refrigerate for at least 1 hour.
- Roll and line 8 individual 4-inch tartlets or 1 large 9-inch pie. Prick the surface with a fork and freeze them for 10 minutes. For more detailed instructions, see the chocolate pie crust post.
- Preheat the oven to 350°F (180°C).
- Place pieces of aluminum foil (larger than the molds) over each tartlet and press down with ceramic pie weights or dry ingredients that don't burn, like chickpeas, rice or flour. Blind bake the crusts for 10-12 minutes, remove the weight, and continue baking for another 10 minutes or until dry and fully baked.
- Let them cool completely on a wire rack before removing and assembling.
To assemble:
- Have 2 to 3 cups fresh cherries pitted and cut in half.
- Remove the tart shells from the pans and put the tarts on a flat surface. Add 1 tablespoon raspberry jam to each one. Top with cherry halves.
- Top the fruit with the whipped cream. Refrigerate the finished tarts for half an hour before serving.
- End with a few whole cherries on top and chocolate shavings.
For the whipped cream:
- In a large bowl beat 1 ½ cups heavy cream with 2 tablespoons sour cream or cream cheese and 3 to 4 tablespoons powdered sugar. I like the cream to be thick but soft, so I beat it to medium peaks. But you can go all the way like chantilly cream and beat it to firm peaks.
- Be careful it doesn't curdle. This happens if it's overbeaten. You might want to beat it with an electric mixer until you're almost there and then end it by hand, with a whisk.



Juliana says
This are so cute! ❤️
Paula Montenegro says
Let me know how it turns out!
Sandhya Hariharan says
Your pictures are beautiful. This will be a delicious Valentines day treat!
Cindy says
THIS was a HUGE hit with my family!!! My kids LOVE black forest anything and these tarts were a HIT! They are already asking if we can make them again next weekend 🙂
Emily says
These are just so pretty. I absolutely love black forest cake so I can't wait to make these!
David says
Definitely an elegant recipe! Your clear step by step make it very approachable. Chocolate crust - wow, what a treat for chocolate lovers!
Angela Allison says
What a beautiful and delicious dessert! This would be perfect for Valentine's Day! Cherries and chocolate are a match made in heaven... yum!