
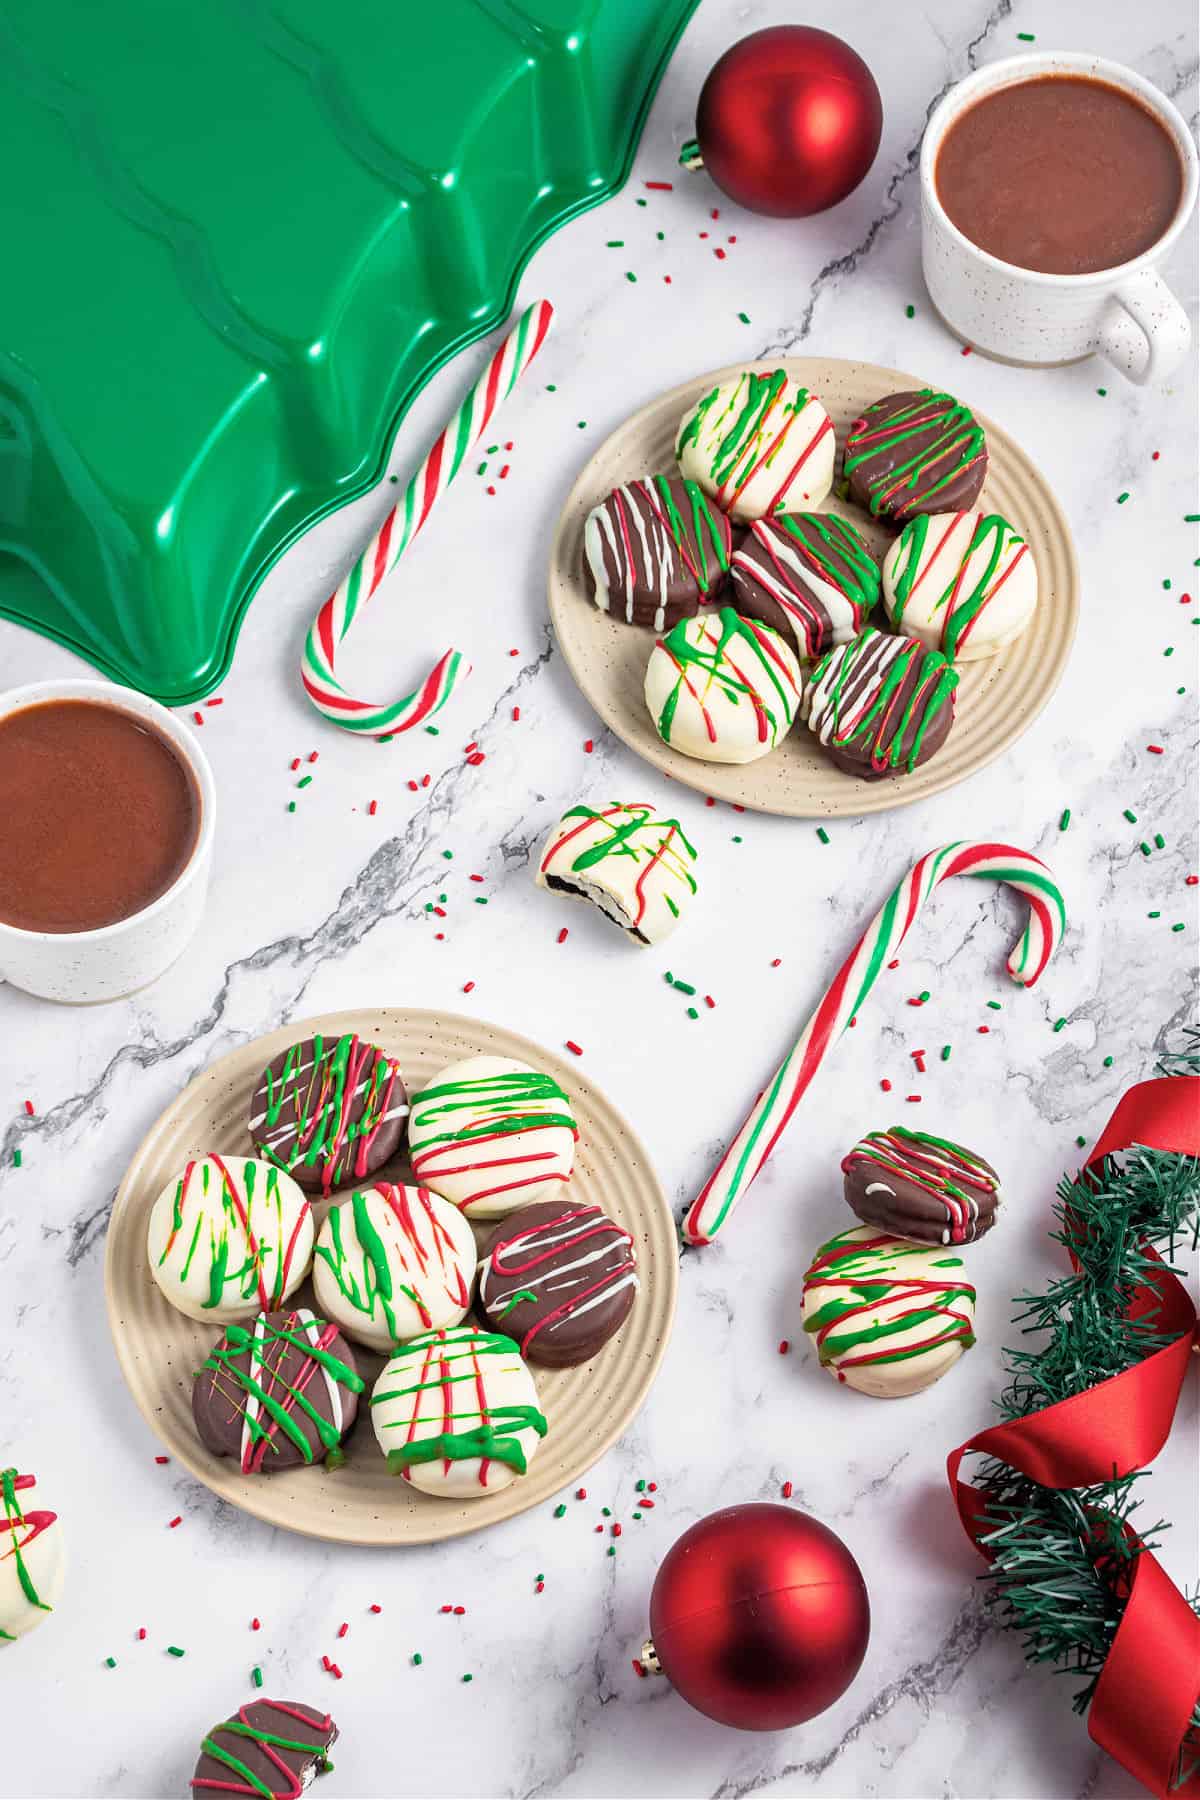
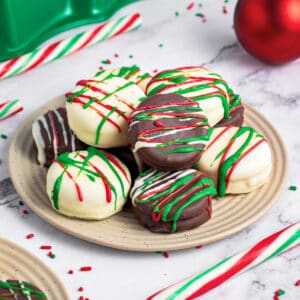
This is a quick Christmas idea: drizzle colored chocolate, sprinkles (or both) on chocolate-dipped Oreos. Even if you're new to chocolate coating, this post provides detailed instructions and images. If you need a shortcut, use store-bought covered Oreos.
SAVE THIS RECIPE
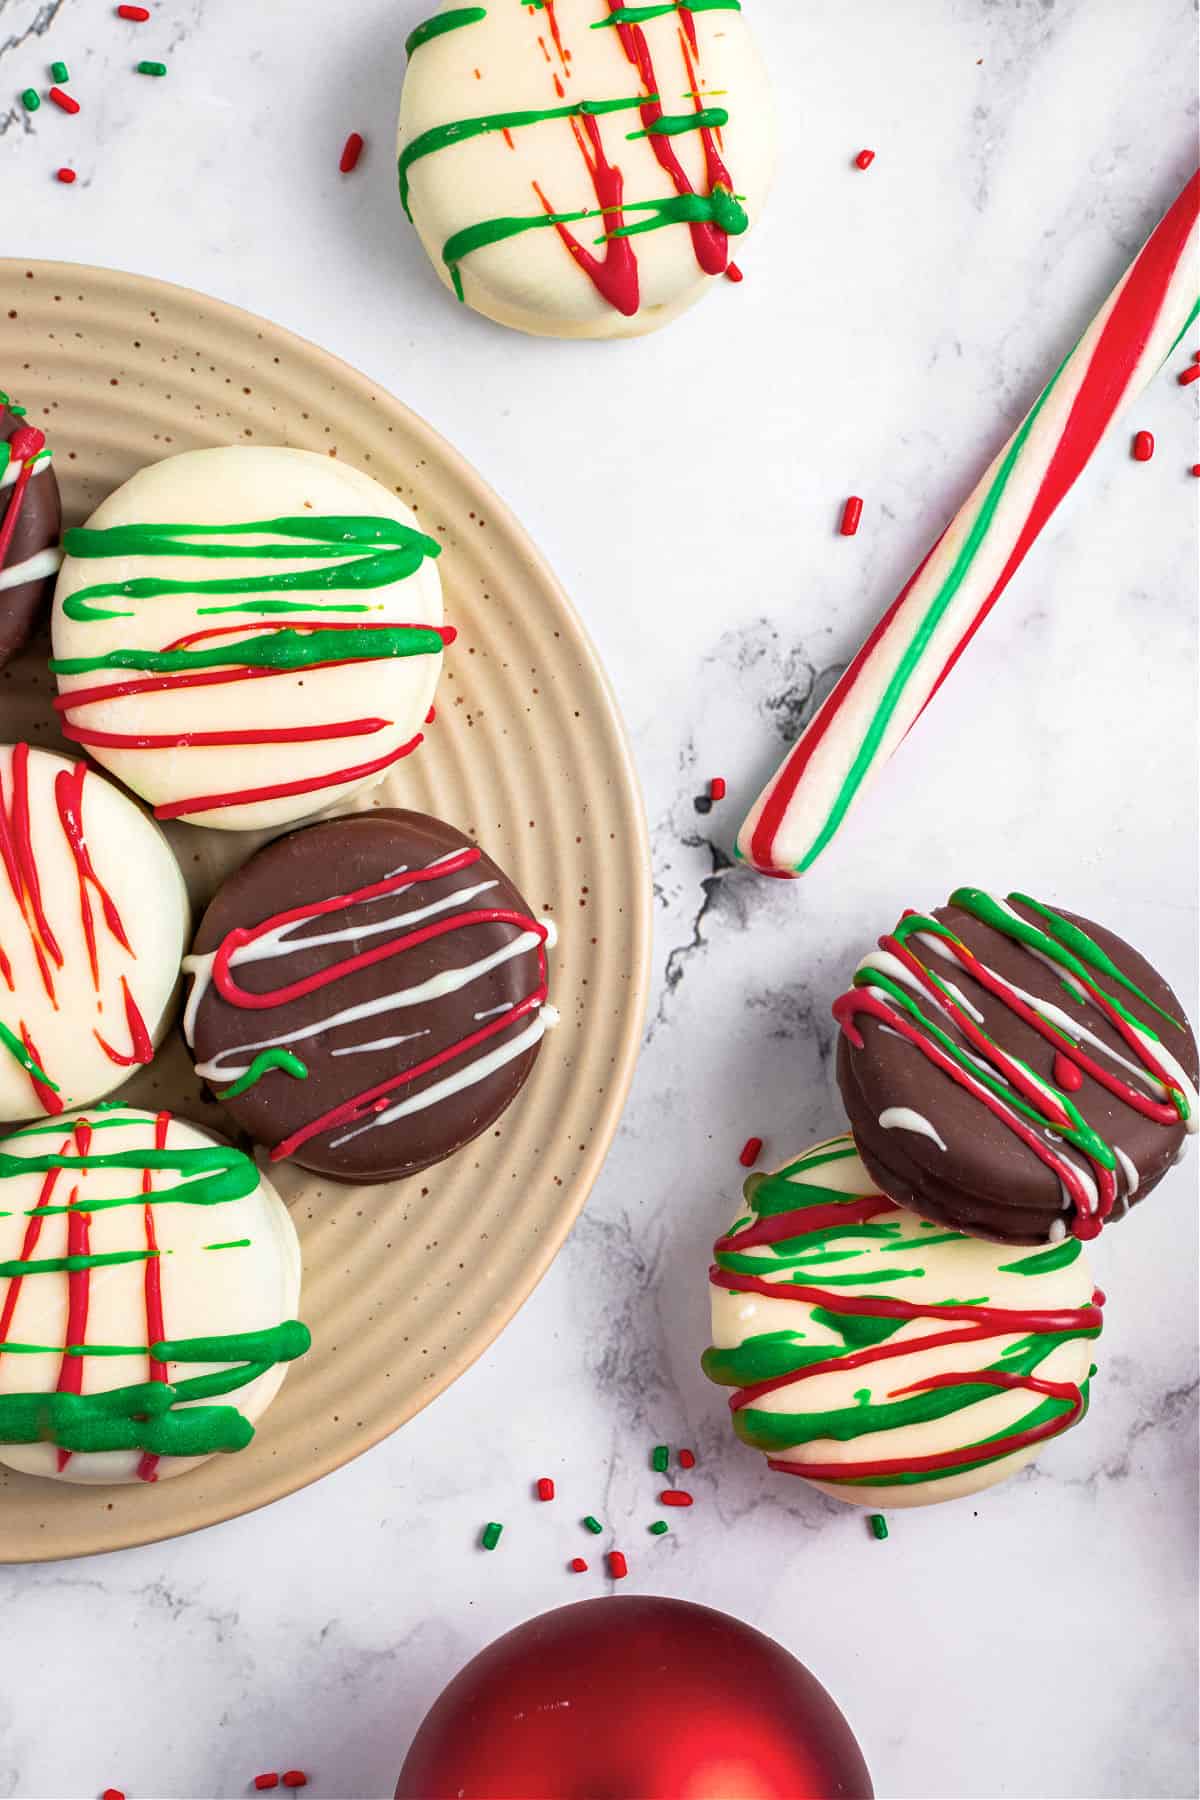
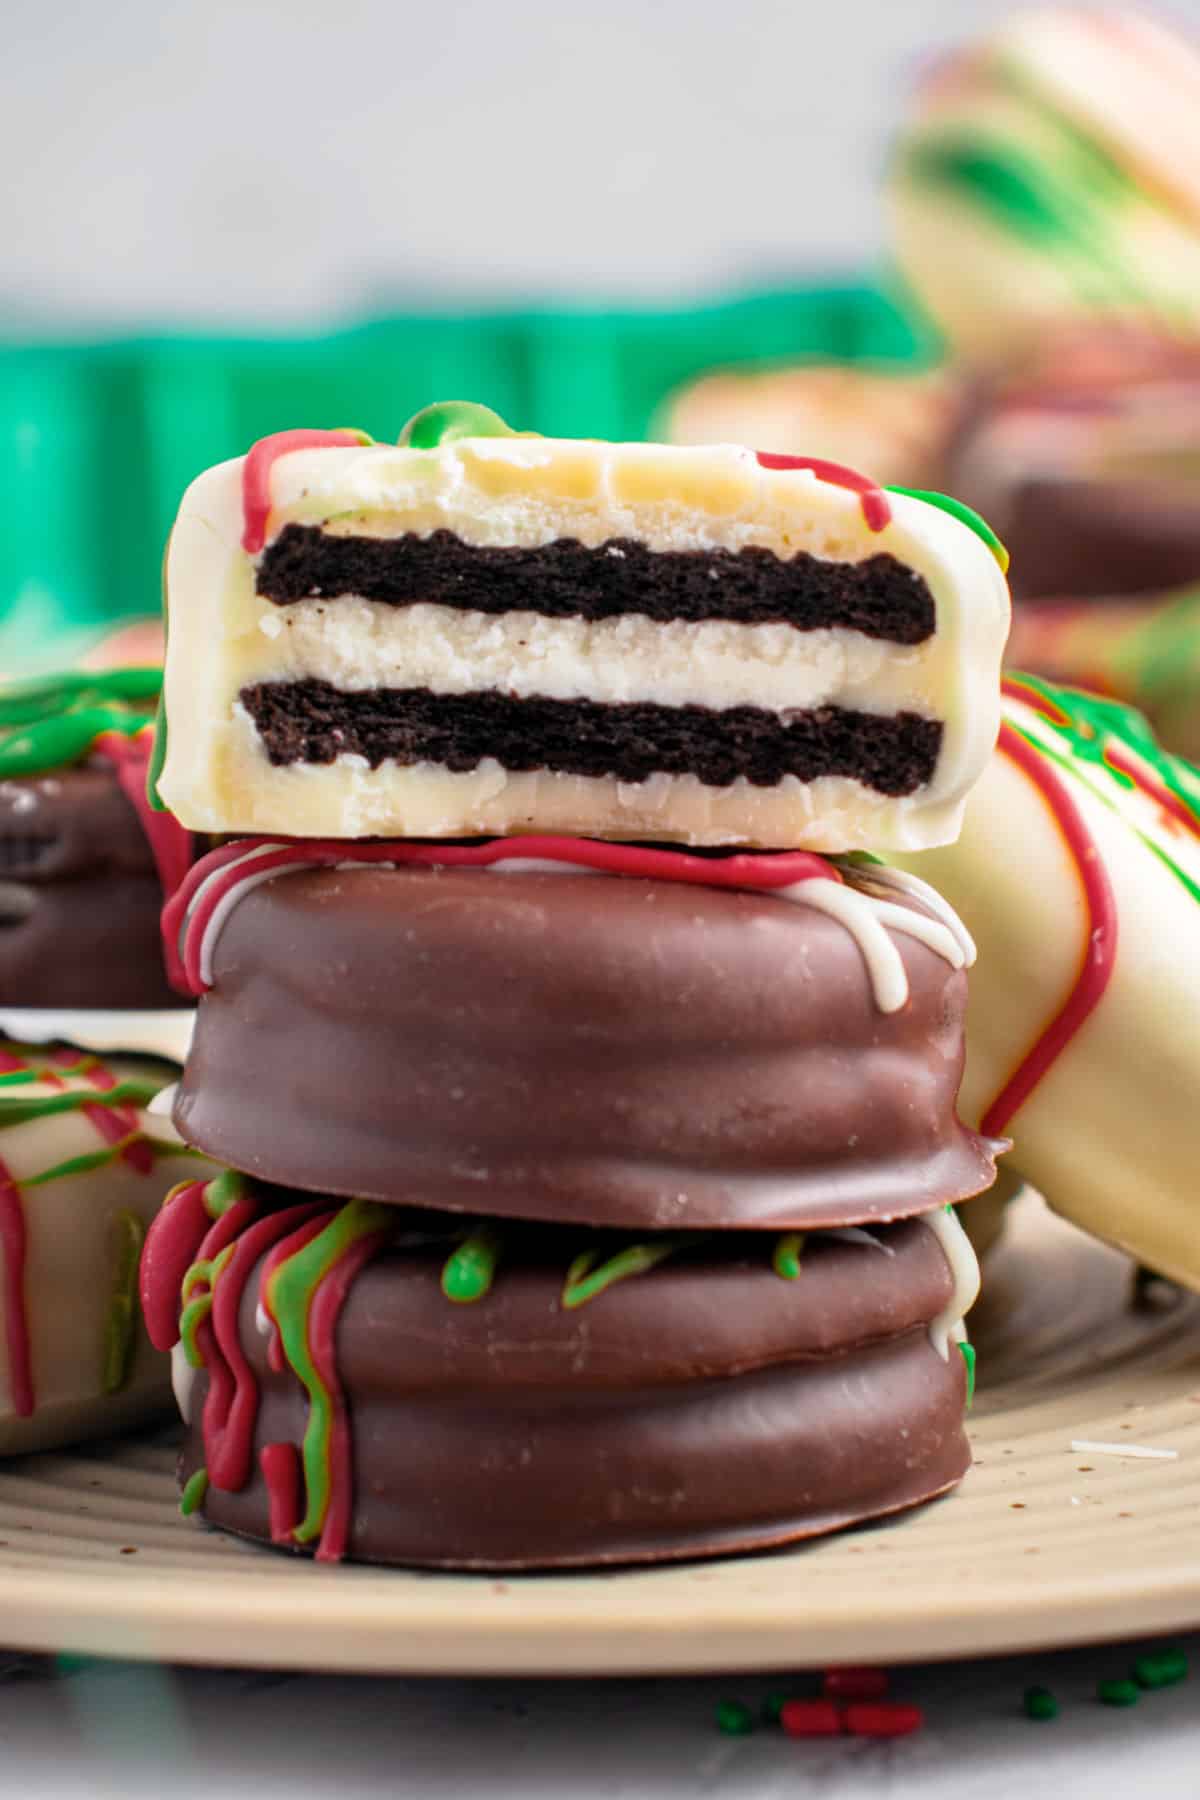
Festive Oreos
These cookies were a simple idea that came after making homemade chocolate-covered Oreos. You can use store-bought ones, of course, and it's a great option if you're short on time during the holiday season.
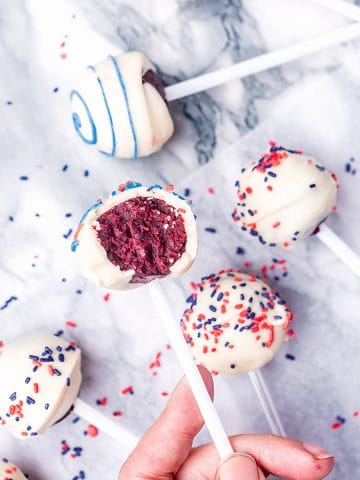
You can even attach lollipop sticks before coating and make amazing treats for the kids' table.
Who knew coating Oreo cookies in your favorite type of chocolate could be so simple and delicious? Similar to making chocolate Oreo truffles.
Use different-flavored cookies, such as mint, peanut butter, golden Oreos or any other.
Before the colored chocolate strands are set, sprinkle with chopped nuts, crushed candy canes or festive sprinkles.
- It's a no-bake recipe: it doesn't require an oven.
- Make ahead: they can be stored for several days in a cool, dry place.
- Perfect dessert and gift: their size is ideal for sharing at holiday parties, potlucks or as a homemade gift.
Steps to make Christmas Oreos
The technique is the same for both types of chocolate. I only show the dark chocolate process. Repeat the steps with white chocolate.
- Candy chocolate or chocolate wafers are easier to melt and mess up with. It gives a shiny finish with little effort, but the quality is inferior. I recommend this one for more inexperienced bakers.
- Couverture chocolate: is high quality and can be melted and used for dipping. The finish might not be as glossy. I use Callebaut with good results.
Melting chocolate
You can use the microwave (short 10-15-second spurts, stirring well between each one until it's fully melted) or a double boiler, with the bowl containing the chopped chocolate not touching the water. In both cases, make sure it doesn't scorch.
Coating
Melt the chocolate and let it stand until warm but fluid before dipping the cookies. If the temperature changes as you coat the cookies and the chocolate becomes too thick, warm it periodically.
Important: let excess chocolate drip before you place the covered cookie on parchment paper to dry.
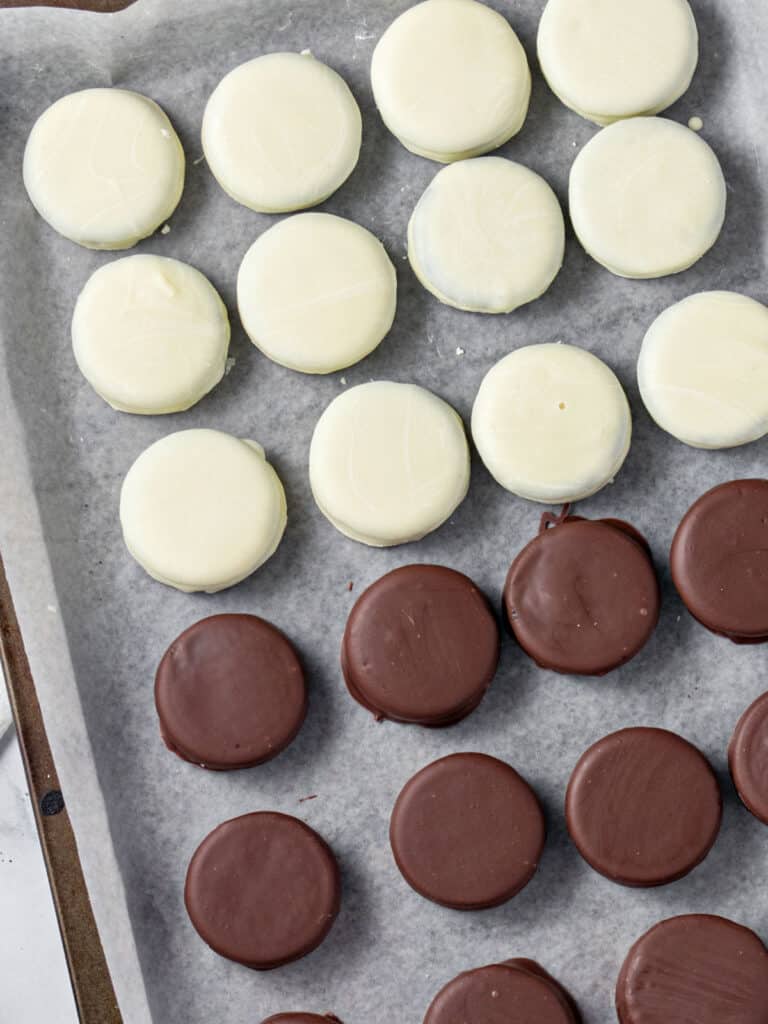
Drying
Don't use a wire rack to place the wet chocolate-covered cookies; removing them will be messy, trust me.
Use parchment paper or a silicon mat until they're dried, then transfer to a clean paper.
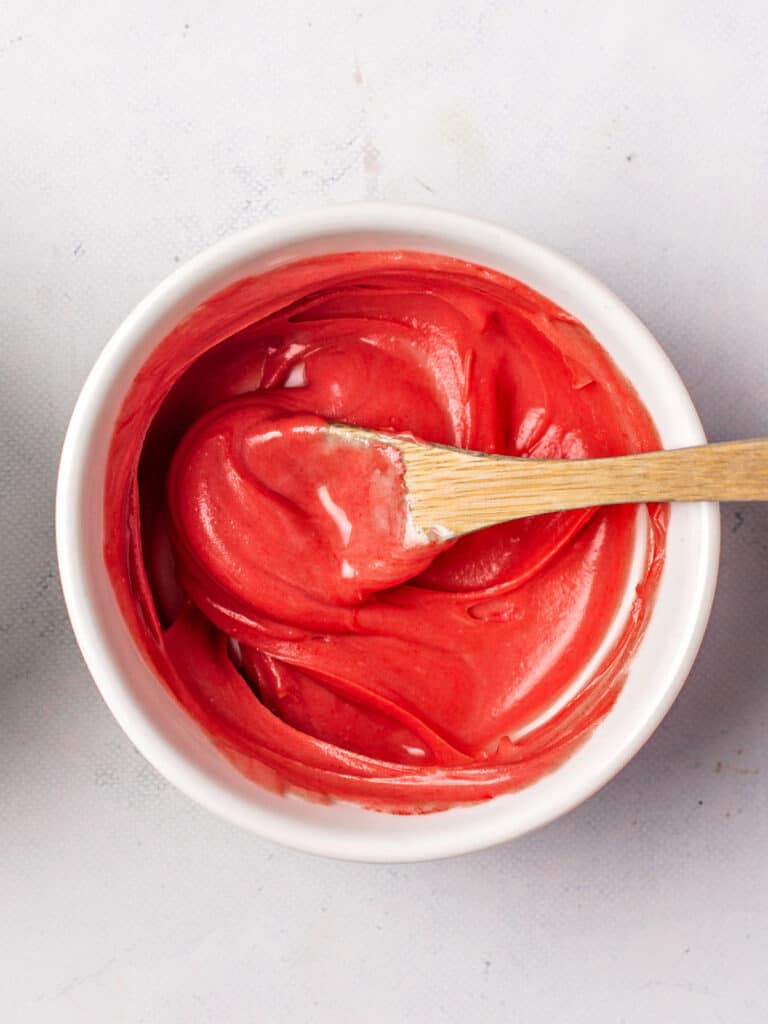
Colored drizzle
We add food coloring to melted white chocolate, as we do for chocolate bark.
You can use any color you want. To make a white drizzle, leave some melted chocolate uncolored.
Vintage Kitchen Tip
The temperature difference between the cookies and the melted chocolate should not be too great to ensure a smooth coating. So, make sure the chocolate is warm but fluid.
Troubleshooting
The chocolate coating is too thick or clumpy: this happens if the chocolate overheats or isn't properly tempered. So melt the chocolate slowly, using a double boiler or microwave in short bursts, stirring frequently. I use coating chocolate made for candy dipping, but if you use regular melted chocolate, adding a small amount of coconut oil or shortening can help thin the chocolate for a smoother coating.
Uneven or too-thin chocolate shells could be due to the chocolate's temperature. Make sure the chocolate is smooth and fluid and not too hot. Tap off the excess chocolate gently when lifting the cookies from the chocolate bath.
Chocolate coating cracking after setting: this can happen if there's a significant temperature difference between the cookies and the chocolate. Make sure the chocolate is smooth and fluid and not too hot.
Related recipes you might like:

If you made this recipe and loved it, you can comment below and leave a 5-star ⭐️ review. Also, if you had issues, let me know so we can troubleshoot together.
You can also subscribe to our FREE email series 'Baking the Best' and our regular newsletter. Or follow and save my recipes on Pinterest.
As an Amazon Associate, I earn from qualifying purchases. Read my disclosure policy.
Christmas Chocolate Covered Oreos
Ingredients
To coat the Oreos:
- 36 Oreo cookies
- 12 ounces semisweet chocolate or white chocolate, for coating. If using both, use half and half
For the colored threads:
- 6 ounces white chocolate, for colored topping
- green and red oil-based food coloring, to color the chocolate
- ⅓ cup assorted Christmas sprinkles or crushed candy, optional
Instructions
- Line a baking sheet with parchment paper or a silicone mat (such as Silpat).
- Melt the chocolate. If using white and dark, melt them separately.
For the double broiler:
- Fill a small saucepan with about 1-2 inches of water and bring it to a simmer.
- Place a heatproof bowl with 12 ounces semisweet chocolate or white chocolate over the saucepan. Make sure no water gets inside the bowl, especially as the water starts to steam.
- Stir continuously until the chocolate is melted and smooth.
For the microwave:
- Place chocolate into a microwave-safe bowl and melt in 30-second spurts until it fully melts. Stir the chocolate well between rounds so it doesn't burn and is evenly melted.
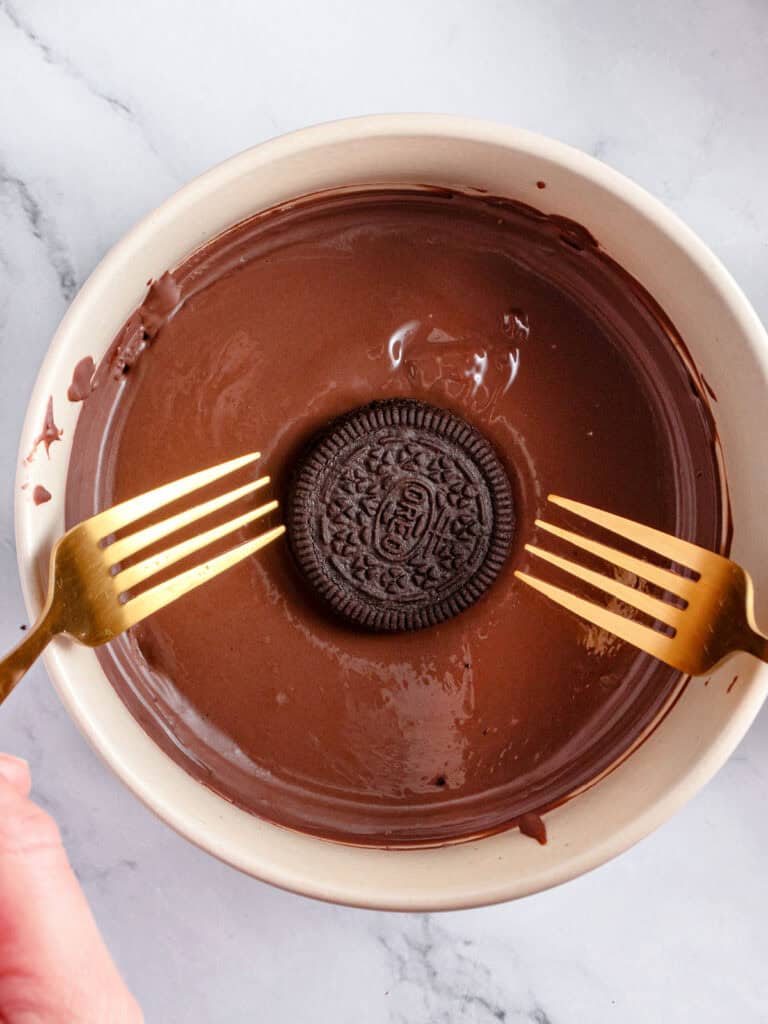
Dipping the cookies:
- Using a fork or a chocolate dipping tool, dip one cookie at a time in the melted chocolate, turn it around so it's fully coated and lift it with the fork.
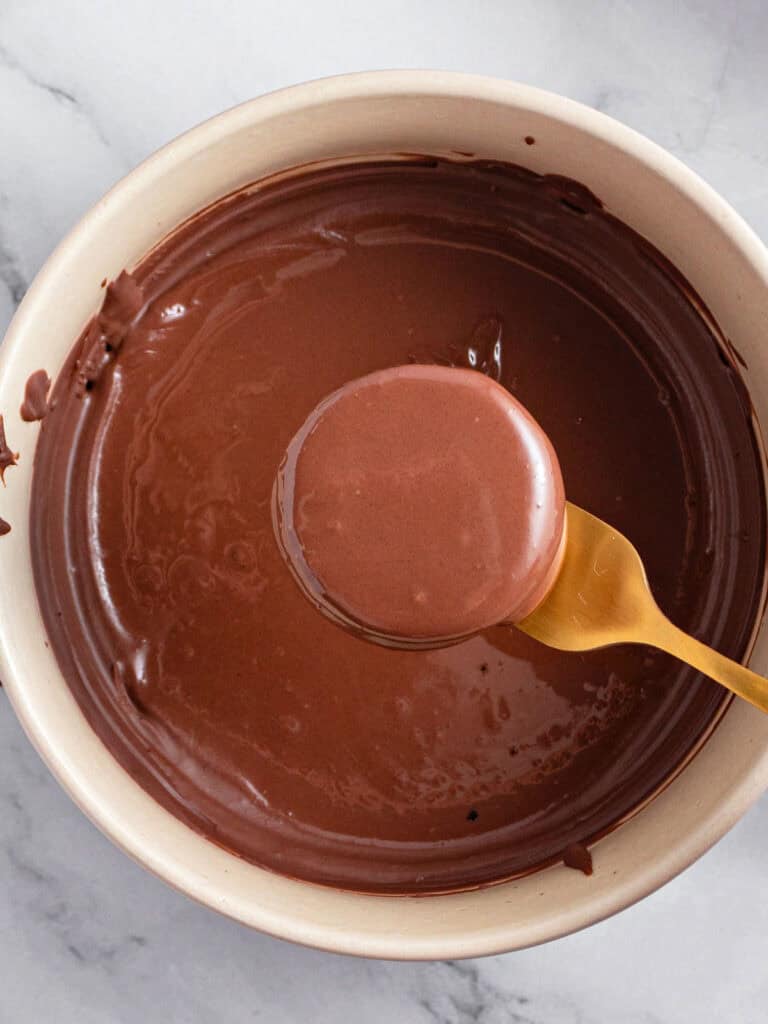
- Allow any excess chocolate to drip off before placing it on the prepared baking sheet. Repeat with the rest of the cookies. If the chocolate thickens too much between dips, heat it briefly to soften again.
- Allow the dipped Oreos to set at room temperature for about 1 hour. You can place the baking sheet in the refrigerator for about 20 minutes to speed up the process, but it usually reduces the shine. I'm not a fan.
- Store in a cool, dry place in an airtight tin or jar with parchment paper between layers so they don't stick.
For the colored icing:
- Melt the white chocolate. I use the microwave (15-second spurts mixing well between each). Or use a double boiler.
- Pour the melted white chocolate into three small bowls, or adjust to the number of colors you want to make. I using red, green and white, leave one bowl without color.
- Mix the green color in one bowl and the red in another. Depending on your brand of coloring (mine was a powder), you might need more or less to get the type of hue you want. Start small, with a pinch, mix well and add more if necessary.
- Use piping bags to pipe threads, or simply drizzle the warm chocolate using different forks for each color.
Rate and review this recipe