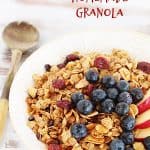
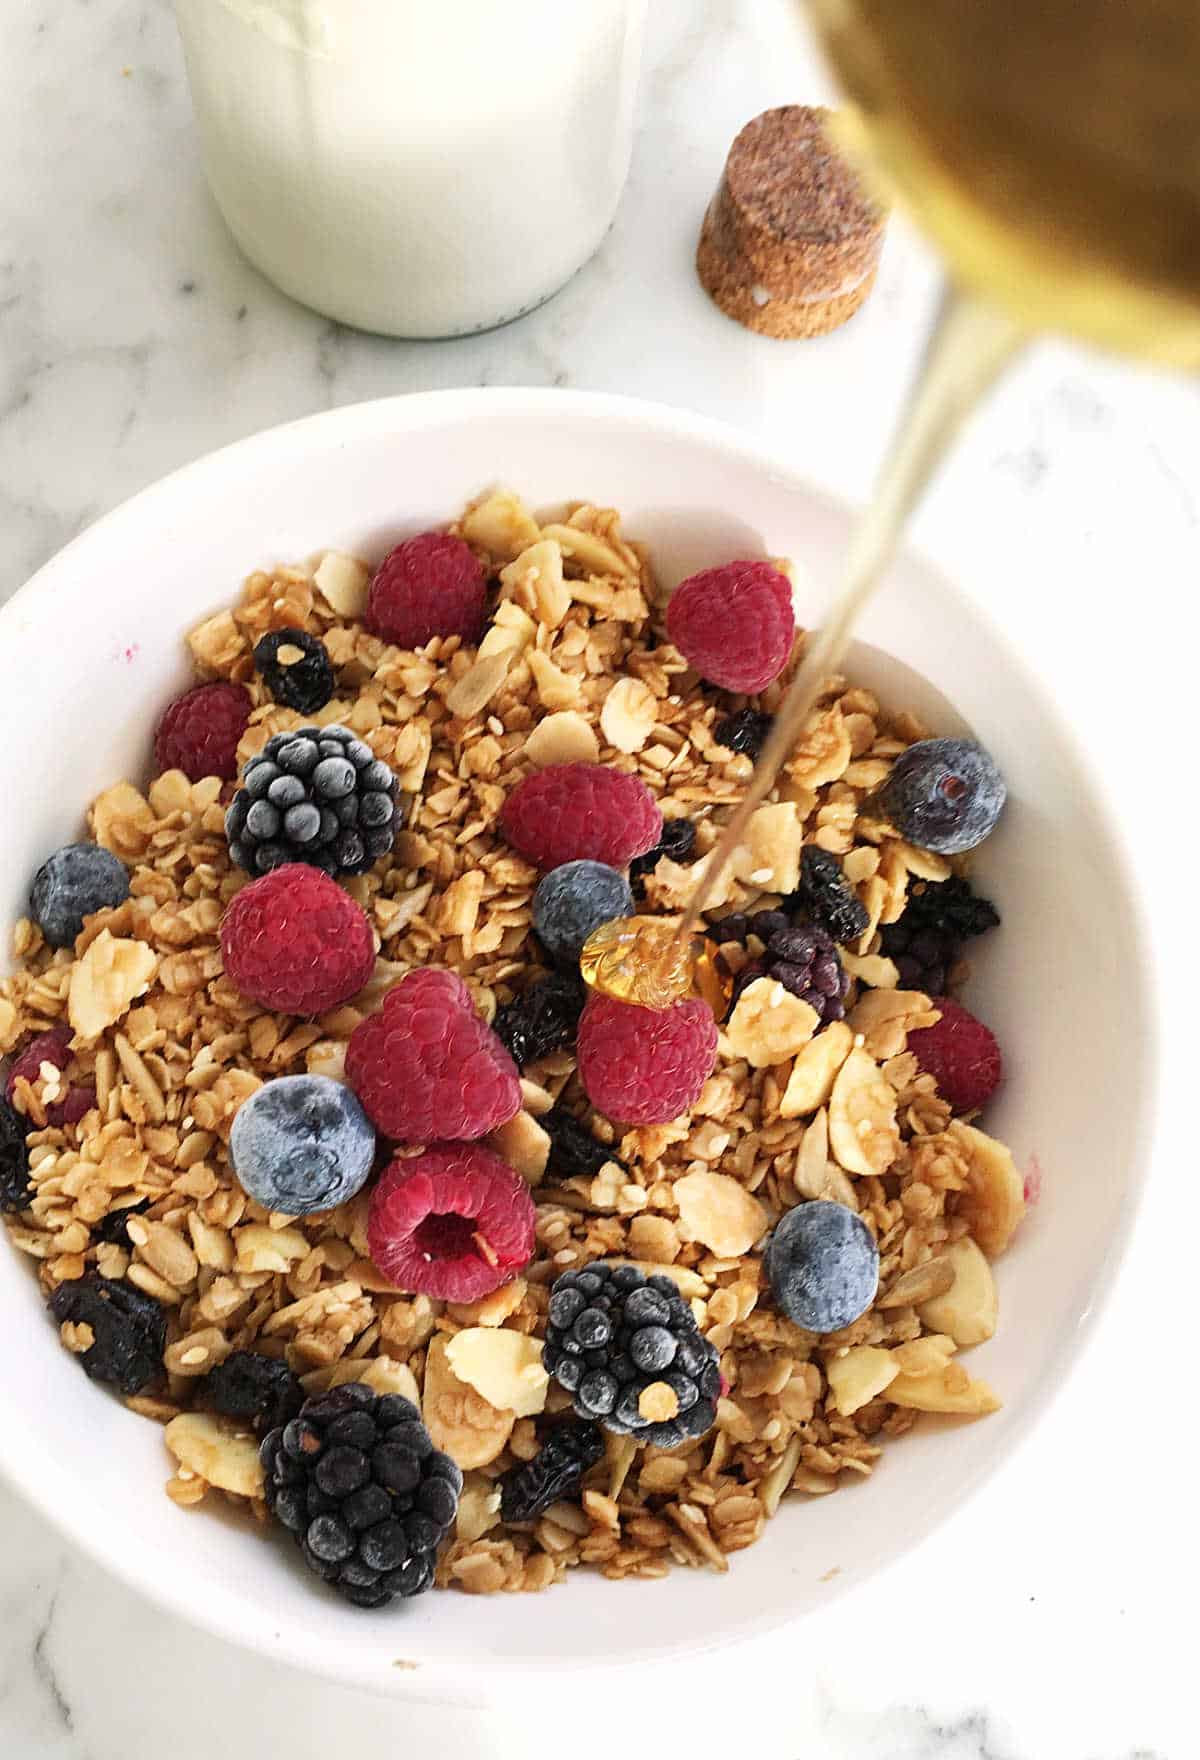
This is the perfect granola of your dreams. If you've never made it at home, you'll be surprised how easy it is and how long it lasts (hint: it can be frozen)! Crunchy, sweet but not too much, and full of your favorite nuts and dried fruit, you'll never return to the purchased stuff.

It's really good!
Your search for the best granola recipe is over. And for a reason: it's irresistible. Seriously.
If it's your first time making it at home, this easy granola recipe is a game changer.
The recipe is an adaptation of the now-famous Eleven Madison granola recipe, a restaurant in New York that gave their dinner guests a gift packet of wonderful granola for breakfast the next day.
I've been making it ever since. Adapting it here and there.
By now, I wonder who buys store-bought granola, which is usually so lackluster, a mountain of oats with few add-ins and not exactly cheap, at least around here.
This homemade granola is SO easy to make and keeps well if done correctly. Who would want to settle for less, right?
- Easy to make.
- Lasts for weeks and can be frozen.
- Versatile with the add-ins so you can use what you have.
Two ingredients never fail to deliver (besides oats of course), and that's the combination of olive oil and maple syrup.
It's simply the best possible thing to add to your homemade granola. So good it deserves the hype it created.
How to serve granola
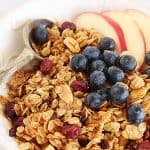
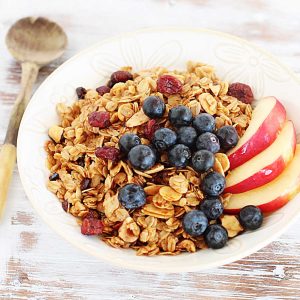
- Greek yogurt: in a bowl with fresh berries, or in a yogurt parfait.
- Topping for ice cream and frozen yogurt.
- Breakfast cereal: with regular or almond milk and fresh fruit. Maybe seeds. With berries and real maple syrup or honey if you want to add sweetness.
FAQ
Because it didn't dry enough in the oven; it's toasted but not dried. Granola needs to be baked at a low temperature so it dries out and becomes crunchy when it cools down.
Absolutely! Commercial granola can be expensive and of a lower quality, especially considering that you know what goes inside yours.

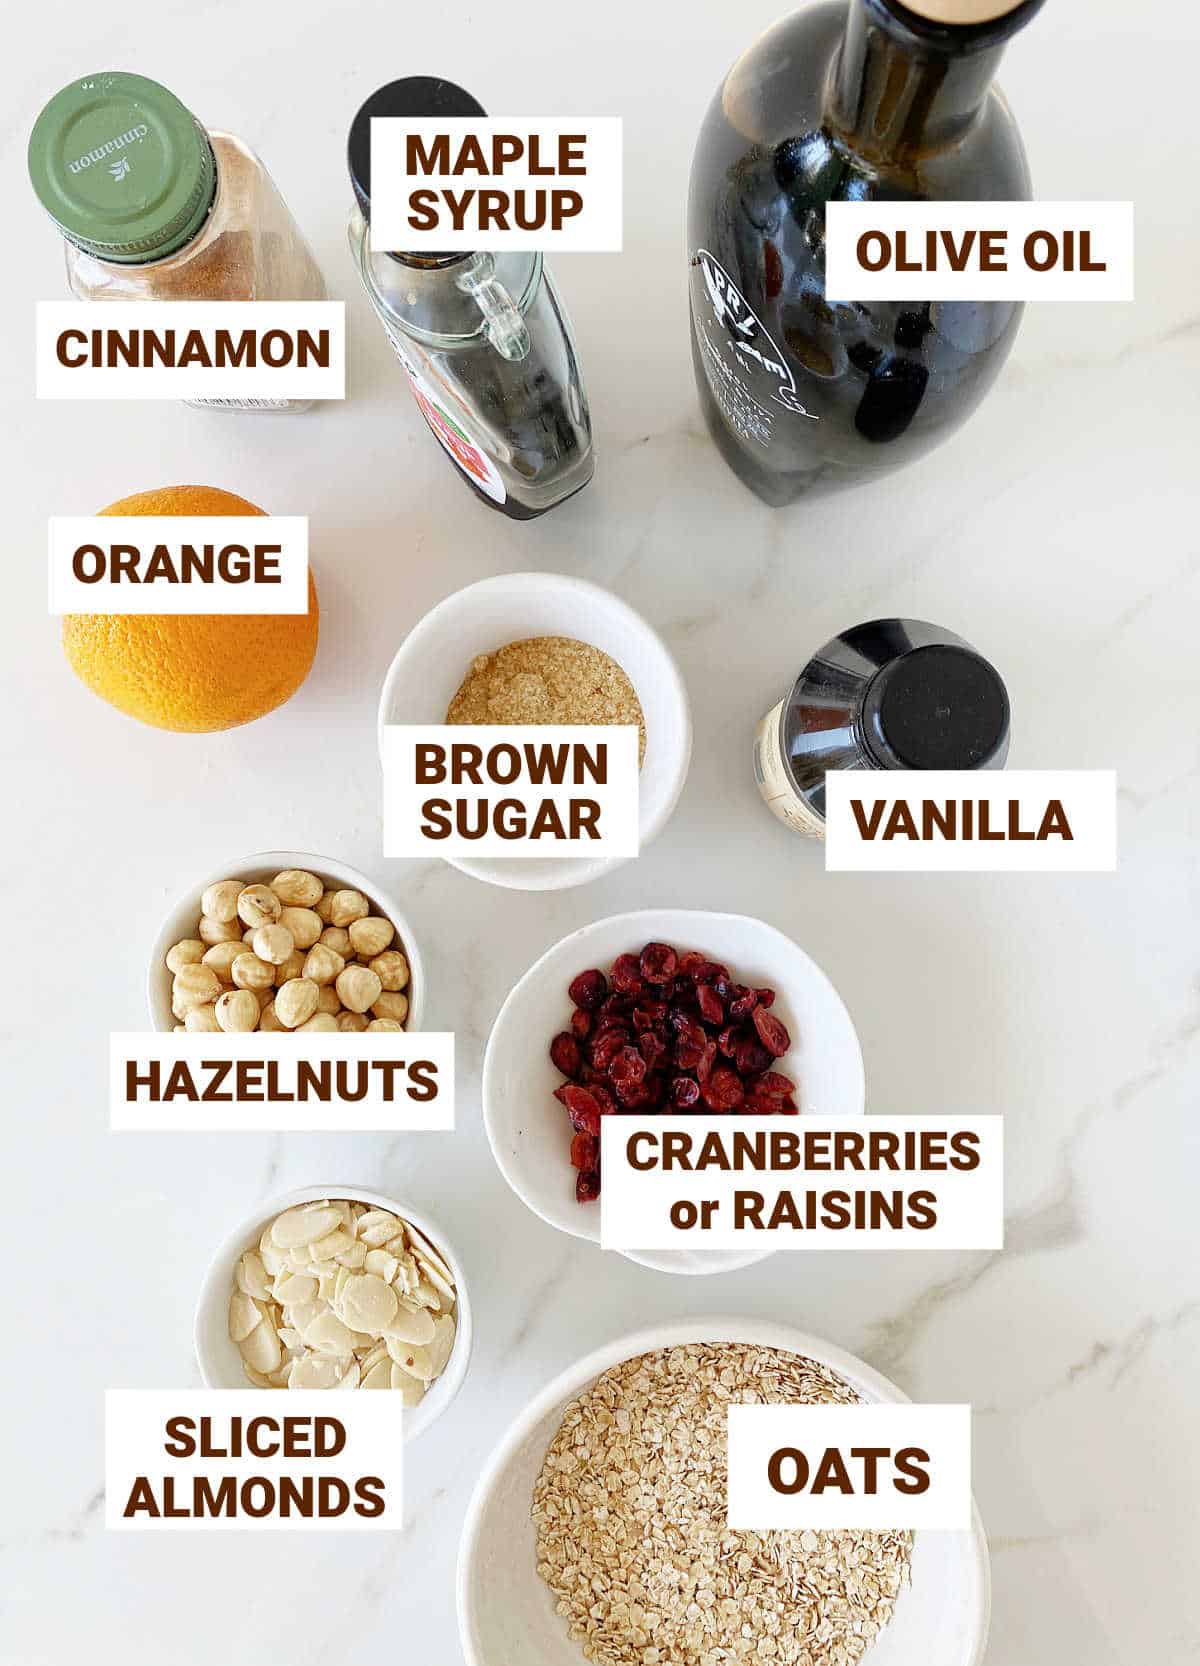
Ingredient list
The add-ins can be adapted to your palate and what you have at home, so the flavor possibilities to make a delicious granola are many.
- Oats: I use old-fashioned rolled oats (traditional oats) because they have more texture which is essential for a good granola, but you can use instant or quick-cooking oats.
- Olive oil: use a light one. It's one of the key ingredients.
- Maple syrup: use your favorite brand as long as it's pure syrup.
- Brown sugar: light or dark.
- Nuts. For me, the sliced almonds are a must. They provide a crunchiness different from chopped or whole almonds. I also add hazelnuts, but the sliced almonds are essential.
- Dried fruit. Cranberries are my favorites, but raisins work very well also.
- Flavorings. Cinnamon, orange and vanilla is what I use. The combination is wonderful.
Quantities are listed in the recipe card towards the end of this post. The Ingredients page has more details and lists the brands we use.
Variations & substitutions
- Different nuts: add other types instead of or in addition to the hazelnuts and sliced almonds. Almost any nut you like can work like pistachios, pecans, walnuts, cashews and macadamia nuts.
- Seeds: add pumpkin seeds, sunflower seeds, sesame or flax seeds to the oat mixture about halfway through baking so they don't burn or harden too much.
- Dried fruit: use dried cherries, apricots, golden raisins or dried figs.
- Oil: olive oil makes this granola recipe unique, but you can use other vegetable oils (sunflower, coconut oil, canola oil).
- Sugar: use coconut sugar or muscovado sugar instead of the brown sugar.
- Chocolate chips: add them instead of the dried fruit or substitute half of them for semisweet chunks or chips.
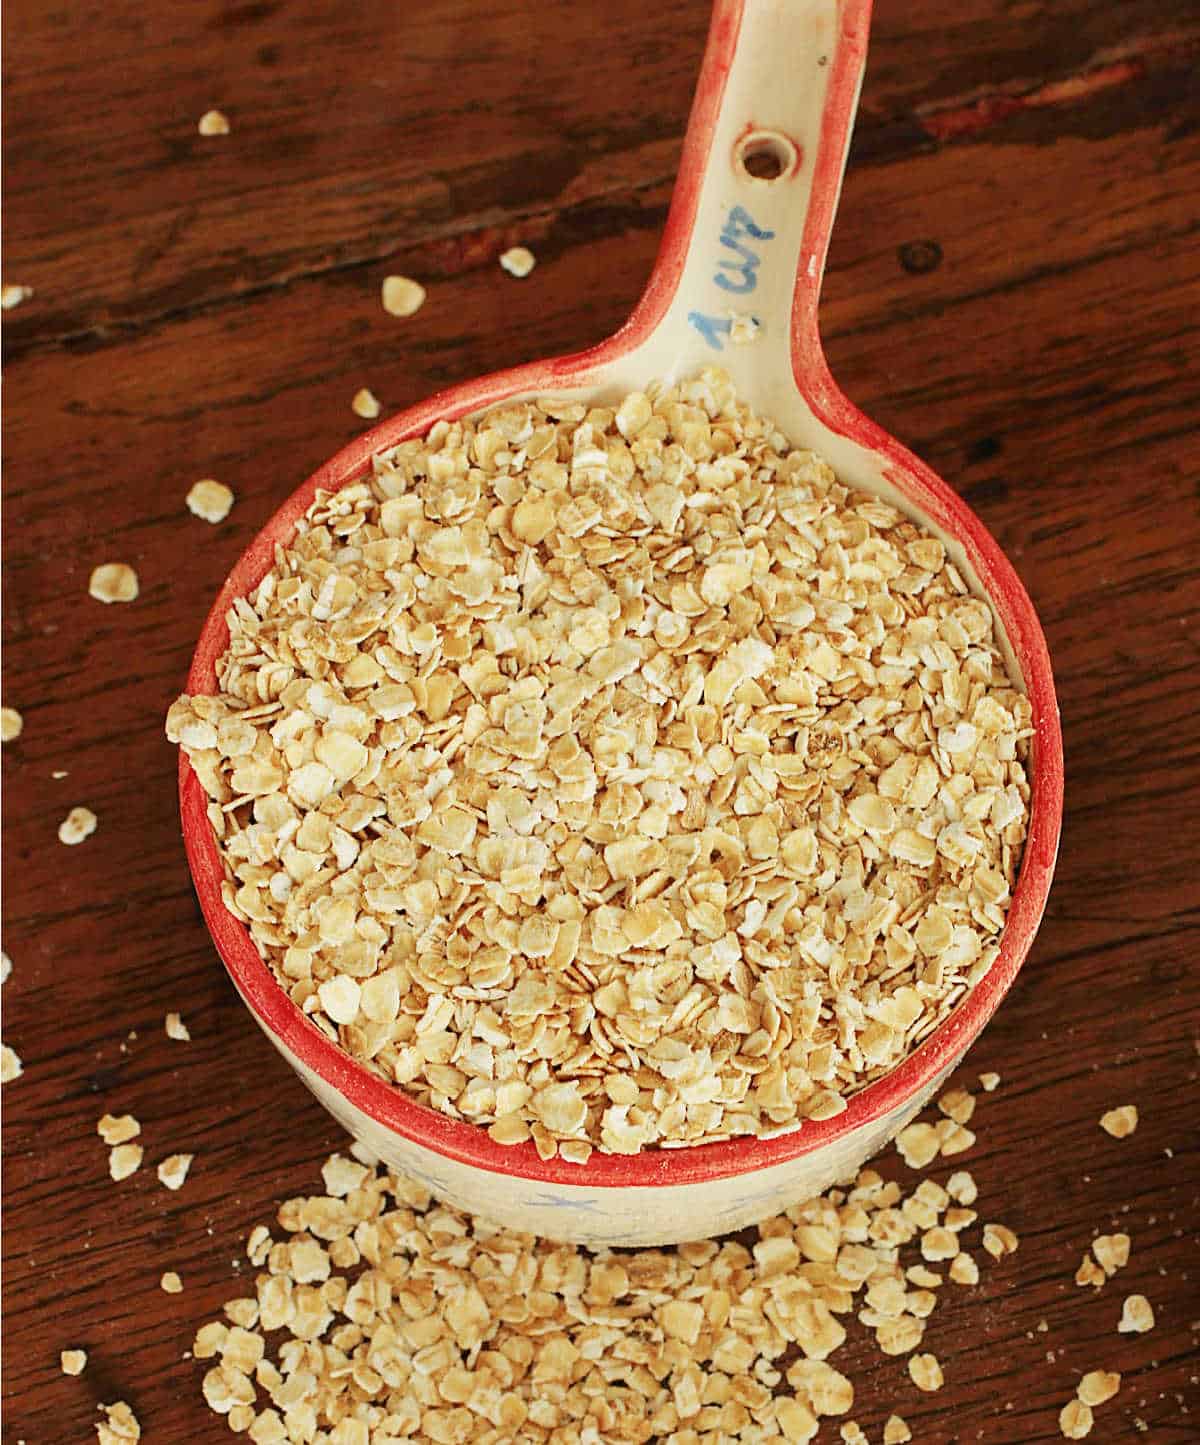
The oats
Though names sometimes vary depending on the country you are in, there are 2 types of oats good for making granola:
- Traditional oats: also called old-fashioned, these are medium-sized and shaped like a disc but are very irregular or downright broken in aspect. It's the one in the box we grew up with that is used to make porridge (big fan here!) and many other breakfast dishes.
- Rolled oats are coarser and thicker; the discs are more formed and need more hydration to become chewable. It holds very well with this recipe.
Instant oats - I don't recommend it for this recipe.
How to make granola at home
Remember my top tips in the video below when making this recipe. It's easy, but those details make a difference.
Step-by-step VIDEO
Kitchen notes
- Drying the oats correctly. This is the key to a crunchy granola. The oats are coated with a warm mix of olive oil and maple syrup mixed with brown sugar. This sticky mess is then baked at a low temperature (very important) to dry the wet mixture, resulting in a caramelized granola that hardens and becomes crunchy as it cools down.
- Slow baking. It's essential to give it the time it needs in the oven. If it doesn't dry, it will not keep well, and it will be chewy without being crunchy, like a piece of regular toast vs. an oven-dried toast; the latter keeps for weeks.
- Baking pan. The type of pan/amount of oat mixture ratio is important. I use sheet pans or cookie sheets so the granola is spread as much as possible and is more easily dried before it colors too much. A golden color is great and good for the caramel flavor, but it should be dried further. If you put too much oat mixture in a smaller pan, it will take too long to dry out and stay crunchy.
- When to take it out of the oven. Follow the time given in the recipe, and stir it a few times during the baking time. It will still feel wet when you remove it from the oven, but it will harden as it cools. You'll get the hang of it when you start making it regularly because you will. One batch of homemade crack granola, and there's no turning back. You're spoiled for life.

Related recipes you might like:

If you made this recipe and loved it, you can comment below and leave a 5-star ⭐️ review. Also, if you had issues, let me know so we can troubleshoot together.
You can also subscribe to our FREE email series 'Baking the Best' and our regular newsletter. Or follow and save my recipes on Pinterest.
As an Amazon Associate, I earn from qualifying purchases. Read my disclosure policy.
Easy Homemade Granola (best recipe)
Ingredients
- 3 cups oats, traditional or rolled
- ½ cup sliced almonds
- ½ cup hazelnuts, coarsely chopped (I buy them without the skin)
- 2 tablespoons cocoa nibs, optional
- ¼ cup shredded coconut, optional
- ⅛ teaspoon sea salt
- 1 teaspoon orange zest, tightly packed
- ½ teaspoon ground cinnamon
- ½ cup olive oil
- ½ cup maple syrup
- 3 tablespoons dark brown sugar
- ½ cup dried cranberries , or seedless raisins
Instructions
- Preheat oven to 300ºF (120ºC).
- Mix 3 cups oats, ½ cup sliced almonds, ½ cup hazelnuts, ¼ cup shredded coconut and 2 tablespoons cocoa nibs if using, ⅛ teaspoon sea salt, 1 teaspoon orange zest and ½ teaspoon ground cinnamon in a large bowl.
- Heat ½ cup olive oil, ½ cup maple syrup and 3 tablespoons dark brown sugar in a small saucepan just until dissolved, it doesn't need to boil.
- Add the wet ingredients at once to the oat mixture and mix well with a fork or spoon, making sure it coats everything.
- Spread on a large baking sheet (preferably with 1-2 inch borders) in an even layer, and bake for about 1 hour, removing from the oven and moving it around the pan and spreading evenly again three or four times during this time, so it bakes evenly.
- It will still feel wet, but after an hour, it will be golden brown, and some parts will be dried.
- Remove form the oven.
- Add ½ cup dried cranberries or raisins. You can add them during the last 5 minutes, but I like to add it when I take the granola out of the oven because they dry out and harden when baked, and sometimes get bitter, especially the raisins.
- Let the granola cool completely, moving it around at first so it doesn't clump too much.
- Store in jars with tight lids or an airtight container at room temperature, in the fridge or freezer.
- Serve with fresh fruit, milk and more maple syrup if you want.
Diana says
This is so easy and it is delicious. Thank you for this recipe. I have never made homemade granola before now. This is what I will be making from now on.
Kelly says
I'm excited to try this recipe! How long can this granola sit at room temp and how long can it be frozen for? Thank you!
Paula Montenegro says
Hi Kelly! The key to make it last is to dry it well in the oven. It’ll last for a few weeks in an airtight jar at room temperature or a month or more frozen.
Liz says
Just gorgeous, Paula! Now I have a big granola craving---and this will disappear quickly!!!
Angie@Angie's Recipes says
I can munch on this all day long! It looks super!
Paula Montenegro says
Thanks Angie!
Deb|EastofEdenCooking says
I agree, just say NO to store bought granola! With fall on the horizon making my own granola sounds so inviting. This version sounds divine!
Paula Montenegro says
Homemade granola, absolutely Deb!
Marissa says
This looks and sounds just incredible, Paula! On my MUST TRY list for sure...
Paula Montenegro says
You should Marissa, it's amazing!