
If you want to make lemon curd at home, this recipe will guide you step-by-step. It requires a few minutes of undivided attention while the ingredients thicken on the stove, but it's a simple recipe that anyone can master.
It's sweet and tangy at the same time, and a great way to use extra egg yolks. Use it as a sauce, spread, filling or topping. It lasts for a few weeks in the fridge and can be frozen.
SAVE THIS RECIPE
Classic and versatile
The great thing about making lemon curd from scratch is that you can use fresh, high-quality ingredients that'll lead to a bright, tangy flavor difficult to match by store-bought versions.
It can be cheaper than buying it, especially if you have access to fresh lemons or can find them on sale.
Lemon curd uses
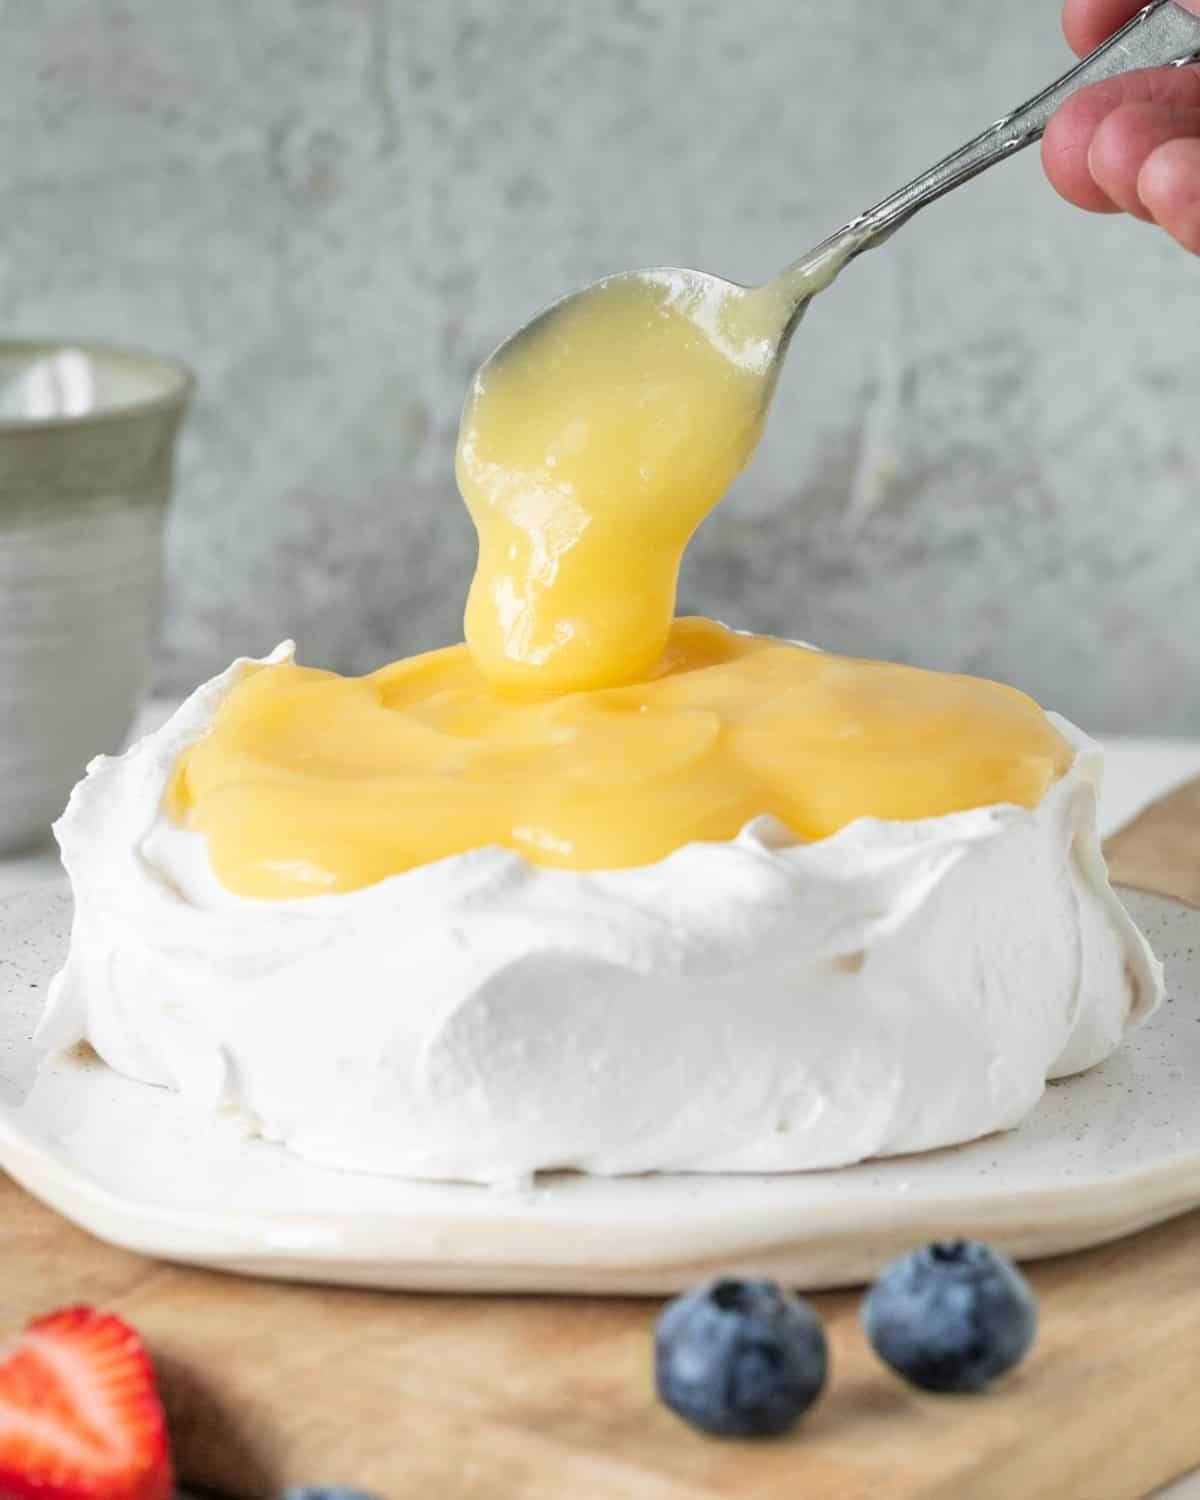
- Topping: for waffles, pancakes, cheesecake, and pavlova with berries.
- Spread: for breakfast and brunch items like scones, toast, bagels, crackers, and biscuits. Mix it with cream cheese for a creamier spread.
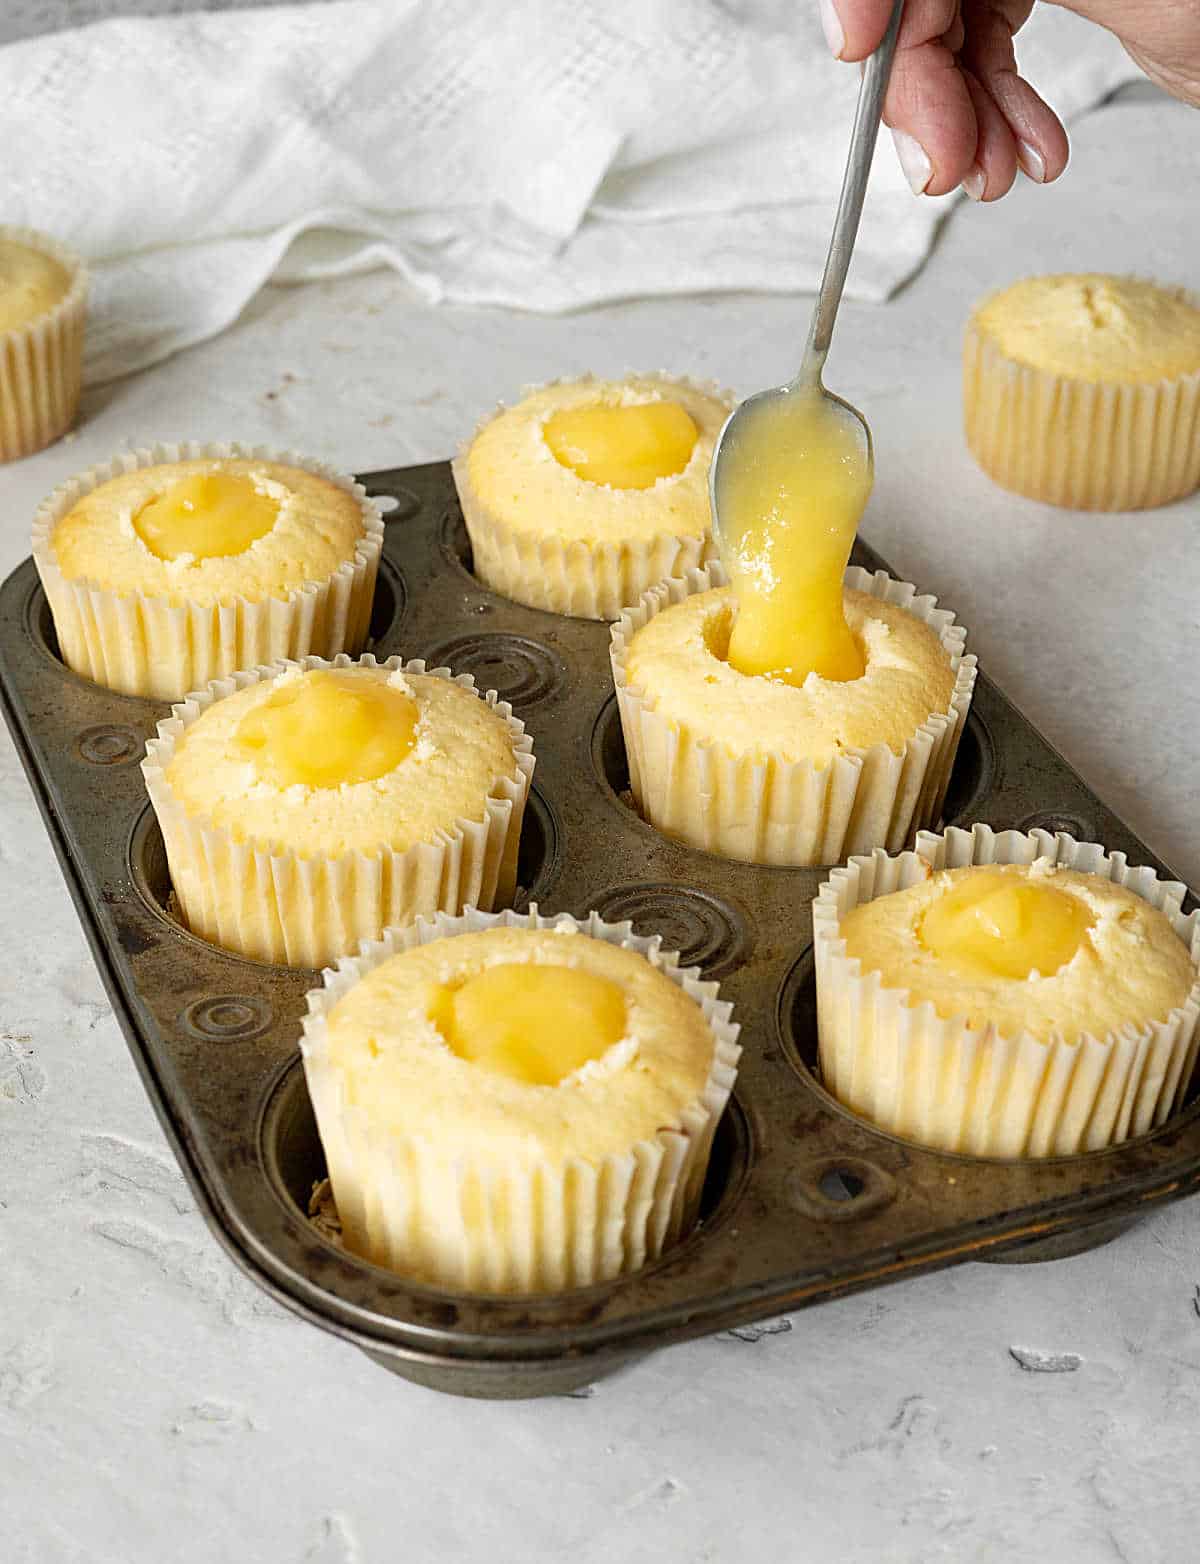
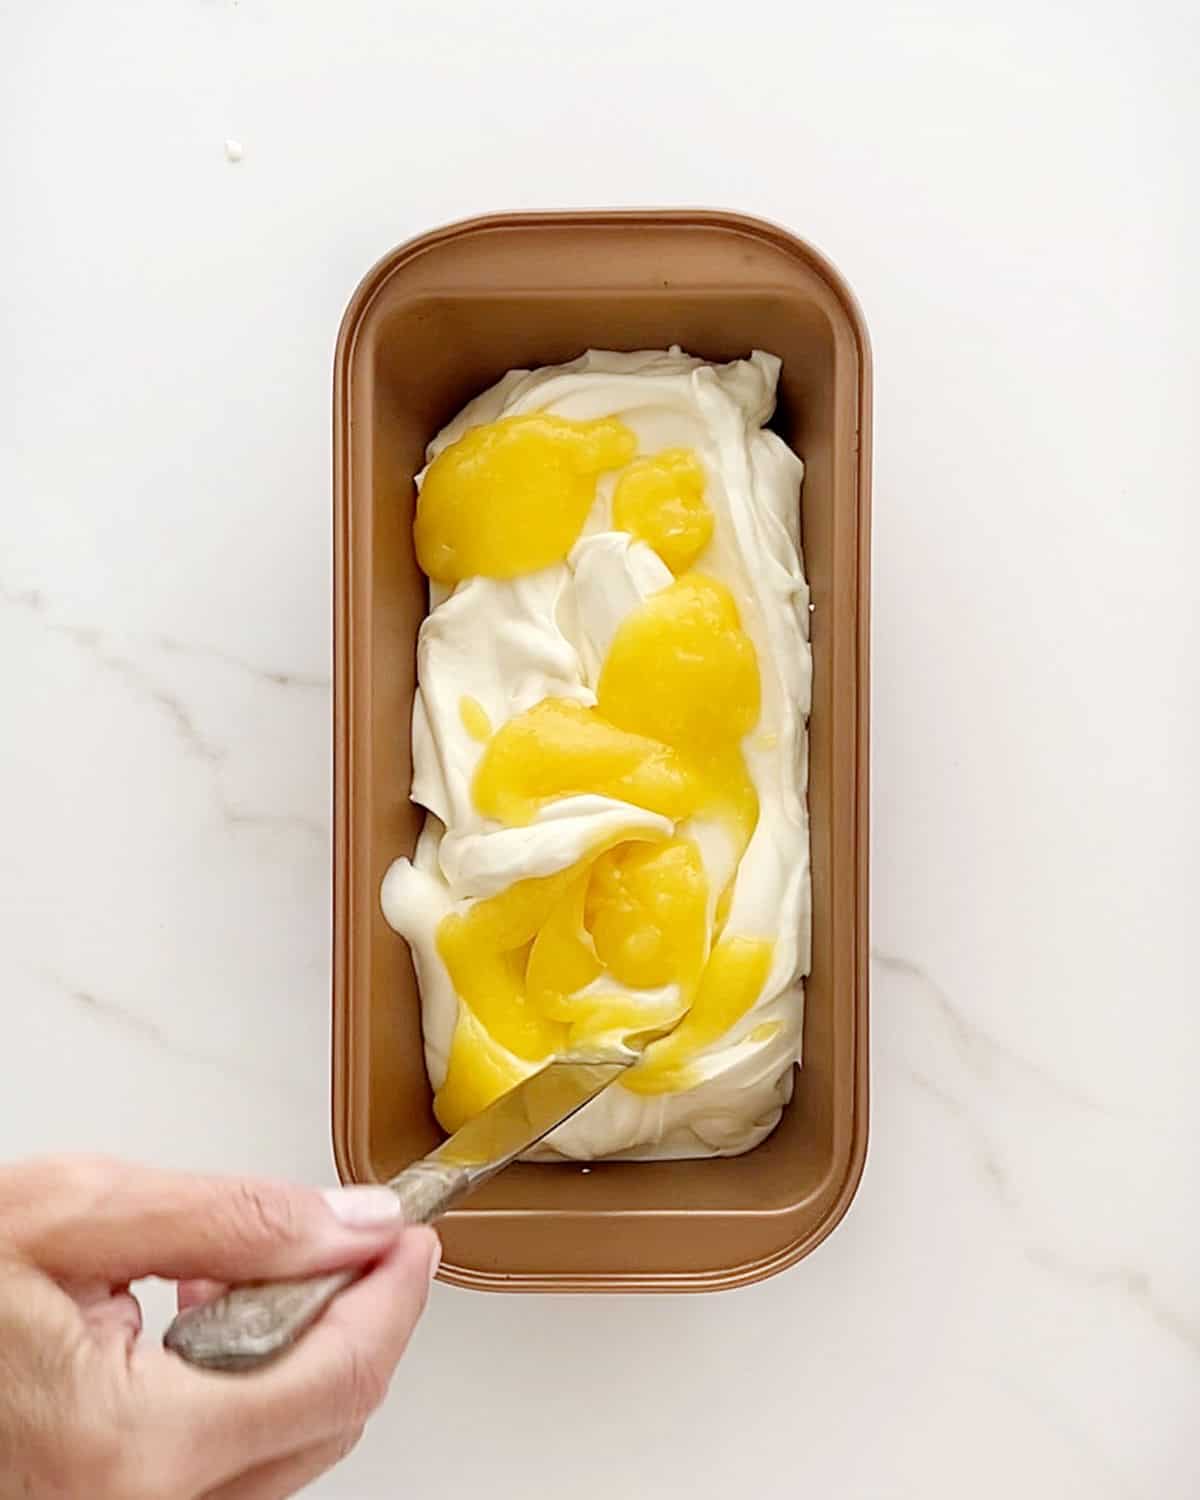
- Filling: for thumbprint cookies, crepes, lemon cupcakes, cakes, tarts, macarons, and turnovers.
- Sauce: for slices of angel food cake or pound cake with berries, or for trifles.
- Quick mousse: mix it with whipped cream for a light and fluffy lemon mousse.
- Desserts like lemon dump cake and lemon ripple ice cream.
Testing notes
Overcooking it can cause the lemon curd to curdle or become grainy. If in doubt whether it's thick enough or not, remove it from the heat, check, and return to cook more if necessary.
Lumpy curd: not whisking the mixture constantly while cooking, which can result in lumps or uneven cooking.
How thick should lemon curd be? That depends on what you'll be using it for. To fill a cake or a cookie, you need a sturdier curd than the one to use as a topping for toast, for example.
How can you avoid grainy or curdled lemon curd? If you're apprehensive about making this recipe, I recommend using a kitchen thermometer. Monitor the temperature of the lemon mixture and keep it between 170-180°F (76-82°C) so it sets properly. If you go above 185° (85°C), it will become grainy when it's cooled.
Bottled lemon juice: I don't recommend using it, as it may contain additives or preservatives that can alter the flavor of the curd and won't be as fresh-tasting as with fresh juice. That said, you can make curd with lemon juice from a bottle if you want.
Butter: I use unsalted and add salt to control saltiness, but if you use salted butter, omit the extra salt.
Variations & substitutions
- More lemon flavor: add lemon zest to the lemon juice and butter. Strain the lemon curd before transferring it to a bowl and letting it cool.
- Citrus: make a mixed curd by using other juices (lime, orange, grapefruit) together with the lemon juice. The final amount should be the same.
- Flavorings: add a tablespoon of limoncello or other liqueur that combines with lemon, like Grand Marnier or Cointreau. Infuse it with a fresh herb like thyme or lavender.
- Creamy lemon curd: Add a few tablespoons of heavy cream or cream cheese before you cover it to make it creamier. It's especially good for fillings.
- Berry flavored: swirl in a few tablespoons of berry puree after it has cooled down.
Steps to make lemon curd
- Whisk eggs, egg yolks, and sugar in a large bowl until combined.
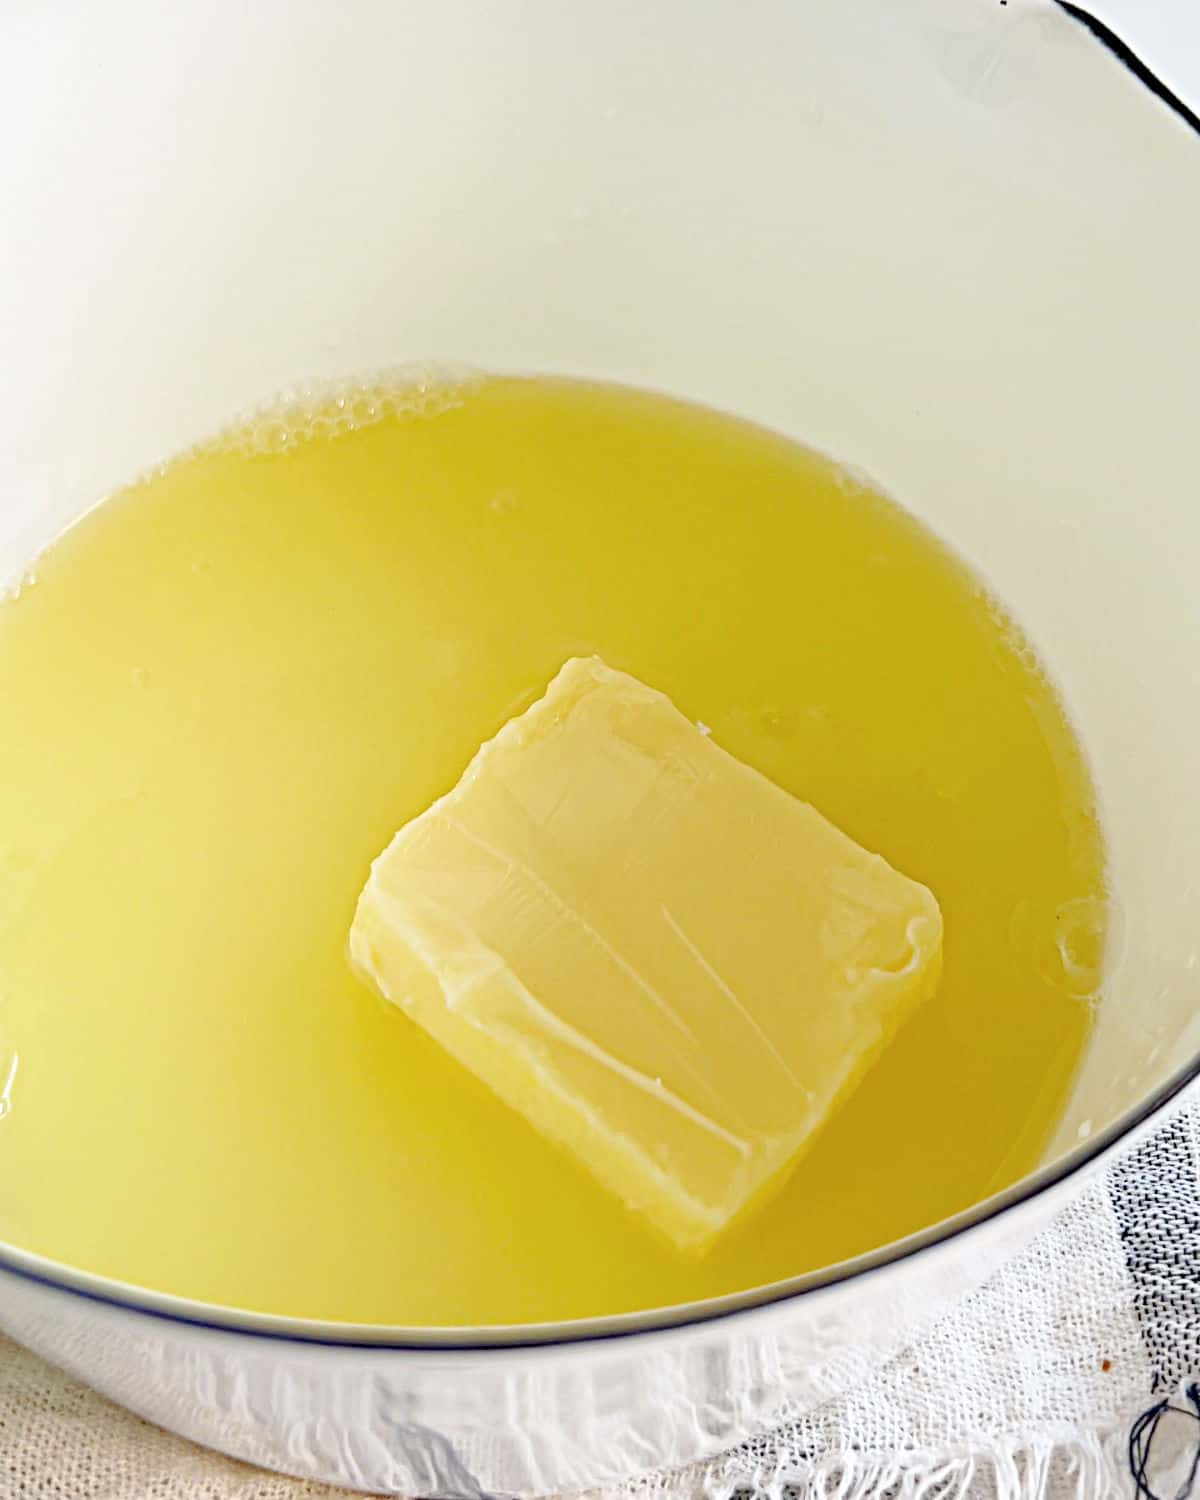
- Melt butter with lemon juice in a saucepan, just until it's about to boil.
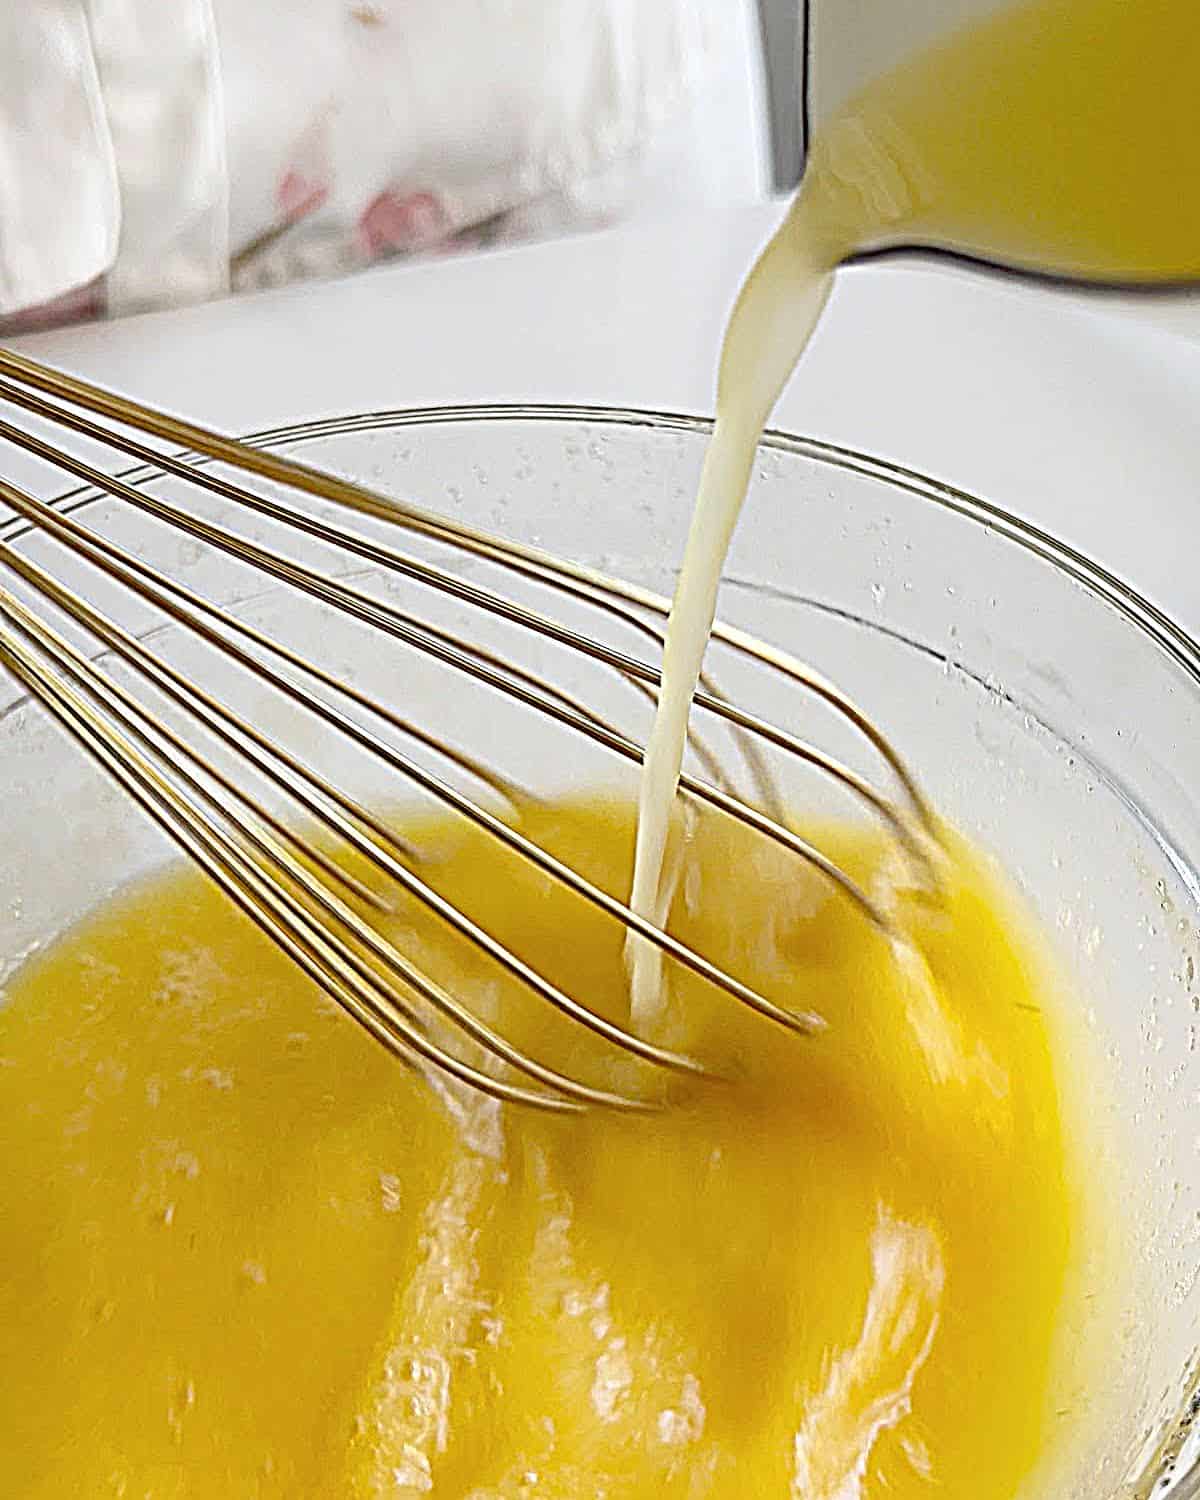
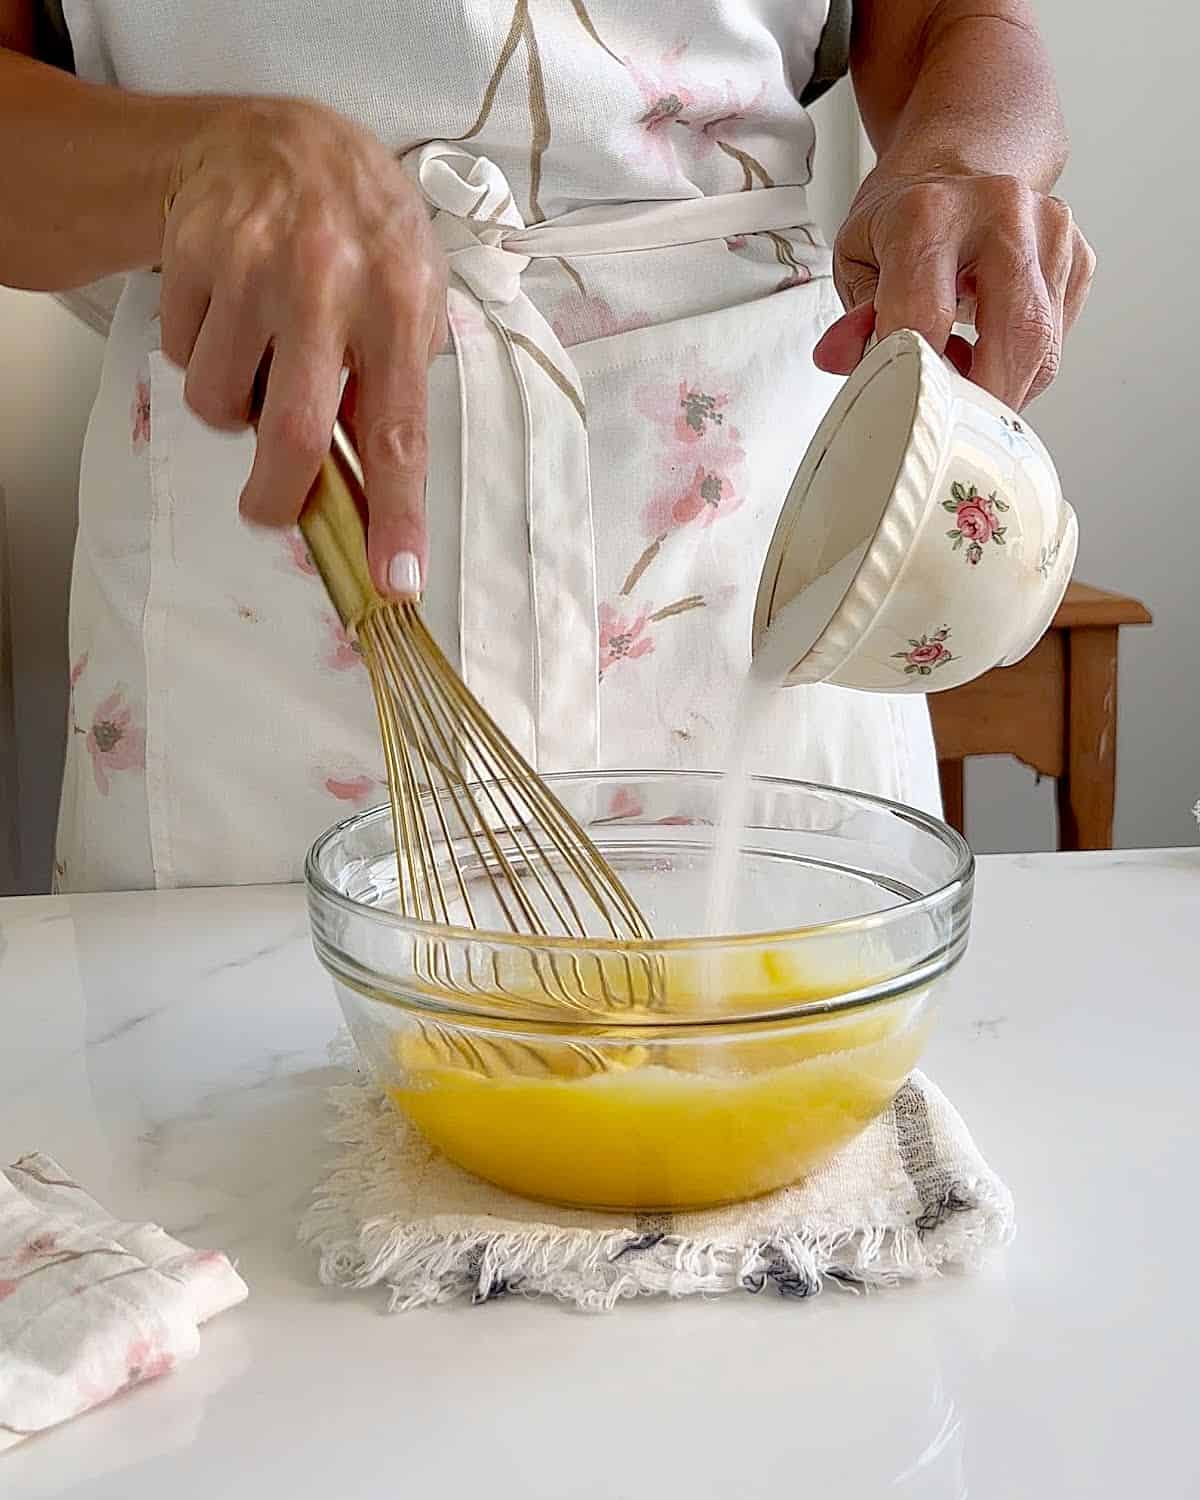
- Pour the hot butter mixture into the egg mixture gradually, whisking constantly until completely integrated. Don't add all at once, or you might curdle part of the eggs.
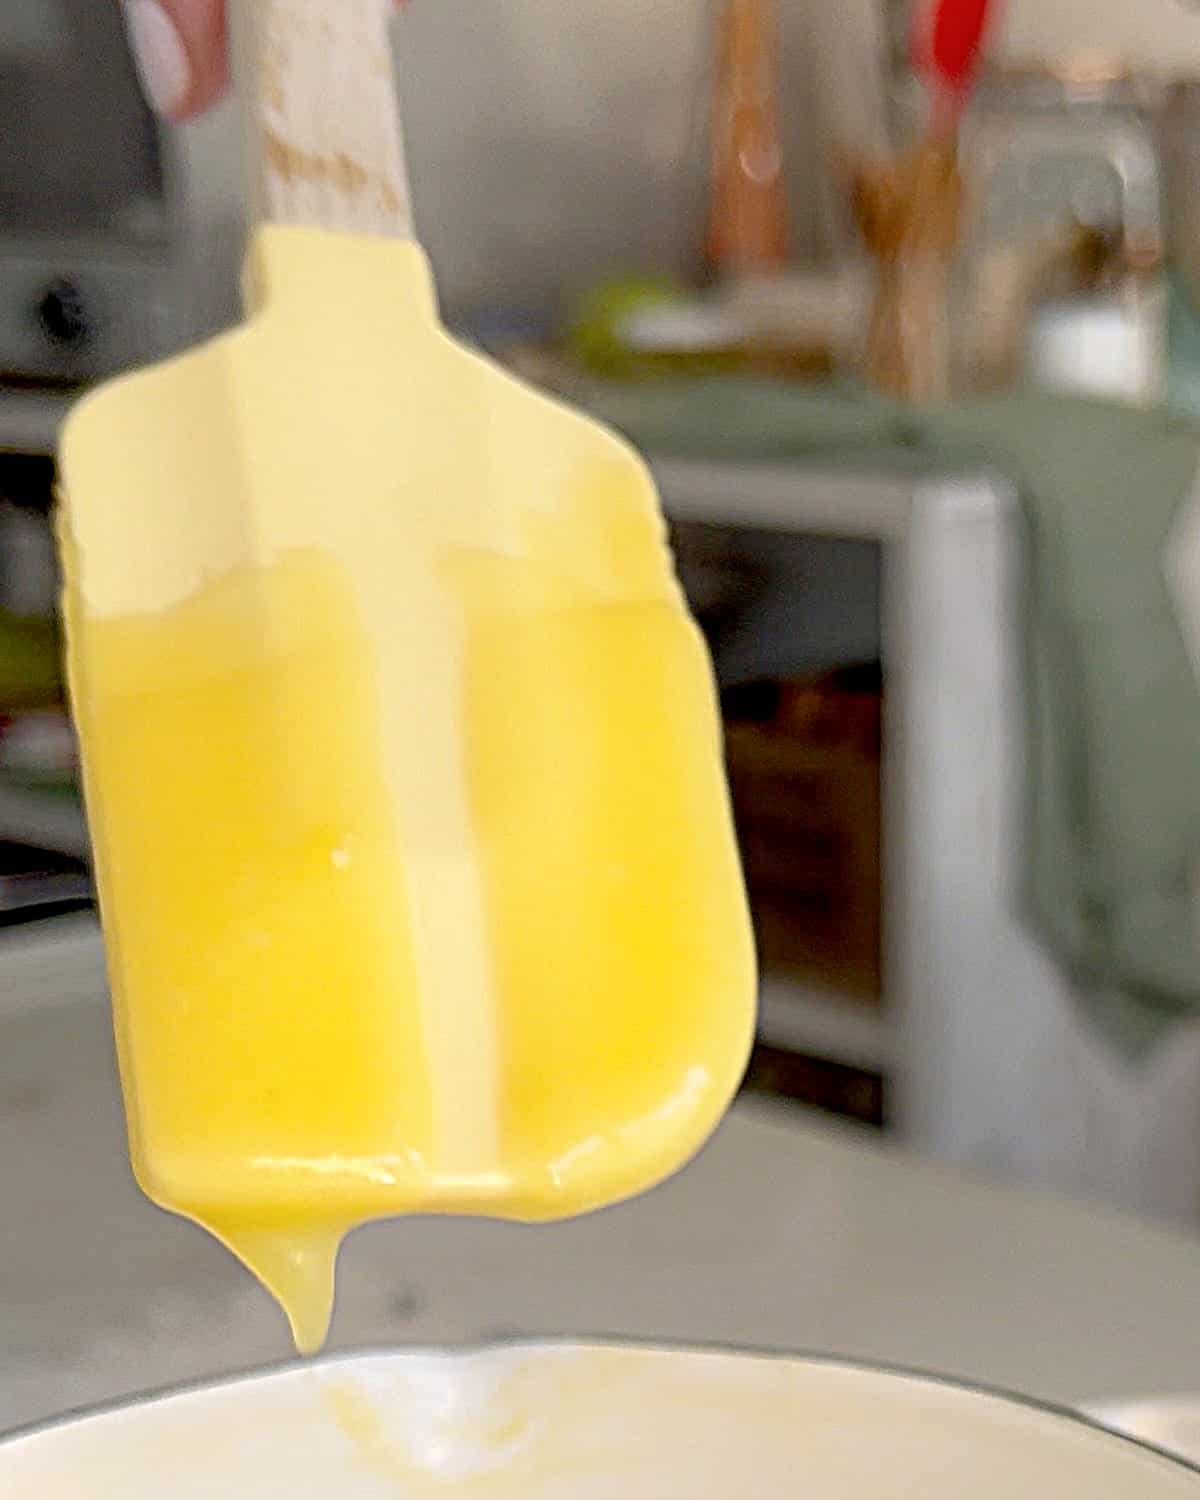
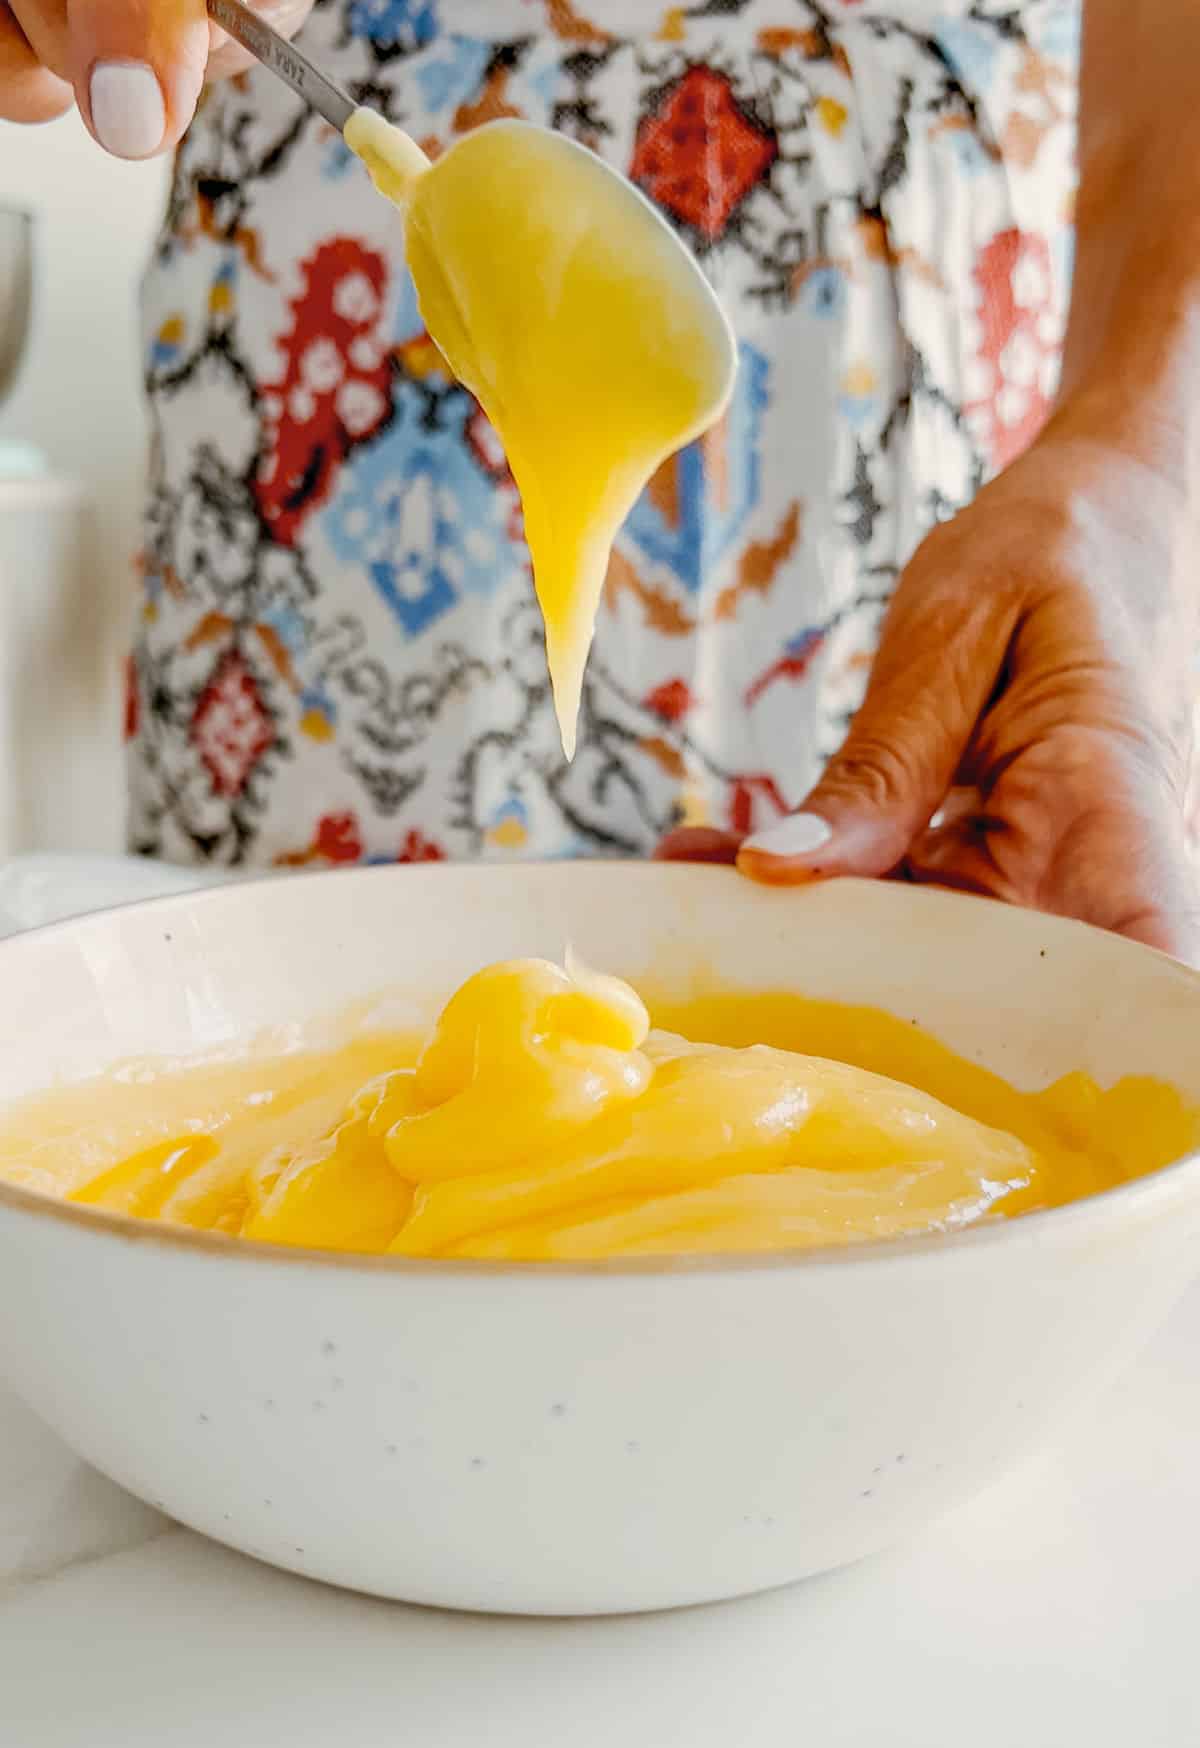
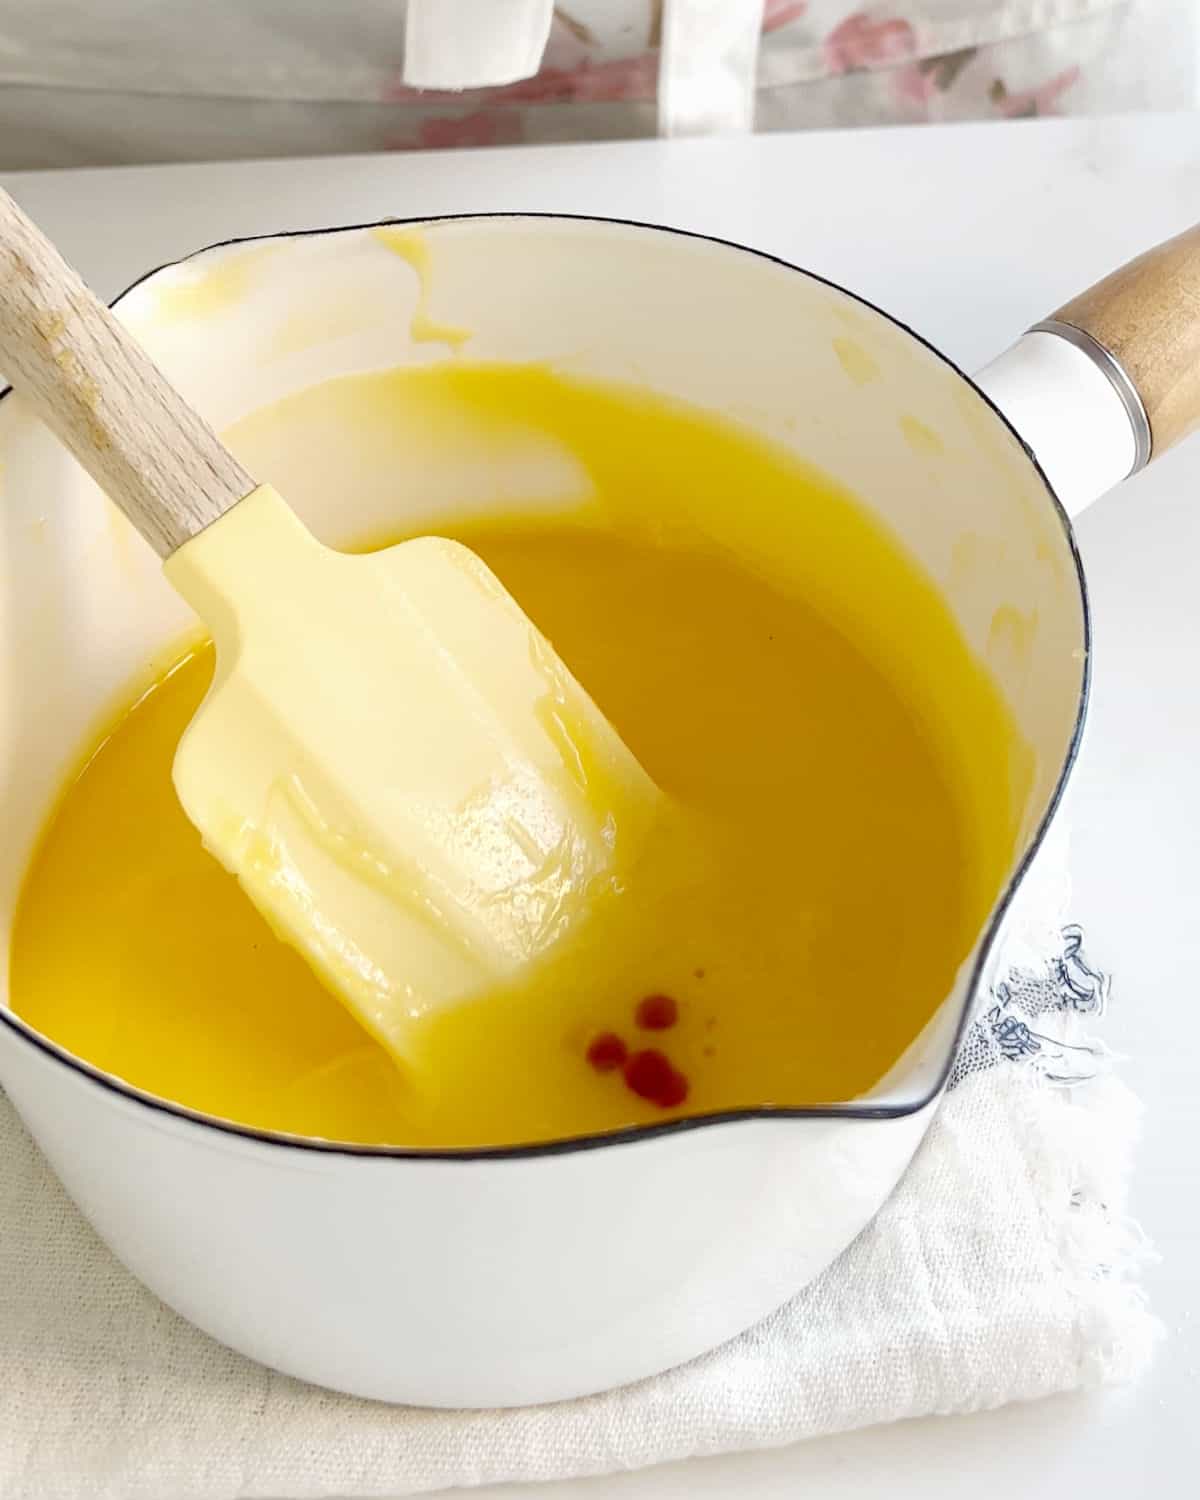
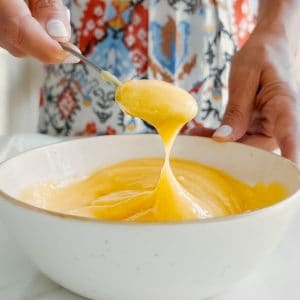
- Return the mixture to the saucepan and cook over medium/low heat, stirring constantly with a spatula, until it thickens and a line can be drawn when a finger is slipped across the spatula.
Paula's Tip
Stir constantly as you cook it at the end, making sure it doesn't stick to the bottom, and the eggs don't curdle. The mixture has to thicken but still be fluid; it will thicken further as it cools. If in doubt, use an instant kitchen thermometer and cook until 170°F (77°C).
- Add flavorings if you want to. I add a little sea salt and a few drops of vanilla extract.
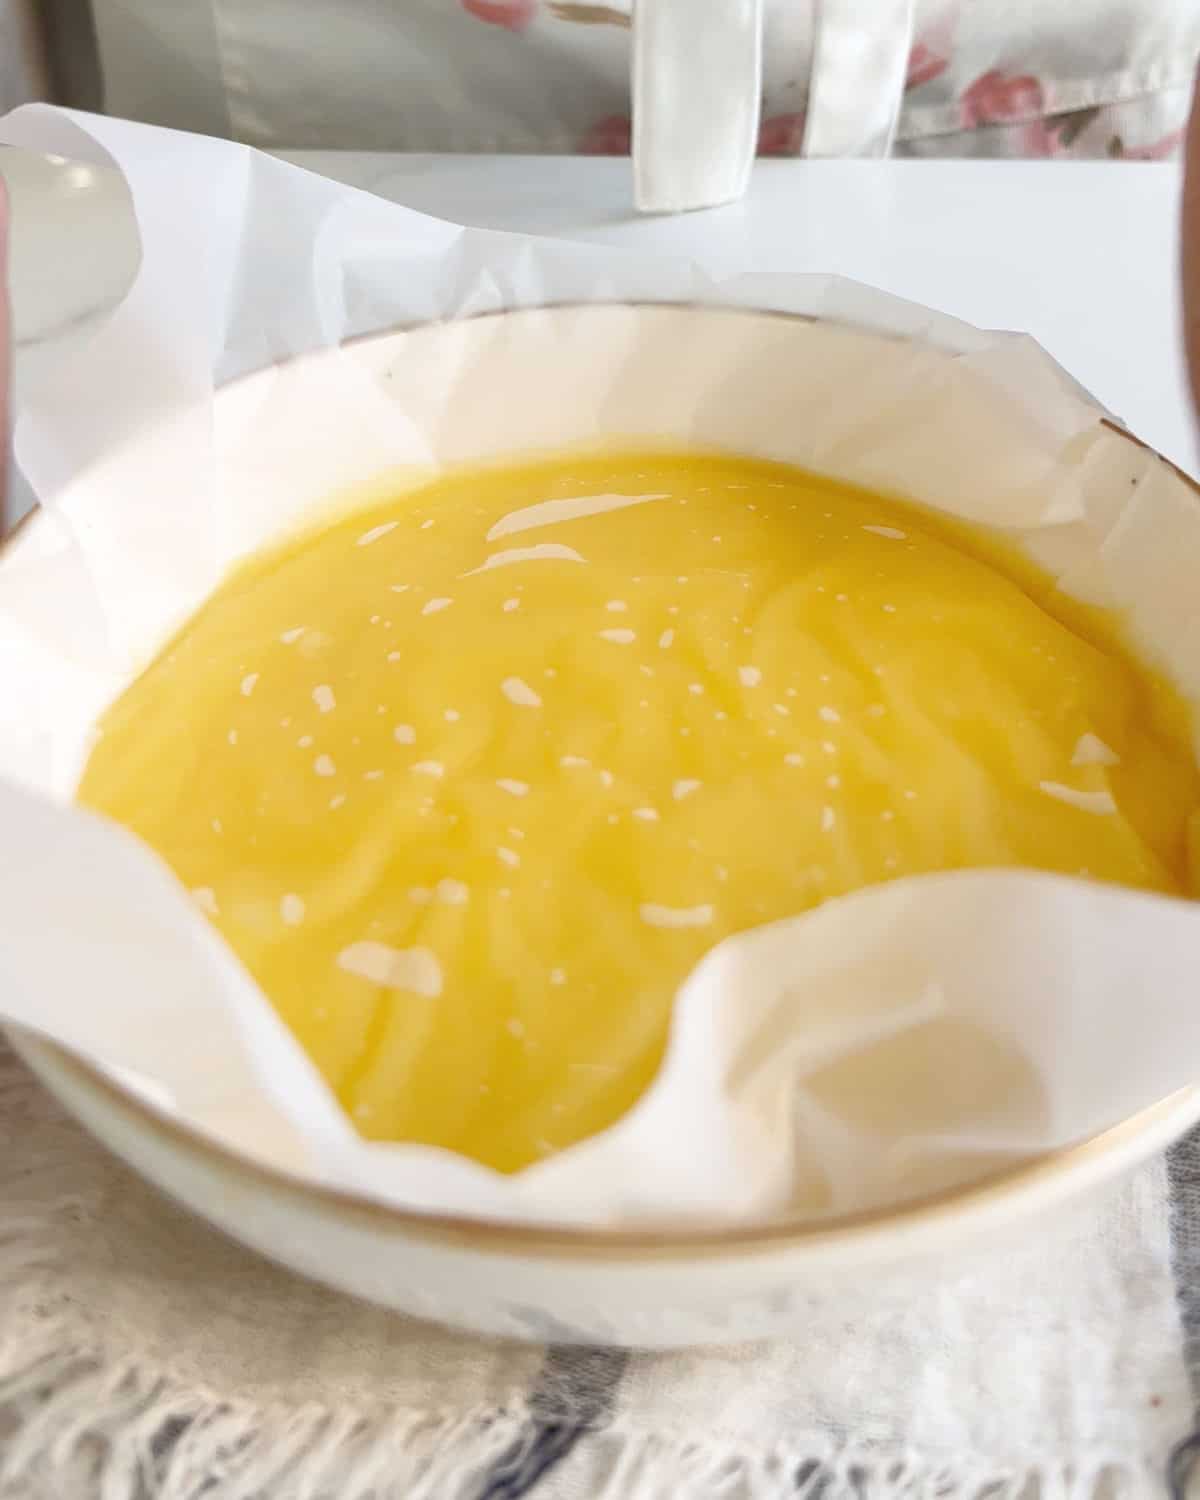
- Transfer to a bowl and immediately cover with a piece of plastic (I use freezer sheets, but plastic wrap also works), touching the whole surface. This prevents a thick layer from forming as it cools down.
Paula's tip
It's always a good idea to strain the lemon curd through a fine-mesh sieve to remove any lumps or bits of cooked egg that may have formed; do so before covering it and letting it cool down.
Storage
Keep in mind that unless you follow a canning process for longer storage (as you would for jam), this homemade curd doesn't have the same shelf life as its store-bought counterpart.
- Refrigerator: lemon curd can be stored in the fridge for up to 2 weeks in an airtight container.
- Freezer: can be frozen for a month (without much change from what I tested) and thawed in the refrigerator or at room temperature. Always in a freezer-safe airtight container. Sometimes the texture changes slightly upon defrosting, especially if it has been in the freezer for a few months.
If you made this recipe and loved it, you can comment below and leave a 5-star ⭐️ review. Also, if you had issues, let me know so we can troubleshoot together.
You can also subscribe to our FREE email series 'Baking the Best' and our regular newsletter. Or follow and save my recipes on Pinterest.
As an Amazon Associate, I earn from qualifying purchases. Read my disclosure policy.
Perfect Lemon Curd Recipe (step-by-step)
Ingredients
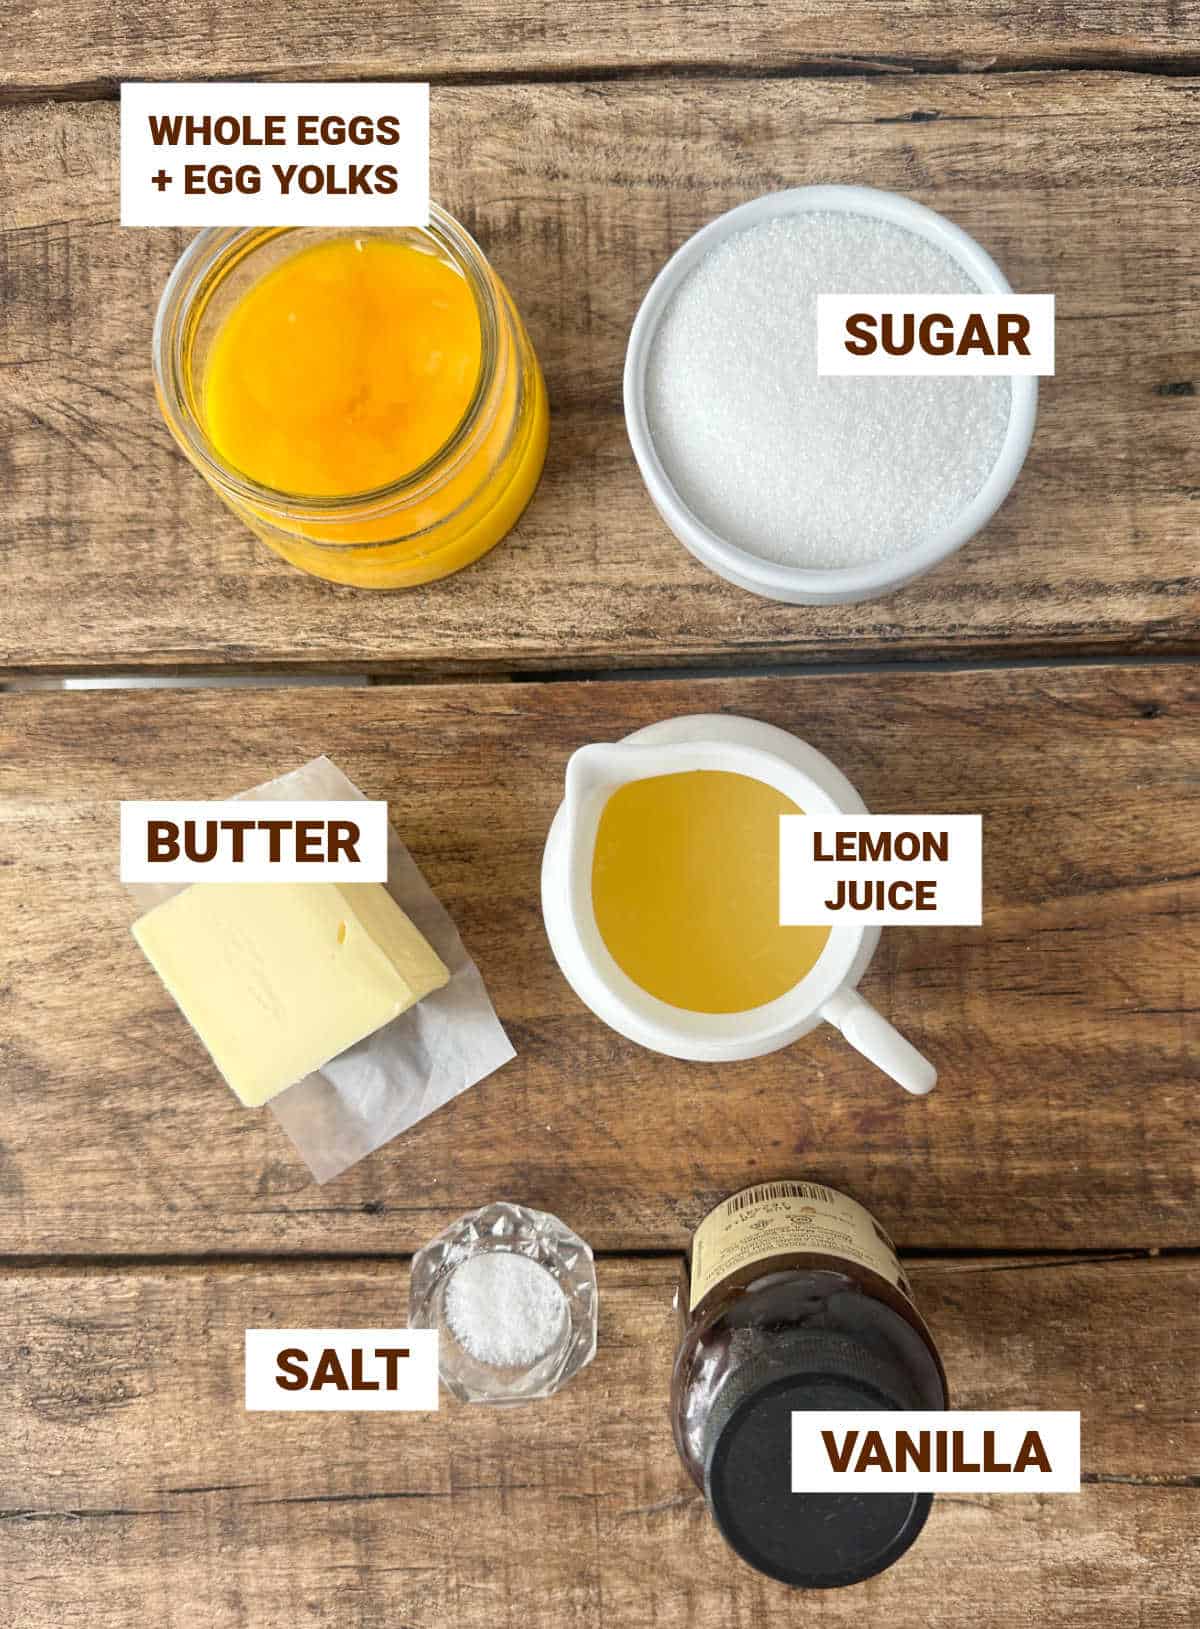
- 1 cup fresh lemon juice, I don't recommend bottled juice
- ¼ cup unsalted butter
- 4 eggs, at room temperature
- 2 egg yolks, at room temperature
- 1 cup sugar
- large pinch of sea salt
- a few drops of vanilla extract, optional
Instructions
- In a medium saucepan, heat 1 cup fresh lemon juice and ¼ cup unsalted butter over medium heat and remove when bubbles start to appear, just below the boiling point.
- In a large bowl, whisk 4 eggs, 2 egg yolks, and 1 cup sugar to blend.
- Gradually add the hot lemon mixture to the eggs, mixing well and quickly. Don't add it all at once, as you can curdle parts of the eggs.
- Transfer the mixture back to the saucepan and stir constantly over medium-low heat until it thickens and leaves a path in the back of the spoon (or silicone spatula) that stays put for a few seconds. Be careful it doesn't stick to the bottom of the pan so it doesn't burn.
- Remove from the heat, add a large pinch of sea salt and a few drops of vanilla extract, and stir well.
- Strain curd with a fine-mesh strainer to avoid any hard bits that might have formed. This optional step ensures creamy curds, but you can omit it if you feel your mixture is smooth and has no lumps.
- Transfer to a shallow bowl, cover with a piece of plastic wrap or a freezer sheet touching the whole surface of the curd, and let cool to room temperature. This will prevent a thick layer from forming.
- Refrigerate in a jar or airtight container with a lid for a week. Or freeze in freezer-safe containers for up to a month.
Rate and review this recipe