This effortless fruit dessert is ready in under an hour and can be made ahead. It has several shortcuts that make it very easy to assemble: a layer of pineapple chunks, cherry pie filling (store-bought), and a cobbler-like topping made with boxed cake mix. The mix of flavors is surprisingly good, and it freezes very well.
SAVE THIS RECIPE
The original dump cake
Dump cakes are family favorites around here and a growing category on this blog, and with good reason: they're a delicious easy dessert recipe option that uses simple ingredients.
They're like sweet casseroles that are even better when served with a dollop of cream or a scoop of ice cream on top.
The original recipe uses cans of fruit filling, a box of cake mix, and thinly sliced cold butter pieces. The first two are literally opened and dumped into the baking dish, hence the name, and the butter slices are arranged on top of the cake mix in an even layer, covering it.
It's a crowd-pleaser. It's especially good for picnics, potlucks, and other outdoor gatherings where you have to feed many. In the summer, the peach dump cake and this gorgeous and unique black forest dump cake are huge hits wherever I take them.
A simple dessert recipe that became very popular among busy moms decades ago.
Testing Notes
Cake mix distribution: Sprinkle the boxed mix evenly over the fruit so it absorbs juices in all areas. Clumps of dry cake mix are usually from uneven coverage.
Butter coverage is key, and melted butter gives the most even distribution. Pour it slowly and evenly over the surface. A few small dry spots are fine. Large dry patches are not. If needed, drizzle a little extra butter halfway through baking. This is important; you don't want to bite into dry cake mix!
Make sure the topping is fully baked. It may be golden brown and the juices bubbling, but lift some of the dough here and there to check that it's not still wet inside.
What type of cake mix can you use? Yellow cake mix is the traditional one, but white mix works very well, as does a lemon cake mix.
Keep leftovers in the refrigerator, covered to avoid dryness. You can also freeze them for a month, sometimes more. Let it thaw at room temperature and warm it slightly in the oven before eating.
Make-ahead. You can make it up to 4-5 days before and have it well covered (I use plastic wrap) in the fridge. Or freeze it for several weeks. Let it thaw at room temperature. In both cases, warm it slightly in the oven before eating.
Steps to make a dump cake
As the name implies, this is a dump-and-bake recipe.

Cherry filling and cake mix layer
Dump the store-bought pie filling and the pineapple chunks with some of the juice into the chosen baking dish.
Cake mix layer
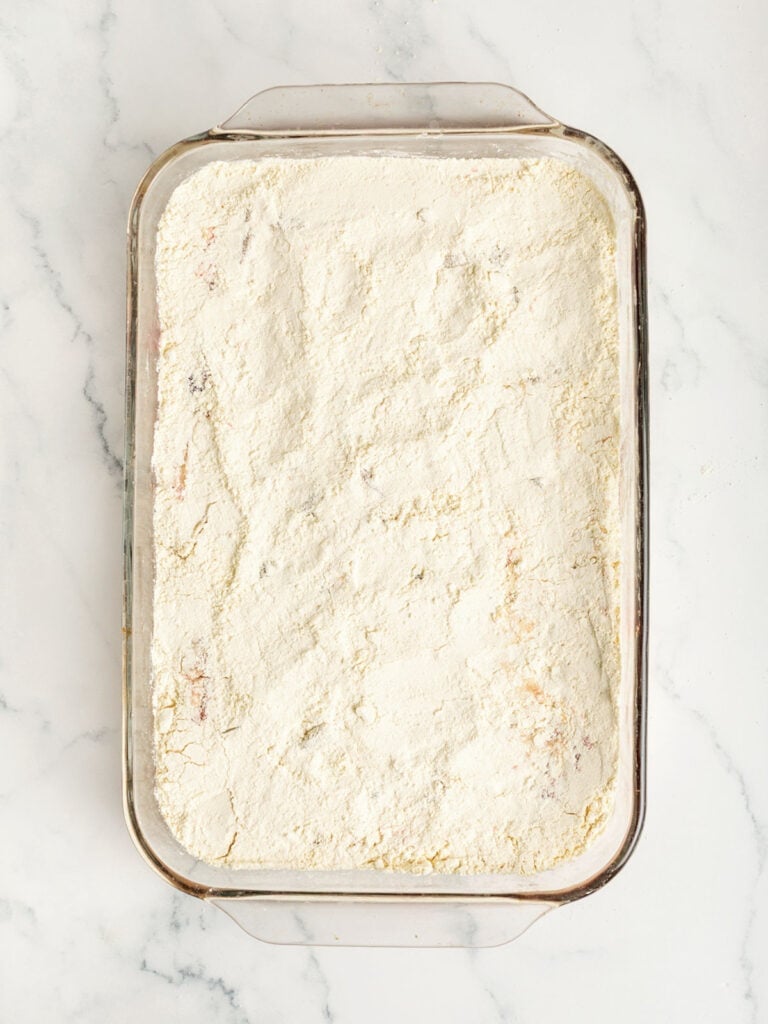
Sprinkle cake mix on top of the pineapple. Even it out with a spatula or the back of a spoon. It should cover all of the fruit, but don't stir or mix it with it.
Butter layer
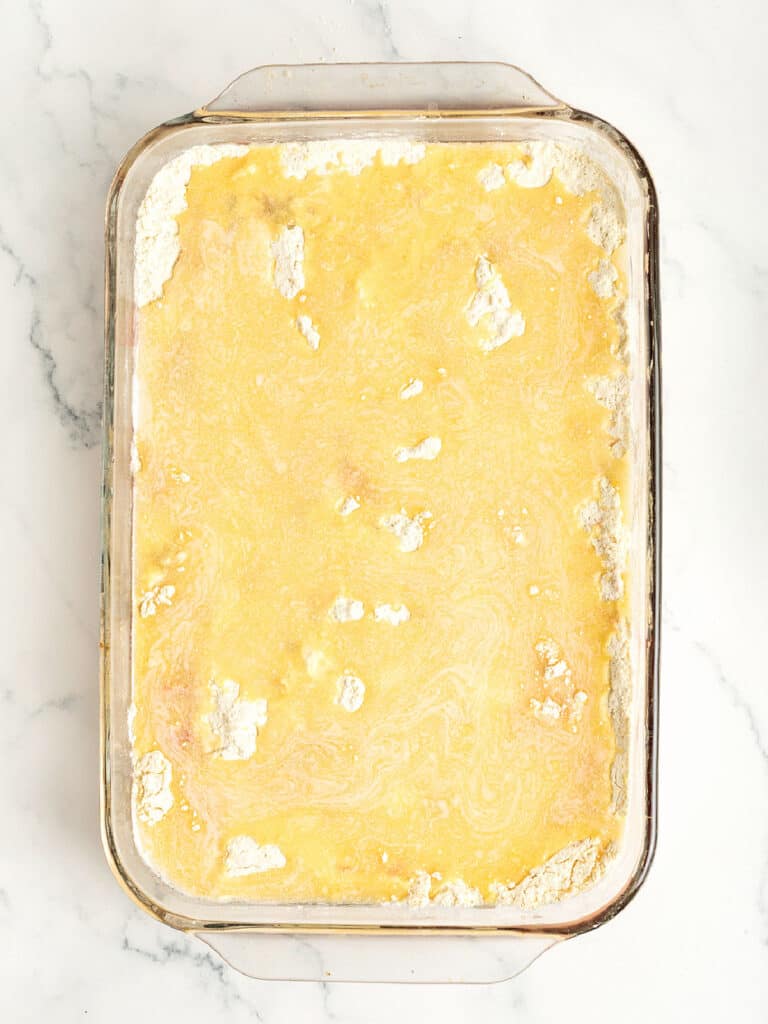
Drizzle the melted butter (warm, not hot) over the cake mix, covering as much as you can.
Baking
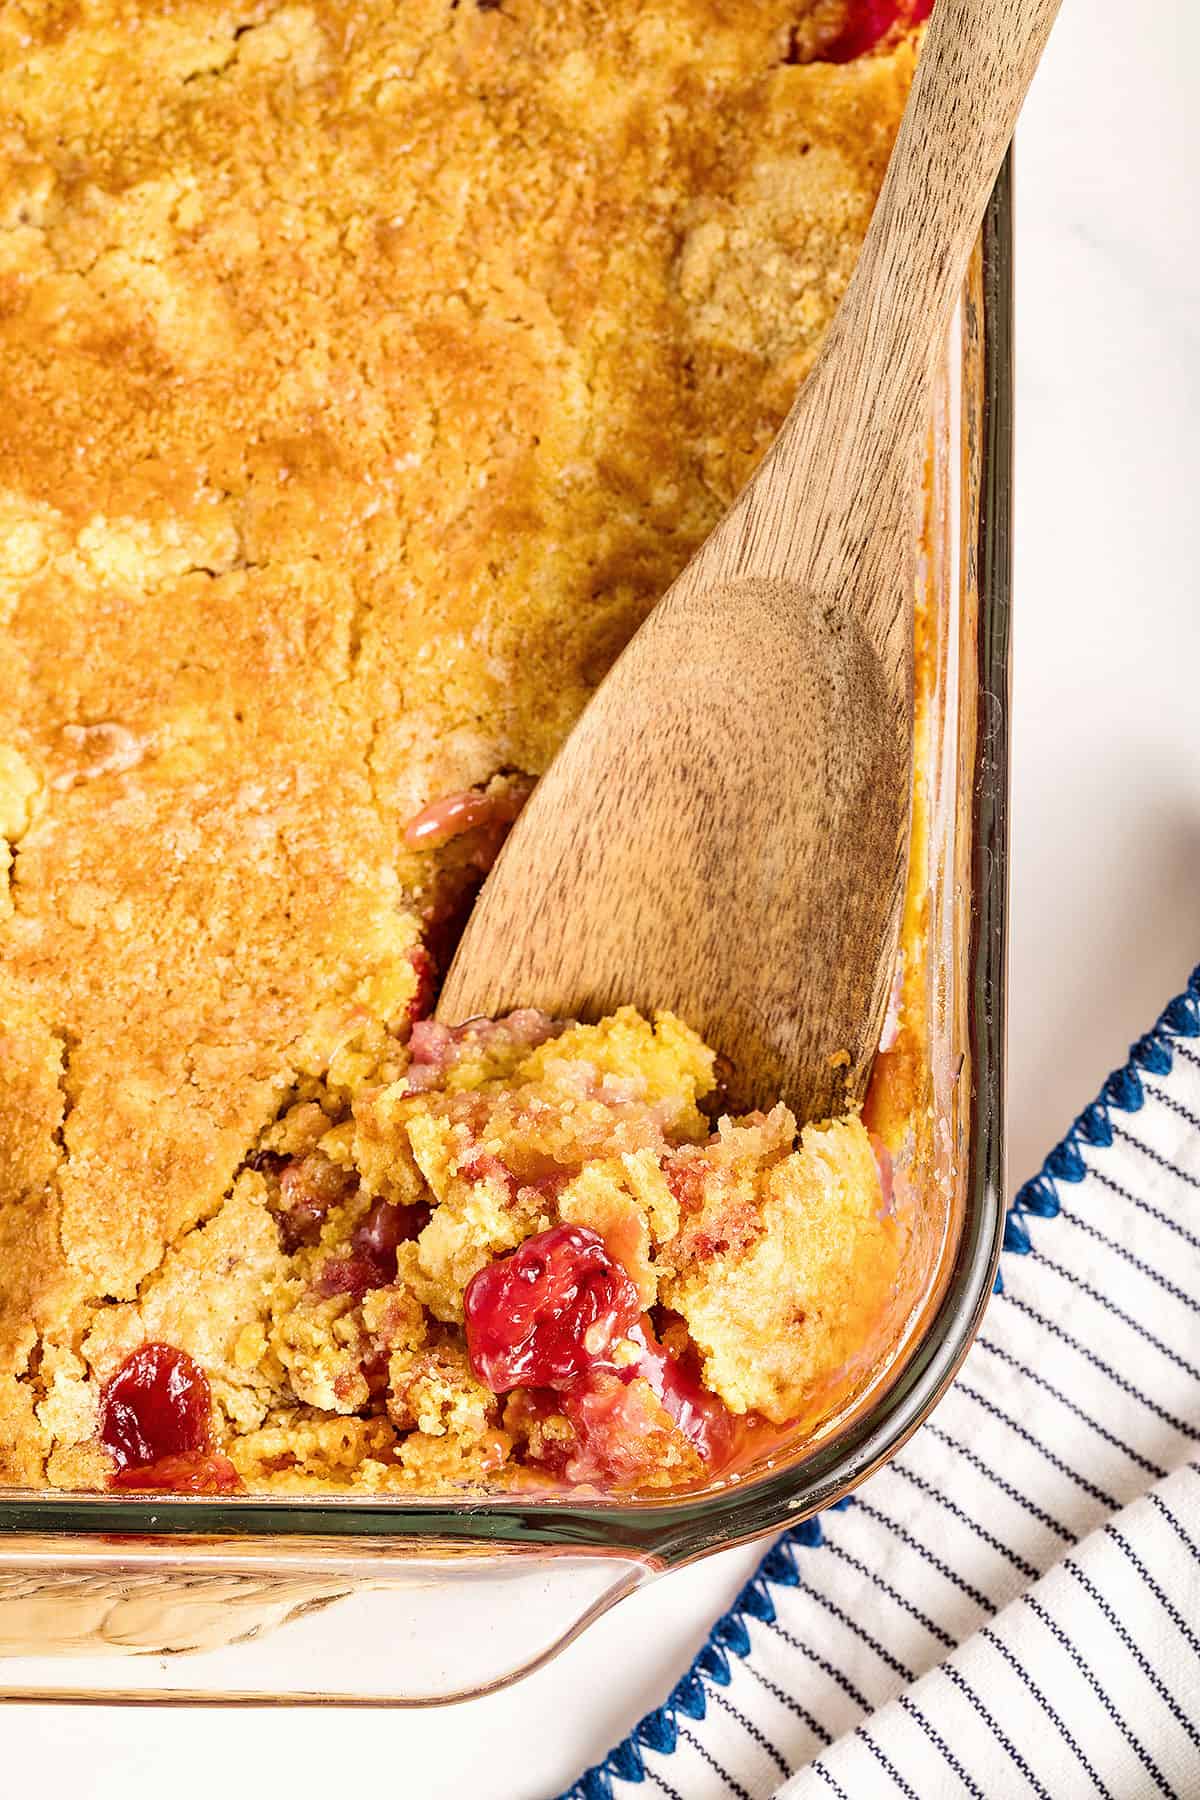
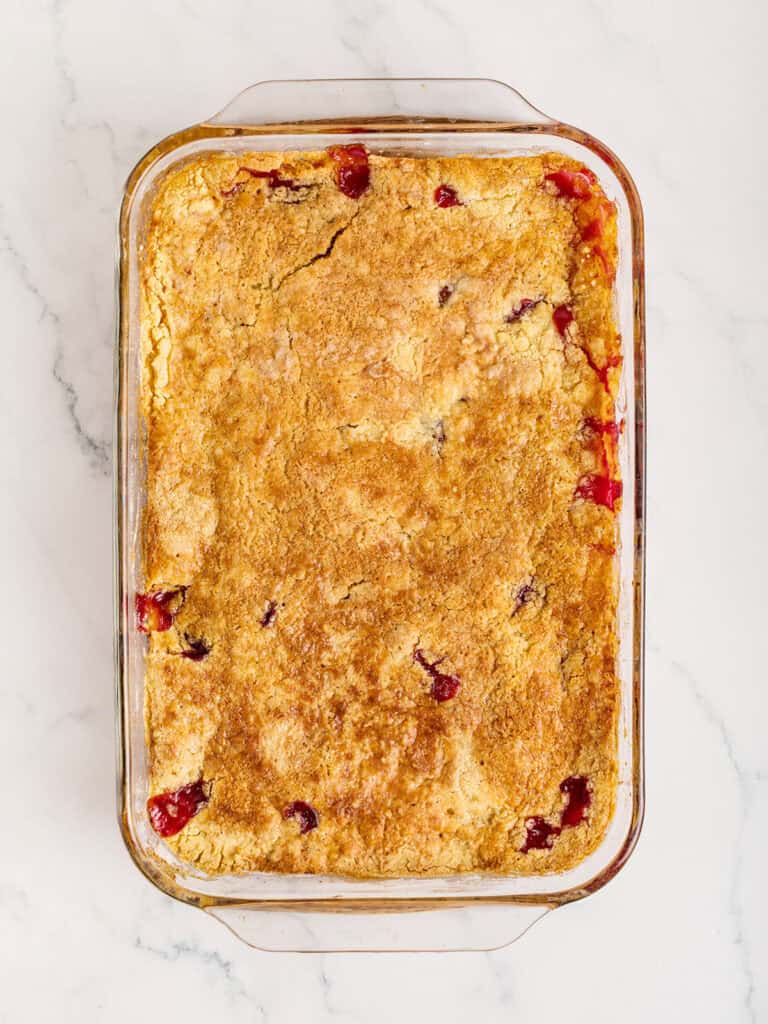
The topping will be dry and the butter will have melted. You should see the filling bubbling up the sides. Make sure the cake is baked and not wet; you can lift it carefully here and there and check.
Paula's Tip
Make sure the topping is fully baked. It may be golden brown and the juices bubbling but lift some of the dough here and there to check that it's not still wet inside.
If you made this recipe and loved it, you can comment below and leave a 5-star ⭐️ review. Also, if you had issues, let me know so we can troubleshoot together.
You can also subscribe to our FREE email series 'Baking the Best' and our regular newsletter. Or follow and save my recipes on Pinterest.
As an Amazon Associate, I earn from qualifying purchases. Read my disclosure policy.
Pineapple Cherry Dump Cake (canned fruit and cake mix)
Ingredients
For the fruit layer:
- 21 ounces cherry pie filling, 1 can
- 12 ounces canned pineapple chunks
- 4 tablespoons pineapple juice, from the can
Optional flavorings:
- 2 teaspoons lemon juice
- ¼ teaspoon ground cinnamon
For the topping:
- 15.25 ounces yellow or white cake mix, 1 box
- 1 cup unsalted butter, melted
Instructions
- Preheat the oven to 350°F (180°C).
- Have ready an 8x11-inch ceramic or glass dish, rectangular or oval. Or a 9-inch square or round baking dish.
For the filling:
- Dump 21 ounces cherry pie filling into the prepared baking dish. Scatter 12 ounces canned pineapple chunks and 4 tablespoons pineapple juice and stir to mix a little. If using flavorings, add 2 teaspoons lemon juice and/or ¼ teaspoon ground cinnamon.
For the topping:
- Sprinkle 15.25 ounces yellow or white cake mix over the fruit layer, covering completely. Even it out with a spatula or the back of a spoon, but don't stir it!
- Drizzle 1 cup unsalted butter, melted, on top of the dry cake mix. Try to cover as much as possible. Don't stir it or mix it with the filling.
- Bake in the preheated oven for 40-45 minutes, until golden brown and dry and the filling bubbles around the edges, checking close to the end of the baking time by lifting the topping here and there and making sure it's completely baked inside. Bake a little longer if necessary.
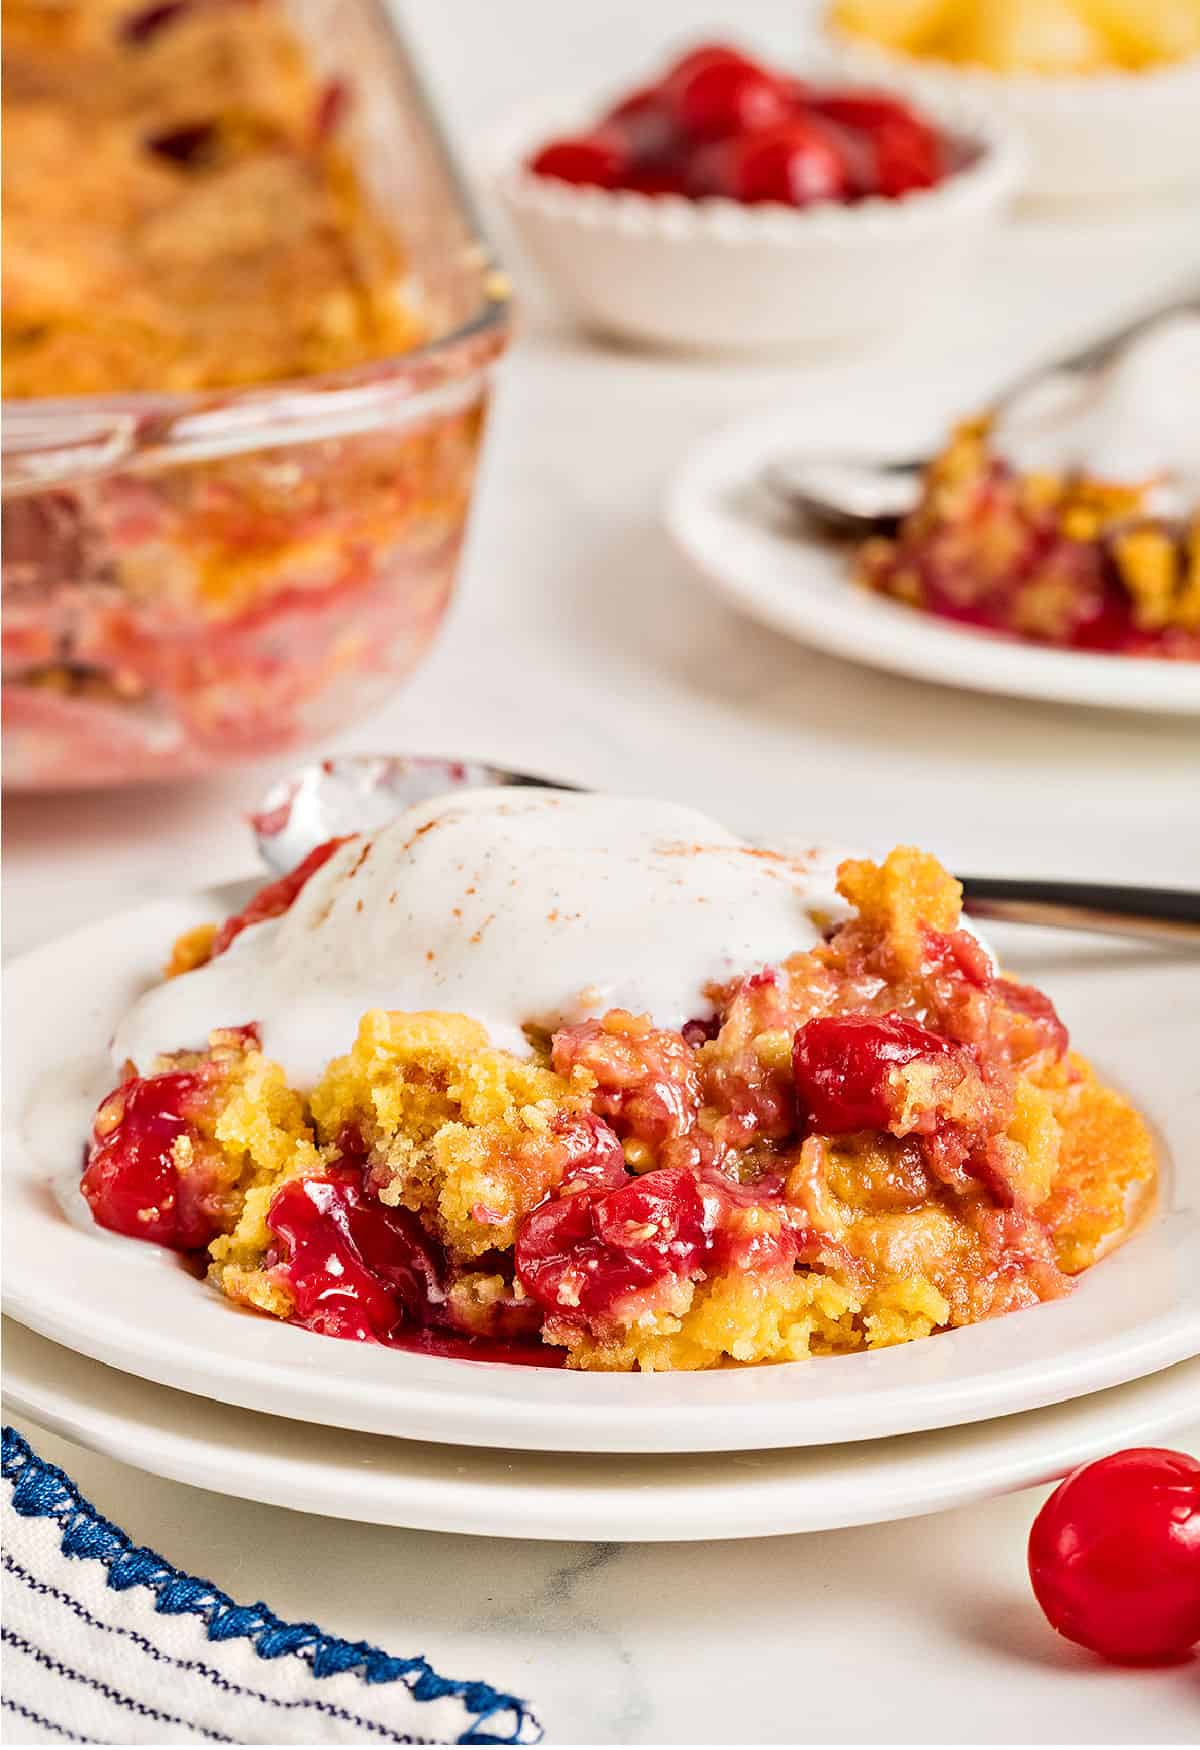
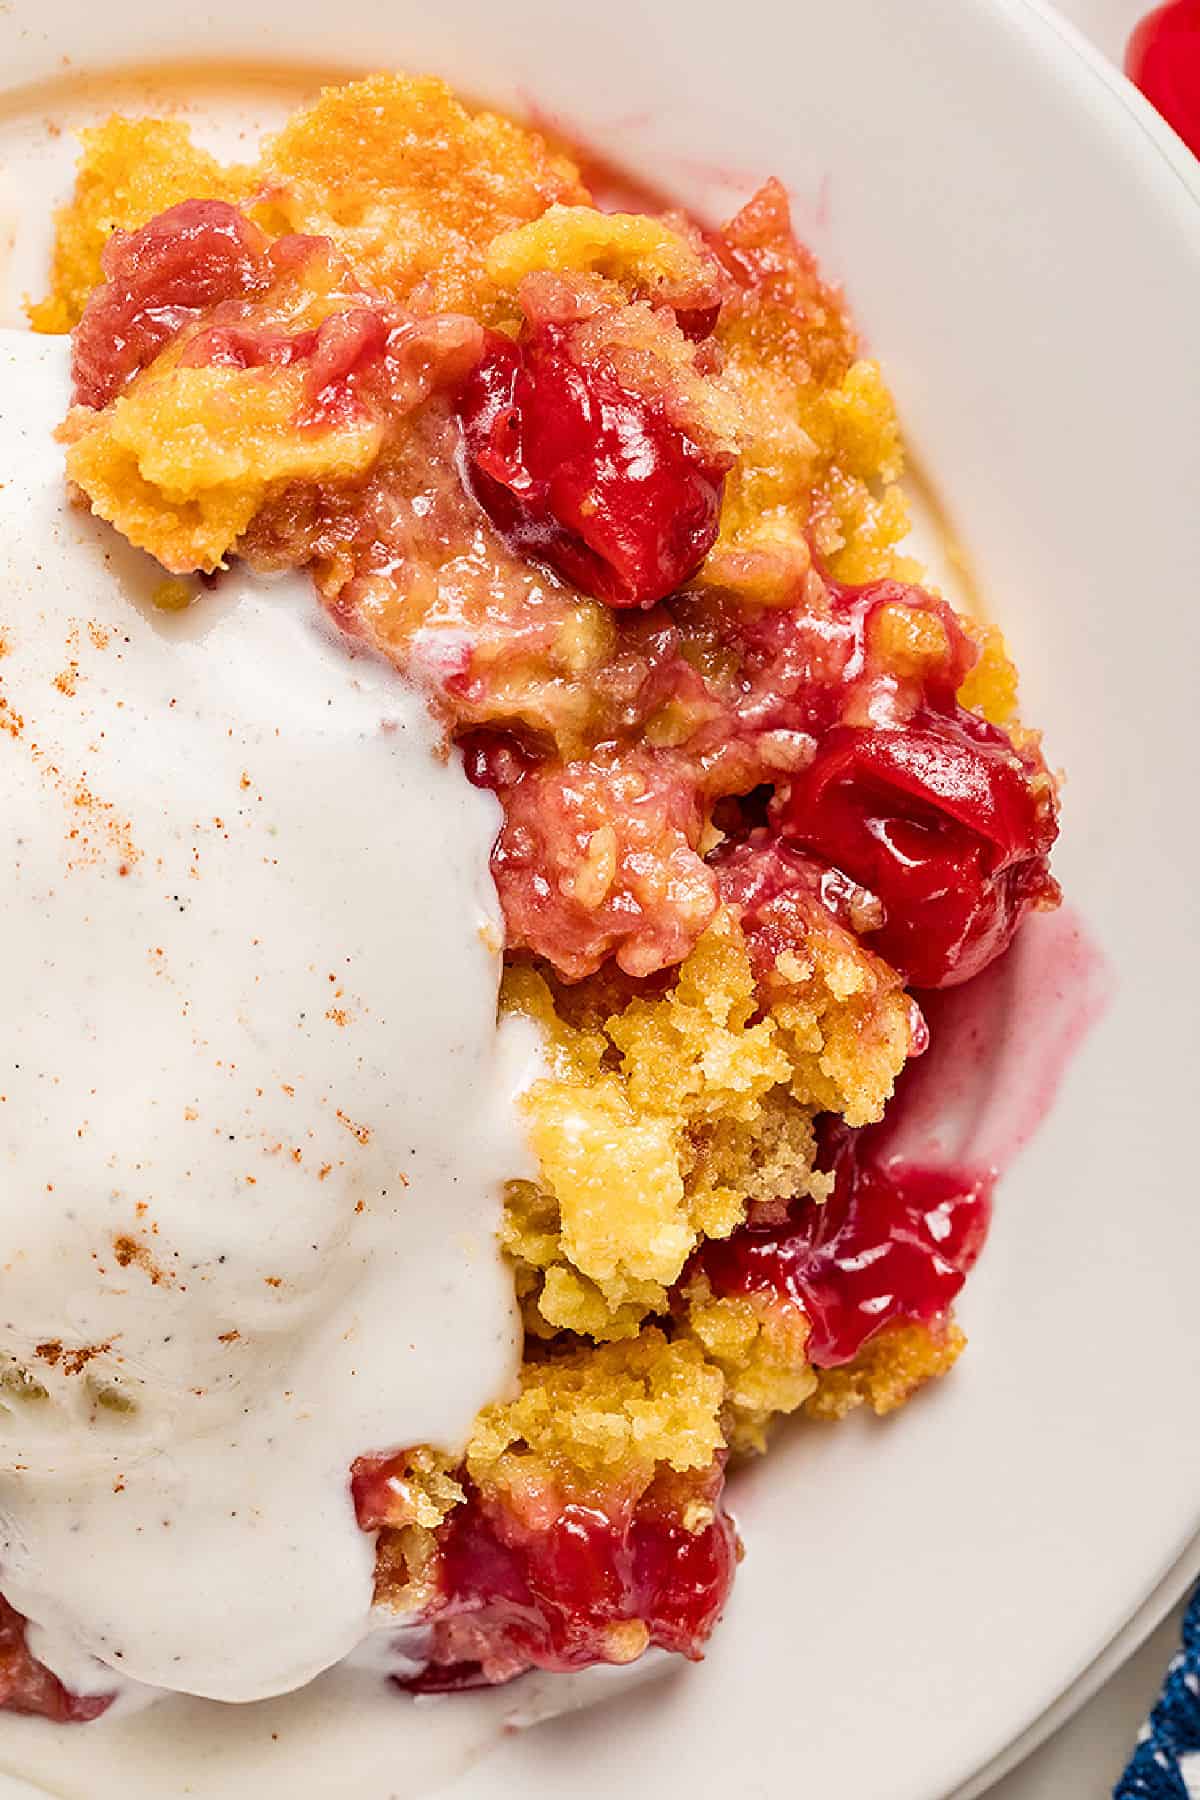
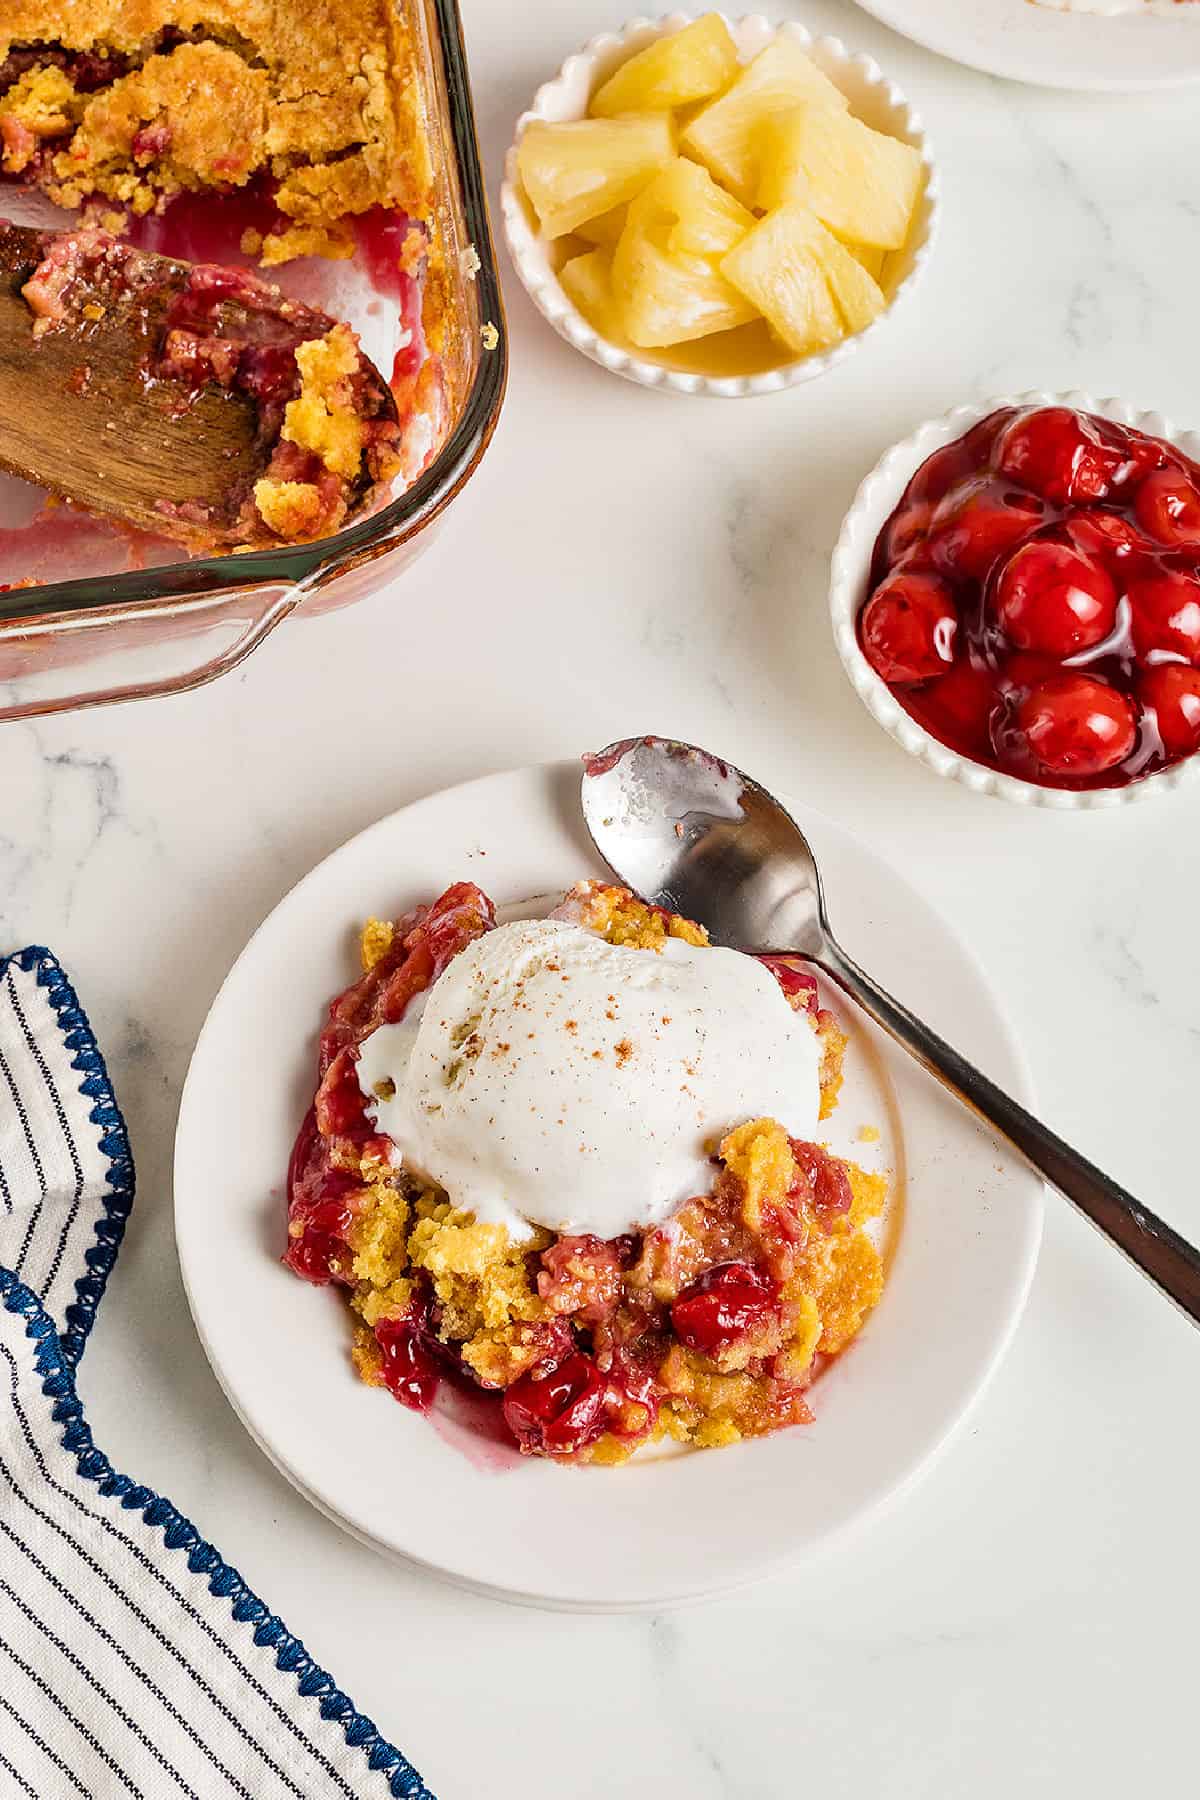
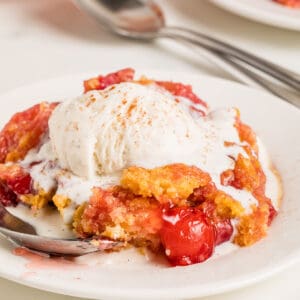
- Serve warm plain, with whipped cream or a scoop of ice cream. Top with the juices from the pan and extra fresh or maraschino cherries and pineapple pieces if you want to.
Rate and review this recipe