A simple and easy-to-make recipe that combines the sweetness of the pineapple with the buttery, cakey texture of the cake mix. They combine to create a dessert that is indulgent, juicy, and delicious, making it a popular choice for potlucks, family gatherings, and other casual events.
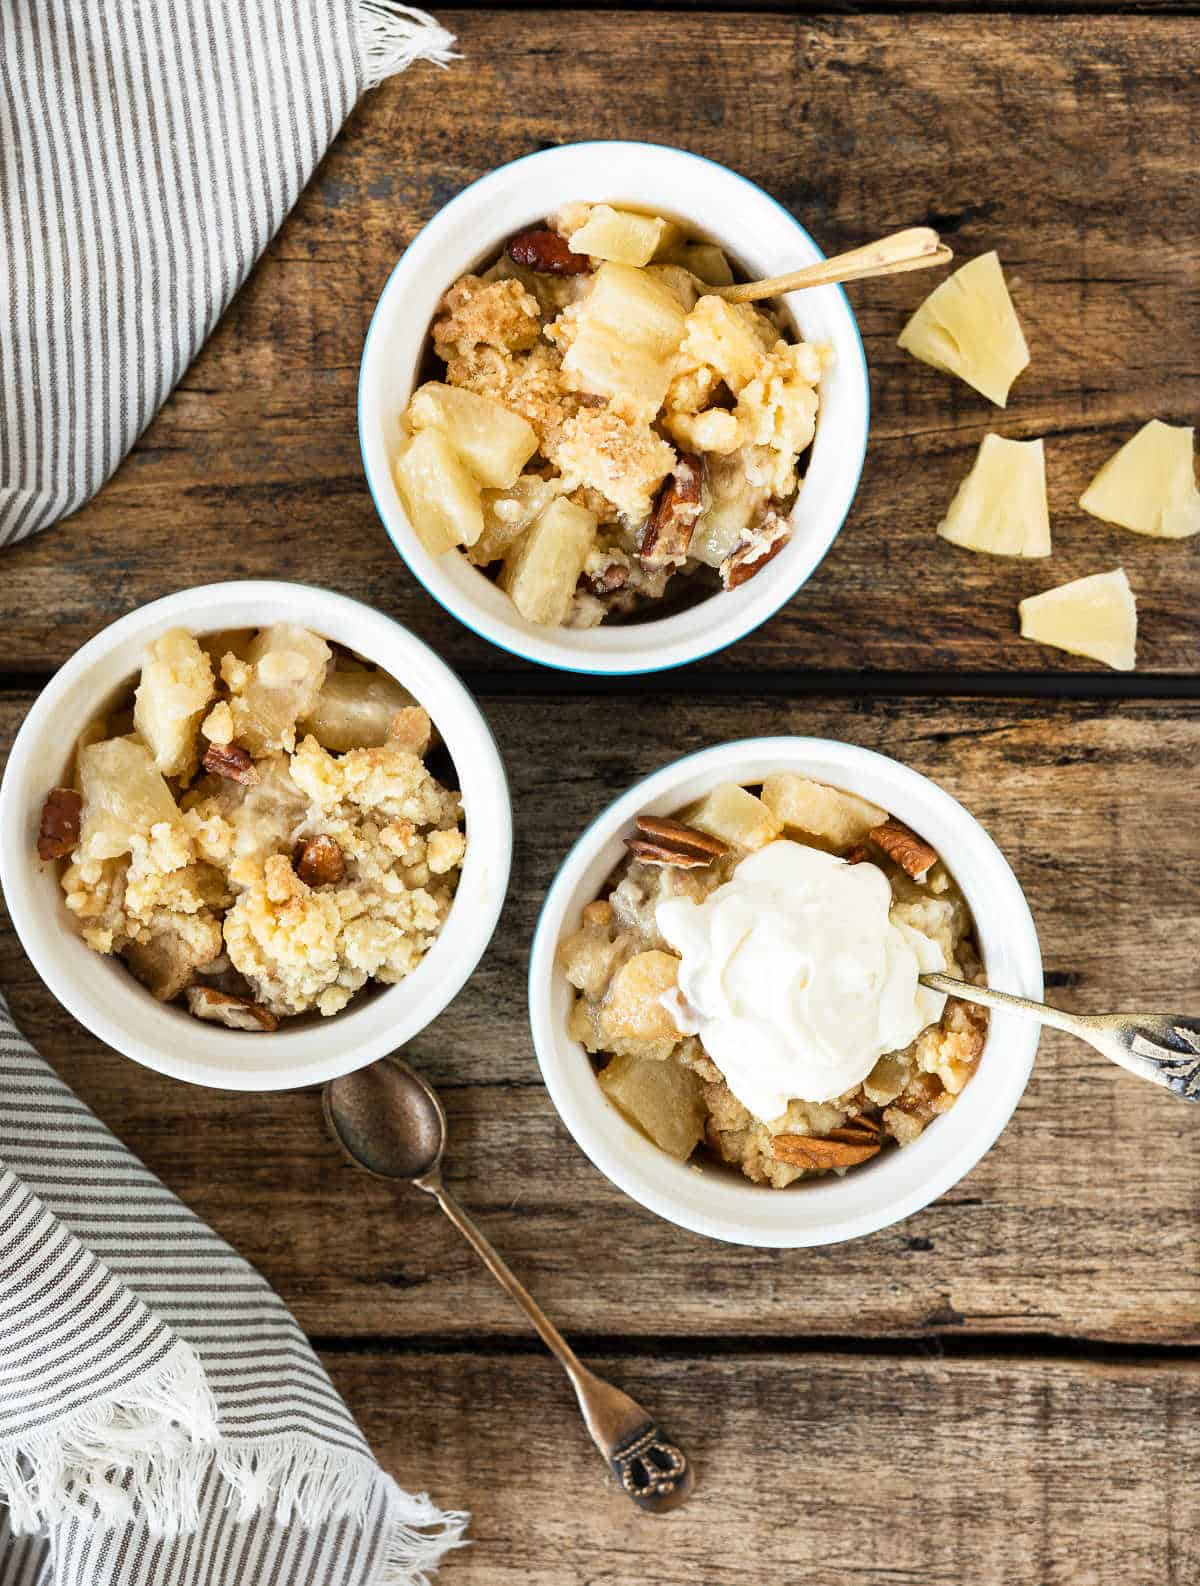
Dump cakes are family favorites around here and a growing category on this blog, and with good reason: they're a delicious easy dessert recipe option that uses simple ingredients.
Also called cobbler with cake mix, they're like a sweet casserole dish.
And who doesn't love them served with a scoop of ice cream on top, right?
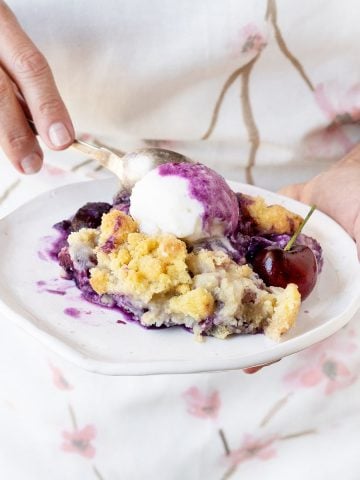
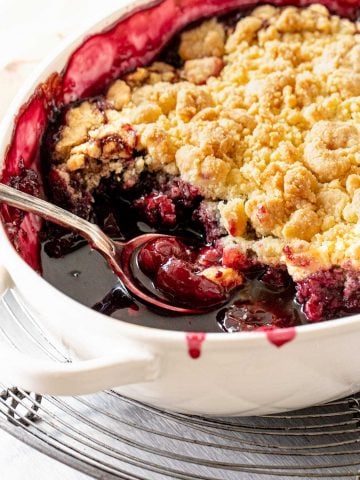
This is the sibling of the very popular cherry pineapple dump cake recipe and it's one of our favorites to make year-round, together with the apple dump cake.
Most use store-bought pie fillings, and this one uses canned pineapple, making it a snap to prepare.
Why is it called a dump cake?
The original recipe uses cans of fruit pie filling, a box of cake mix, and thinly sliced cold butter pieces.
The first two are literally opened and dumped into the baking dish, hence the name.
Then the butter slices are arranged on top of the cake mix in an even layer, covering it. A simple dessert recipe that became very popular among busy moms decades ago.
I also found a way of mixing the cobbler-like topping that delivers the best results. At least in my opinion.
FAQ
You can leave it at room temperature for a day. After that, it's best to refrigerate it. Fruit desserts are best kept chilled to prevent them from fermenting too quickly and going bad.
Yes, you can! And it's a great way to plan a dessert for a gathering.
It can be refrigerated for up to 5 days or frozen for a month, well covered in plastic wrap to prevent dryness.
Let it come to room temperature before serving, or slightly warm it in a medium oven and serve it with a big scoop of vanilla ice cream. I don't recommend serving it straight from the fridge.
Ingredient Notes
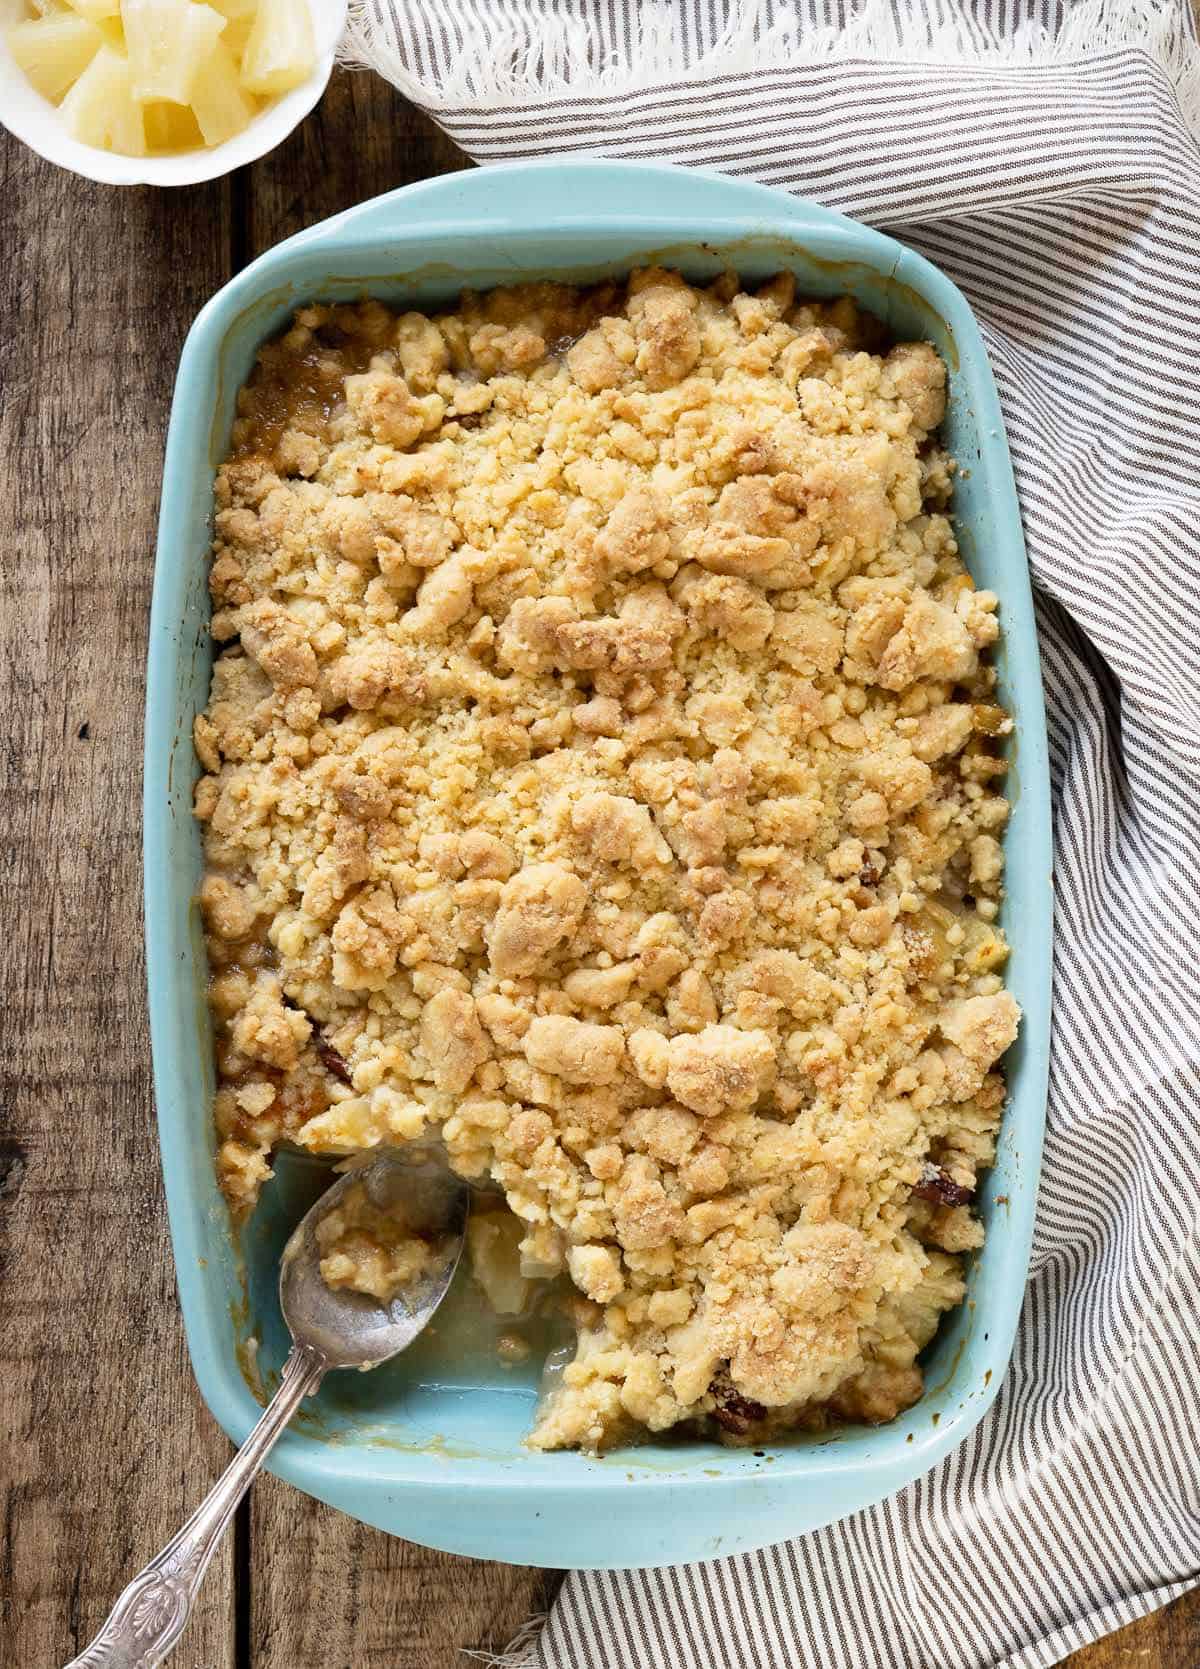
Quantities are listed in the recipe card towards the end of this post. The Ingredients page has more details and lists the brands we use.
- Dry cake mix: the type you find in the supermarket or grocery store, whatever brand you want. I like yellow cake mix, but white cake works well too.
- Canned pineapple: you can use crushed, chunks or rings that you chop before using.
- Brown sugar: light or dark.
- Lemon juice: to add some acidity and balance the sweetness.
Assembling a dump cake
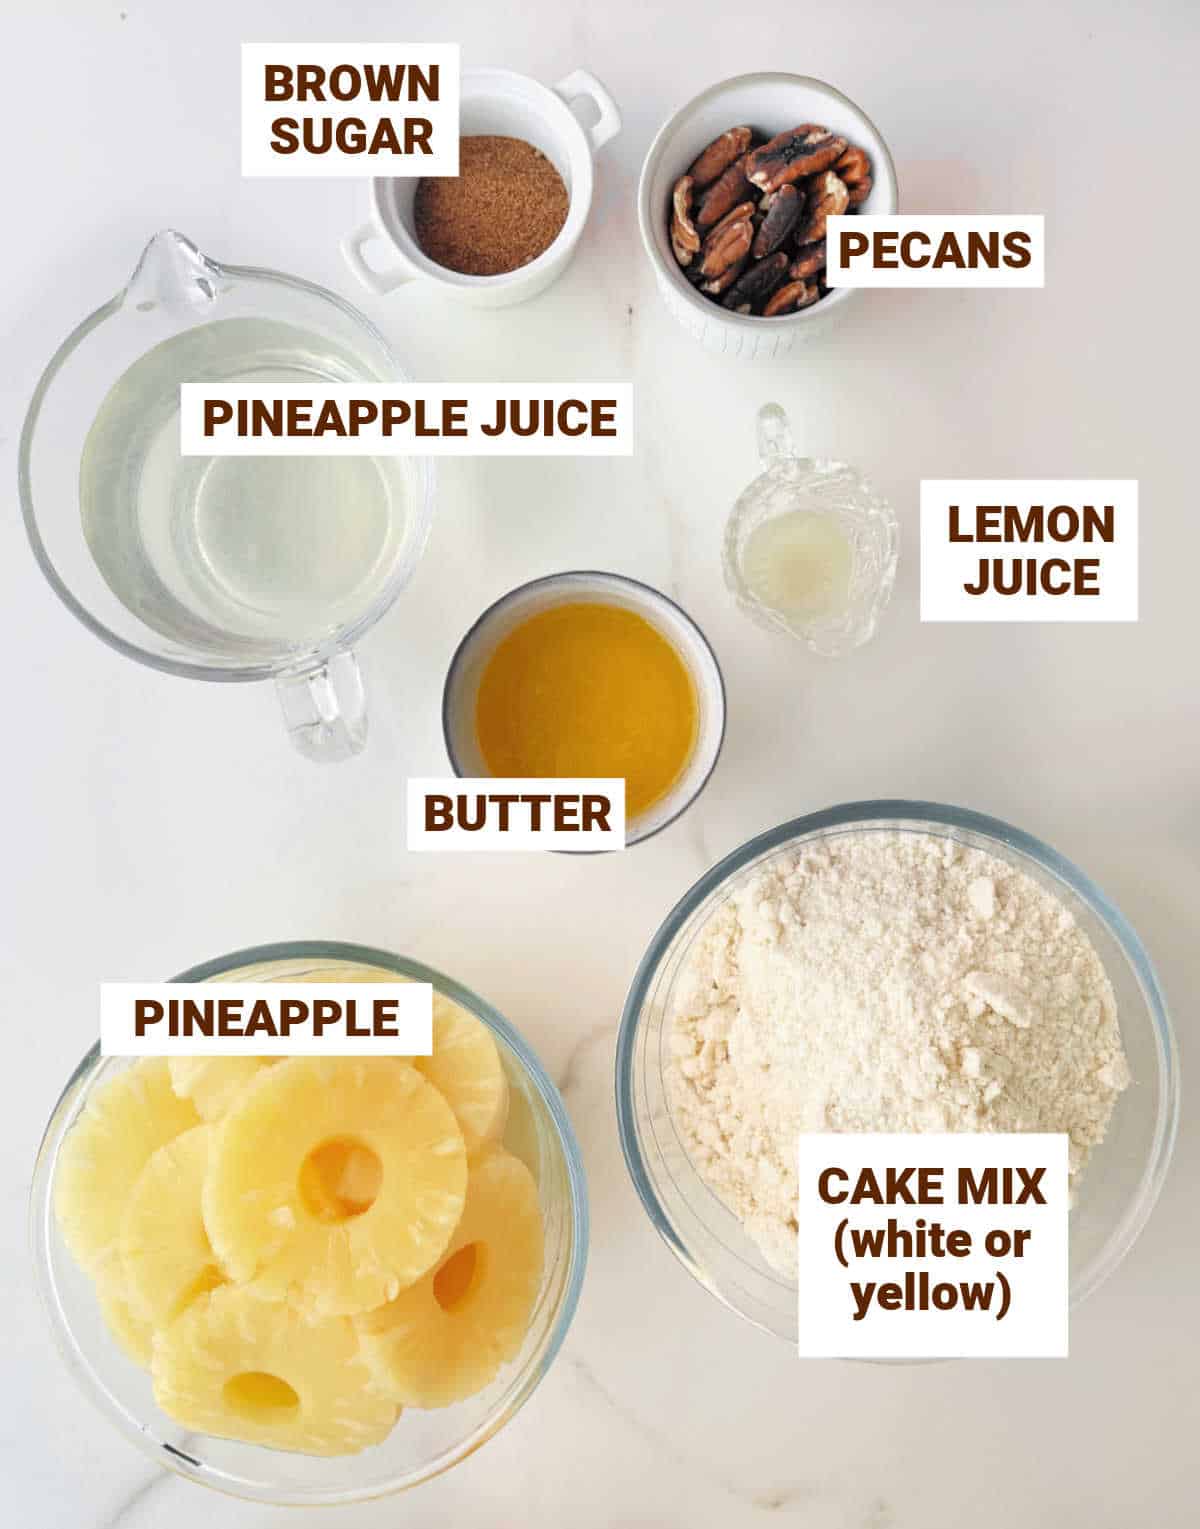
As the name implies, this is a dump-and-bake recipe.
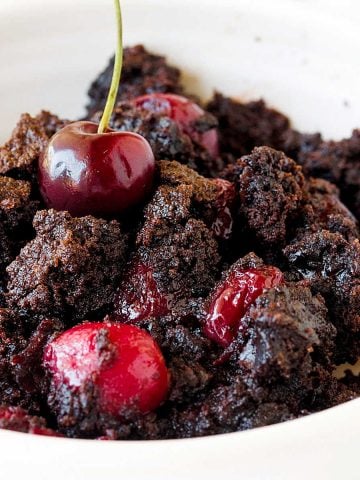
The original topping calls for sprinkling the cake mix evenly over the fruit and then covering it with thin slices of cold butter (as shown in the chocolate cherry dump cake post).
I had some issues with the topping being too floury because the cake didn't mix well with the butter in the oven. Eating dry parts of cake mix is not part of the deal.
So I slightly changed how I make the topping and now use melted butter because the result is crunchier and bakes better.
Using melted butter corrected that immediately and I never looked back.
The filling
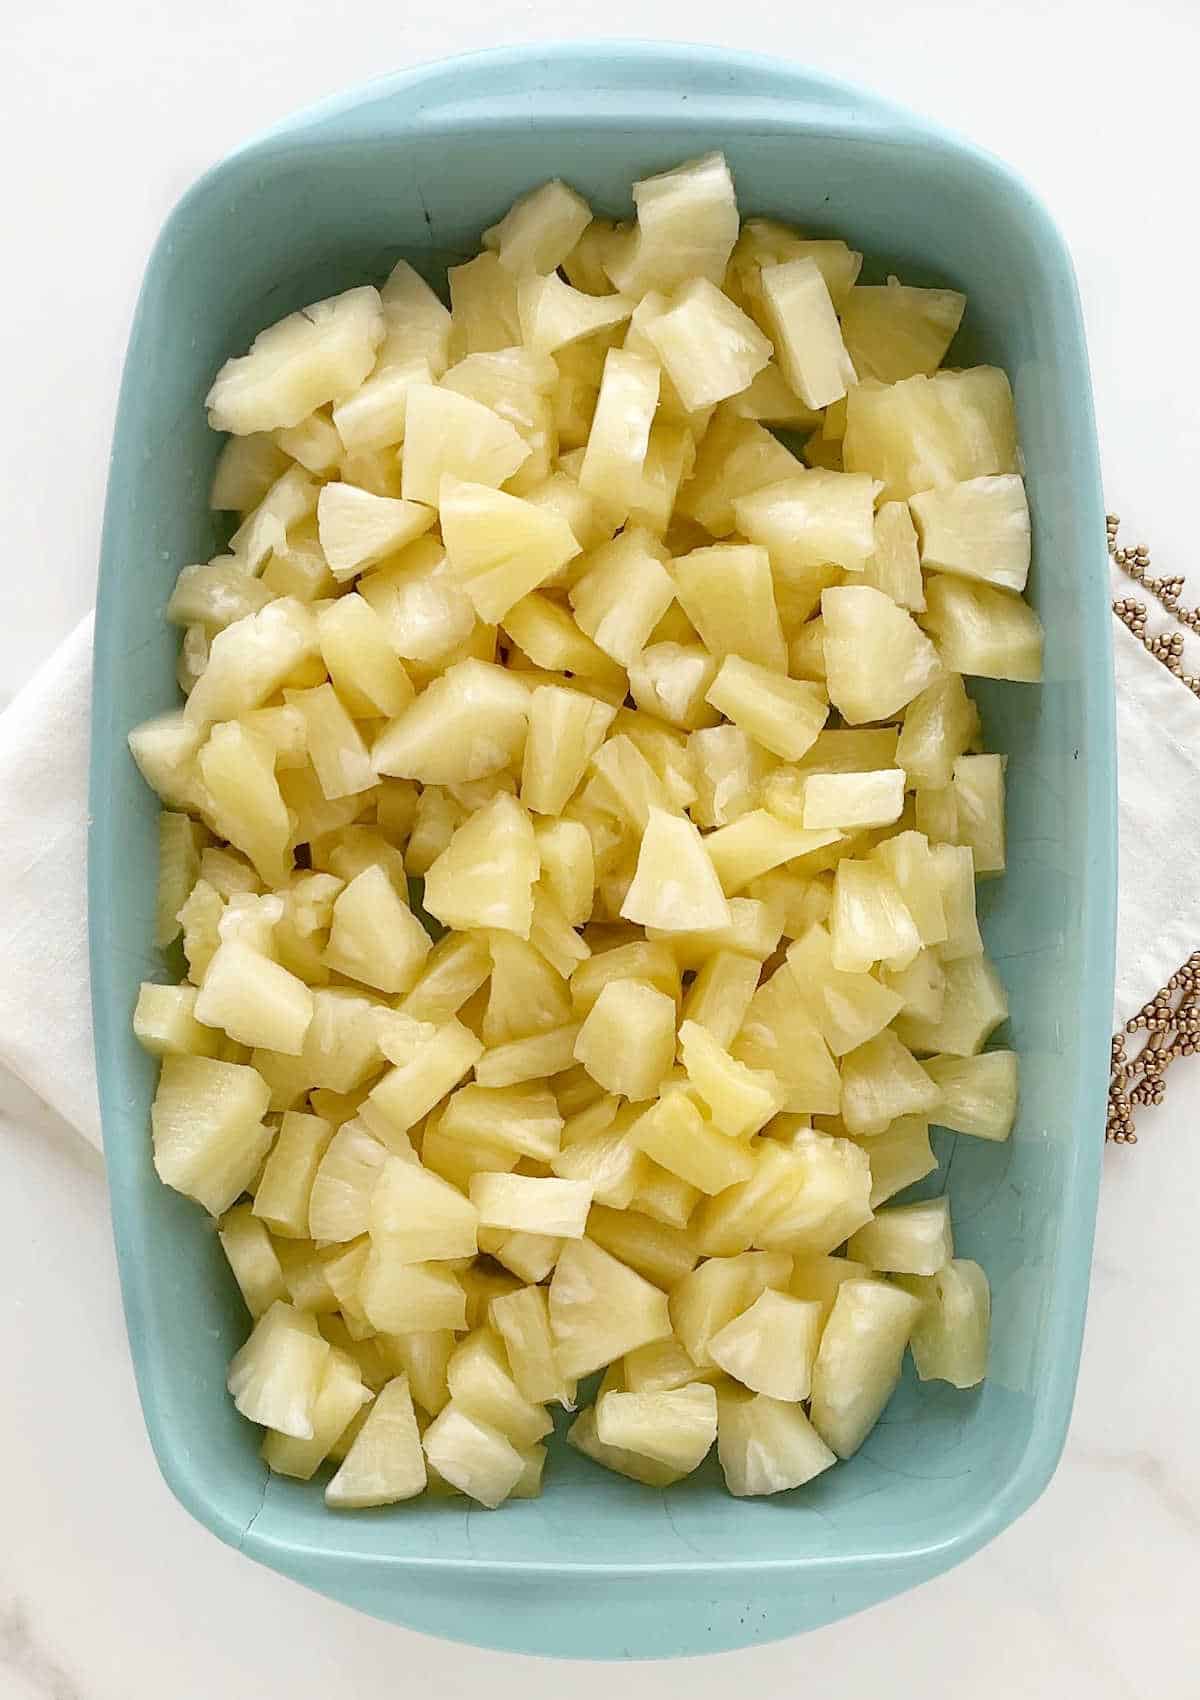
The pineapple needs to be cut into pieces small enough to eat. You can also use crushed pineapple, but it can disintegrate during baking and become mushy. I like biting into pineapple chunks but choose your favorite.
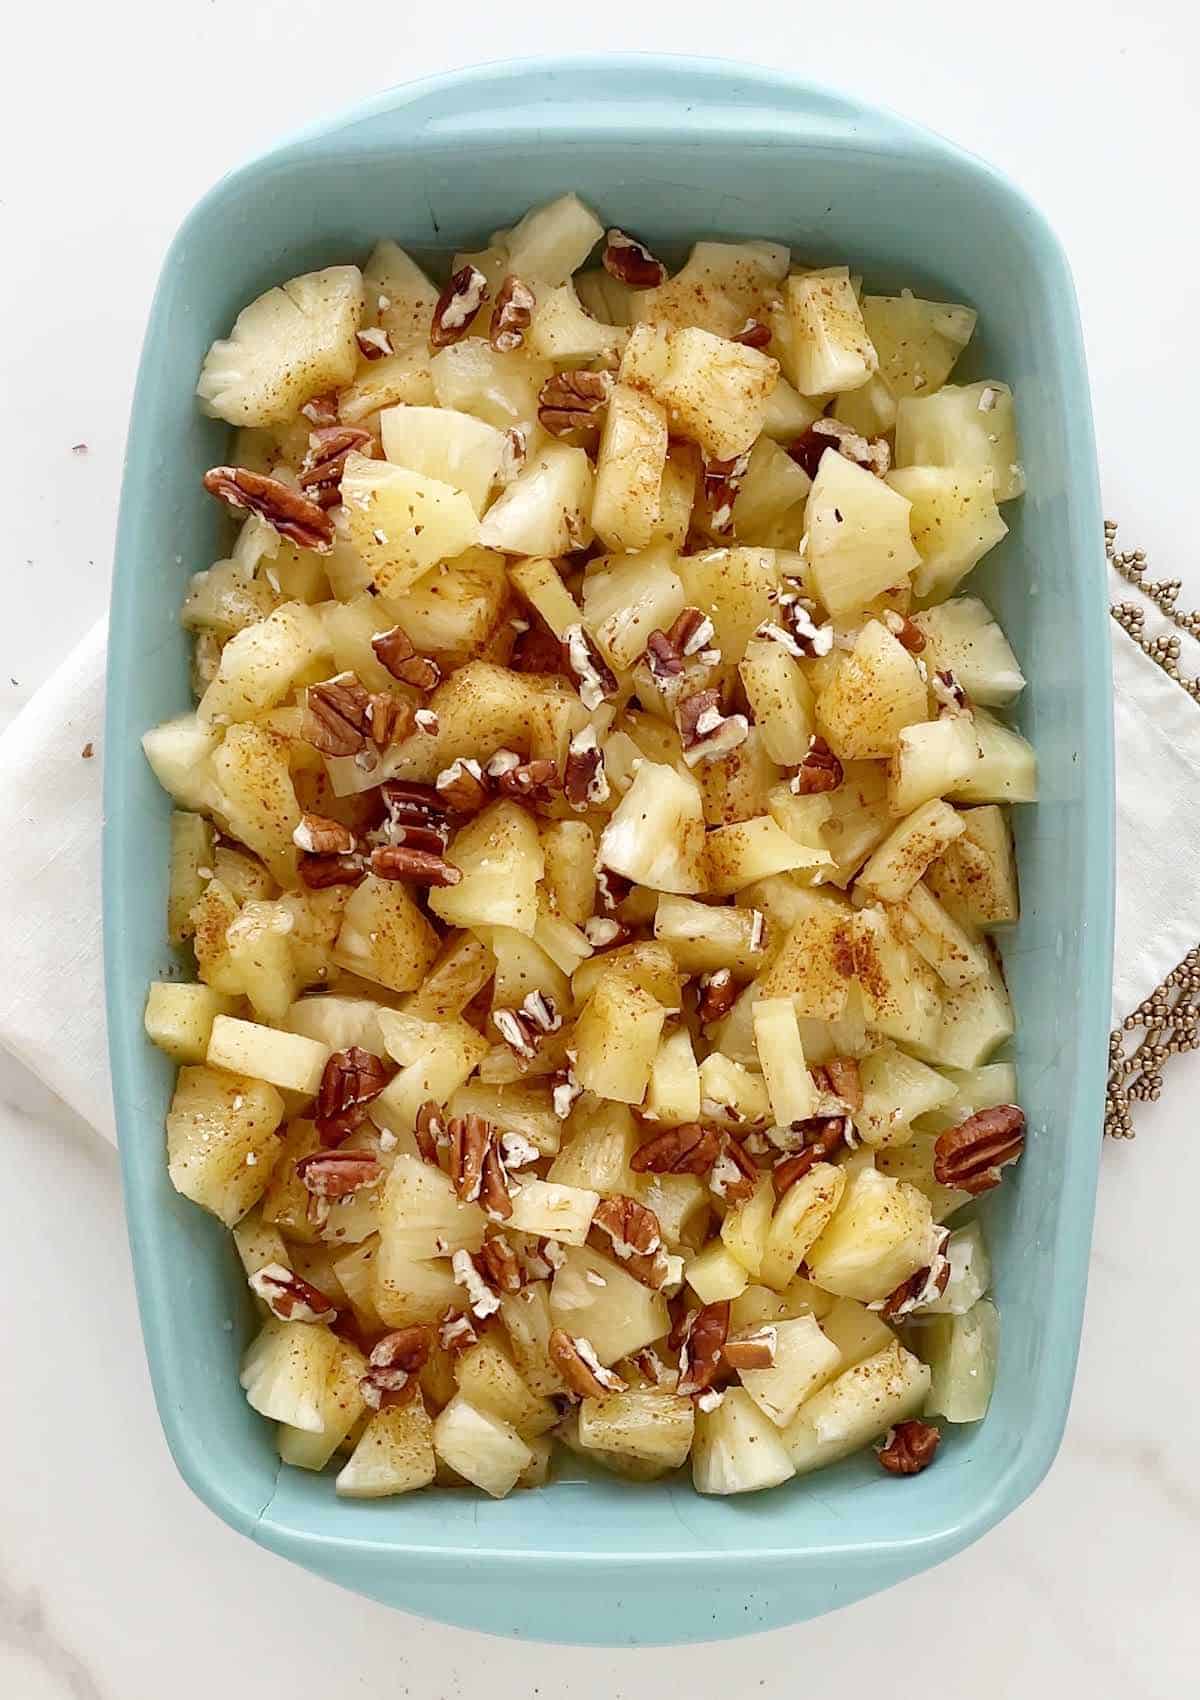
The filling ingredients are simply mixed together in a bowl and dumped into the baking dish.
Baking
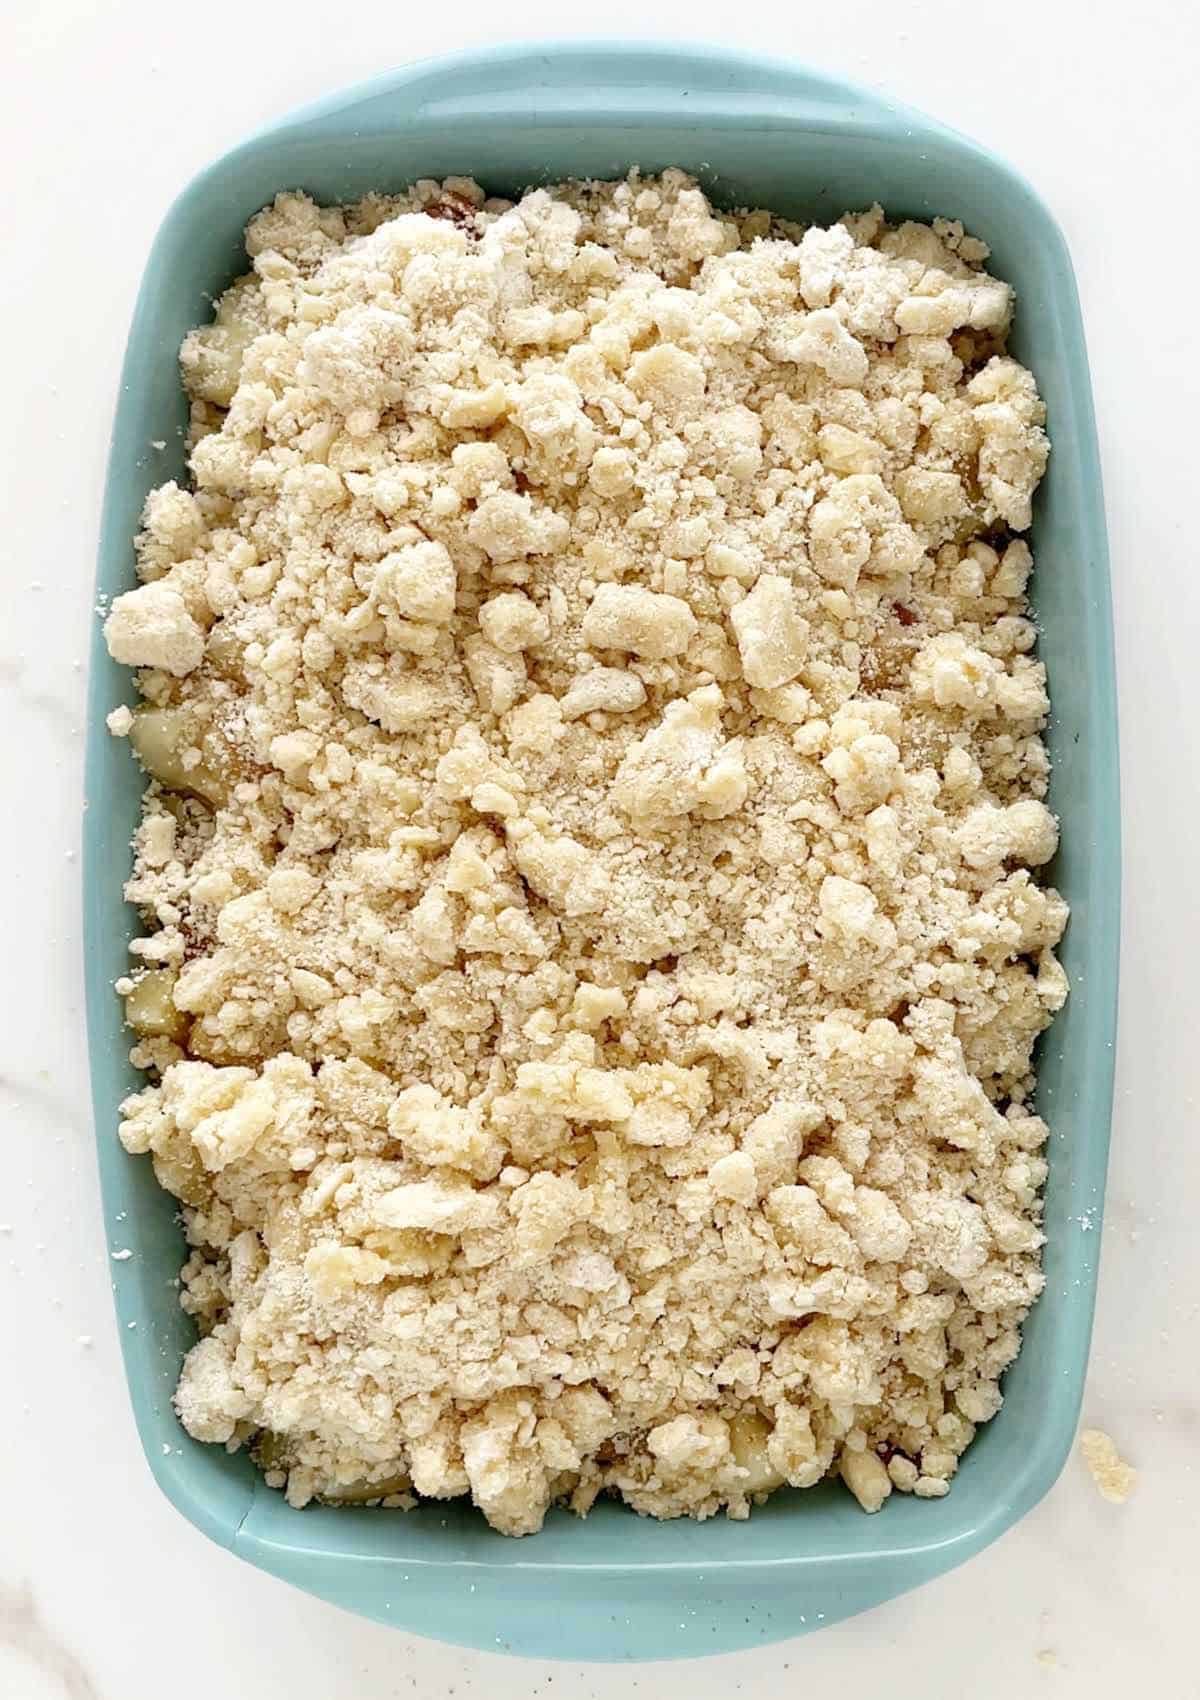
To make the topping: pour the melted butter into the cake mix in a large bowl and stir until crumbly and floury. That's it!
The topping will not cover the fruit completely and that is fine, as the juices need space to bubble as the dessert bakes.
Vintage Kitchen Tip
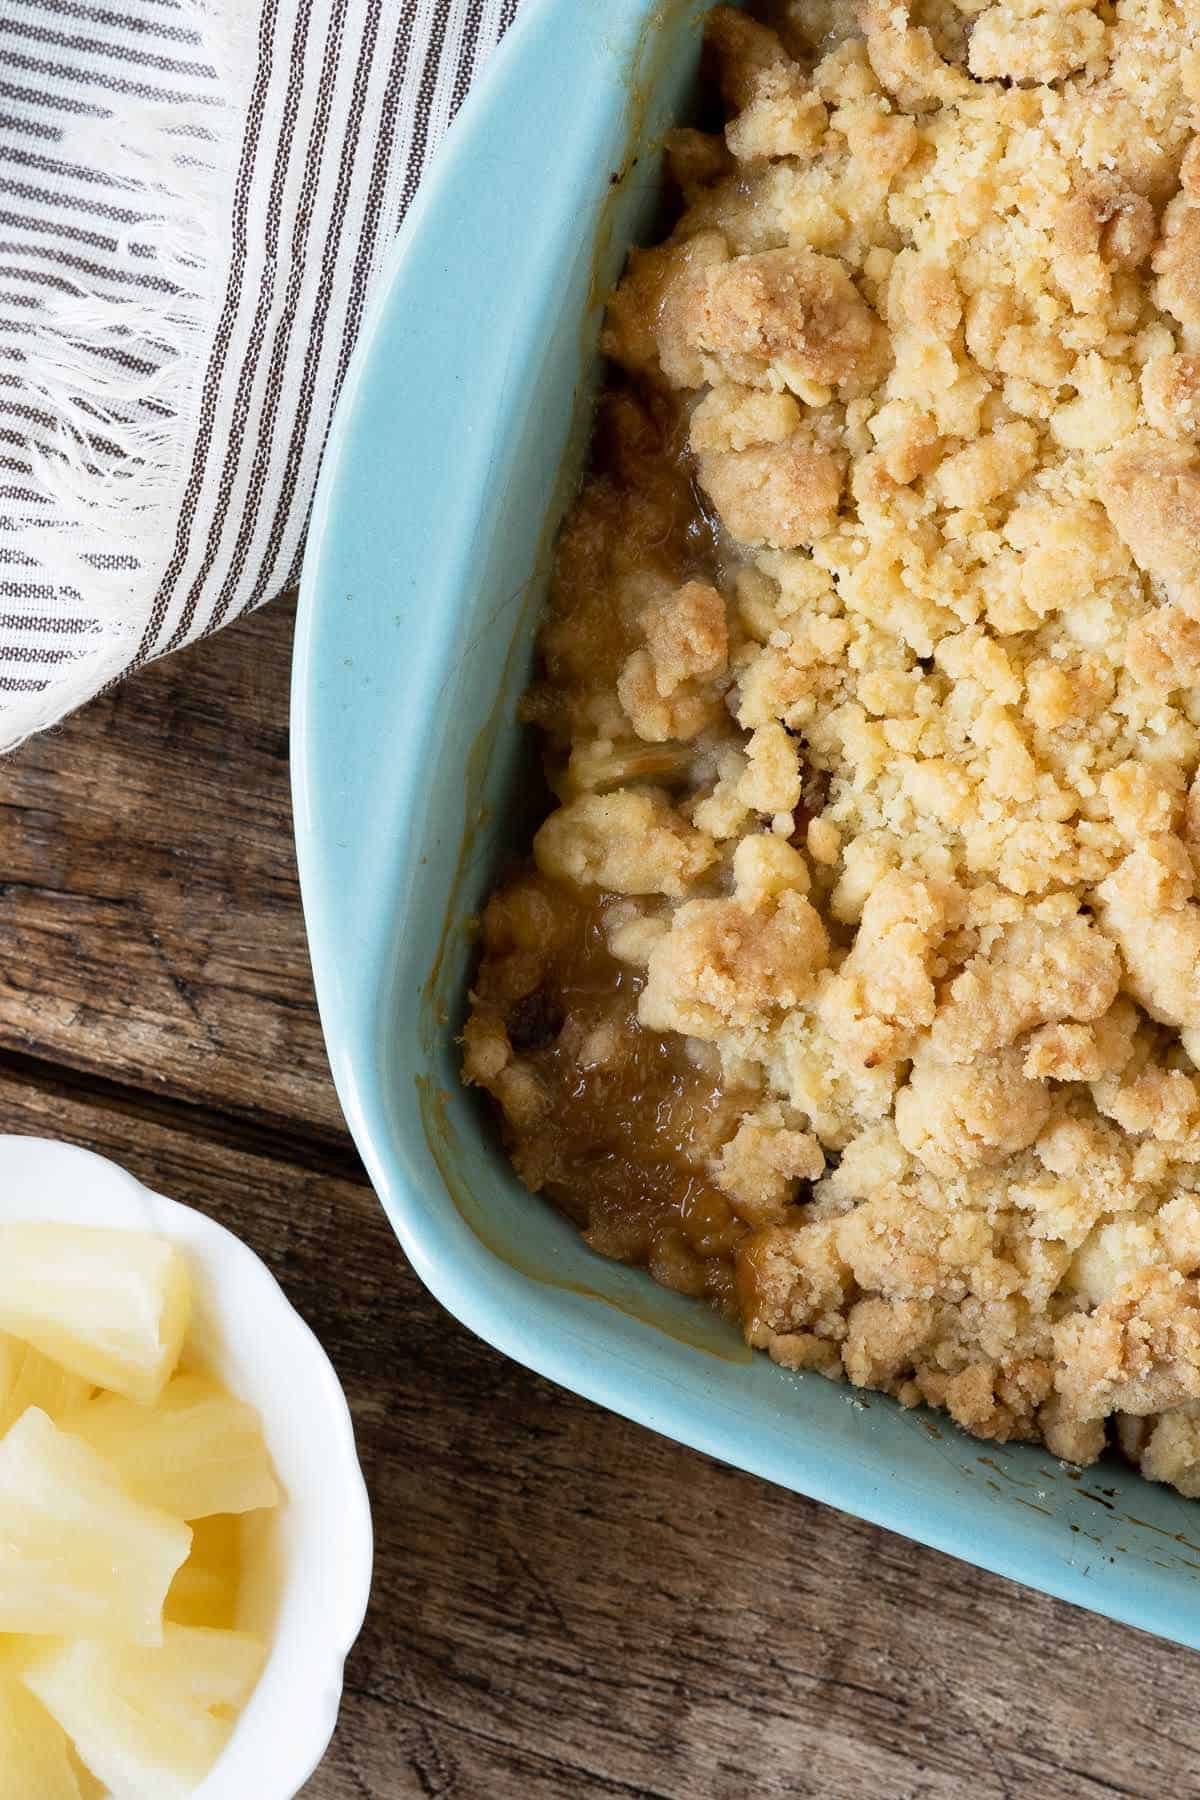
Make sure the topping is fully baked. It may be golden brown and the juices bubbling but lift some of the dough here and there to check that it's not still wet inside.
Kitchen notes
- Organization: read the recipe first and make sure you have ingredients at the right temperatures, equipment needed, and enough workspace. This will make the process so much easier!
- Baking time: keep in mind that all ovens and pans are different, even if they look the same or very similar. The baking time in my recipes is as accurate as it can be, but it might take you more or less time. Use a thermometer inside the oven (like the OXO oven thermometer) to check that the temperature is right. I recommend you keep track of how your oven works and what tiny details you might need to adjust.
- Topping: after making many dump cakes, I tried several ways of mixing the cake mix with butter, and my favorite is by far the one explained here using melted butter. You can also do it the old-fashioned way, or the original one, as I do with the chocolate cherry dump cake.
- Filling: I like making the cherry filling from scratch, but store-bought works like a charm if you usually use it. Just open a can! Doesn't get much simpler than that.
- Ratio: I find that a lower topping ratio to filling is ideal because it's crisper and tastes amazing without being over-buttery. But, as with most desserts, find your own ideal combination of filling, topping, and sweetness.
- Storing: treat it as you would a crumble or crisp, keeping leftovers in the refrigerator. You can freeze it for a month, sometimes more. Let it thaw at room temperature and warm it slightly in the oven before eating.
Related recipes you might like:
One last thing
If you made this recipe and loved it, you can comment below and leave a five-star ⭐️ review. Also, if you had issues, let me know so we can troubleshoot together. I appreciate honest feedback and suggestions.
You can also subscribe to our FREE email series 'Baking the Best' and our regular newsletter. Or follow and save my recipes on Pinterest.
As an Amazon Associate, I earn from qualifying purchases. Read my disclosure policy.
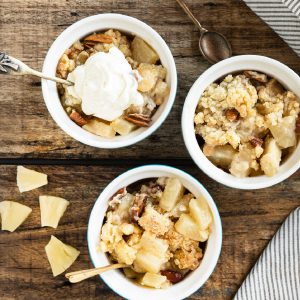
Pineapple Dump Cake (quick cobbler)
Ingredients
For the fruit layer:
- 2 large cans crushed pineapple, chunks or rings, 25 ounces or 710g
- 2 tablespoons brown sugar
- 1 tablespoon lemon juice
- ½ cup pineapple juice, from the can
- 1 tablespoon cornstarch
- ½ cup chopped pecans
For the topping:
- 2 cups yellow or white cake mix
- ½ cup unsalted butter, melted
Instructions
- Preheat the oven to 350°F (180°C).
- Have ready an 8x11-inch ceramic or glass dish, rectangular or oval. Or a 9-inch square or round baking dish.
For the filling:
- If using pineapple rings, cut them into small chunks and spread them on the baking dish. Or dump the 2 cans of chunks or crushed pineapple.
- Sprinkle 2 tablespoons brown sugar and drizzle 1 tablespoon lemon juice
- Dissolve 1 tablespoon cornstarch in ½ cup pineapple juice and drizzle over the fruit. Sprinkle ½ cup chopped pecans on top.
For the topping:
- Mix 2 cups yellow or white cake mix with ½ cup unsalted butter, melte, in a medium bowl until you have a crumbly mixture. It should be slightly floury.
- Sprinkle over the fruit layer. It will not cover it completely and that is fine. Don't stir it or mix it with the filling.
- Bake in the preheated oven for 40-45 minutes, until golden brown and dry and the filling bubbles around the edges, checking close to the end of the baking time by lifting the topping here and there and making sure it's completely baked inside. Bake a little longer if necessary.
- Serve warm plain, with whipped cream or a scoop of ice cream. Top with the juices from the pan and extra pineapple chunks if you want to.




Rate and review this recipe