
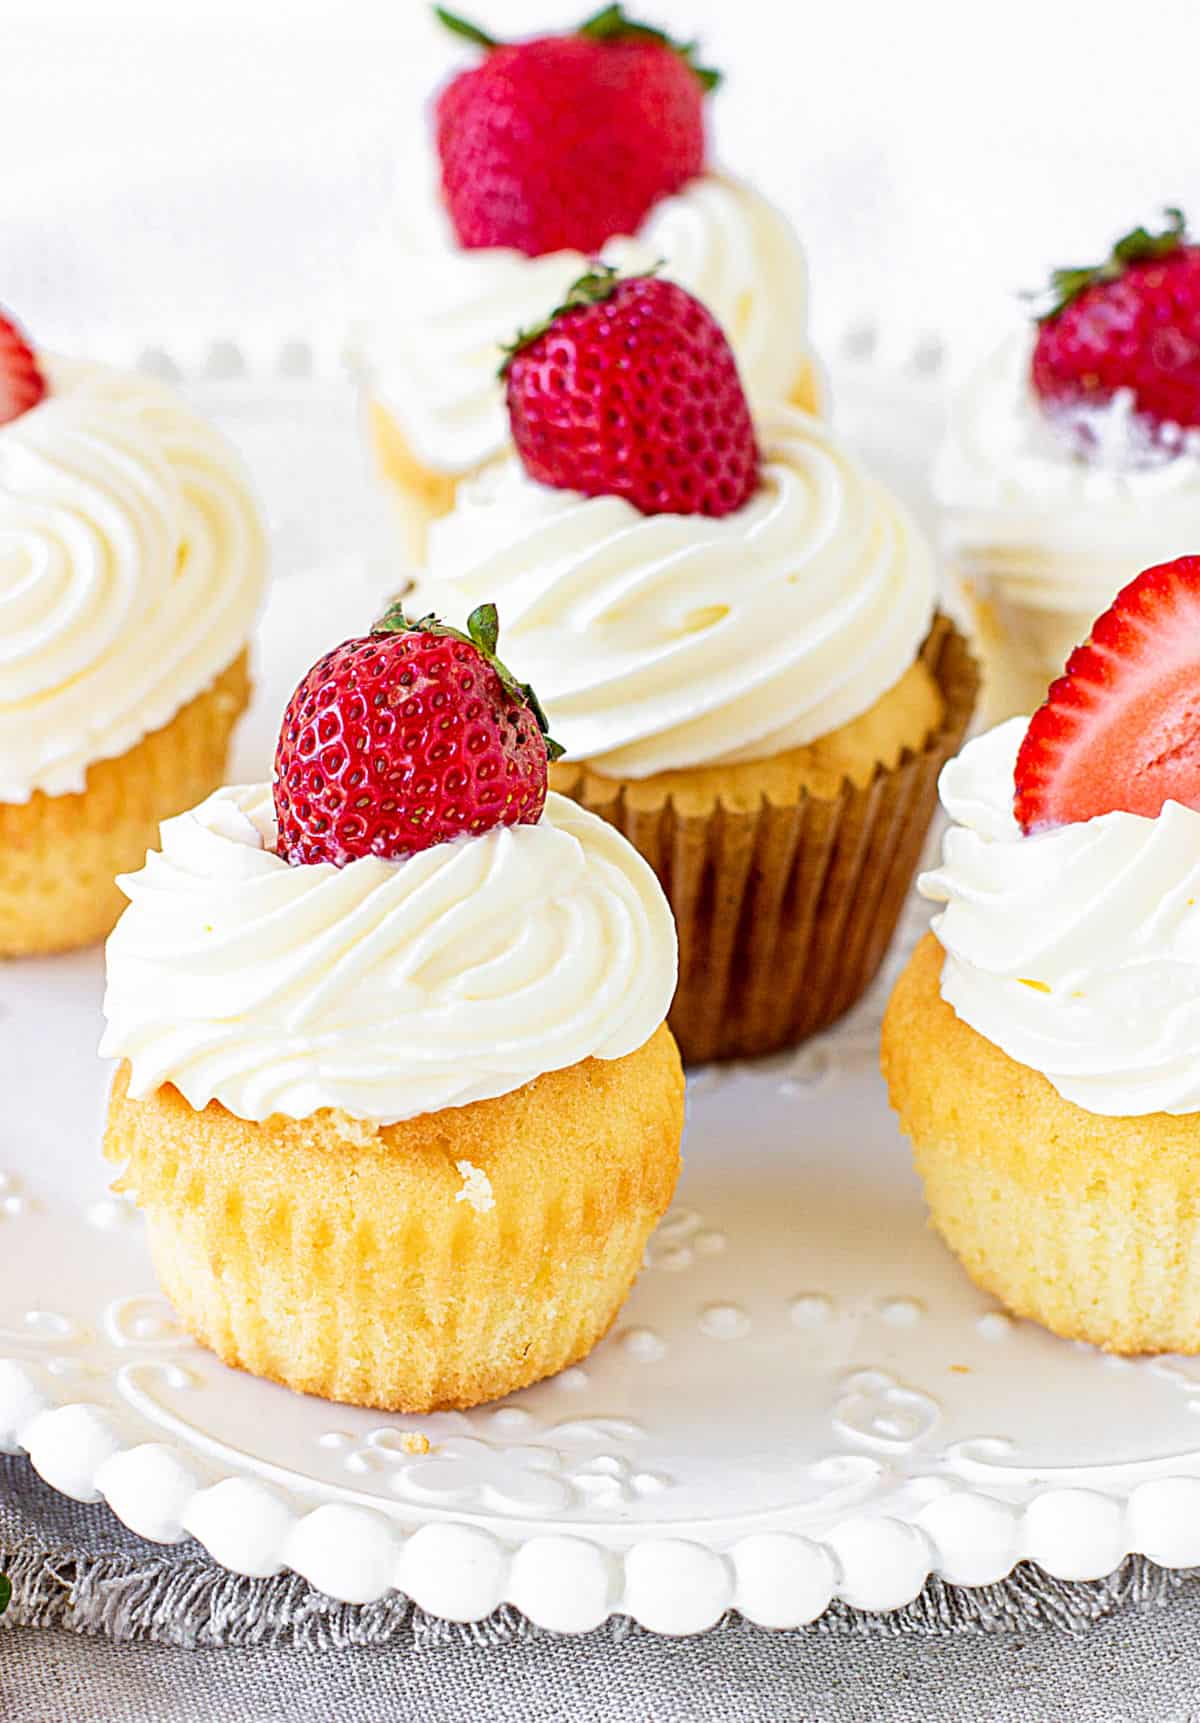
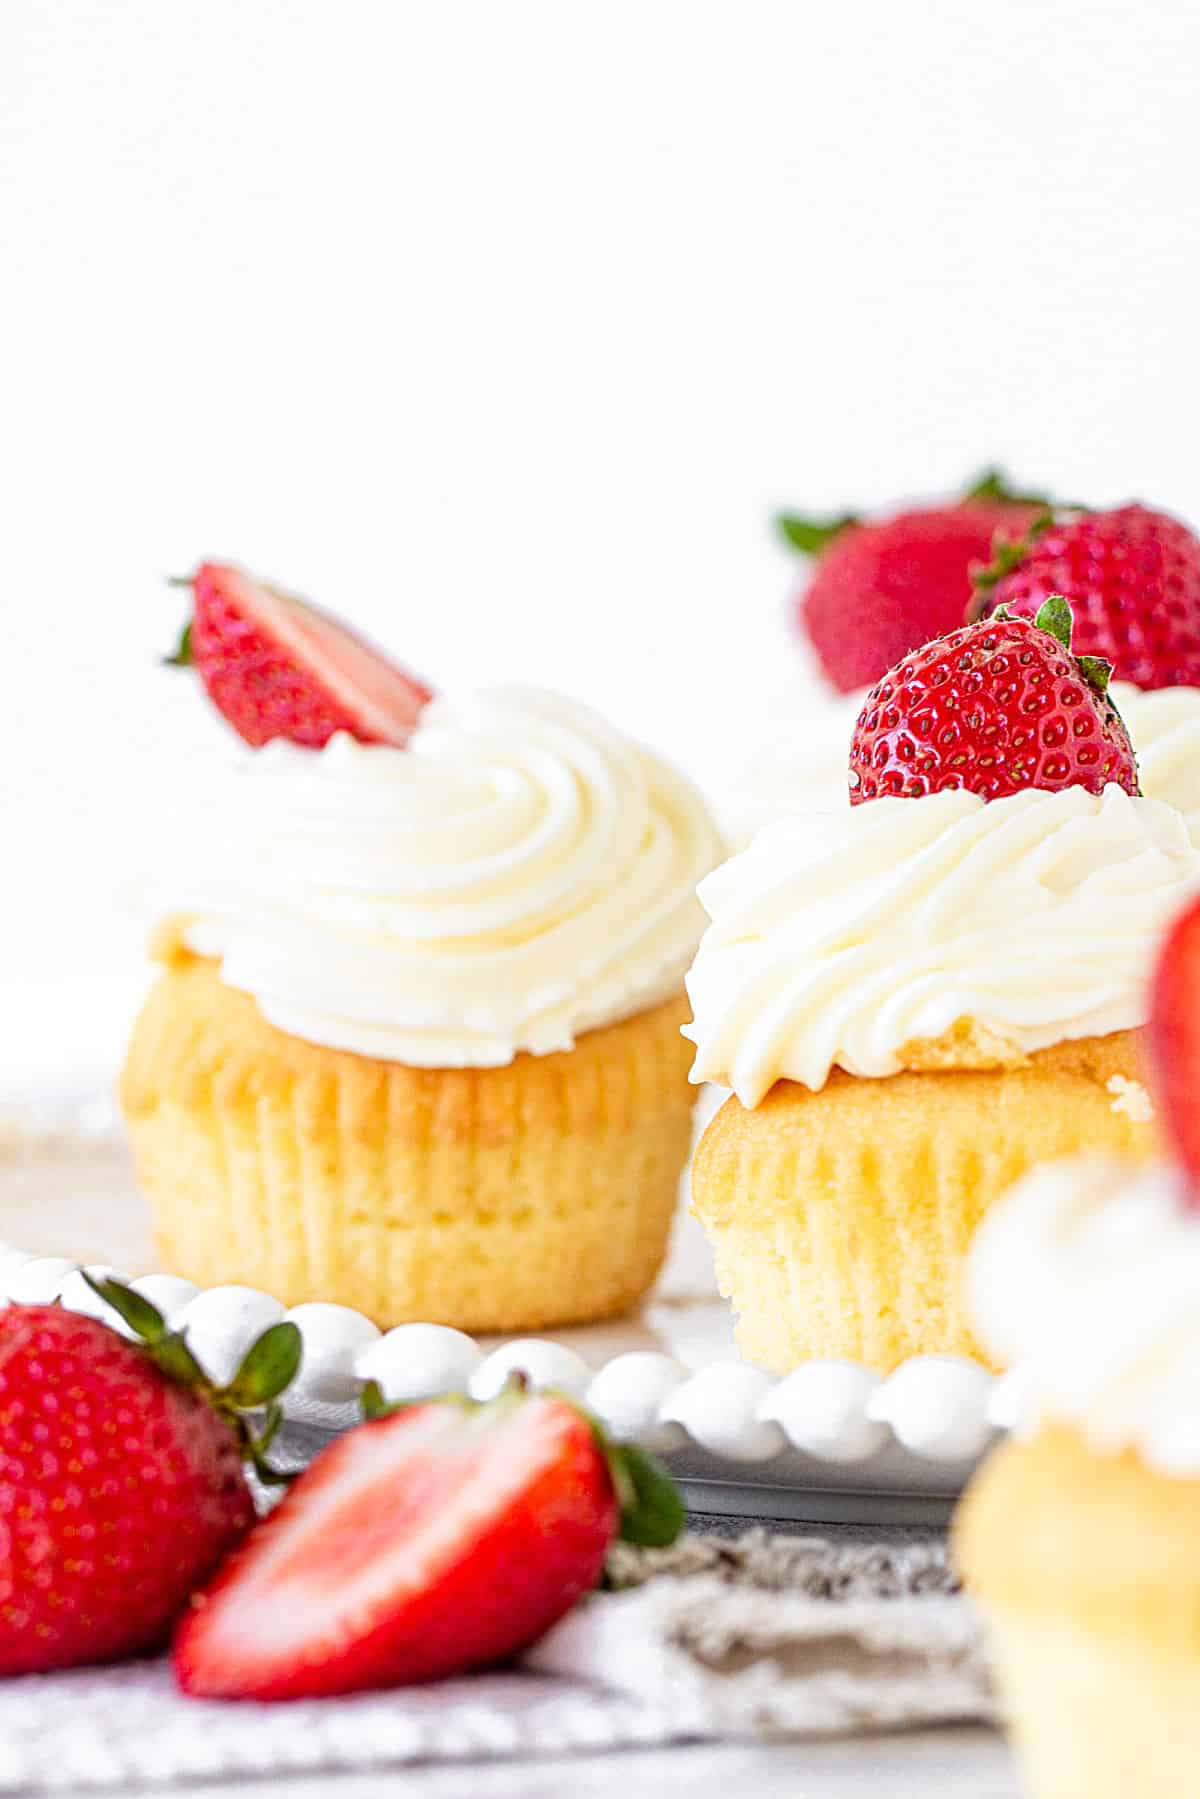
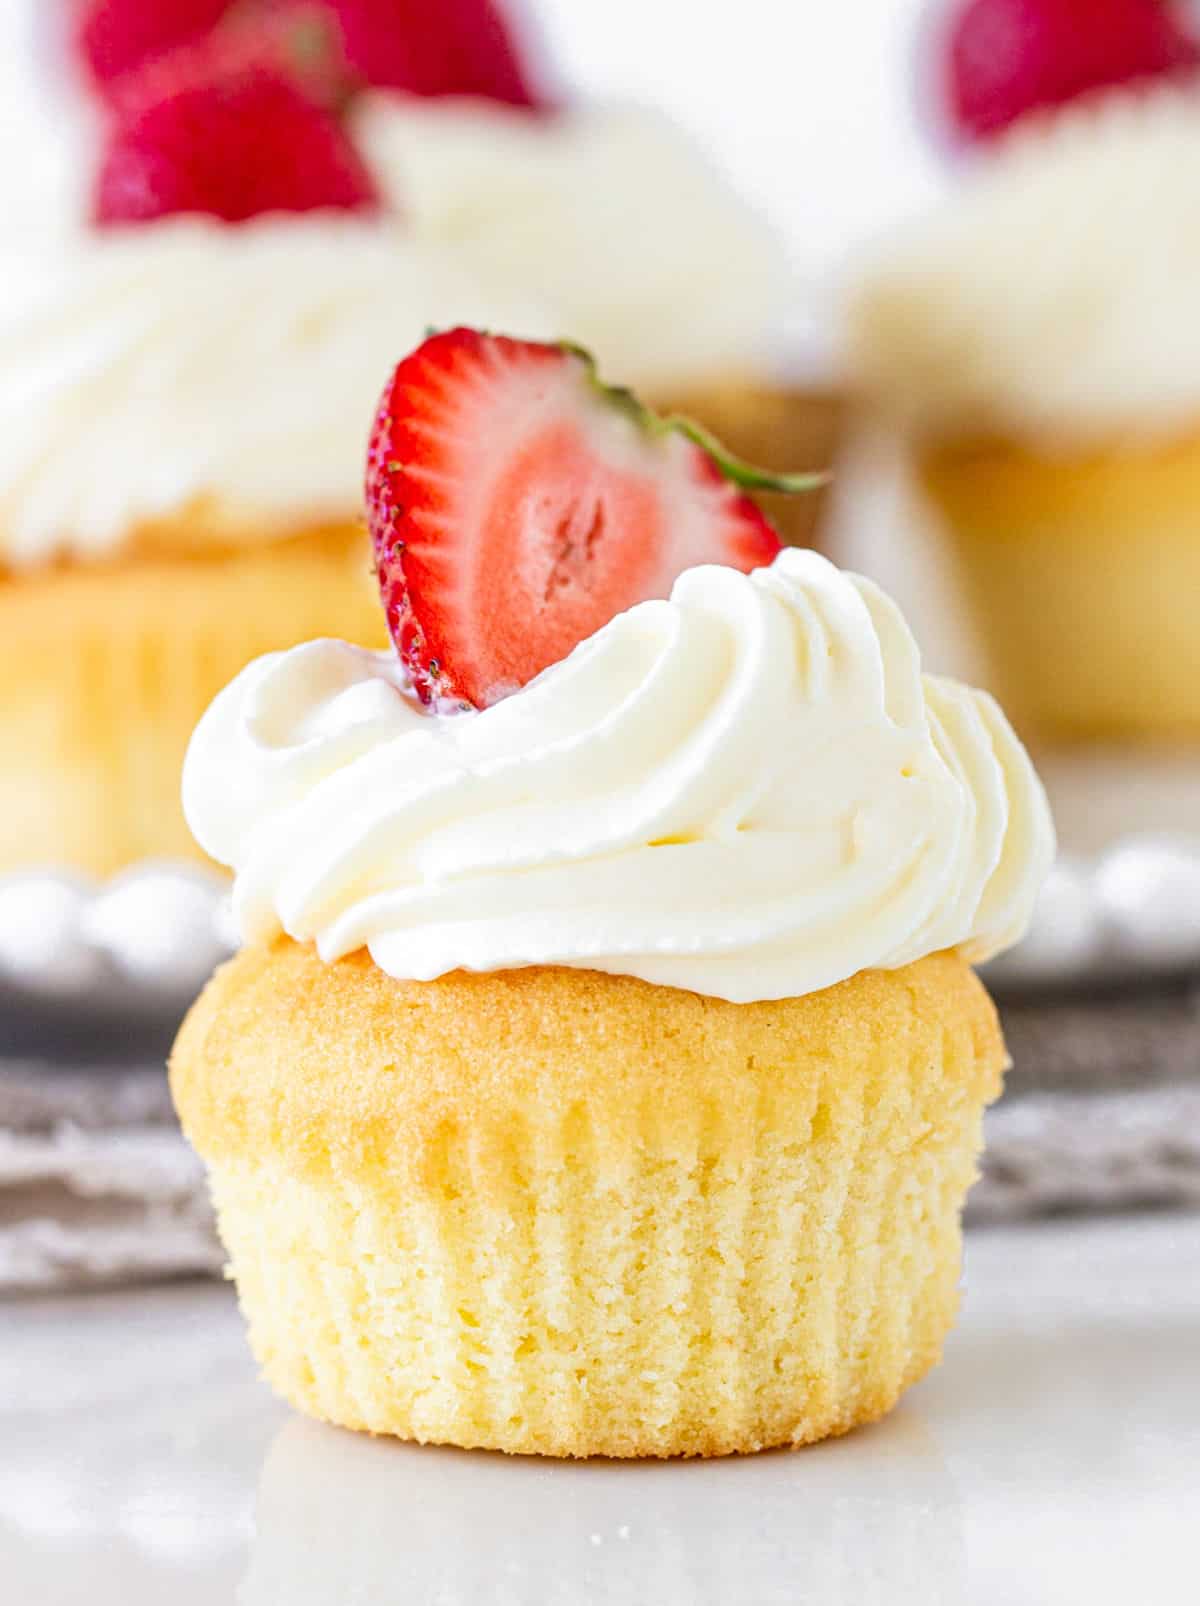
Let me present to you the most amazing cupcakes that taste just like a shortcake! It took me a long time to get to the perfect vanilla cake that was dense but not heavy, tasted more like a sweet biscuit than a fluffy cake, and was sturdy enough to be filled and frosted. A fantastic recipe.
SAVE THIS RECIPE
A classic in cupcake form
When berry season is upon us, it's time for new strawberry recipes.
This vanilla strawberry cupcake recipe has been in the making for several weeks, or months really. I wanted to offer a more portable option for a classic berry shortcake that didn't need to be served on plates and eaten with a proper fork.
My grandmother's Fresh Strawberry Cream Pie was the inspiration.
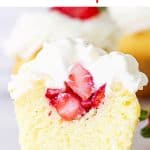
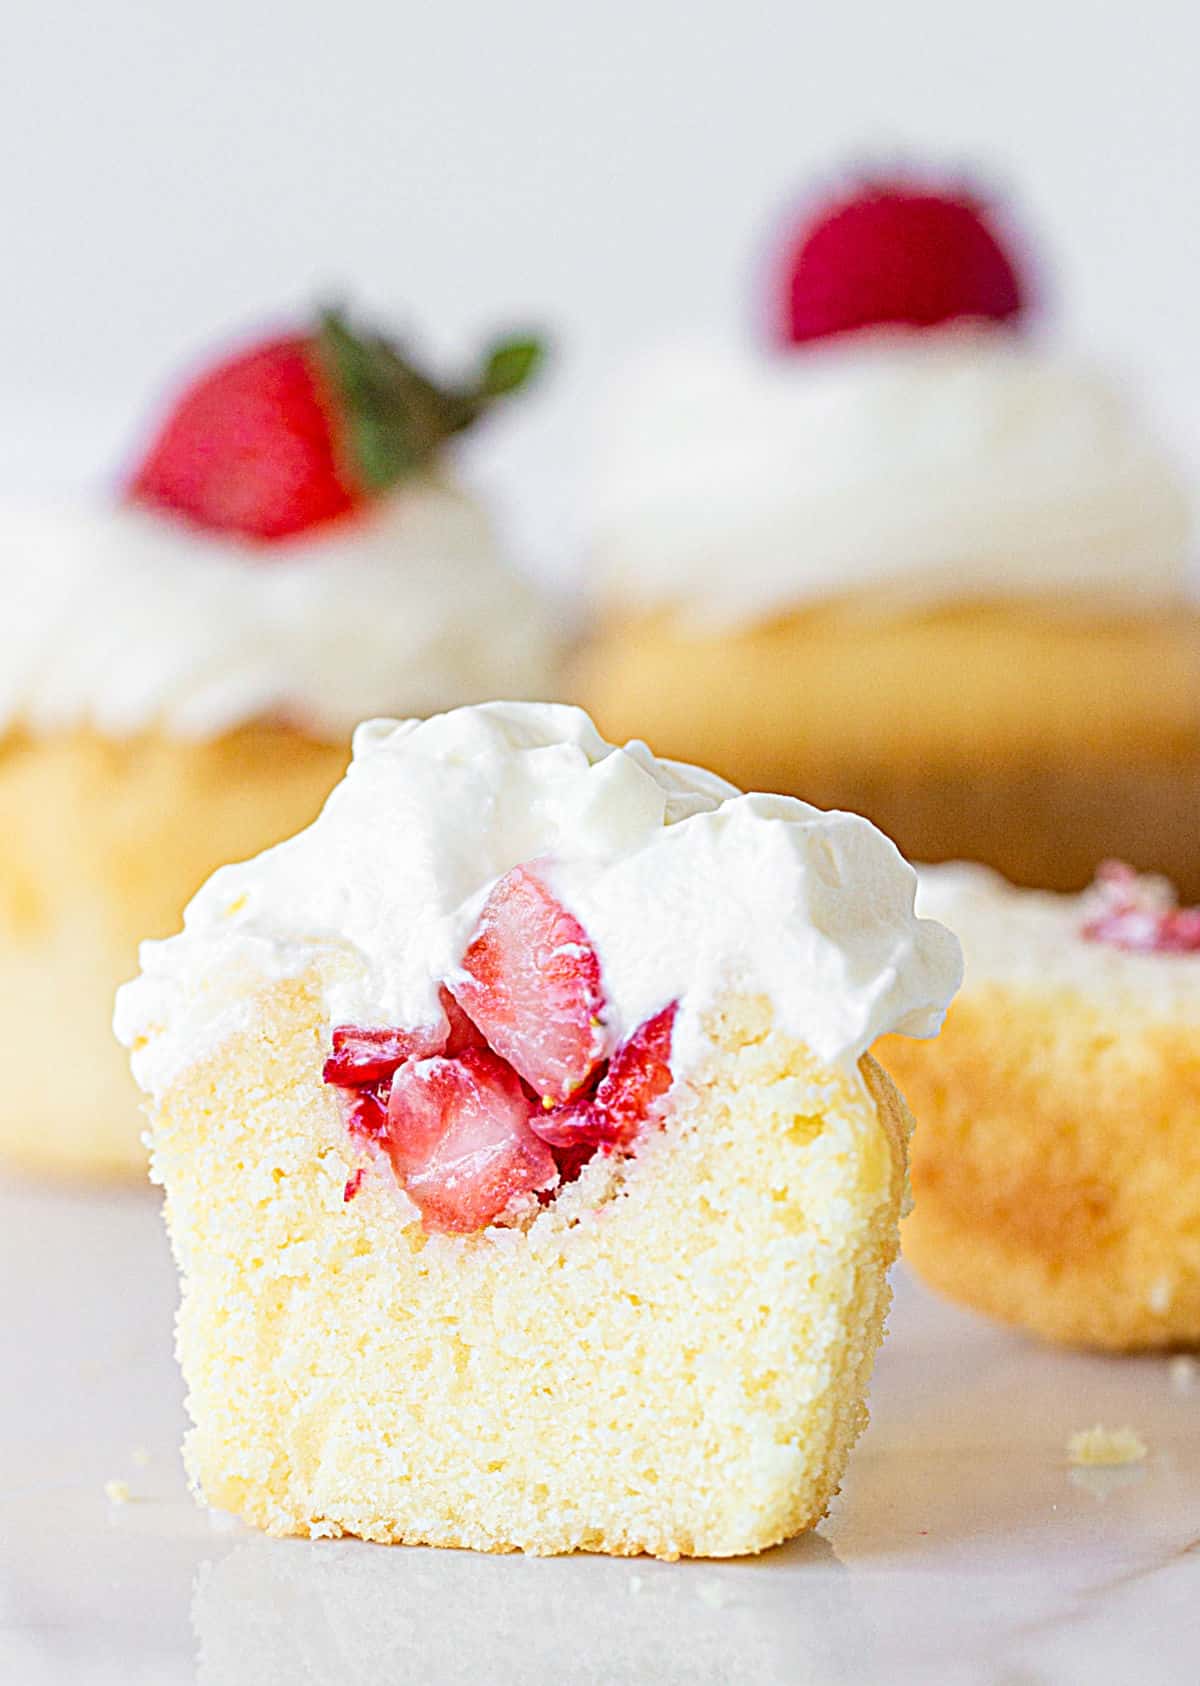
Though it has similar flavors and a wonderful texture, it's a simpler dessert to put together that you can eat with your hands. A shortcake in cupcake form.
This seasonal recipe is ideal for Mother's Day brunch, Valentine's Day, a small wedding, a baby shower, and birthdays.
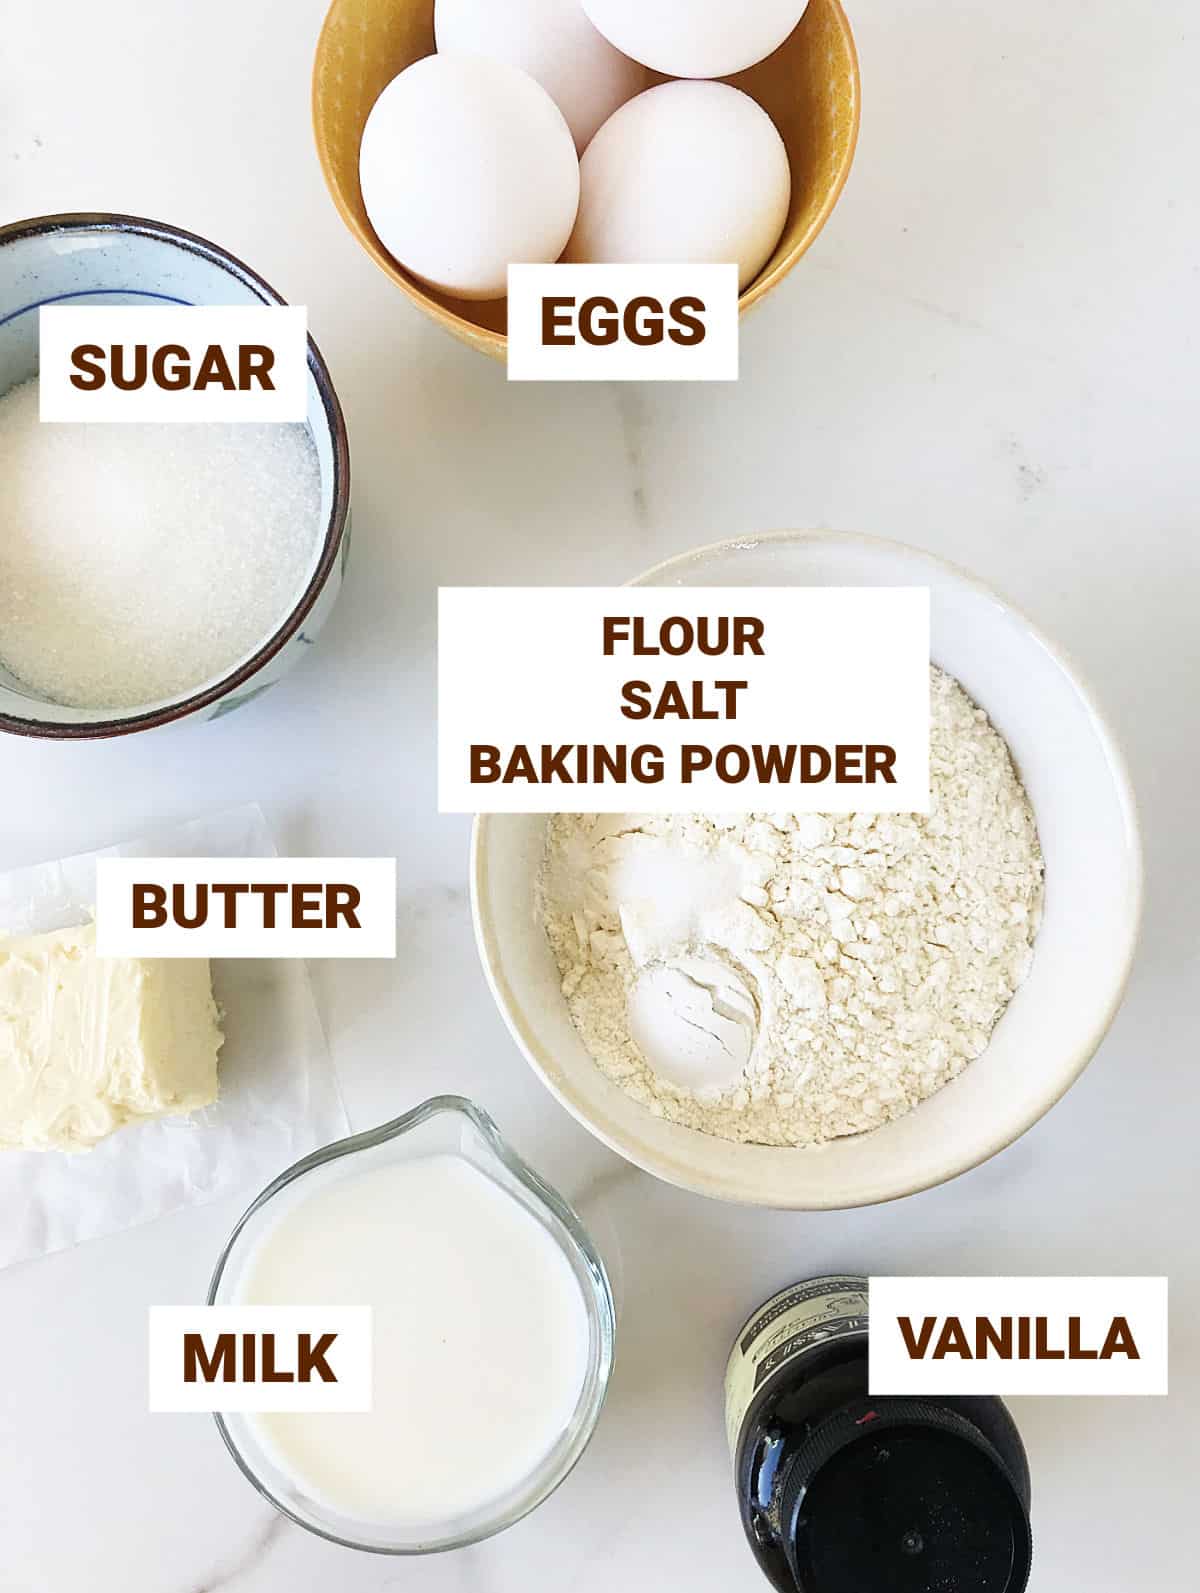
Ingredient Notes
Quantities are listed in the recipe card toward the end of this post. The Ingredients page has more details and lists the brands I use.
- Fresh strawberries: Choose your favorite ones. If fresh ones are unavailable, you can make a strawberry topping with frozen ones and use that for the filling.
- Milk: Whole milk is recommended for a richer cake. But you can use reduced-fat or almond milk.
- Baking powder: Make sure it's not expired.
- Heavy whipping or heavy cream: regular, full-fat.
- Powdered sugar: Also known as confectioners' sugar or icing sugar.
- Cream cheese: regular, full-fat. Just a small amount to make the whipped topping firmer.
Steps to make the vanilla cupcakes
This is a butter cake, similar to a pound cake, so the batter is pretty straightforward for this type of cake (like the Basic Vanilla Butter Cake).
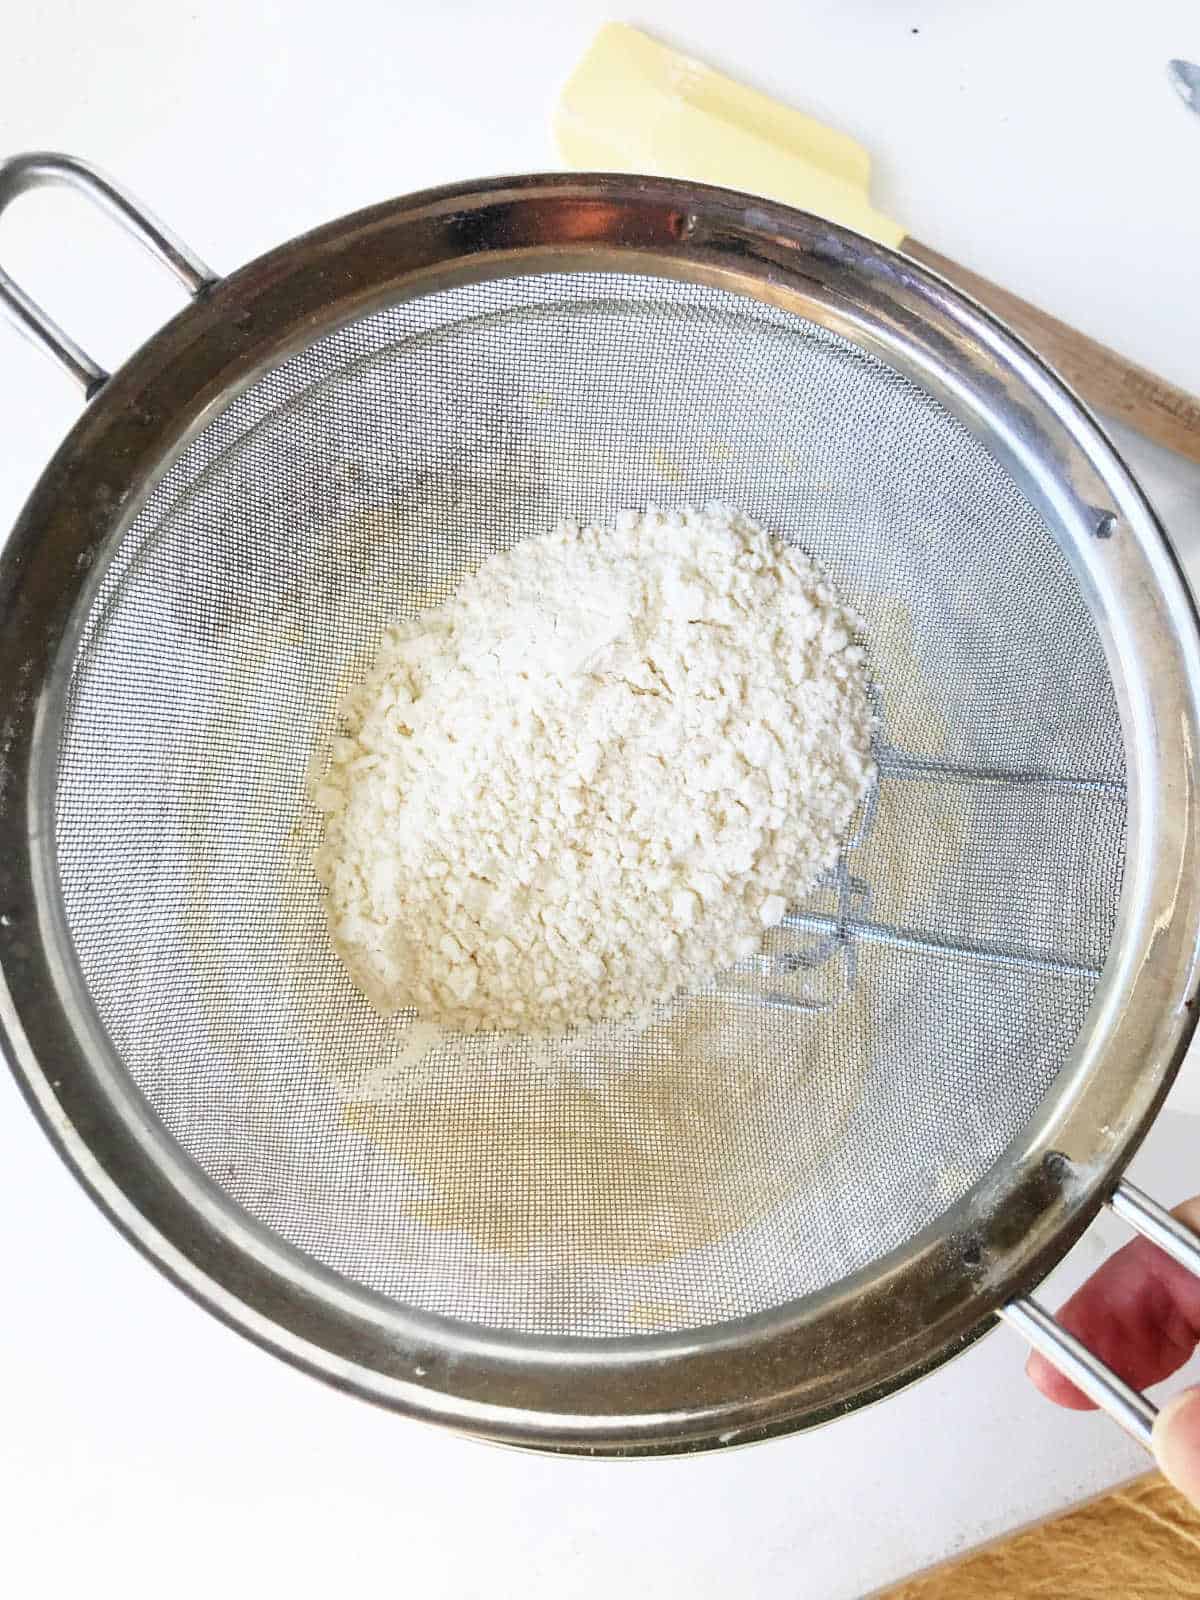
- Sifting the flour mixture is essential as it incorporates air and builds on the creaming step to get a fluffy, tender cake.
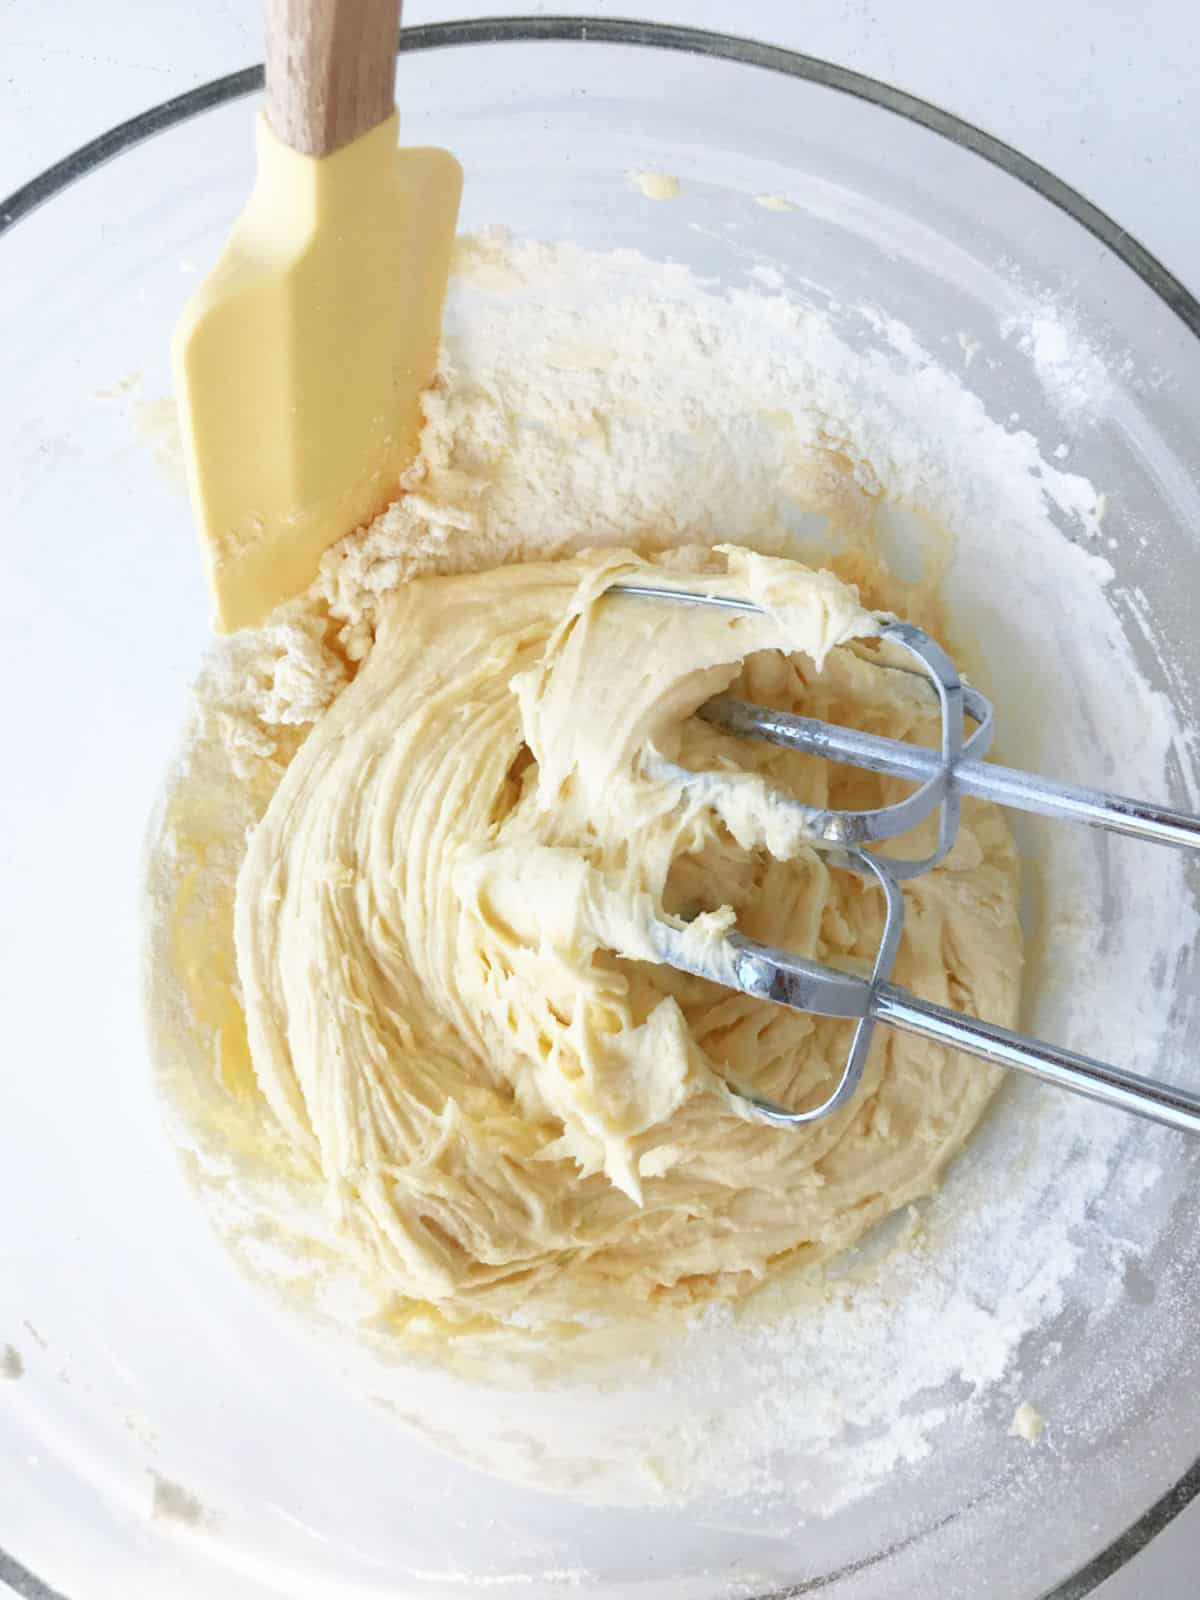
- Scrape sides of bowl: do this several times to ensure the batter is well integrated.
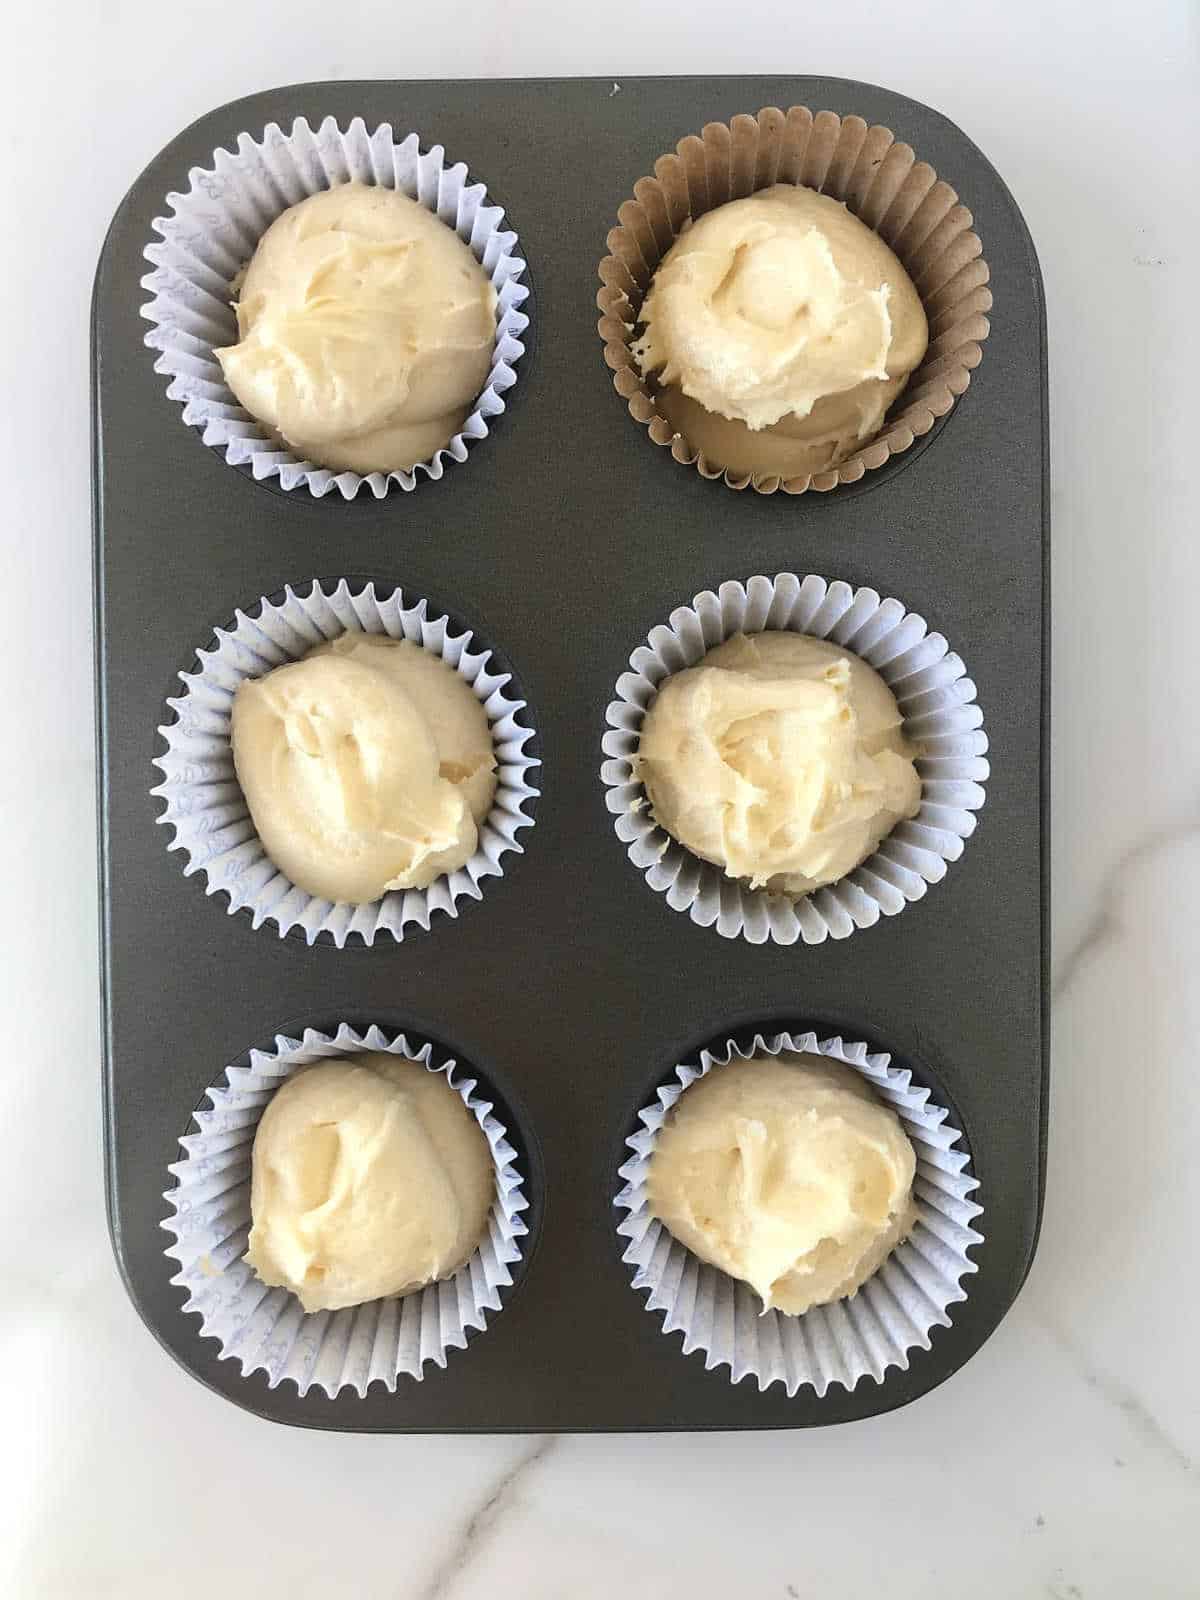
- Filling the pan: the cake batter should fill no more than ¾ of the muffin tin's capacity to ensure you don't have huge cupcakes that will be messy to eat after the filling and frosting are added.
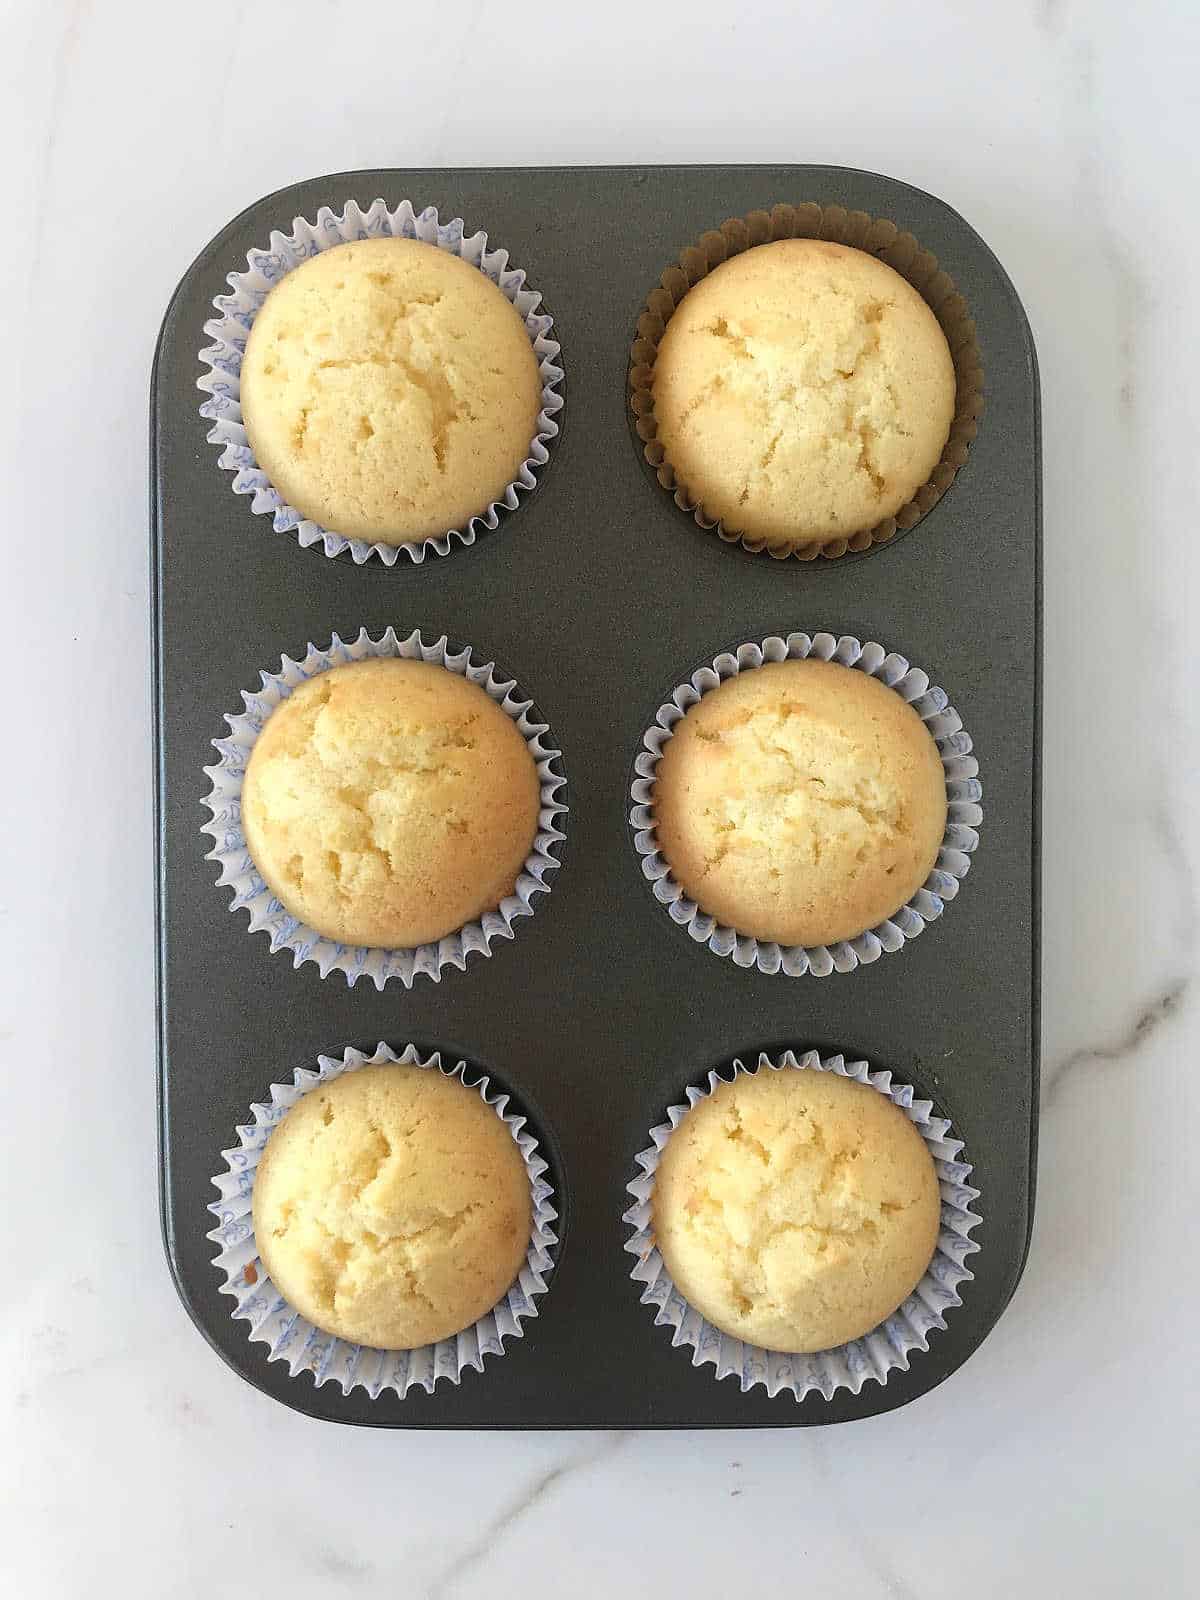
- When are the cupcakes done? They will rise, crack and be springy when touched lightly. Use a cake tester or toothpick to check for doneness. Immediately remove it when it comes out clean.
Assembly
Decorating with the cream topping: even if it's not your forte (it sure isn't mine!), it's pretty easy to frost these cupcakes.
Piping or pastry bag: I use disposable large pastry bags because they're fuss-free, and regular ones can be a pain to wash. I sometimes reuse disposable ones twice. If you have leftover frosting, you can keep the bag in the fridge for a week, sometimes more.
Piping tips: There are two that I constantly reach for that are great for beginners: the round tip and the star tip. You can buy a decorating piping tip set that includes the most common ones.
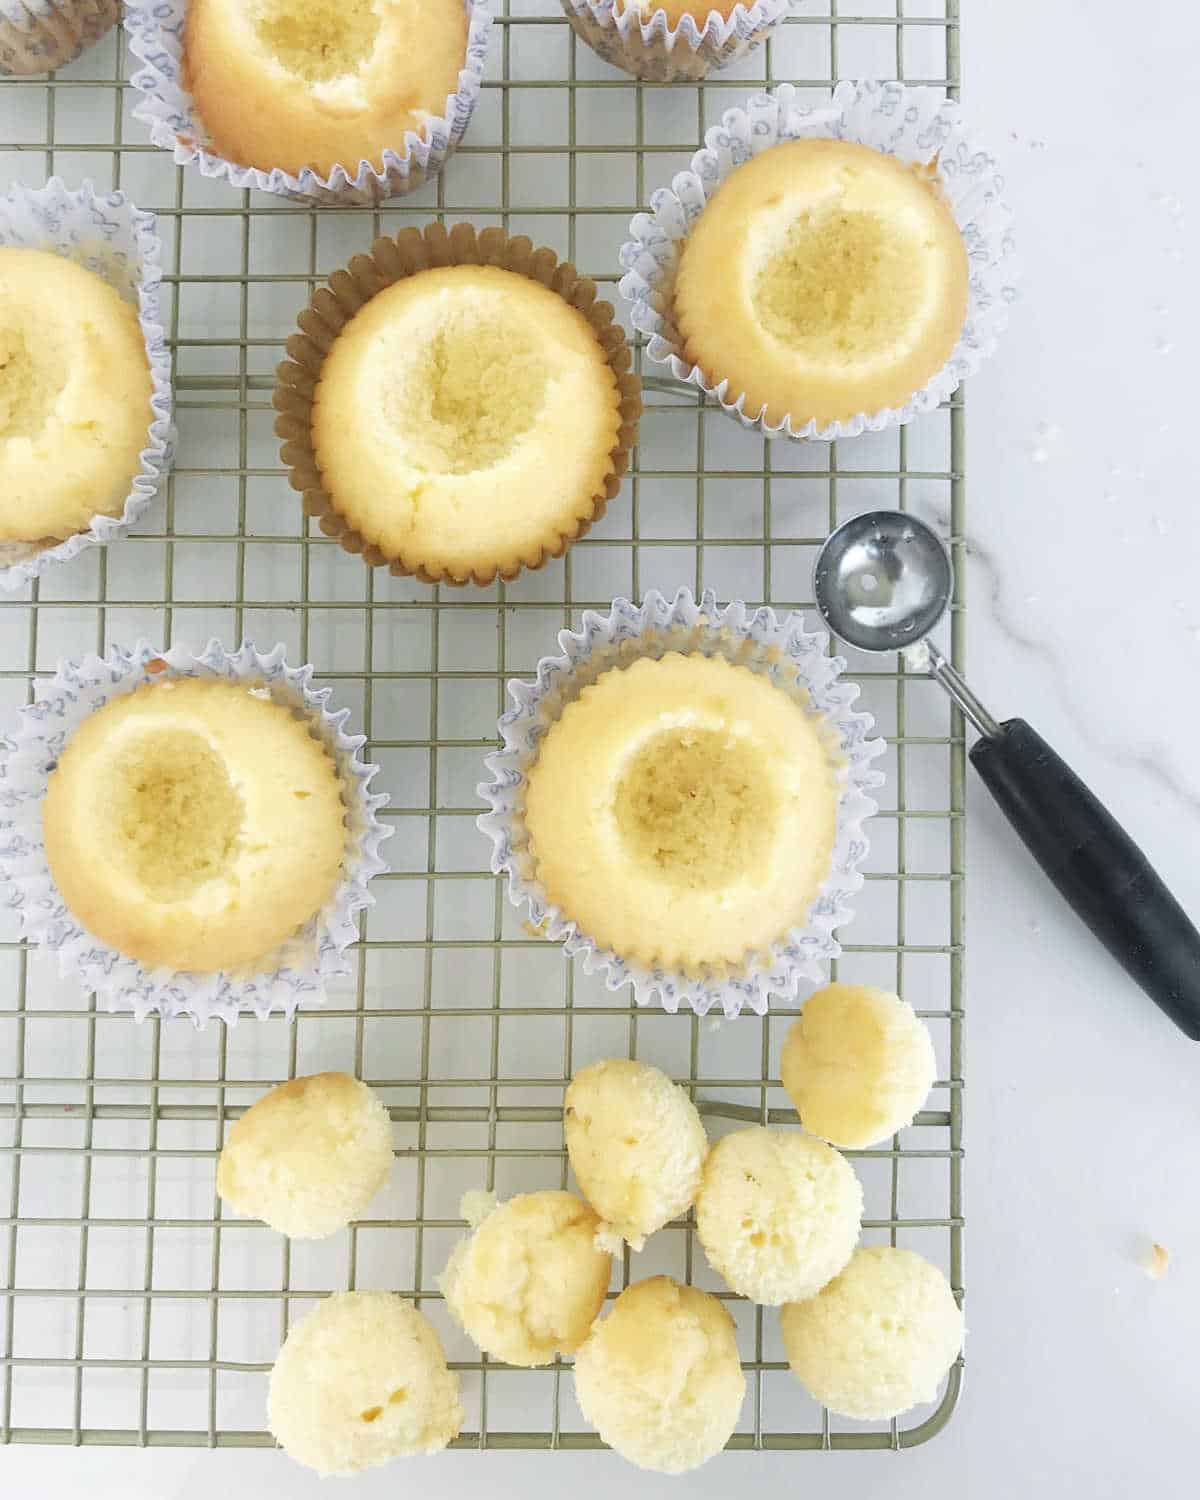
- Melon baller scoop: I use this to scoop the tops of the baked cupcakes and make a sort of nest to fill with strawberries (or other types of filling). It's super easy to use, and you can buy a melon baller online.

- Fill the holes with the strawberry mixture, but don't overflow.
Pipe or spoon the whipped cream topping, completely covering the berries.
Whipped cream frosting
This is my favorite cream frosting, and it comes with a secret ingredient: a few tablespoons of cream cheese for a firmer result.
The flavor is still amazing and makes piping easier with this extra ingredient.
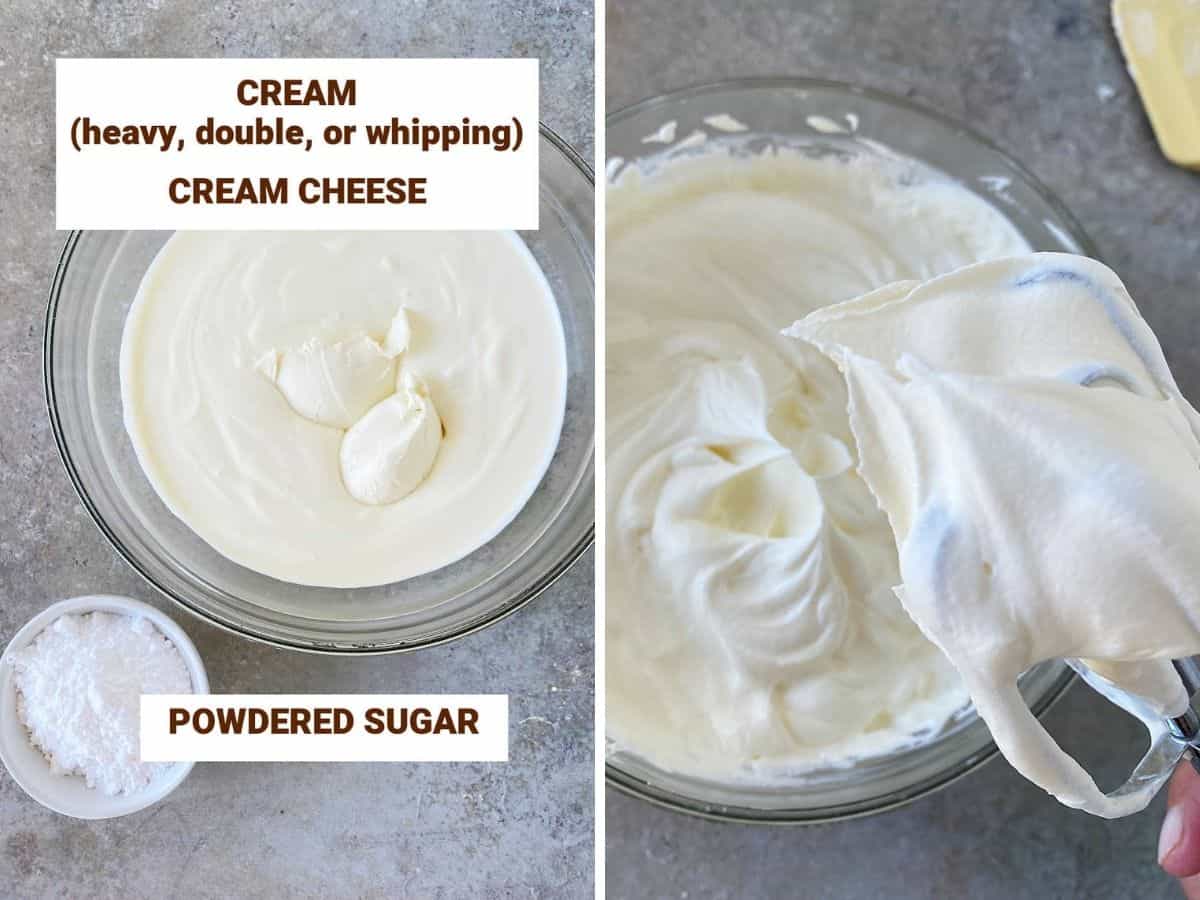
How to avoid overwhipping cream
- Start with an electric mixer until you have medium-firm peaks.
- Switch to a hand whisk until you have firm peaks that can be piped. It's harder to overwhip by hand.

Kitchen Notes
- Organization: Read the recipe first and ensure you have the ingredients at the correct temperature, the utensils and equipment needed, and enough workspace. This will make the process so much easier.
- Baking time: Consider that all ovens and pans are different, even if they look similar. The baking time in my recipes is as accurate as possible, but it might take you more or less time. You can use an oven thermometer (like the OXO oven thermometer) to check that your oven is at the right temperature. I recommend tracking how your oven works and what tiny details you might need to adjust.
- Sifting the dry ingredients is essential to avoid clumps and add air. It builds on the creaming step to help the batter rise well in the oven and get us the best result possible.
- Filling the pan: This cake batter will dome as it bakes, so don't fill it more than ¾ of the muffin tin's capacity to ensure you don't have huge cupcakes that will be messy to eat after the filling and frosting are added. Otherwise, the batter might overflow as it bakes.
- Fresh strawberries are essential to making a strawberry filling with a fresh flavor, so don't substitute them for frozen ones. Whole strawberries keep well for several days. Wash and cut the stems at the last minute. If they're very fresh, they can keep for a day in the refrigerator after the stem is cut, but I'd rather do it at the last minute.
- Cutting the strawberries: You can scoop out a larger hole that holds more strawberries. Just keep in mind that cupcakes are eaten with our hands.
- Topping: I recommend you wait until the last minute to add it. If eating these outside on a hot day, keep them in the fridge as long as possible before serving them without the strawberries on top. Add them at the last minute.
- Filling alternative: If fresh strawberries are unavailable, use purchased or homemade strawberry sauce. Or a good strawberry jam or preserve.
Troubleshooting common issues
Dry or dense cupcakes can happen if you overmix the batter, bake the cupcakes for too long, or use too much flour. Measure dry ingredients correctly, avoid overmixing the batter after adding the flour, and remove from the oven when a toothpick comes out clean.
Avoid soggy cupcakes: don't overfill them with the strawberry filling, and assemble them a few hours before serving for best results.
Grainy whipped cream means the cream was overwhipped, which can happen if you beat it for too long. To avoid this, beat it until medium-firm peaks form and then use a hand whisk to mix some more until it almost forms stiff peaks. It's hard to overbeat when doing it by hand.
As an Amazon Associate, I earn from qualifying purchases. Read my disclosure policy.
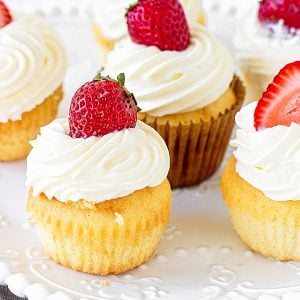
Strawberry Shortcake Cupcakes (with whipped cream)
Ingredients
For the cake:
- 1 cup unsalted butter, at room temperature
- 1 cup white granulated sugar
- 4 eggs, at room temperature
- 2 ¼ cups all-purpose or cake flour
- 1 teaspoon baking powder
- ¼ teaspoon salt
- ¼ cup milk, at room temperature
- 1 ½ teaspoons pure vanilla extract, or 1 teaspoon vanilla paste
For the filling:
- 1 cup whole fresh strawberries, about 4.5 ounces
- ½ tablespoon granulated white sugar
For the topping:
- 1 cup heavy cream, or heavy whipping cream, cold
- 2 tablespoons cream cheese, at room temperature
- 3 tablespoons powdered sugar
- 6 to 12 whole fresh strawberries, for decoration
Instructions
- Preheat the oven to 350°F (180°C).
- Line 12 muffin tins with paper liners (paper cups or cupcake liners) or butter/spray them.
For the cake:
- Beat 1 cup unsalted butter, at room temperature, for 20 seconds in a large bowl with an electric mixer or a stand mixer with the paddle attachment.
- Add 1 cup white granulated sugar gradually while you continue beating, and mix for 3 minutes after adding all of it. The mixture should be light in color, fluffy, and the sugar will have partially dissolved.
- Add 4 eggs, one at a time, beating well after each addition. Make sure to scrape the sides of the bowl regularly.
- Sift the dry ingredients (2 ¼ cups all-purpose or cake flour, 1 teaspoon baking powder and ¼ teaspoon salt) together in a bowl, or have them measured and sift them directly over the egg batter.
- Add them in 2 parts, alternating with ¼ cup milk and 1 ½ teaspoons pure vanilla extract in 1 part. That means you start and end with the dry ingredients.
- Mix and integrate the batter well, but don't beat much at this point. After adding the flour cake batters should not be beaten too much as it will develop gluten and toughen the baked cake.
- Scoop the batter into the prepared muffin tins. I use a large cookie scoop, it's easier to use the same amount of batter for each cupcake.
- Bake for about 30 minutes, until they rise, the tops crack a little and a tester inserted in the middle of a cupcake comes out clean. They are dense so make sure they're fully baked. You might need some more minutes.
- Cool completely on a wire rack before filling and frosting.
For the filling:
- Wash, dry, and stem 1 cup whole fresh strawberries. Do this once you have the cupcakes cooled and are ready to assemble them.
- Cut them into little pieces, mix with ½ tablespoon granulated white sugar and reserve.
For the topping:
- Put 1 cup heavy cream and 2 tablespoons cream cheese in a medium or large mixing bowl.
- Add 3 tablespoons powdered sugar and beat with an electric hand mixer at medium speed until firm peaks (stiff peaks) form; it will take about 4-5 minutes, depending on the speed of your beaters and the size of the bowl (smaller bowls take longer).
- Whipped cream can curdle very quickly when overbeaten. To avoid this, I always beat it at medium-high speed until soft peaks start to form, lower the speed to medium, and continue beating until medium-firm peaks form. Then, I finish beating by hand with a whisk until I get stiff peaks. It takes a bit of arm muscle, but it's hard to overbeat cream by hand.
- Put into a piping bag with a star or smooth tip and refrigerate until ready to add to cupcakes.
To assemble:
- Scoop the top center of each cupcake. Use a mellon baller, a small spoon or a small paring knife.
- Fill the scooped center of the cupcake with strawberries, mounding just a little. Repeat until all are filled.
- Pipe whipped cream on top, completely covering the berries. Finish with 6 to 12 whole fresh strawberries, halved or whole, on top of the whipped cream.
Maria says
Hi Paula! Great recipe! Thank you! I want to make a regular size strawberry shortcake as birthday cake for my son. Which cake recipe do you recommend for doing so? Is it possible to bake the cupcake dough in a large pan? Thank you!
Paula Montenegro says
Hi Maria! You can bake this recipe in two 8 or 9-inch round cake pans and make a layer cake, filling it with whipped cream and strawberries. I recommend a naked cake and frost just the top, but you can also frost the sides.
Carla says
I see where you listed the vanilla for the cake but can't see to see where you add it in the directions. I just added it in the end but almost left it out! Maybe I missed it as I had the birthday girl helping me make her cupcakes. Looking forward to tasting these!
Paula Montenegro says
Hi Carla, you add it with the milk. Happy baking!
Sheila Gilbert says
What’s the cooking temperature? Preheat oven?
Paula Montenegro says
Hi Sheila, the oven needs to be preheated at 350°F.
angiesrecipes says
They are one of the best spring desserts! The cake itself looks soft and tender and with sweet juicy berries and creamy frosting...they are just unbeatable.
Paula Montenegro says
I agree Angie! Have a great weekend my friend.