
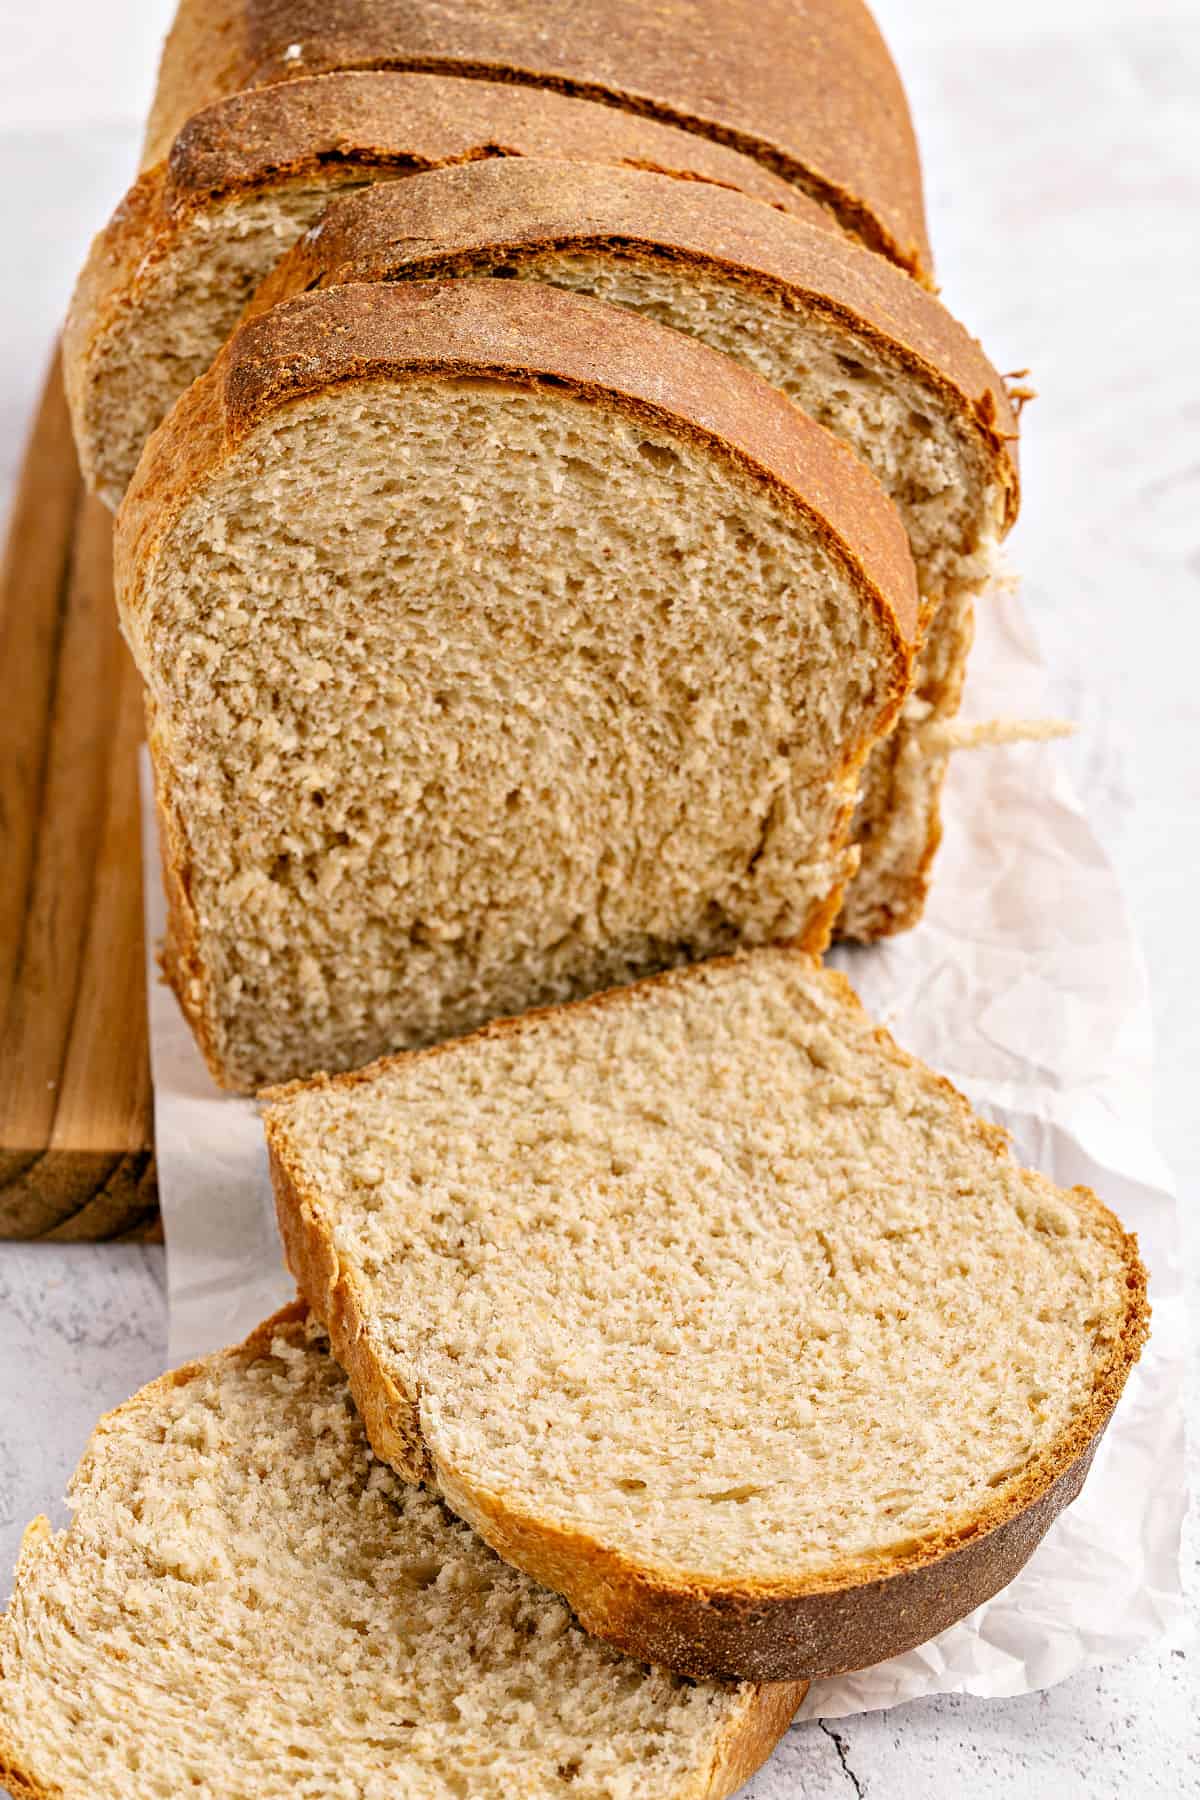
This recipe makes the best whole wheat sandwich bread that's soft but hearty enough for sandwiches and toast. It was a best seller at a Cafe I owned years ago. It can be made by hand or with a stand mixer. If you're apprehensive about using yeast, I share step-by-step photos and tips to guide you.
Homemade is better
Making bread at home is a game-changer, and you'll never want to go back to store-bought. Well, maybe occasionally, but you get the point.
I lost count of how many times I baked and the hundreds of loaves I sold when I had a small cafe many years ago. We cut thick slices for morning toast and fresh sandwiches at lunchtime.
It freezes beautifully, so you can always have slices on hand for your morning toast.
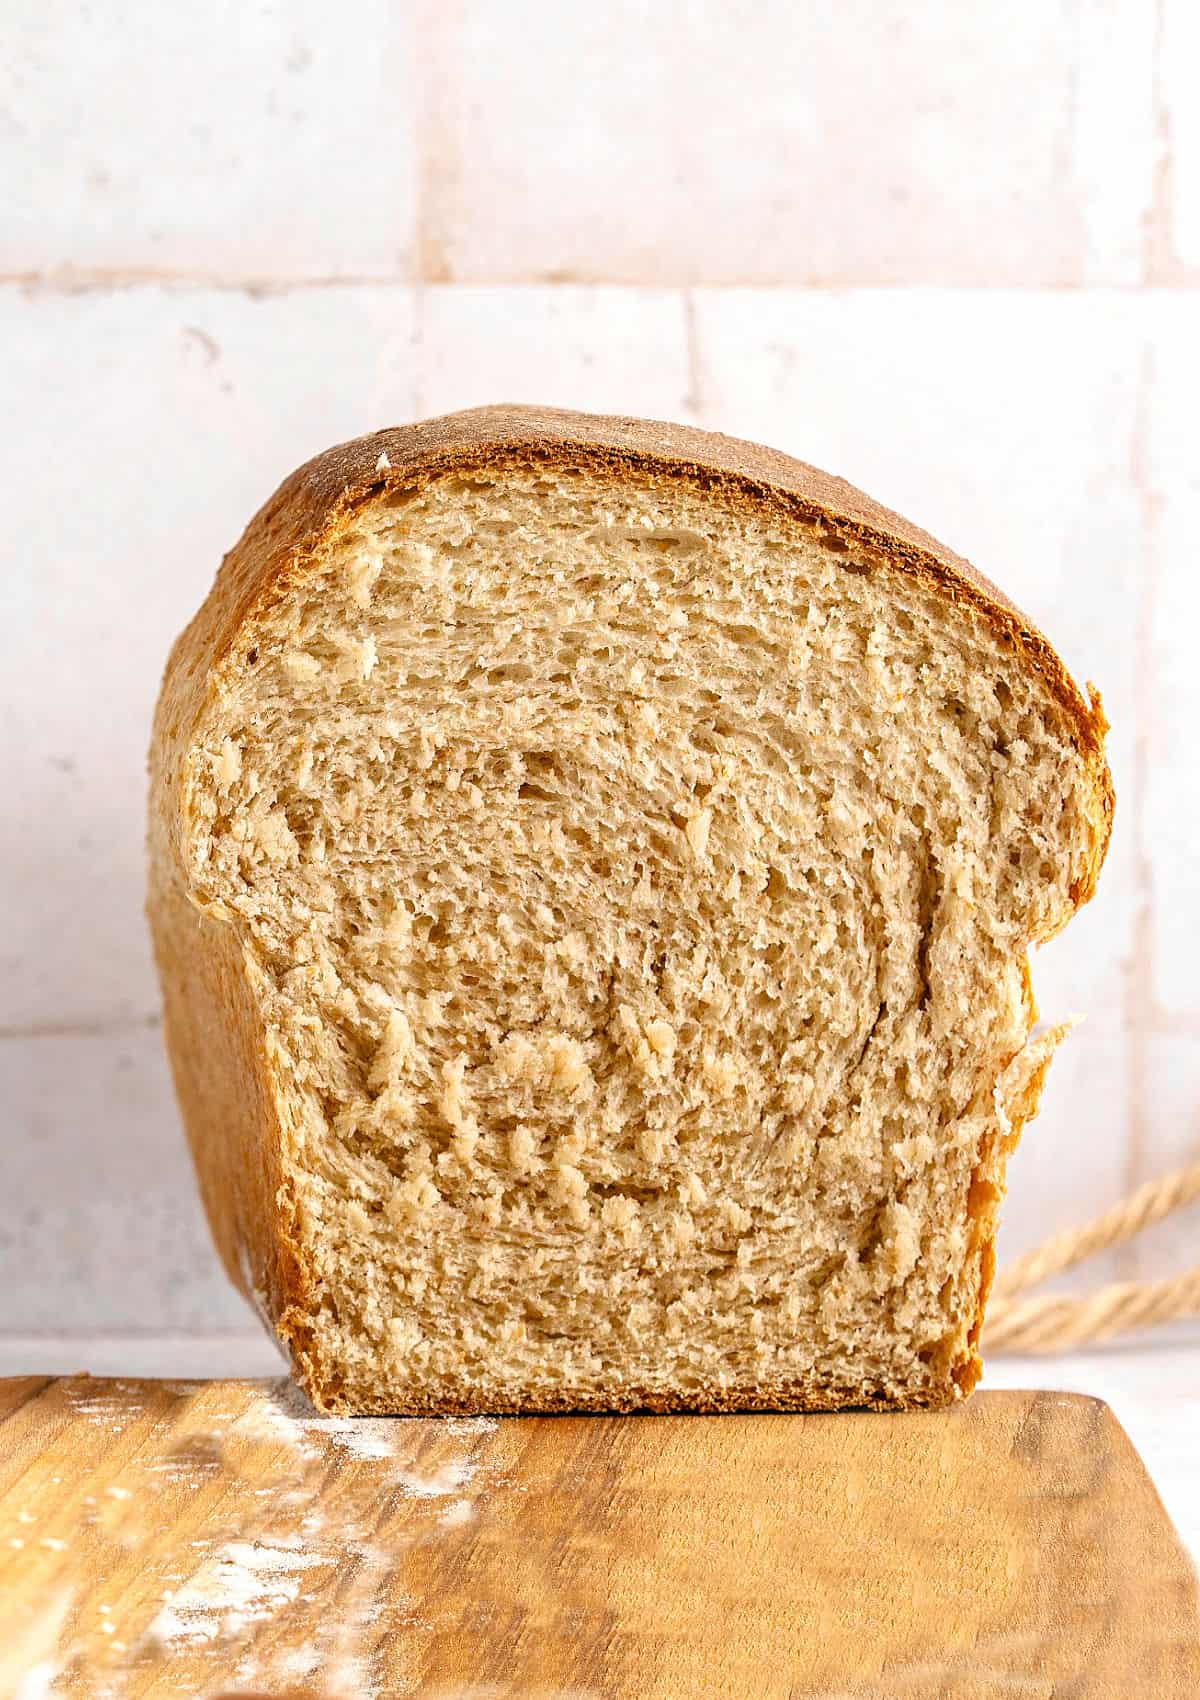
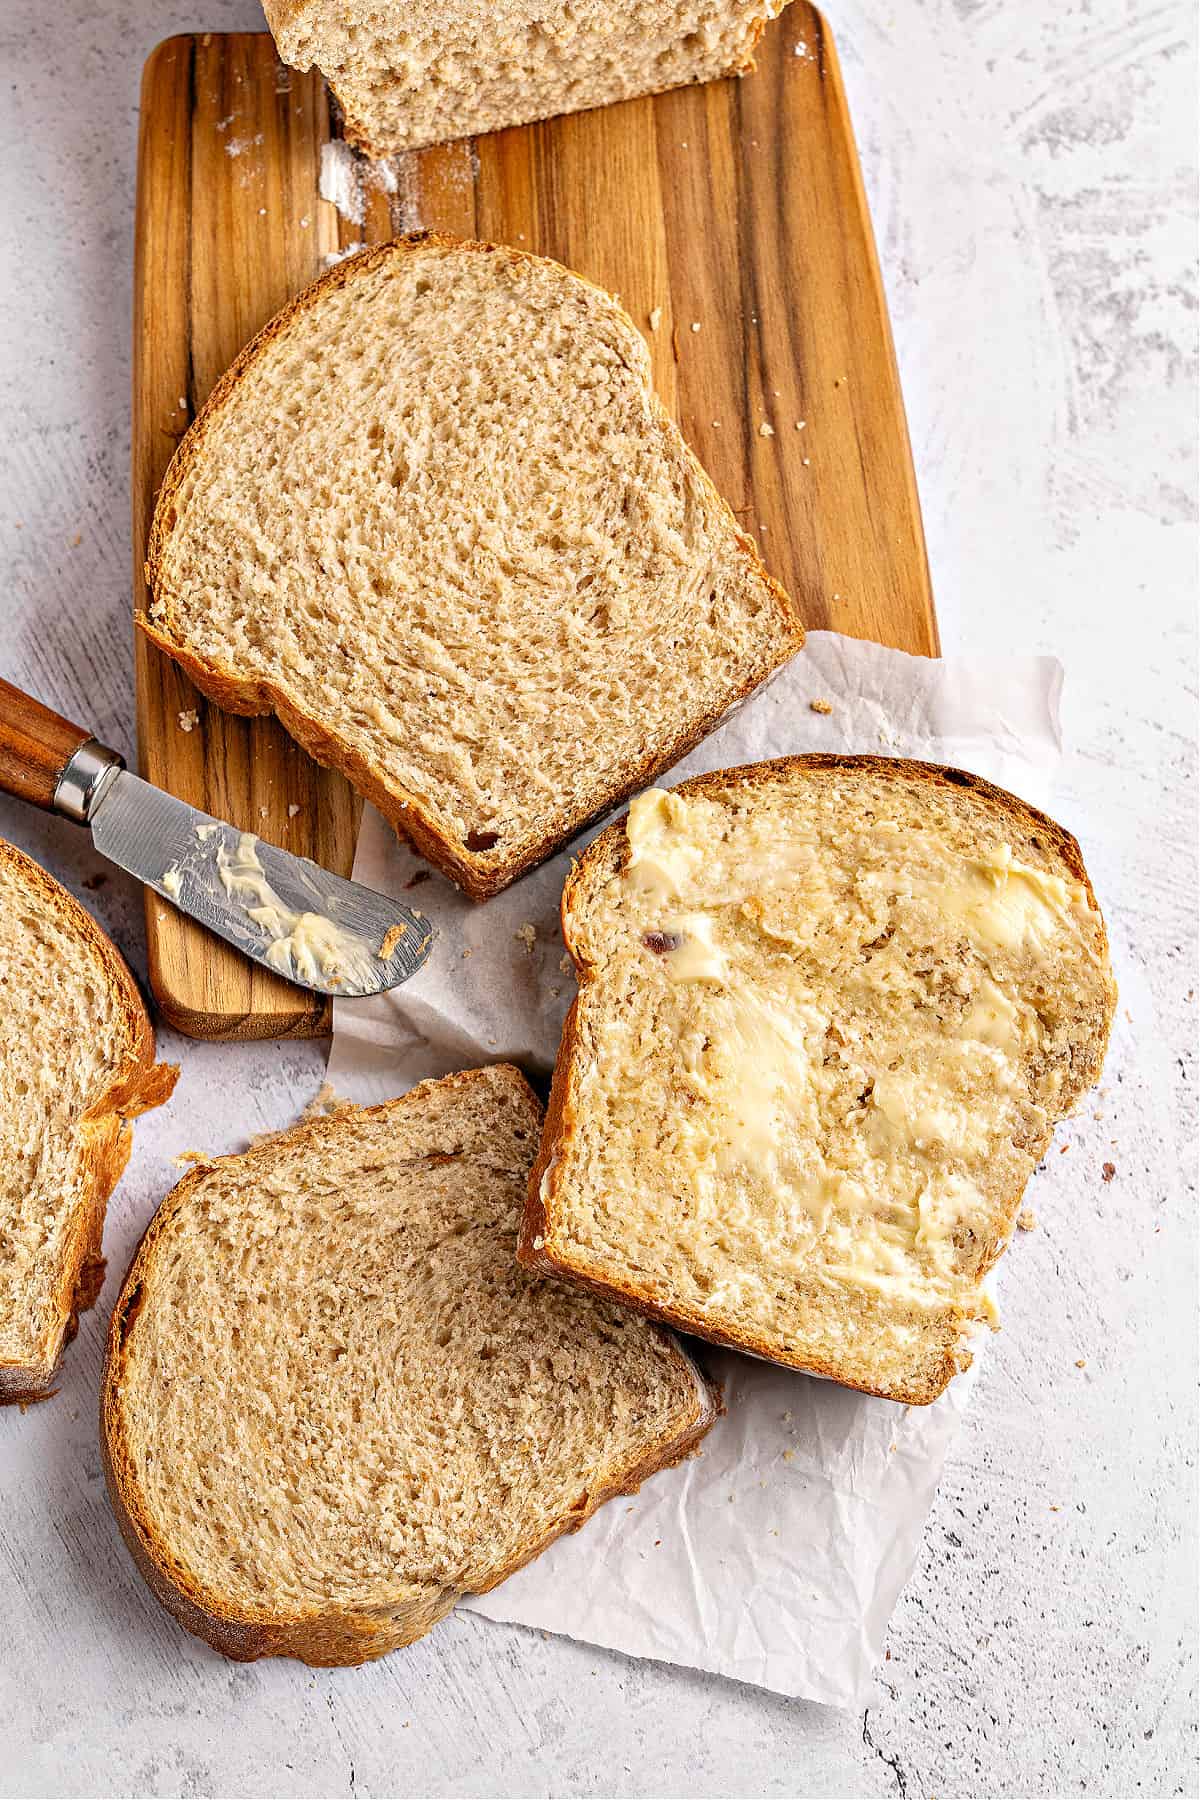
This whole wheat bread has a very slight sweetness from the honey. It pairs really, really well with the rustic flour and makes for an absolutely delicious and soft crumb. If you're more of the earthy bread type of person, the oat whole wheat bread might be more up your alley.
It's especially good for an egg salad or chopped ham salad sandwich, of course, but also pairs well toasted with a plate of homemade gravlax, chicken or turkey soup, and avocado hummus.
Testing Notes
- This recipe makes two loaves and uses 1 egg. If you want to make just one loaf, use a very small egg or stir a regular egg in a small bowl, add half of the mixture and discard or use the rest for scrambled eggs or an omelette. It freezes very well. Slice the unused loaf before freezing and take out slices as needed. Toast directly from the freezer. It lasts for a few months.
- Use finely milled whole wheat flour. The more similar to bread flour, the better. It makes all the difference when it comes to a soft crumb and texture.
- Use bread flour. It has more gluten and helps the loaf develop a breadier texture as opposed to being very soft and cakey. That said, it does work with all-purpose flour if it's all you have available, but it's not my recommendation.
- For the dough to rise and double in size, it's essential to place the bowl in a warm, not cold, space. I sometimes wrap the bowl in a blanket (or even a sweater!) if the kitchen is too cold. The time frame is very important, because if the dough takes too long to rise, it loses some of its strength and will not bake well.
- Make sure the milk is barely warm (test with your pinky finger that it's not hot. Yes, it works!) before mixing, as cold dairy can slow down yeast activity.
- Allow the bread to cool down completely before slicing it to avoid clumping. Please do.
How to Make Sure Yeast Works
- Check expiration date: Replace if expired.
- Visual check: Should be beige to light brown and granular/powdery. Avoid if grayish, clumpy, or discolored.
- Smell test: Should have a mild, slightly sweet smell. Strong or unpleasant odors indicate it's bad.
Proofing test: Mix ½ teaspoon sugar in ¼ cup warm water (comfortable to touch). Sprinkle ½ teaspoon of dry yeast on top and stir gently. Wait 5-10 minutes until you start to see some activity. Fresh yeast will foam and bubble more; instant bubbles less than active dry yeast.
Golden Rule: When in doubt, buy new! It's better to be safe than to have your baked goods fall flat and be inedible.
Process steps
This is a straightforward dough, and a stand mixer with the dough hook is recommended for kneading. But you can knead it by hand (and I still do sometimes). You need counter space and some patience as the dough comes together.

Yeast mixture
It acts as a sort of sponge and ensures the yeast is bubbly and working as it should.

Wet and dry mixtures
The wet ingredients are mixed in the bowl, and the flour mixture is added gradually. Use the dough hook attachment if using the stand mixer.
If kneading by hand, stir in a large bowl with a spoon until it's too stiff. Transfer the shaggy mass to the counter and start kneading. A dough scraper is a handy tool for this.
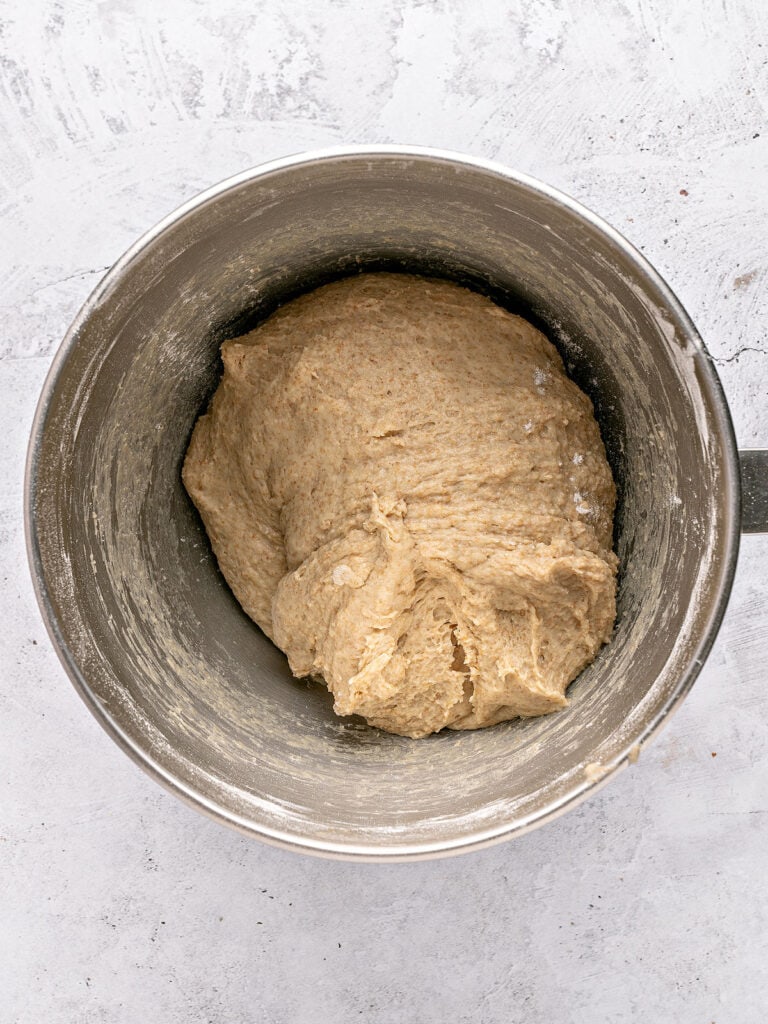
Soft dough
The final dough is soft and not too sticky. It will become more supple and firm up after it rises and doubles in size. So don't add too much flour!
If using a stand mixer, the dough will leave the sides of the bowl and not pool too much at the bottom.
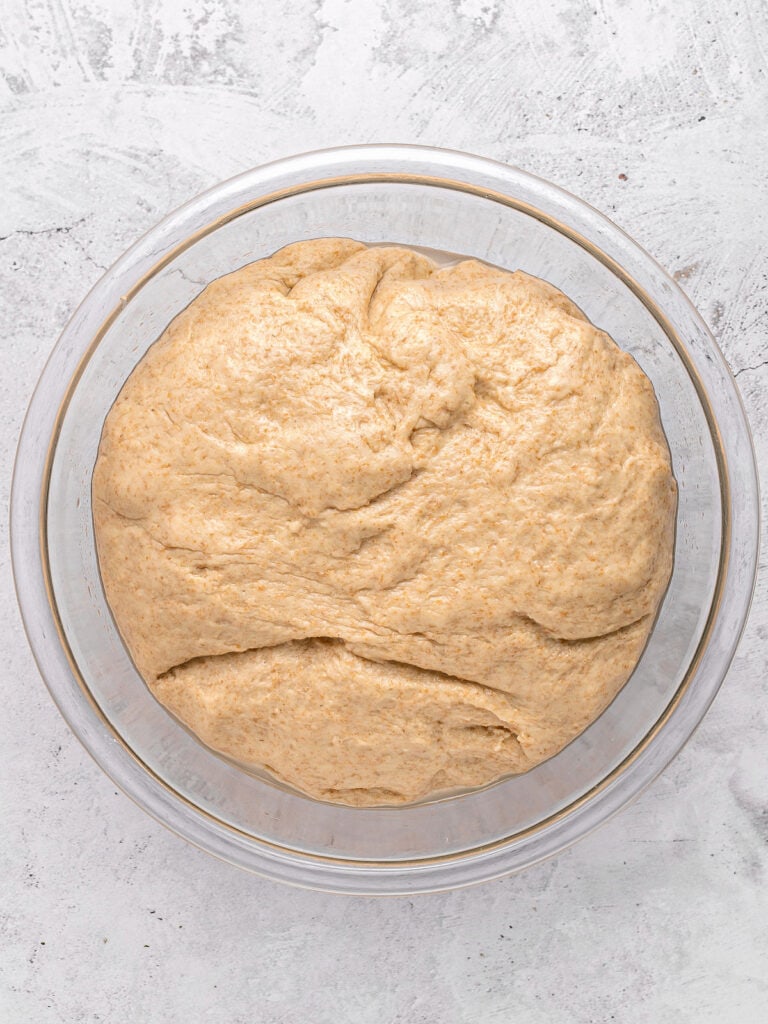
First rise
Oil or grease the bowl, and then turn the dough so that all sides are coated with oil. This, and covering the bowl, prevents the top layer from drying.
If your kitchen is cold, choose a warm (not hot) room, or it will take too long to proof (rise).
The dough should double in size, noticeably. If it doesn't move much after 30 minutes, it means the room is too cold.
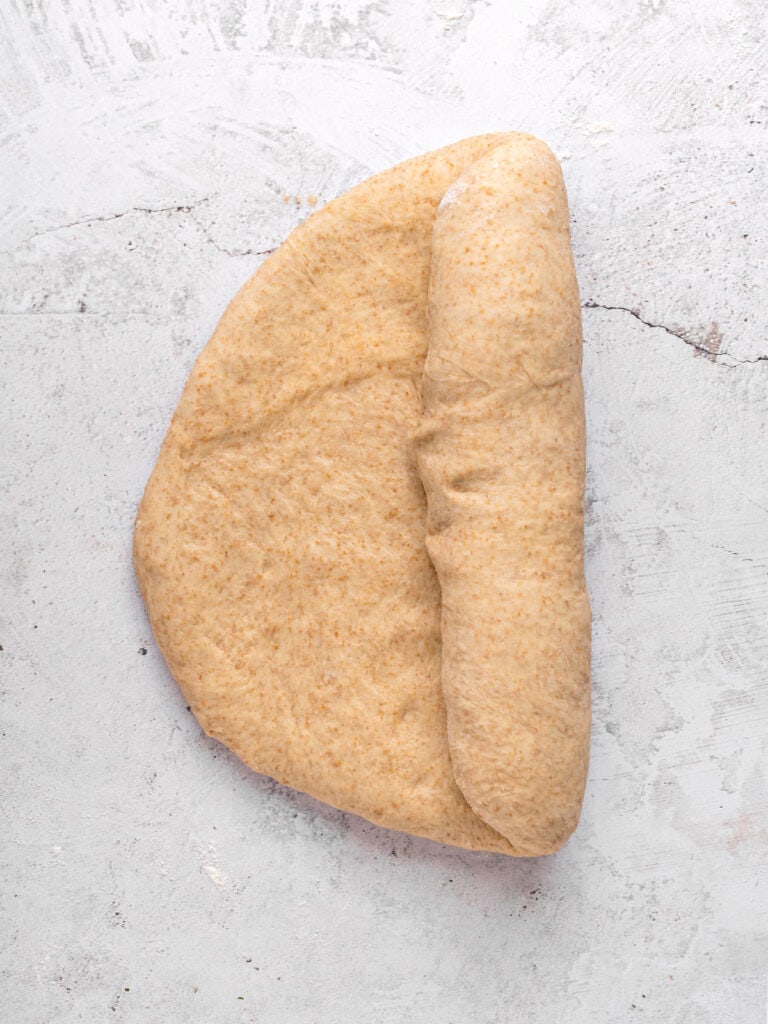
Form the loaf
Lightly flour the surface to prevent sticking, but don't overdo it. Use a rolling pin or pat it with your fingers until you have a rectangle as long as the loaf pan you'll be using.
Roll as you would cinnamon rolls, pinching the seams with each turn so the dough is tight without air pockets.
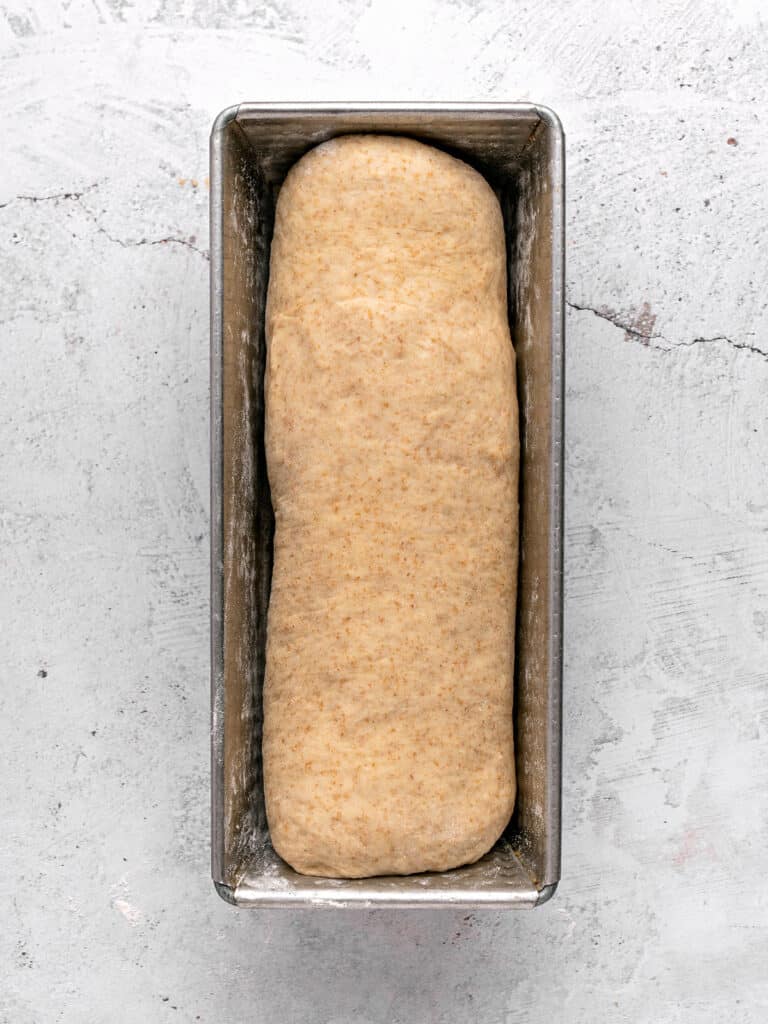
Final rise
Place the dough, seam side down, in the prepared pan and let it rise again before baking.
Again, choose a warm (not hot) room, or it will take too long to proof (rise).
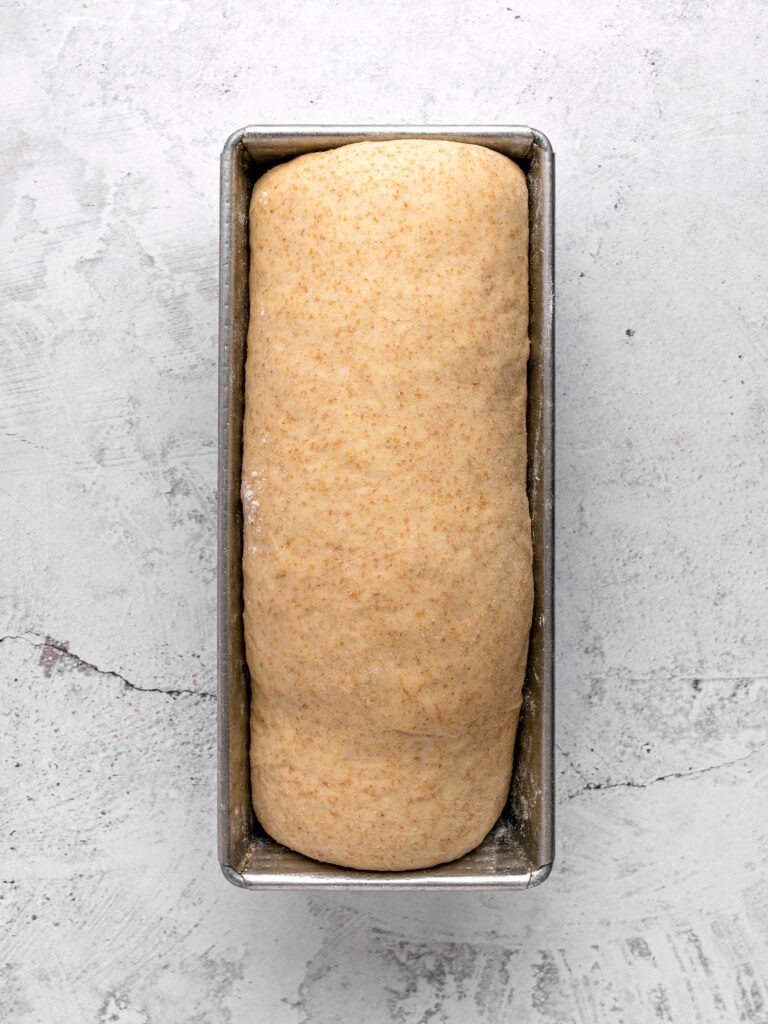
Before baking
After proofing, the dough will be puffed and almost reach the top of the pan.
This type of bread doesn't require an egg wash before baking, but you can for a shinier finish. You can also brush it with water and sprinkle some seeds on top to create a crust, or simply add a dusting of flour.
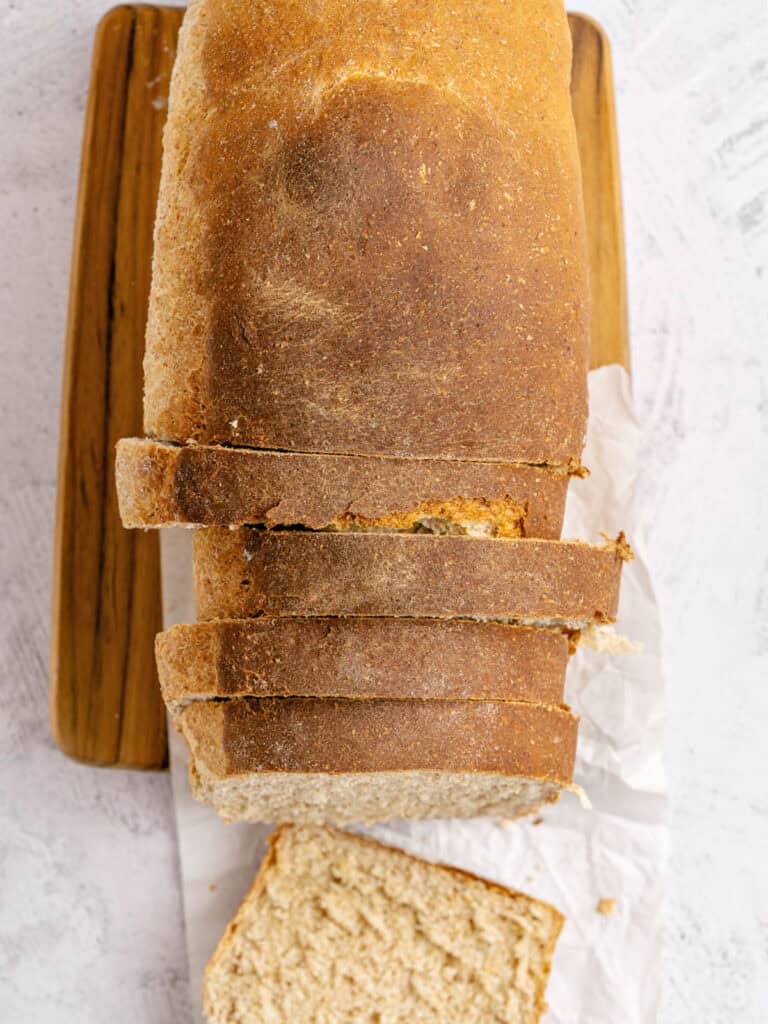
Baking
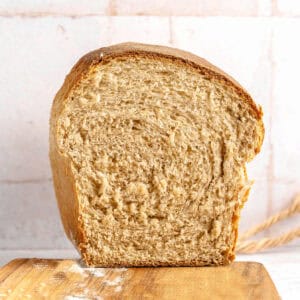
The bread will turn golden brown, puff and dry.
How do you know when it's done? The top will be firm to the touch, dry, and the bottom will be colored and sound hollow if you lightly tap it with your knuckles.
If you made this recipe and loved it, you can comment below and leave a 5-star ⭐️ review. Also, if you had issues, let me know so we can troubleshoot together.
You can also subscribe to our FREE email series 'Baking the Best' and our regular newsletter. Or follow and save my recipes on Pinterest.
As an Amazon Associate, I earn from qualifying purchases. Read my disclosure policy.
Whole Wheat Sandwich Bread
Ingredients
- 2 tablespoons dry yeast
- ¼ teaspoon sugar, to start the yeast
- 1 cup warm water
- 1 cup warm milk
- ½ cup honey
- 3 tablespoons soft butter
- 2 ½ cups whole wheat flour, finely milled
- 1 tablespoon salt
- 1 egg
- 3 ½ to 4 cups bread flour, all-purpose can also work
Instructions
- In a small bowl, mix 1 cup warm water, 2 tablespoons dry yeast and ¼ teaspoon sugar and let it rest for 5 minutes.
- In another bowl, mix 1 cup warm milk, ½ cup honey and 3 tablespoons soft butter. The butter will not incorporate fully and that is fine.
- In the bowl of the stand mixer or a large bowl if making it by hand, combine 2 ½ cups whole wheat flour and 1 tablespoon salt.
- Add the milk mixture, 1 egg and yeast mixture to the flour mixture. Beat at medium speed for 3 minutes with the paddle attachment or mix with a wooden spoon or spatula by hand.
- Change to the dough hook attachment and add ½ cup of bread flour while mixing. If by hand, add ½ cup of flour at a time until too stiff to stir and transfer to a lightly floured counter and start kneading, incorporating the rest of the bread flour until you have a soft, supple dough. You might not use all of the bread flour.
- Beat at medium-high speed for about 5 minutes until the dough is very elastic and comes away from the bottom of the mixer. If necessary, add 1 extra tablespoon of flour at a time; wait for 30 seconds between additions to decide if you need more flour. The dough is soft and supple but barely sticky.
- Place in a large, lightly oiled bowl, turning to oil all the sides. Cover with plastic wrap and let rise for 1 to 1 ½ hours, or until it doubles in volume.
- Gently punch the dough down, transfer it to the floured counter and knead for a minute.
- Divide in half (weigh them so they're equal) and let rest for a few minutes covered.
- Form a rectangle with each piece and roll it to form loaves (like cinnamon rolls), pinching the seams so there are no air pockets.
- Place them in loaf pans that are lightly floured or sprinkled with polenta, oats or a thin layer of whole wheat flour. Slightly flatten the tops to level the dough, cover with a towel and let it rise until puffed, about 30-40 minutes.
- Preheat the oven to 350°F (180ºC) and bake for about 40 minutes, until golden brown and the bottom sounds hollow when lightly tapped.
- Let cool on a wire rack, and run a smooth-bladed knife if any parts are stuck to the sides.
- Invert onto the wire rack and let cool completely before cutting.
Rate and review this recipe