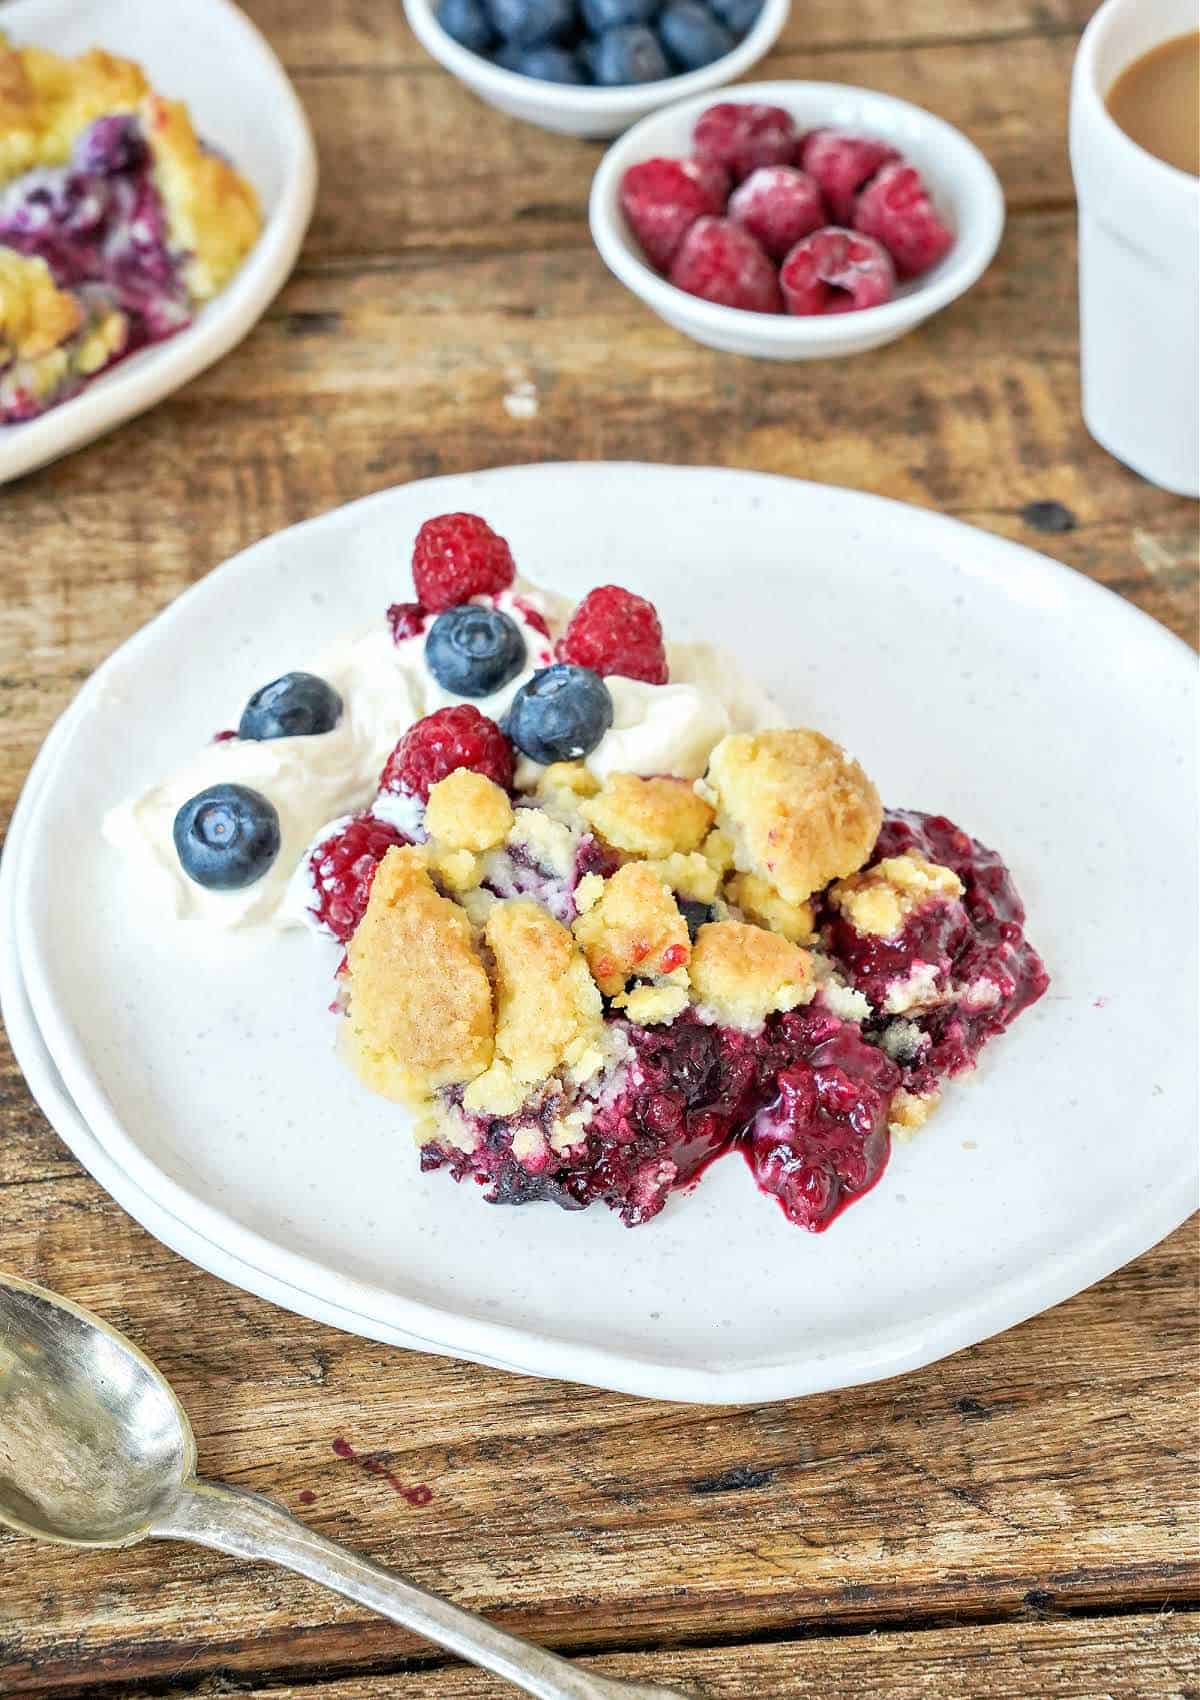
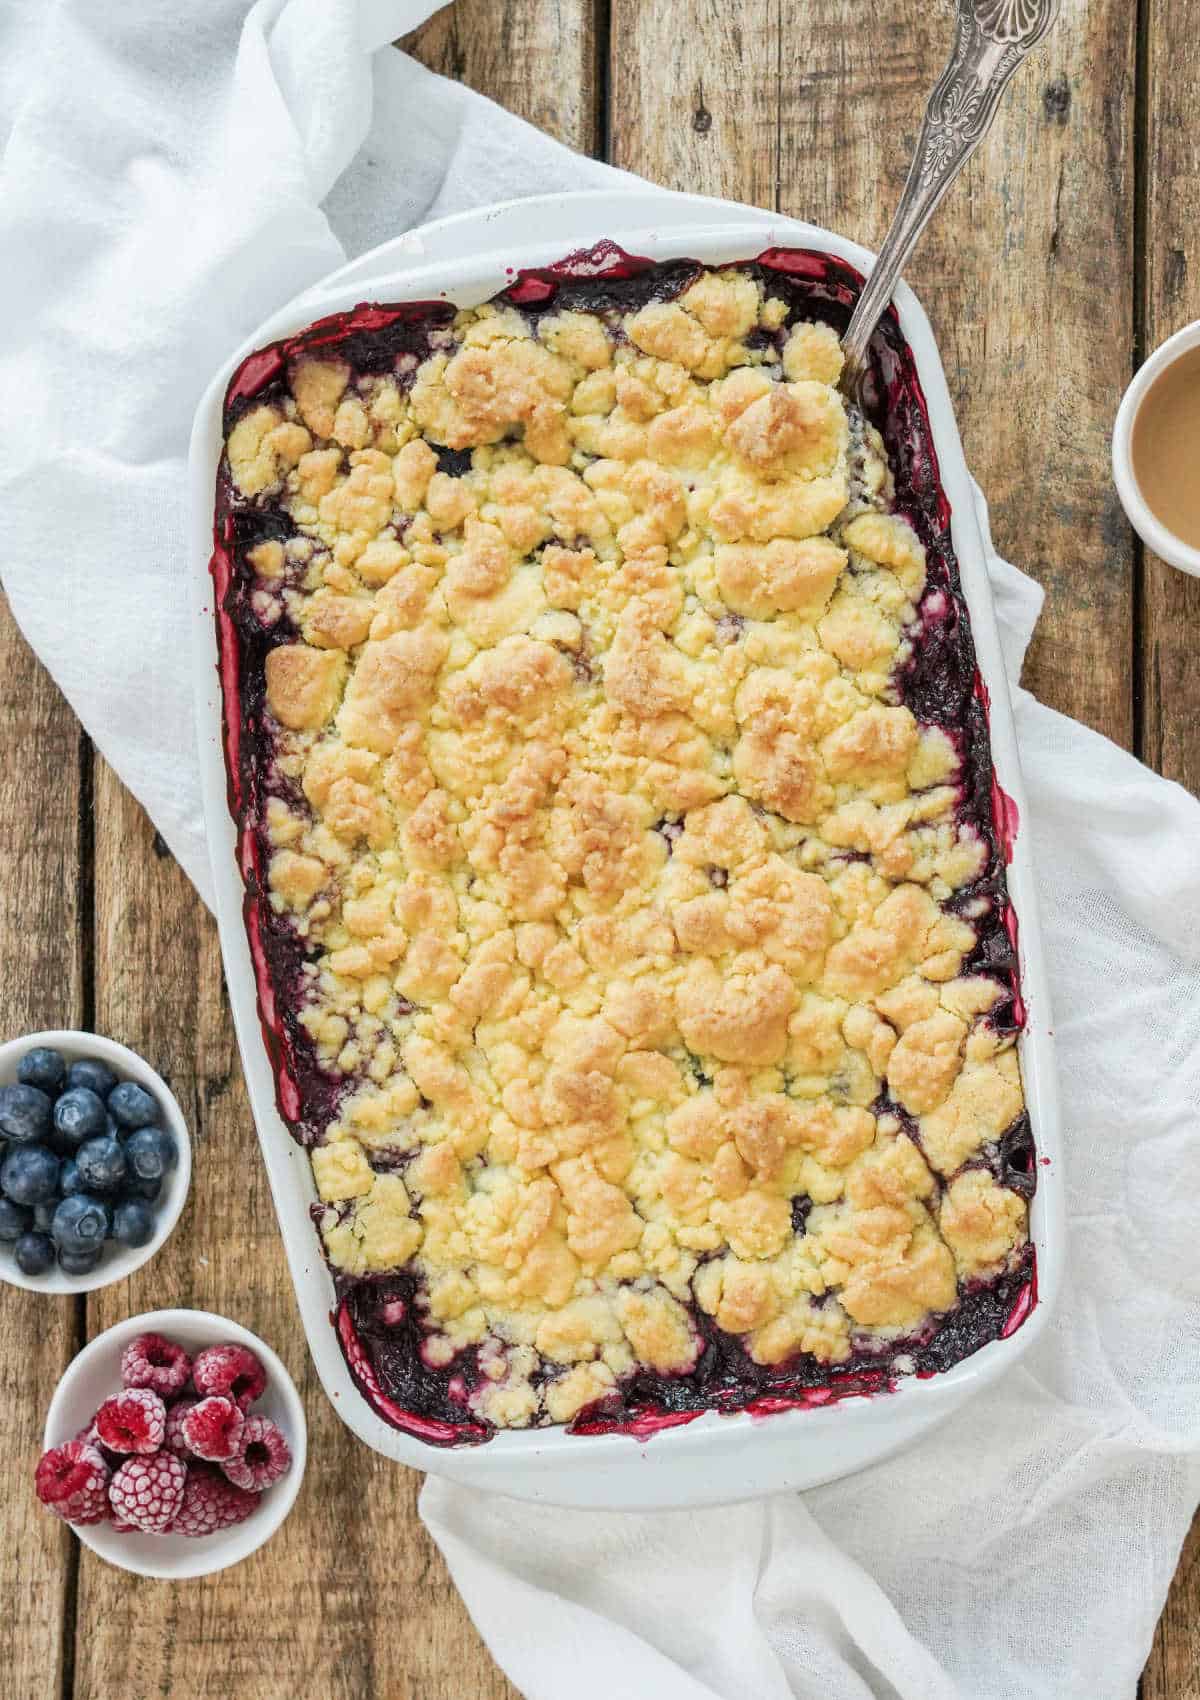
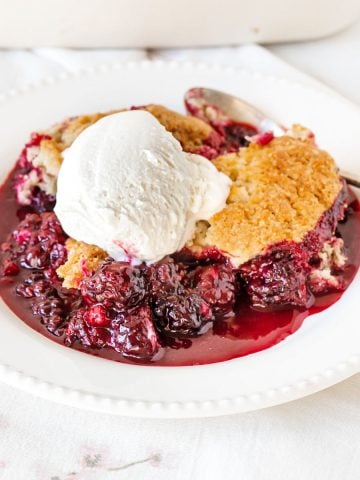
This easy dessert, also known as a berry cobbler with cake mix, is a layer of berry pie filling topped with a buttery crumble mixture. The mix of fruits can be adjusted to your preference. It's the perfect no-fuss dessert for hectic weeknights, potlucks, barbecues, and casual gatherings.
A quick vintage dessert
I pride myself on making almost everything from scratch.
The 'almost' usually includes cake mix boxes. And in this case, also pie filling. Though I do make it from scratch when the berries are in season.
This vintage recipe is simple and a crowd-pleaser. Also known as dump cake cobbler, it's a dessert to have handy for potlucks, casual gatherings, or when you want a comforting sweet something.
After all, it is a sweet casserole dish, and we love easy casseroles, don't we?
For more flavor combinations, check out our dump cake recipe roundup.
Why make this recipe
- Quick & easy to make: dump cakes are known for being simple recipes that can be on the table in under an hour. You "dump" the ingredients into a baking dish and bake. This makes them a great option for busy people or those who are new to baking.
- Make-ahead: you can make it up to 2 days before and have it in the refrigerator. Or freeze it.
- Cheaper than store-bought: homemade dump cakes can be more affordable than buying a pre-made dessert at the store.
- Great dessert for a crowd: berry pie filling and cake mix are loved by most, and this recipe takes little time to assemble so it's fantastic for casual gatherings.
Watch our step-by-step videos
Ingredient list
- Dry cake mix: the type you find in the supermarket or grocery store, whatever brand you want. I like yellow cake mix, but white cake works well too. Betty Crocker and Duncan Hines are popular ones.
- Unsalted butter.
- Store-bought berry pie filling: use 2 large cans of different fillings, like blueberry and raspberry.
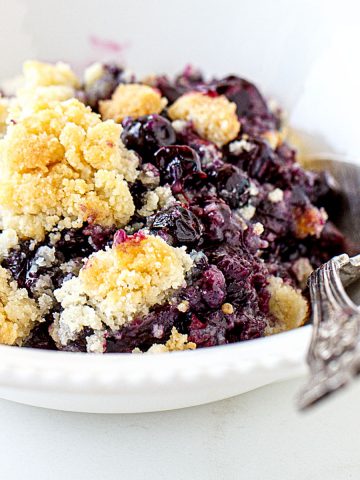
- Extra berries: a third type of berry, fresh or frozen, to scatter on top of the canned pie fillings. I use blackberries.
- Lemon juice: optional but good, in my opinion. It adds some acidity to the sugar and butter in the filling and topping.
Quantities are listed on the recipe card towards the end of this post. The Ingredients page has more details and lists the brands we use.
Yes, you can use a gluten-free cake mix in a dump cake. You may also want to check the labels of any other ingredients you use in the recipe to make sure they are gluten-free.
Yes, you can make dump cakes ahead. Simply prepare the dessert as directed and refrigerate, covered, until ready to serve. You may want to warm the cake in the oven or microwave before serving so the topping crisps up again and is more inviting.
Steps to make a berry dump cake
As the name implies, this is a dump-and-bake recipe.
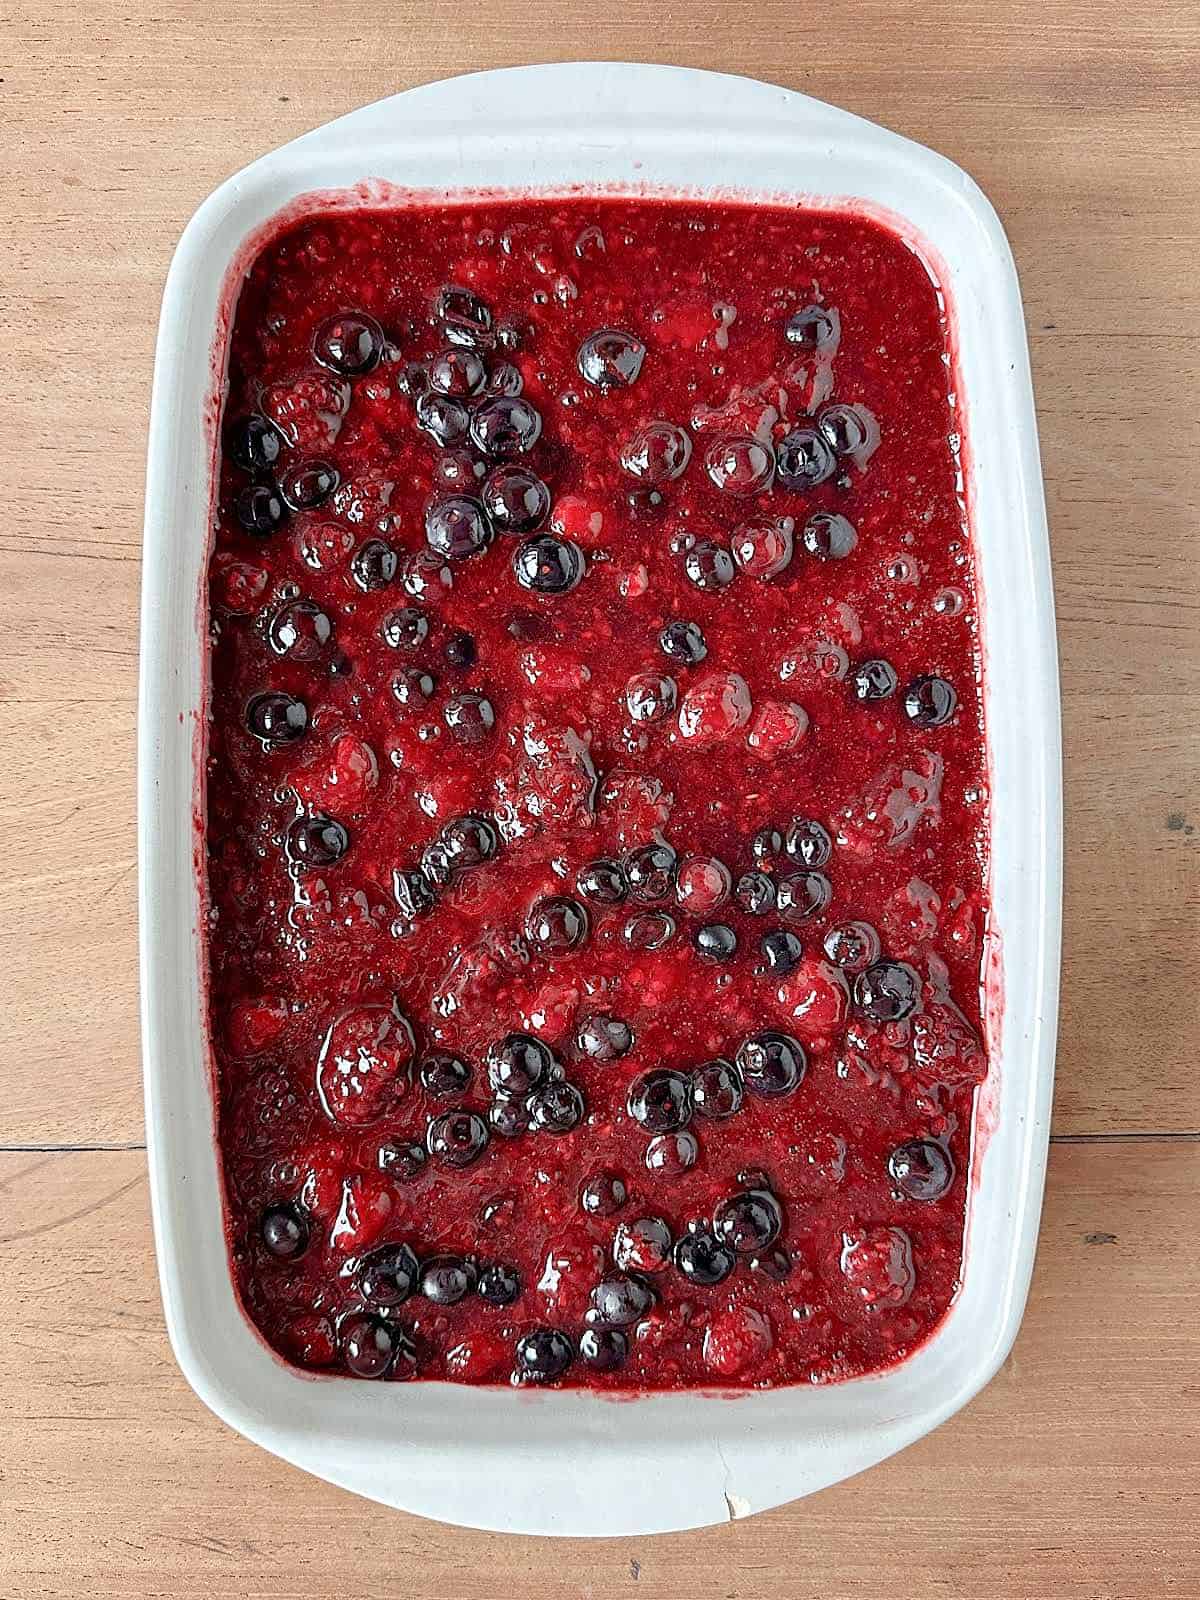
For the filling: all the ingredients can be stirred together in the pan you're using or in a separate mixing bowl. The topping is then sprinkled on top.
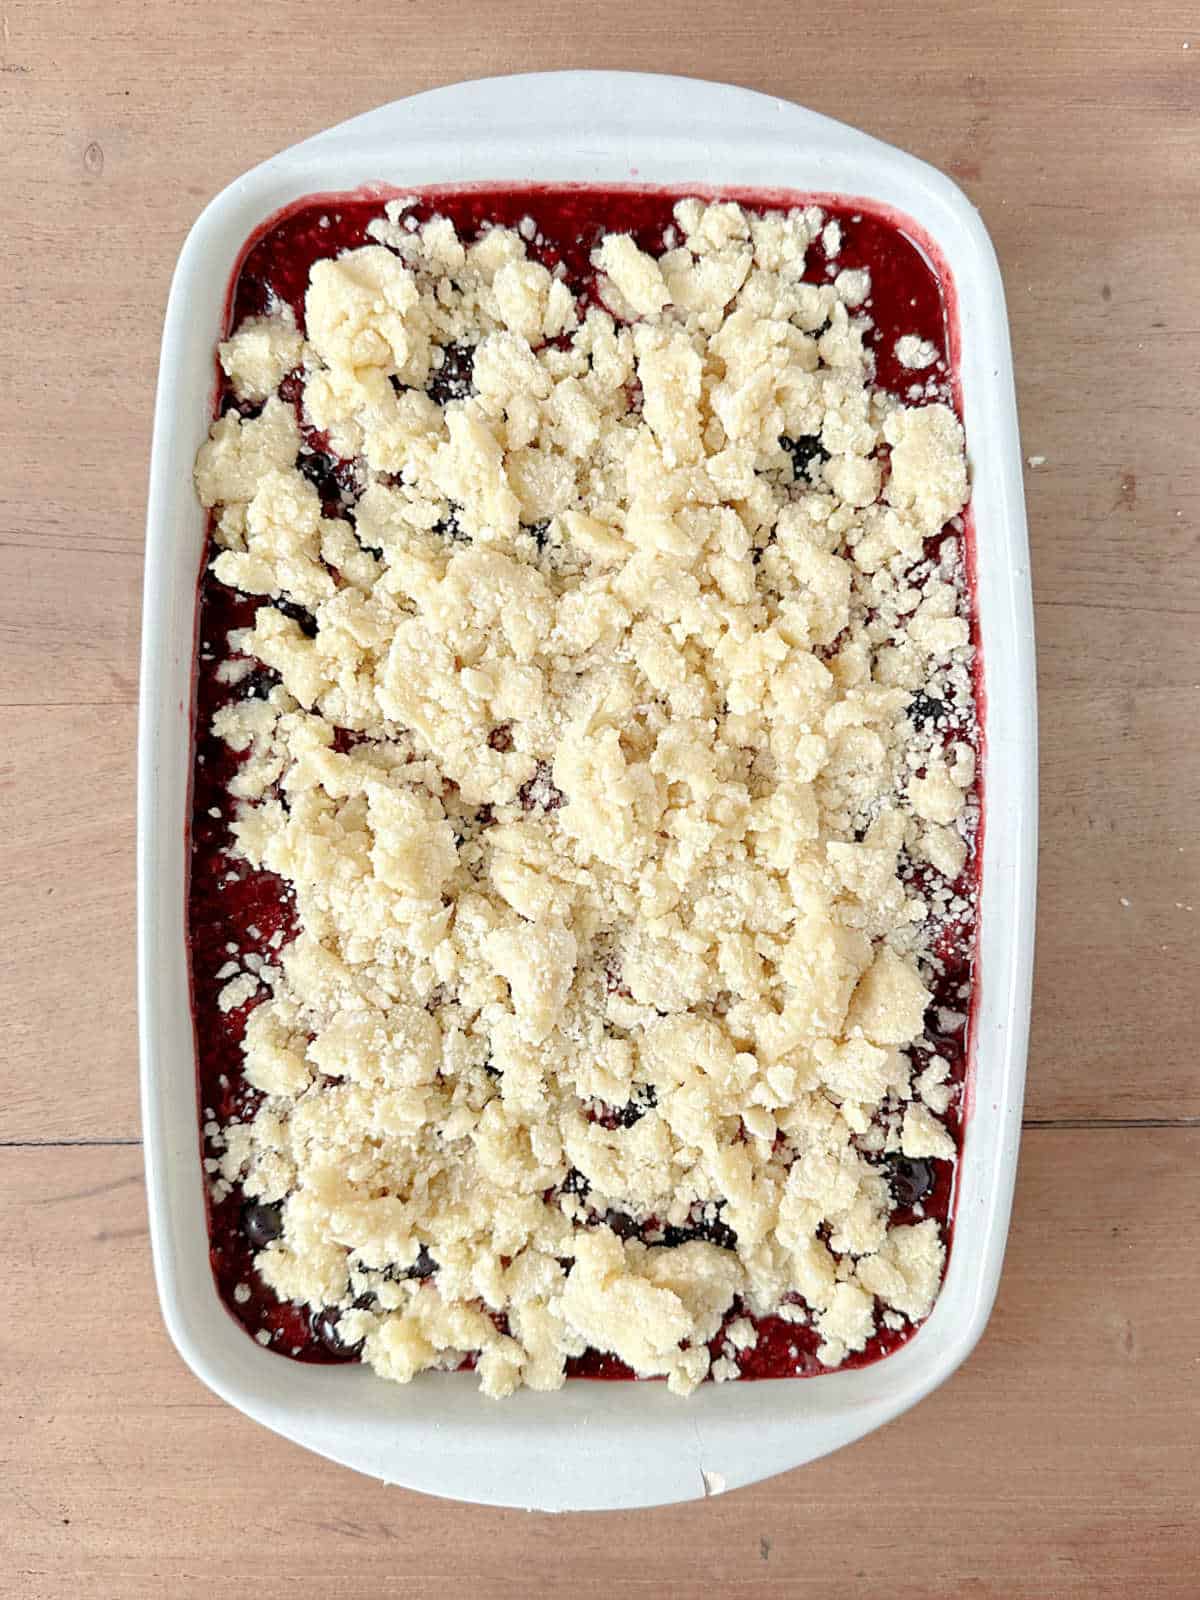
For the topping: the cake mix is combined with the melted butter in a medium bowl and mixed with a spoon until crumbly but still floury.
Vintage Kitchen Tip
The dump cake topping can brown before the interior is fully baked. So check by lifting the crumbly top layer (I use a fork) here and there and making sure it's not wet but dry and fully baked.
Kitchen Notes
- Organization: read the recipe first and ensure you have ingredients at the correct temperature, equipment, and enough workspace. This will make the process so much easier.
- Baking time: keep in mind that all ovens and pans are different, even if they look similar. The baking time in my recipes is as accurate as possible, but it might take you more or less time. You can use a thermometer(like the OXO oven thermometer) to check that your oven is at the right temperature. I recommend keeping track of how your oven works and what tiny details you might need to adjust.
- Topping: after making many dump cakes, I tried several ways of mixing the cake mix with butter, and my favorite is by far the one explained here using melted butter. You can also do it like in the original dump cake recipe.
- Filling: make it from scratch (it's very easy), or just open a few cans! It doesn't get much simpler than that. I do recommend adding some extra fresh berries. It adds a lot of freshness and flavor.
- Ratio: I found that a lower ratio of topping to filling is ideal because the former crisps up and tastes fantastic without being over-buttery. But, as with most desserts, find your own ideal proportions of filling, topping, and sweetness.
- Storing: treat it like a crumble or crisp, keeping leftovers in the refrigerator. You can also freeze it for a month or more. Let it thaw at room temperature and warm it in the oven before eating.
- Type of dish to use: since you'll be serving it from the pan, here are our favorite dishes for family-style desserts.
Related recipes you might like:
Before you go
If you made this recipe and loved it, you can comment below and leave a five-star ⭐️ review. Also, if you had issues, let me know so we can troubleshoot together.
You can also subscribe to our FREE email series 'Baking the Best' and our regular newsletter. Or follow and save my recipes on Pinterest.
As an Amazon Associate, I earn from qualifying purchases. Read my disclosure policy.
Berry Dump Cake (cobbler-style dessert)
Ingredients
- 2 cans, 42 oz berry pie filling (I use blueberry and raspberry)
- 1 cup berries, fresh or frozen (I use blackberries)
- 2 tablespoons lemon juice, optional
- 1 box, 18.25 oz yellow or white cake mix
- 1 cup 2 sticks unsalted butter, cold
Instructions
- Preheat the oven to 350°F (180°C).
- Grease a 9x13-inch baking dish.
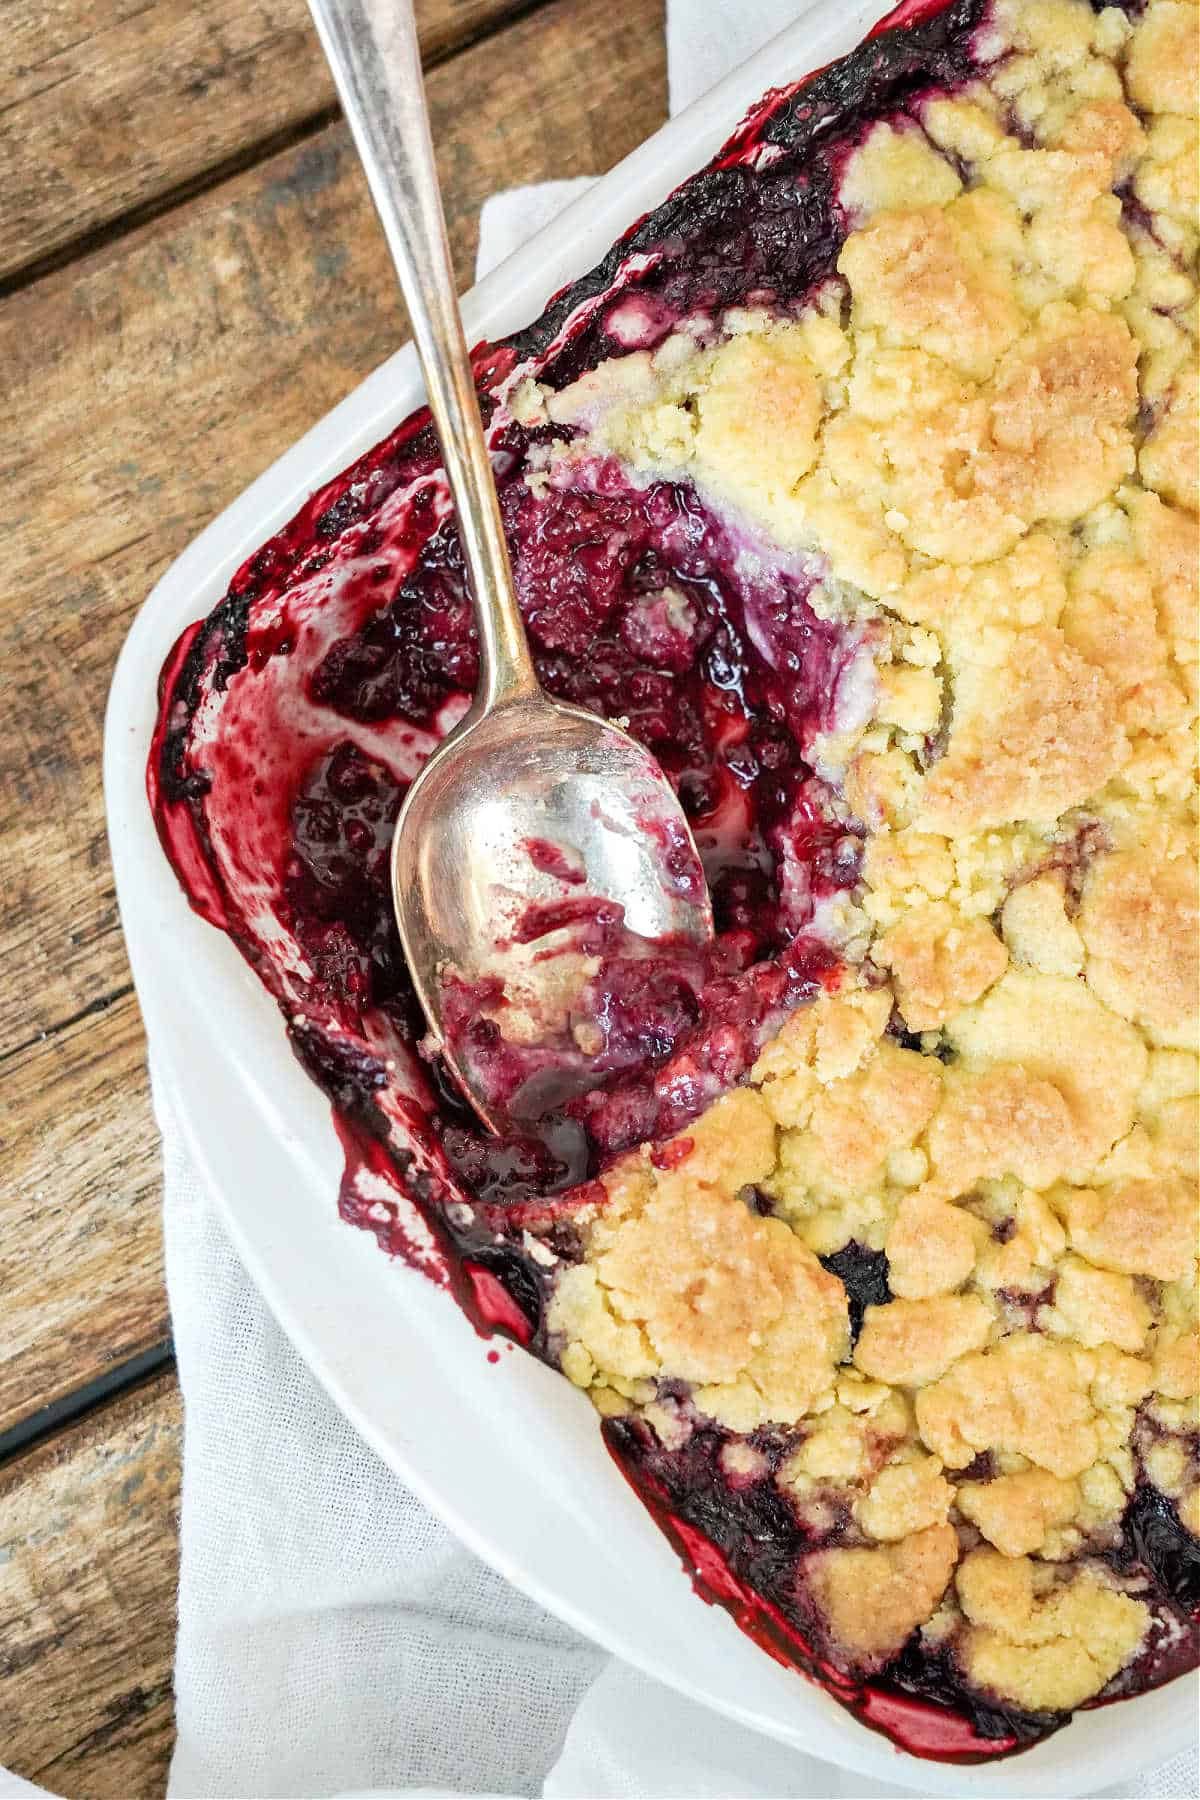
- Dump the cans of pie filling into the prepared baking dish and spread it evenly. You can stir them lightly together. Add the lemon juice, if using, and stir lightly to mix.
- Scatter the cup of extra berries on top.
- Dump the cake mix in a medium bowl and add the melted butter. It will be a little floury and clumpy.
- Scatter the crumble over the berry layer. It will not cover the filling completely, and we want that so the juices can bubble up during baking.
- Bake for 45-50 minutes, or until the top is golden brown and the filling is bubbling around the edges.
- Let cool on a wire rack.
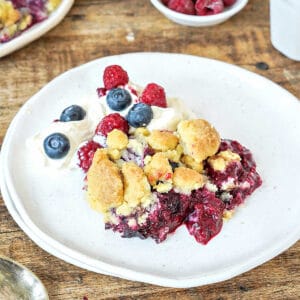
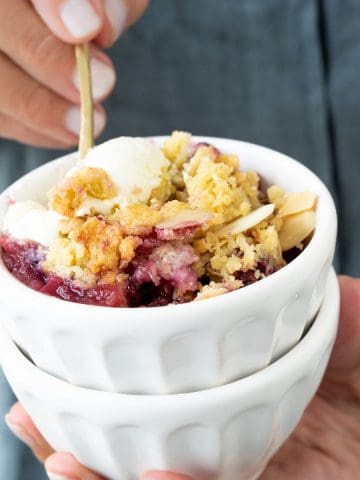
- Serve warm or at room temperature with whipped cream (or vanilla ice cream) and fresh berries.


Sandy Nachenberg says
I have made several of Paula's recipes and they have been a no-fail joy to use.
She is easy to work with and I will go back to her and her great recipes!!!!!!
Paula Montenegro says
Thanks so much for this sweet comment Sandy! Happy baking