
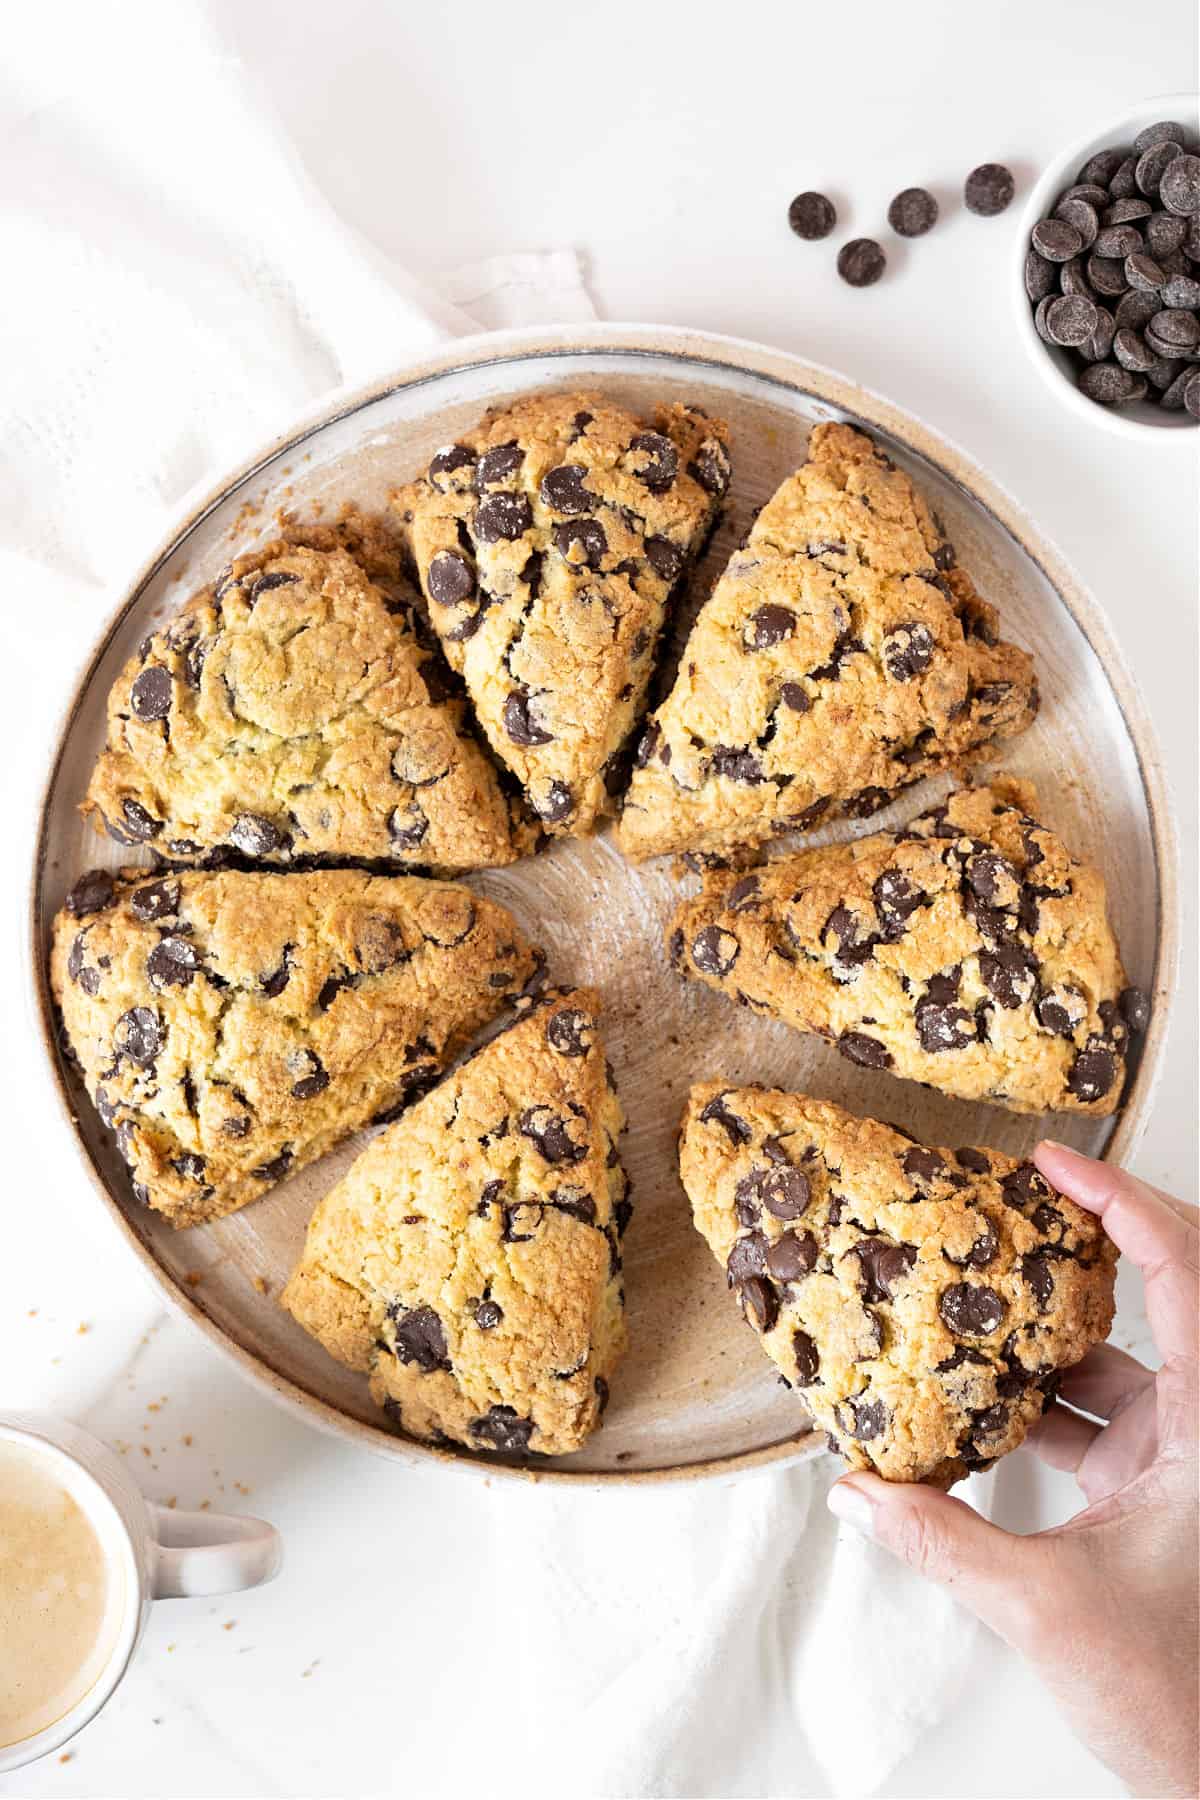
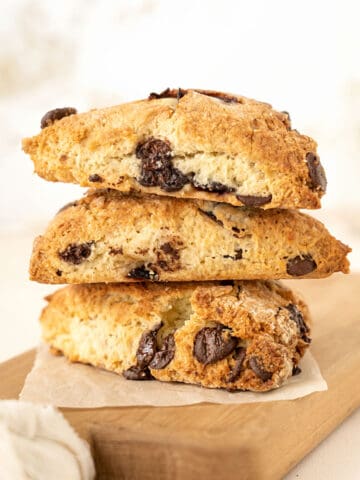
Studded with chocolate chips, this scone recipe is ready in under an hour-and I really mean a lot of chips. The scones can be frozen for a month, so you can bake them to order. Even if you're a beginner, you can make beautiful scones with all my tips.

SAVE THIS RECIPE
Soft and buttery
But with the undeniable sweetness of semisweet chocolate.
They are a cross between a chocolate chip cake and the flavor of a chocolate chip cookie, and of course, they make a great afternoon snack, tea time treat, breakfast and brunch addition.
Scone recipes are favorites around here, and I love adding new ones. And no baking repertoire is complete without one with semisweet chips. Do you agree?
If you follow the tips below (also on the recipe card), you'll master the scone-making process and be able to whip them up whenever the craving hits.
Tips for scones and biscuits
- Baking powder: It's essential to help the scones rise, so make sure it's not expired.
- Very cold ingredients: I'm not kidding when I say very cold butter. I cut it and put the pieces in the freezer for 5 minutes before using it. And don't take the liquid ingredients out before you start mixing the scones. They belong in the fridge until you need them.
- Don't work the dough much. It should come together but might still have floury patches. You don't need to work it until it's smooth, like pie dough. It is uneven, with dry spots sometimes, and that's good for flakiness later.
- A rather high oven is necessary: they need that extra heat (and baking powder) to rise. If you happen to forget to turn the oven on before you start mixing, please don't leave the baking sheet with the cut scones waiting on the counter. Put them in the fridge or freezer for the ten or fifteen minutes it takes for the oven to reach its temperature.
Variations & substitutions
- Yogurt: substitute the buttermilk and cream for natural Greek yogurt at the same volume (cups and tablespoons).
- Spices: add some ground cinnamon.
- Other chocolate chips: add milk chocolate or white chips or chunks to the dough, substituting half of the semisweet ones.
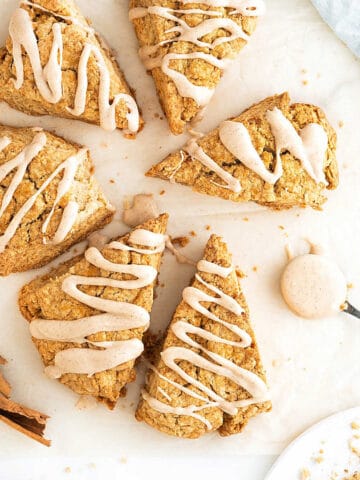
- Orange: add some zest to the dough for a great flavor combination.
How to make chocolate chip scones
You mustn't overwork the scone dough. The butter should remain as cold as possible, and the gluten in the flour should not develop. This is how you get the scones to rise well and be tender, not flat and tough.
That's why we refrigerate or freeze the formed scones before baking.

- Working surface: the dough will have dry patches, so don't flour it from the beginning.
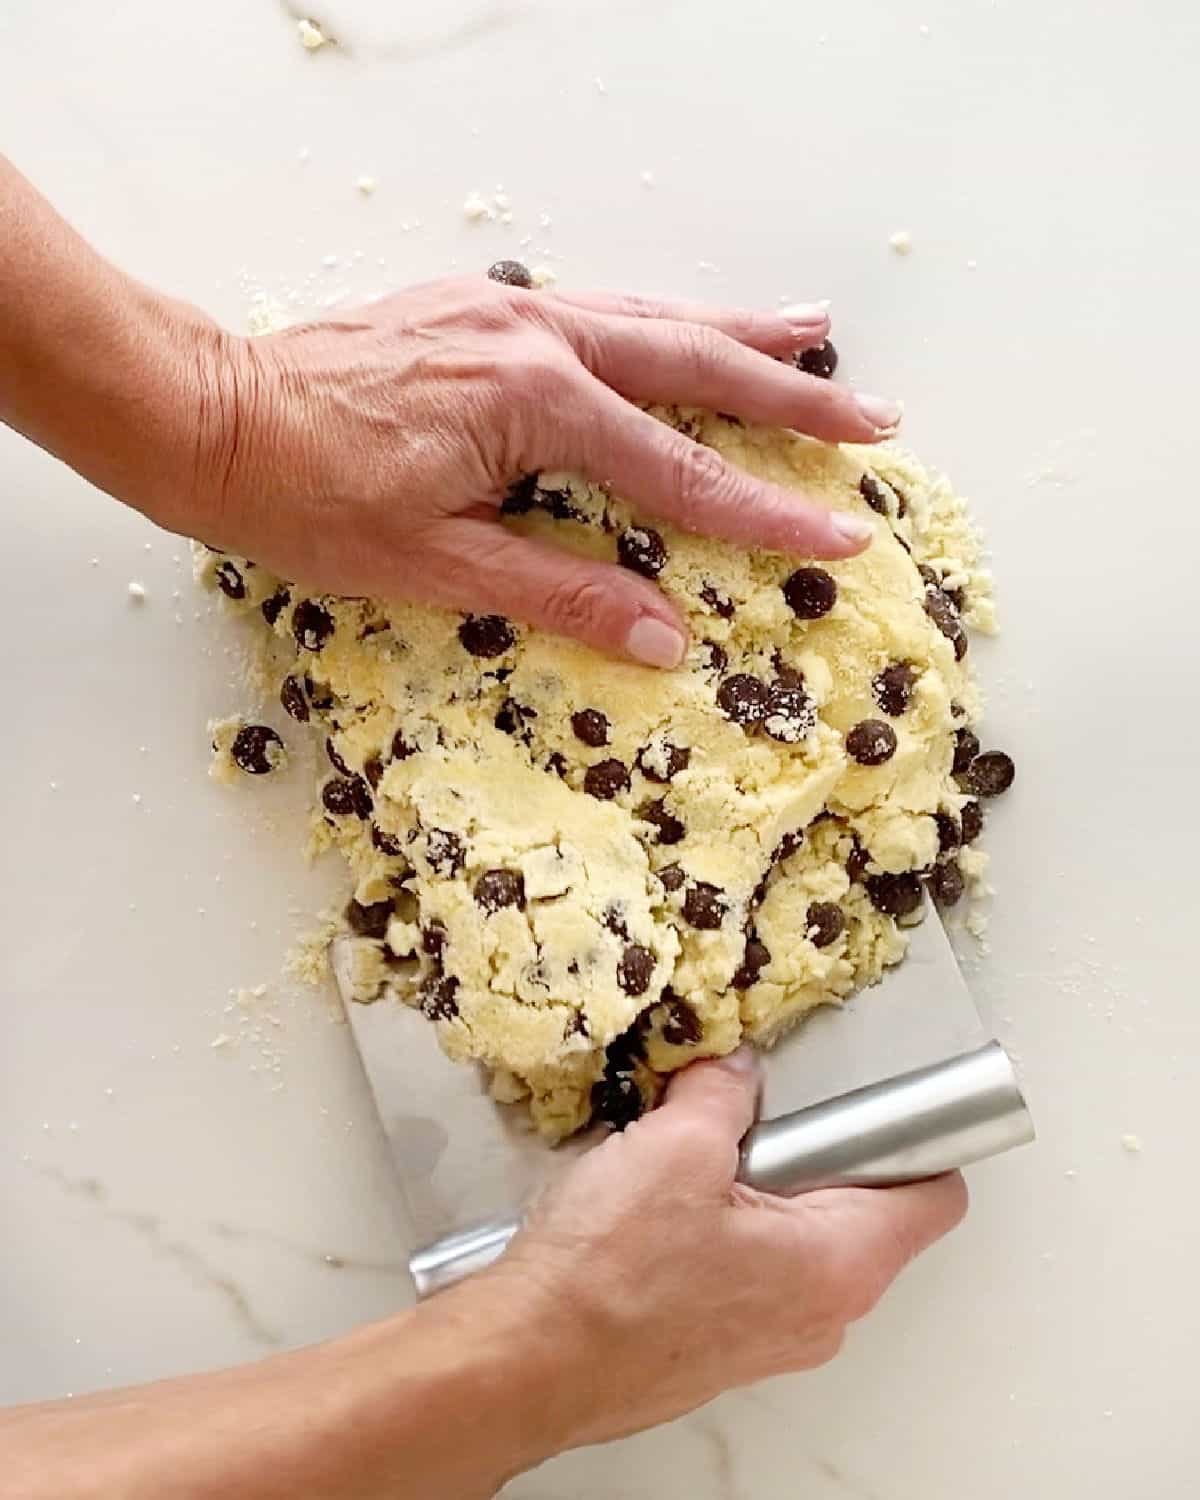
- Dough scraper: it's a great little tool for folding the shaggy mass onto itself so it slowly comes together. With each fold, it will become more formed. Pat the dough into a circle, but do not overwork it! You can also use a metal spatula to help you with the dough.
Cutting and baking
- Shape: I like triangles for fruit scones, but you can use a round cutter like we do for the buttermilk scones.
- Size: eight triangles is the perfect amount. Although the scones might seem relatively small, they will expand and grow during baking. Cut six pieces if you want very large scones.
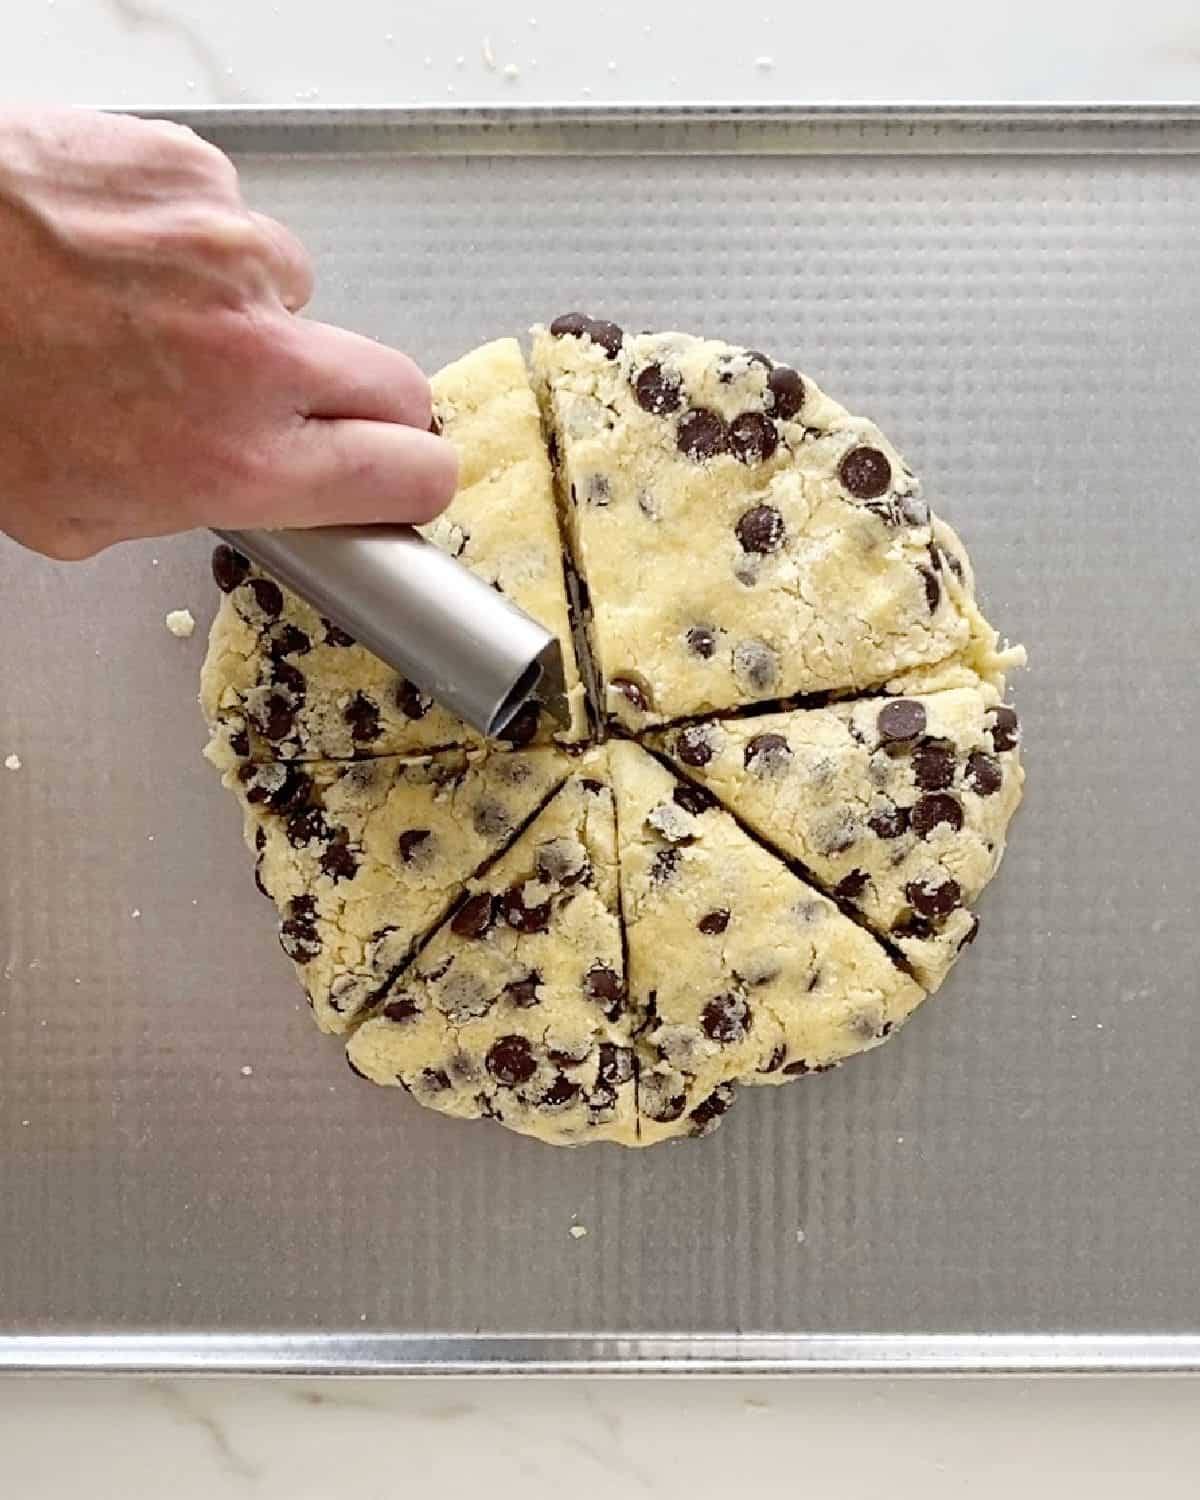
- Cutting the disc of dough: I cut it into 8 triangles with a dough scraper or a large kitchen knife, but you can also use a round cookie cutter.
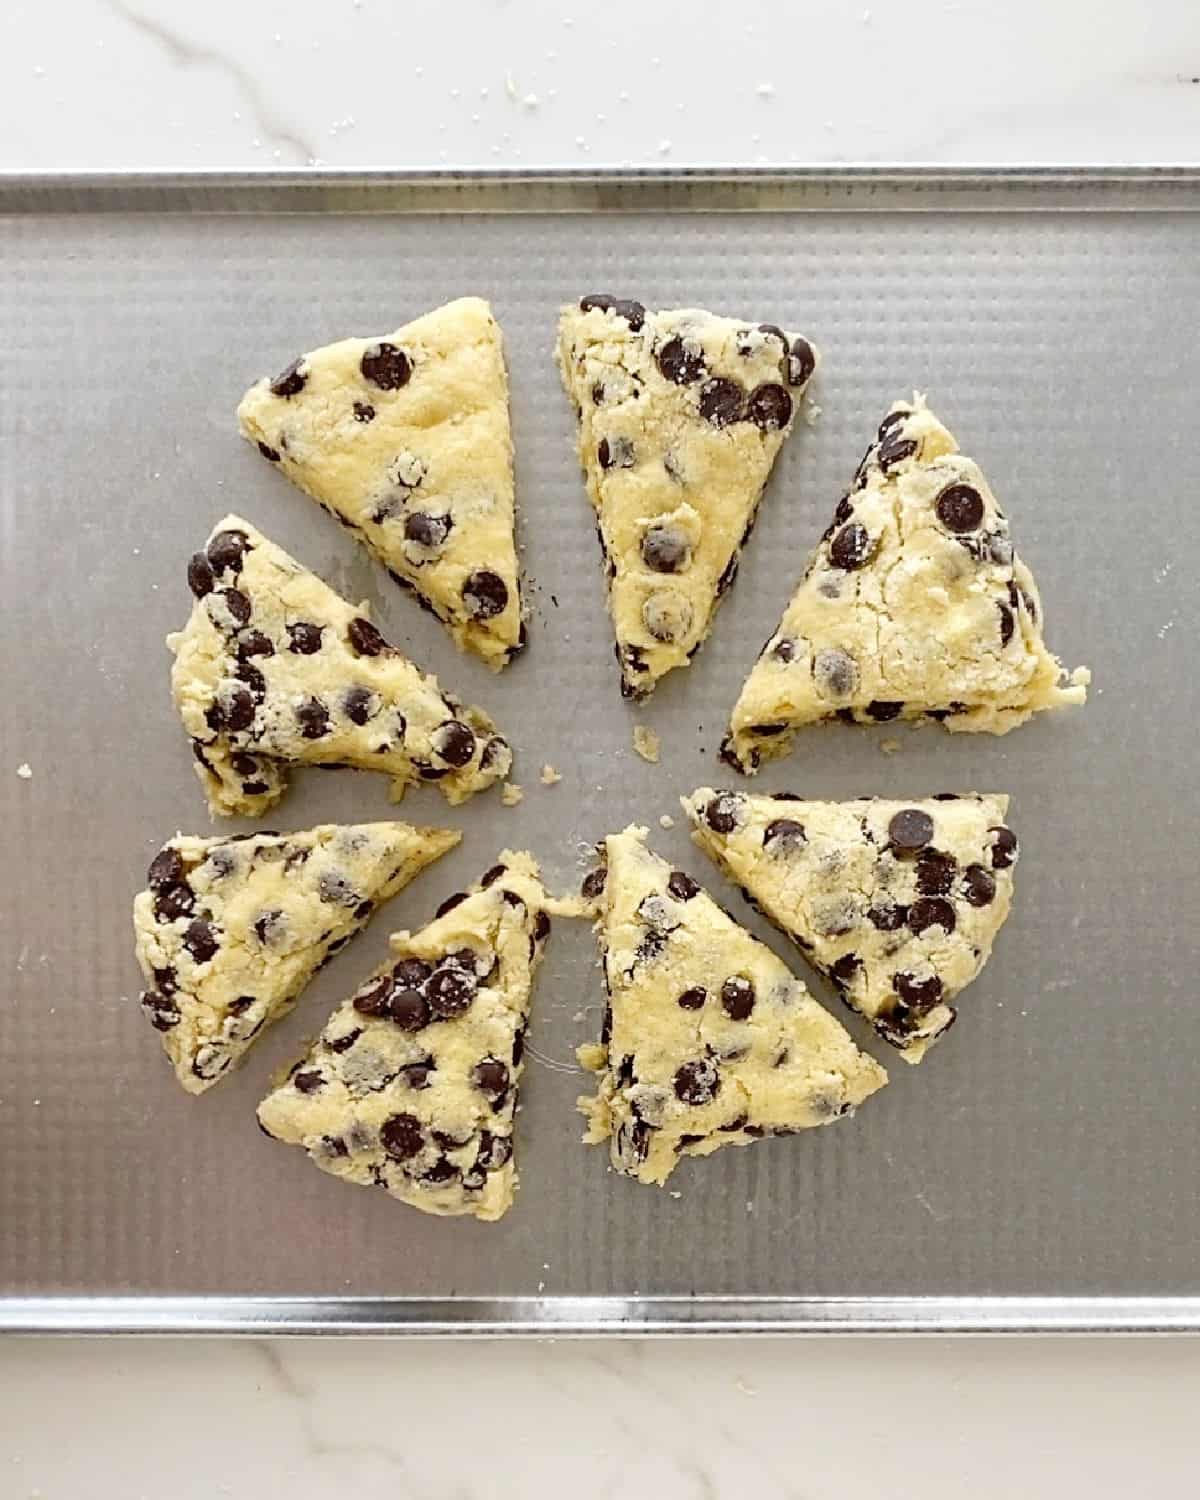
- Separate the triangles: this is necessary so the scones have space to expand during baking.
Vintage Kitchen Tip
For a crunchier top, sprinkle a little sugar (white or light brown) on top of the scones before baking.

Freezing scones
Scones freeze like a dream. You can keep a batch in the freezer and bake to order, no need to thaw them first!
- You can freeze them at room temperature or barely warm. The latter tends to hold moisture better, but that can be debatable.
- Freeze the already-cut scones on the baking sheet until they are rock solid, and then transfer them to a freezer bag or airtight Ziploc-style bag. That way, they will be covered and occupy much less space in your freezer.
- Bake them directly from the freezer in a 375°F/190°C oven for ten minutes. Turn down the oven to 350°F/180°C and continue baking until fully done. They might take a few more minutes.
Kitchen notes
- Organization: read the recipe first and ensure you have ingredients at the correct temperature, equipment, and enough workspace. This will make the process so much easier.
- Baking time: consider that all ovens and pans are different, even if they look similar. The baking time in my recipes is as accurate as it can be, but it might take you more or less time. You can use a thermometer (like the OXO oven thermometer) to check that your oven is at the right temperature. I recommend tracking how your oven works and what tiny details you might need to adjust.
- Different sizes: for a brunch table, tea time, or that type of gathering, you might want to make smaller scones, and round ones at that (check out the parmesan chive scones as a guide to the shape) as they are usually easier to handle and bake more evenly. Use a round cookie cutter.
- Serving scones: eat them warm or at room temperature, preferably within a few hours of baking. Serve them plain, with a dollop of whipped cream or a drizzle of gooey caramel sauce. Each variation is a different experience, so try them out and find your favorite.
Related recipes you might like:


If you made this recipe and loved it, you can comment below and leave a 5-star ⭐️ review. Also, if you had issues, let me know so we can troubleshoot together.
You can also subscribe to our FREE email series 'Baking the Best' and our regular newsletter. Or follow and save my recipes on Pinterest.
As an Amazon Associate, I earn from qualifying purchases. Read my disclosure policy.

Chocolate Chip Scones
Ingredients
- 2 cups all-purpose flour
- ½ cup sugar
- 1 tablespoon baking powder
- ¼ teaspoon salt
- 6 tablespoons unsalted butter, cold
- 1 egg
- 2 tablespoons milk, cold
- 2 tablespoons heavy cream, cold
- 1 teaspoon vanilla extract , or ¾ teaspoon vanilla paste
- 1 ½ cups semisweet chocolate chips, or chunks
Instructions
- Make sure the butter cubes, cream, and milk are as cold as possible. I like to put them in the freezer for 10 minutes before starting.
- Have ready a baking sheet lined with parchment paper.
By hand:
- Stir together 2 cups all-purpose flour, ½ cup sugar, 1 tablespoon baking powder and ¼ teaspoon salt in a large bowl.
- Add 6 tablespoons unsalted butter, cold and in pieces, and integrate with your hands or a pastry cutter until it's the size of peas. Don't overwork it. The butter should remain cold. If it's starting to become extremely soft put the bowl in the refrigerator or freezer until it's cold again.
Food processor:
- Put 2 cups all-purpose flour, ½ cup sugar, 1 tablespoon baking powder and ¼ teaspoon salt in the bowl of the food processor. Pulse a few times to integrate.
- Add 6 tablespoons unsalted buttercold, and pulse on/off until it's the size of peas. The only thing to watch out for is not getting carried away and processing the butter too much.
- Transfer the mixture to a large bowl.
For both methods:
- Beat 1 egg slightly and add to the butter mixture with 2 tablespoons milk, 2 tablespoons heavy cream and 1 teaspoon vanilla extract .
- Mix lightly with a fork or spoon. It will be floury but, if you take some of the dough in your hand and squeeze, it will come together.
- Add 1 ½ cups semisweet chocolate chips and stir to mix. If you think they're too many, start with 1 cup.
- Transfer this whole shaggy mass to a clean surface.
- With your hands (I also use a dough scraper) start bringing the dough together, folding it onto itself as best as you can. Don't knead it as you would a pie dough. It only needs to be patted into a rough circle. There will be floury patches but it will hold together when you press it.
- Transfer the dough circle to the prepared baking sheet. Cut in half and each half in 3 wedges with a kitchen knife or the dough scraper.
- Pop into the freezer for 10 minutes or the refrigerator for 20 minutes while preheating the oven.
- Preheat oven to 375°F (190°C).
- Bake for 10 minutes, turn the oven down to 350°F (180°C), and continue baking for about 20 minutes until the top is golden briwn and dry.
- After 30 minutes, take out the sheet and check that the scones are done by carefully lifting the top of one and checking that the inside is done and not still raw. Bake for 5 to 10 more minutes if needed.
- Let cool on a wire rack.
- Store at room temperature, covered, for 1 to 2 days and warm slightly in the oven before eating.
Rate and review this recipe