
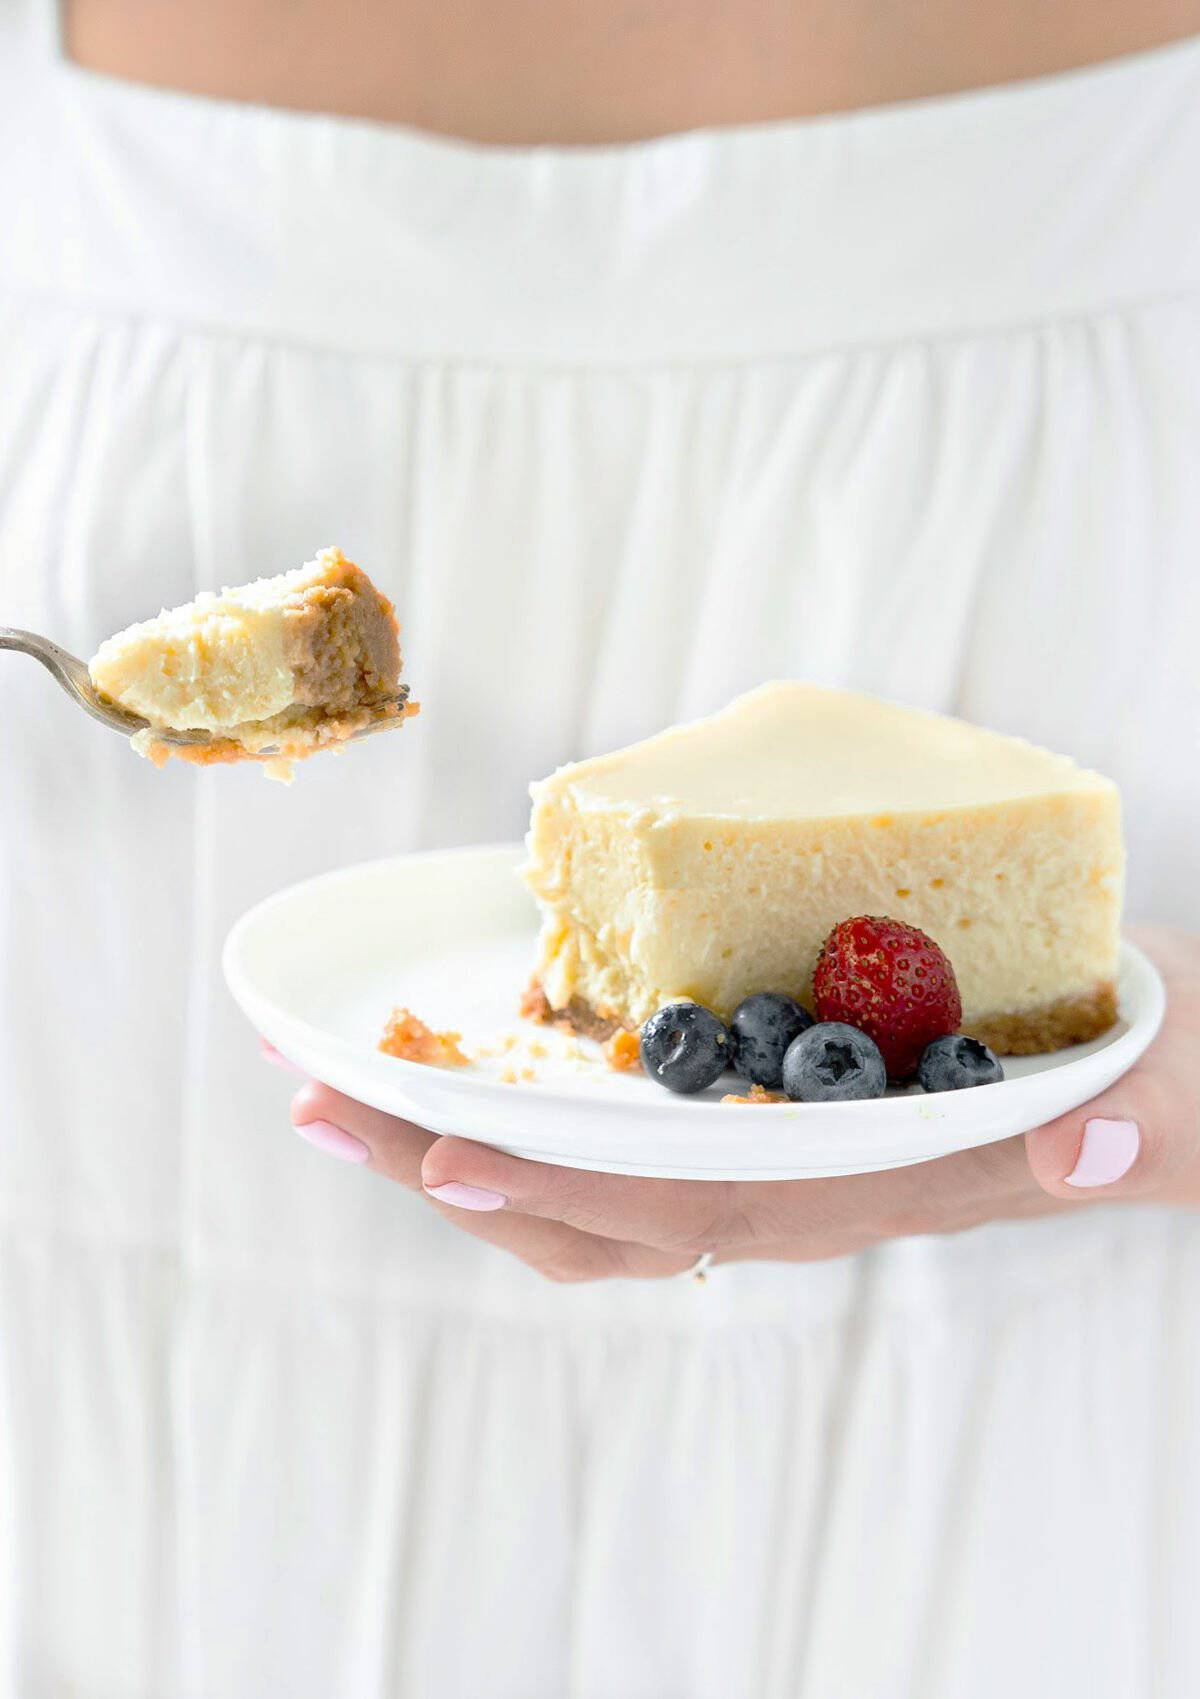
A classic baked cheesecake is a must in any baker's repertoire. This recipe freezes beautifully, so you can make it ahead. It's not hard to master, and I give you all my tips. It's plain with just a hint of vanilla and can be served with various sweet toppings or sauces.
SAVE THIS RECIPE
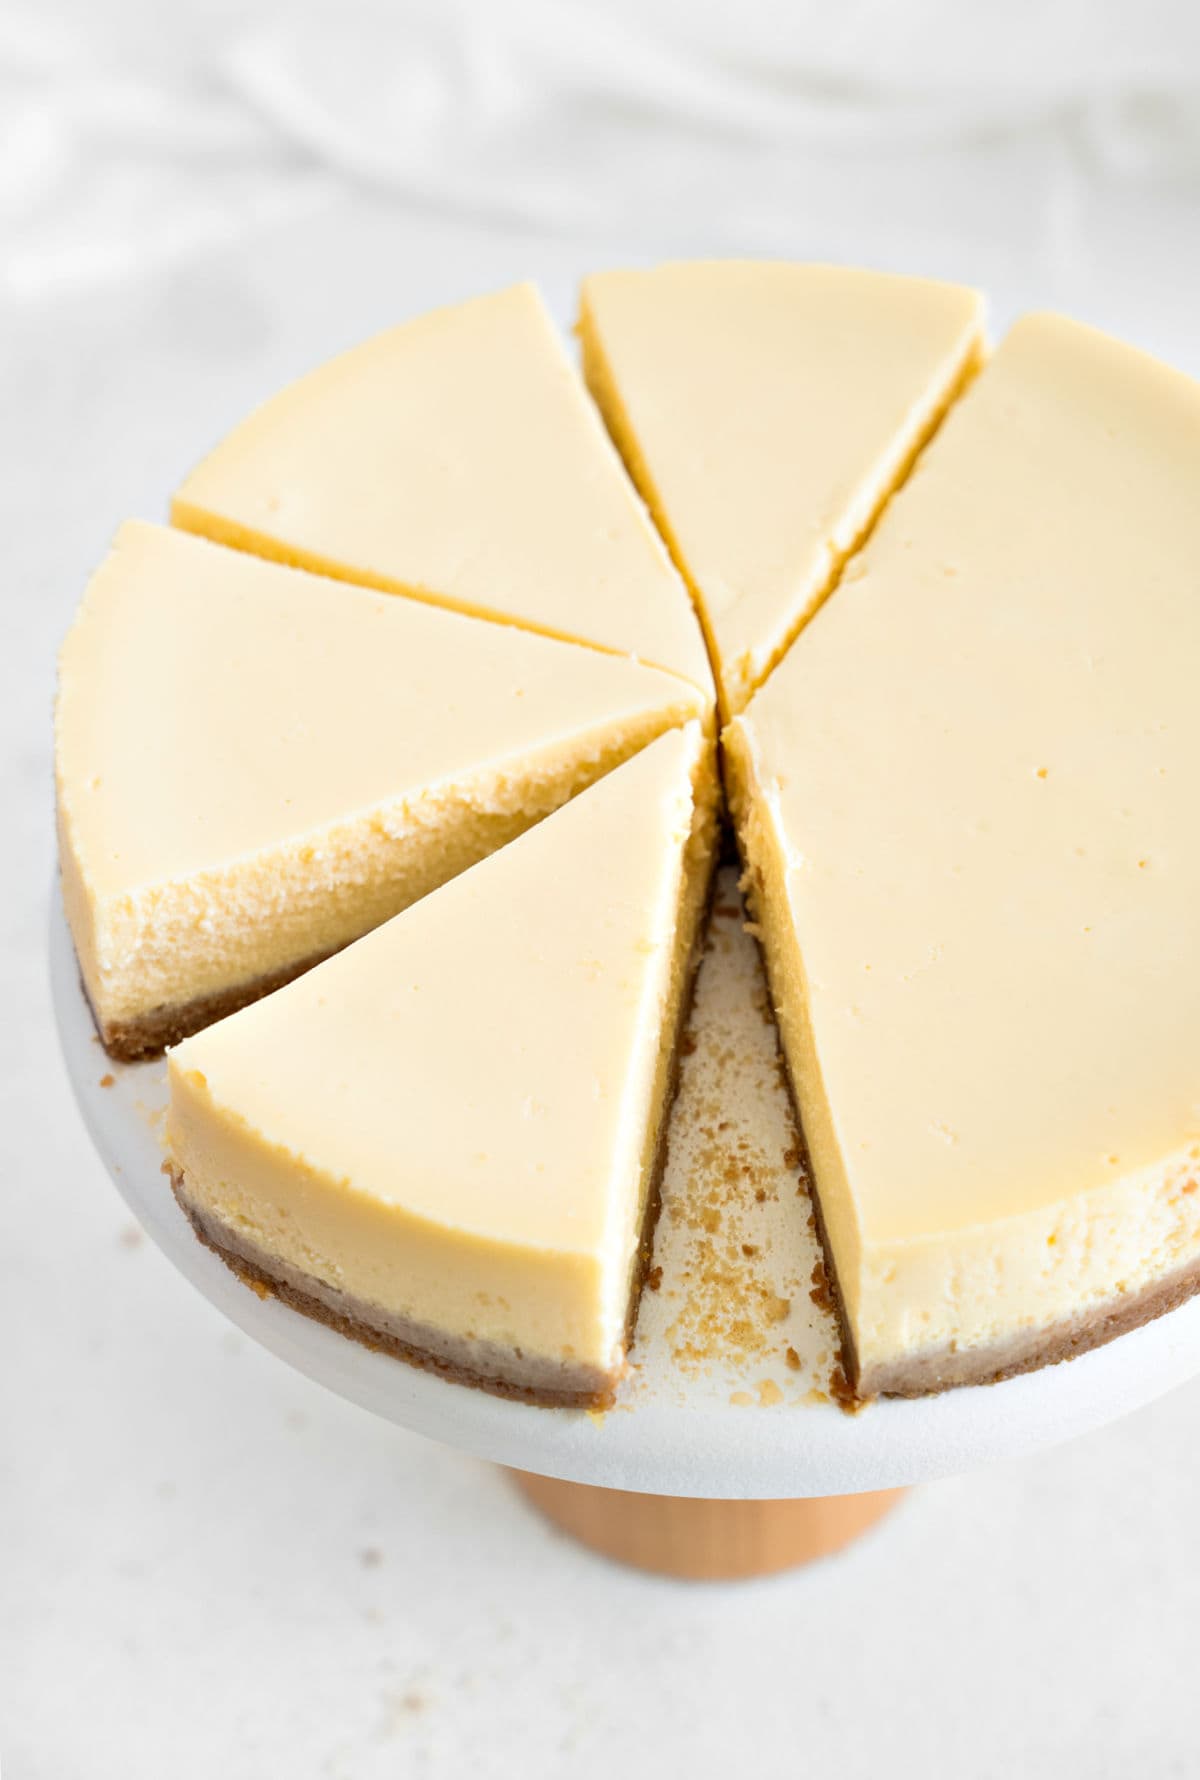
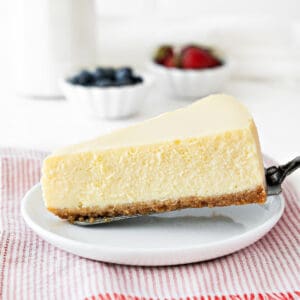
Perfect plain cheesecake
This recipe is wonderfully traditional, with a classic graham base and filling lightly flavored with vanilla. It is simple and a fantastic canvas for almost any type of sweet topping and fresh fruit.
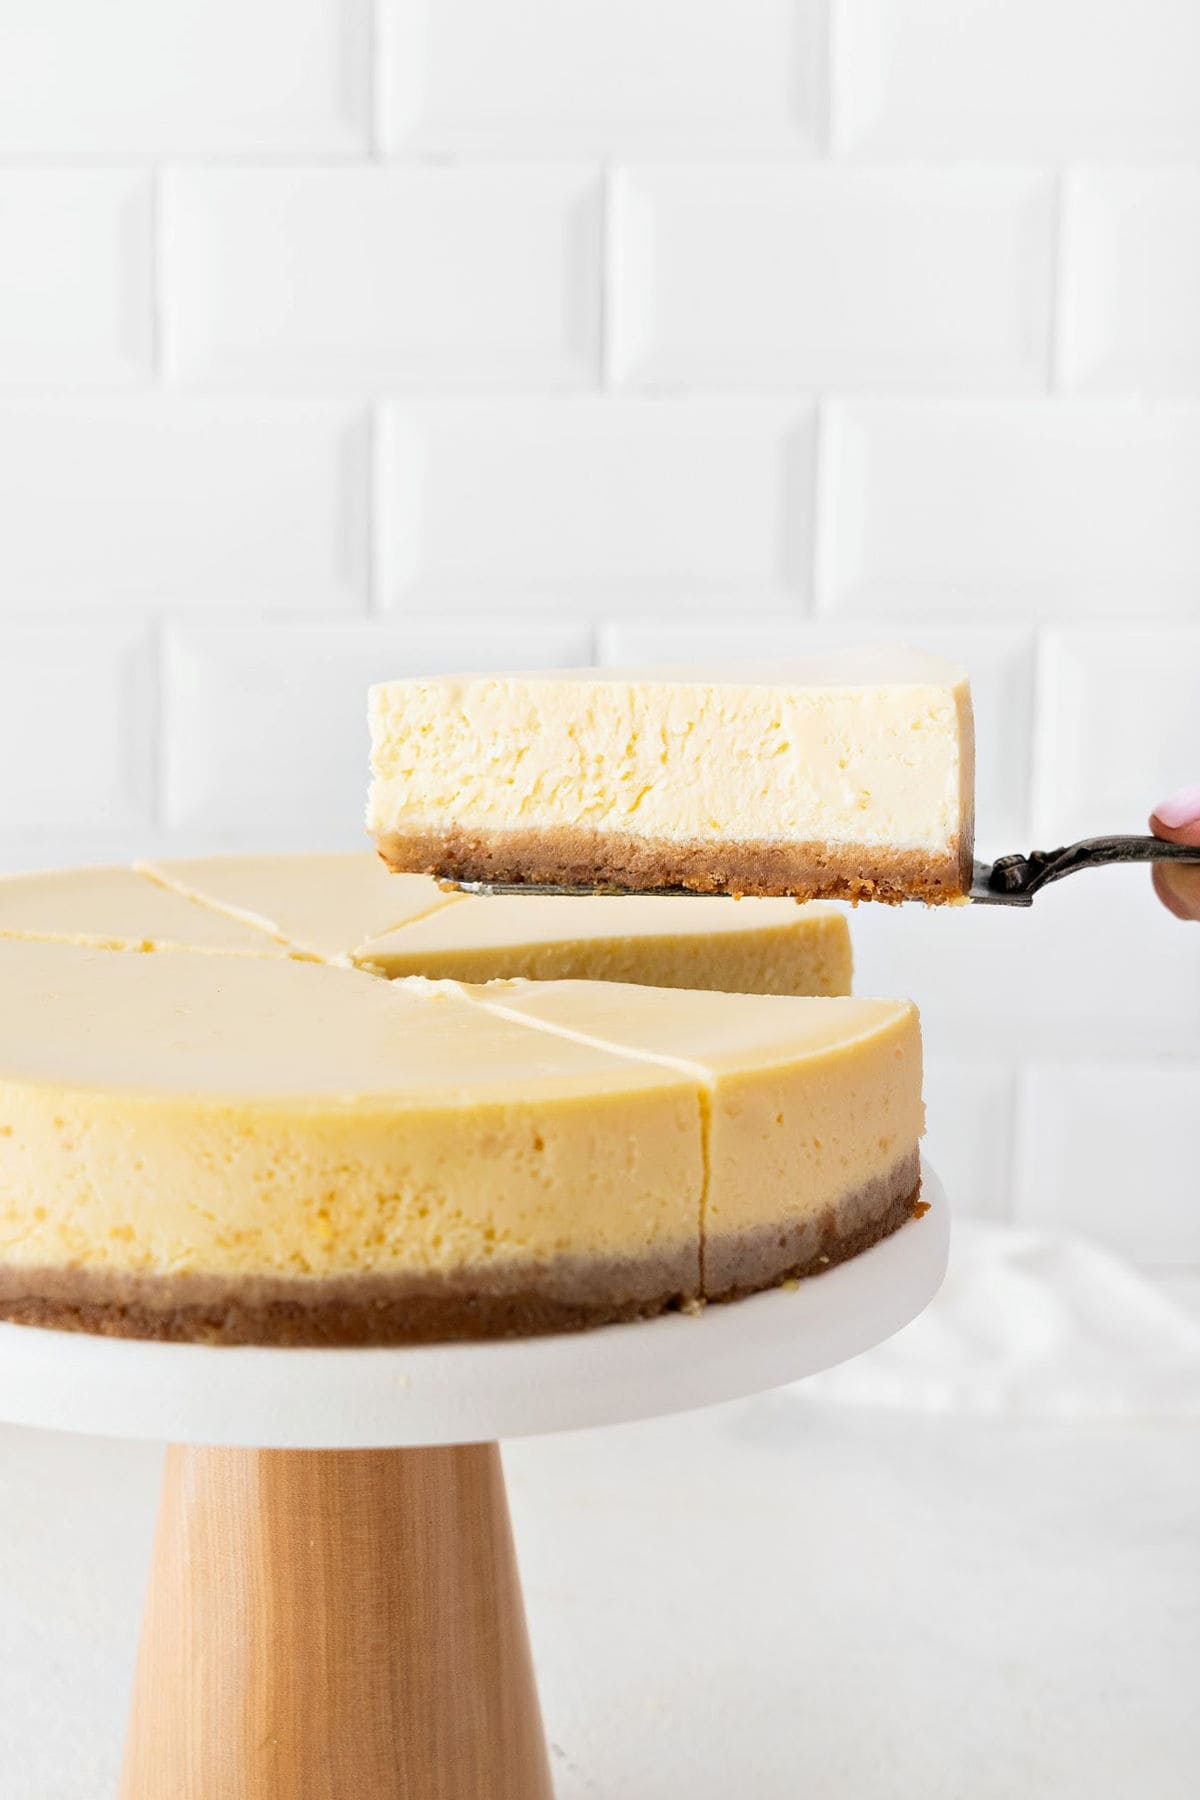
It doesn't require a water bath and bakes creamy and smooth.
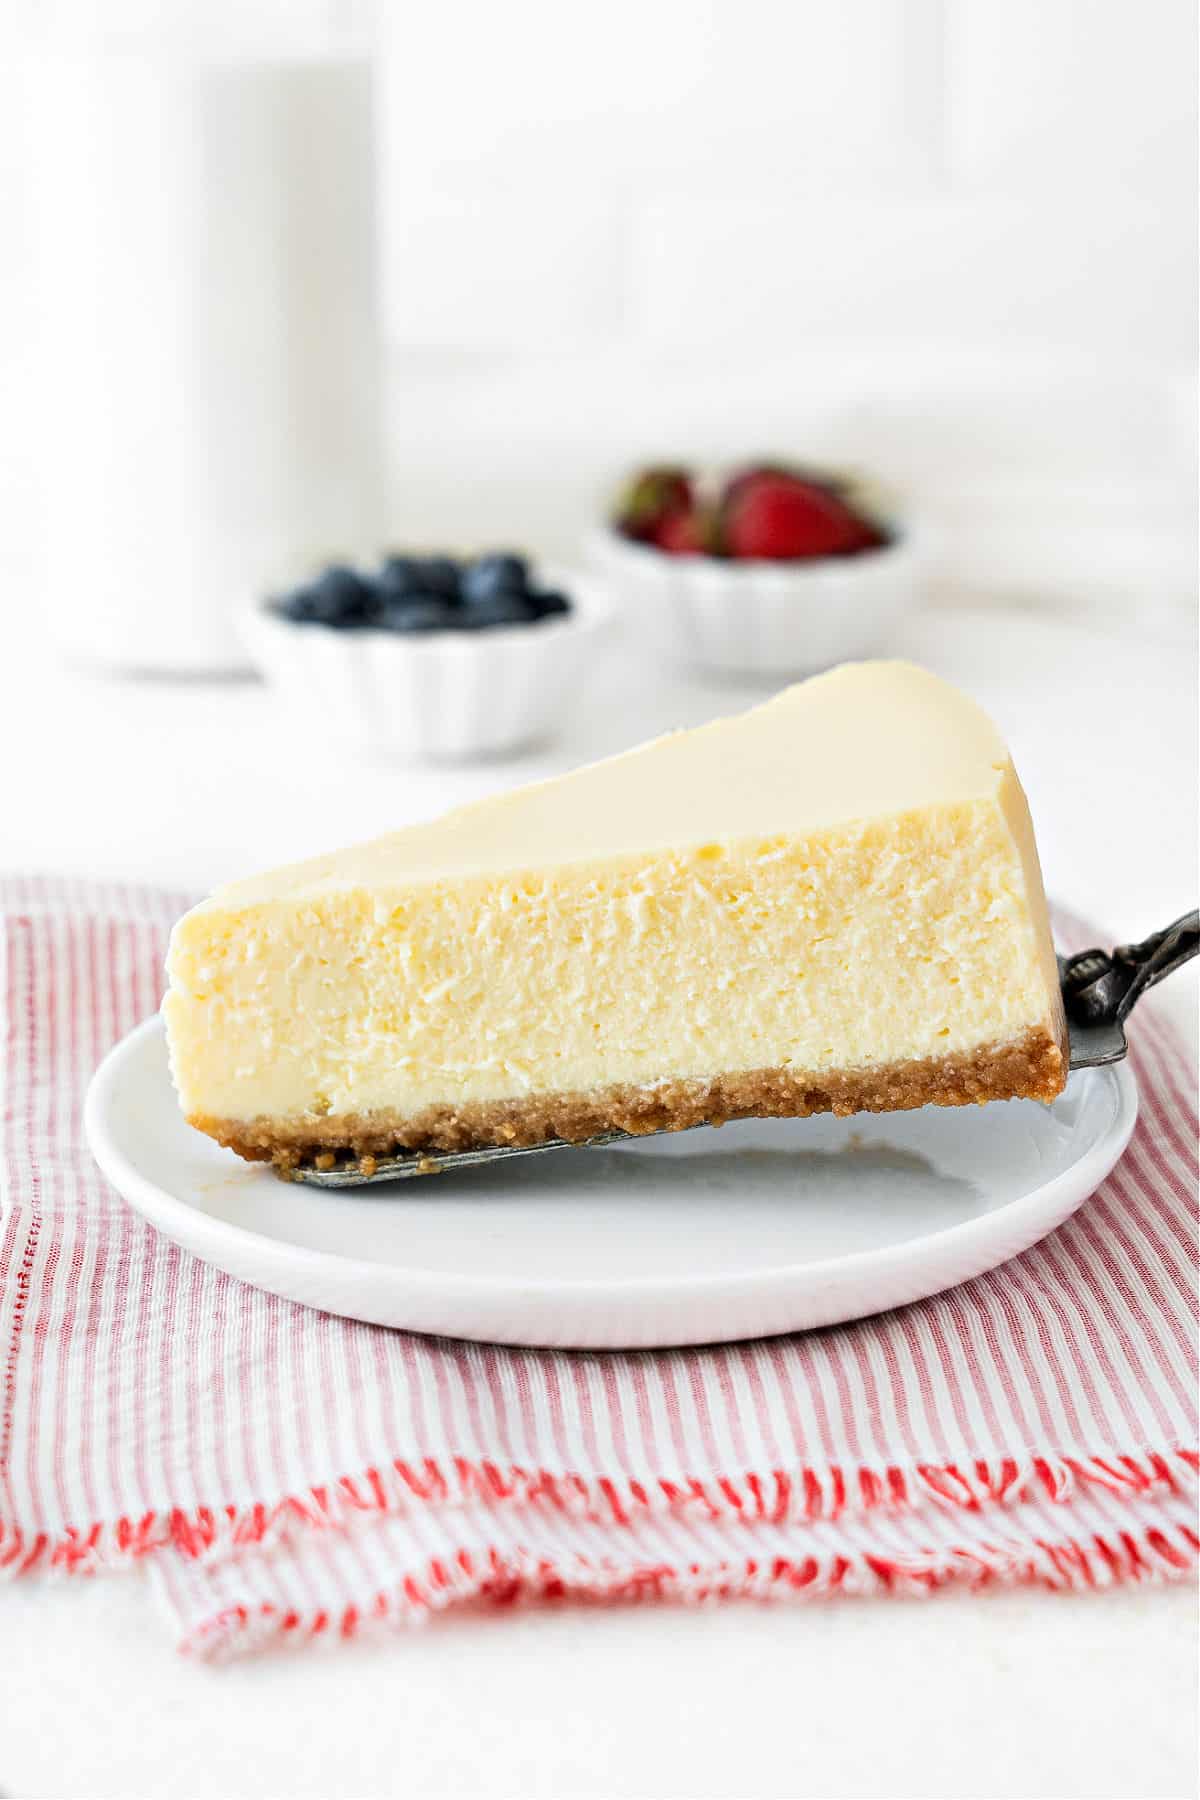
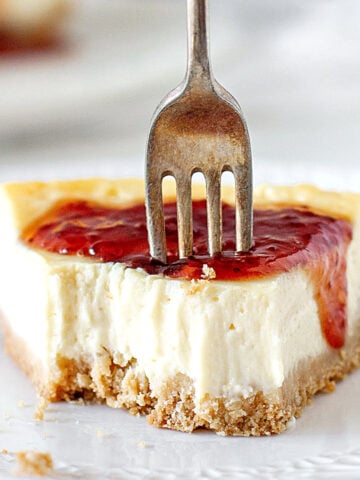
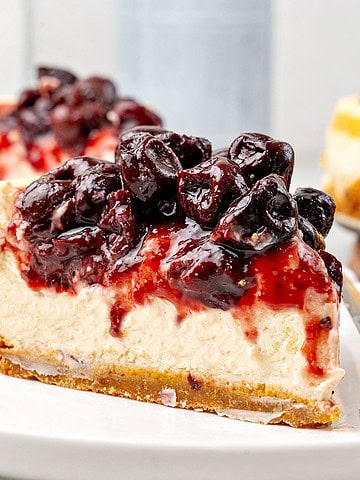
It bears making and repeating, changing the way of serving it depending on the occasion: Mixed berries for the 4th of July, lemon curd and strawberries for Mother's Day, cranberry sauce for the holidays, or caramel sauce just because.
Sometimes, we only need simple, old-fashioned recipes that stand the test of time.
- Bake ahead: it's recommended that you bake it a day day before eating. That means you can serve a fabulous last-minute cheesecake for dessert with minimal fuss. It lasts 4-5 days in the fridge or frozen for at least a month, in the pan it was baked in, well covered, without the topping.
- Dessert for a crowd: cheesecake is a favorite for most people, so make 1 recipe and a half and bake it in a rectangular pan (it will not be as tall, similar to this chocolate crust cheesecake). Then, you can cut it into smaller squares and feed many more guests.
Watch our step-by-step videos
3 secrets for a creamy cheesecake
- Cheesecake batter: the key is not beating it, so we don't incorporate much air. If the ingredients are at room temperature, you should have no problem. I use that to know if they're at the right temperature: if I cannot easily mix the batter with a hand whisk, it's because the ingredients have not softened enough.
- Oven temperature: low is better than medium. I have gone back and forth for years testing this. Even though I might bake it at the standard medium oven temperature for ten minutes initially, the bulk of the baking is done at 300°F/150°C at the most, sometimes less than that. Like baking a flan recipe, where the low temperature ensures that the batter doesn't puff and the filling stays creamy. The cheesecake will rise slightly, but not much.
- Cooling process: this is crucial, and it consists of 3 steps: letting it cool for a while in the oven after it's turned off; letting it completely cool to room temperature on a wire rack; refrigerating it for at least 8 hours (a whole day is better). I have tested this thoroughly, and following all the steps renders the creamiest cheesecake.
Graham crust for cheesecake
- Graham cracker cookies are a classic ingredient and pair very well with the cheese filling.
- Unsalted butter: it's used melted to bind the cookie crumbs.
- For a sweeter crust, add a few tablespoons of brown sugar to the cookie mixture and subtract it from the ground cookie amount.
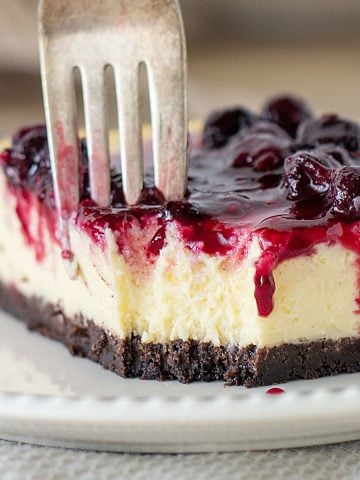
- Chocolate crust alternative: use a chocolate cookie crust, like the one we use for the baked cheesecake with berry topping.
Cheesecake filling
It's pretty straightforward and has few ingredients.
It doesn't have stabilizers like flour or cornstarch and instead relies on the baking and cooling process to achieve a creamy, perfectly firm and fantastic cheesecake.
Full-fat cream cheese: it's a must for consistency and flavor.
Baking
I realized years ago that baking a cheesecake at a low temperature renders creamy, smooth results without the need for a water bath, and I never looked back.
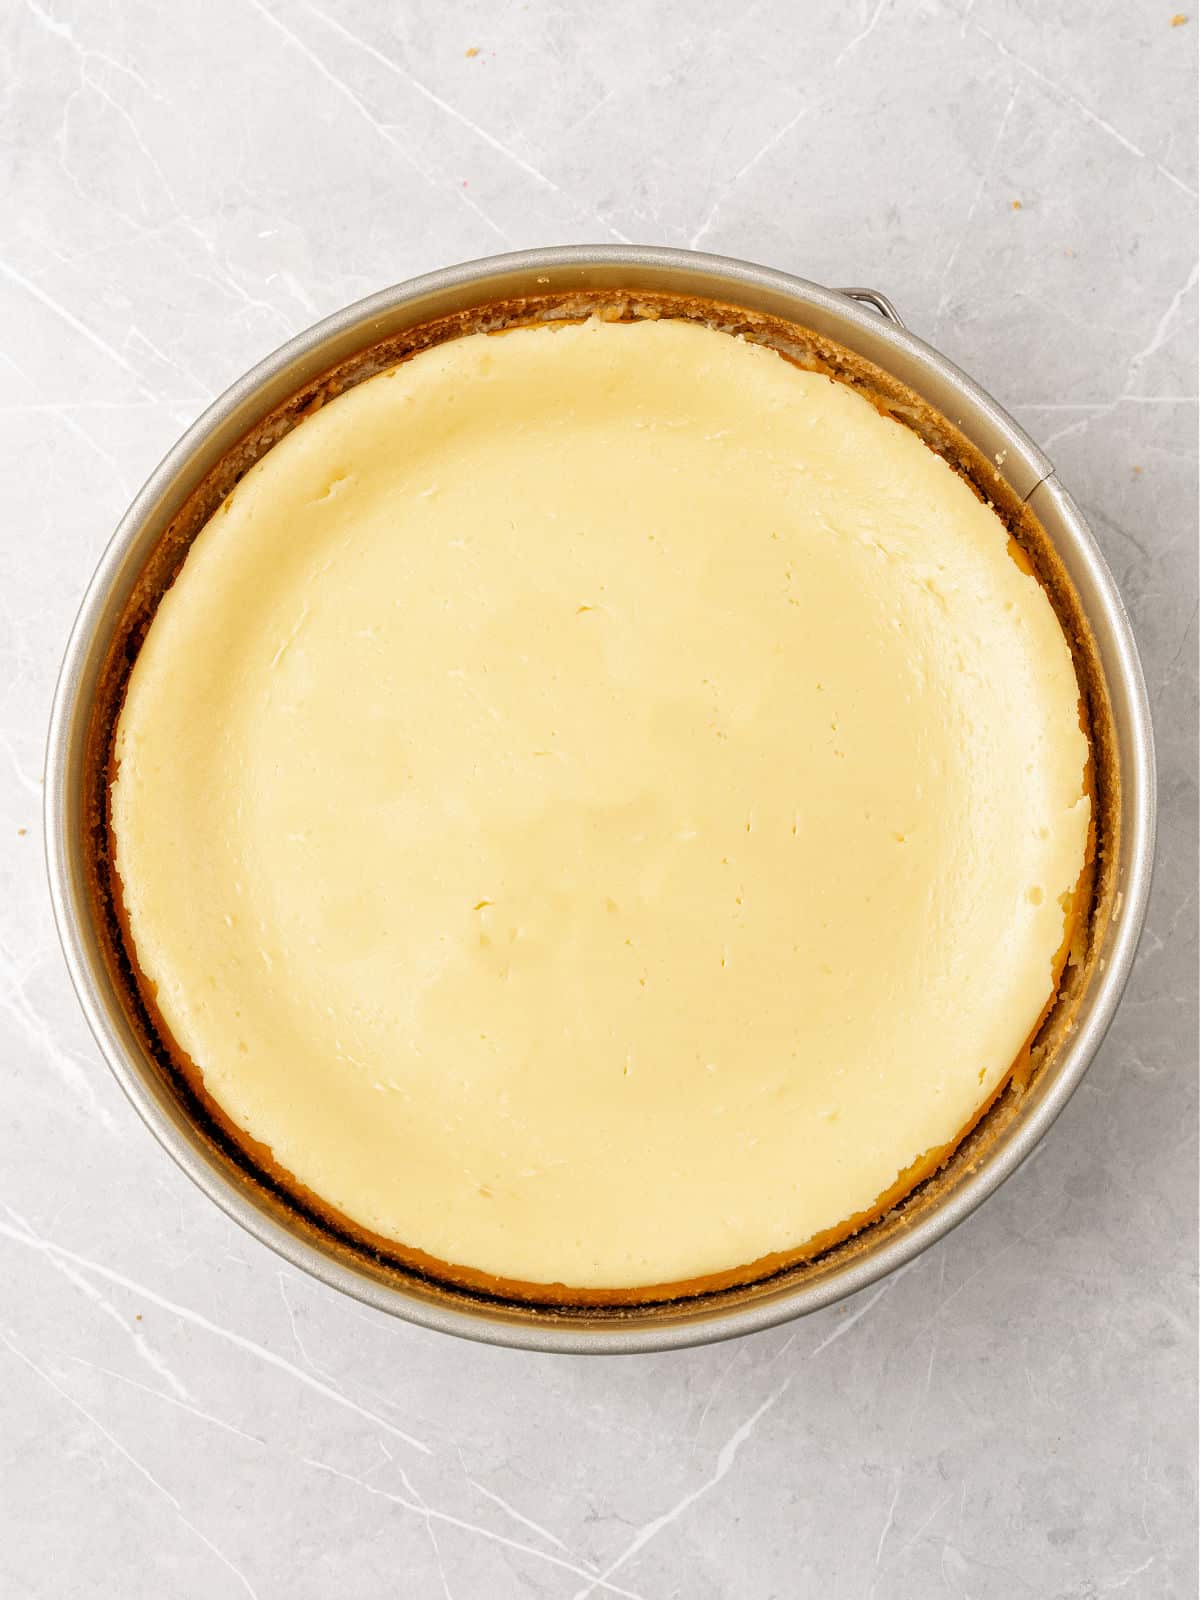
When should you take it out? The edges will have puffed and maybe slightly cracked, but the center will still be jiggly. This is fine, as the filling will continue to settle as the cake cools down and is then chilled.
Follow closely the instructions for cooling it down, as this is one key to smoothness.
Kitchen Notes
- Organization: read the recipe first and ensure you have ingredients at the correct temperature, utensils and equipment needed, and enough workspace. This will make the process so much easier.
- Baking time: consider that all ovens and pans are different, even if they look similar. The baking time in my recipes is as accurate as possible, but it might take you more or less time. You can use a thermometer (like the OXO oven thermometer) to check that your oven is at the right temperature. I recommend tracking how your oven works and what tiny details you might need to adjust.
- All filling ingredients must be at room temperature. This ensures they can be well incorporated without overbeating the batter, which is important for achieving a creamy consistency.
- Mixing: I recommend combining the ingredients with a whisk, but you can use an electric hand mixer for the first part, mixing cream cheese and sugar only. After that, continue by hand. If you're making a large batch (like double the recipe) and want to use a stand mixer with the paddle attachment, do so at low speed just until it's all mixed. Cheesecake batters need to be combined or stirred, not beaten.
- Follow the instructions for cooling it down: every step is essential, so don't skip or accelerate them. Also, I find the texture is superior when I refrigerate it for 1 or 2 days before removing it from the pan, as opposed to 6 to 8 hours, which is the minimum.
- Freezing: cheesecakes can be frozen and, in my experience, are sometimes creamier with a softer texture after a stay in the freezer. There's probably a chemical explanation.
Related recipes you might like:
As an Amazon Associate, I earn from qualifying purchases. Read my disclosure policy.
Classic Cheesecake (baked)
Ingredients
For the crumb base:
- 2 cups finely ground graham cracker crumbs
- ½ cup unsalted butter, melted
For the filling:
- 32 ounces regular cream cheese, 4 blocks, at room temperature
- 1 ½ cups sugar
- 4 eggs, at room temperature
- ¾ cup regular sour cream, at room temperature
- 2 teaspoons vanilla extract
- pinch of salt
Instructions
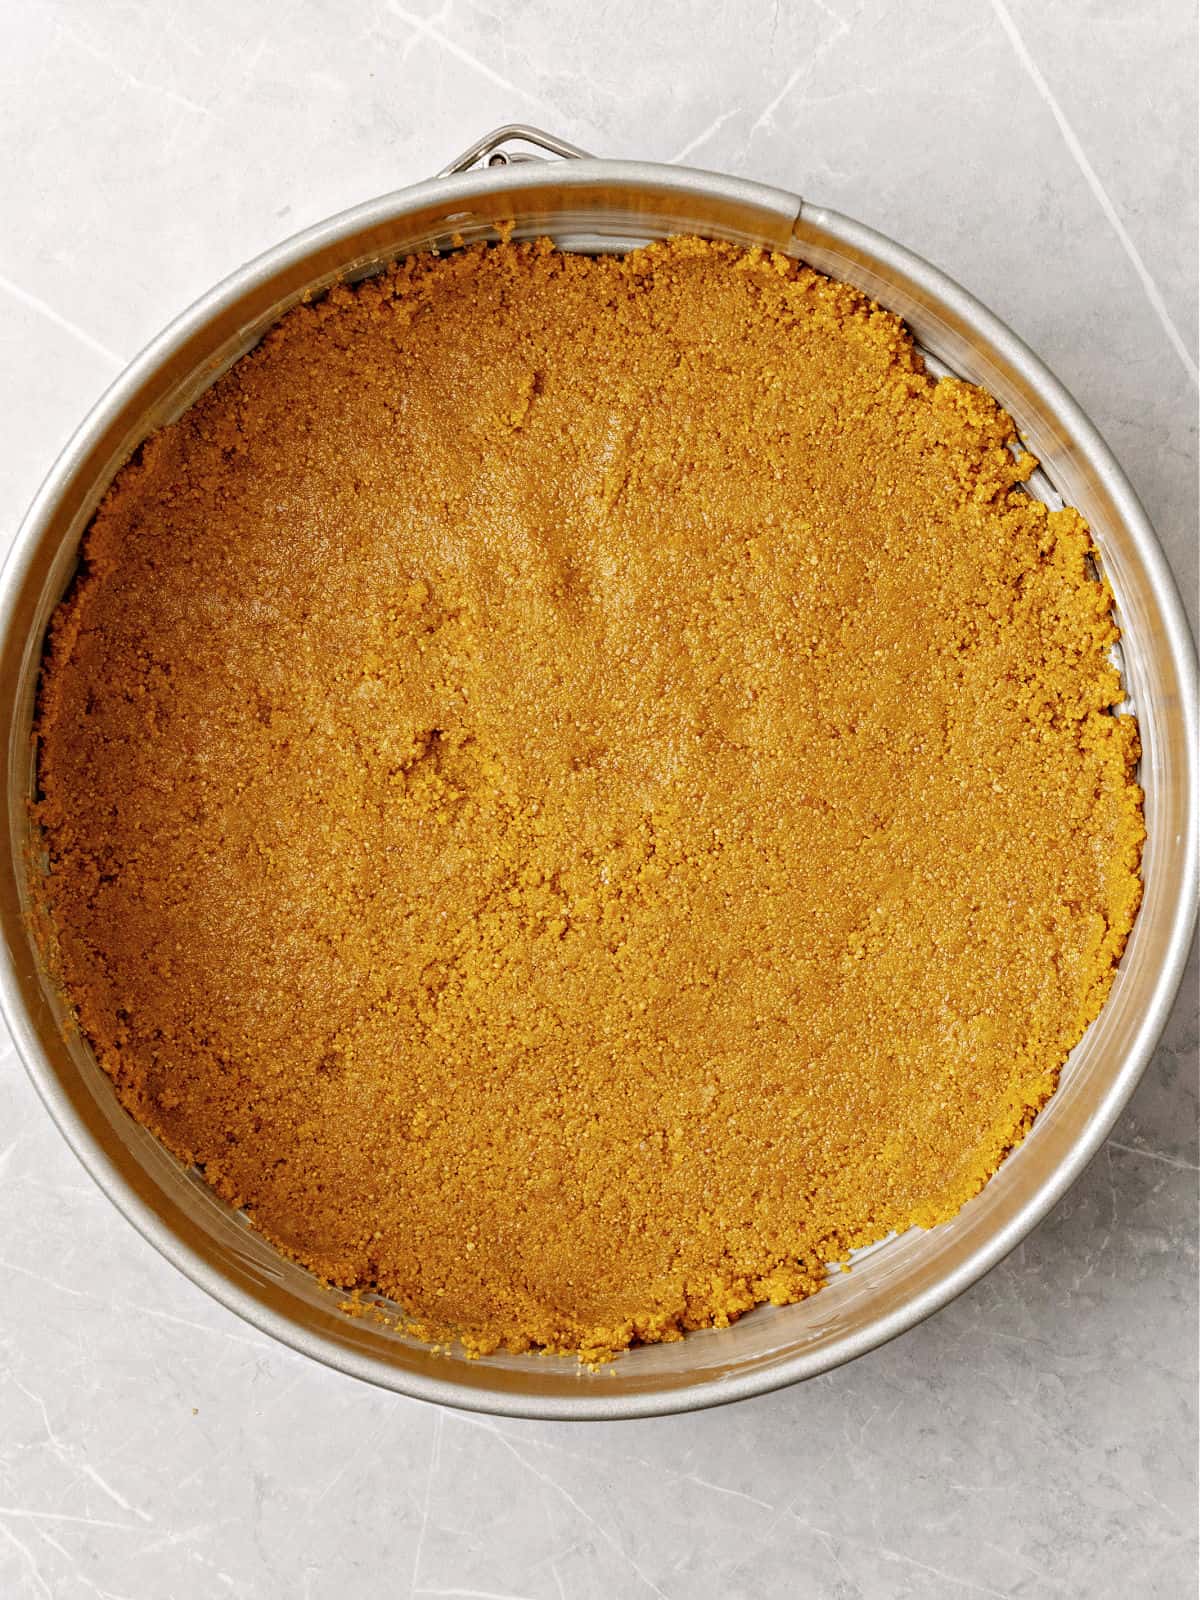
For the graham cracker crust:
- Preheat the oven to 350°F (180°C). Spray or butter a 9-inch round cake pan with a removable bottom.
- Stir 2 cups finely ground graham cracker crumbs with melted ½ cup unsalted butter in a medium bowl until well integrated and looking like wet sand. If starting with whole crackers, ground them in the food processor, add the melted butter, and mix until the mixture looks like wet sand.
- Transfer this crust mixture into the prepared pan and press firmly onto the bottom.
- Bake for 10 minutes. Let cool on a wire rack while making the filling. Don't turn the oven off.
For the cheese filling:
- Mix 32 ounces regular cream cheese in a large bowl until very smooth. You can use a handheld mixer or wire whisk. If the cheese is at room temperature, mixing it by hand should not be a problem. If using an electric mixer, use it only for this part and at the lowest speed. We don't want to incorporate air into the batter.
- Gradually add 1 ½ cups sugar and beat until it's very well incorporated.
- Add 4 eggs, two at a time, mixing until incorporated and scraping down the sides of the bowl after each addition. Be patient and don't be tempted to beat much. I use a whisk as we don't want to incorporate air. If using an electric mixer, use it at the lowest speed.
- Add ¾ cup regular sour cream, 2 teaspoons vanilla extract and a pinch of salt and stir to incorporate well without beating.
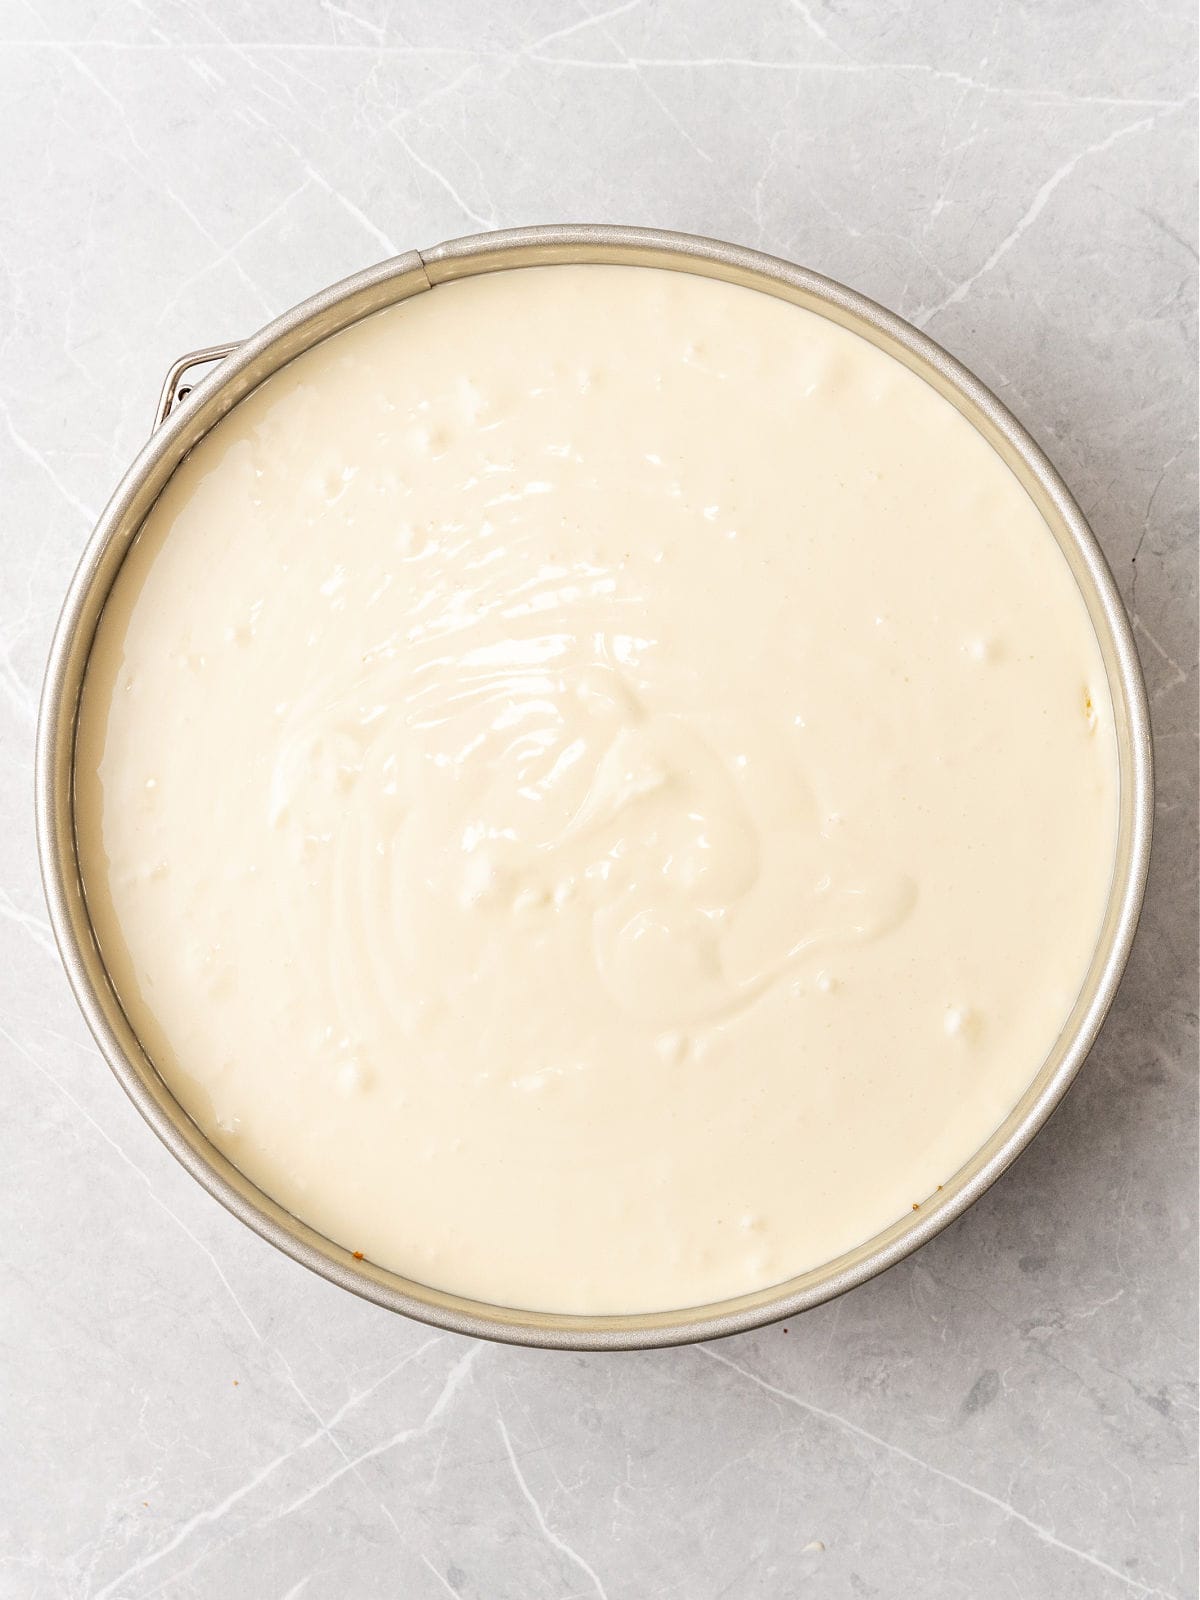
- Pour the batter into the prepared pan.
- Bake cheesecake for 10 minutes at 325°F (165°C).
- Turn the oven down to 300ºF (150°C) and bake for another 50-55 minutes. At this point, the cheesecake should jiggle quite a lot in the center. This can vary depending on your oven and it can take even longer. It will solidify as it cools and in the refrigerator.
- Turn the oven off and, leaving the door ajar, let the cheesecake inside for 30 more minutes.
- Remove from the oven and carefully run a smooth bladed knife around the top of the sides of the springform pan to loosen up any batter that might be stuck. If it's too tender, let cool longer before doing this. It will help with cracks as it cools and shrinks.
- Cool completely to room temperature in the pan on a wire rack, cover in plastic wrap (still in the pan), and refrigerate for at least 8 hours. I highly recommend 1 or 2 days of refrigeration for the creamiest consistency before removing from the pan and eating it.
Ellen says
Great cheesecake! The only thing I did differently was that I don’t use a crust.
Paula Montenegro says
I love that idea Ellen! Great for gluten intolerance.
Sonja Stanley says
I followed your directions to the tee. Only thing I didn’t do is get a thermometer and check my oven temps. Got an X crack on the top of the cheesecake BUT it tastes great!!
Anonymous says
It was wonderful. Had a great taste! Instructions were easy to understand. This was my first time ever making a cheesecake and it turn out really well. My family was impressed with it. :).
Anonymous says
Excellent recipe I found because it cooks slow that 5 minutes cooking crust first makes a not so hard crust. This is my go to now.Very easy to make.
Cheryl Boeschen says
OMG! So easy! I’ve never made a cheesecake before! Just put it in the oven, but tasted it before I put it in the oven! Heavenly! Delicious!
Making it for my DIL birthday tomorrow!
Can’t wait to try it finished! I will be making this again! We love cheesecakes!
Thank you!
Linda says
I made the cheese cake and the raves did not stop. It was delicious.