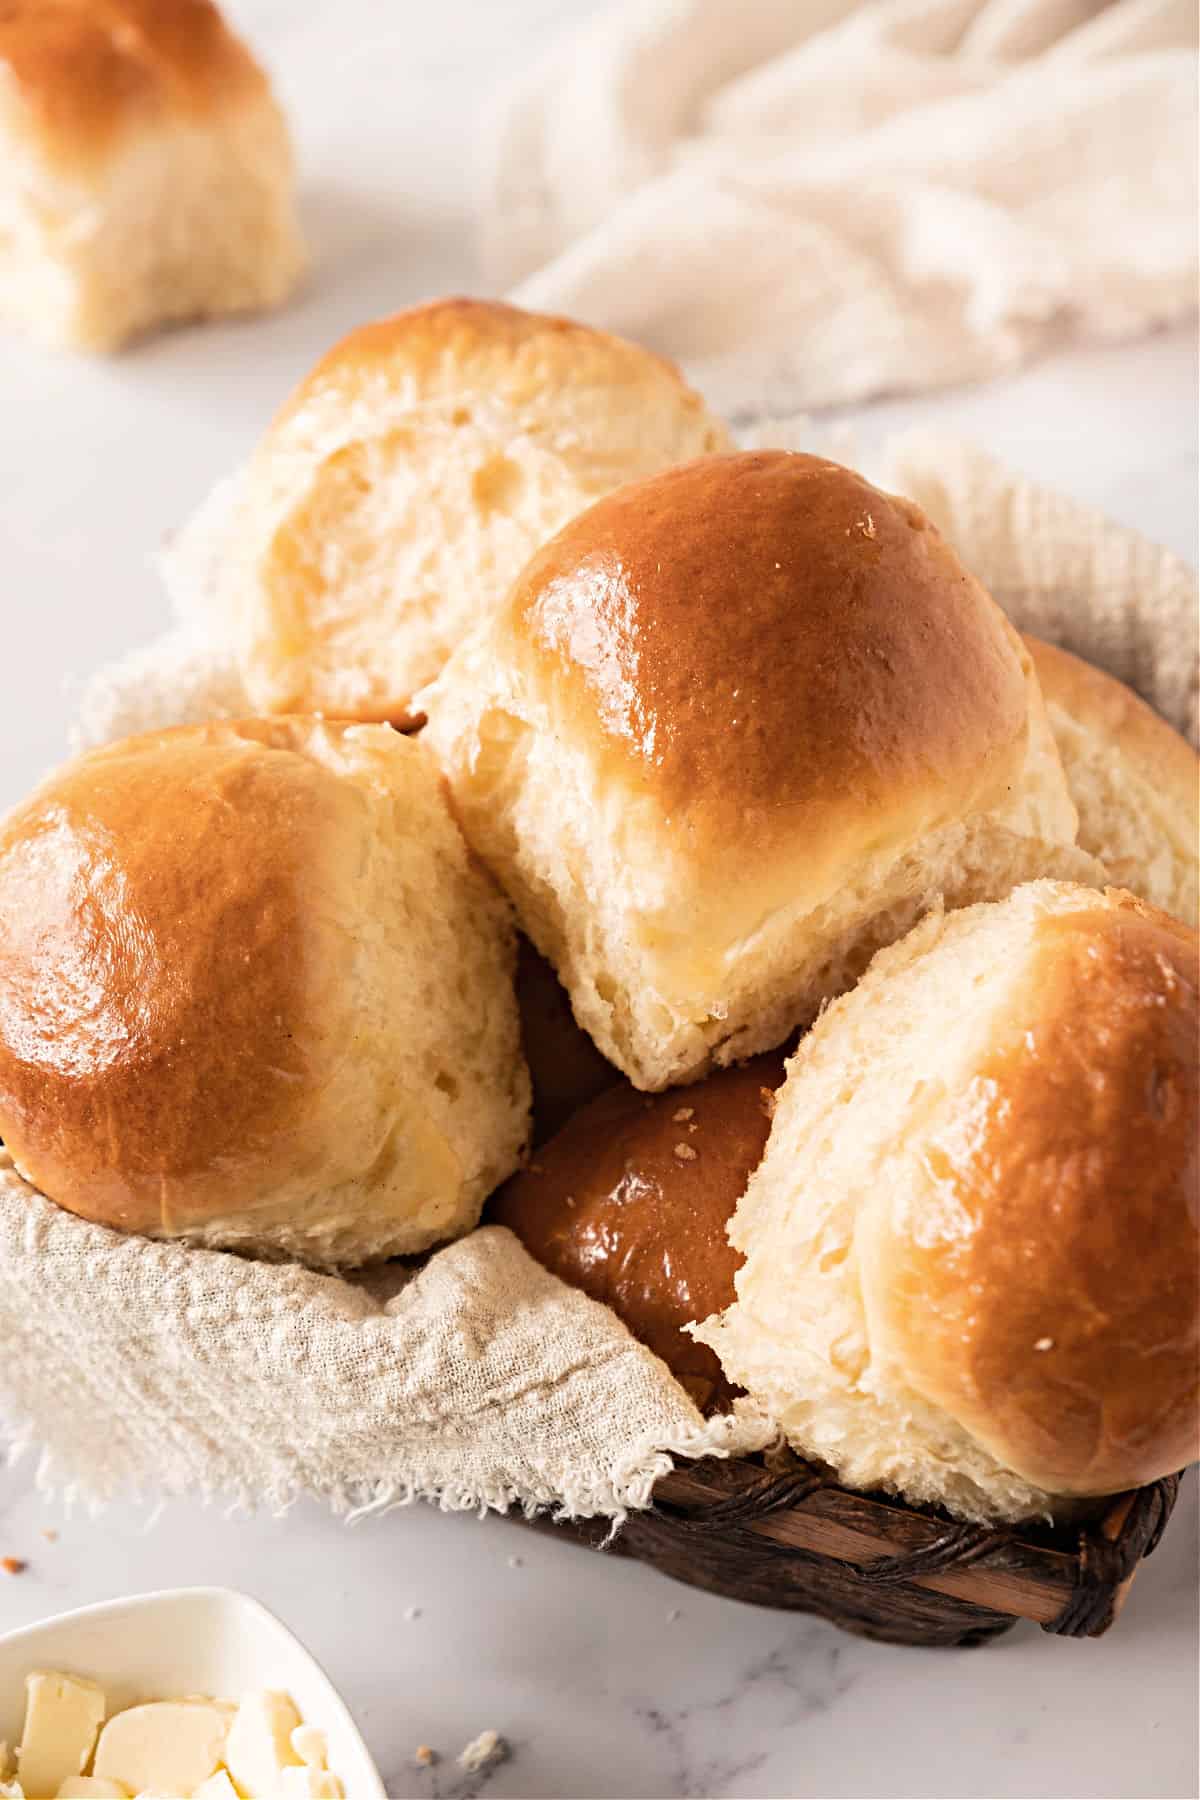
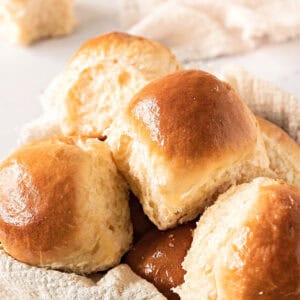
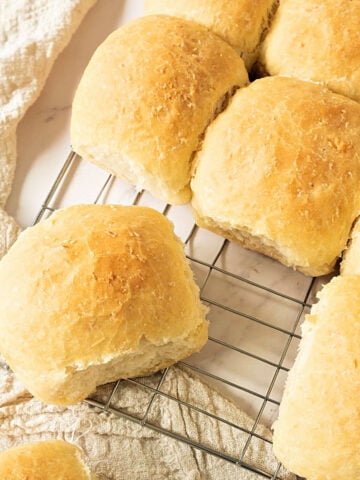
This is an old-fashioned yeast roll recipe made with a handful of common ingredients. It makes fluffy dinner rolls with a buttery flavor, which can be plain or flavored and are fantastic for sliders. I give you all the tips and step-by-step instructions so even beginner bakers can master it. The small breads can be made in advance and frozen.
Classic rolls
We all need a foolproof recipe for old-fashioned soft dinner rolls, and this is mine. It's been in my family forever and has taken different shapes and flavors.
It's a straight dough, meaning it uses dry yeast and has no starter, and is very versatile. Think of it as a canvas that can be flavored and formed into different rolls or breads.
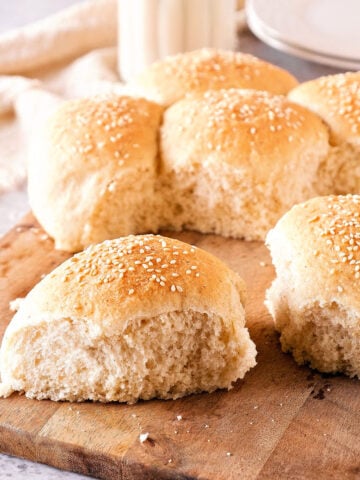
I've used them for sliders and sandwiches, made flavored rolls (with herbs or onions or garlic) or buffet dinners innumerable times, and even baked them as hot dog buns for outdoor gatherings. They're also perfect for the holiday bread basket, like Thanksgiving dinner or to take to Christmas potluck parties, the 4th of July celebration or Summer cookouts.
So yes, they're versatile. And disappear fast! Especially if served warm.
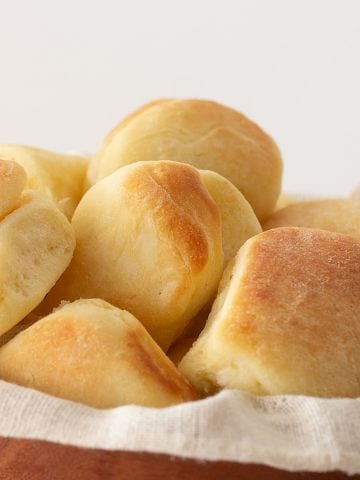
Make a batch and freeze them. You can warm them up when the need arises, and it's as if you have fresh dinner rolls! They go well with stew, a bowl of chicken chili, or split and toasted for breakfast or brunch table to serve with honey butter or jam.
Testing Notes
Bread baking requires organization. It has several rising times you need to plan for, so read the recipe first and ensure you have ingredients at the correct temperature, utensils and equipment needed, and enough workspace. This will make the process so much easier.
Make sure the yeast is fresh and active: if it doesn't foam, you must buy new and start again. Using instant yeast might be trickier, as it's meant to be added directly to the flour and not foamed first. So check the expiration date and keep it refrigerated.
Use bread flour if possible. It has more gluten and can be easily purchased online. If unavailable, use all-purpose flour. I mean, don't stop yourself from making homemade rolls because you can't find bread flour.
Use a large bowl for the first rise. This is important as you don't want the risen dough to overflow.
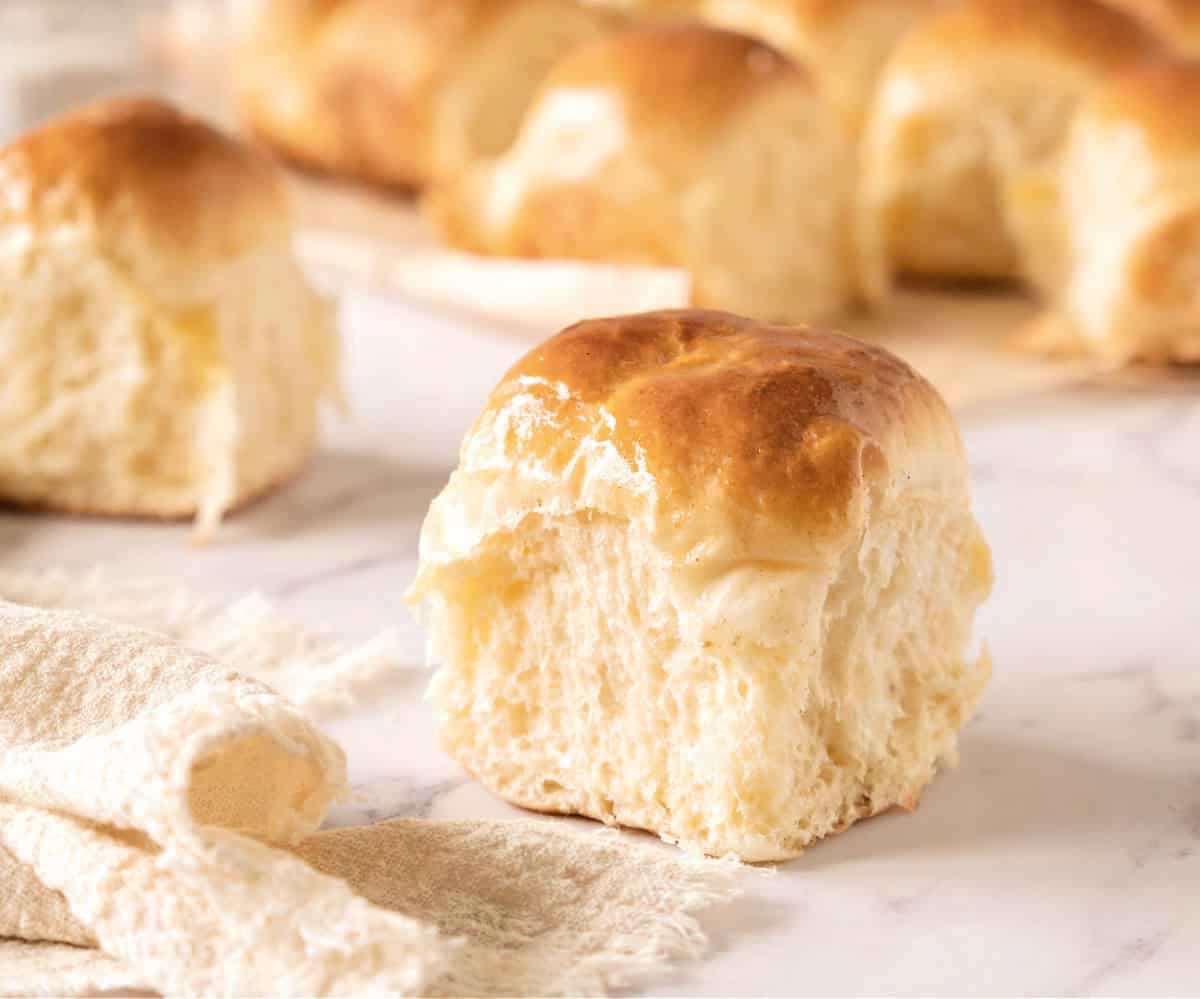
The size of the pan matters if you want those soft sides. So make sure they will lightly touch each other after the final rise before baking. See steps 5 and 6 in the process shots below for guidance.
Uses and variations
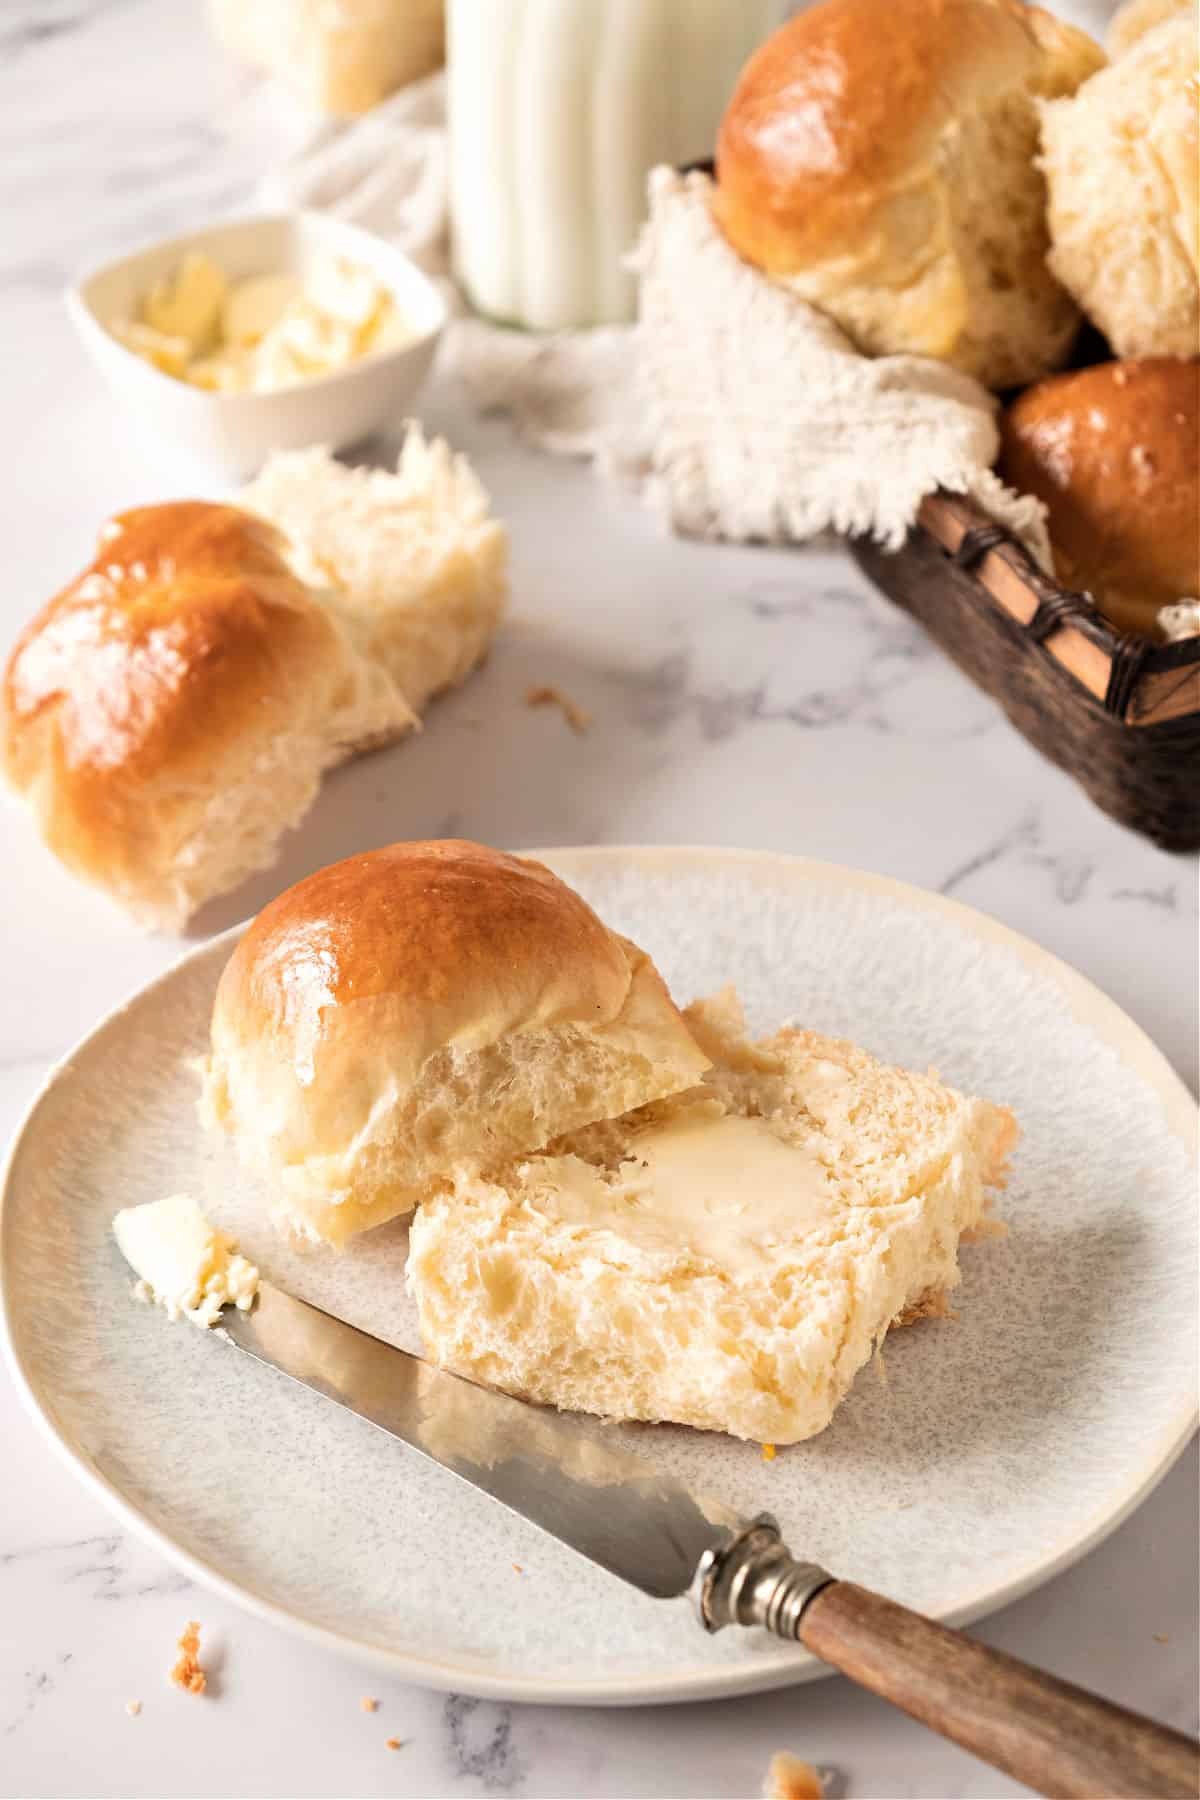
- It can be formed into different shapes, such as rolls, loaves, baguettes, batards (football-shaped), breadsticks or even pizza.
- Add-ins: Use chopped herbs (basil, thyme and oregano are great), onions, or grated cheese in the dough, and make savory dinner rolls.
- They make great sandwiches: leftover chicken or steak, cold meats, and cheese, which all go very well with this type of bread.
- Toasts for cheese boards: If you have some stale rolls, slice them thinly and bake them in a medium-low oven until slightly golden and dry. For a tastier toast, drizzle it with olive oil and sprinkle it with sea salt before baking. Serve them on charcuterie and cheese boards.
Ingredient Notes
Quantities are listed on the recipe card towards the end of this post. The Ingredients page has more details and lists the brands we use.
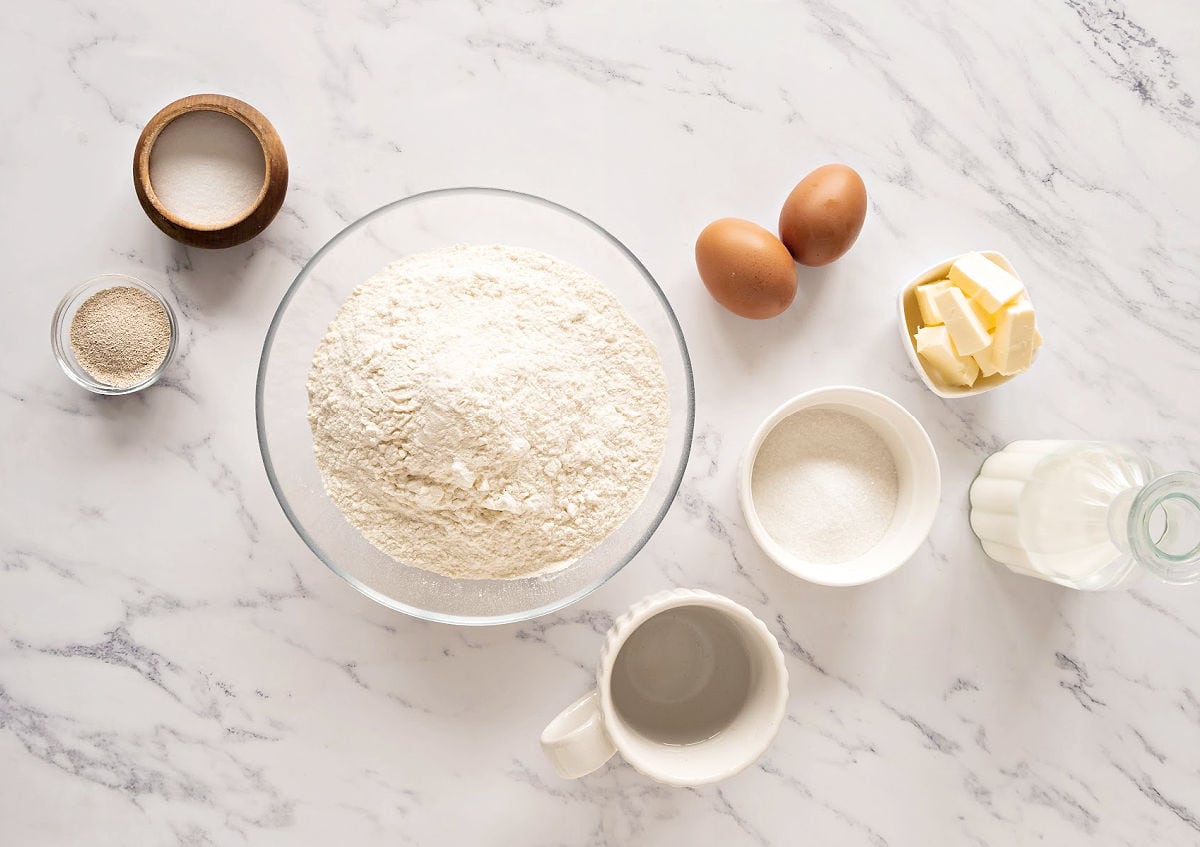
- Yeast: I use active dry yeast, which needs to be hydrated before (foamed). You can use instant yeast (¾ of the amount given for active dry) and add it directly to the flour, then add the liquid; there is no need to foam it first. If using fresh yeast (the ratio is 3:1 to dry) and it's used in the same way as the active dry, you need to hydrate it first and let it foam.
- Sugar: adds flavors and 'feeds' the yeast to help it do its job. You can use other types, like light brown sugar or cane sugar. Depending on what you use, the rolls will be slightly darker.
How to Make Sure Yeast Works
- Check expiration date: Replace if expired.
- Visual check: Should be beige to light brown and granular/powdery. Avoid if grayish, clumpy, or discolored.
- Smell test: Should have a mild, slightly sweet smell. Strong or unpleasant odors indicate it's bad.
Proofing test: Mix ½ teaspoon sugar in ¼ cup warm water (comfortable to touch). Sprinkle ½ teaspoon of dry yeast on top and stir gently. Wait 5-10 minutes until you start to see some activity. Fresh yeast will foam and bubble more; instant bubbles less than active dry yeast.
Golden Rule: When in doubt, buy new! It's better to be safe than to have your baked goods fall flat and be inedible.
How to make rolls from scratch
Stand mixer: if using it (and it's highly recommended if you don't knead by hand), mix the ingredients directly in the mixer's bowl.
By hand: it's absolutely doable; you need counter space and a little bit of arm muscle. I find it therapeutic.
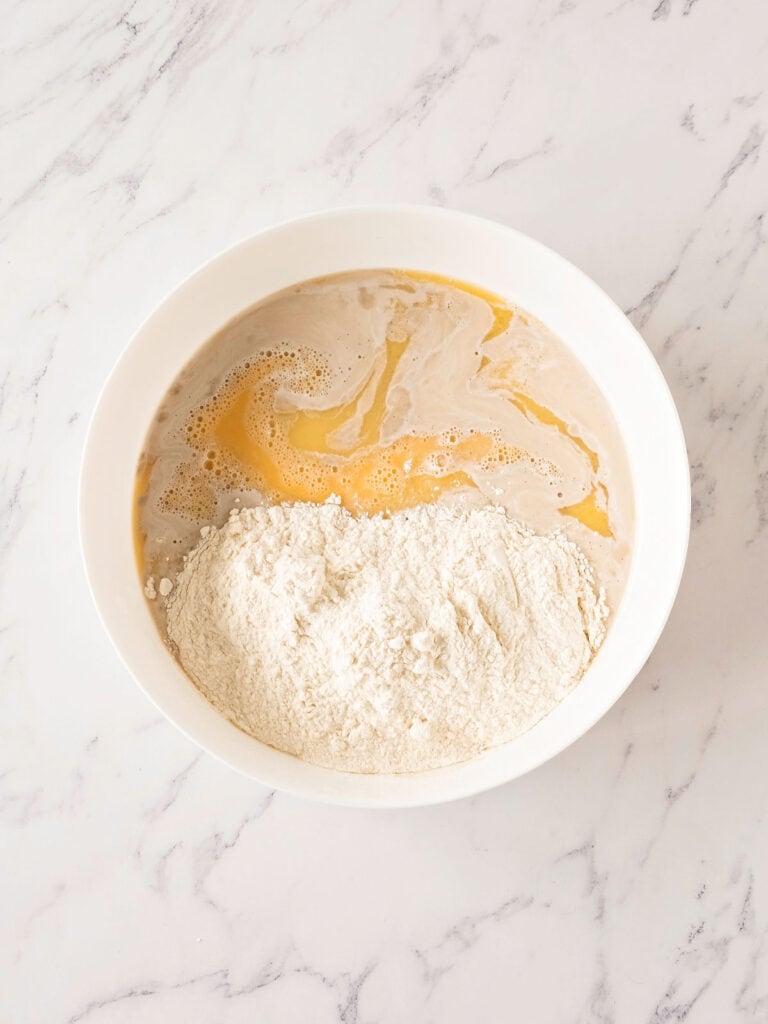
Wet ingredients
Never use hot water or liquids. Make sure they're lukewarm when you mix them with the yeast, or you might have a chance of ruining the mixture.
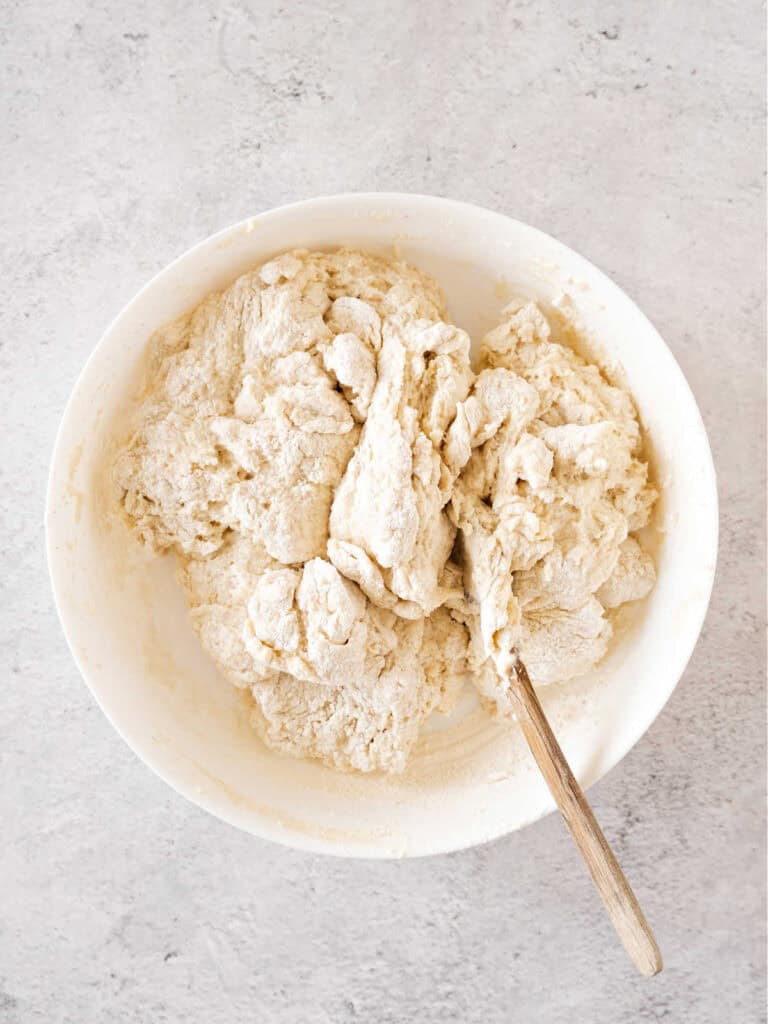
Start mixing
At first, it's a shaggy mass that feels like it will never turn into a smooth dough, but it will. Don't be tempted to add extra flour or liquid until you start kneading it.
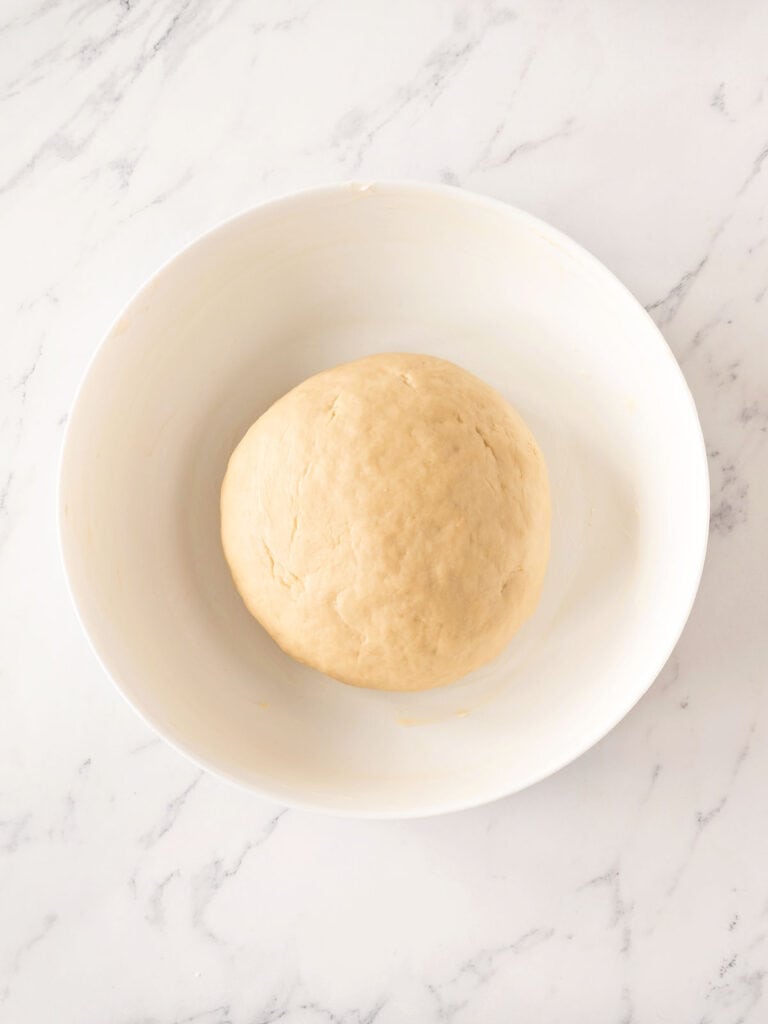
First rise
After kneading for a few minutes, the dough will be coarse. Keep kneading until the dough is firm and smooth and forms a ball.
Transfer it to a clean large bowl where it can rise comfortably. If in doubt, err on the side of a larger container. You don't want it to overflow.
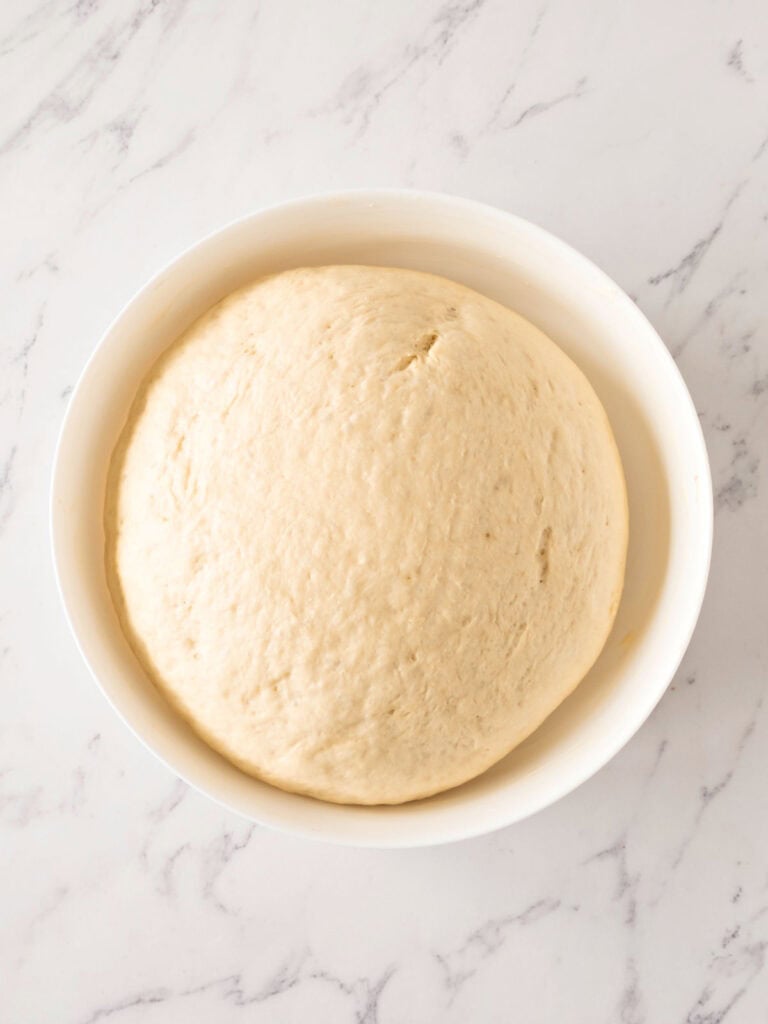
Proofed dough
Cover the dough with a clean kitchen towel or loose plastic wrap and let it rise until doubled. This is called proofing the dough.
The dough will double, and it will be noticeable.
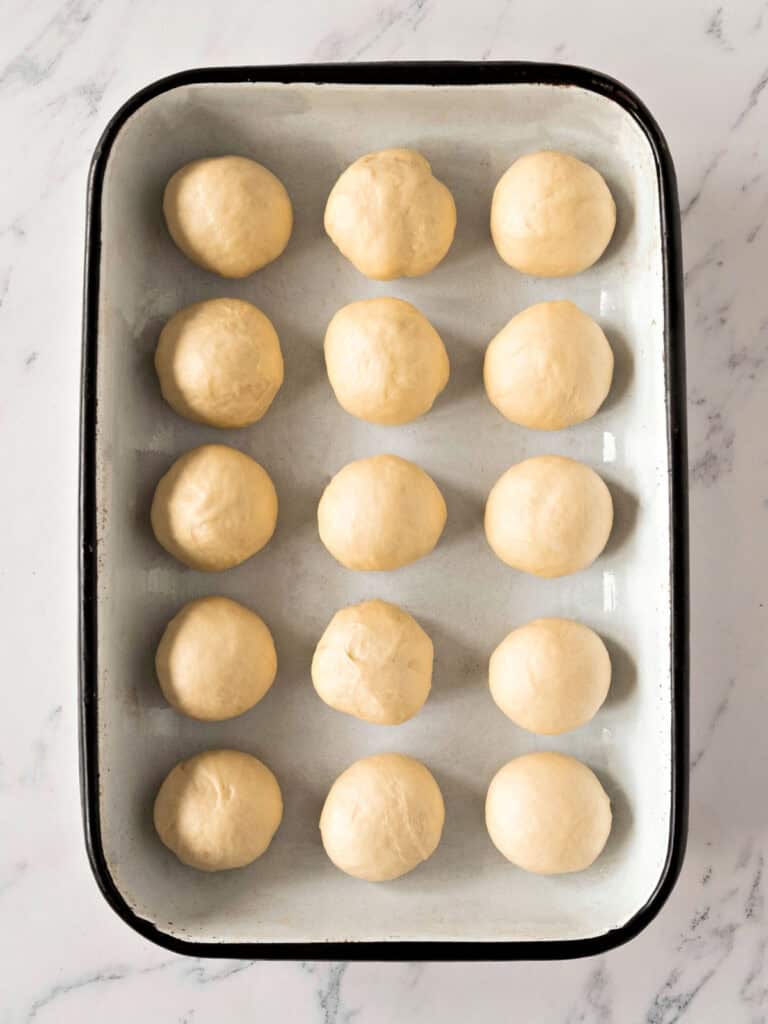
Second rise
The shaped rolls are placed in the baking dish and need a second rise.
I use a rectangular dish that can accommodate all 15 rolls.
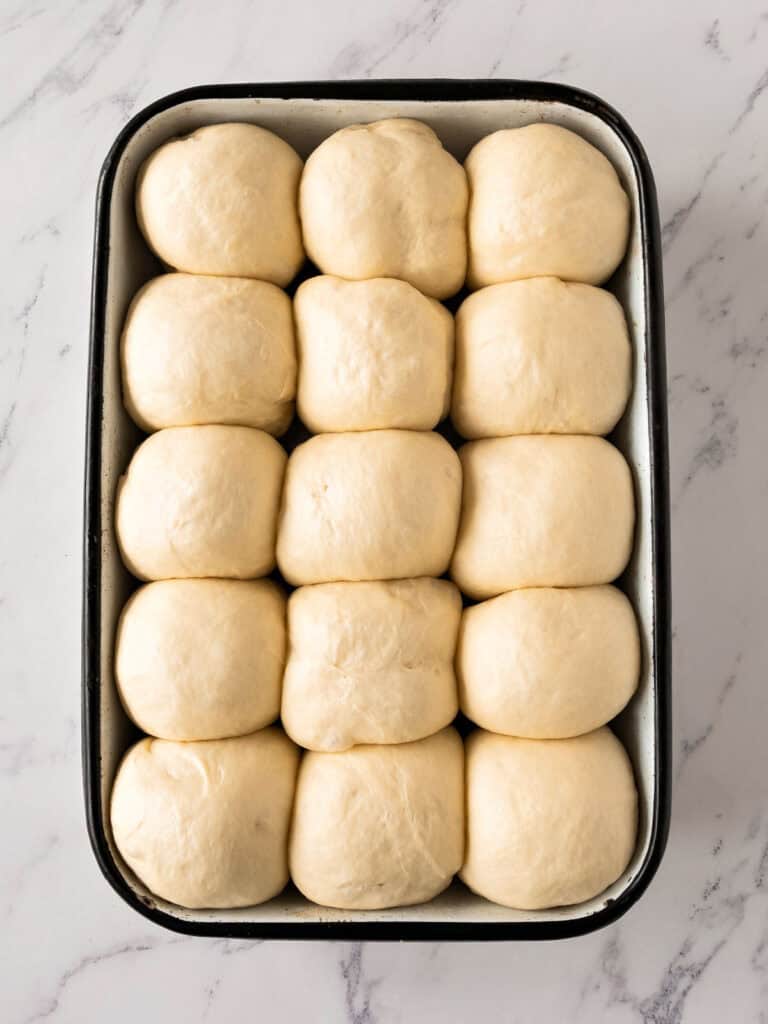
Before baking
They will puff and bump into each other, which is a signal that they are ready to be baked.
Before going into the oven, they're brushed with melted butter for that shiny crust.
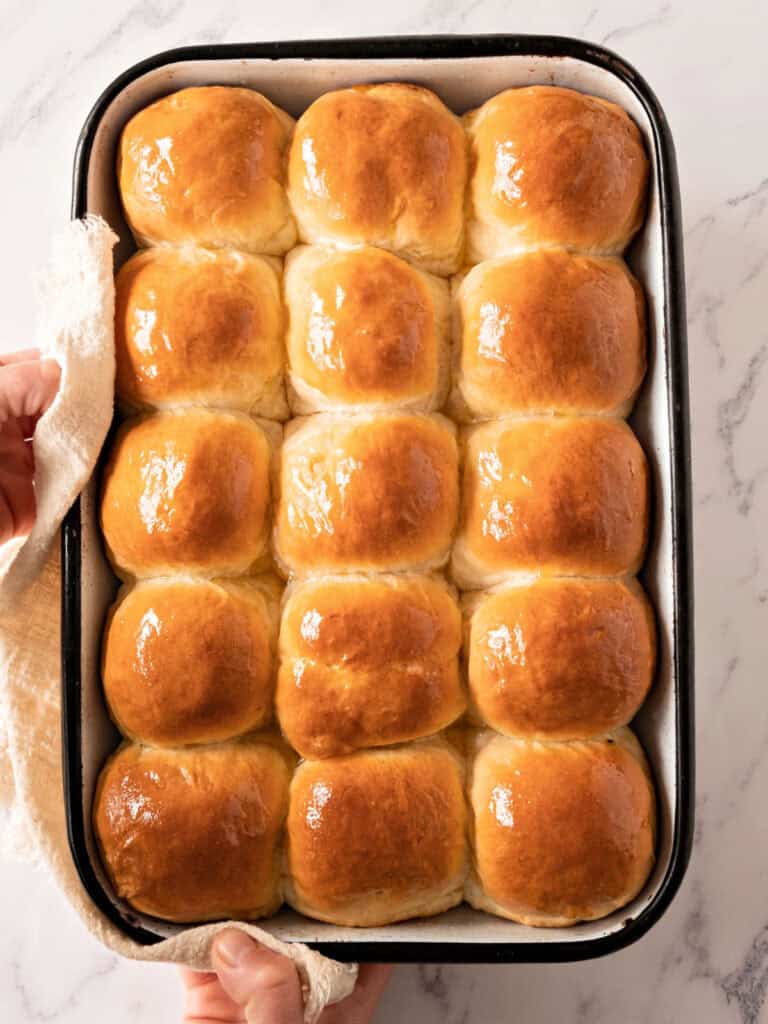
Baking
The rolls will puff, turn golden brown and feel firm to the touch.
They will not have wet strands when you check in between the rolls or lift the top from one.
After you remove the pan, lightly tap the bottom with your knuckles; it will sound hollow.
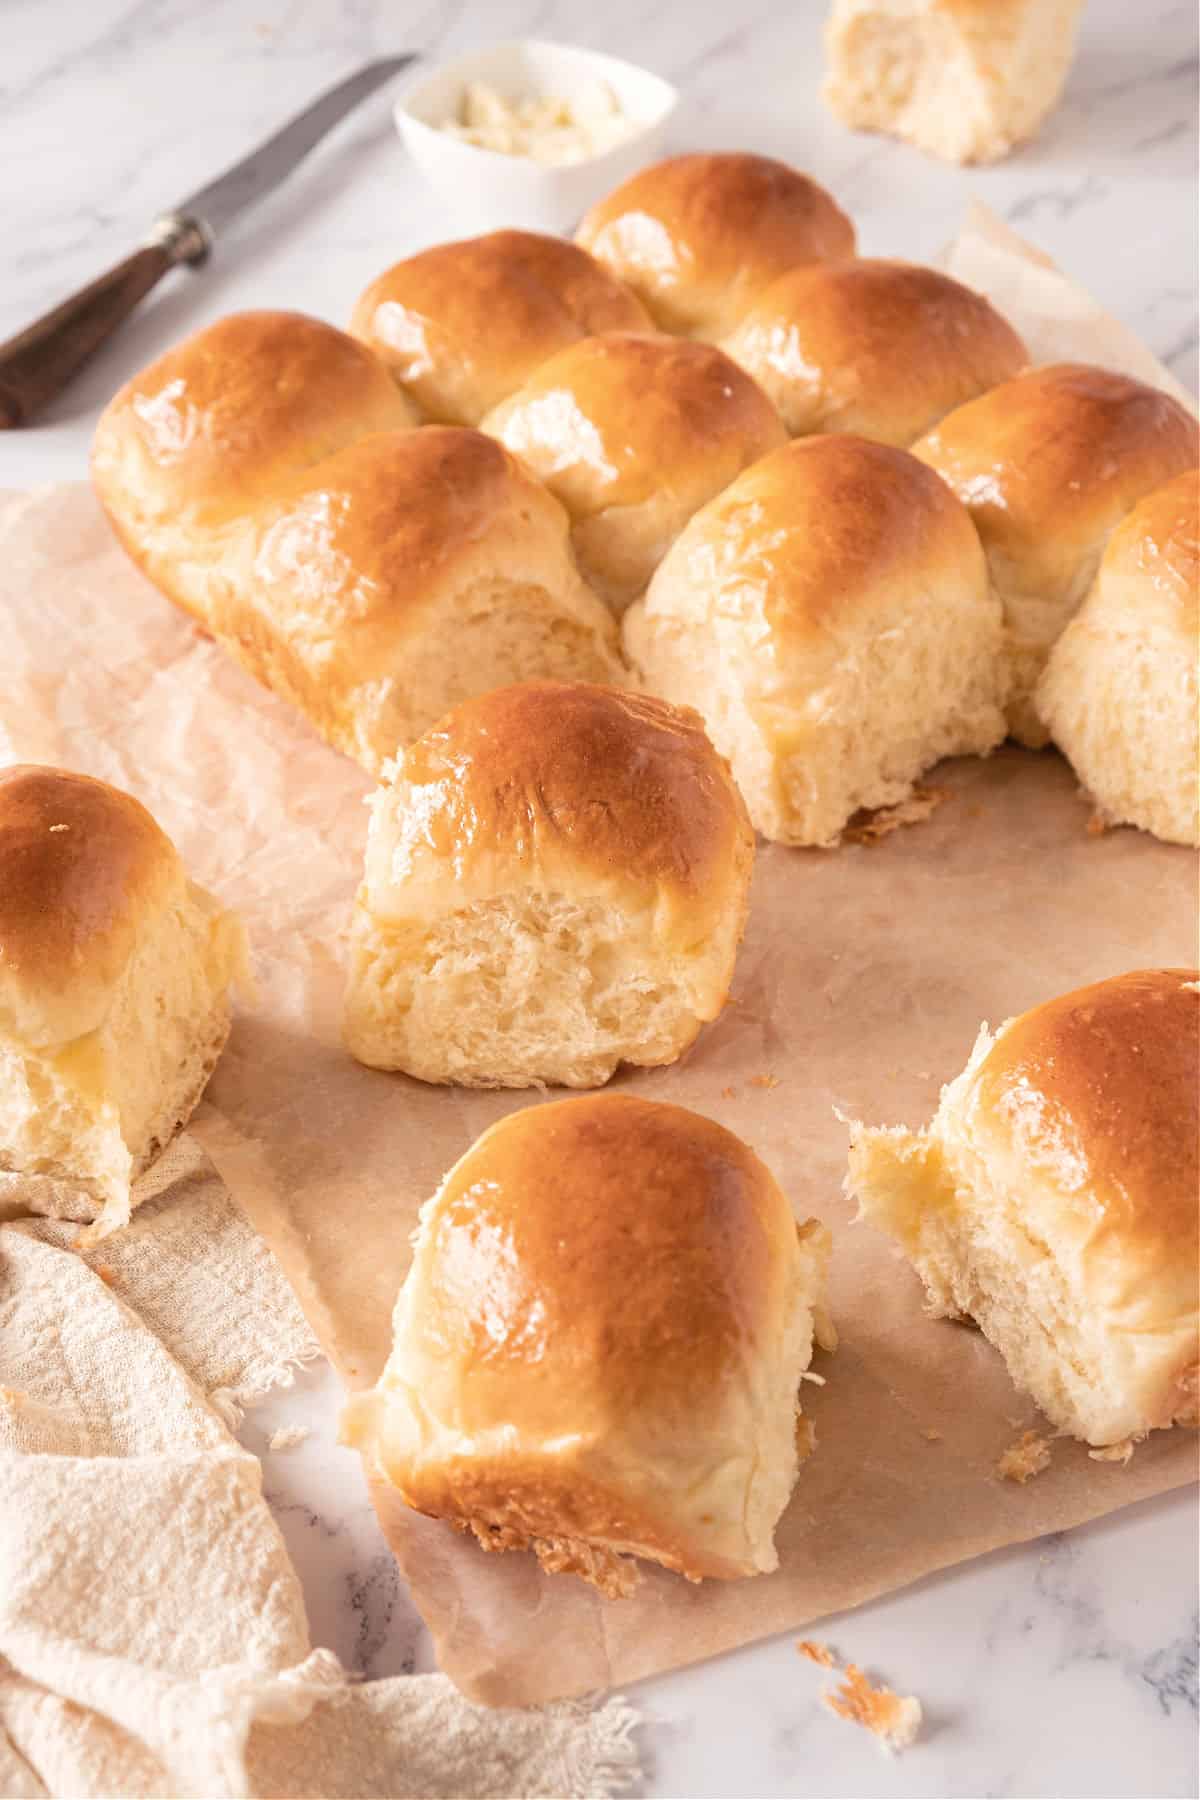
Storage
Room temperature: transfer the cooled rolls to an airtight container, resealable plastic bag or cover with plastic wrap to avoid dryness. Be careful not to squish them. They keep for 2-3 days.
Refrigeration and freezing: either works for longer storage. Wrap or cover as explained above. They keep in the fridge for a week and in the freezer for a month.
If they have been stored, warm them before eating: Cover the chilled rolls with aluminum foil and place in a 325°F (165°C) oven for about 10 minutes until warm and shiny again. If they have been frozen, they will take longer. If you don't use the foil, the crust will be crisper, which can also be amazing.
If you made this recipe and loved it, you can comment below and leave a 5-star ⭐️ review. Also, if you had issues, let me know so we can troubleshoot together.
You can also subscribe to our FREE email series 'Baking the Best' and our regular newsletter. Or follow and save my recipes on Pinterest.
As an Amazon Associate, I earn from qualifying purchases. Read my disclosure policy.
Easy Soft Dinner Rolls (old fashioned yeast recipe)
Ingredients
- 1 cup whole milk
- ¼ cup sugar
- 1 teaspoon salt
- ¼ cup unsalted butter, at room temperature
- 4 ½ teaspoons active-dry yeast, 2 packets
- ½ cup tap water, warm (not hot)
- 2 eggs, at room temperature and lightly beaten before adding
- 5 to 5 ½ cups all-purpose or bread flour
- 3 tablespoons unsalted butter, melted, to brush rolls
Instructions
- Scald 1 cup whole milk, remove from heat and add ¼ cup sugar, 1 teaspoon salt and ¼ cup unsalted butter. Stir to dissolve and cool to lukewarm before using.
- Stir 4 ½ teaspoons active-dry yeast in ½ cup tap water in the bowl of a stand mixer or a large mixing bowl if making them by hand.
- Add lukewarm milk mixture, 2 eggs lightly beaten, and 2 cups all-purpose or bread flour. Stir to mix with a silicon or wooden spoon; it will be shaggy at first. Attach the dough hook if using the mixer, or transfer the dough to a clean counter and start kneading.
- Add 3 more cups of flour, ½ to 1 cup at a time and knead until you have a soft dough. In the mixer, it'll take 7-8 minutes at medium speed and will start to leave the sides of the bowl. By hand, it'll take about 10 minutes, and you have to feel it to know if it needs more flour. The dough should be supple and elastic. Extra flour: if the dough is wet and sticky, use the extra ½ cup of flour, adding a few tablespoons at a time the dough should feel firm but not be dry or too stiff.
- Place in a lightly greased bowl (with butter or oil), turning to grease it all. Cover with plastic wrap and let the dough rise until doubled in a warm place. It should take about 30 to 45 minutes, maybe 1 hour, depending on the temperature of the room.
- Gently punch down and turn it out onto a lightly floured surface.
- Knead a few times to gather and cut about 15 small equal pieces, about 2 ounces or 60 grams each. You can eyeball them or weigh them for more accuracy.
- Butter a pan that will accommodate them. Roll them into tight balls, pinching underneath to seal and place them, smooth side up, barely touching each other. You might need more than 1 pan, depending on the size and number of rolls.
- Cover with a clean kitchen towel and let rise until doubled, about 30 minutes. Meanwhile, preheat the oven to 350°F (180°C).
- Brush the top of the bread with 3 tablespoons unsalted butter, being careful not to deflate the dough.
- Bake the rolls until puffed and shiny on top, about 20 minutes. They should feel firm to the touch and have no wet strands if you carefully lift the top of the middle ones.
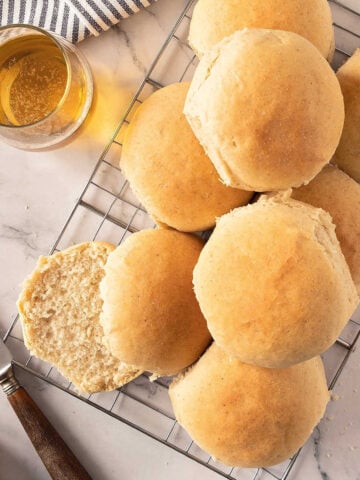
- Let them cool on a wire rack. Store leftovers at room temperature in an airtight container for a few days or freeze for a month.


Donna says
Made these today. Tried several recipes to try to find the recipe my mom used to make. These are it! So soft and tasty.
Judith says
Makes soft dinner rolls and also wonderful loaf bread. So easy to make.
Maeverner Carter says
Da BEST YEAST ROLLS EVER. Easy to make I could make them everyday.
Paula Montenegro says
I agree! Thanks so much for letting me know. Have a great weekend.