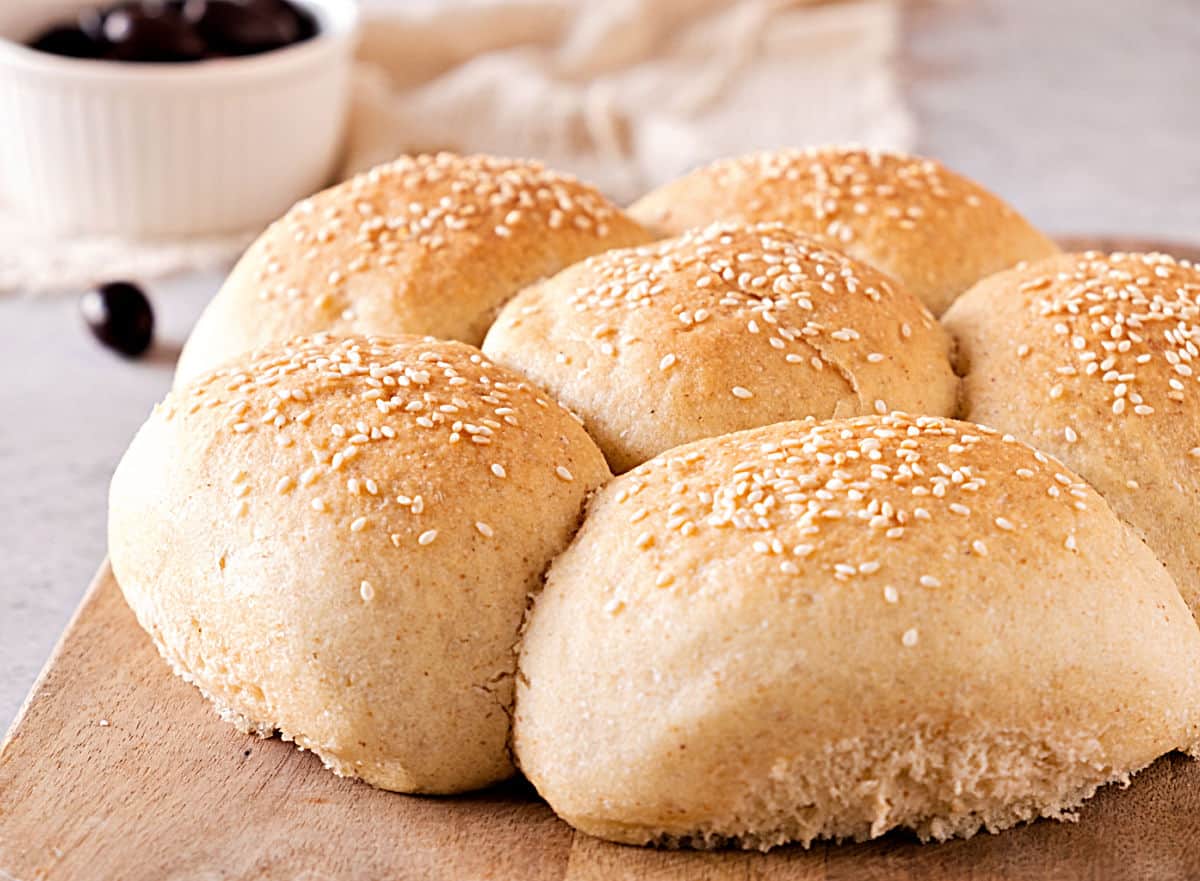
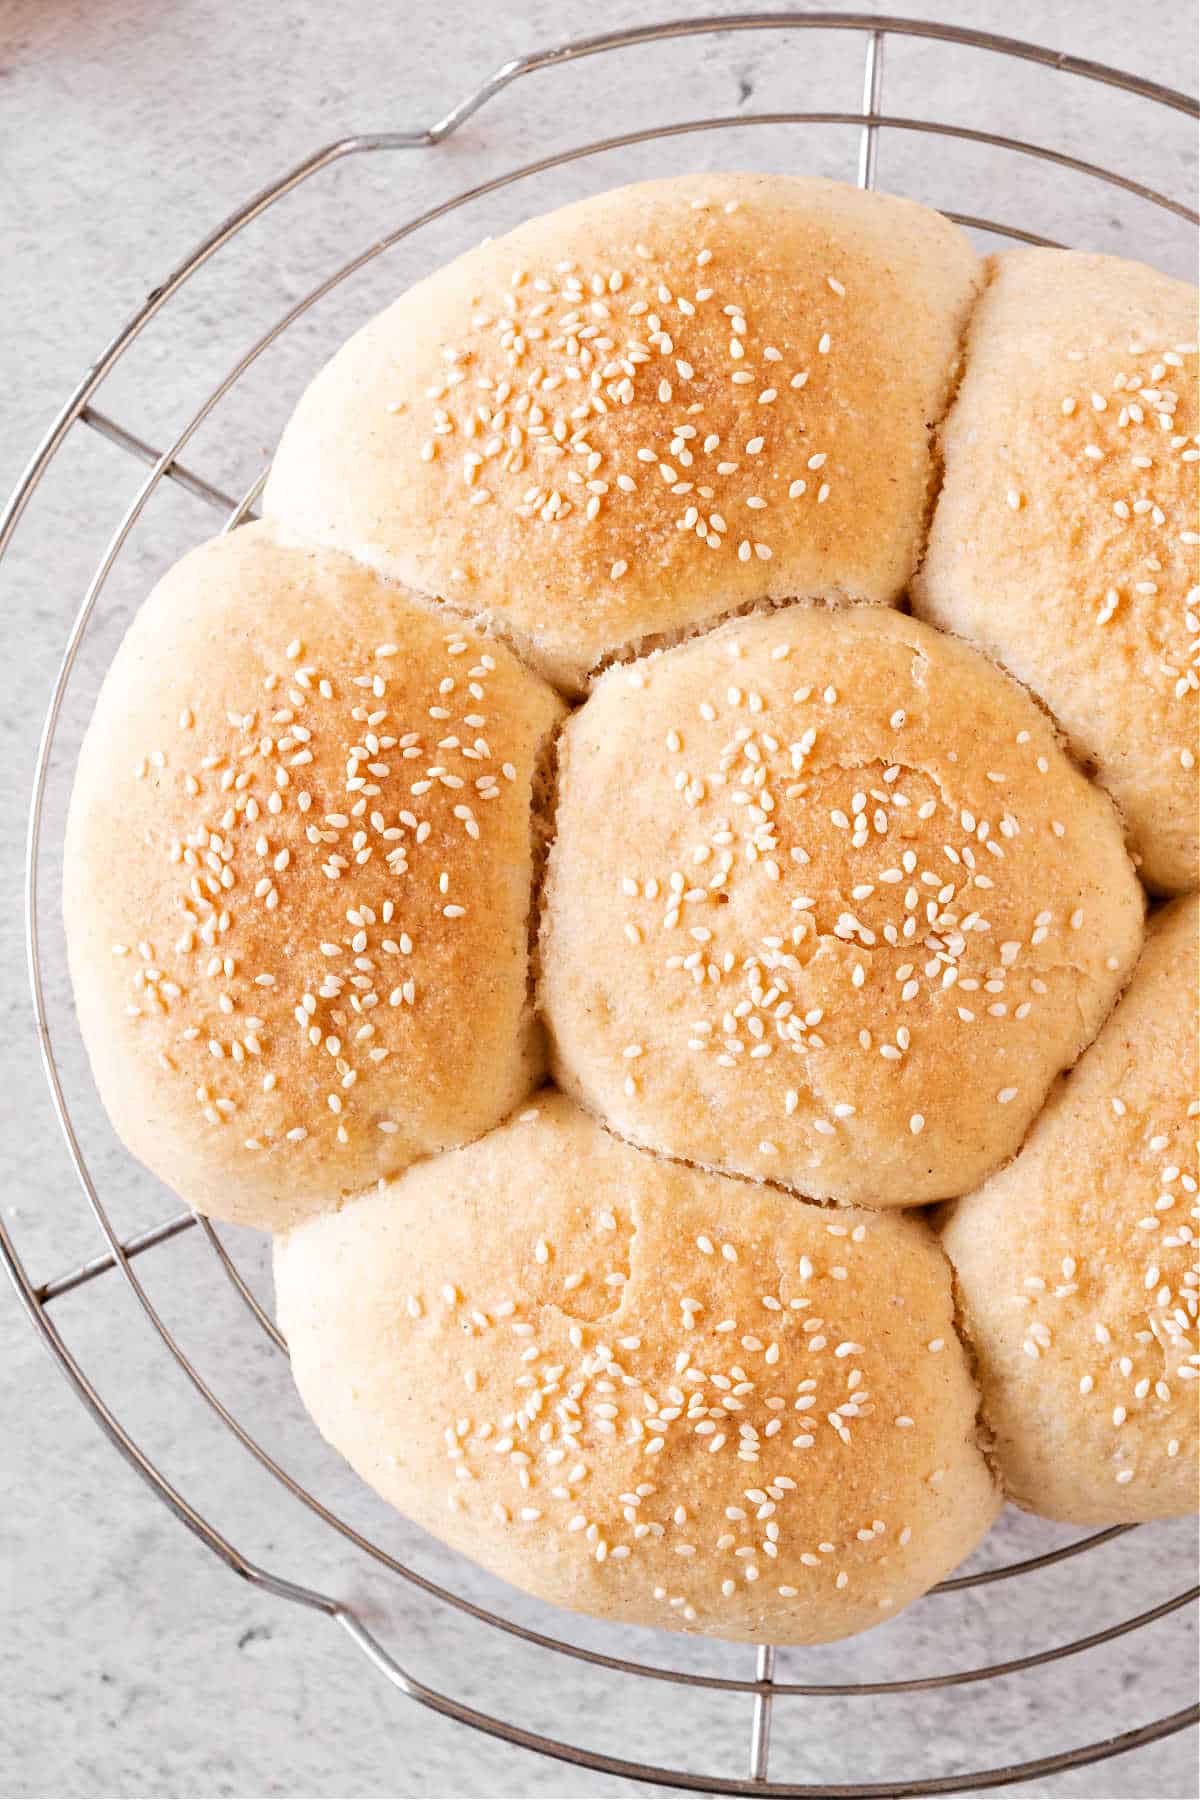
Semolina rolls need only 6 ingredients and are perfect for dinner, sandwiches or toasted with butter and jam. They have a rustic texture with a golden crust and slight crunchiness from the sesame seeds. They keep well and can be frozen. Semolina flour, a main component, is easily available online and at some supermarkets.
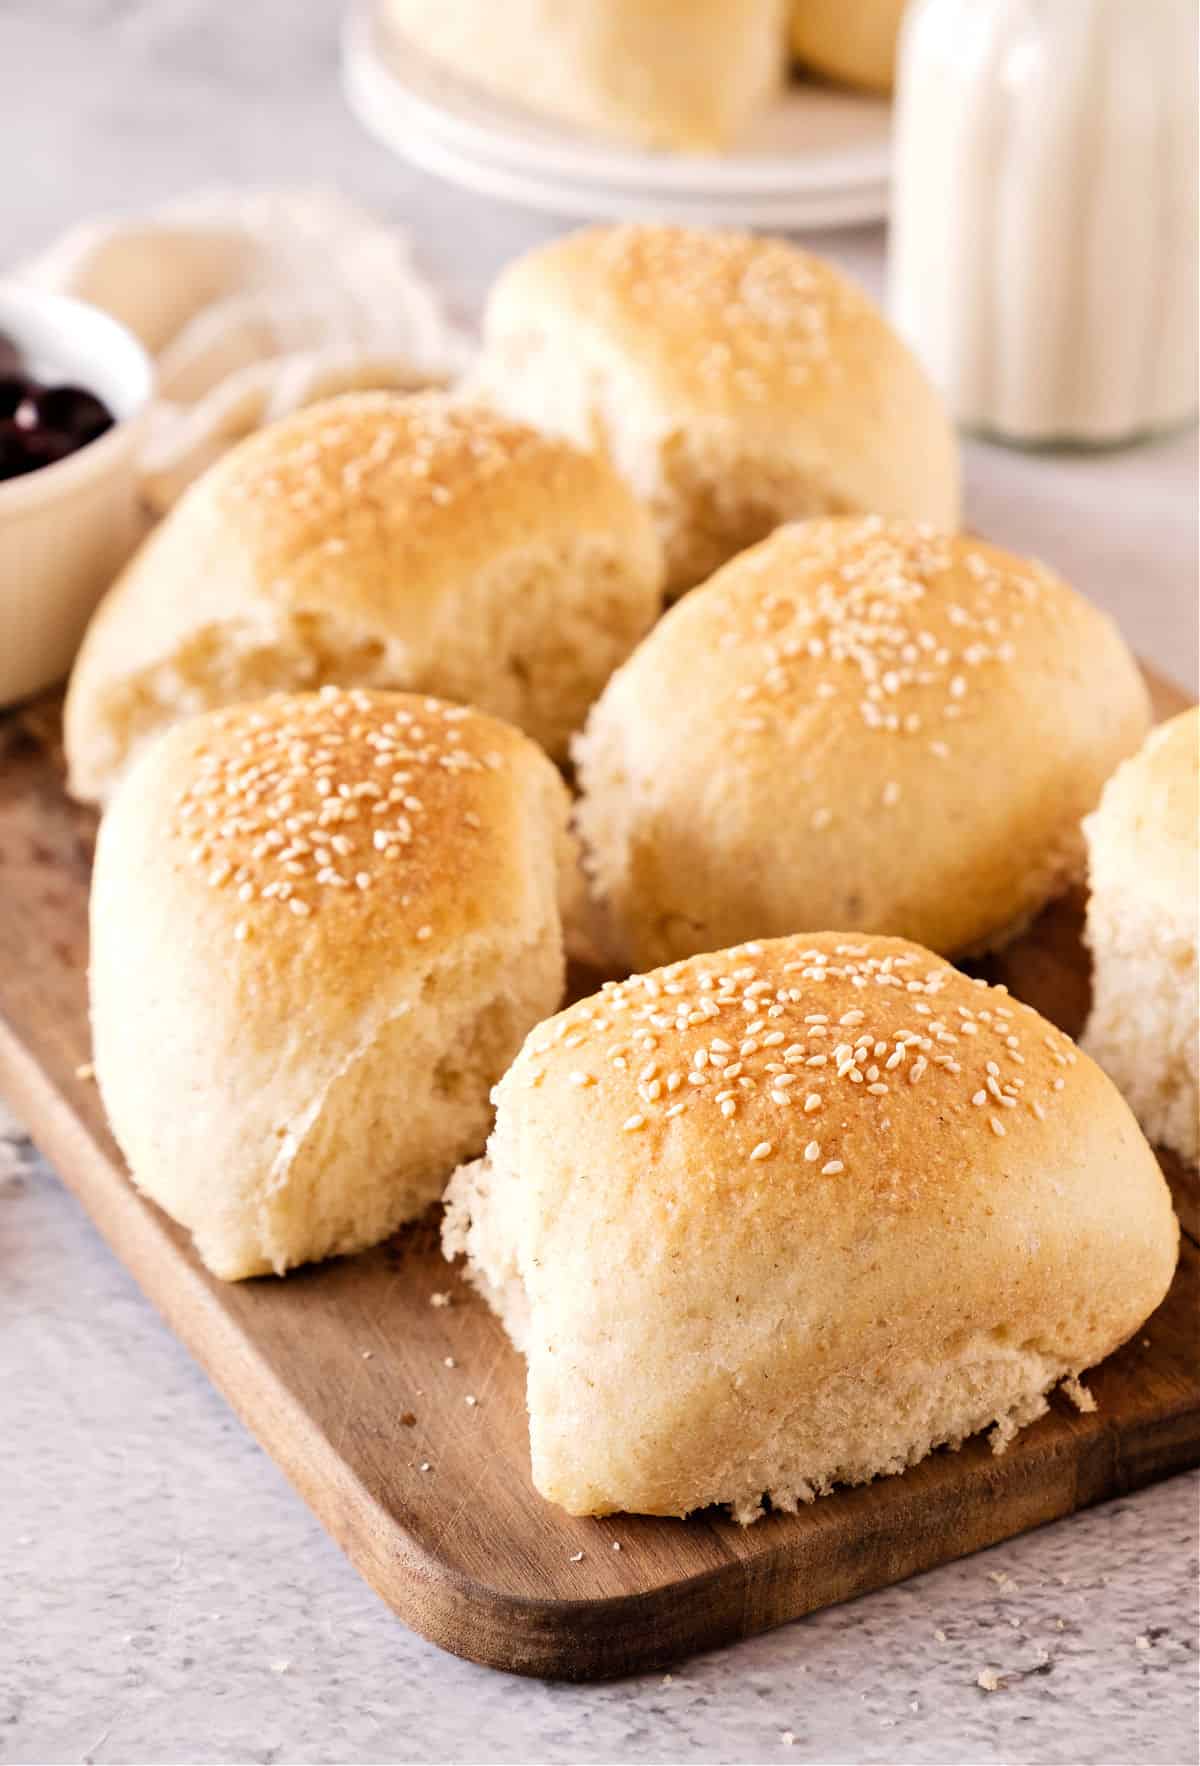
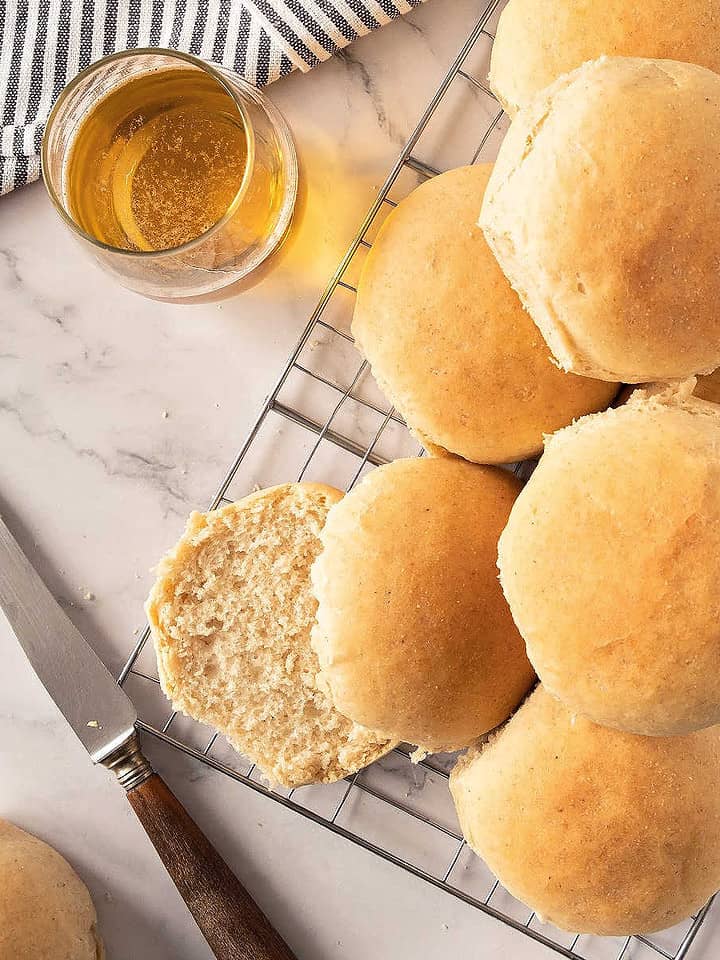
This is a simple dinner roll recipe with a unique ingredient: semolina flour. This flour gives the rolls a light golden brown hue and a beautiful, soft crumb.
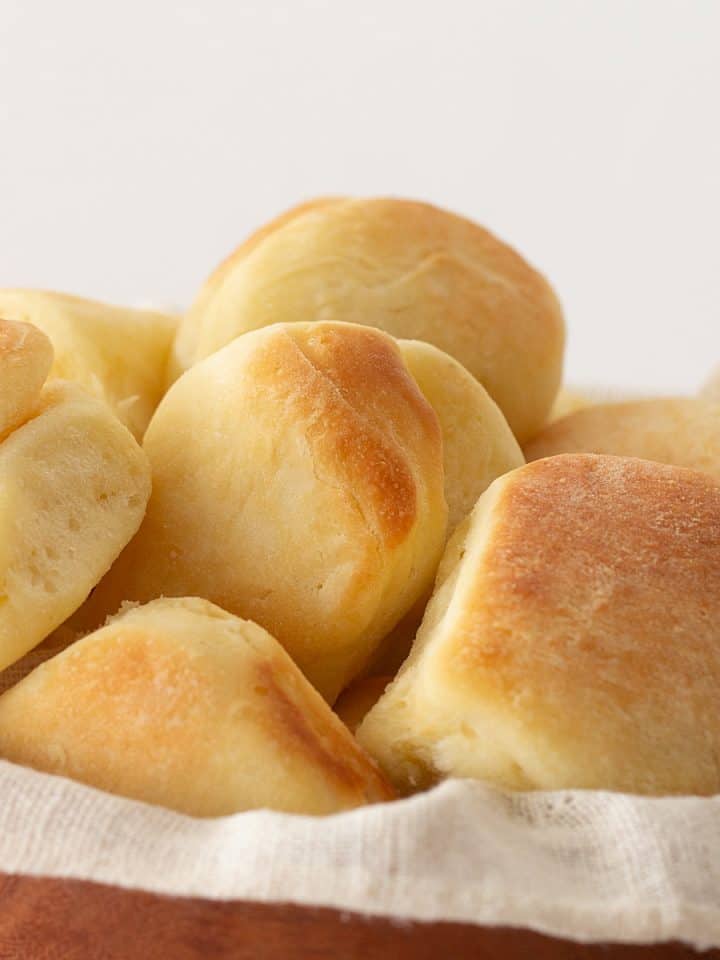
They're a cross between our very popular semolina bread recipe and the yeasted beer rolls.
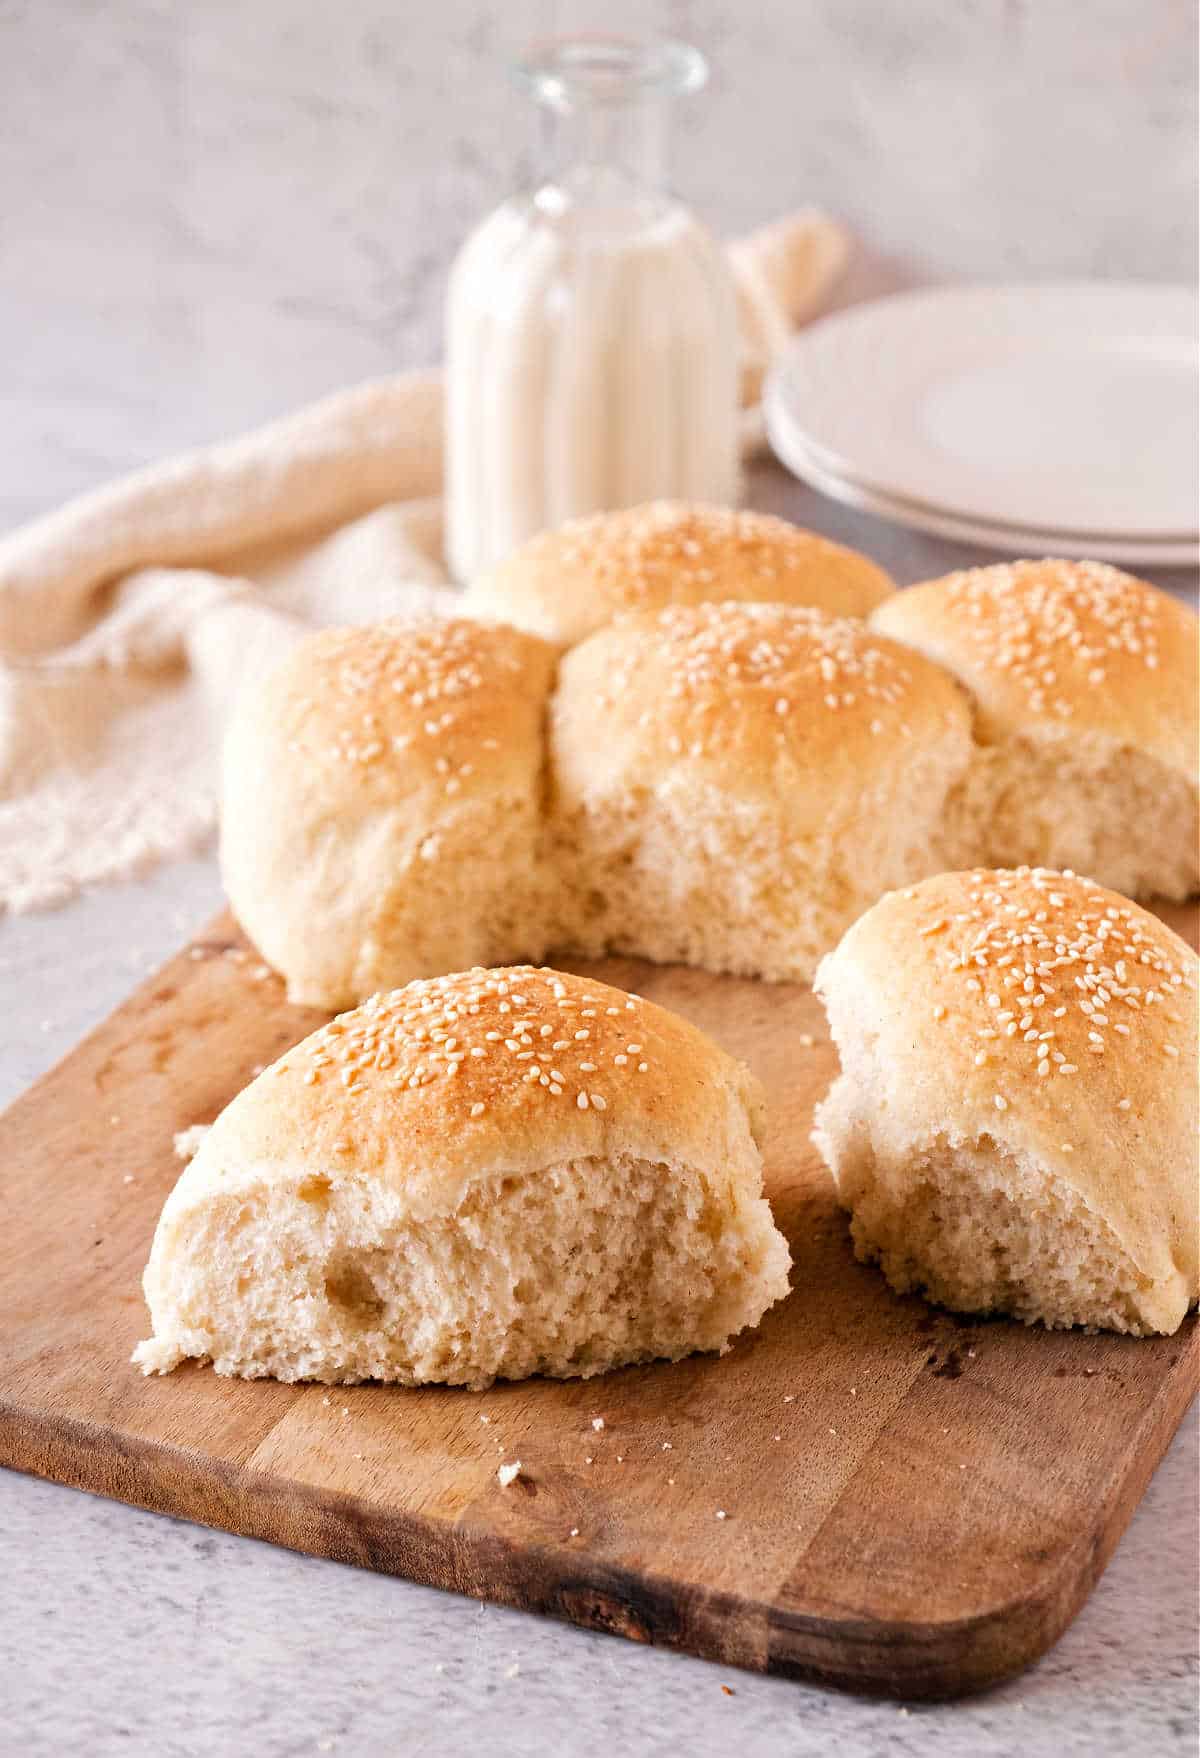
Make a batch and freeze them. You can warm them up when the need arises. They go well with stew, a bowl of chicken chili, sandwiches and split and toasted for a breakfast or brunch table to serve with butter.
What use semolina flour in bread? It's a classic Italian flour used for bread and pasta as it gives a golden color, a dense structure and great texture. It's milled from durum wheat and is high in gluten and protein; this helps with rising and structure.
Ingredient list
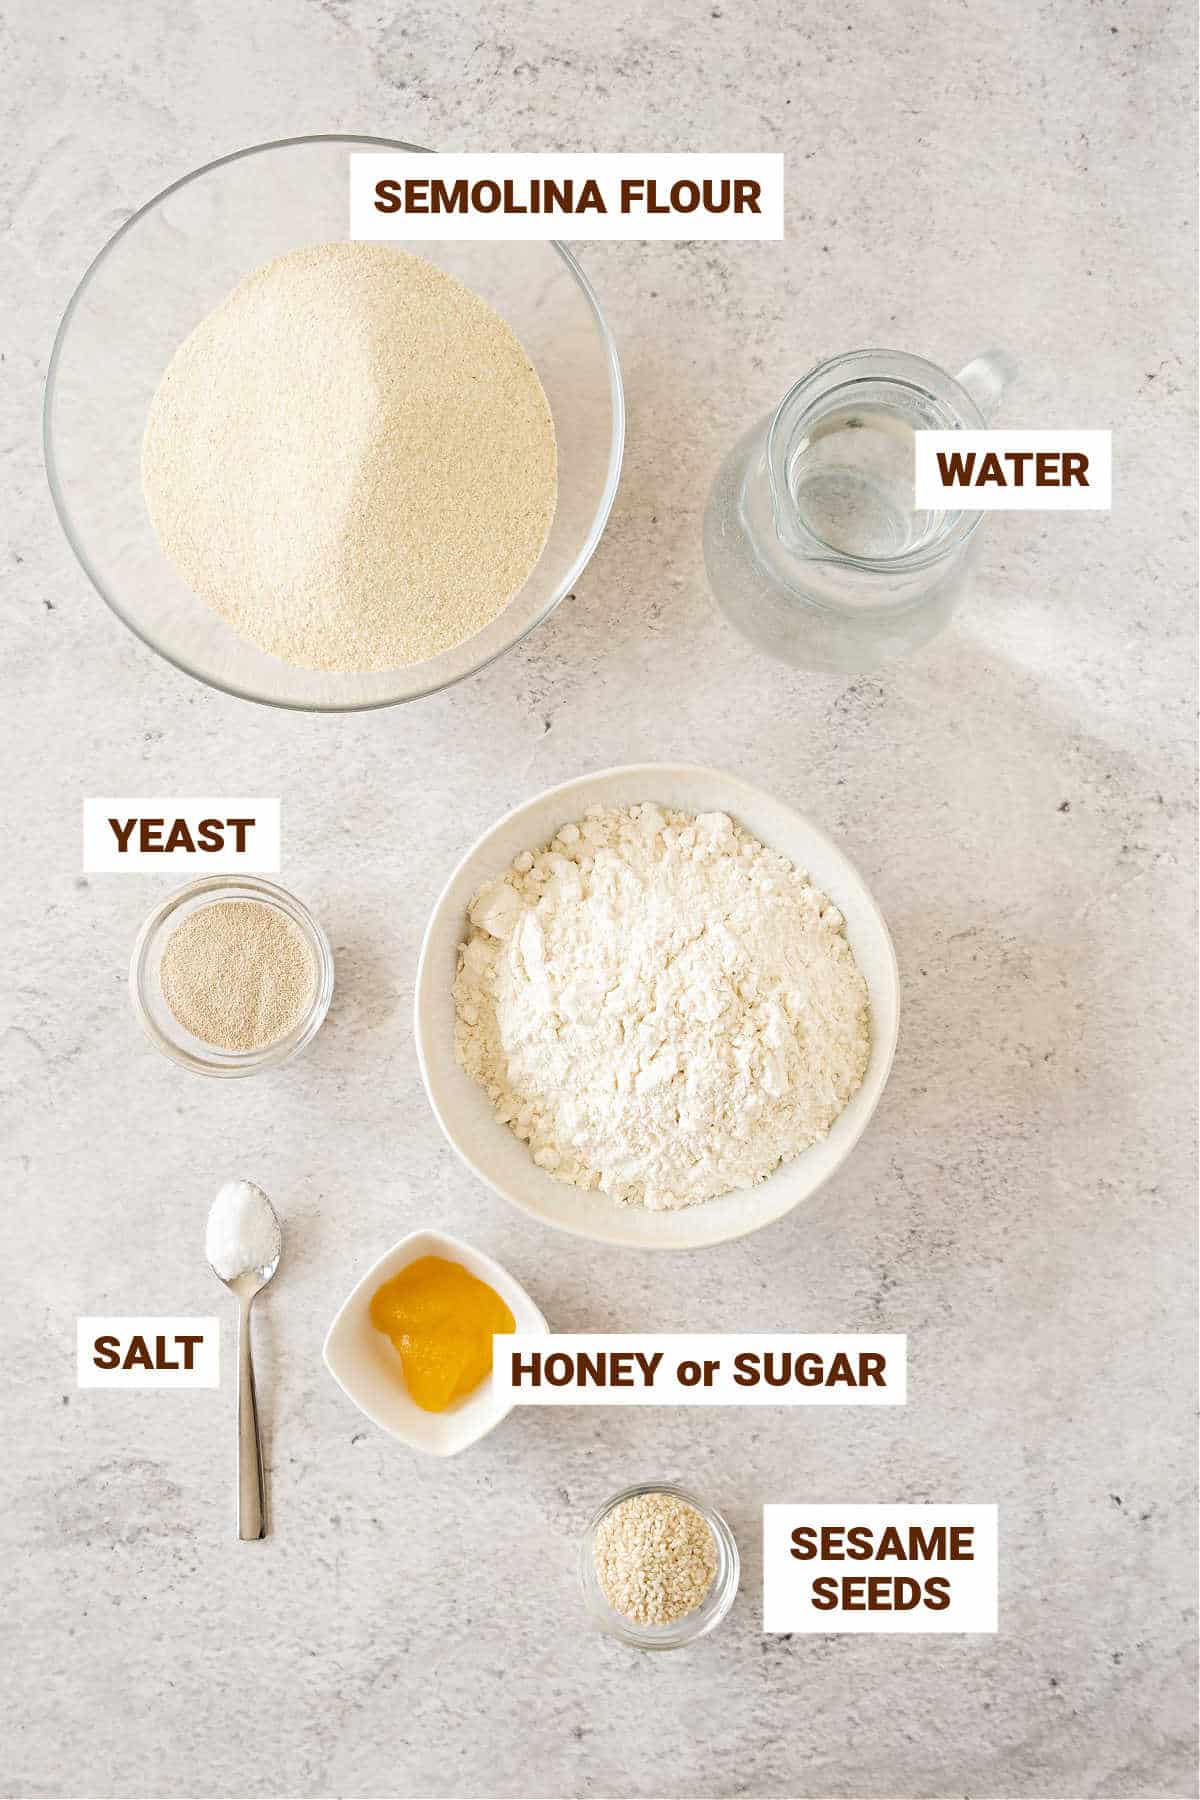
- Bread flour: it has more gluten and can be easily purchased online. King Arthur's unbleached bread flour is a popular one. If unavailable, use all-purpose flour.
- Semolina flour: is durum wheat flour and adds color and texture. You can buy semolina flour for bread online.
- Yeast: I use active dry yeast, which needs to be hydrated before (foamed). You can use instant yeast (¾ of the amount given for active dry) and add it directly to the flour, then add the liquid; there is no need to foam it first. If using fresh yeast (the ratio is 3:1 to dry) and is used in the same way as the active dry, you need to hydrate it first and let it foam.
- Salt.
- Honey or granulated sugar: a small amount is used to 'feed' and start the yeast.
- Sesame seeds: they're optional but recommended.
Quantities are listed on the recipe card towards the end of this post. The Ingredients page has more details and lists the brands we use.
Uses and variations
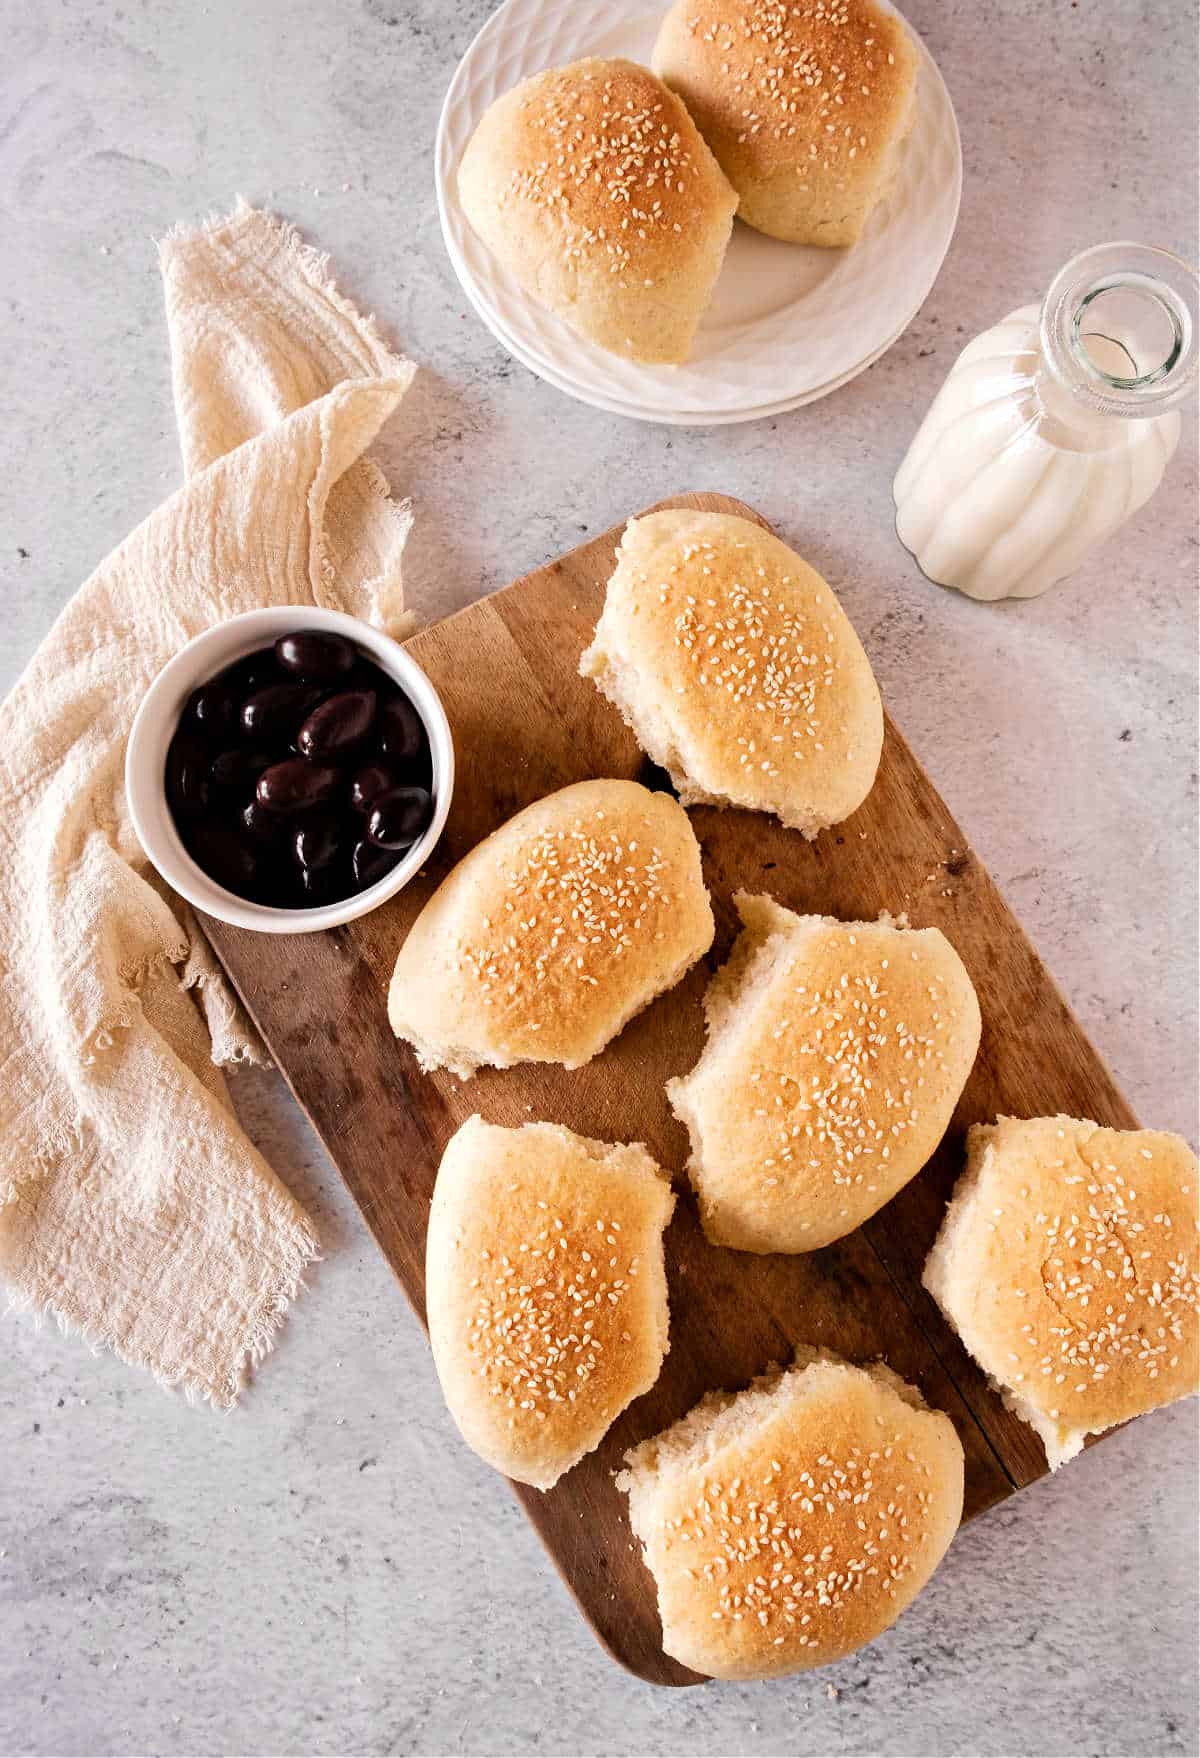
- It can be formed into different shapes such as rolls, loaves, baguettes, batards (football-shaped), breadsticks or even pizza.
- Add-ins: use chopped herbs (basil, thyme and oregano are great), onions, or grated cheese to the dough, and have savory dinner rolls.
- They make great sandwiches: leftover chicken or steak, cold meats, and cheese all go very well with this type of bread.
- Toasts for cheese boards: If you have some stale rolls, slice them thinly and bake them at a medium-low oven until slightly golden and dry. For a tastier toast, drizzle them with olive oil and sprinkle with sea salt before baking. Serve them on charcuterie and cheese boards.
How to make sure the yeast works
Check the expiration date on the yeast package. If it's past the expiration date, it's best to get a new package.
Appearance: fresh yeast should have a beige to light brown color and be granular or powdery, depending on the type (instant, active dry, or fresh yeast). If the yeast appears grayish, clumpy, or has any signs of discoloration, it may be old or expired.
Smell: yeast typically has a mild, slightly sweet smell. If it has a strong or unpleasant odor, it may be old or contaminated and should not be used.
Proofing Test:
- Dissolve ½ teaspoon of sugar in about ¼ cup of warm (around 110°F or 43°C) water in a small bowl.
- Sprinkle ½ teaspoon of yeast over the water and sugar mixture.
- Gently stir the mixture and let it sit for about 5-10 minutes.
- If the yeast is active and fresh, it should begin to foam and bubble. This indicates that the yeast is alive and can be used for baking. The amount of activity will depend on the type of yeast. Instant will bubble less than active-dry or fresh.
Steps to make semolina rolls
Foaming the yeast: this starts the yeast process and also ensures it's active and working well. It's mixed in a small bowl with the honey (or sugar), some water and flour from the total ingredients. If the mixture doesn't foam, you need to buy new yeast and start again.
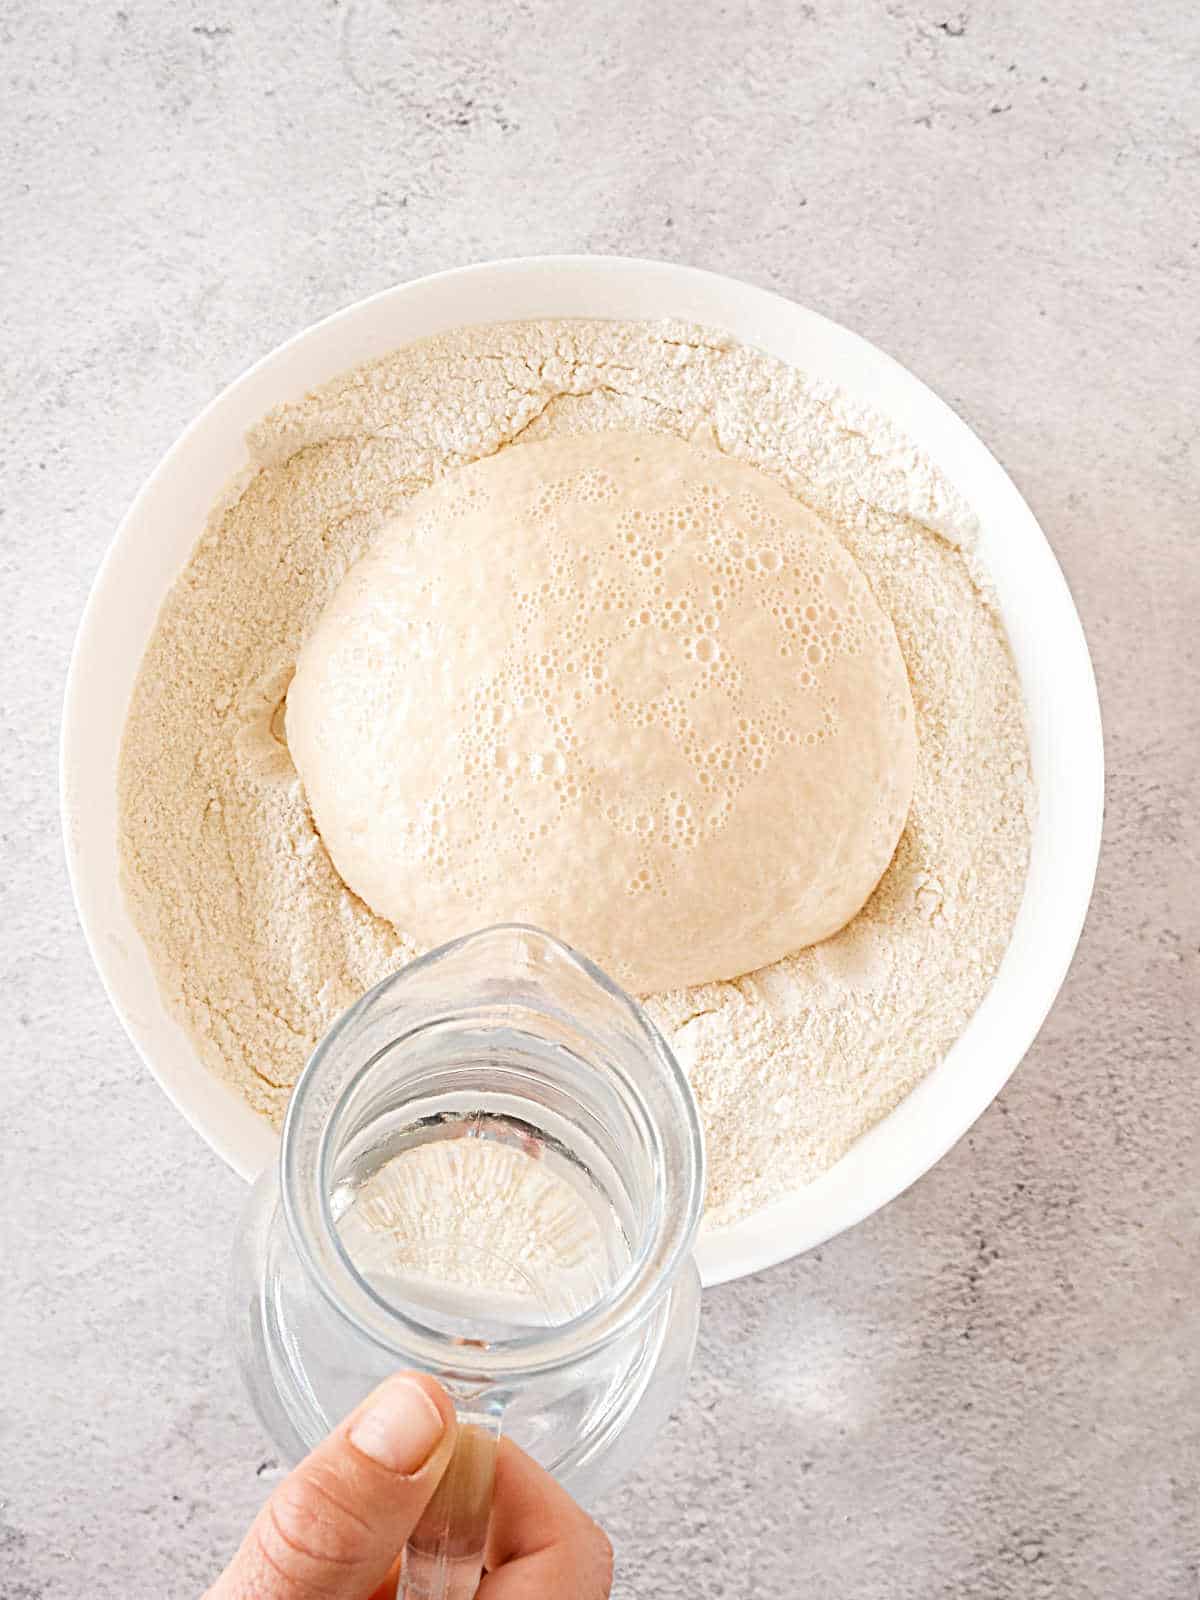
The foamed yeast and the rest of the ingredients are stirred together in a large bowl.
Lukewarm water: or tepid or barely warm water. If it's too hot, it will kill the power of the yeast, so this is important.
Stand mixer: if using it (and it's highly recommended if you don't knead by hand), mix the ingredients directly in the mixer's bowl.
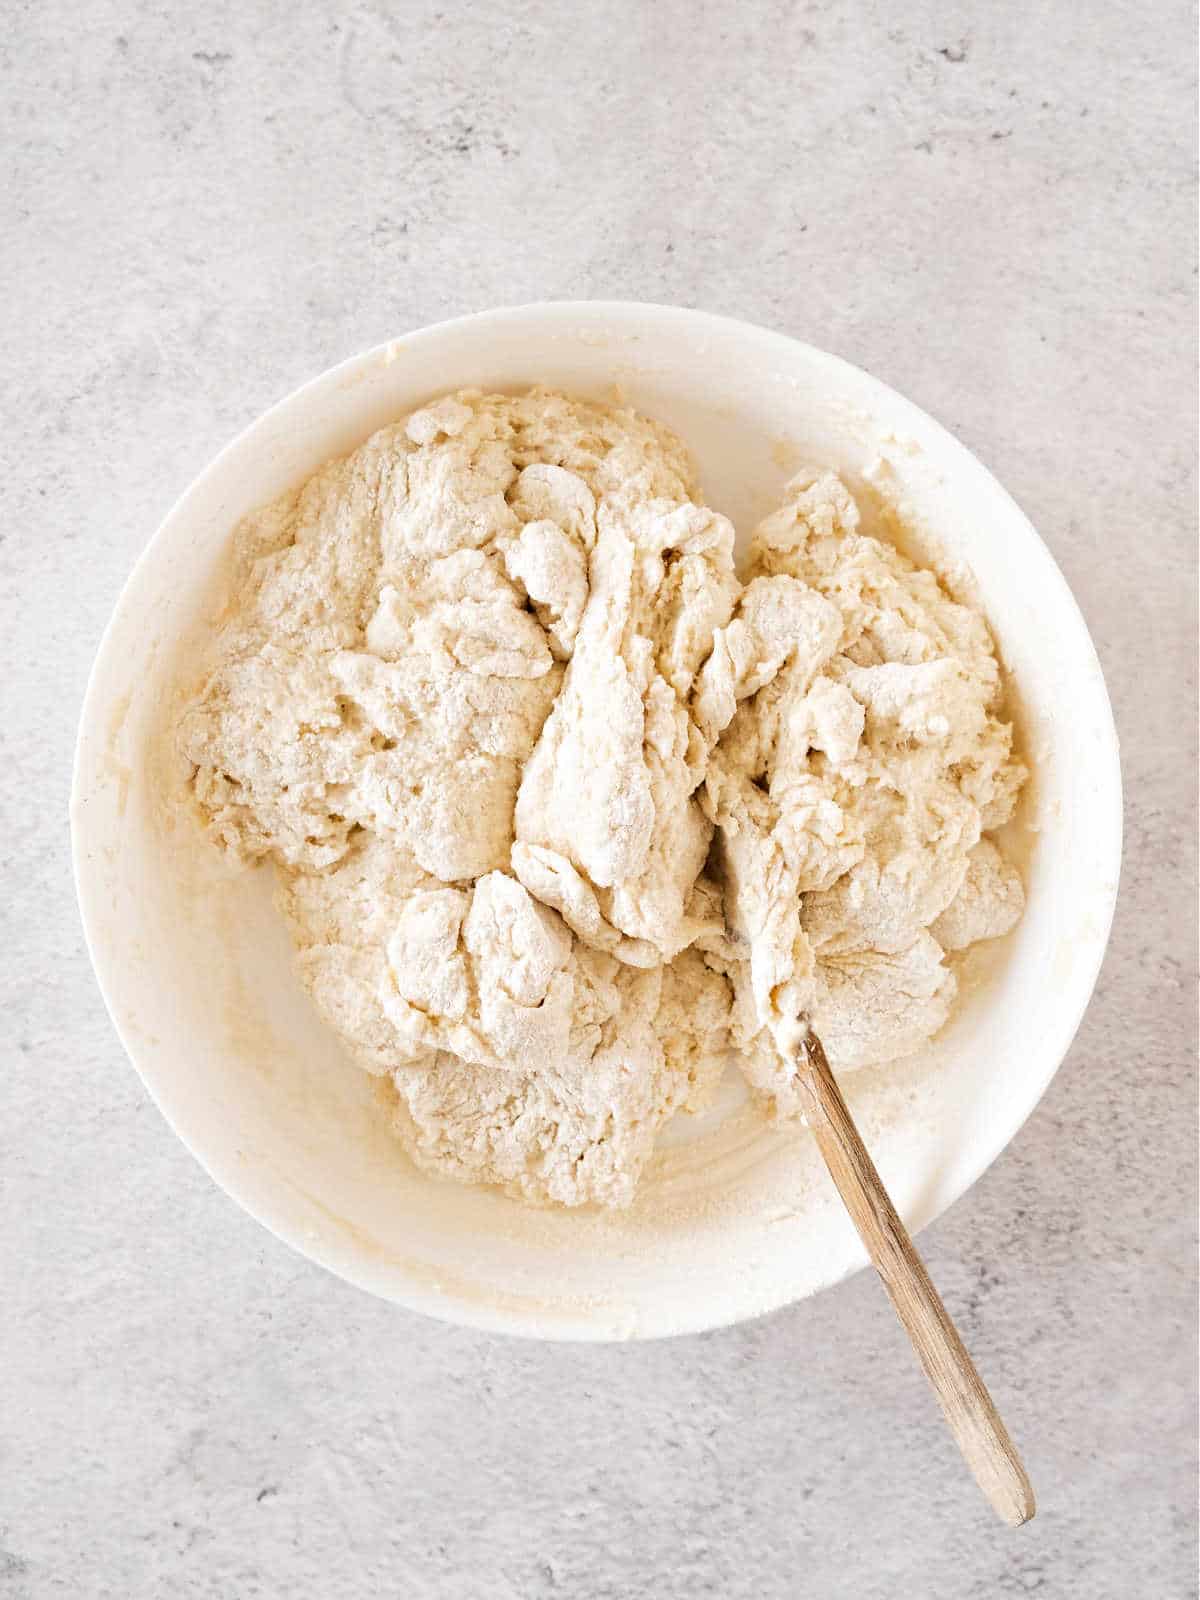
At first, it's a shaggy mass that feels like it will never turn into a smooth dough, but it will. Don't be tempted to add extra flour or liquid until you start kneading it.
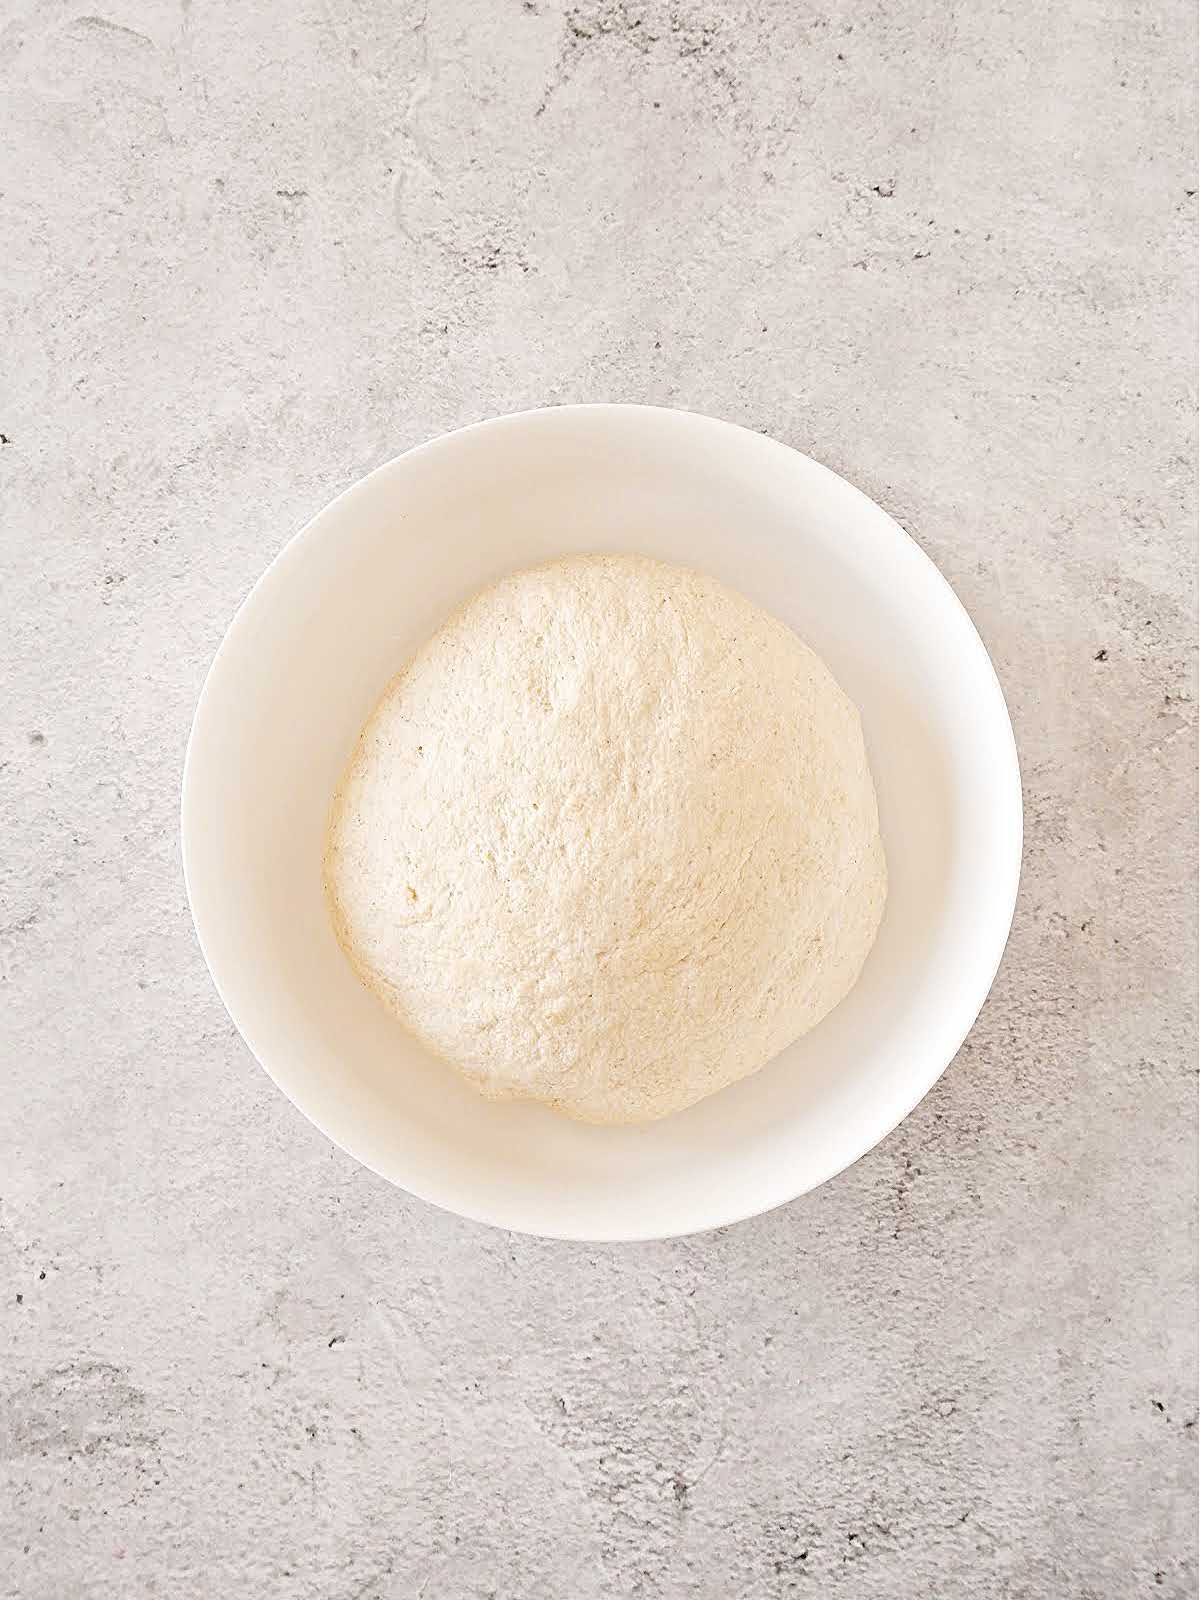
The dough will be coarse after kneading it for a few minutes. Keep on kneading some more until the dough is firm and quite smooth and forms a ball.
Transfer it to a clean large bowl where it can rise comfortably. If in doubt, err on the side of a larger container. You don't want it to overflow.
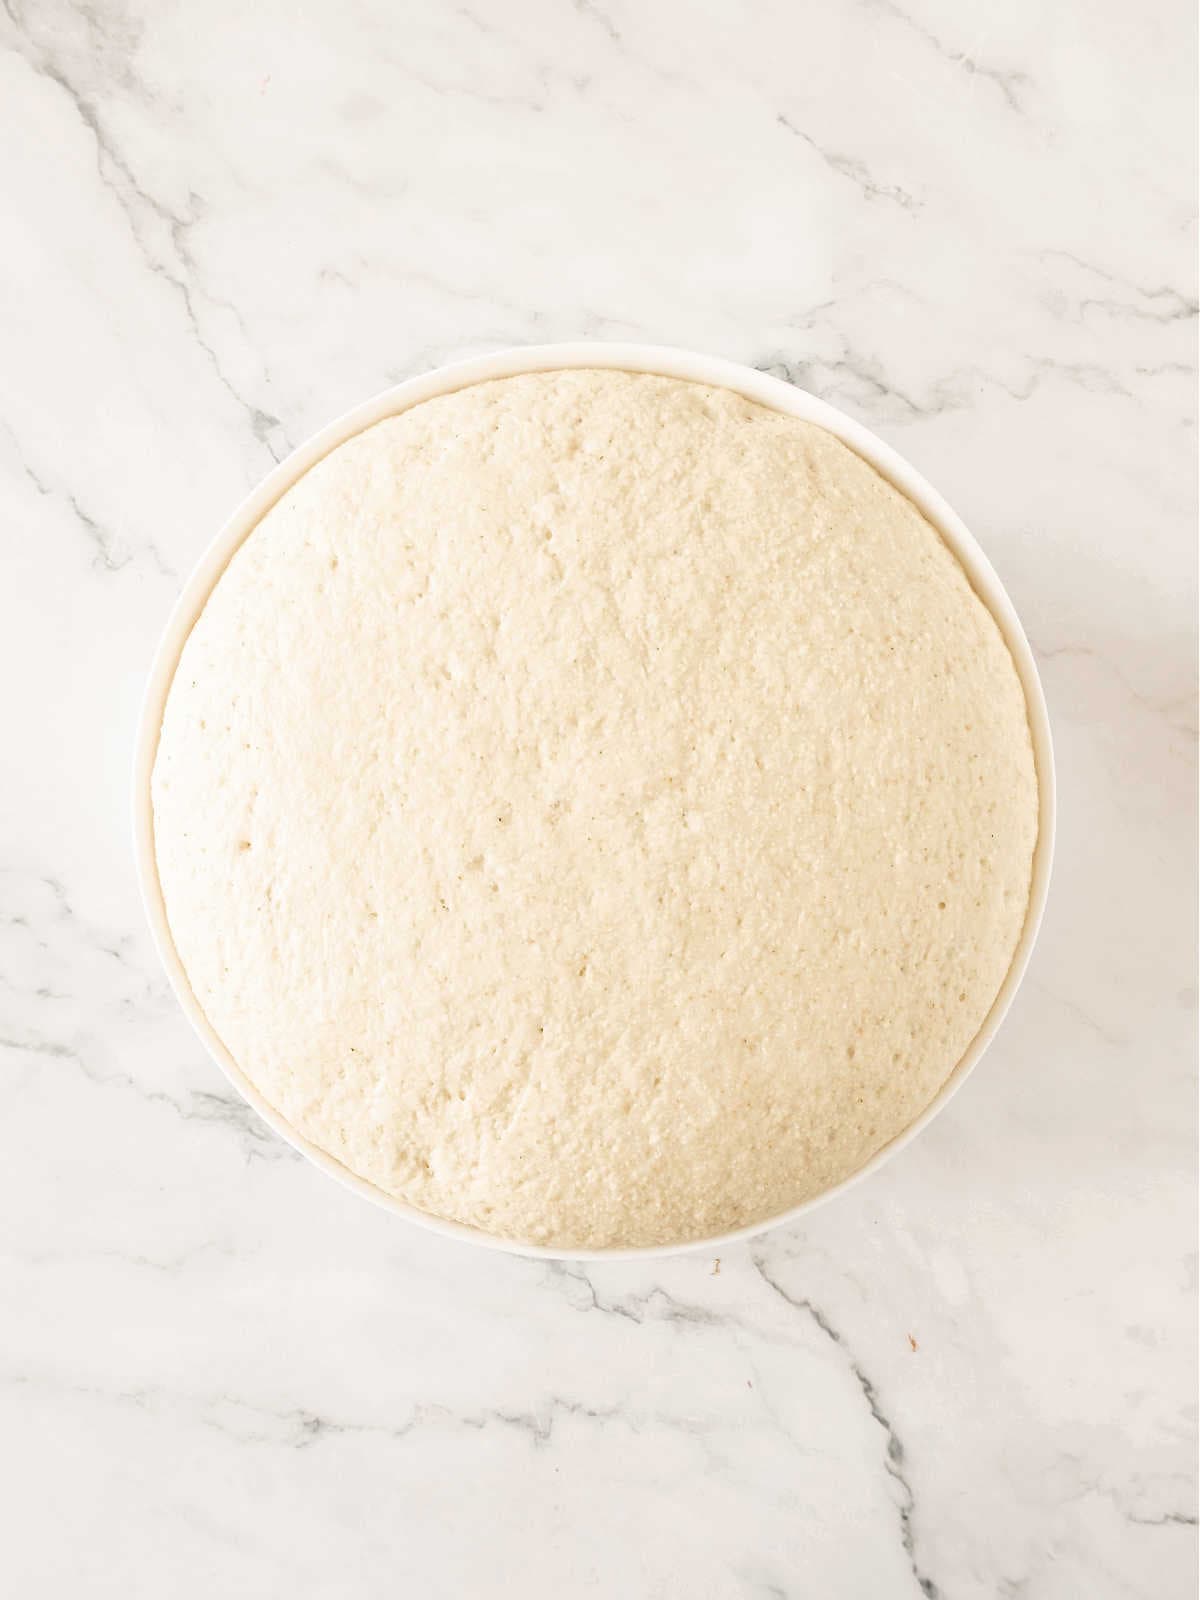
Cover the dough with a clean kitchen towel or loose plastic wrap and let rise until doubled. This is called proofing the dough.
The dough will double, and it will be noticeable.
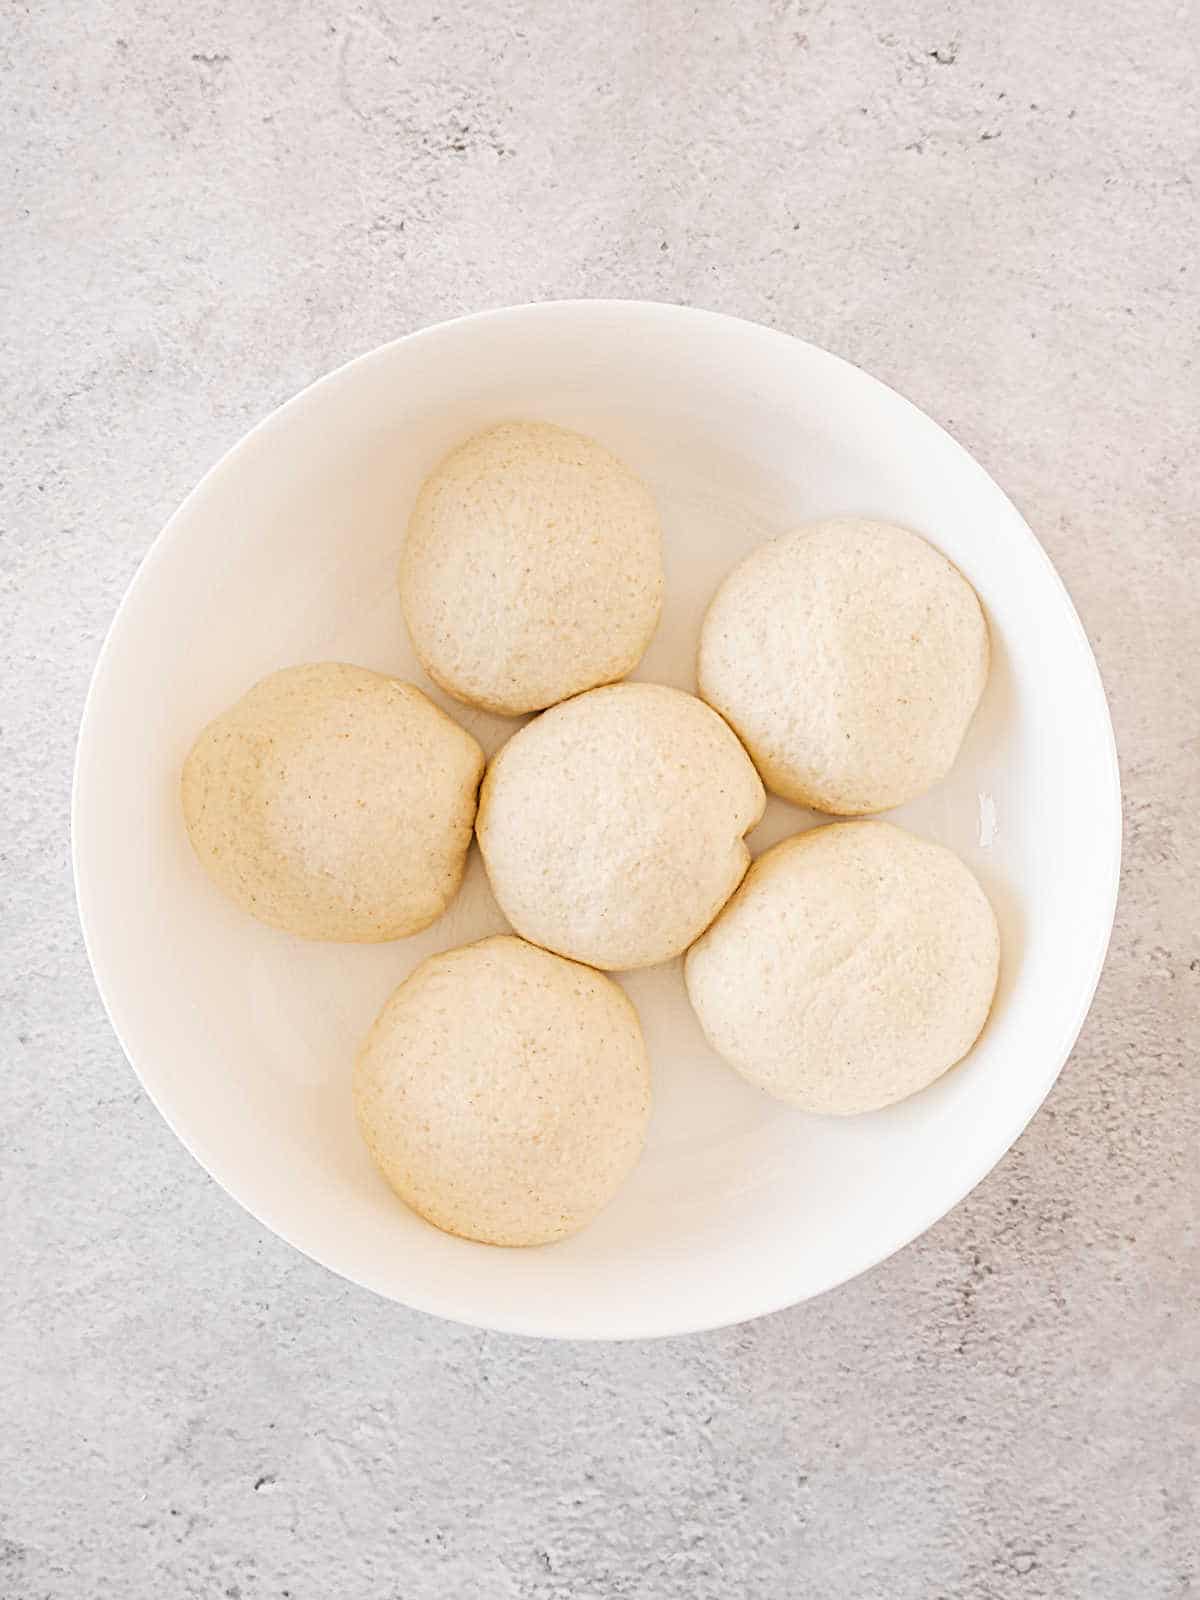
The formed rolls are placed in the baking dish and need a second rise.
I use two round ceramic dishes, but you can also use one rectangular dish that can accommodate all 12 rolls.
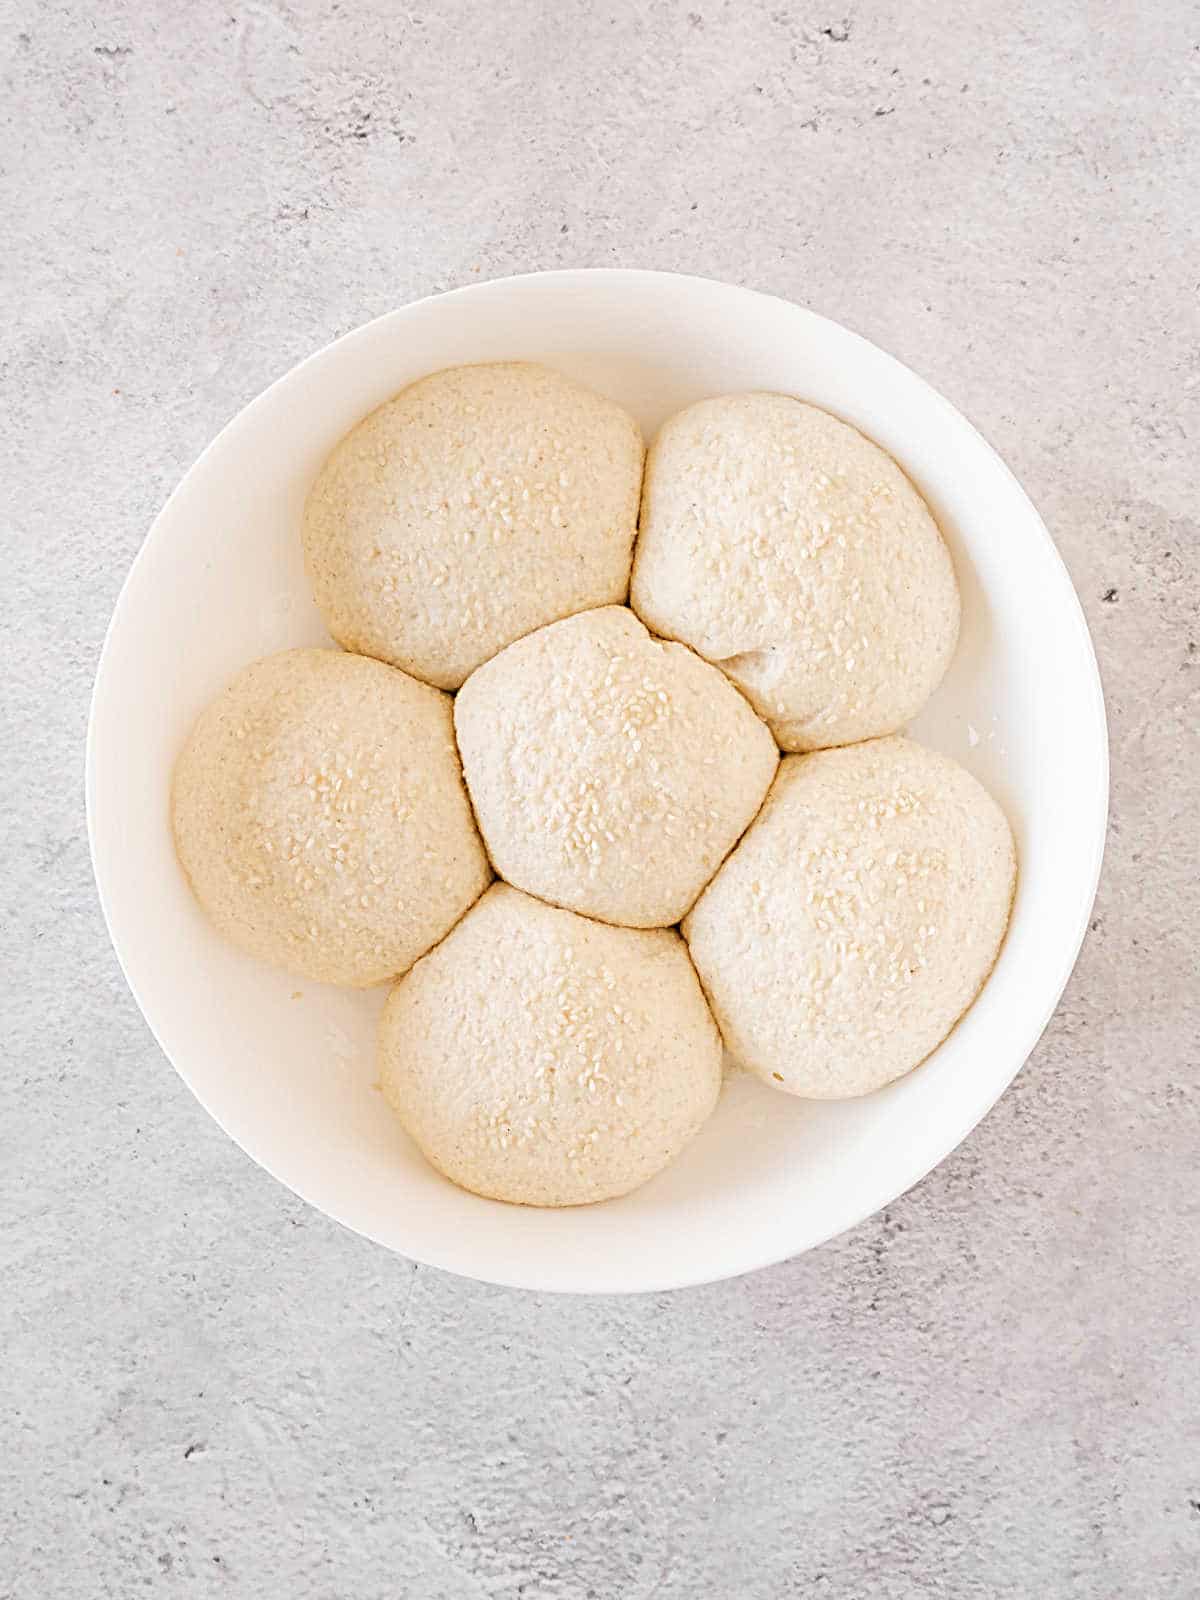
They will puff and bump into each other, and that is the signal that they're ready to be baked.
Before going into the oven, they're brushed with water and sprinkled with sesame seeds.
Kitchen Notes
- Organization: read the recipe first and ensure you have ingredients at the correct temperature, utensils and equipment needed, and enough workspace. This will make the process so much easier.
- Baking time: consider that all ovens and pans are different, even if they look similar. The baking time in my recipes is as accurate as possible, but it might take you more or less time. You can use a thermometer(like the OXO oven thermometer) to check that your oven is at the right temperature. I recommend keeping track of how your oven works and what tiny details you might need to adjust.
- Make sure the yeast is fresh and active: if it doesn't foam, you have to buy a new one. Using instant yeast might be trickier, as it's meant to be added directly to the flour and not foamed first. So check the expiration date and keep it refrigerated.
- Storage
Room temperature: transfer the cooled rolls to an airtight container, resealable plastic bag or cover with plastic wrap to avoid dryness. Be careful not to squish them. They keep for 2-3 days.
Refrigeration and freezing: either works for longer storage. Wrap or cover as explained above. They keep in the fridge for a week and in the freezer for a month.
Related recipes you might like:
Let me know in the comments below if you made this recipe and loved it and if you had issues so we can troubleshoot together. I love to hear what you think, always. Thanks for being here. It's much appreciated.
You might also consider subscribing to our FREE Baking the Best email series and our regular newsletter. Or connect via Facebook, Instagram, and Pinterest.
As an Amazon Associate, I earn from qualifying purchases. Please read my disclosure policy.
Print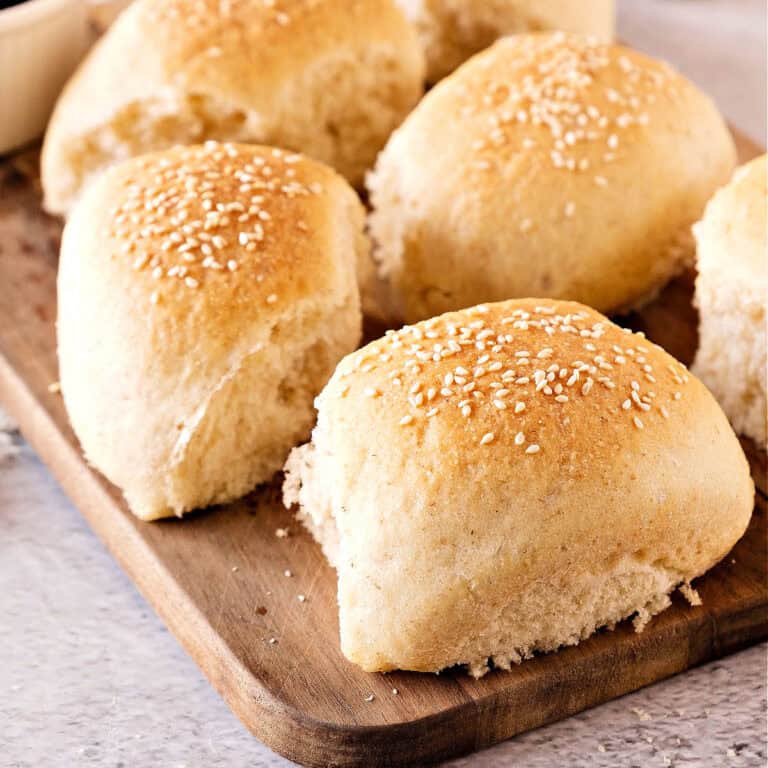
Semolina Bread Rolls
Semolina rolls require only 6 ingredients and are perfect for dinner, sandwiches, or toasted with butter and jam. They have a rustic texture with a golden crust and slight crunchiness from the sesame seeds. They keep well and can be frozen.
- Total Time: 2 hours 15 minutes
- Yield: 12 rolls
Ingredients
- 21g (¾ of an ounce) active dry or instant yeast or 28g (1oz) fresh yeast
- 2 tablespoons honey or sugar
- 2 and ⅔ cups tepid water (barely warm)
- 3 cups bread flour (approximately)
- 4 cups fine semolina flour
- 2 teaspoons (30g) salt
- White sesame seeds, to coat the rolls
Instructions
- Dissolve fresh or active dry yeast in a bowl with 1 cup water and the honey. Leave a few minutes until foaming. If using instant yeast, add directly to the sugar below with the flour, no need to make let it foam.
- In the bowl of a stand mixer (or a large bowl if making by hand) mix flour, semolina and salt.
- Make a hole in the middle and add the yeast mixture and the rest of the water. With a wooden spoon mix until you have a shaggy mass.
- If using a mixer, attach the dough hook and knead for a few minutes until the dough starts to come together.
- Adjust liquid (add water by teaspoons if the dough is too dry and won’t come together) or flour (add by tablespoons if the dough is too wet) if needed.
- Knead for 5 minutes until smooth and elastic.
- If making by hand dump the mix onto a lightly floured surface and knead by hand for 1 minute, adding teaspoons of water (if too dry) or tablespoons of flour (if too wet).
- Knead for 5 to 7 minutes, pushing and folding the dough over and over until smooth and elastic.
- Shape into a ball, cover with a clean towel or plastic wrap (it will rise faster), and let double in size for about 30 to 40 minutes, depending on how warm the kitchen is.
- Have ready a baking dish that accommodates 12 rolls, 2 smaller ones that accommodate 6 each or a baking sheet or tray that holds 12 rolls with a small space in between them.
- Gently punch the dough down to release all air inside, and knead for 1 minute.
- Cut into 12 equal pieces, shape each into a tight ball, and place in two greased round tins.
- Brush the tops with water and immediately sprinkle sesame seeds on top, making sure they adhere to the surface by pressing gently if needed.
- Cover with a clean towel and let rise until doubled again. While they’re rising, preheat the oven to 425ºF / 225ºC.
- Bake the bread for about 10 minutes, reduce the temperature to 375ºF / 190ºC and continue baking for about 15 more minutes, until golden and dry. If you tap the bottom, it should sound hollow. If it doesn’t sound hollow, you might need a few more minutes. Remove from pan onto a wire rack and let cool.
Notes
Flours:
Bread flour: it has more gluten and can be easily purchased online. King Arthur's unbleached bread flour is a popular one. If unavailable, use all-purpose flour.
Semolina flour: is durum wheat flour and adds color and texture. You can buy semolina flour for bread online.
Baking time: consider that all ovens and pans are different, even if they look similar. The baking time in my recipes is as accurate as possible, but it might take you more or less time. You can use a thermometer(like the OXO oven thermometer) to check that your oven is at the right temperature. I recommend keeping track of how your oven works and what tiny details you might need to adjust.
Make sure the yeast is fresh and active: if it doesn't foam, you have to buy a new one. Using instant yeast might be trickier, as it's meant to be added directly to the flour and not foamed first. So check the expiration date and keep it refrigerated.
- Prep Time: 20 minutes
- Rising times: 90 minutes
- Cook Time: 25 minutes
- Category: Bread
- Method: Baking
- Cuisine: International


Thank you for leaving a review for this recipe