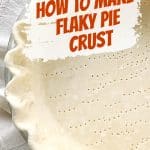
We all need a trustworthy recipe for an old-fashioned pie crust, the flaky type that can be used during the holiday season and for Summer fruit pies. This basic recipe can be made in the food processor or by hand. It uses few ingredients with shortening for flakiness and butter for flavor. It can be made ahead and frozen.
SAVE THIS RECIPE
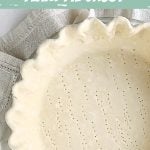
Classic pie crust
As much as I love my all-butter shortcrust pastry, sometimes you want to make an old-fashioned pie, which calls for our trusted recipe with shortening in addition to butter. This is my go-to recipe.
I must admit that there's probably nothing like shortening to achieve that flakiness that almost resembles puff pastry.
However, in a recipe that is easy to make, we can take shortcuts like using the food processor.
Step-by-step VIDEO
Ingredient list
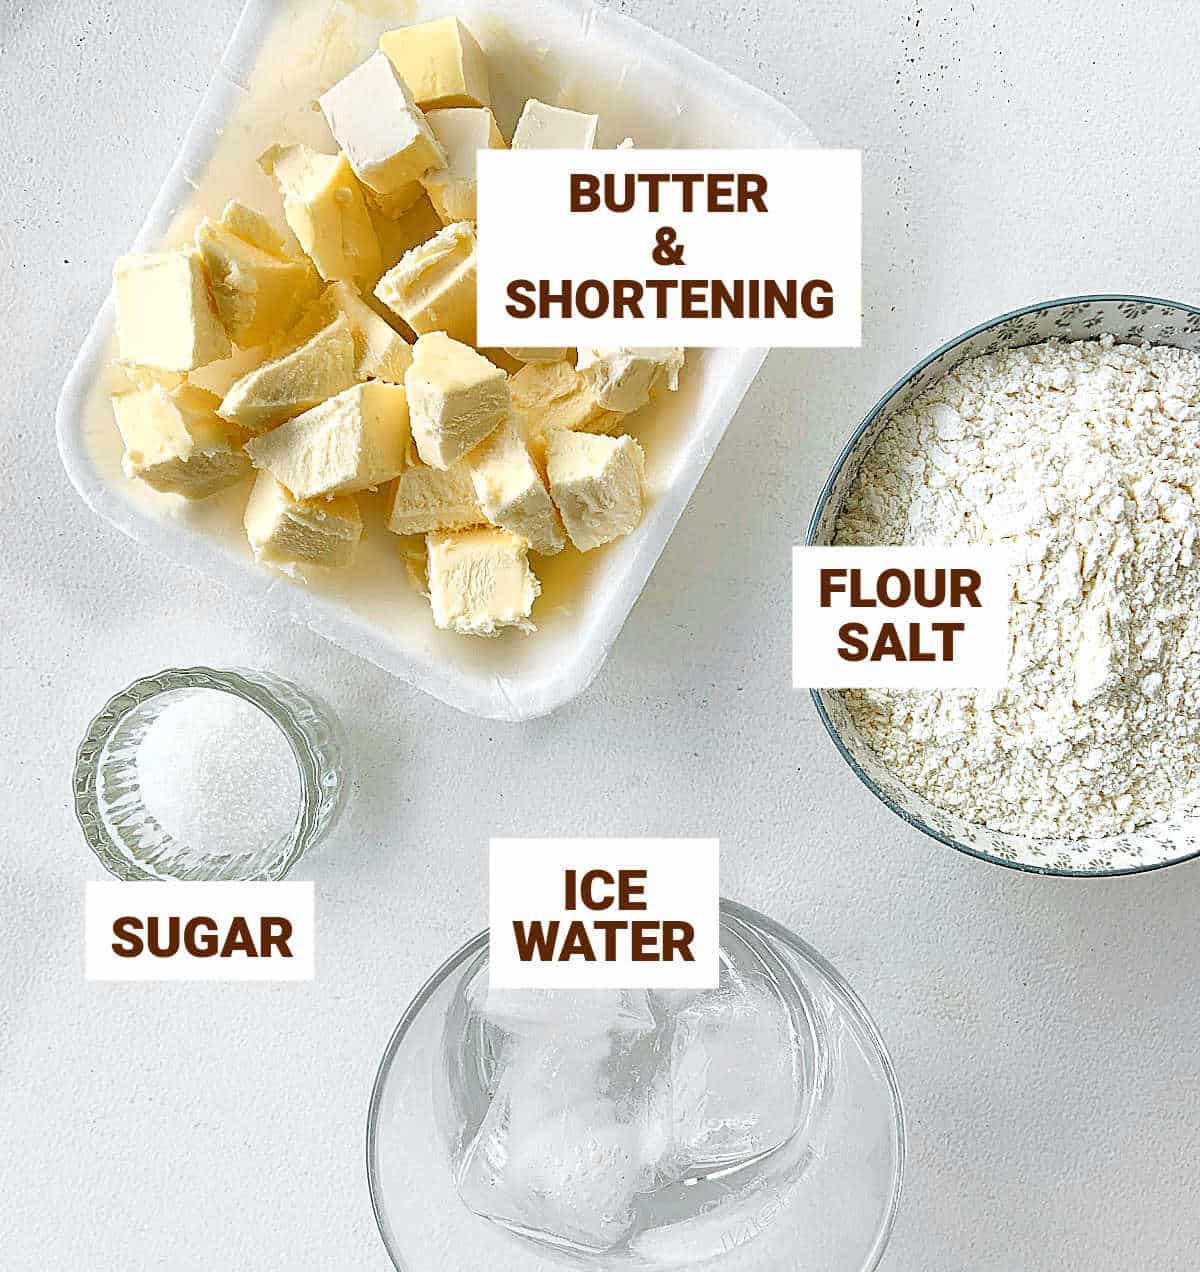
- Butter: it gives the pie crust flavor and is less greasy than shortening. Use unsalted, and make sure it's cold.
- Shortening: it gives the pie dough unmistakable flakiness. Use it cold.
- Sugar: it's a small amount but good if you're using it for a sweet pie recipe.
- All-purpose flour.
- Water: the water must be very cold, so use ice water. The colder the ingredients, the better the result.
- Salt.
Quantities are listed in the recipe card towards the end of this post. The Ingredients page has more details and lists the brands we use.
Steps to make pie crust
As with the other pie crust recipes in this blog (basic pie crust and Italian pie dough) the mixing method is pretty similar.
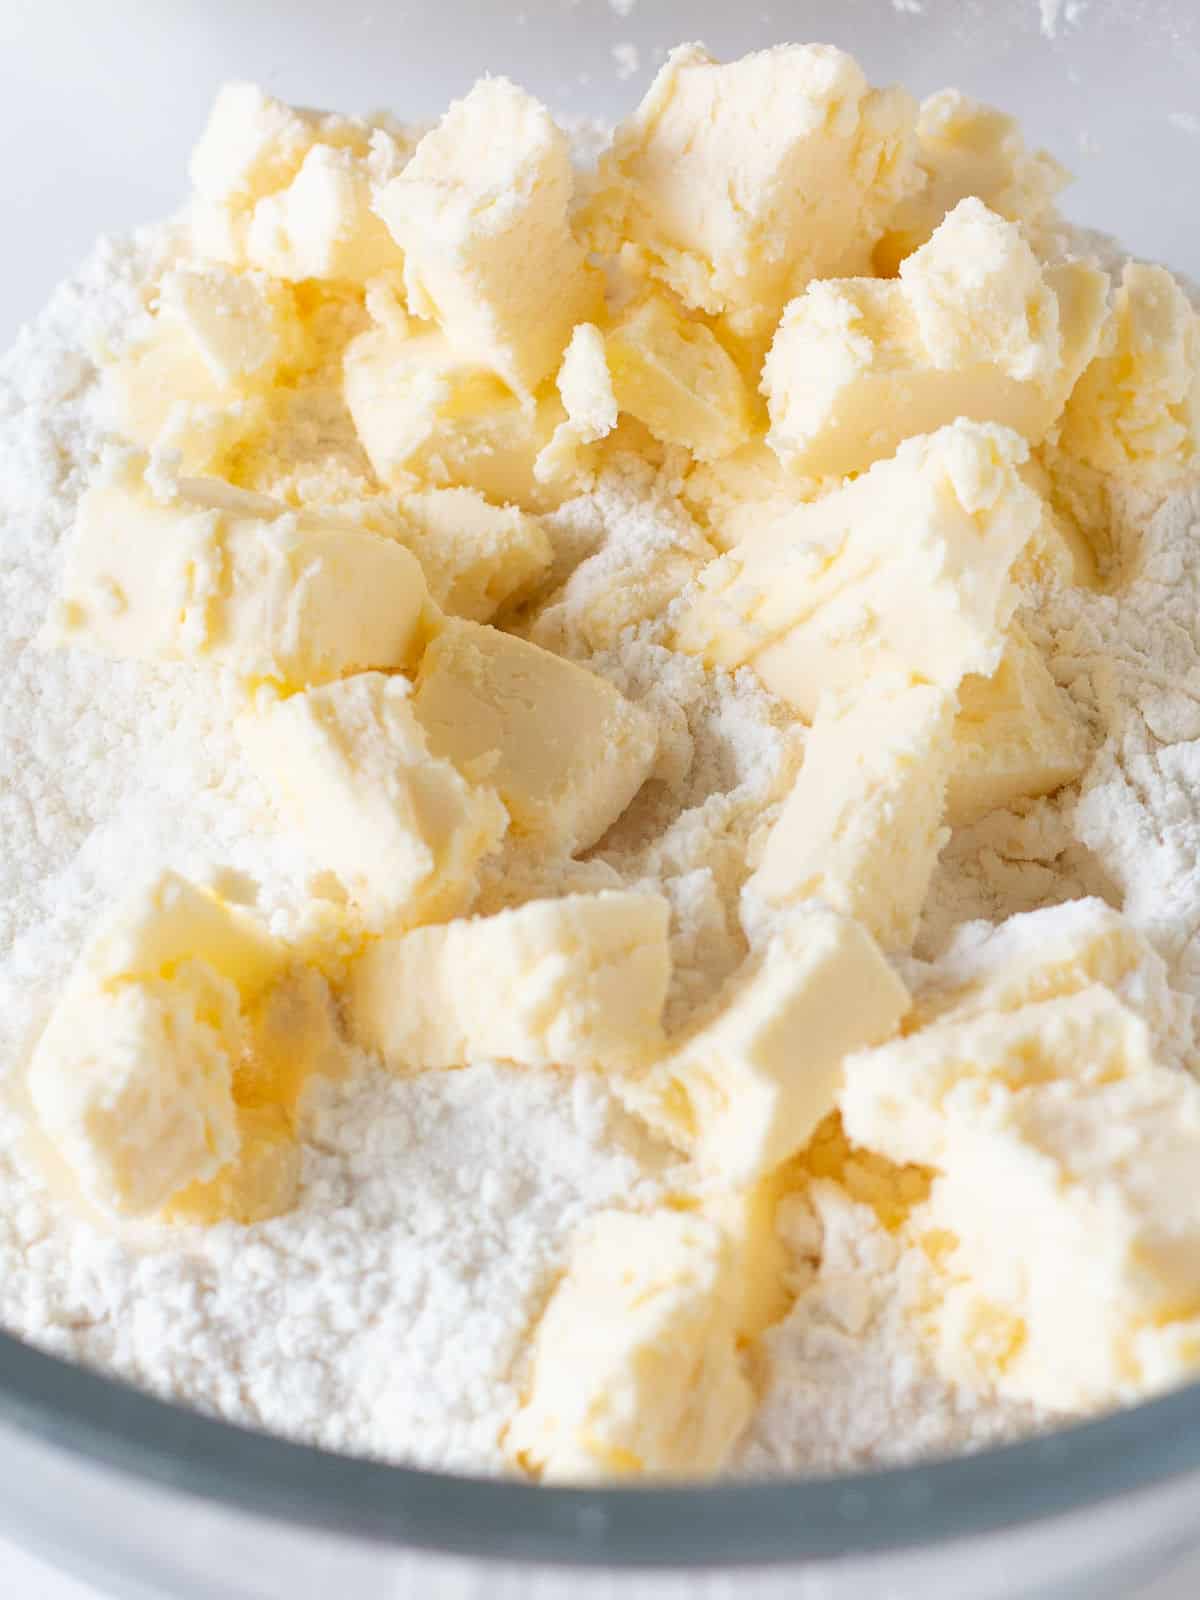
- Combine dry ingredients in a large bowl and add the cold butter pieces.
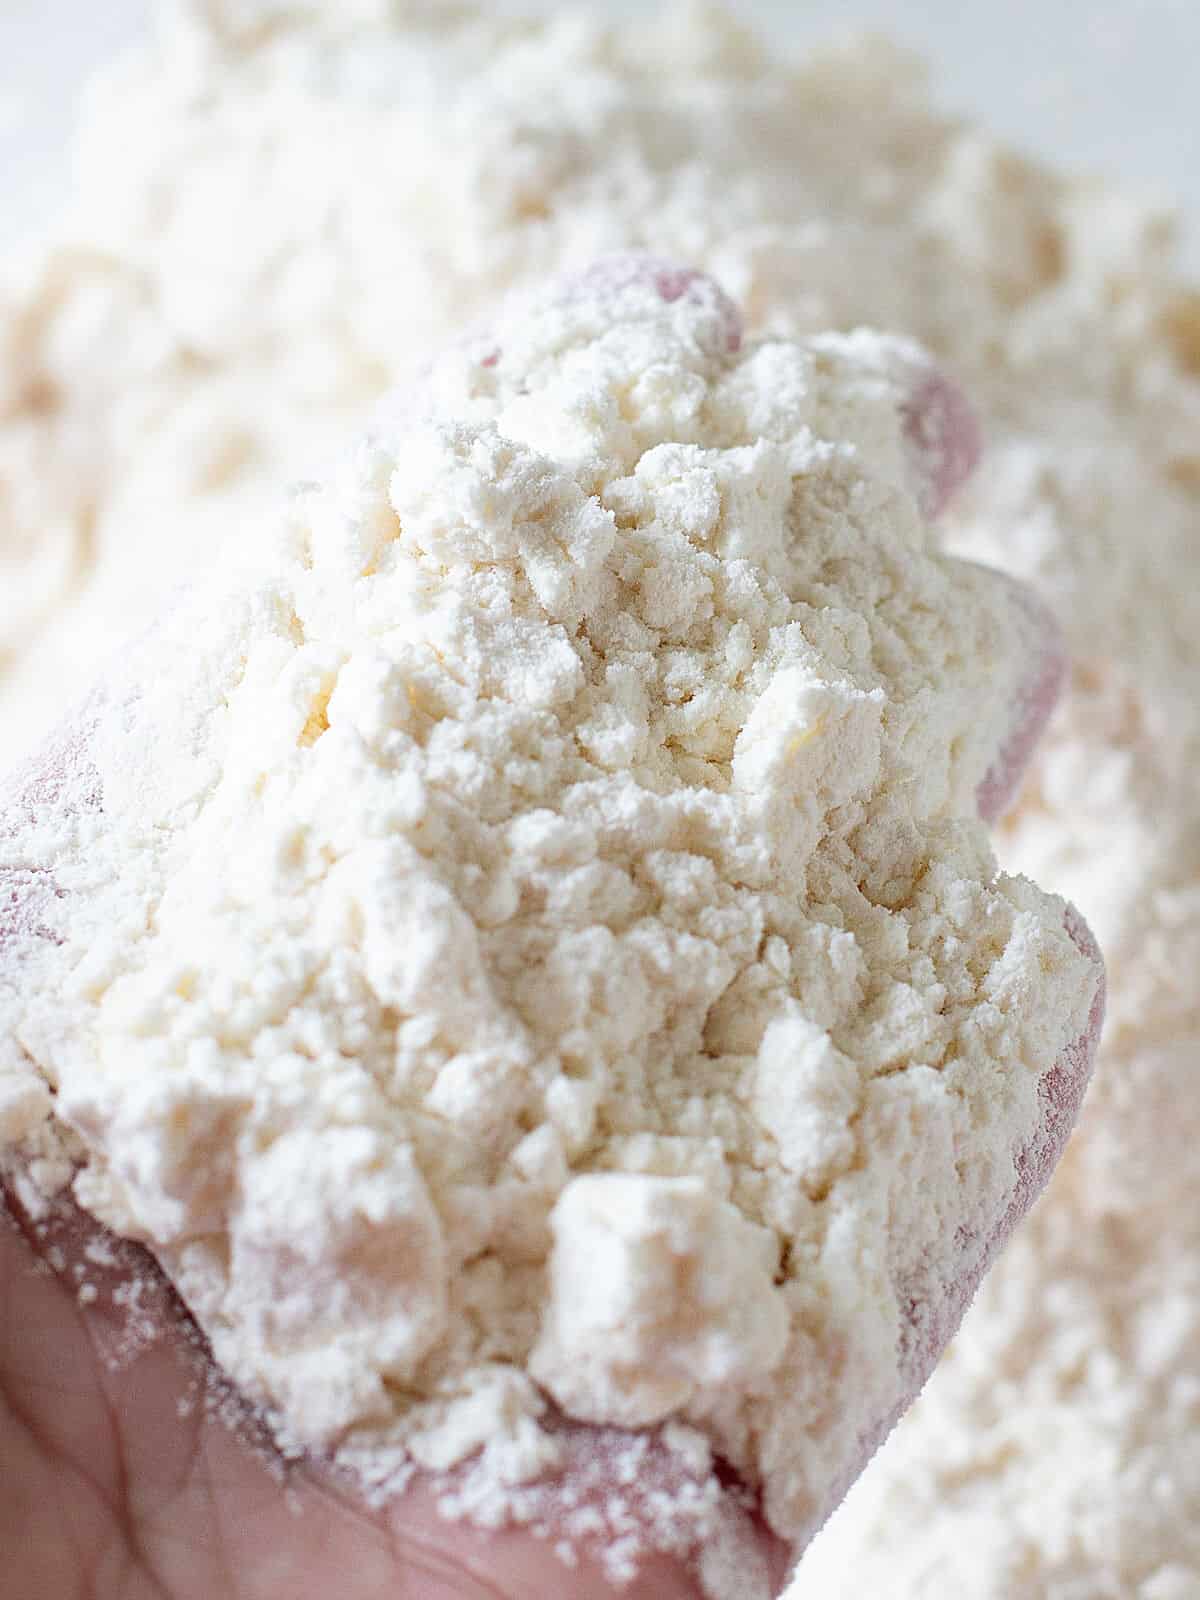
- Work the butter into the flour with your hands or a pastry cutter until it's the size of peas and beans. It should be irregular.
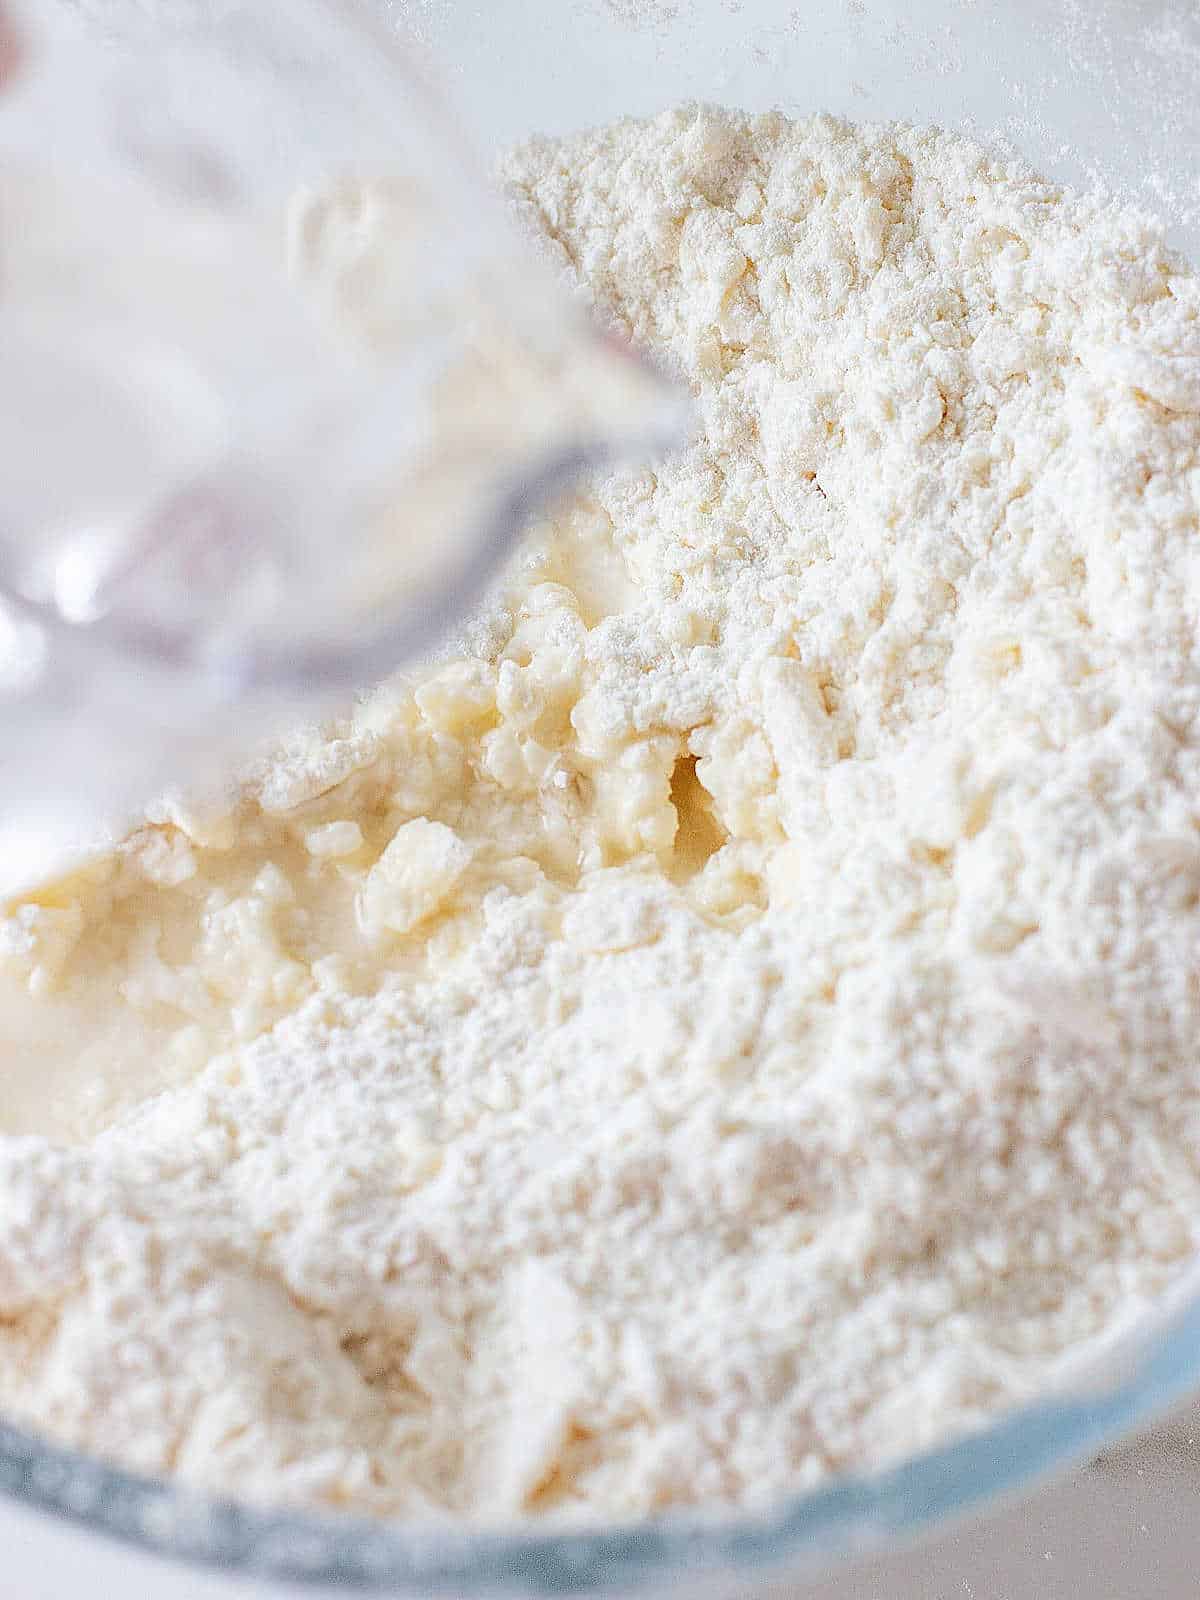
- Add ice water, a little at a time, and stir with a fork. The mixture will be crumbly at first until the flour is moistened.
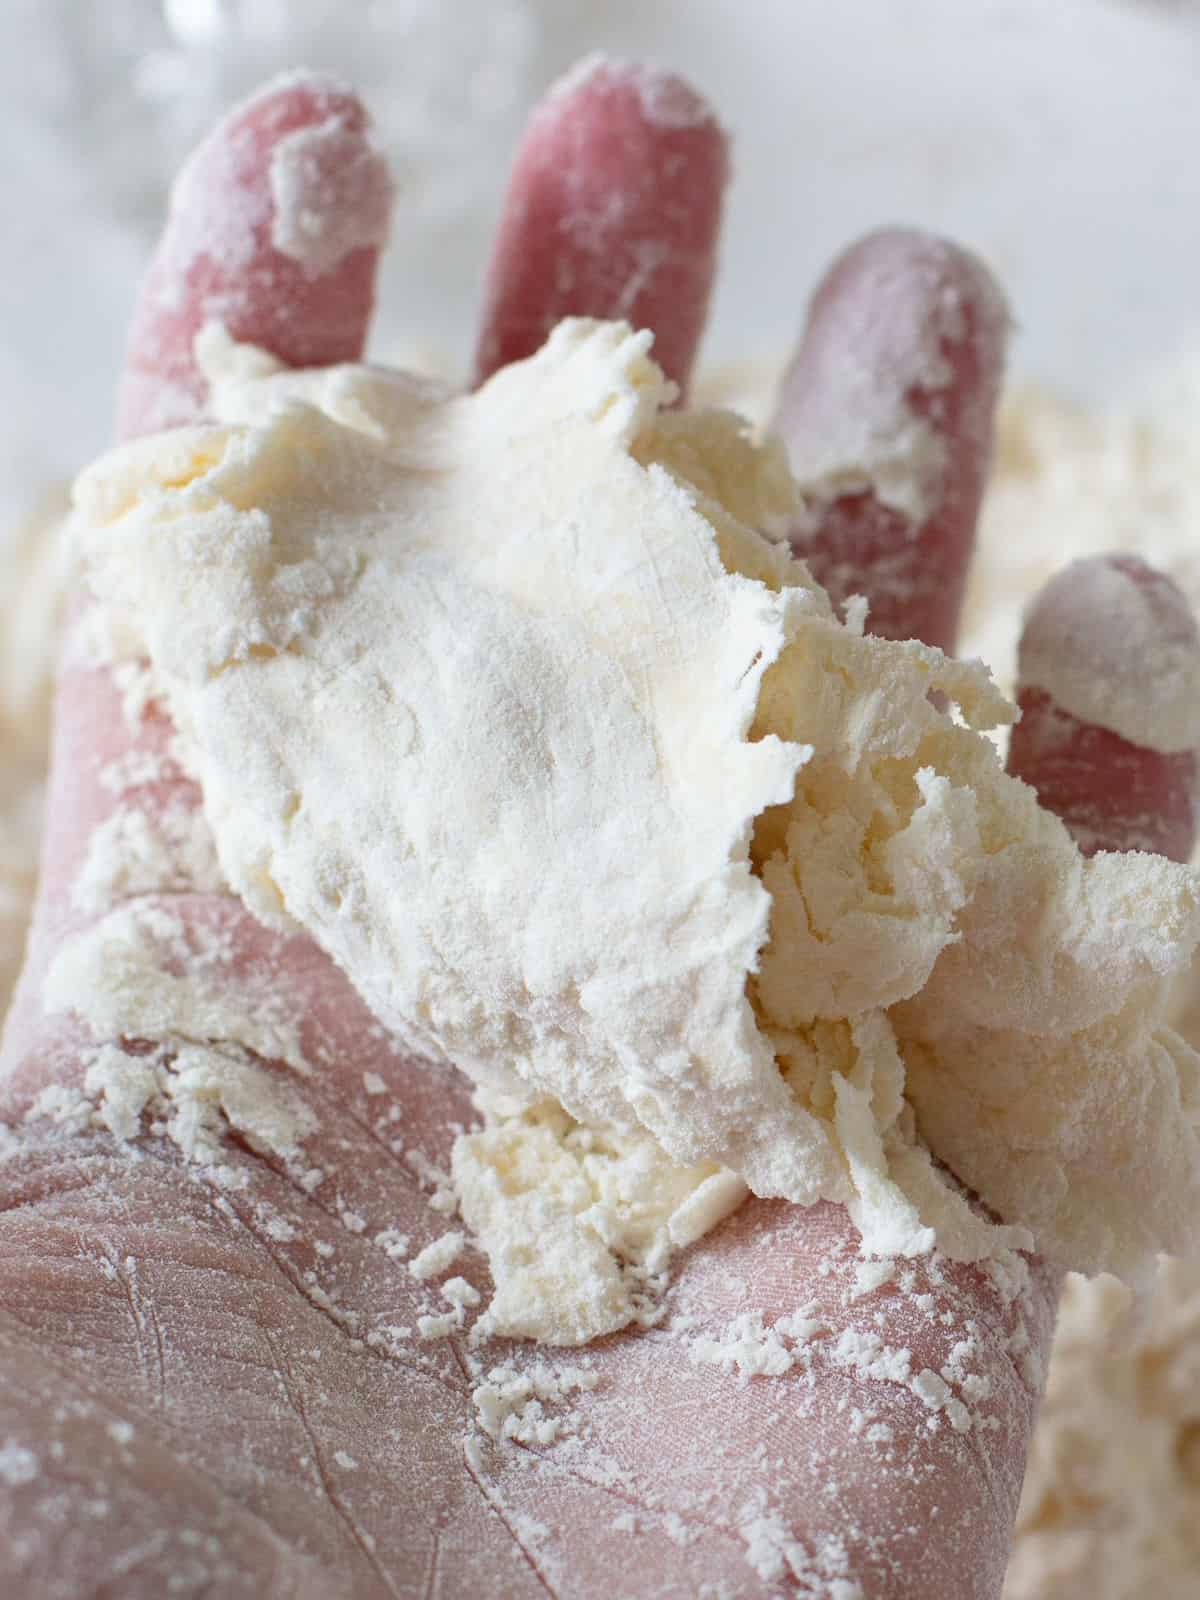
- Grab a piece of dough and squeeze it. It needs more water if it's dry and flaky and doesn't come together.

- It should come together when you squeeze it. Until you get to that point, add a teaspoon of water at a time.
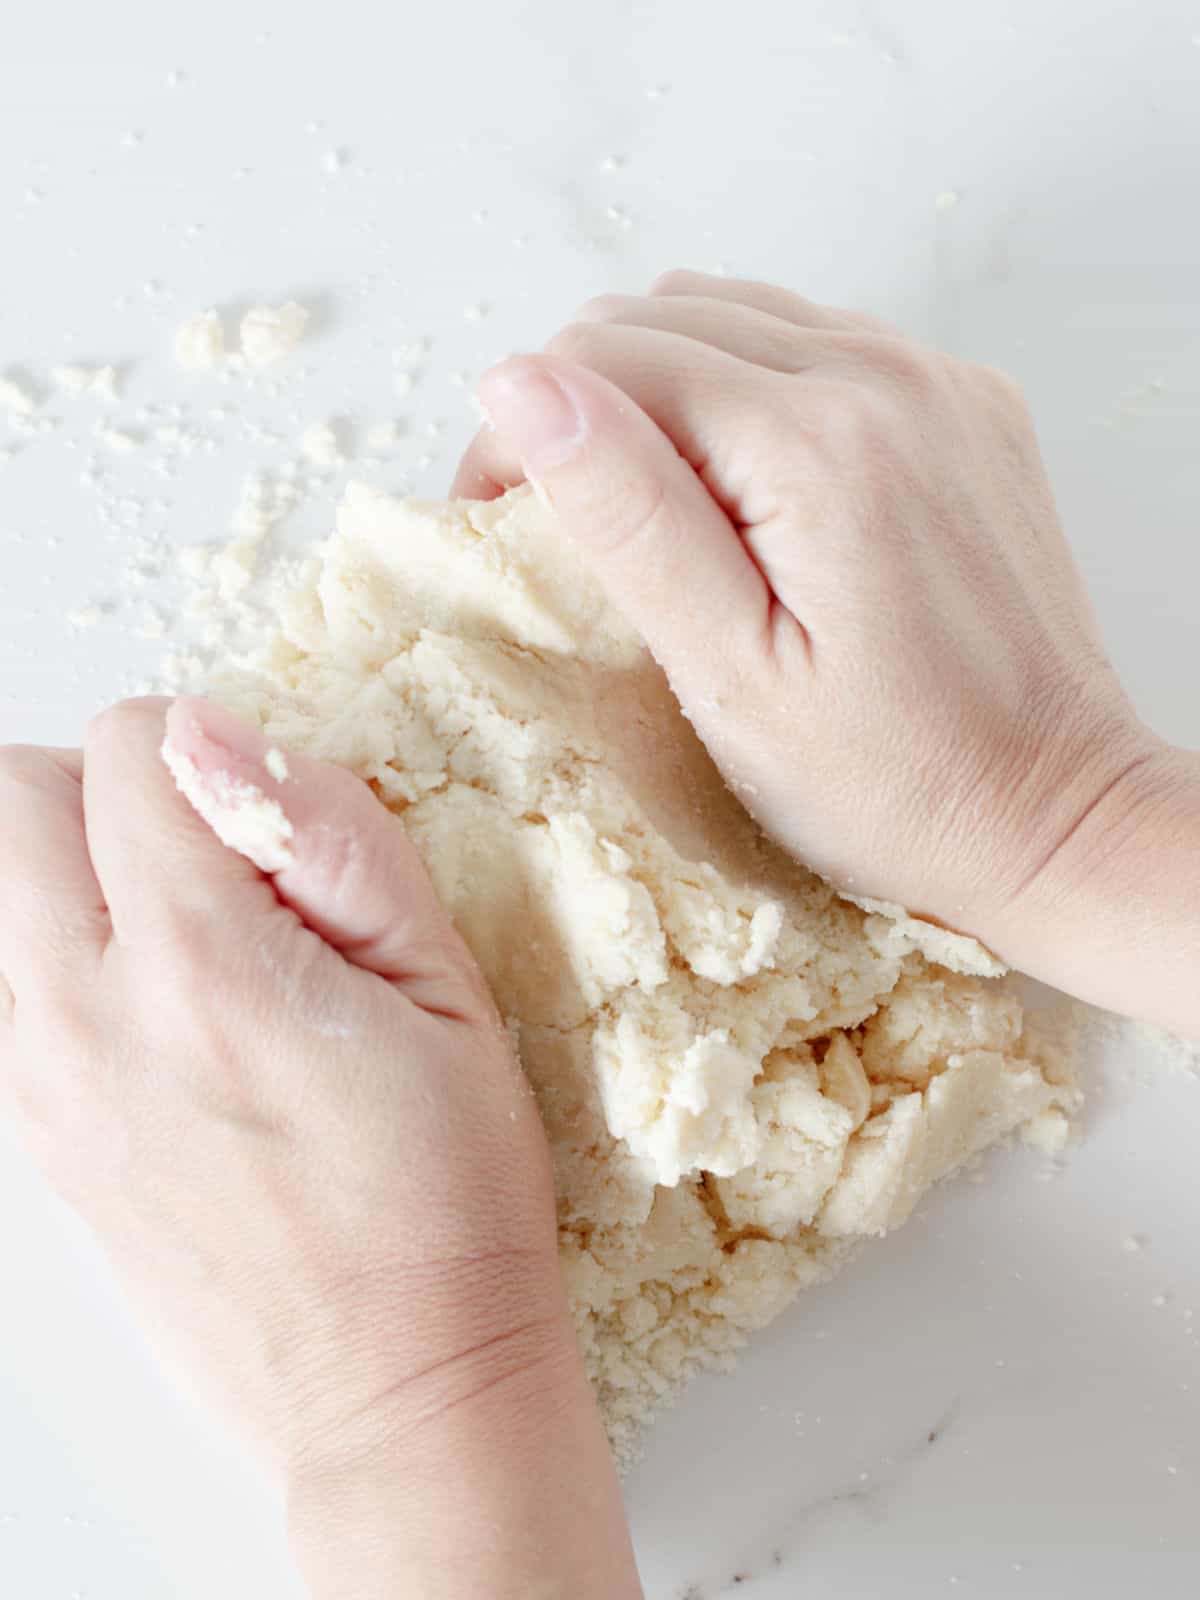
- Transfer the shaggy mass to a clean counter and work it with both hands until it comes together. Fold it onto itself and try not to overwork it. Don't knead it as you would bread.
Vintage Kitchen Tip
Water and butter must be very cold for best results. Don't overwork the dough, as it will toughen it. If not sure, err on the side of moister rather than drier. You can add more flour when it's rolled by flouring the surface.
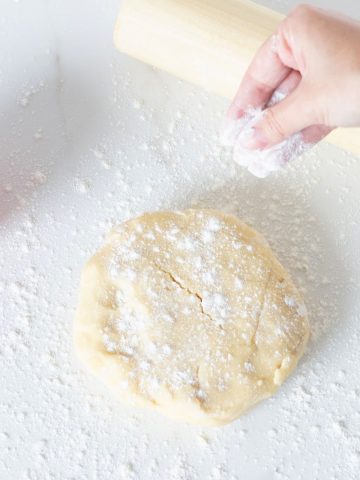
Resting the dough
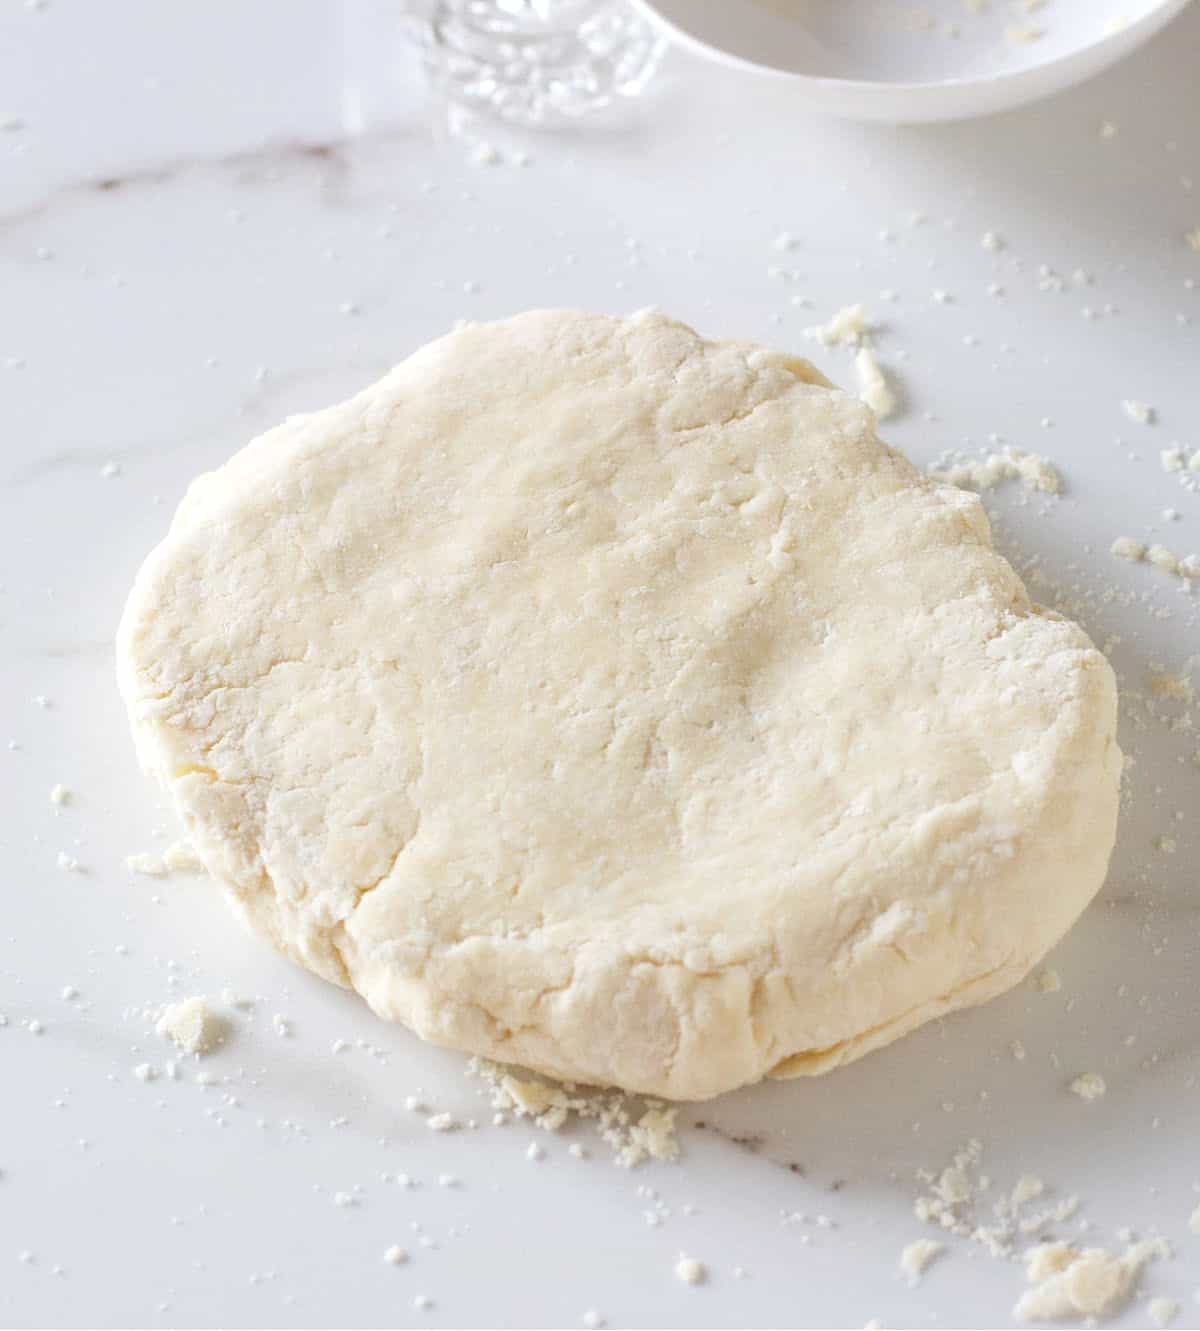
Make a flat disc. The dough must not crumble apart. If it doesn't come together, it needs more liquid.
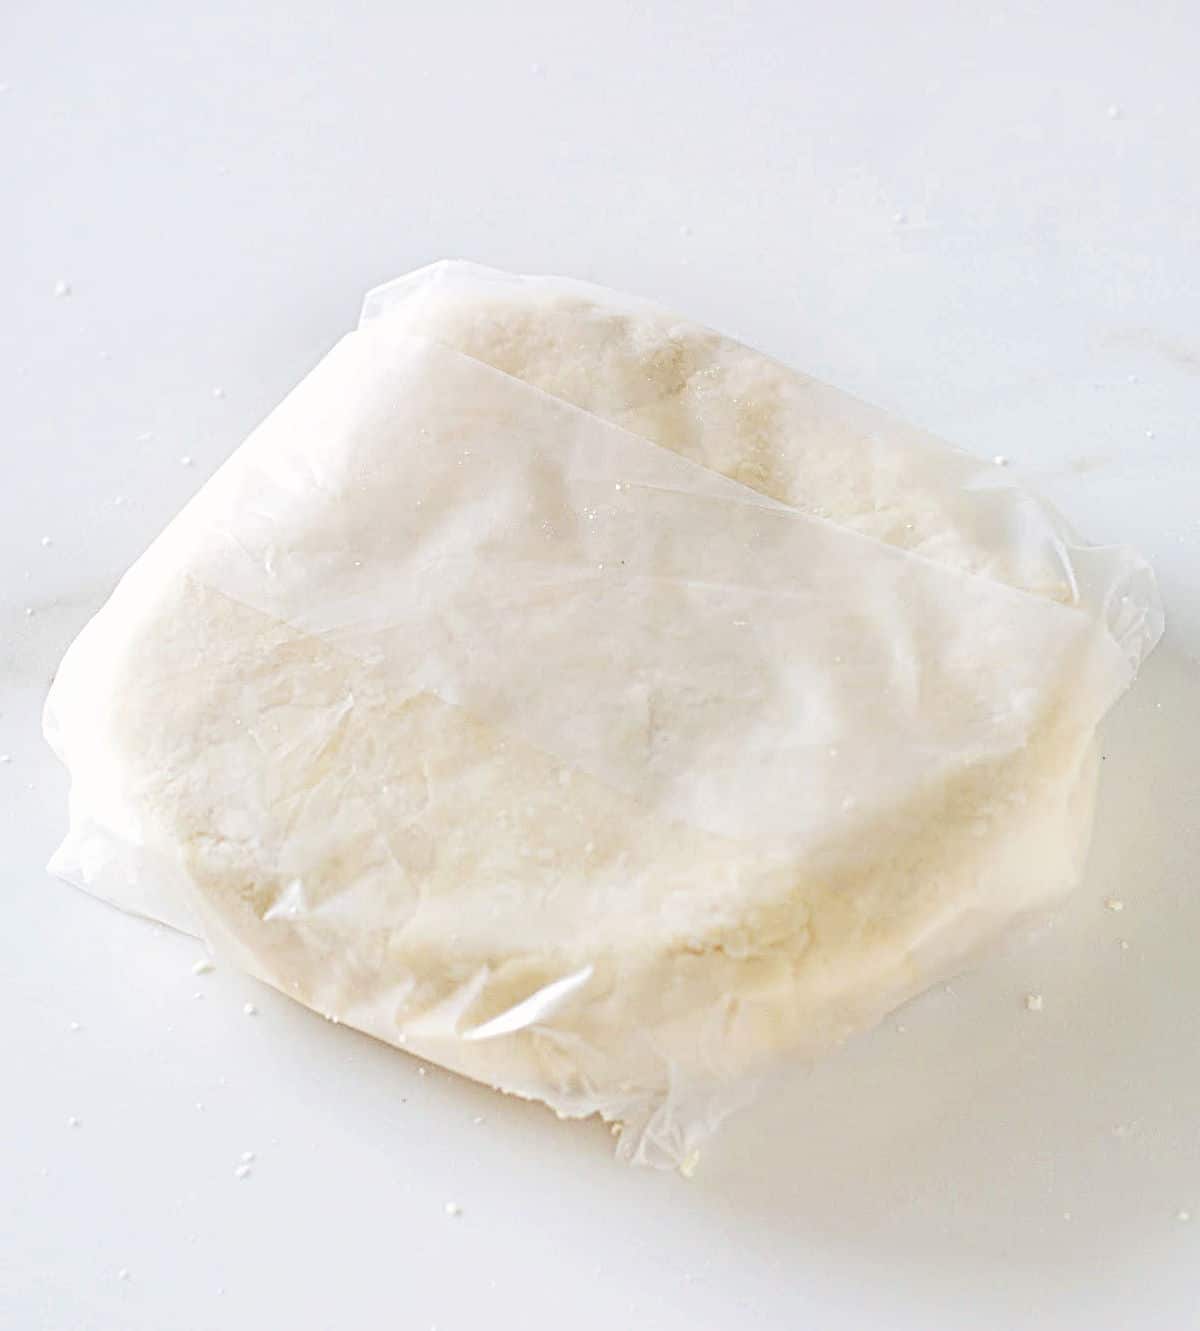
Wrap it in plastic and refrigerate for at least 1 hour (and up to 3 days) before rolling. Or freeze it for a month (double-wrapped to prevent dryness).
Rolling the dough
If you organize the space, this is an easy step.
The video in this post shows how to roll the pie crust and line a pan, which can be made by crimping the edges or using the rolling pin, as shown in the video. It depends a lot on the type of pie you're making.
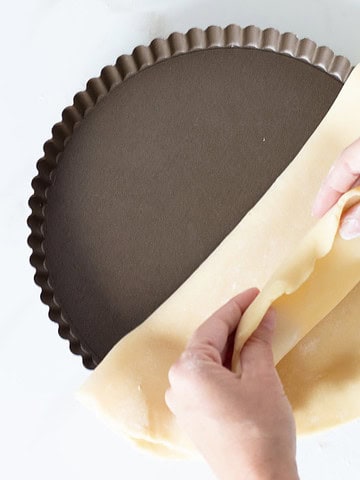
Lining the pan
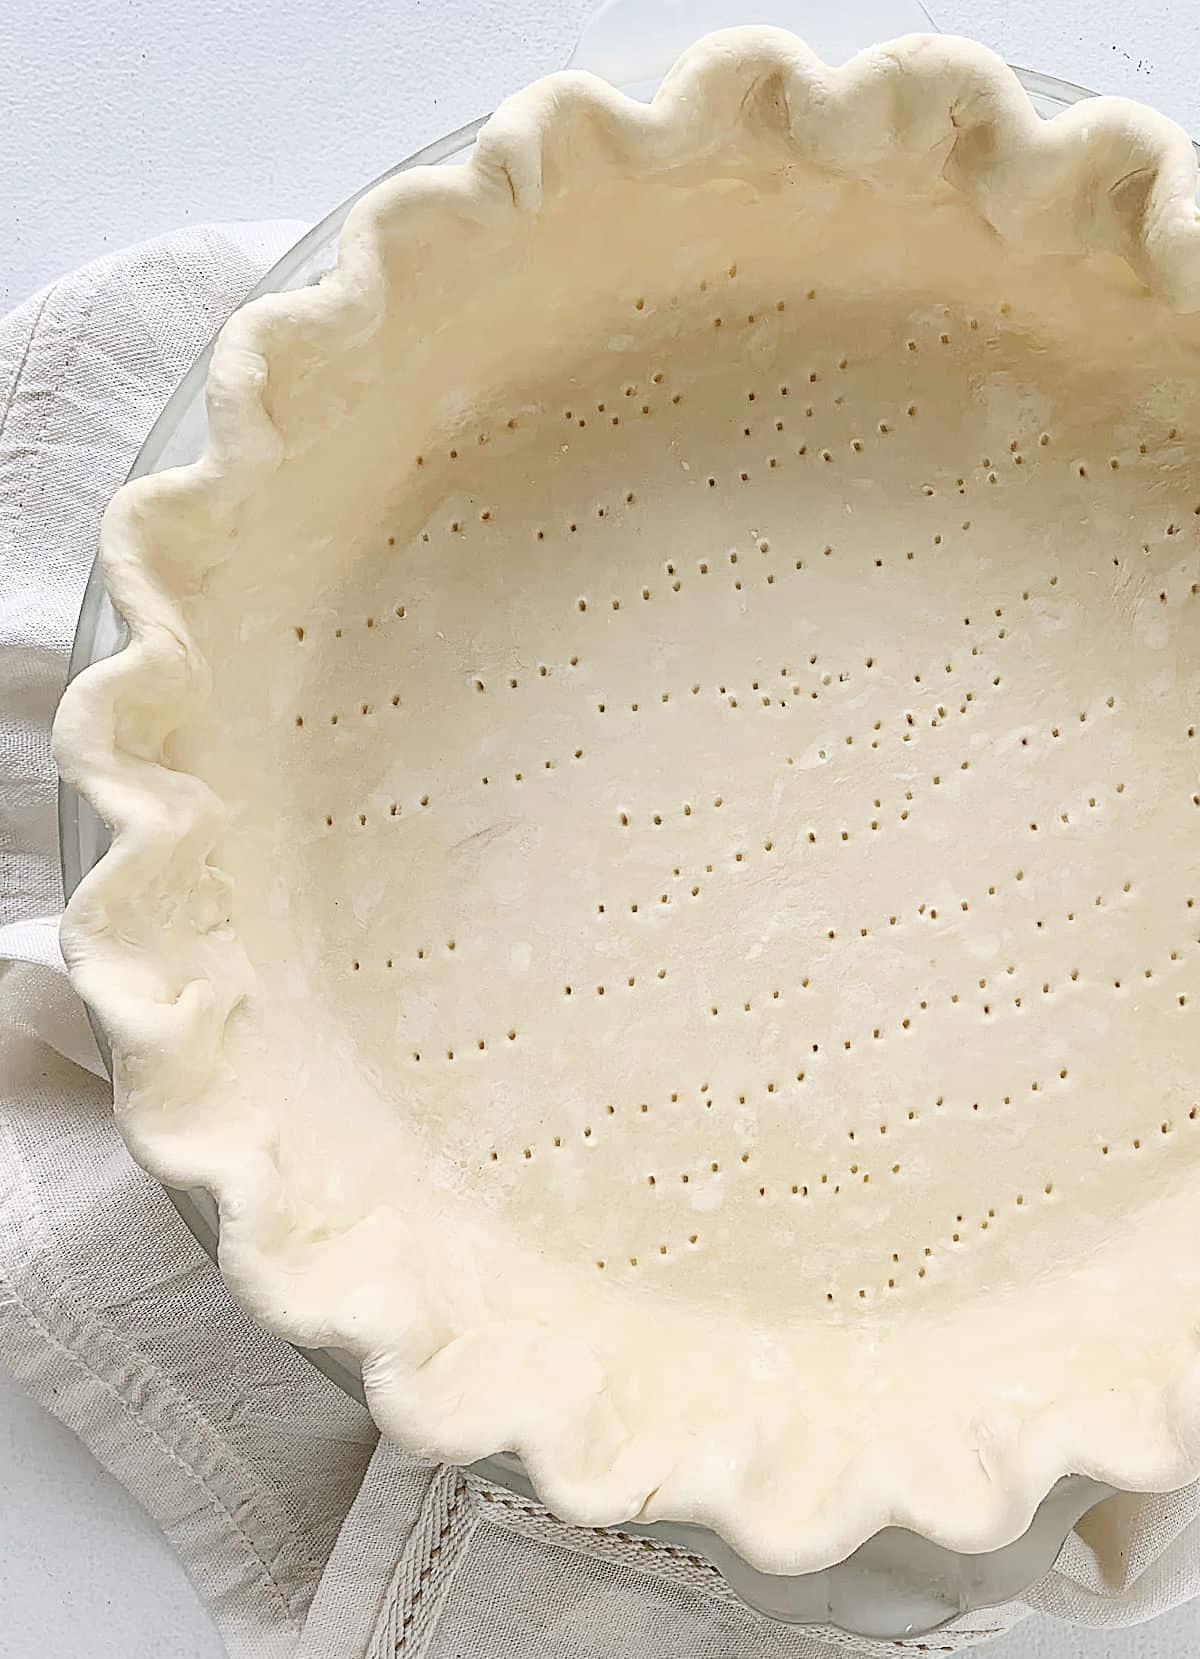
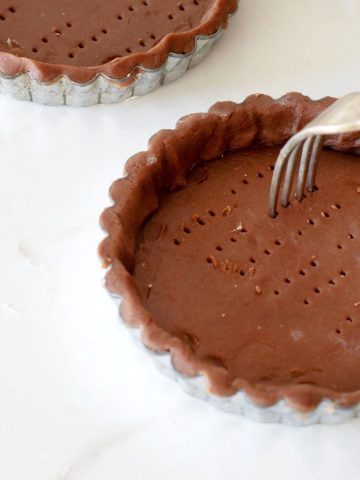
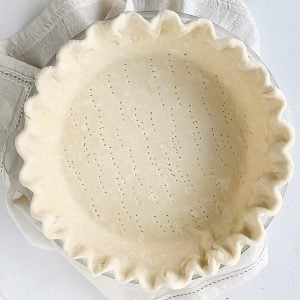
After rolling the dough, you must line the pie dish and then crimp and prick it.
As you can see, it covers the plate perfectly and makes it easier to continue with fitting and crimping the edges.
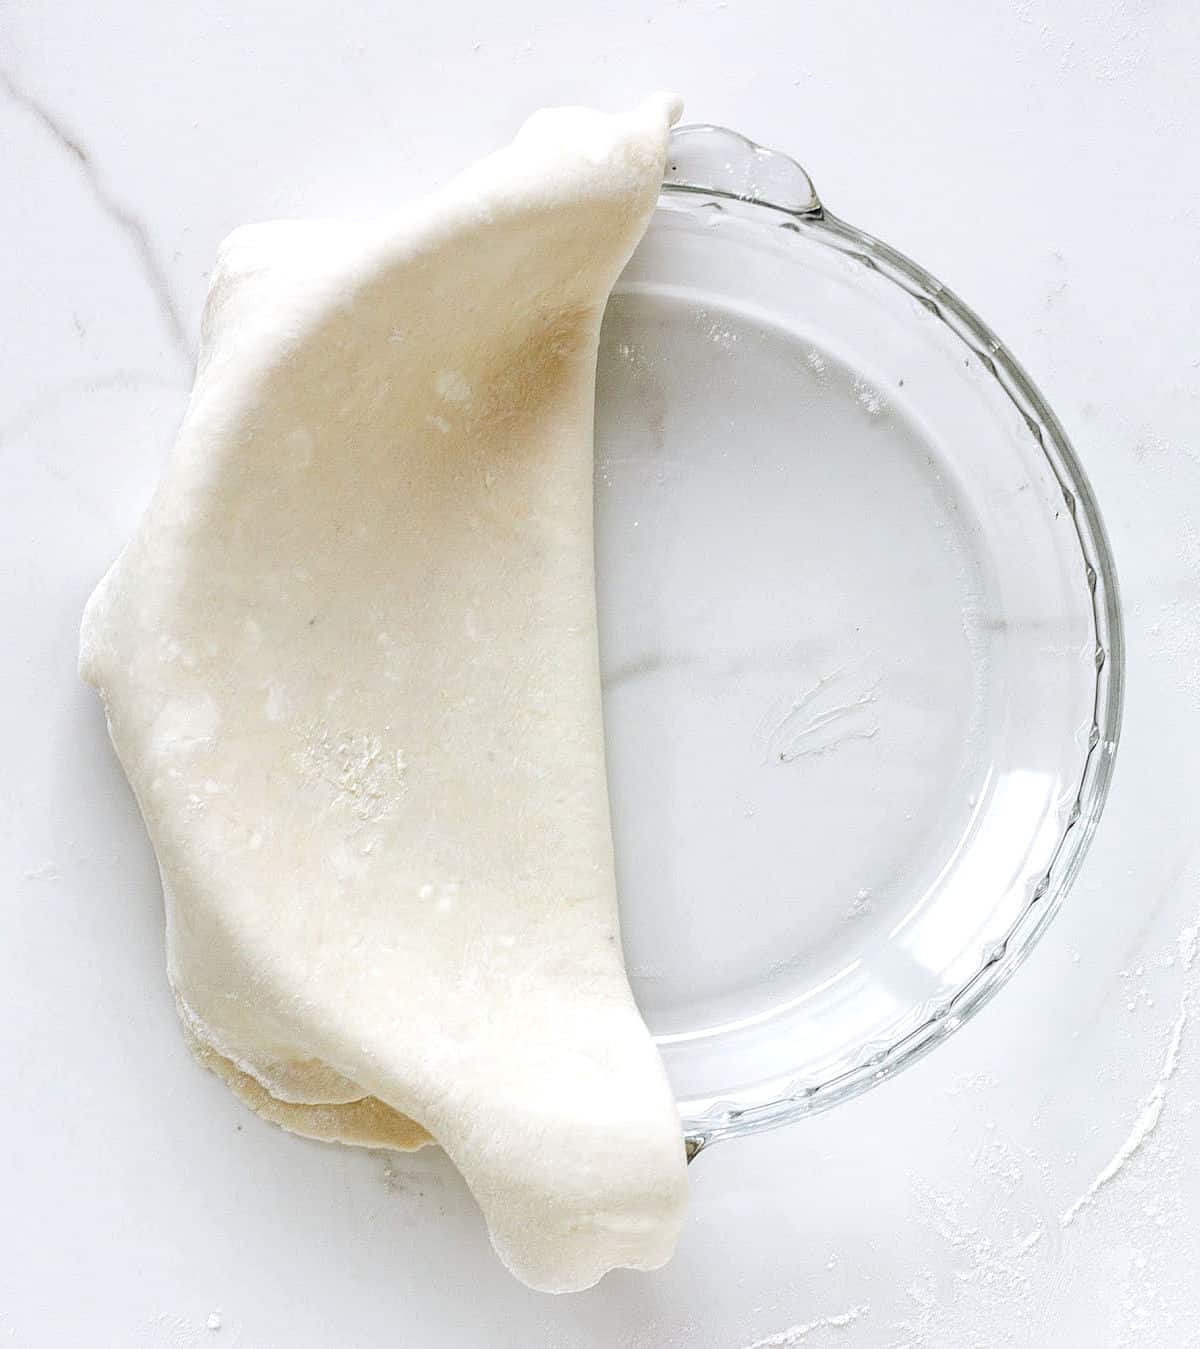
Fold the dough in half, and place it in the middle of the pie plate.
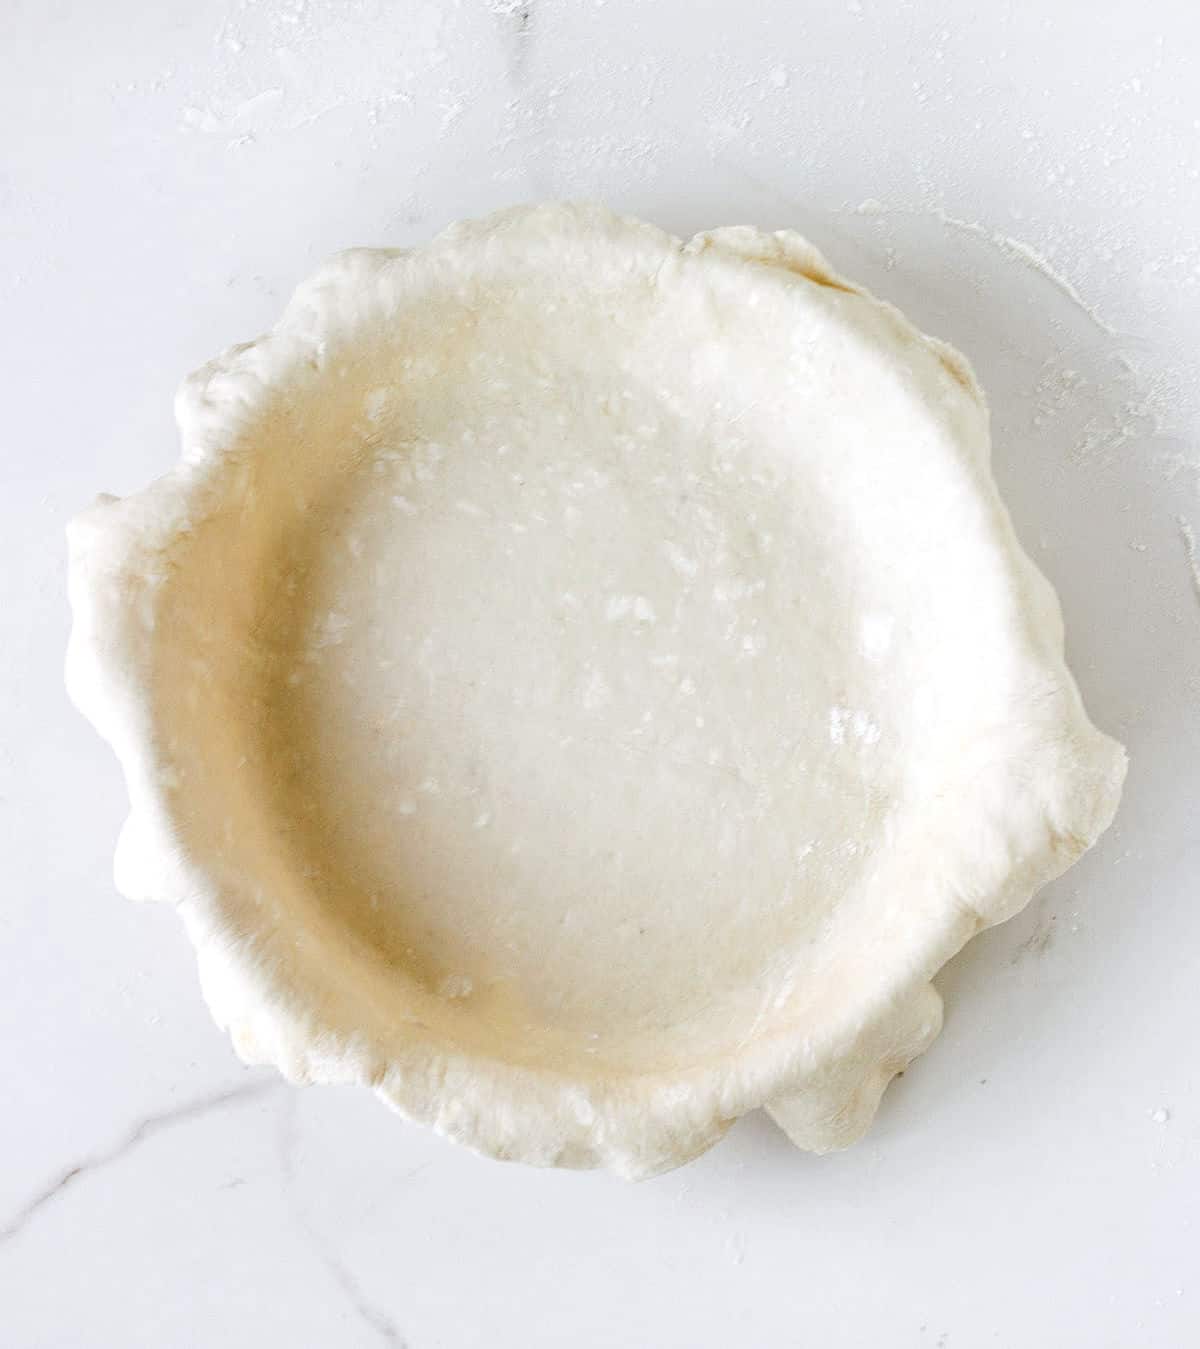
Unfold it to cover the pan and gently lift the edges as you press it down (without stretching) so it takes the form of the dish.
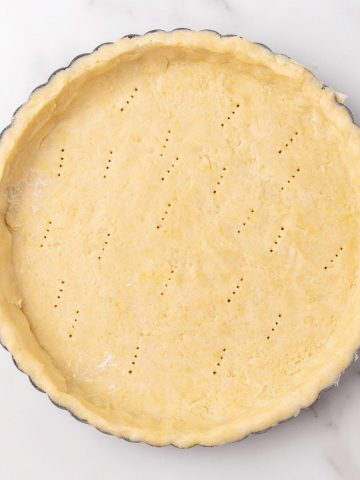
Baking a pie crust
Blind baking
Blind baking is pre-baking the dough with weight on top. It is called blind because the raw pie dough is completely covered with paper (aluminum foil or parchment paper).
Why is this step recommended?
- To prevent a soggy crust: some fillings tend to seep into the unbaked dough while baking, so this step ensures that the dough develops a dry layer before the tart is filled and is not soggy after it is baked.
- To keep the shape: if left to chance without refrigerating, pricking, and blind baking, the pie dough will puff and shrink as it bakes. We don't want that. We want it to keep its shape and have enough space for the filling.
Steps for blind baking pie dough
Preheat the oven to 350°F and remove the lined pan from the refrigerator or freezer (always my first choice).
- Cut a piece of aluminum or parchment paper larger than the tart pan. Cover the cold dough with it, adjusting it so that it takes the shape of the dough. You can also use parchment paper, but it's usually coarser and more challenging to cover the dough well.
- Add weight. I use round ceramic pie weights that you can buy online, but raw grains and legumes can be used, such as beans, lentils, rice, or even flour. Simply fill the aluminum paper with flour or rice or whatever you're using until you have added a layer of weight that will be enough to keep the paper down during baking.
- Bake for 15 minutes. It might be a few minutes more or less, depending on the type of pie crust, but the idea is to let the dough bake and dry out enough so that we can lift the aluminum paper without having bits of raw dough attached to it. The paper should lift easily, and the dough below should be half-baked and slightly wet.
- Bake it for 5 more minutes. Just until it loses its shine and is dry. Don't let it bake fully unless you're using a no-bake filling.

Kitchen notes
- Organization: read the recipe first and ensure you have ingredients at the correct temperature, equipment, and enough workspace. This will make the process so much easier.
- Baking time: keep in mind that all ovens and pans are different, even if they look the same or very similar. The baking time in my recipes is as accurate as possible, but it might take you more or less time. You can use a thermometer (like the OXO oven thermometer) to check that your oven is at the right temperature. I recommend tracking how your oven works and what tiny details you need to adjust.
- Cold ingredients: I can't stress enough how important this is. Temperature is a deal-breaker when it comes to making flaky yet tender doughs. I dice the butter and shortening and put them in the freezer for 5-10 minutes before making this recipe. And make sure you have ice water (if you don't have ice cubes put the water in the freezer before starting).
- Don't overwork it: this is another crucial tip. When you touch the mixture too much, the butter and shortening start to melt and mix into the flour, which is not what we want. We want to coat the butter with flour. A food processor is good for mixing those ingredients because you don't touch them much. So is a pastry cutter if making it in a bowl. Some people have colder hands, but some don't (like myself), so mix the whole thing until it comes together, but don't knead it, as you would bread for example.
- Resting time: when the flour is mixed with other wet (water) or fatty (butter) ingredients, the gluten develops. That is good for bread but not at all for a pie crust. That's why we must let it rest after the dough comes together. That time relaxes it and accomplishes two things: allows the pie dough to roll easily without forcing it, and hardens the butter again, ensuring flakiness.
Related recipes you might like:
If you made this recipe and loved it, you can comment below and leave a 5-star ⭐️ review. Also, if you had issues, let me know so we can troubleshoot together.
You can also subscribe to our FREE email series 'Baking the Best' and our regular newsletter. Or follow and save my recipes on Pinterest.
As an Amazon Associate, I earn from qualifying purchases. Read my disclosure policy.
Old Fashioned Homemade Pie Crust
Ingredients
- 2 cups all-purpose flour
- 2 tablespoons sugar
- pinch salt
- 6 tablespoons unsalted butter, cold
- 4 tablespoons shortening, cold
- ice water, tap water with ice cubes
Instructions
- Put ice 4 or 5 ice cubes in a measuring cup and fill with cold water.
- In a food processor, put 2 cups all-purpose flour, 6 tablespoons unsalted butter and pinch salt. If making it by hand, use a large bowl and a dough cutter or your hands to integrate the butter and shortening.
- Add 6 tablespoons unsalted butter and 4 tablespoons shortening, cold and in pieces and pulse using on/off turns until the butter and shortening are the size of peas or beans. It will be irregular.
- Add about ½ cup ice water and pulse a few times.
- Check the bottom of the bowl with a spatula so that you don't have a lump of flour that the blades didn't pick up.
- Check if the mixture is too dry and floury. If you take some and squeeze it in your hand it should hold its shape and not crumble apart.
- Add more water (a teaspoon at a time if needed) and pulse until it barely comes together. Check the dough again. If you take some and squeeze it in your hand, it should hold together and not crumble.
- Transfer dough to a barely floured surface and gather it together into a ball.
- Don't overwork it or the dough will be tough.
- Wrap in plastic and refrigerate for an hour or up to 3 days. Or freeze for up to a month.
DANNY CONNORTON says
the recipies are great but ads keep blocking text when you try to print
Paula Montenegro says
Hi Danny, thanks for the heads up! I'll have it corrected asap. Have a great week.
Paula Montenegro says
Hi Dan, the ads were removed from the print view. I hadn't realized that was happening. And there's a new version of the print view that allows you to streamline the page, choosing to print the description, the nutrition, etc. or not.
Jamie says
I love all the details and video clips for how to make this crust!! I found it super helpful and your note about temperature playing a big part is so true! Thank you for such an amazing recipe!
Marisa F. Stewart says
First of all let me say how much I hate making homemade pie crust. It seems like so much effort for the part of the dish that's not even in the starring role. I came across your recipe and tried it -- it was so good and flakey. I couldn't believe how easy it was. My tomato pie was the best it's ever been. I'll be making more pie crusts.
Anna says
We've used this recipe yesterday for our apple pie and it worked like a charm! Perfect texture, flaky, buttery and crispy. Thank you, definitely going to be my go-to!
Marta says
I used this as a base for a chocolate silk pie and it delivered exceptionally on its promise of flaky!
Shelley says
Wonderful step-by-step directions to get pie crust right, EVERY time! I was super excited to read that you can even freeze it, too! Such a handy make-ahead, time-saving step, especially during the busy holiday season! Just make extra and keep it stashed in the freezer for whenever you need it - brilliant!
Paula Montenegro says
Thanks for the comment Shelley, I appreciate it!
Kathryn Donangelo says
This recipe came in handy especially this time of year! I made an apple pie with this homemade pie crust and it was delicious! Definitely going to use this recipe for a pumpkin pie for Thanksgiving.
Jenny says
Great recipe! I used it for my apple pie and the crust was incredible. Flaky, buttery and delicious. Thanks for sharing it!
Colleen says
Pie Crust is always a bit intimidating for me, but with these step by step instructions and great tips, I just may attempt it! Thanks you.
Leslie says
I totally need this recipe in my life! I usually buy pre-made crust. I hate admitting that but I definitely need to try this!