
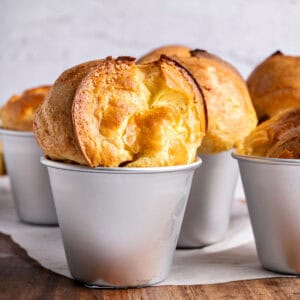
These are delicious and beautiful as you take them puffed up from the oven. They're a great recipe for brunch or to accompany meat juices. They're the American version of Yorkshire pudding, and they can be neutral or flavored, both sweet and savory.

SAVE THIS RECIPE
Worth making
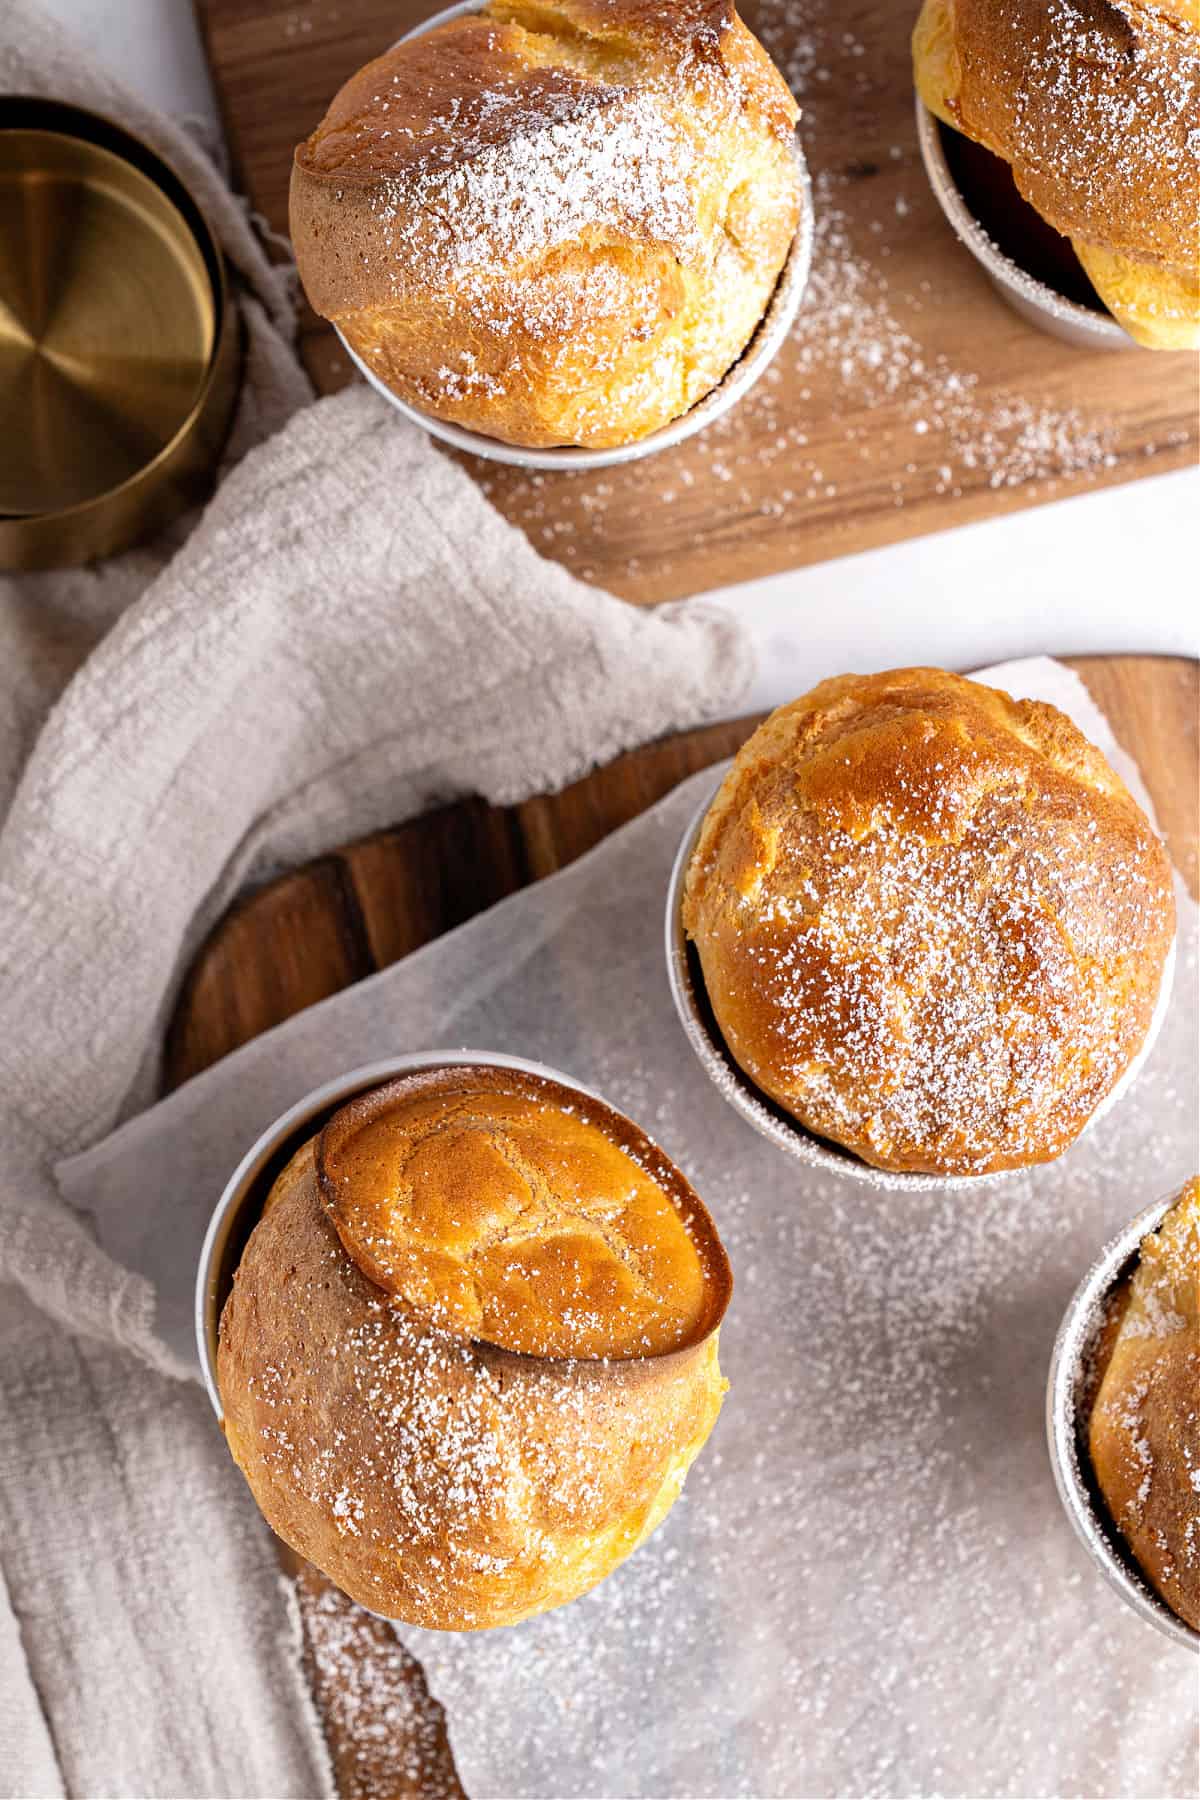
A blender, a few ingredients, a very hot oven, and a while later you're taking amazingly tall, golden popovers to the table.
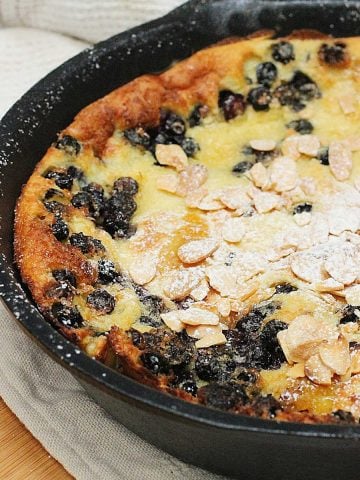
They're small dutch babies, the American answer to Yorkshire pudding and perfect to sop up the juices if making roasted meat. We love them for weekend brunch or late breakfast.
Metamorphosis like this one is what draws me to baking. Such a simple, unassuming-looking batter before it goes into the oven, and then wow, the most incredible result!
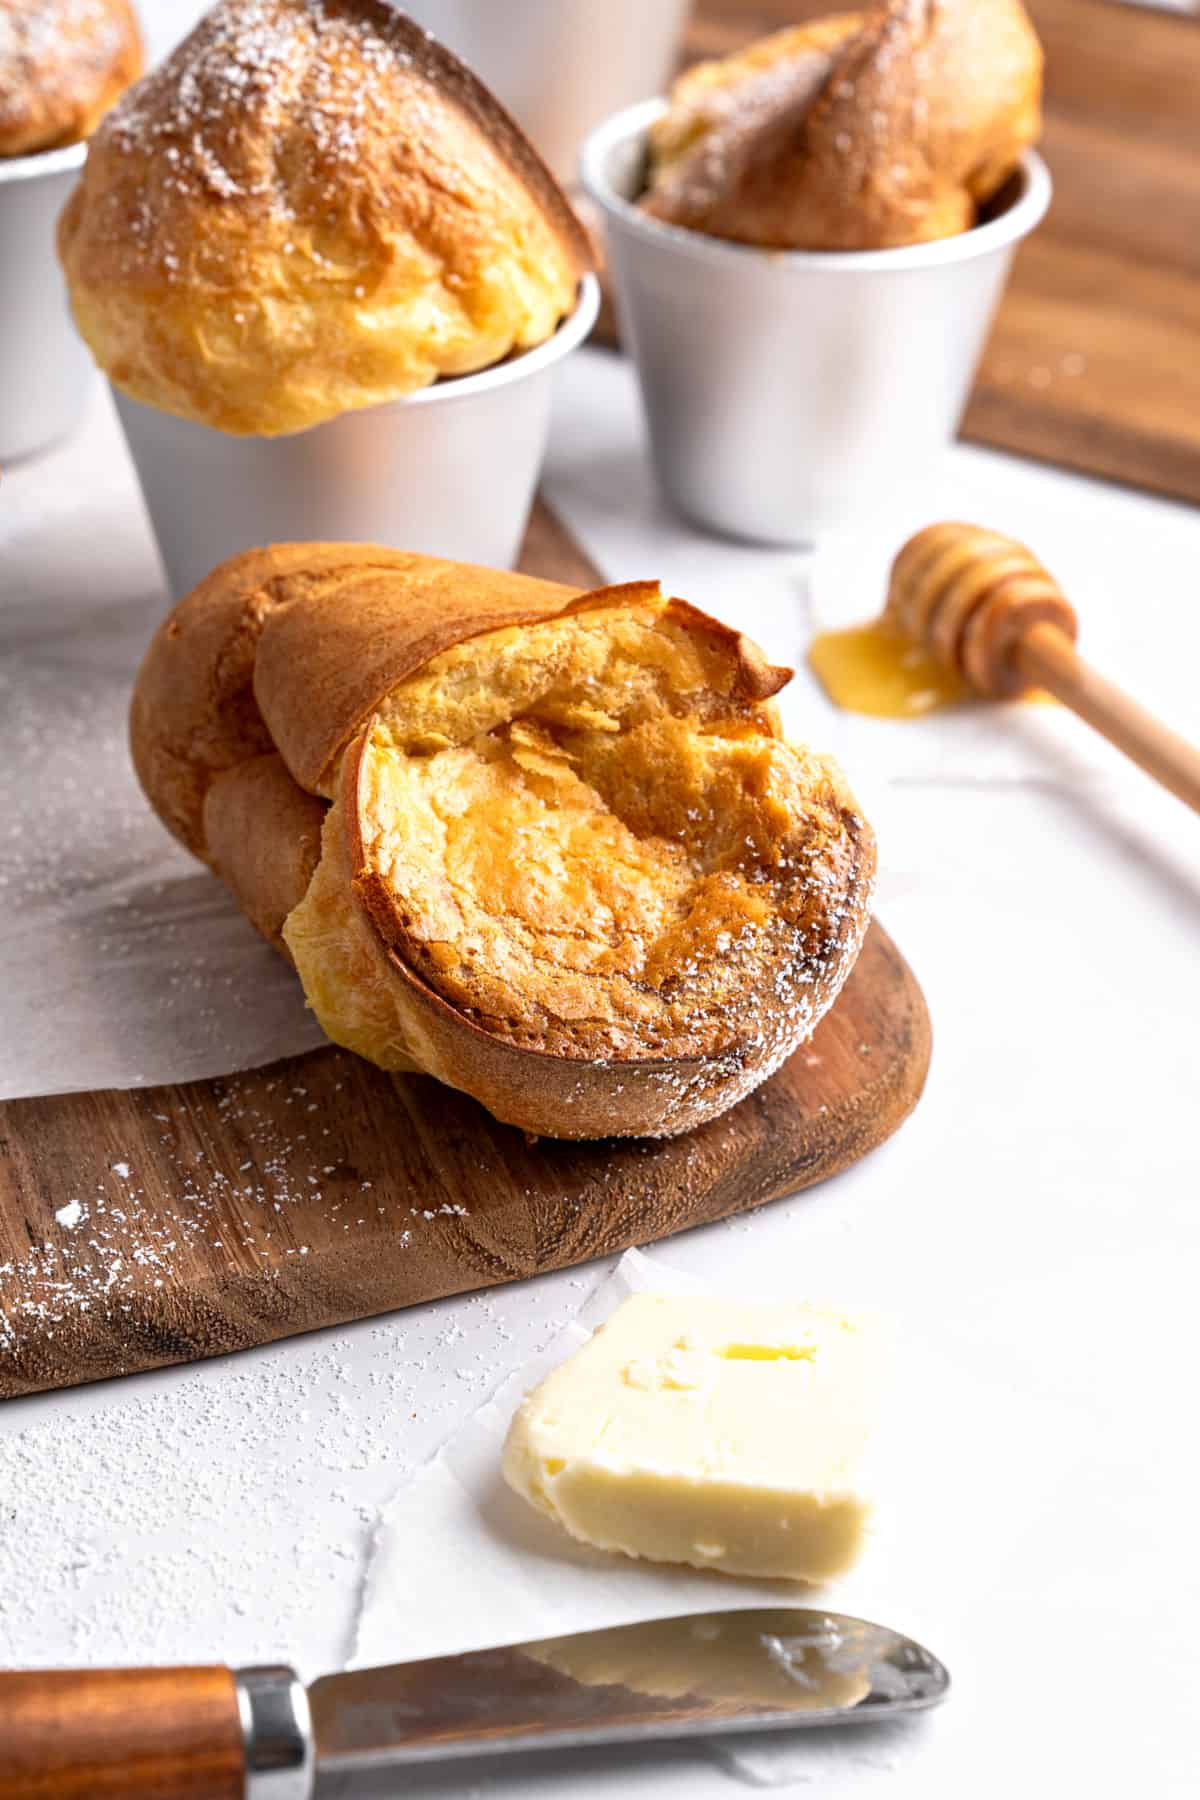
Like a soufflé, these little things are a bit temperamental. They should go from the oven to the mouth with as little time in between as possible. A few minutes later they start slightly deflating and lose their crisp exterior.
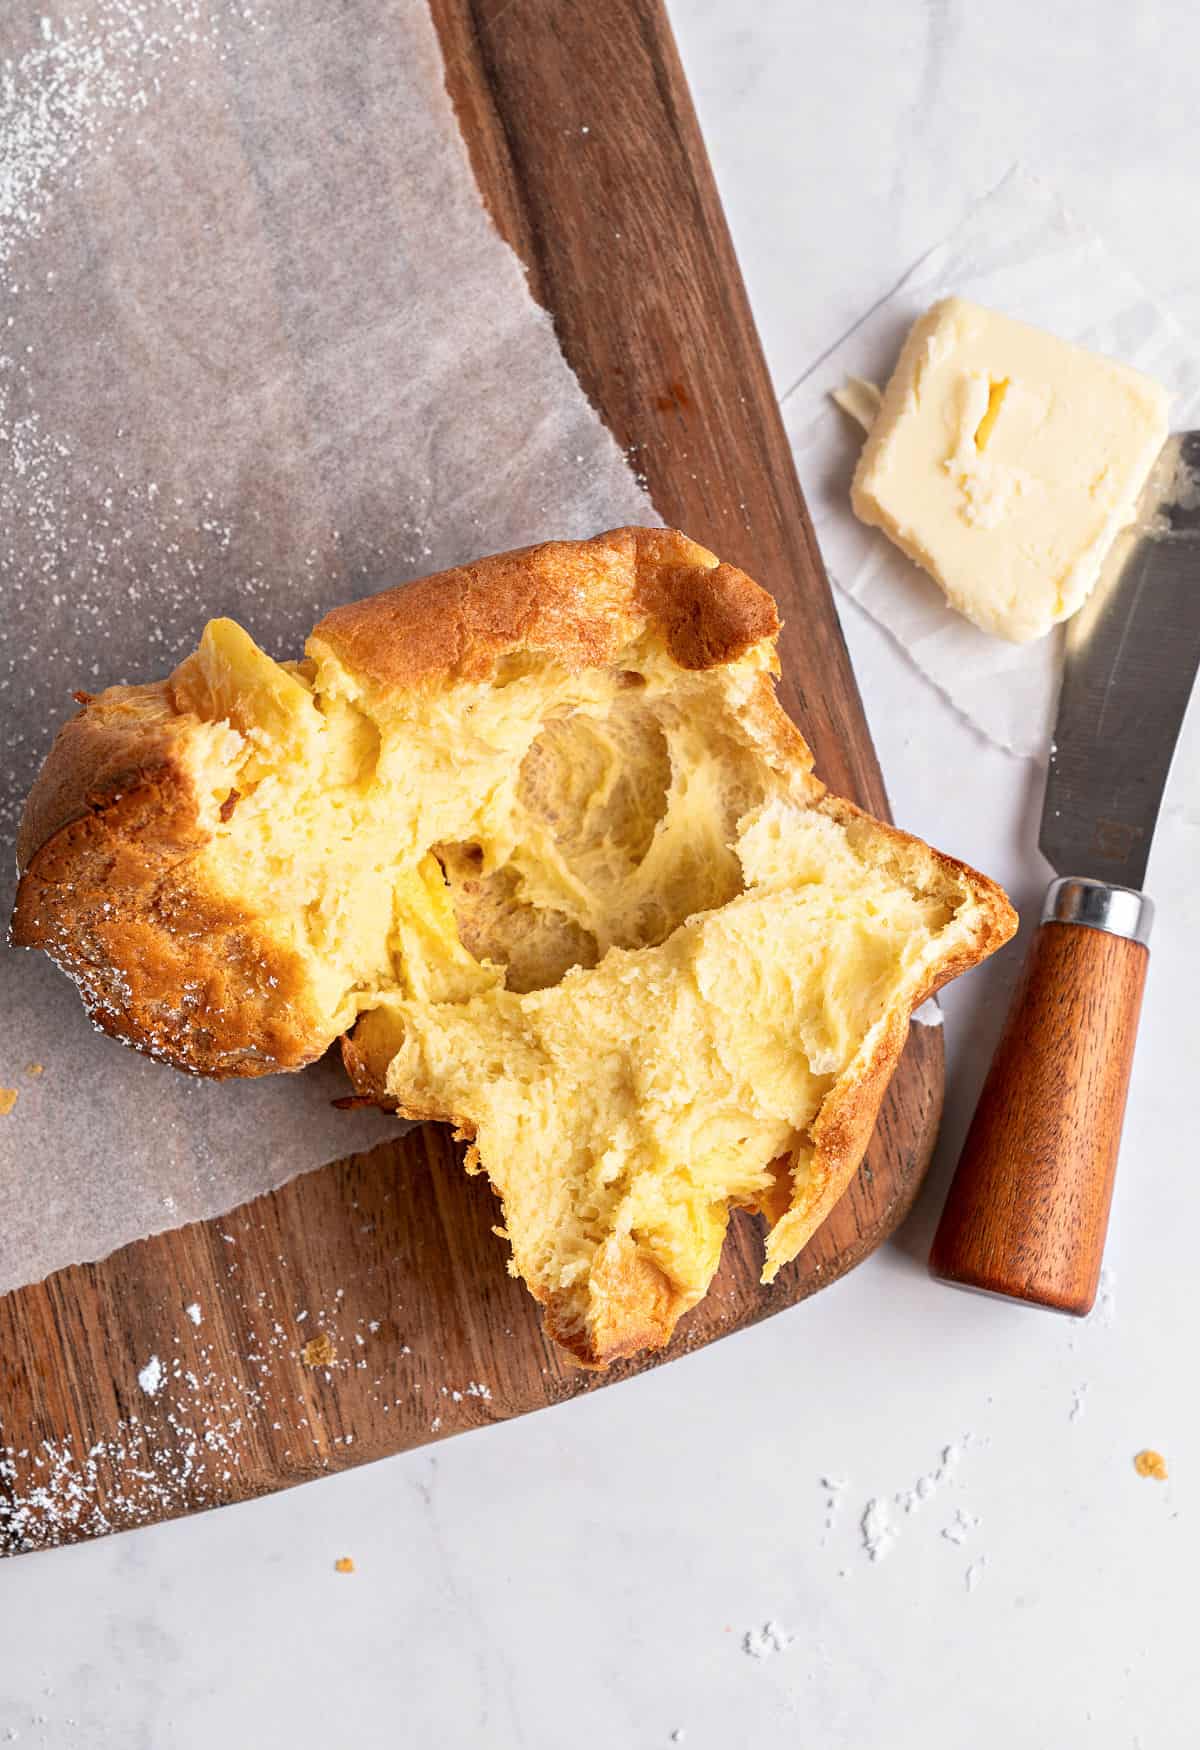
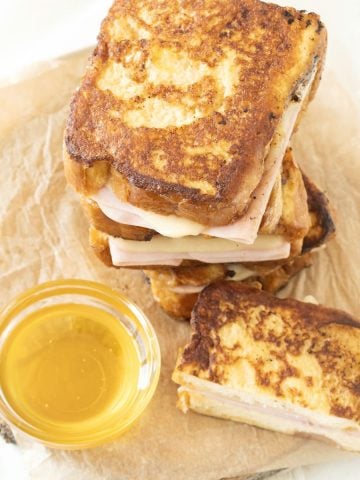
I had mine smeared with butter and honey, a bit of a mess but a delicious one.
Do a test bake!
Greasing the molds and amount of batter: I recommend you bake a few popovers with different amounts of batter in each cup, and greasing some with butter and others with baking spray. Then see how it goes when removing them and which option works better for you.
Refrigerate part of the batter and bake a few the next day. I found them to be have a much better flavor, but that's personal. Also, baking the batter straight from the fridge, didn't make a difference in how the popovers grew in the oven. They were perfect.
Baking time: it depends on the amount of batter in each cup and material the popover molds are made of. Mine were golden outside and perfectly baked inside between 25 and 30 minutes. Test your oven and pans for accuracy.
With these issues out of the way, making large batches will then be a breeze, especially if it's the first time making popovers. My results were that they taste better the next day, it doesn't matter if the batter is cold and the molds need to be super hot when you pour the batter.
How to make popovers
What pan or molds can you use? Specific popover molds are available, and you should consider buying them if you plan on making these often. They also double as individual flan pans.
If using muffin pans, the key is to alternate the batter, leaving an empty cup in between. Popovers need space for the air to circulate, so this is key. You'll see that popover pans that hold several cups have space in between.
* With all of the above said, and though I advocate having the right utensils and gadgets for some recipes, you can still use individual tin molds placed on a baking tray or cookie sheet, leaving space in between. If the oven is at the right temperature and the cups are preheated, your popovers should rise tall and golden.
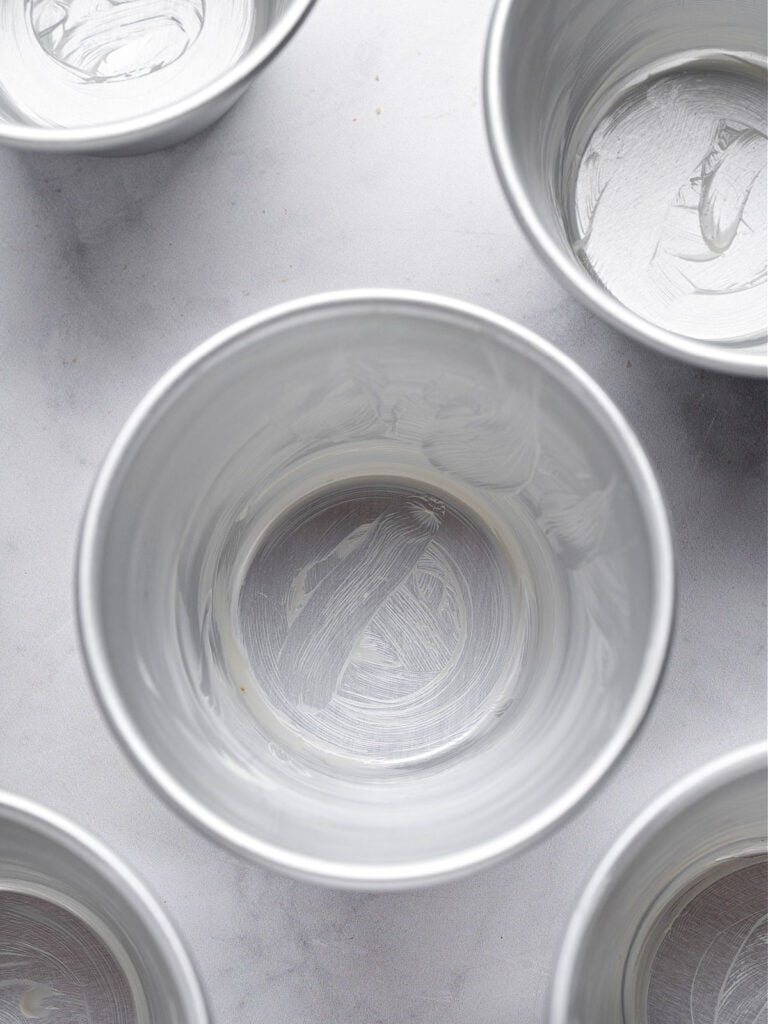
Grease the molds
It's an essential step. Use baking spray or soft butter and a pastry brush or your fingers.
The molds need to go into the oven for several minutes before you pour the batter.
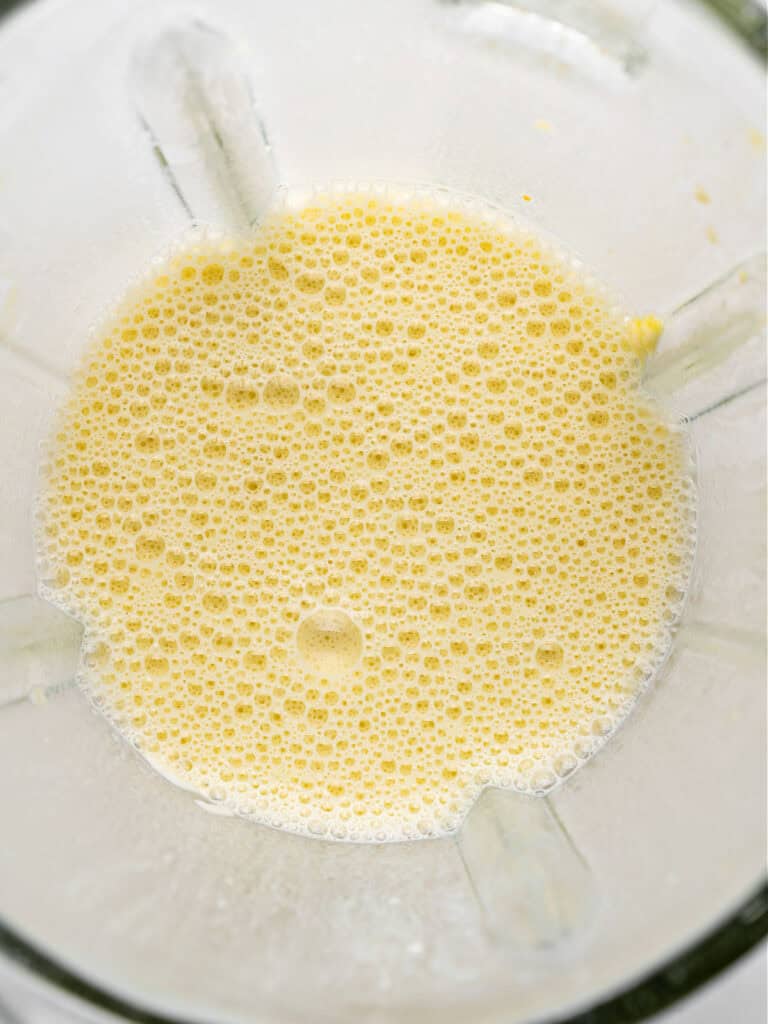
Blender batter
How easy is this recipe, right? Blend until smooth but don't overdo it. It's a pancake batter after all, but thin or liquid.
You can refrigerate it and bake the popovers the next day. I find that they have a much better flavor.
Vintage Kitchen Tip
For popovers to rise tall and golden brown, place the empty but buttered molds in the oven for 10 minutes and then add the batter. The butter will darken and probably smoke.
Bake
Preheat the oven before you start making the batter.
Transfering the mixture to a pitcher or measuring cup to pour it into each hot mold, it's the easiest and less messy way.
Serving
They're similar to scones in that they can be neutral and their flavor enhanced for sweet or savory depending what you eat them with.
- Plain: just out of the oven to serve with roasted or grilled meats and sop up those juices!
- Honey butter: it's a classic and highly recommended. Butter and jam or dulce de leche is another option I like for afternoon tea or brunch. But they do work for breakfast, too.
- Just butter: dot a split warm popover and let it melt before eating. Wonderful side dish.
- Seasoned sour cream: it's a favorite when serving them for brunch with other dishes.
- Blueberry sauce (or similar) or caramel: for a more gooey experience as the topping is a lot on its own.
Kitchen Notes
Organization: read the recipe first and ensure you have ingredients at the correct temperature, utensils and equipment needed, and enough workspace. This will make the process so much easier.
Baking time: consider that all ovens and pans are different, even if they look similar. The baking time in my recipes is as accurate as possible, but it might take you more or less time. You can use a thermometer (like the OXO oven thermometer) to check that your oven is at the right temperature. I recommend tracking how your oven works and what tiny details you might need to adjust.
Grease the pans well: even the tops, because depending on the amount of batter, they will rise out of the molds and stick to the rim if it's not greased.
Refrigerating the batter: I baked them straight up and put the remaining batter in the fridge overnight, as you would for pancakes. By far, the best batch was the one I baked almost a whole day later. They were less eggy and had more flavor.
Related recipes you might like:
As an Amazon Associate, I earn from qualifying purchases. Read my disclosure policy.
Popover Recipe (5 ingredients)
Ingredients
- 2 tablespoons unsalted butter, melted
- 1 cup all-purpose flour
- 1 cup whole milk, whole, at room temperature
- ½ teaspoon salt
- 3 eggs, large, at room temperature
Instructions
- Preheat the oven to 425ºF (215°C) and position the rack on the lowest third.
- Butter nine ¾ cup glass custard cups or ten ½ cup muffin cups with 2 tablespoons unsalted butter, soft or melted. If you're using individual custard cups, place them on a jelly roll or oven tray, leaving space between them. If you're using muffin pans, you'll need to use two 12-muffin tins because you will fill them alternating, leaving one empty in between to give space for the air to circulate between the popovers while baking.
- Place 1 cup all-purpose flour, 1 cup whole milk, ½ teaspoon salt and 3 eggs in a blender jar and whirl until smooth. You can also use a food processor, or bowl and an immersion mixer. Strain the batter if it has lumps. Let the batter rest for 15 minutes. At this point, you can cover the jar or bowl and refrigerate the batter for up to 1 day.
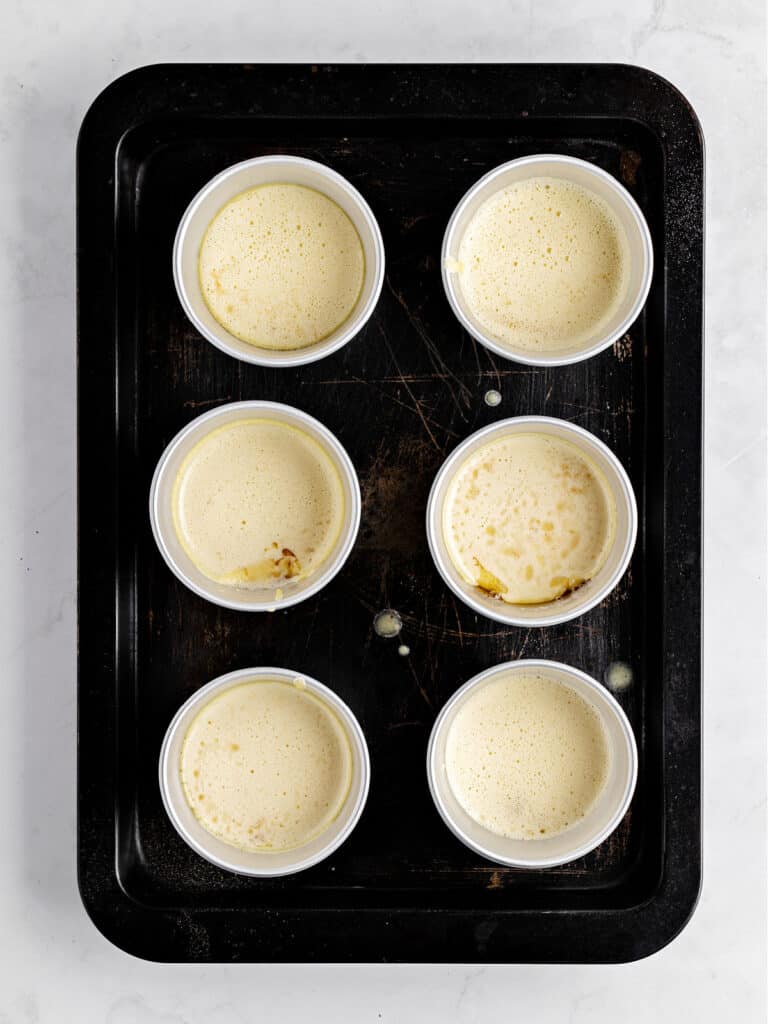
- While the batter is resting, place the buttered cups for 10 minutes in the hot oven. They will smoke as the butter darkens. The hot pans will make the popovers rise beautifully. Have the batter ready in a pitcher, jar or large measuring cup to fill them immediately a you take them out.
- If using custard or popover cups, fill them ⅓ of their capacity, dividing any extra batter among them. If using muffin pans, use ¼ cup of batter for each cup, alternating between them so that every popover has puffing space around.
- Bake, without opening the door, for 25 minutes or until the popovers are puffed, nicely browned, and crisp on the exterior.
- Turn the temperature down to 350ºF (180°C) and bake for another 5 to 10 minutes, to help dry out the interior, which will always be a little doughy in the center. Some people love this part, others pull it out.
- Serve immediately. Popovers are at their puffiest right out of the oven.
- You can keep them at room temperature for a few minutes, or wrap them airtight and freeze them for up to a month, and reheat them in a 350ºF (180°C) oven for 10 to 15 minutes. They'll taste good, but never as good as freshly baked.
Notes
Adapted from Baking With Julia, by Dorie Greenspan
Jessica of My Baking Heart says
Lovely job, Paula - I adore your aluminum cups, too! 🙂 Thanks for hostessing this week!
Sophia says
Your popovers look great- thanks for hosting his week!
spike. says
Your popovers look great! Thanks for hosting this one
ferda says
Beautiful photos.. Thanks for hosting and sharing the results of your experimenting with the recipe..
breaddivas says
Your photos are beautiful and your popovers look delicious. Thanks for all the great tips and for hosting this week!
Miette says
Thank you for hosting. Your photos are awesome and the popovers look delicious!
Sweet and That's it says
Paula thank you for sharing your precious "culinary secrets" and thank you for hosting: beautiful pictures (especially the last one), beautiful post!
and last but not least: thank you for having visited my post.
loavesandstitches says
Interesting how different the popovers were after different rest times. I like the idea of making a lot of batter and being able to have them, sort of, on demand. I like mine any way they turn out, except stuck to the pan. Thanks for hosting this week!
Kat says
I'd have no problems finishing these right from the oven. I've never made popovers either. Thanks for including the notes on the process (I make notes to myself when I bake too), I find these to be really helpful.
Kathy says
Paula, Absolutely gorgeous popovers!! So perfect looking! You also took some beautiful photos…magazine quality!! Thanks for hosting this week! Great job!!
asopranobakingwithjulia says
Gorgeous popovers! Thanks for hosting:)
Dawn says
Beautiful, gorgeous, amazing pictures!!! I'd never made popovers before either, and was equally impressed with their ease...and yumminess. 🙂
baker in disguise says
oh wow... yours came out just like the book!! i like the info on keeping the batter to rest for some time.. because i would have definitely liked them to be a little less eggy!!
Angie's Recipes says
Can you believe that I have never made popovers? These popovers look terrific!
Baker Street says
Great pick, Paula! these popovers look so delicious and thank you so much for sharing this lovely recipe.
Cindy says
Thanks for hosting a great recipe. it was delicious. I can't wait to make these magical muffins for my grandkids! I do appreciate your hints, it's always nice to know what worked for others. Thanks.
Susan says
Wow, Paula - I think your photos are great! And your popovers look perfect. Congrats on hosting, too!
Cathleen says
Lovely photos! I thought the same thing; that they were challenge to photograph. Thanks for hosting!
Bev says
They look over the top delicious- it sounds like popovers don't like to follow rules much at all!
Julia says
They look amazing. Thanks for hosting! I have never heard of putting pancake batter in the fridge overnight. I will have to try that with my standard recipe next time and see what happens.