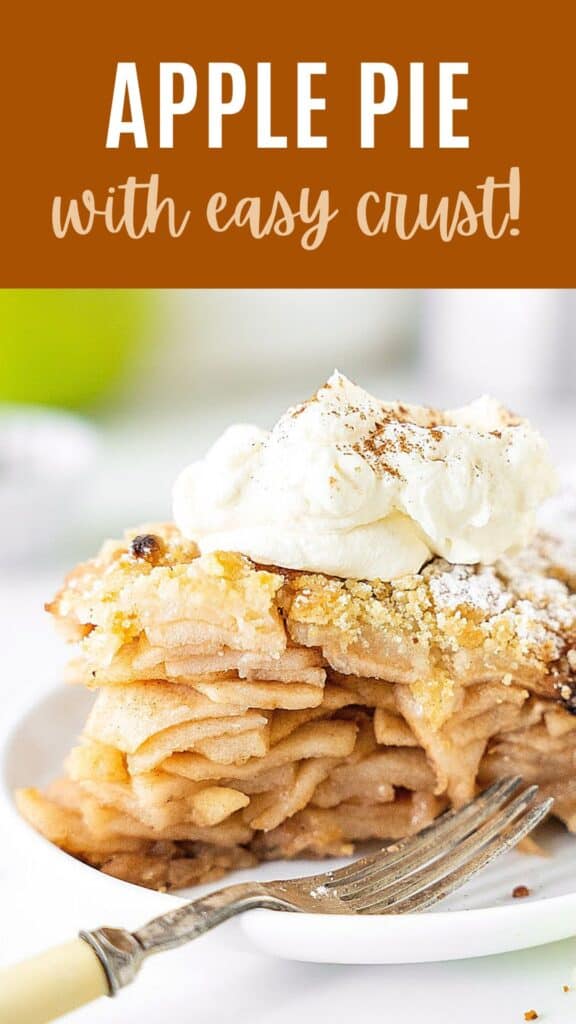
A twist on the traditional classic dessert, this apple crumb pie has a graham crust and a lot of juicy filling. The result is fantastic. It can be made year-round, so add it to your holiday tables, casual gatherings and barbecues.
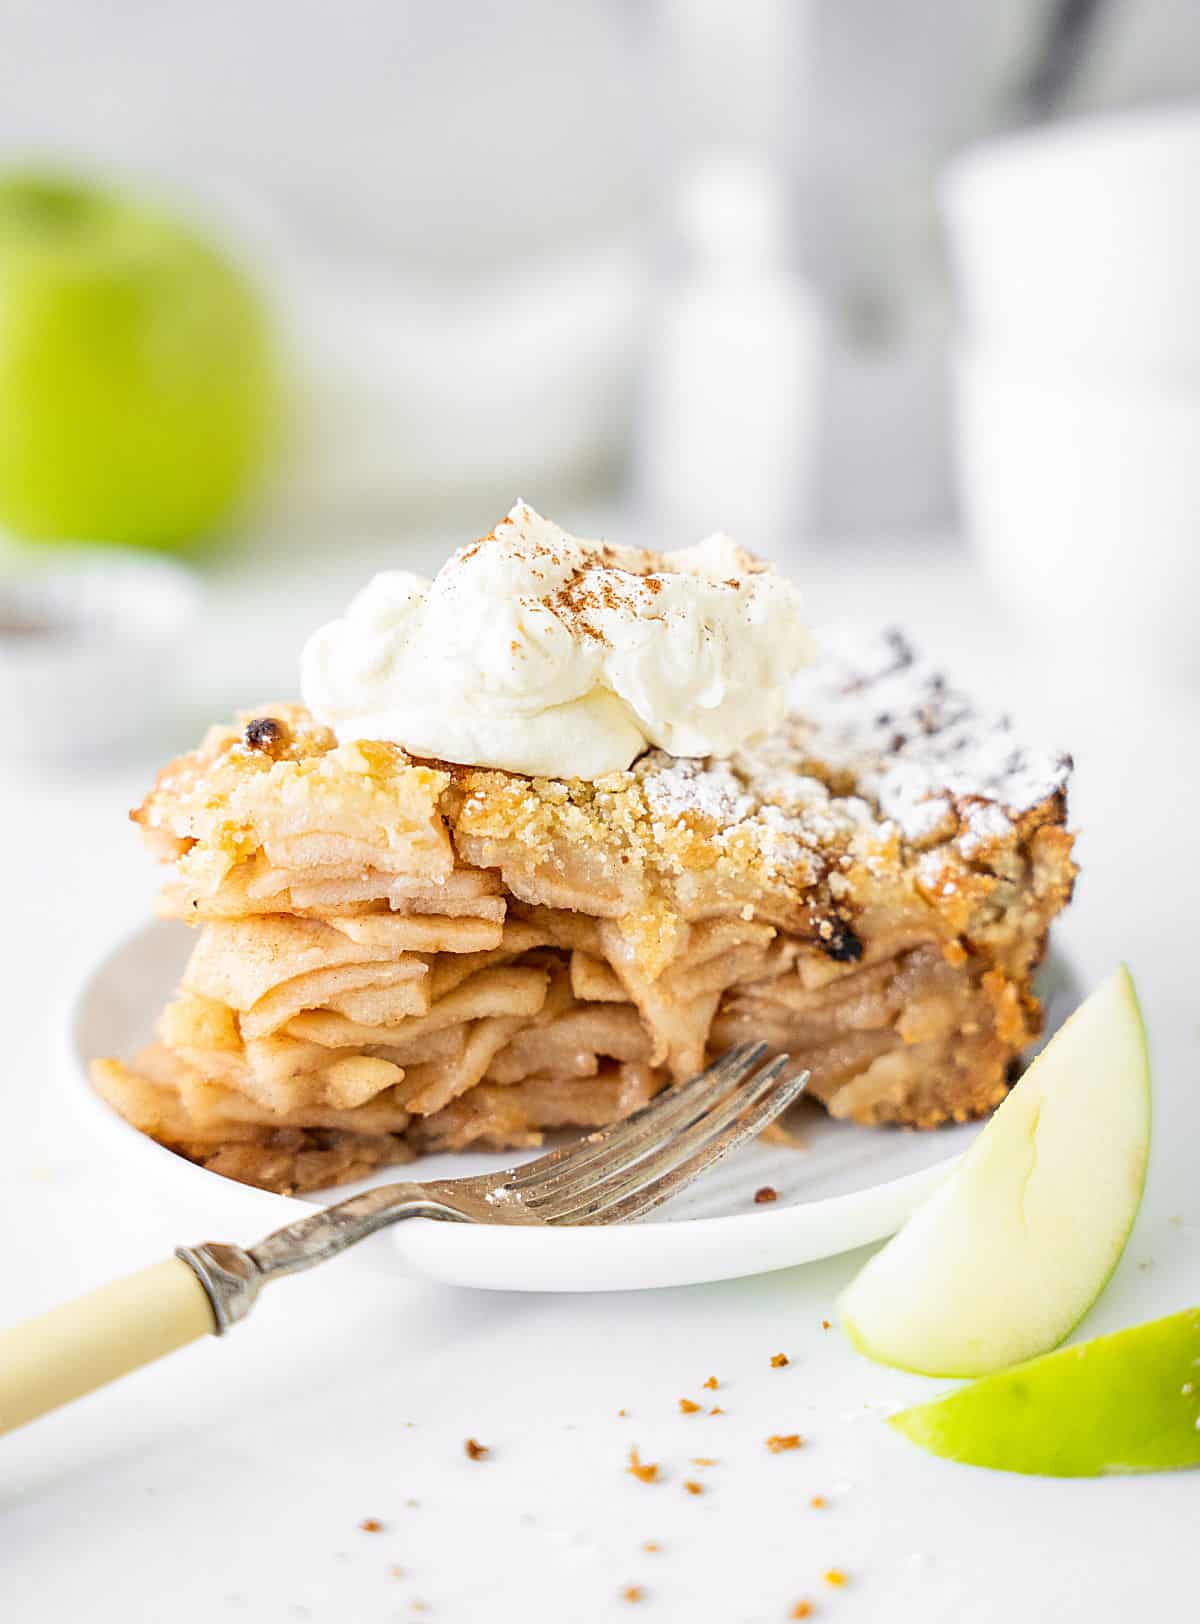
A simpler apple pie that doesn't involve making the traditional crust but uses a crumb crust instead. So it's a great alternative to the much-loved classic dessert, similar to how we feel about the apple pie crumb bars.
- Minimal skills required: the crumb crust and simple filling make this recipe great for beginner pie bakers.
- Spiced and flavorful: you have enough buttery apple flavor in every bite. A change from the usual fussy, traditional double-crusted pie.
- Crowd-pleaser: whether you're looking for a new dessert or just love to try different apple pies, this is a winner with adults and kids.
For more recipes, check out our pies with graham cracker crust roundup.
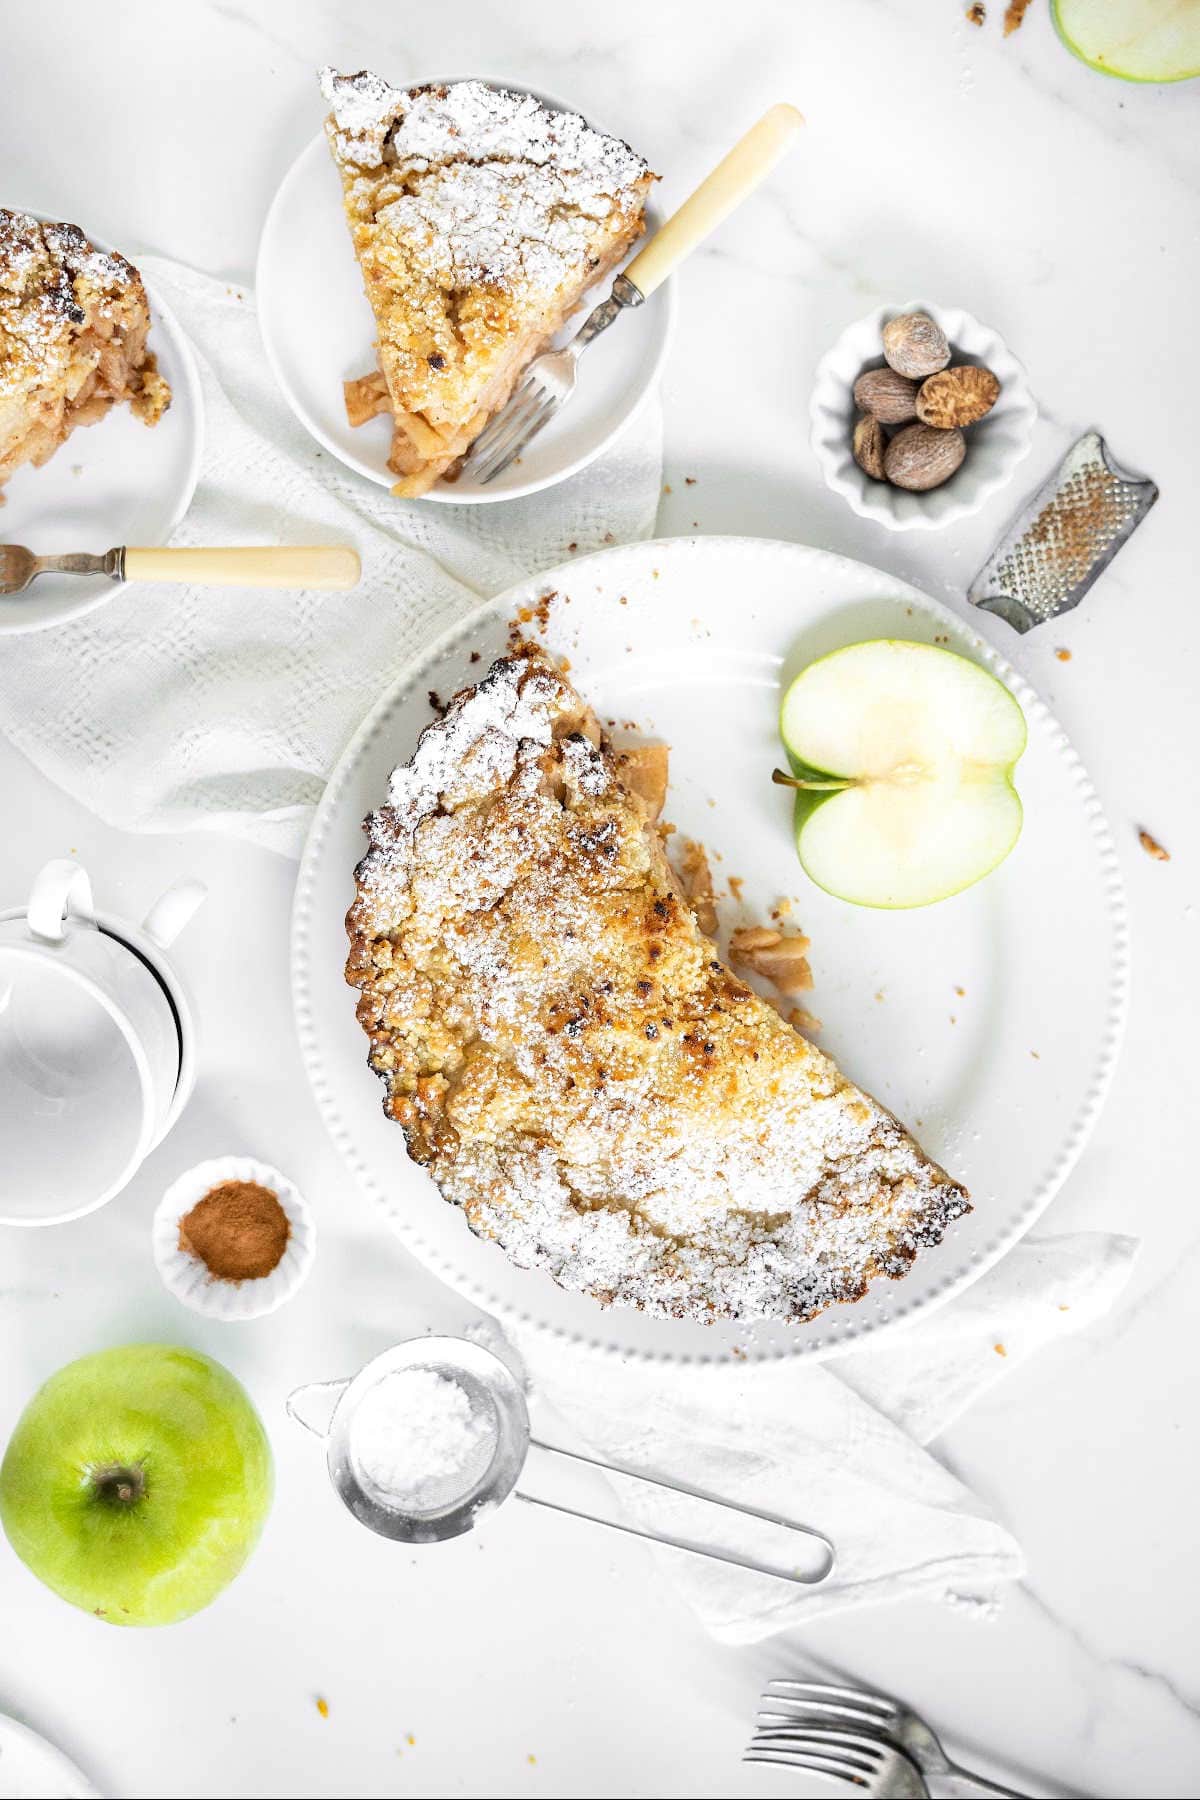
Ingredient list
- Apples: we favor Granny Smith or the green apples. They have acidity and hold themselves well after baking. But if you favor another baking apple, by all means, use it.
- White granulated sugar.
- Cornstarch.
- Vanilla extract.
- White granulated sugar.
- Spices: we use our homemade apple pie spice mix, but you can purchase it or use a different blend of spices you like with apples. Cinnamon and nutmeg work very well.
- Salt.
- Graham cracker crumbs: you need fine crumbs, so using a food processor is the best choice. I use homemade graham crackers or regular graham crackers.
- Unsalted butter.
- Powdered sugar or whipped cream topping: for serving.
See the recipe card towards the end of this post for quantities. You can check the Ingredients page for more details and the brands we use.
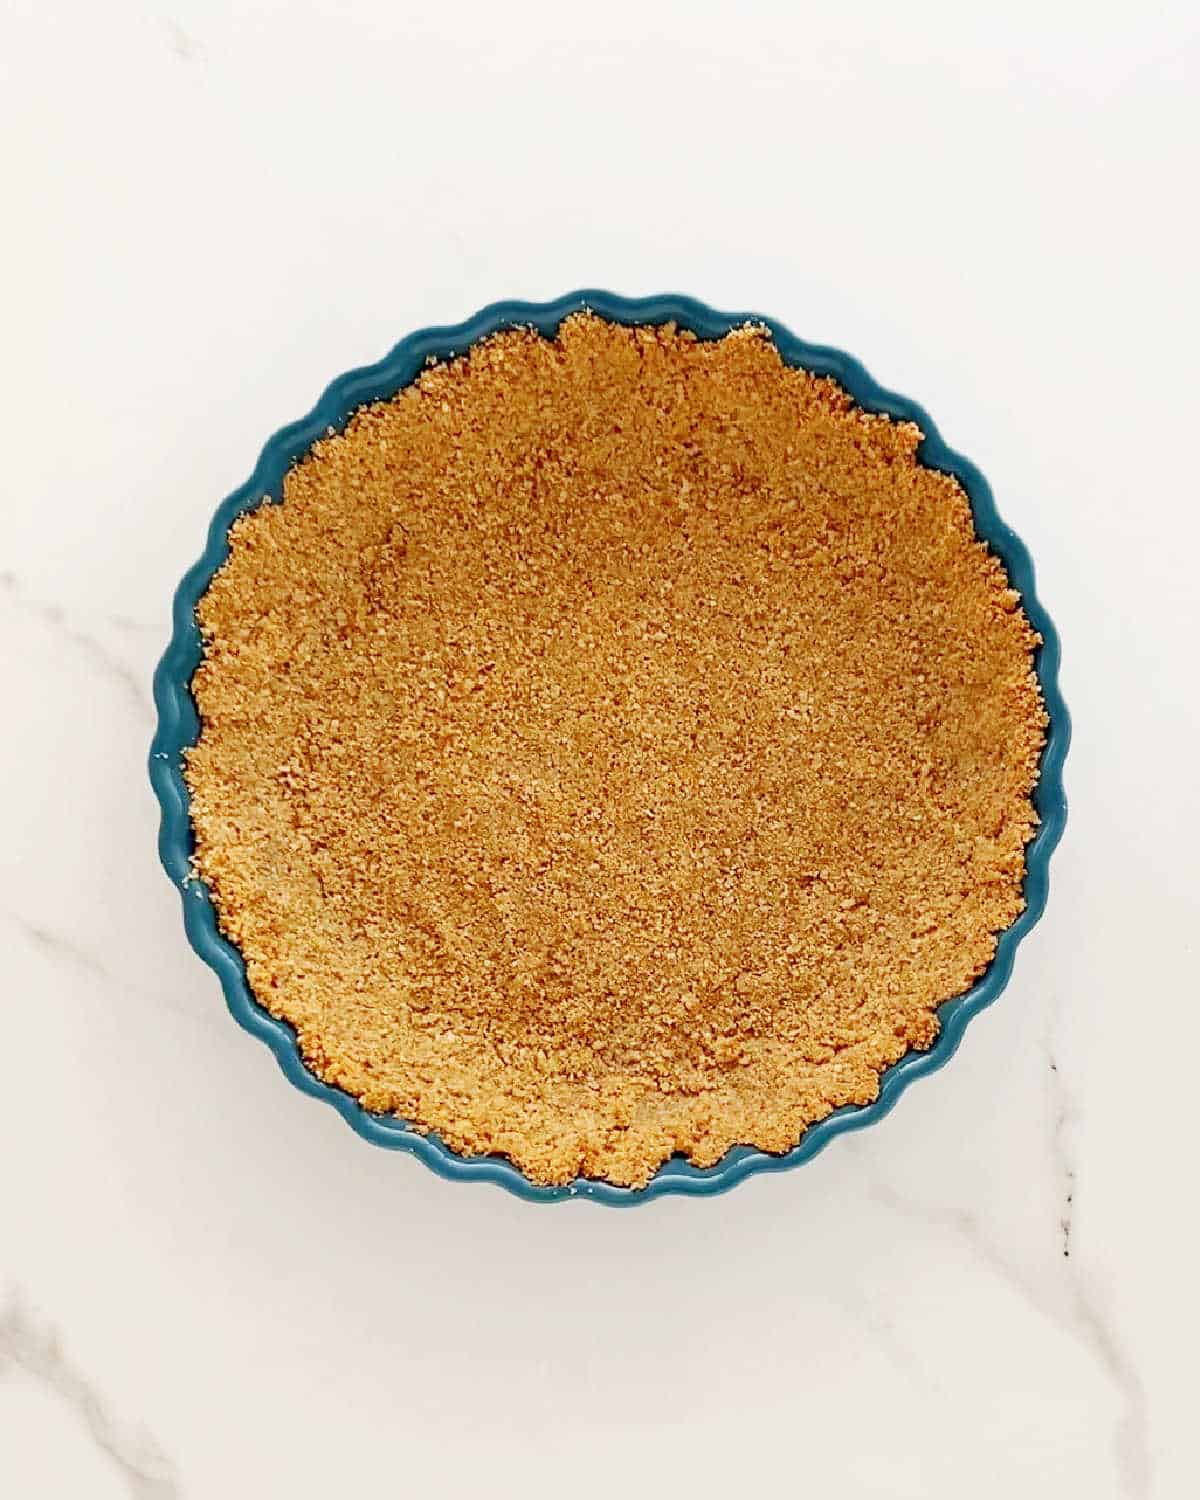
Easy graham cracker crust
This is a simple crumb crust, similar to the one used for the popular cheesecake pie.
Graham crackers are traditional cookies found mostly in the US with honey and an earthy, sweet flavor. They are excellent for cheesecake and pie bases.
- Food processor: you need fine crumbs, so using a processor is the best choice to save you time and make it easier. It will ensure an even crust that can be easily patted on a pie pan.
- No food processor for the crumbs? Use a rolling pin, put the crackers in a large Ziploc bag, leaving a small opening (or directly on the counter, but make sure there's a lot of space as bits will spread around), and roll them until you crush them completely and have a fine mixture. It will take several minutes, but it can be achieved.
- No need to pre-bake the crust as the custard pie filling has to be baked.
- Check out our homemade graham cracker crust post with images and a video.
Types of apples to use
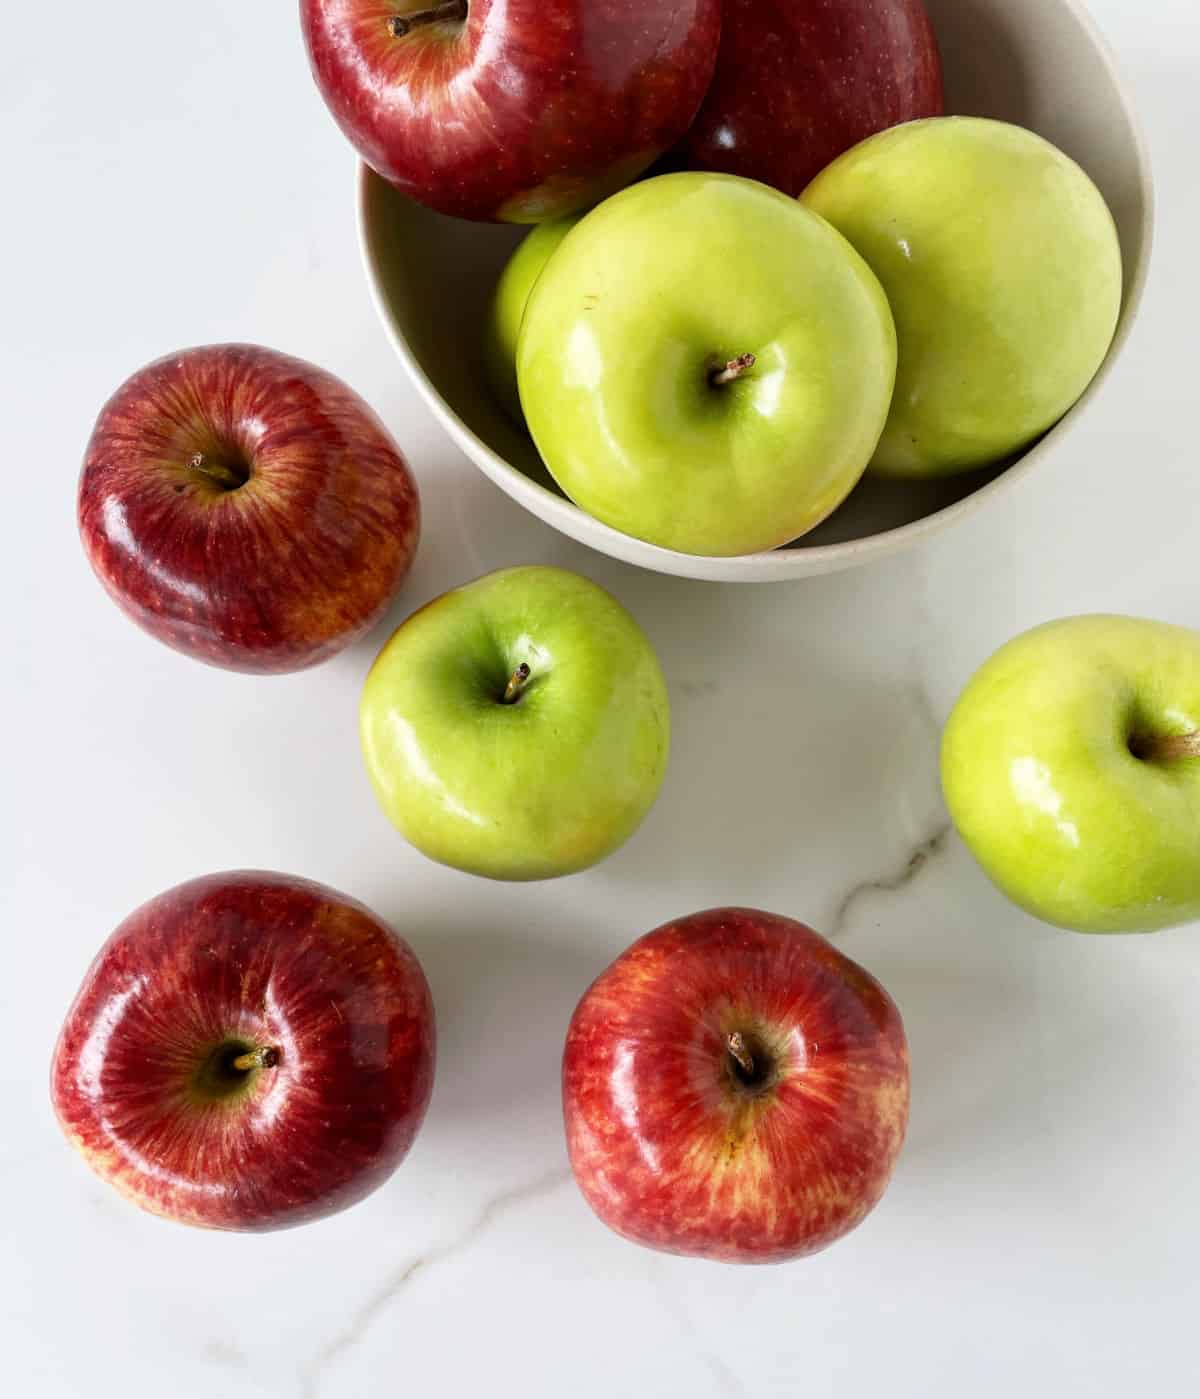
Depending on the kind of apples you use, you can vary the sweetness of this easy apple pie. I'm partial to tart apples, but some people like sweeter pies.
- Granny Smith apples: I use them exclusively (the green ones, my absolute favorites for baking due to their tartness). They bring some acid to the mix that complements the overall sweetness of the cake. And they hold their shape and don't turn mushy in the oven.
- Other popular apple varieties: if you have another favorite that you usually bake with (pink lady, gala apples, fuji, Honeycrisp apples), by all means, use it.
- A mix of apples: you can also mix them to create different textures and sweetness levels.
How to make the apple filling
The most laborious part is peeling and cutting apples. But it doesn't take long.
How to cut the apples
- Thick slices: they will be crunchier and have more bite. We like this option. Don't overdo it. Medium thick is what we're aiming for.
- Thin slices: the filling will cook faster, and parts of it can be very soft, resembling a compote.
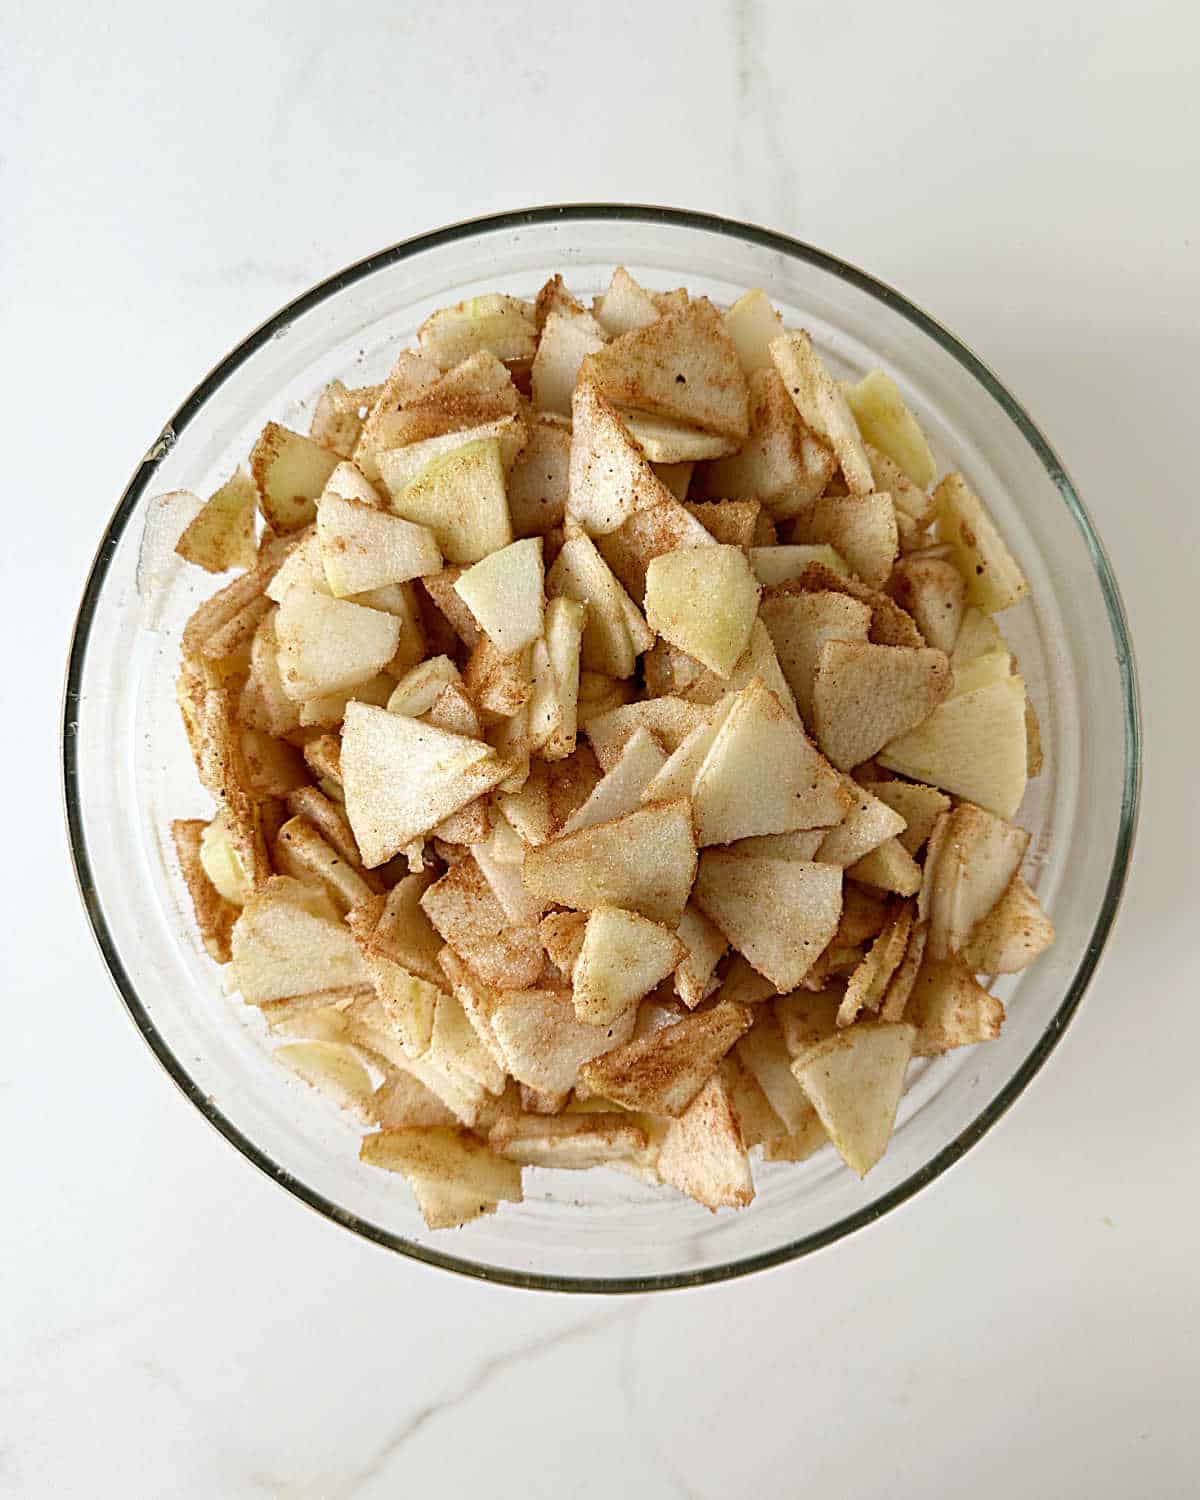
Toss the apple slices with the rest of the filling ingredients in a large bowl, and make sure they're all coated without breaking them much.
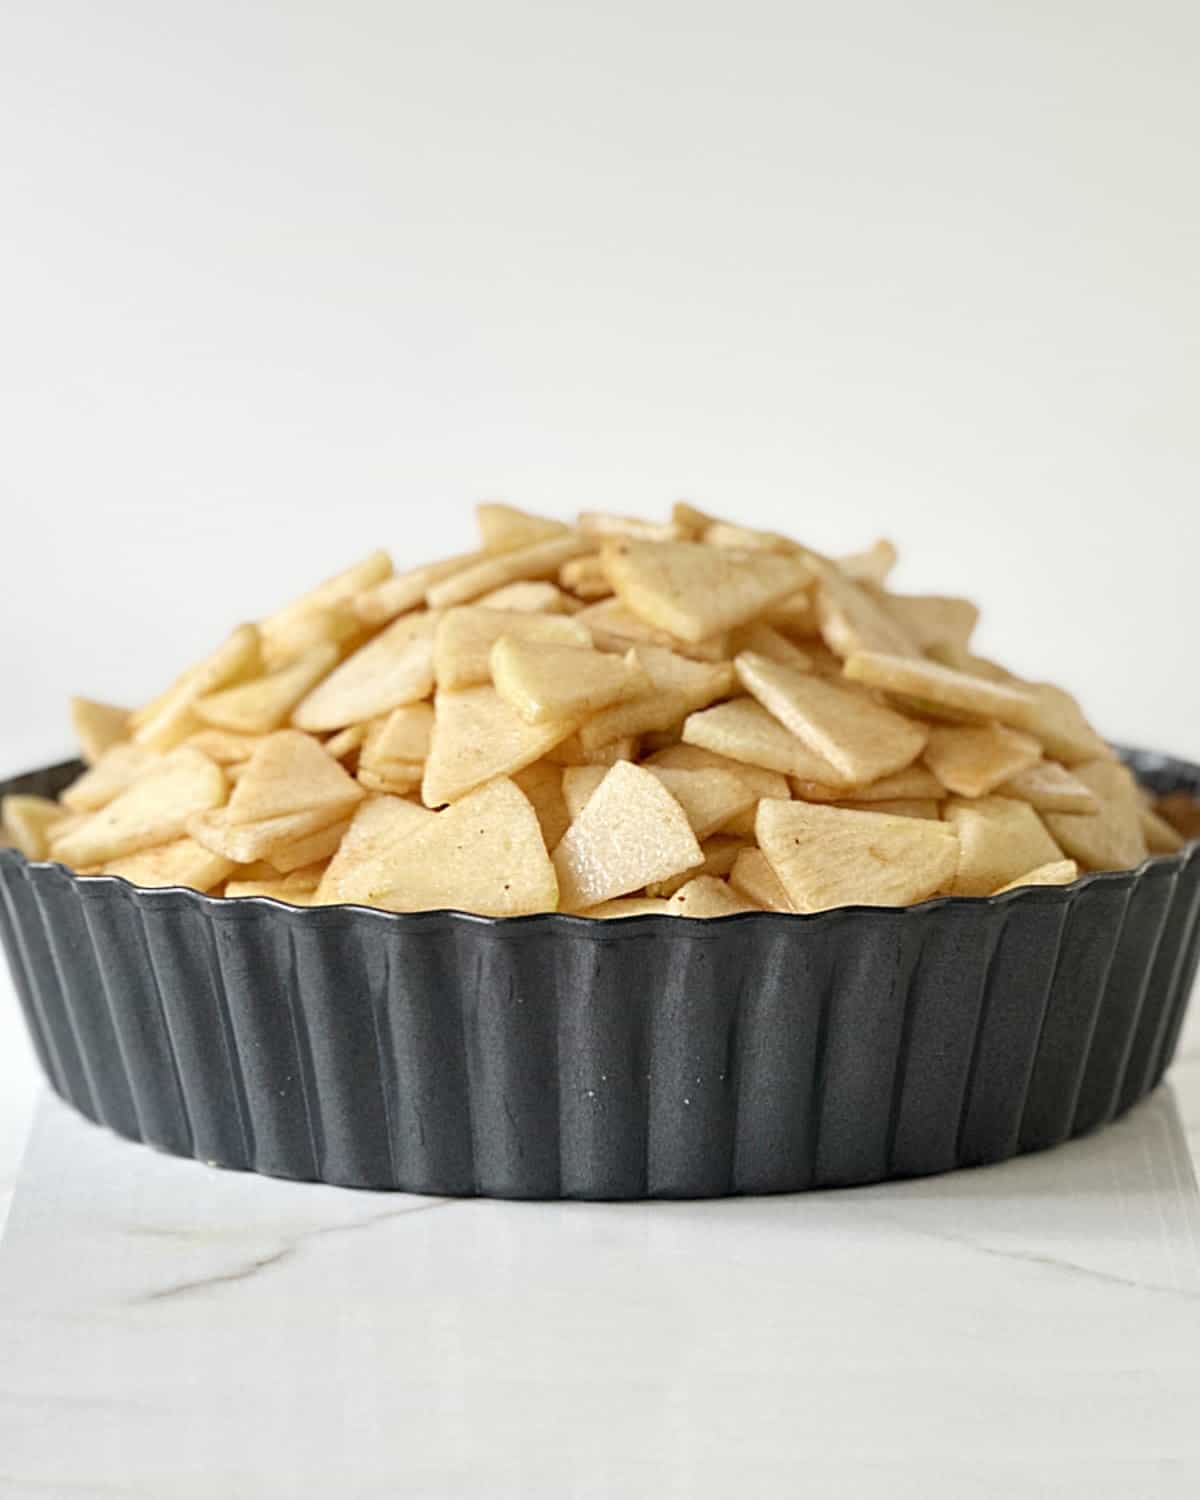
Apples shrink during baking, so mound them high on top of the crust.
Crumble topping
- Make ahead: the crumb mixture can be refrigerated for a week or frozen for a month in an airtight or freezer-safe container. When ready to use, thaw at room temperature (if frozen) and break up with our hands if needed, as large clumps can sometimes create.
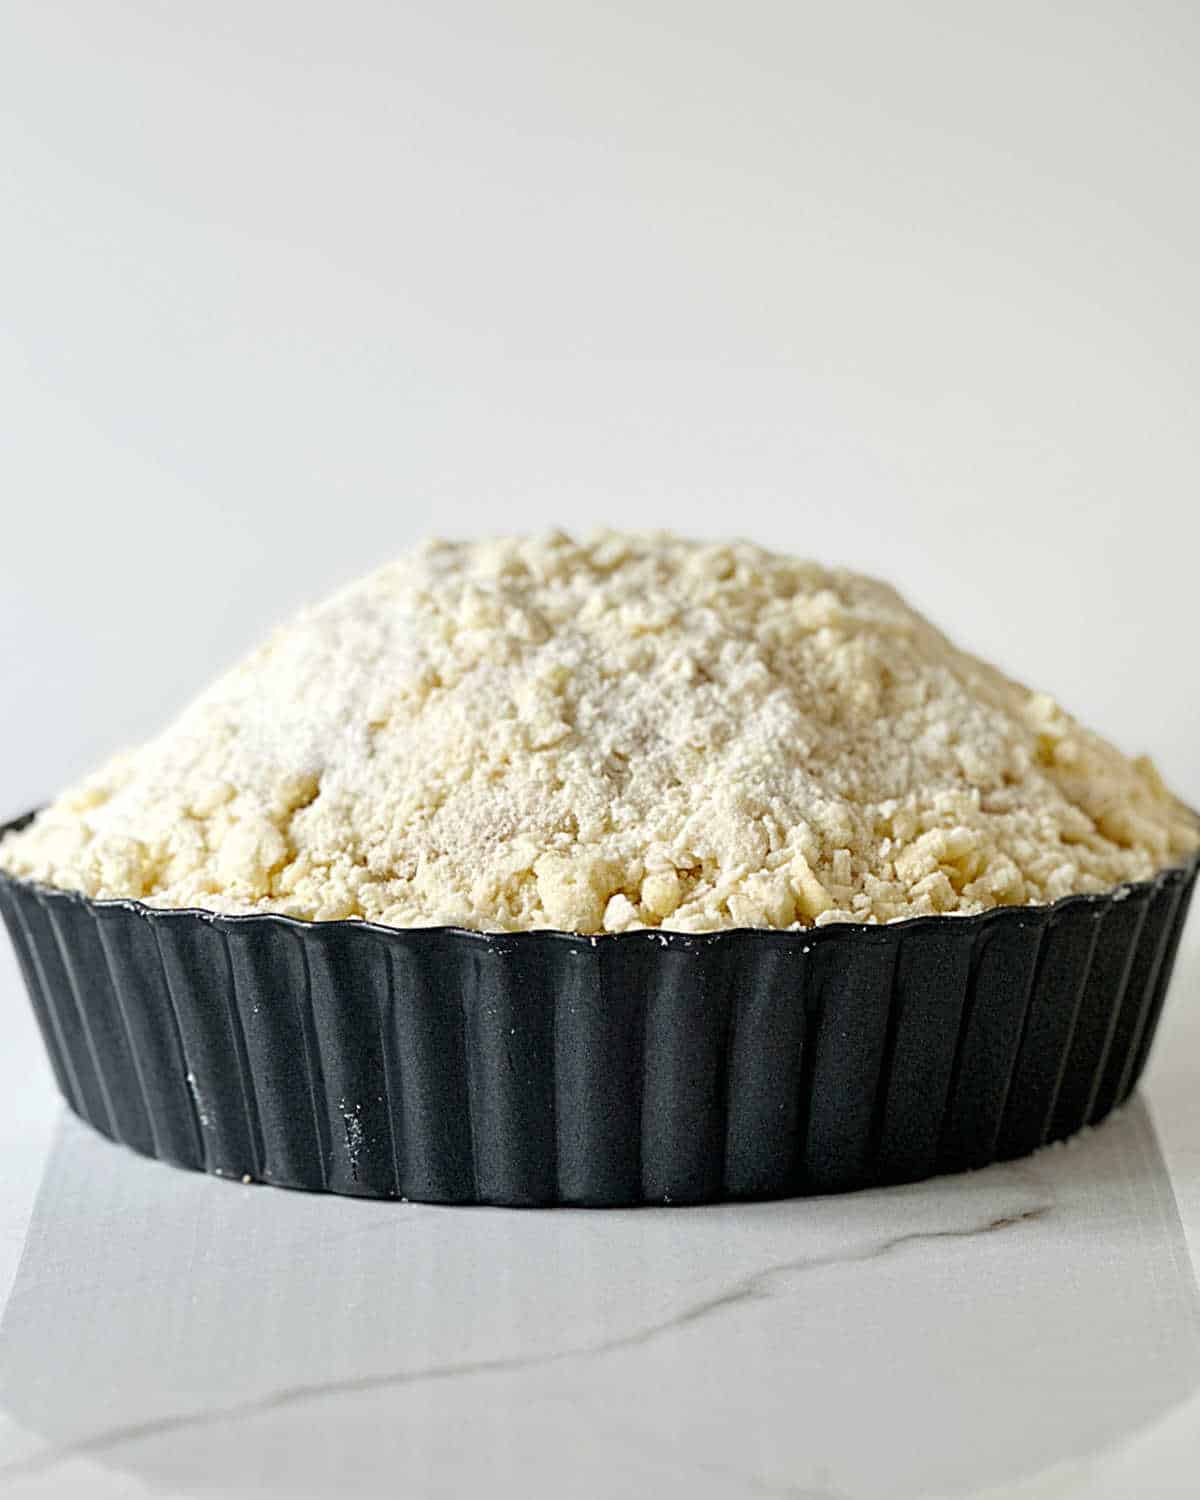
- Use your hand to make a wall against the edges of the pie pan as you add the crumble slowly to avoid it spilling down the sides. Press the top slightly so it stays in place during baking.
Baking
- When is the pie done? The apples should be soft when you insert a knife or fork but still have texture. The topping will be golden brown, and the filling will bubble around the edges.
- Chilling: let the pie cool down on a wire rack. It needs to set, and the juices must regroup before you cut and eat it. This will take a few hours. If making it several hours ahead, you can cover and refrigerate it after it has cooled down completely.
Serving
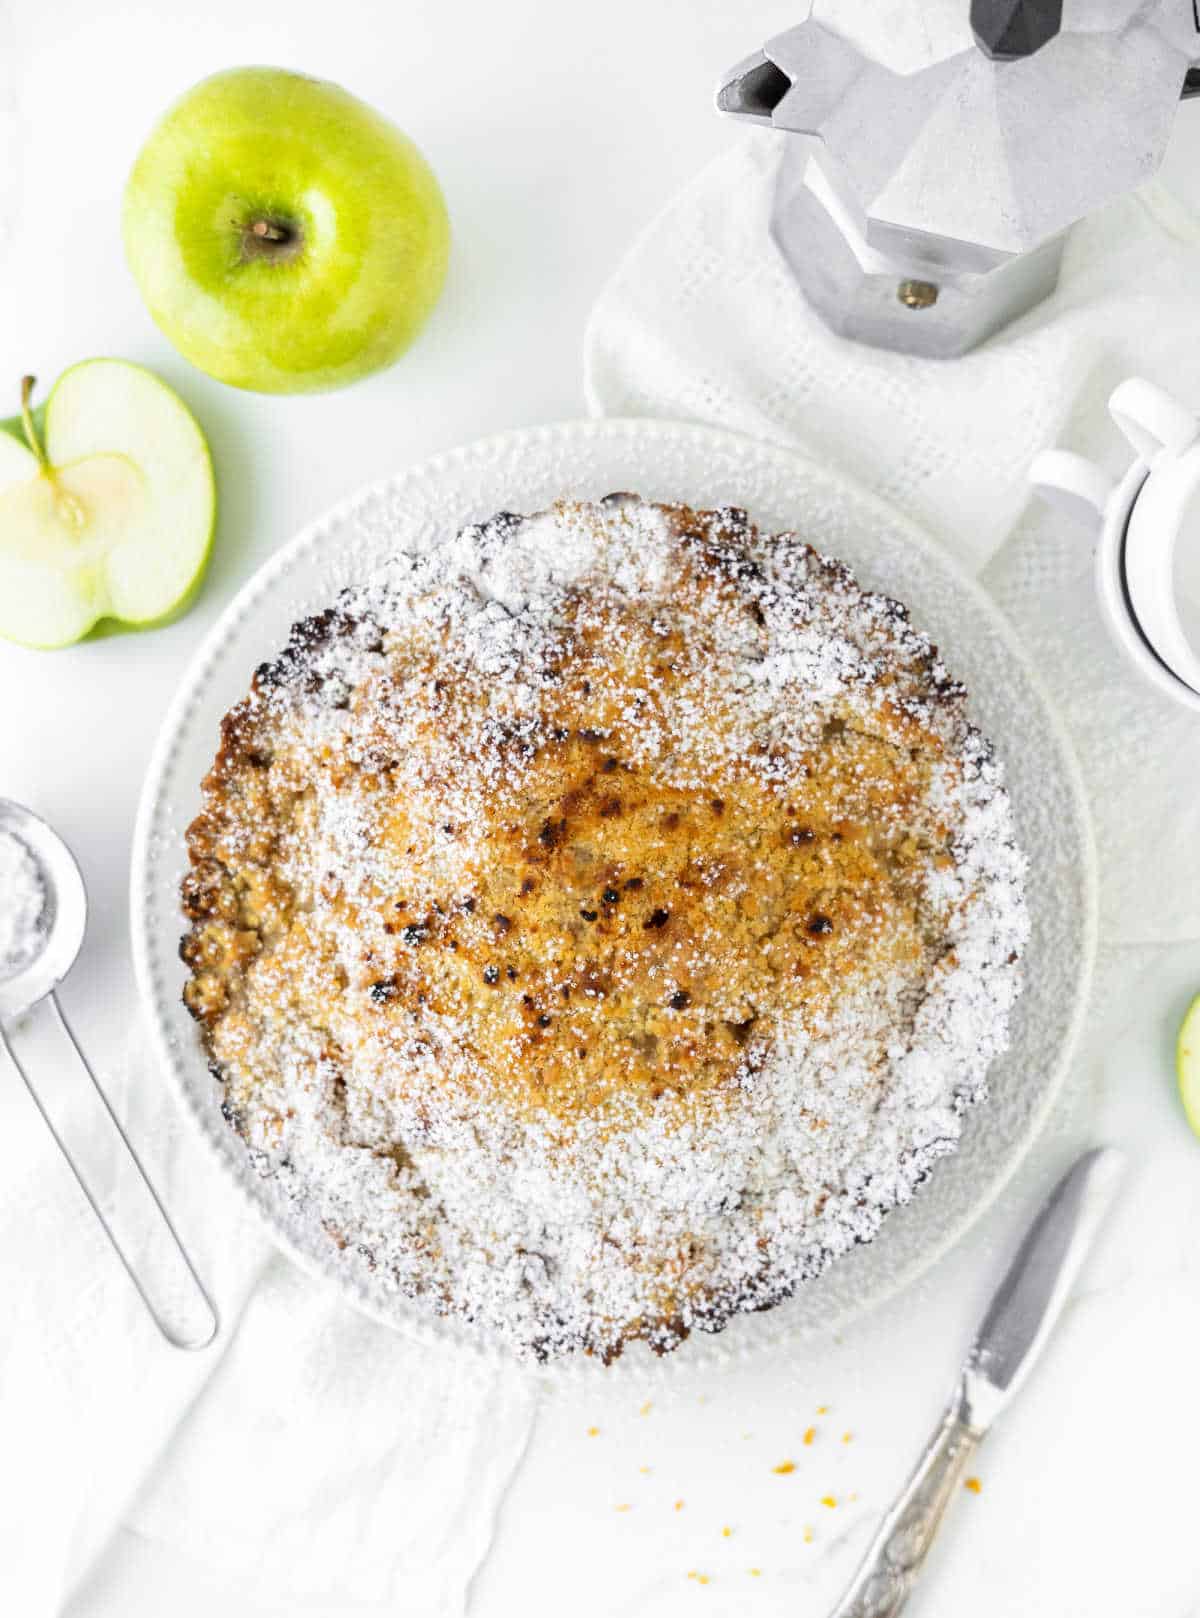
This pie can be eaten at room temperature or somewhat cold. I don't recommend it straight from the fridge as the flavors are a bit lost when it's very cold.
But most of you already know how you like to eat your apple pie, don't you?
Reheating (optional): if you prefer to enjoy your pie warm, you can reheat individual slices in the microwave for a few seconds or in an oven preheated to 350°F (175°C) for about 10 minutes. If reheating a frozen pie, allow it to thaw first for the best results.
Whipped cream topping
Though this is a great pie to eat plain, a whipped topping adds a creamy texture. It can be made ahead, so you don't have to whip at the last moment.
We add a dollop to the served slice on the plate, but you can spread it at the center of the pie (like in this pumpkin pie) or pipe rosettes like in the sweet potato pie.
How to make a more stabilized whipping cream: use a tablespoon or two of cream cheese. It thickens the mixture and is easier to pipe.
Storing
- At room temperature: it keeps well, covered in plastic wrapped or under a cake dome, the day it's made and before you add the whipped cream, if you're using it.
- Refrigerating: keep it in the fridge and cover it to prevent it from drying out quickly and absorbing other odors. I use plastic wrap, but you can use aluminum foil or a pie container with a lid that fits in your fridge.
- Freezing: cover the cooled pie in plastic wrap, then aluminum foil. Or place it in an airtight container or a resealable freezer bag. Be sure to label it with the date. It can be frozen for up to a month. To thaw, transfer it to the refrigerator for several hours or overnight, or thaw it at room temperature, uncovered.
Related recipes you might like:
Let me know in the comments below if you made this recipe and loved it and if you had issues so we can troubleshoot together. I love to hear what you think, always. Thanks for being here. It's much appreciated.
You might also consider subscribing to our FREE Baking the Best email series and our regular newsletter. Or connect via Facebook, Instagram, and Pinterest.
As an Amazon Associate, I earn from qualifying purchases. Please read my disclosure policy.
Print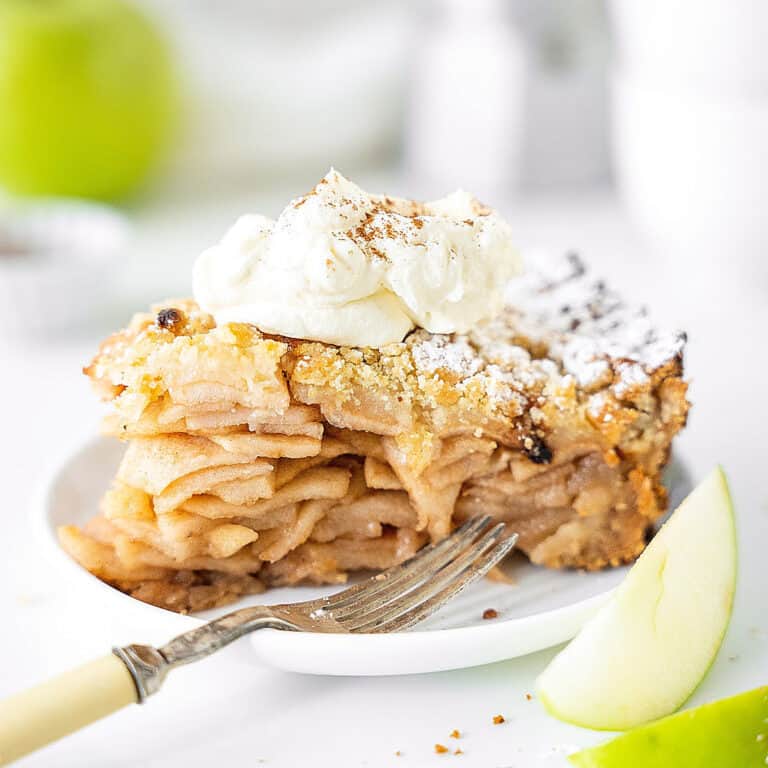
Apple Pie with Graham Cracker Crust
A twist on the traditional classic dessert, this apple crumb pie has a graham crust and a lot of juicy filling. The result is fantastic. It can be made year-round, so add it to your holiday tables, casual gatherings and barbecues.
- Total Time: 1 hour 20 minutes
- Yield: 8 servings
Ingredients
For the crumb crust:
- 1 and ½ cups graham cracker crumbs
- 2 tablespoons brown sugar
- ½ cup unsalted butter, melted
For the apple filling:
- 4 pounds apples
- ½ cup sugar
- ¼ cup brown sugar
- 2 teaspoons apple spice mix
- 1 tablespoon cornstarch
- 1 tablespoon lemon juice (orange for a sweeter pie)
- 1 tablespoon butter
For the crumble topping:
- 1 cup (225g) unsalted butter, diced and cold
- 2 cups all-purpose flour
- ⅔ cup white sugar
- ⅔ cup light brown sugar
Instructions
For the crumb crust:
- Preheat the oven to 350°F/180°C if you're baking the crust. You can opt for simply chilling it until firm.
- Have ready a 9-inch pie plate or pie pan with a removable bottom and high sides.
- For the cookie crumbs, the easiest way is to use a food processor and process until you have fine crumbs. Make sure there are no large pieces or that it's a very coarse crumb mixture as it will prevent the mixture from compressing well.
- By hand: mix crumbs with the sugar in a medium bowl. Add the melted butter and combine everything until it resembles wet sand and no dry spots remain.
- Food processor: you can make the mixture directly in the bowl of the processor. Simply process the graham crackers with the sugar and add the melted butter to the bowl of the processor, pulse a few times, and you have your graham mixture ready.
- Press the mixture onto the pan, starting at the edges and the angles where the base and sides join together and make sure it's compacted. This will help when removing the pie from the pan.
- Bake for 10 minutes, until lightly golden and dry. Let cool completely on a wire rack before filling.
- Don't turn off the oven.
For the crumble:
- Mix flour and sugars in a medium bowl.
- Add butter pieces and integrate them with a fork, a pastry cutter, or your hands (my choice).
- Keep refrigerated.
For the apple pie filling and assembly:
- Peel and core the washed apples.
- Cut in half and then in half again to have 4 wedges. Remove the seeds with the hard center parts.
- Cut into medium-thick slices with a kitchen knife and transfer to a large bowl.
- Sprinkle sugars and apple pie mix on top. Dissolve the cornstarch in the lemon juice and drizzle over the apples. Mix with a spatula or spoon until the apple pieces are all covered in the sugar-spice mixture.
- Transfer the apples to the prepared crumb, mounding them carefully in the center. It will be tall.
- Sprinkle the crumble carefully to cover the apples completely. Start at the center and then aid yourself by placing one hand on the edge of the pan, creating a wall as you distribute the crumb mixture with the other hand. Some of it might spill. It is a bit messy. Press very lightly so the crumble is not so loose.
- Bake for 45-55 minutes, until the topping is golden brown, the filling bubbles and apples are easily pierced with a knife. If the sides are browning too quickly, tent with foil, creating a ring, and continue baking.
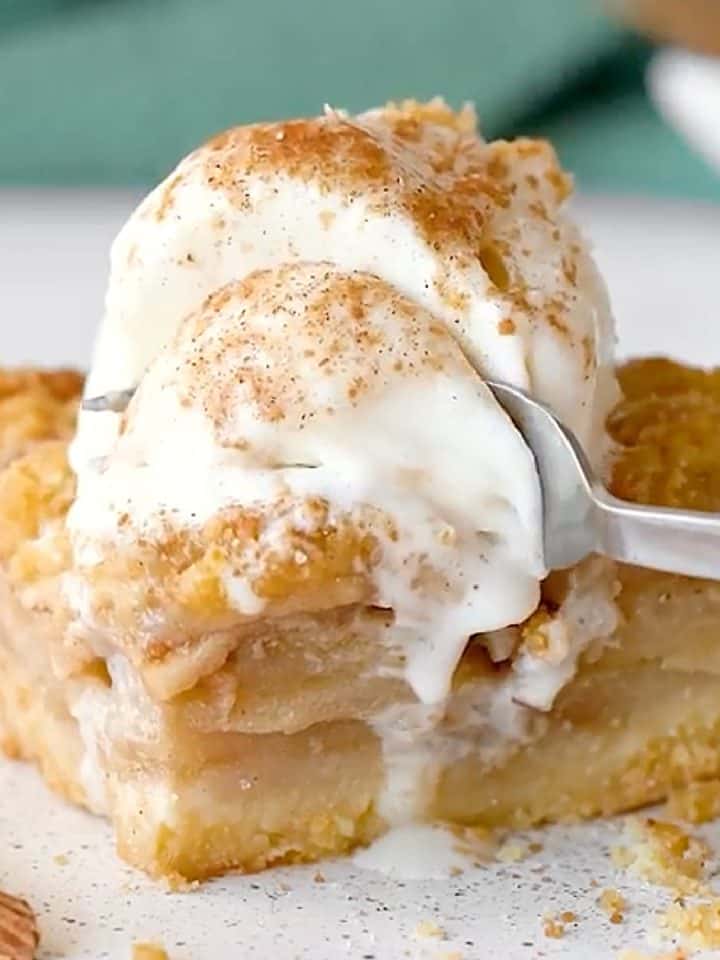
- Let cool on a wire rack before serving with a dusting of powdered sugar or whipped cream.
Notes
- Organization: read the recipe first and ensure you have ingredients at the correct temperature, the needed equipment, and enough workspace. This will make the process so much easier.
- Baking time: consider that all ovens and pans are different, even if they look similar. The baking time in my recipes is as accurate as it can be, but it might take you more or less time. You can use a thermometer (like the OXO oven thermometer) to check that your oven is at the right temperature. I recommend you keep track of how your oven works and what tiny details you might need to adjust.
- Make ahead crumble: the crumb mixture can be refrigerated for a week or frozen for a month in an airtight or freezer-safe container. When ready to use, thaw at room temperature (if frozen) and break up with our hands if needed, as large clumps can sometimes create.
- Depending on the kind of apples you use, you can vary the sweetness of this simple apple cobbler. I'm partial to tart apples, but some people like sweeter cobblers.
- Prep Time: 30 minutes
- Cook Time: 50 minutes
- Category: Pies & Tarts
- Method: Baking
- Cuisine: American


Thank you for leaving a review for this recipe