

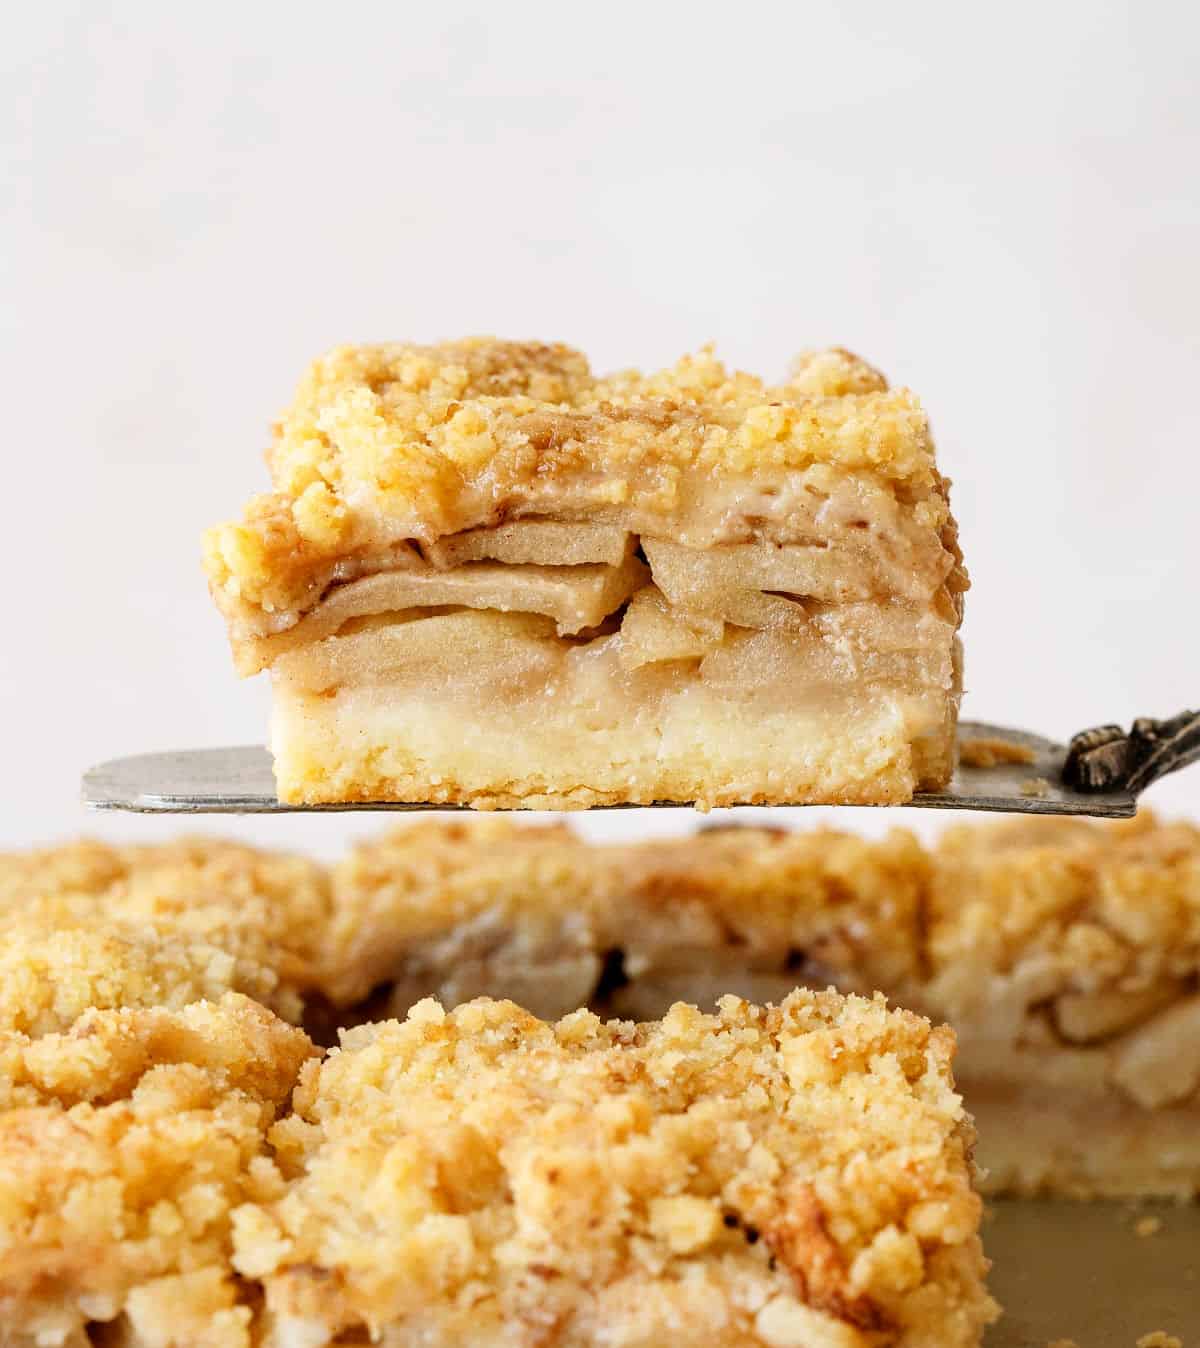
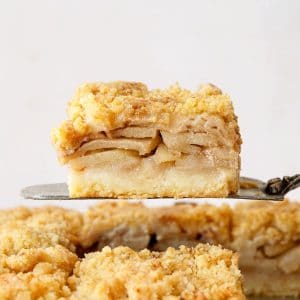
These old-fashioned apple squares are a great and easier alternative to making apple pie. They have a simple shortbread crust topped with a juicy apple filling and a buttery, sweet crumble topping that contrasts nicely and makes it a crowd-pleaser! They can be frozen after being baked, and most components can be made ahead.
SAVE THIS RECIPE
Alternative to pie
Apple is the ingredient that my family asks for when it comes to desserts. Skip the chocolate; they'll thank you for it. And what is baking but a way of showing our love, right? So apples it is.
This recipe for apple squares is a twist on the first recipe I learned from my grandmother (her apple crisp), but with a buttery shortbread base that makes all the difference.
It's simple and versatile, as the crumble can be dressed up with nuts and oats, and the apples can be paired with other citrus and different spices.
My favorite part about these crumb bars is that they're easier to make than a traditional apple pie, as the bar format eliminates the need for a classic pie crust that needs rolling and crimping, and the crumb topping is simpler to prepare than a double crust. It's more in tune with an apple pie with crumb crust.
Also, bars are easy to transport and serve, so they're great for family gatherings, picnics, potlucks and road trips. Make the portions larger or smaller, depending on how you serve them.
Testing notes
Paula's baking tips that can make a difference.
Type of apples: I use Granny Smith apples exclusively for this recipe (the green ones, my absolute favorites for baking). They're tart apples and bring some acid to the mix that complements the overall butter and sweetness of the cake, hold their shape and don't turn mushy in the oven. If you have another favorite that you usually bake with (Pink Lady, Fuji, Honeycrisp apples), by all means, use it. They're usually a tad sweeter.
Peel and cut the apples at the last minute to avoid them turning brown as much as you can. I use a large kitchen knife to cut medium-thick slices.
Don't slice them too thin; about ¼ inch is what you want. If you use a mandoline for very thin slices, they might soften too much during baking. Unless you want more of a chunky applesauce as filling.
For a more pronounced apple flavor, toss the apple slices with their cinnamon and sugar and let them sit for 10 minutes before layering.
Make-ahead: the base and the crumble can be made ahead and frozen for a month or kept in the fridge for a week. Bake and cool them completely, then store them according to the instructions above. If you want to serve them warm, you can reheat them in the oven at a low temperature or briefly in the microwave.
Variations & substitutions
- Use brown butter for the shortbread base. It adds depth and a unique sweet vanilla flavor.
- Add berries: a half cup of raspberries or blueberries pairs very well with the apple filling.
- Add oats to the crumble: substitute up to half the flour for oats. It can make the topping crisper and add another layer of texture.
- Nuts: add ⅓ cup chopped nuts to the crumb topping for extra crunch and flavor. Pecans, walnuts, or almonds work well with the apple filling.
- Glazed apple pie bars: drizzle a simple glaze on top of the cooled bars for extra sweetness. A maple glaze also works well.
- Oatmeal crust: Replace ⅓ of the flour in the crust with old-fashioned oats for a heartier texture.
Steps to make apple pie crumb bars
Shortbread base
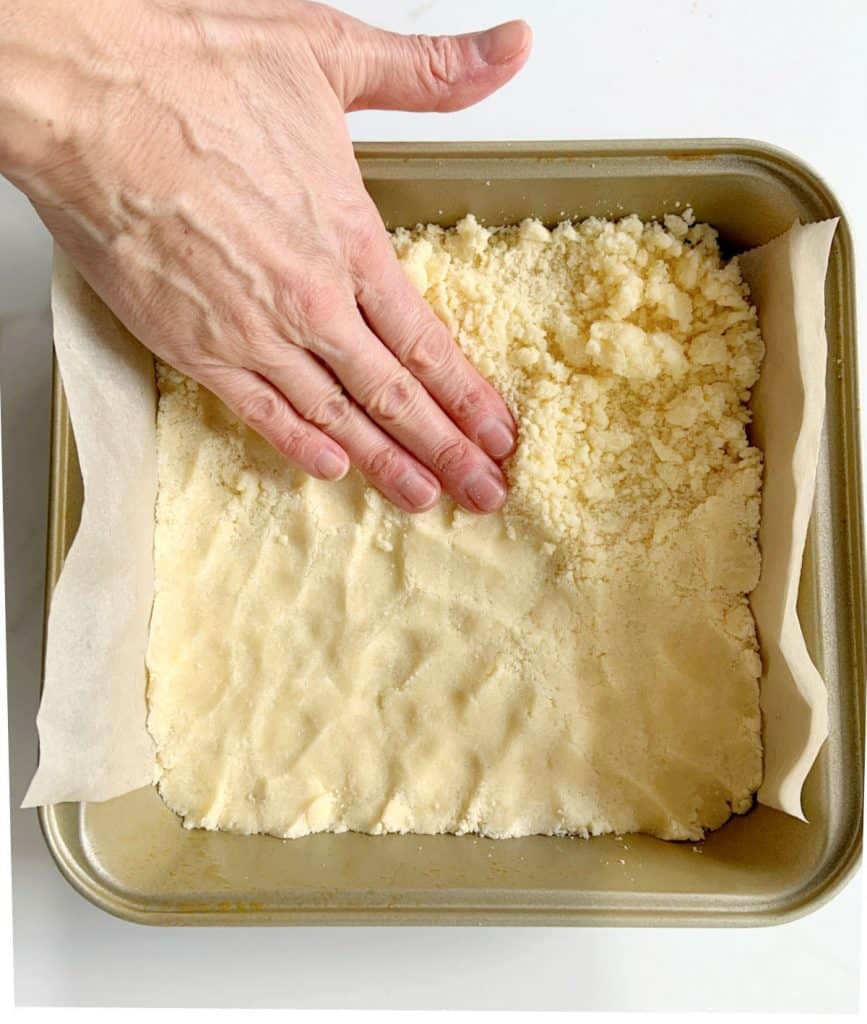
Mix ingredients in a large bowl until crumbly and pat into the baking pan.
Distribute the crumbly mass throughout the bottom. Press it with your hands until it's all compacted and there are no crumbly parts.
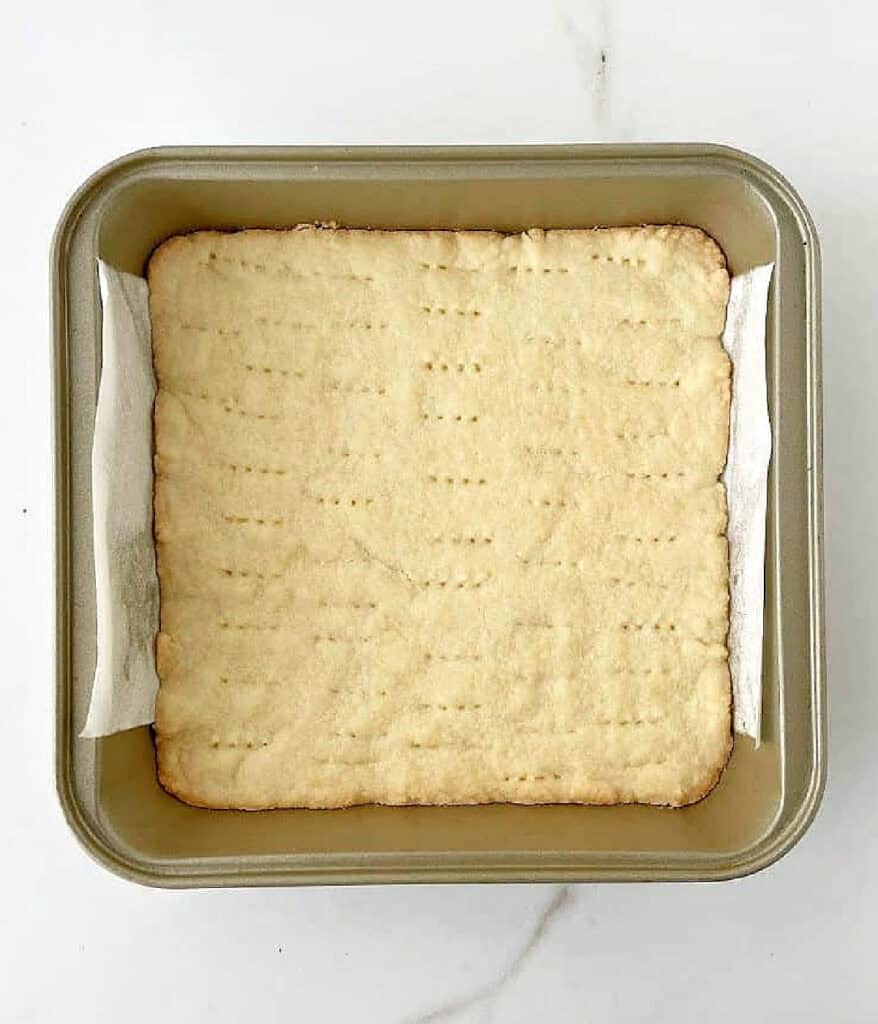
Prick & bake
Prick it with a fork and freeze it before pre-baking it. Bake it for 15 minutes, until it's starting to dry and puff.
These steps will make it crisper and less soggy once the apple filling is added.
The apples
Use your favorite baking apples. I use Granny Smith apples, the green ones.
You can slice them thicker or thinner. Very thin slices (cut with a mandoline) will soften more than thicker ones.
Flavorings: You can add a pinch of salt, spices, citrus zest, and other flavorings.
Crumb topping
You can integrate it by hand, with a fork or a pastry cutter.
Make-ahead: it can be made in advance and frozen for a month. Or kept in the refrigerator for a week. Add it directly.
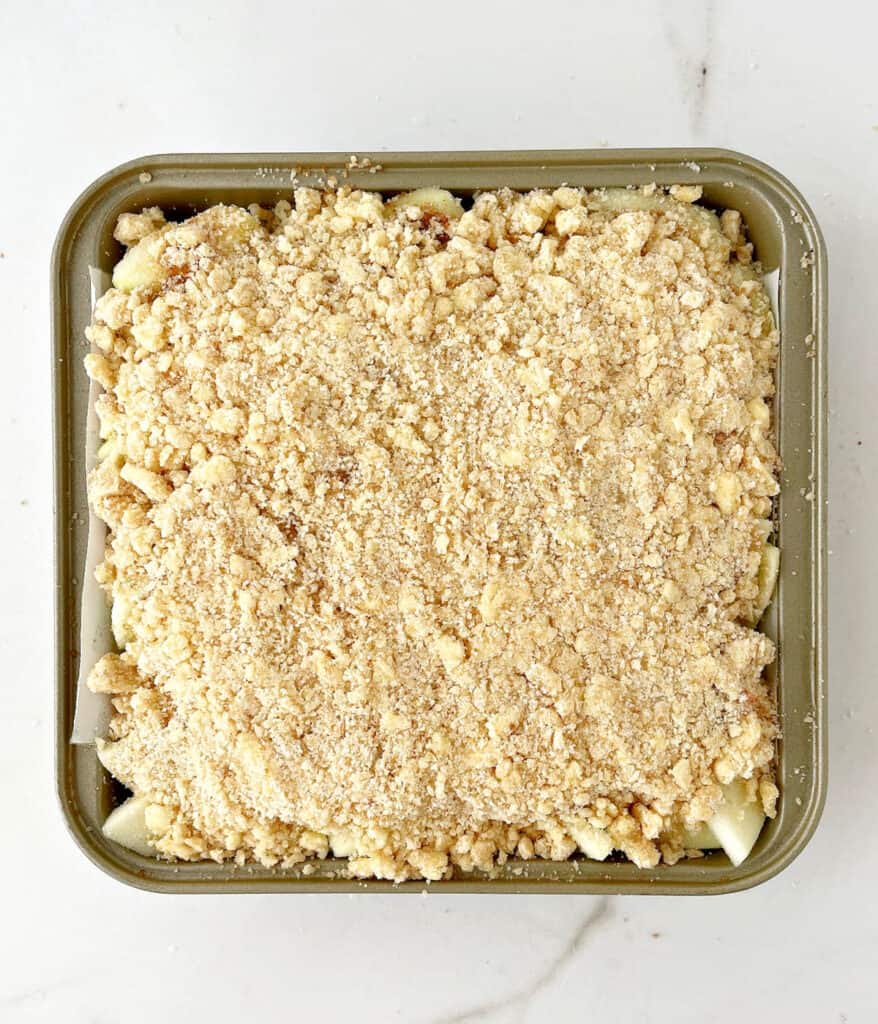
Top the apples with the crumble mixture. It will cover them almost completely. Lightly press with your hand so the topping is a little compacted.
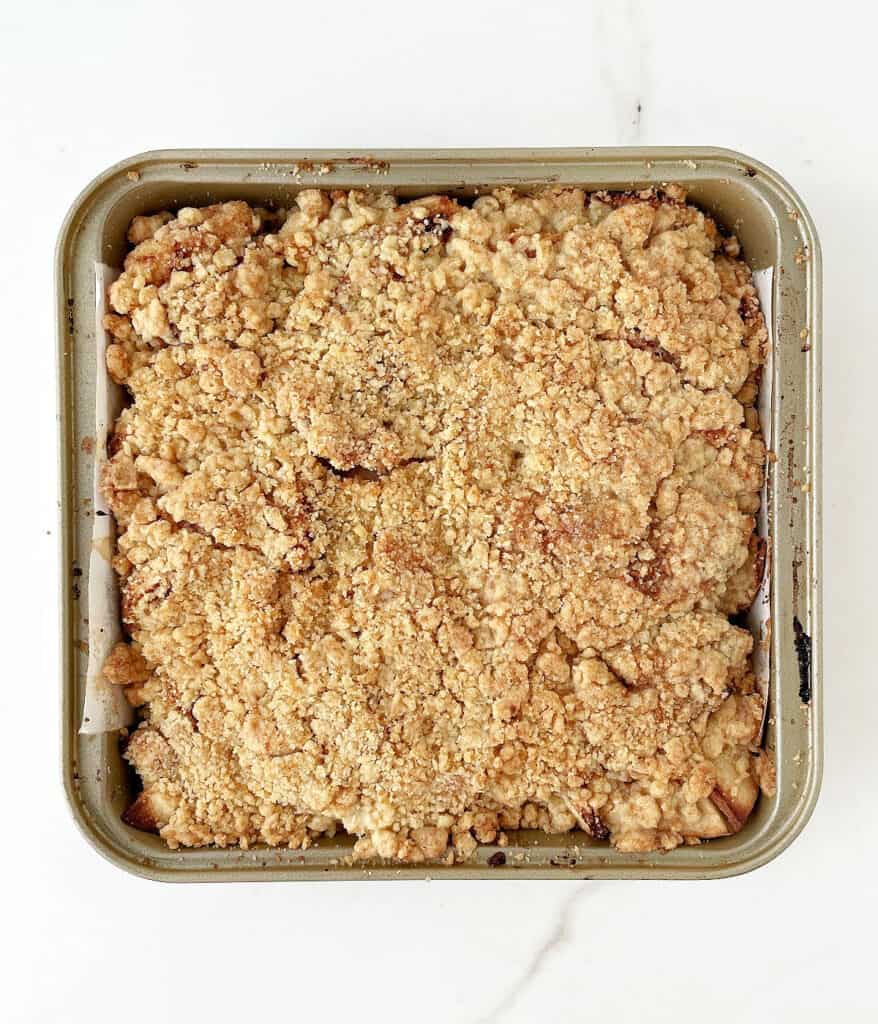
Baking
When the apple bars are done, the top will be dry and turn golden brown. The juices will bubble around the edges.
Pierce the apples with a knife to check for softness before removing from the oven.
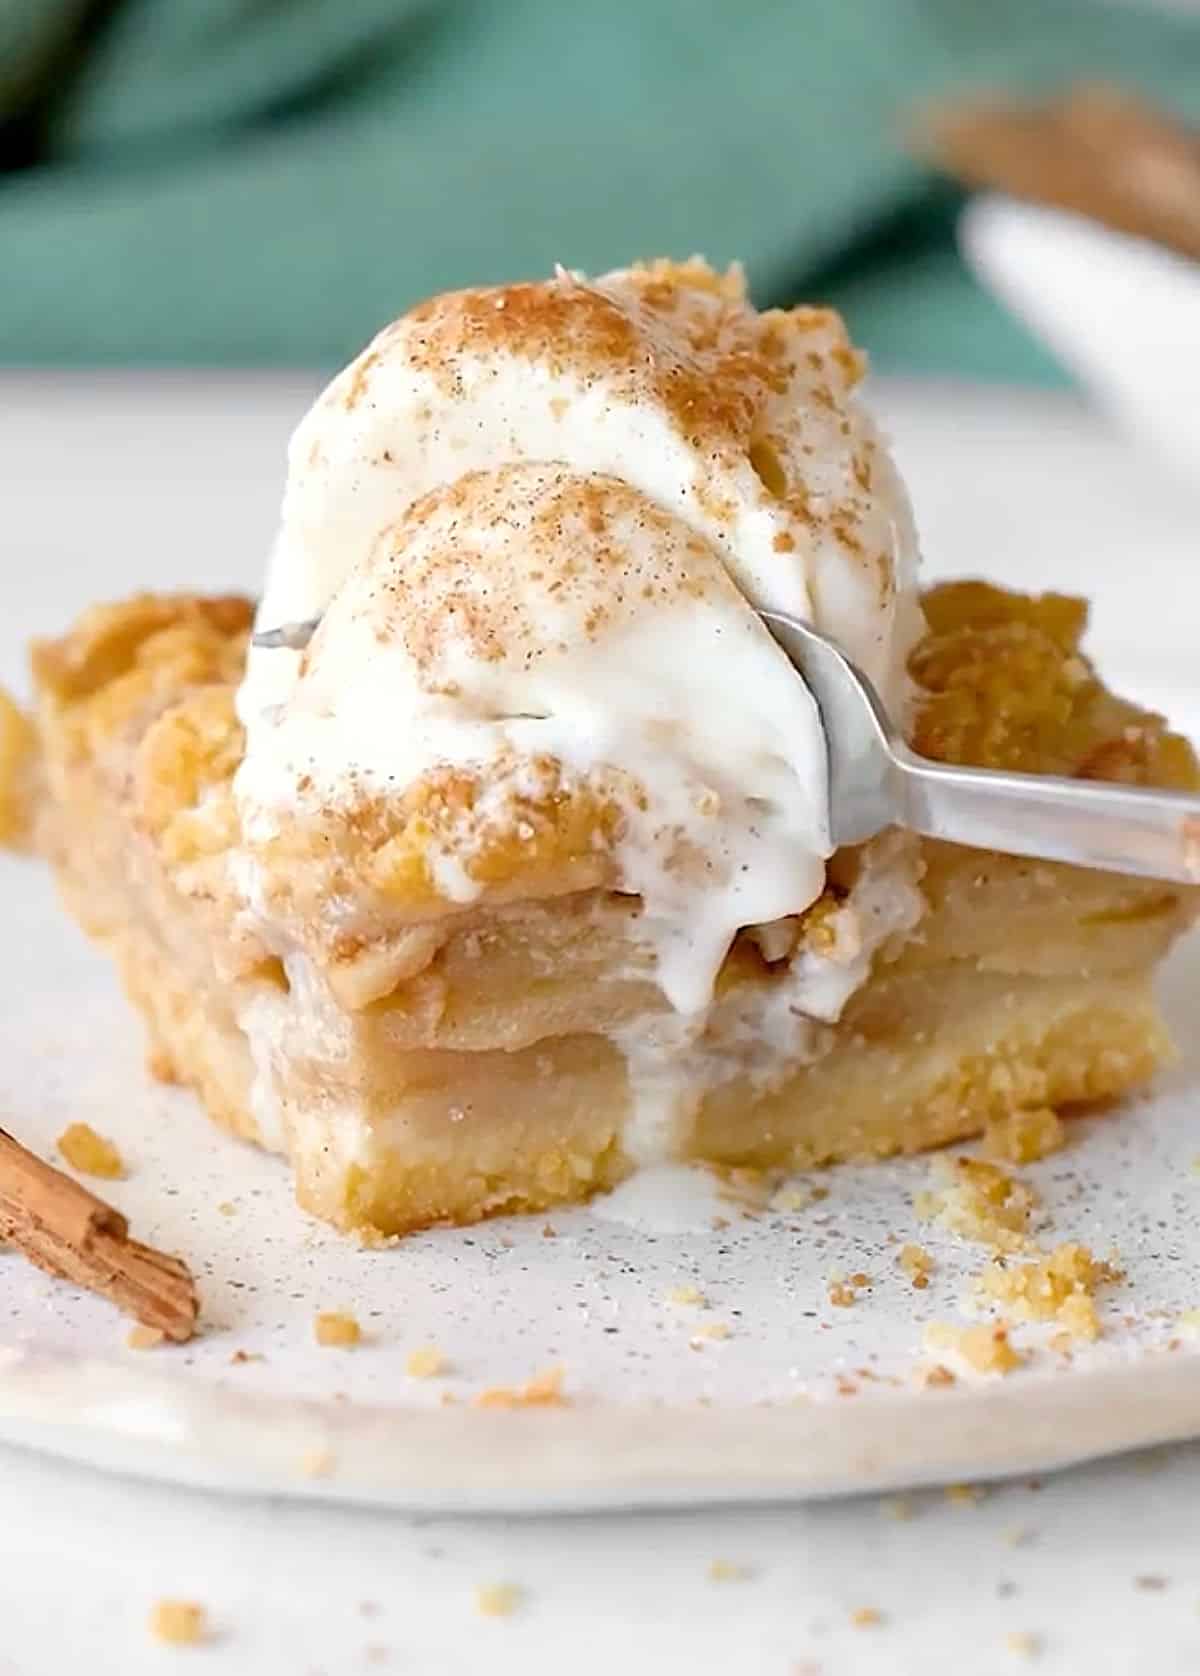
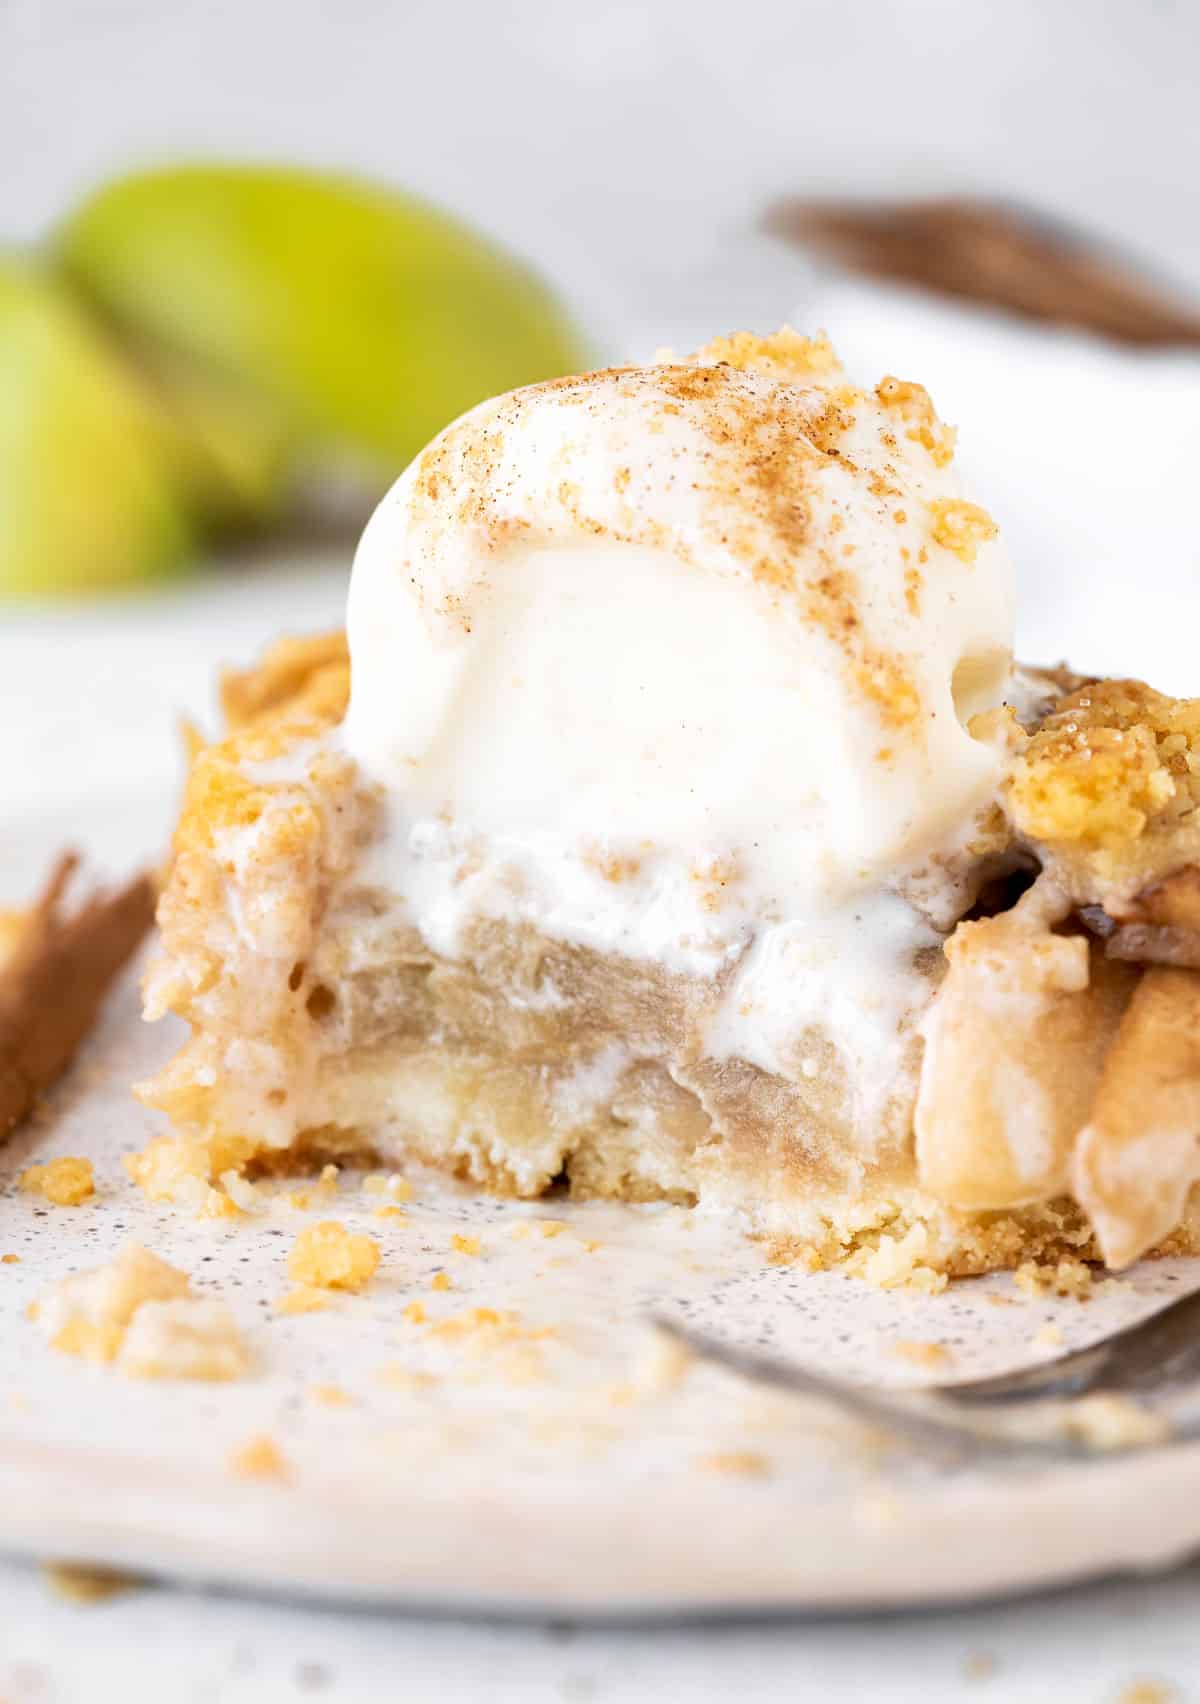
Serving apple bars
They are great at room temperature, but warm with a scoop of vanilla ice cream makes them irresistible, according to everyone around me!
- A dollop of cream (straight from the container or whipped) also works.
- Caramel sauce or dulce de leche: some of it drizzled over the ice cream makes for a fantastic dessert!

As an Amazon Associate, I earn from qualifying purchases. Read my disclosure policy.
Apple Crumble Bars (easier than pie)
Ingredients
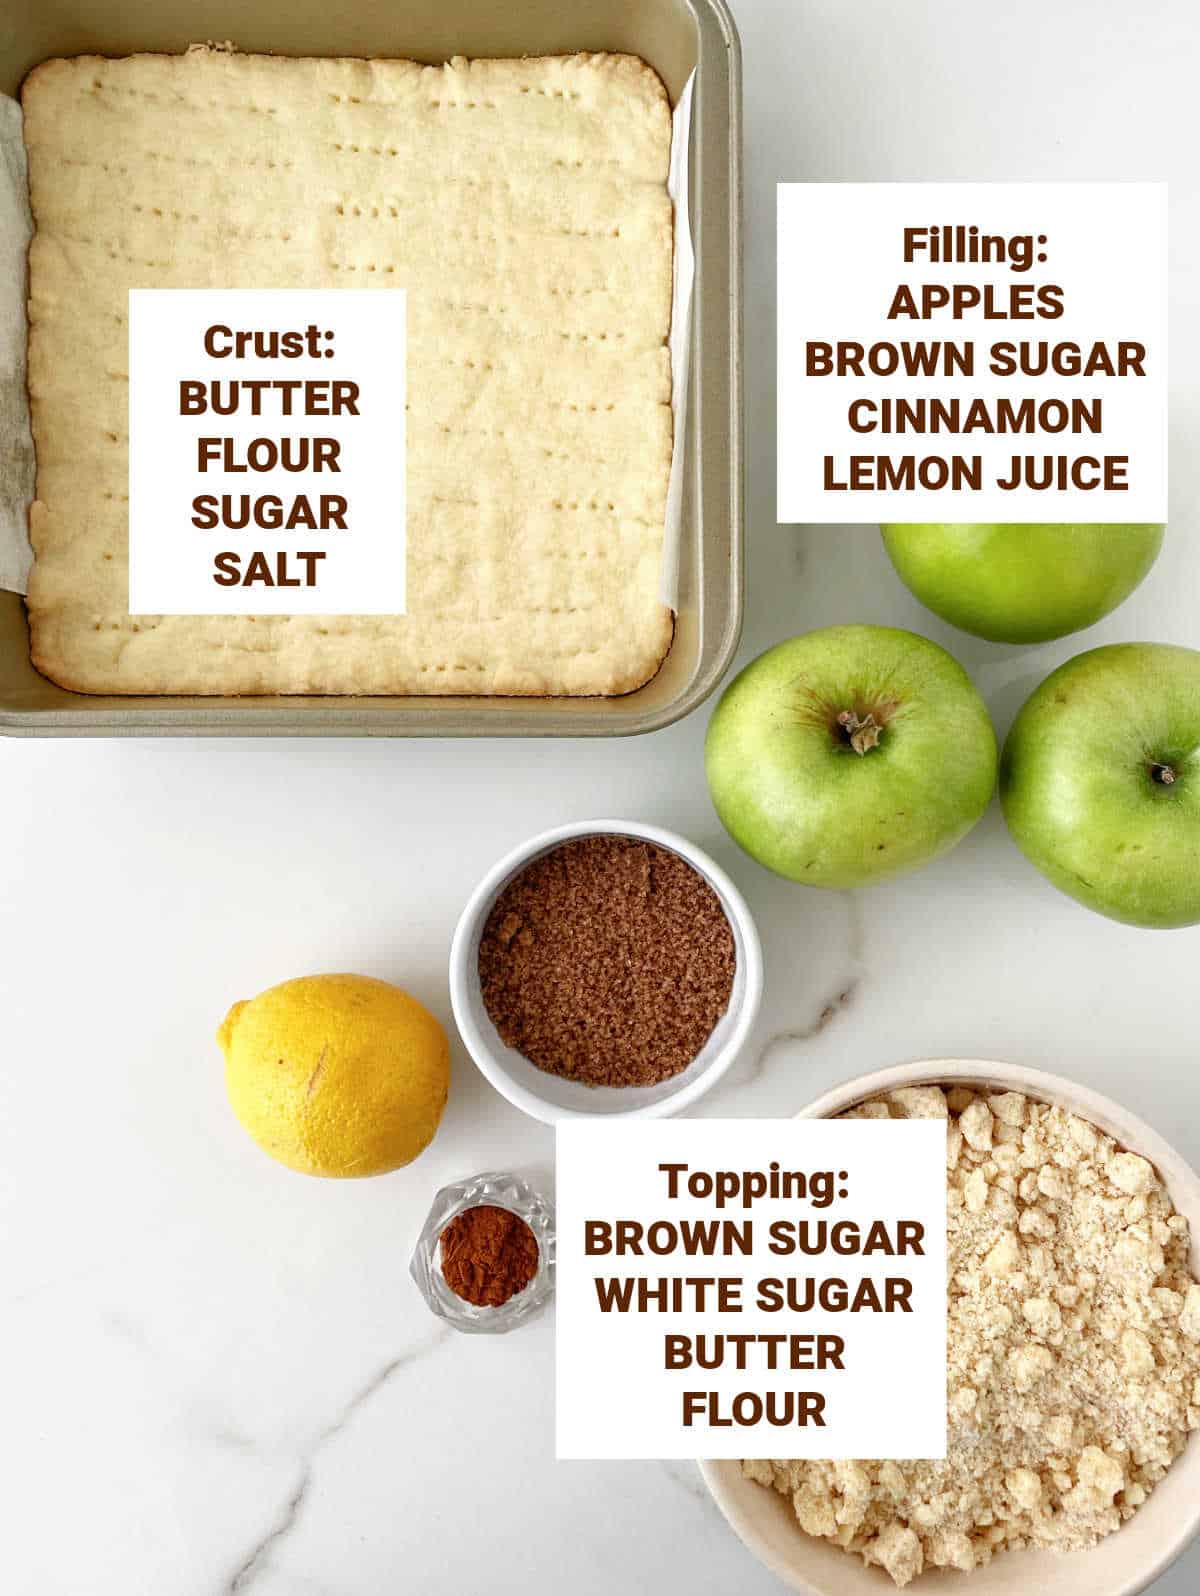
For the shortbread base:
- ½ cup unsalted butter, at room temperature
- ¼ cup white sugar
- 1 cup all-purpose flour
- pinch of salt
For the crumble:
- 1 cup all-purpose flour
- ⅓ cup white sugar
- ⅓ cup light brown sugar
- ½ cup unsalted butter, diced and cold
For the apples:
- 5 cups Granny Smith apples, about 5 apples, peeled, cored, and sliced
- ¼ cup white or brown sugar
- 1 teaspoon ground cinnamon
- 2 tablespoons lemon juice
Instructions
- Preheat the oven to 350ºF (180°C).
For the shortbread base:
- With a wooden spoon or electric hand mixer on low, cream ½ cup unsalted butter with ¼ cup white sugar until smooth.
- Add a pinch of salt and 1 cup all-purpose flour in two parts, combining well. Do not overmix. It will be crumbly.
- Grease an 8-inch square pan. Line with a strip of parchment paper covering the bottom and two of the sides.
- Press the dough evenly to cover the bottom. Lightly flour the tips of your fingers if needed.
- Prick the bottom crust with a fork and freeze for 30 minutes.
- Bake for about 15 minutes, until it's dry in parts and starts to color lightly. Reserve on a wire rack.
For the crumble:
- Mix 1 cup all-purpose flour, ⅓ cup white sugar and ⅓ cup light brown sugar in a medium bowl.
- Add ½ cup unsalted butter in pieces and integrate them with a fork, a pastry cutter, or your hands (my choice) until you have a clumpy crumble.
- Keep refrigerated.
For the apples:
- Peel and core 5 medium/large apples.
- Cut in half and then in half again to have 4 wedges. Remove the seeds and hard center parts. Slice with a kitchen knife. You should have about 5 cups Granny Smith apples, sliced. Transfer them to a large bowl.
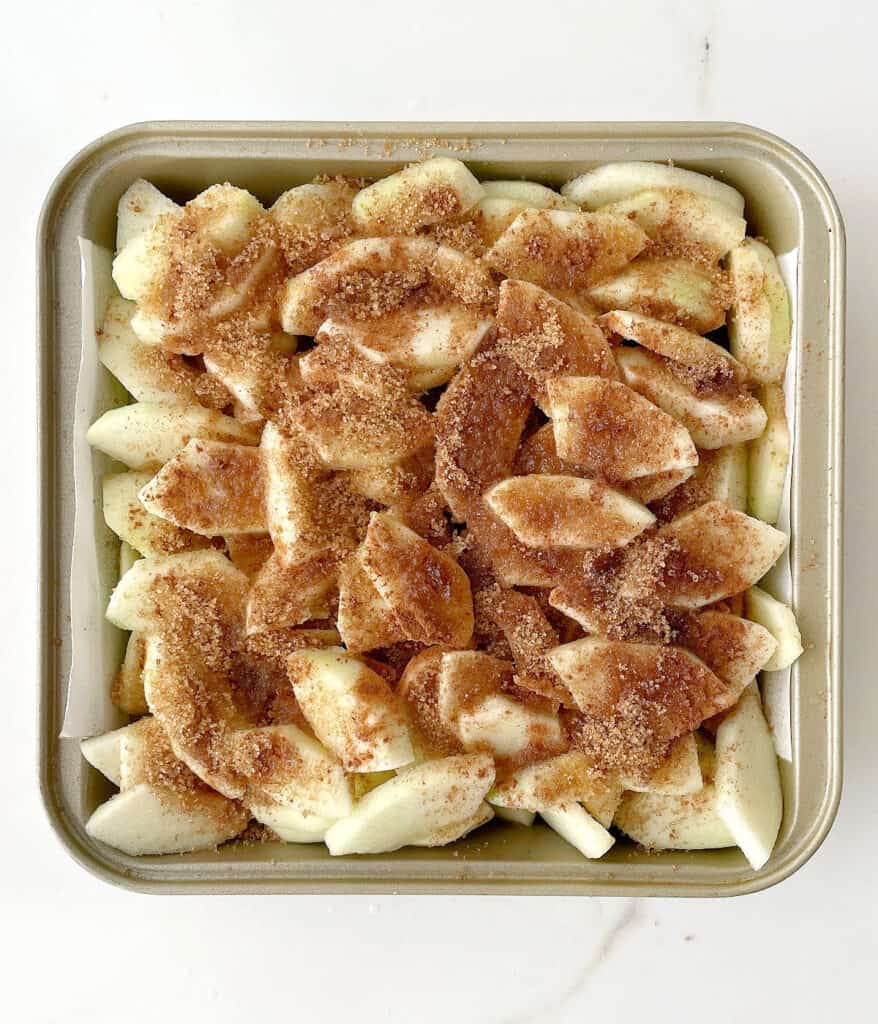
- Sprinkle ¼ cup white or brown sugar and 1 teaspoon ground cinnamon on top and drizzle with 2 tablespoons lemon juice. Stir to coat and transfer to the prepared pan.
- Alternatively, layer the apple slices on the shortbread base, sprinkle with cinnamon and sugar, and drizzle with lemon juice. It's a lot of apples, but they shrink considerably during baking.
To assemble:
- Top the crust with the apple mixture, spreading to cover it all.
- Top the apples with the crumble mixture. It will cover them almost completely. Lightly press with your hand so the topping is a tad compacted.
- Bake for about 40 minutes, until the top is golden and the apples can be easily pierced with a knife.
- Let cool on a wire rack. Serve at room temperature or warm with a scoop of ice cream or whipped cream.
Christine says
Hi,
This recipe looks delicious and I’m so pleased that metric measures are included!
I shall certainly try this one!
Christine
Richard Ray says
Going to try this
Patti says
Hi Paula,
I'm wondering - why don't you add the cinnamon mixture to the apples rather than sprinkle it on top of the apples once placed on top of the crust?
Any reason I couldn't do that?
Thanks
Paula Montenegro says
Hi Patti! No reason. You can mix it with the apples. I'll add a note to the recipe card about it.
laurasmess says
So wonderful Paula. Food memories are definitely special. I love how reproducing a special dish can somehow take you right back to the moments when you first ate/made it... perhaps in a special place or with a special someone. Thanks for sharing this recipe xx
Patty Price says
love your bar cookies and congratulations on your guest post 😉
e / dig in says
i love cardomom with apple so i'm heading over to print out this recipe (i haven't even read it yet!). i love pples in bakign too. i have a lot of apple recipes!! thanks paula.